
Wood slices are one of those humble little materials that instantly feel cozy, rustic, and handmade on a tree.
Painted Night Sky Landscapes
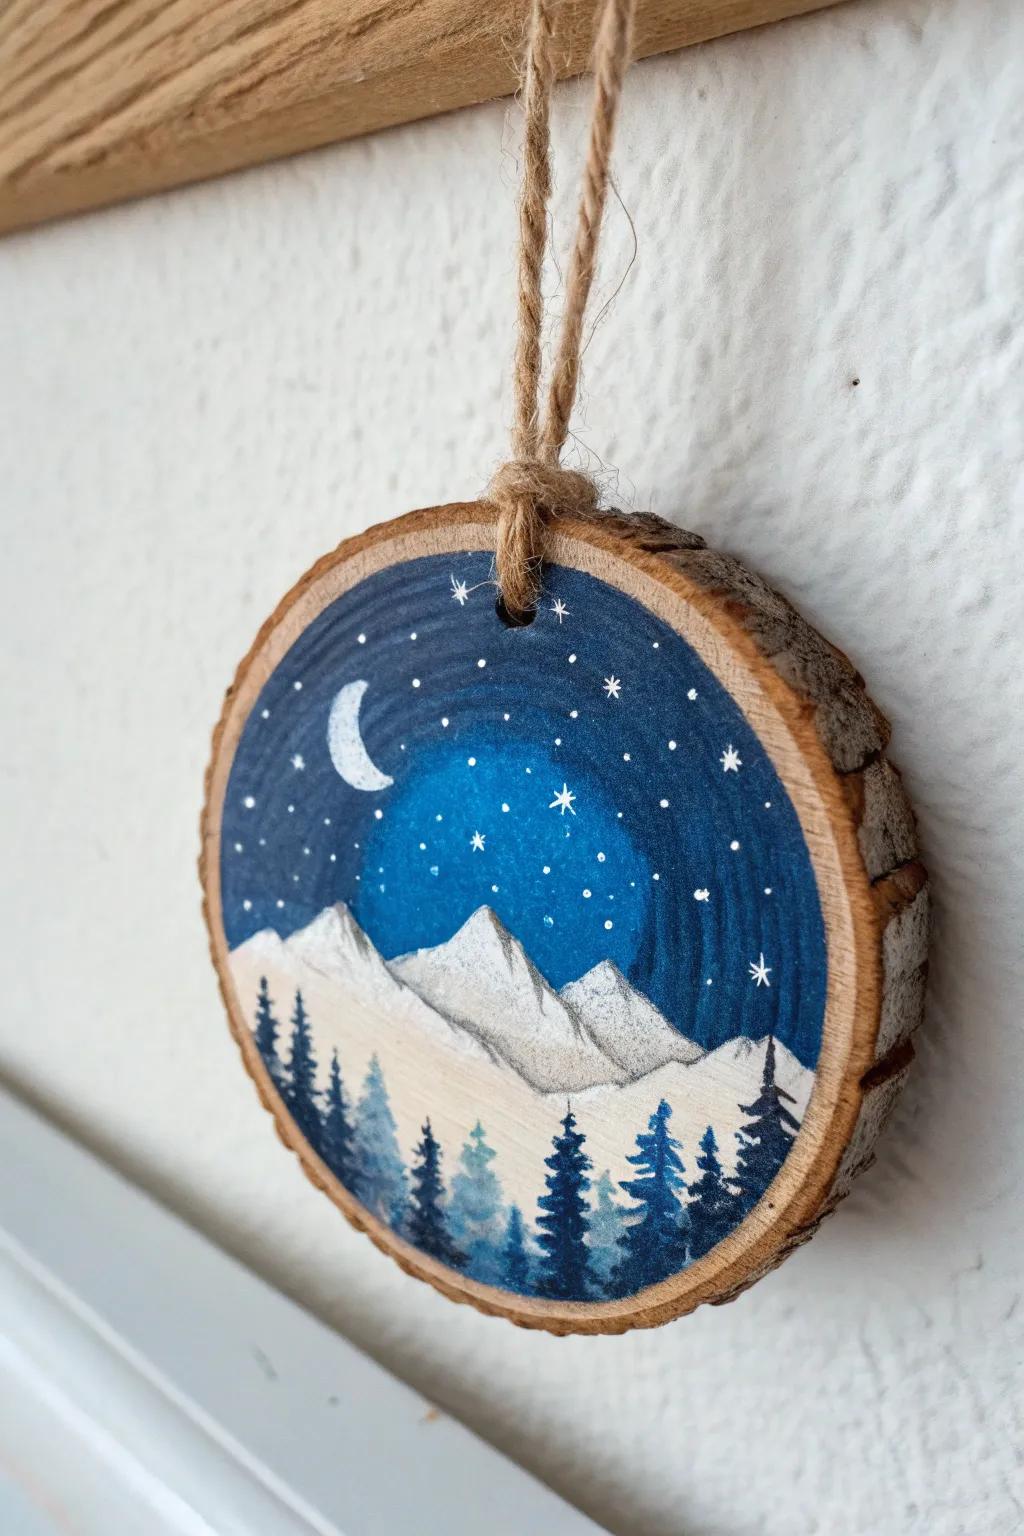
A mini night sky with deep blues and a snowy ridge turns a simple wood slice ornament into a tiny piece of art. I like adding speckled “stars” with a stiff brush because it’s messy in the best way.
Products that could assist:
- Medium-Sized Natural Wood Slices with Bark: Start your miniature painting project on these pre-drilled rustic canvases, perfect for hanging on your tree.
- Multi-Surface Acrylic Paint Set: Create deep blue gradients and crisp white snowy peaks with these versatile, high-coverage craft paints.
- Fine Detail Paint Brush Set: Achieve precise pine tree silhouettes and delicate starry details with these essential miniature painting tools.


Painted Snowman Faces
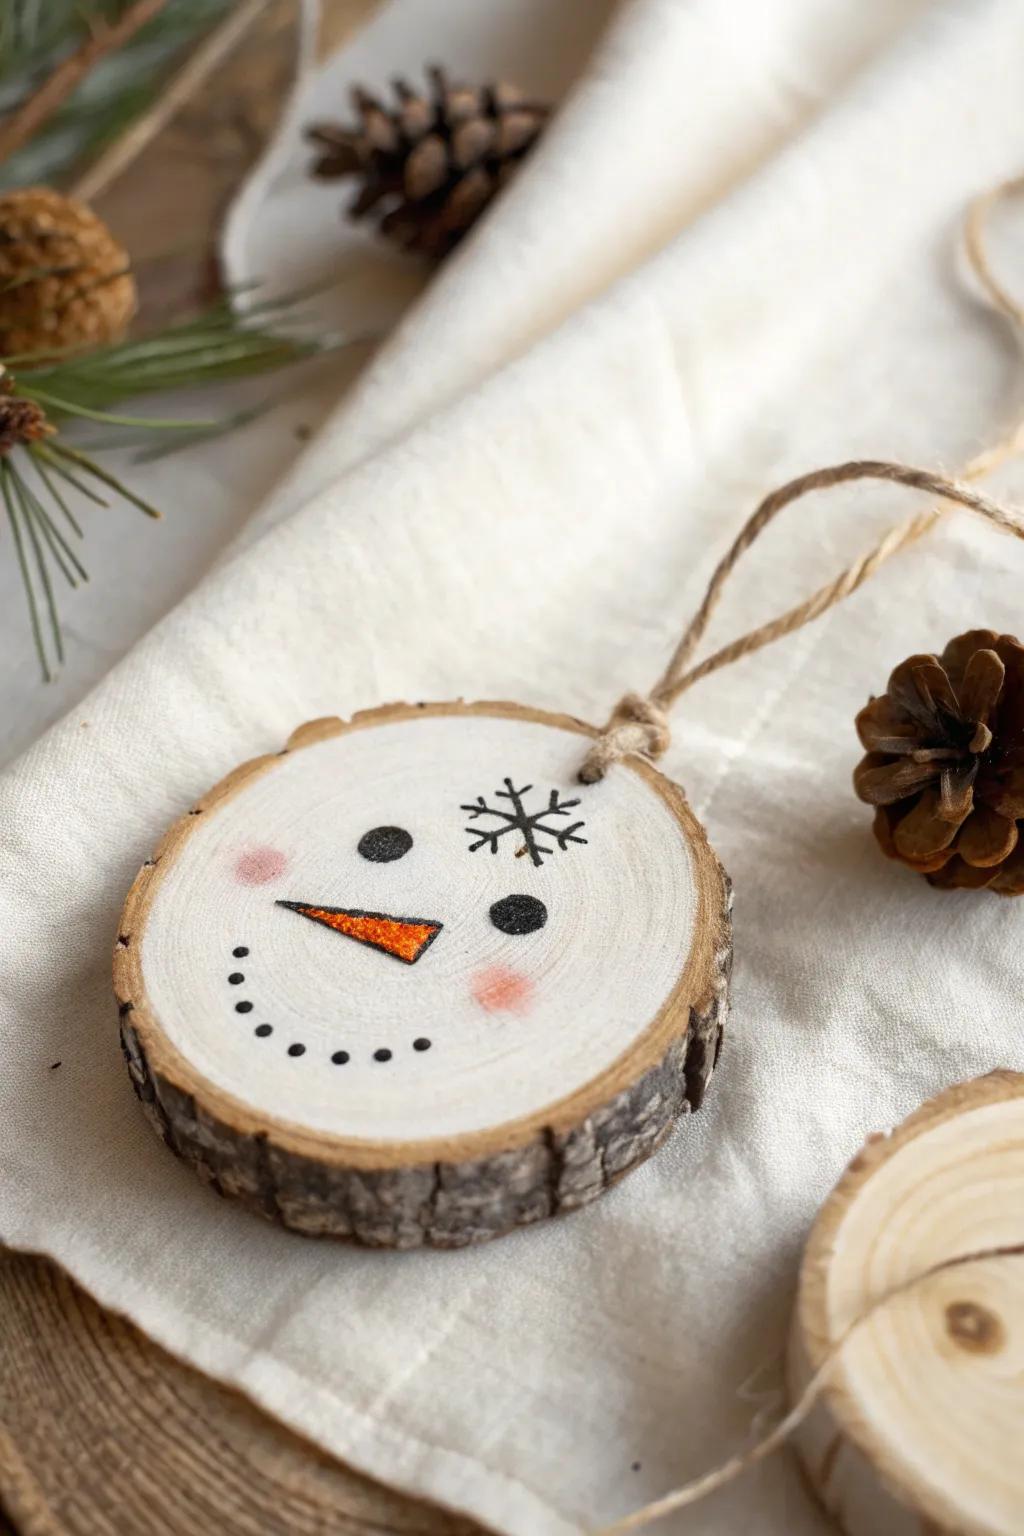
When I want quick-cute results, I paint simple snowman faces on a wood slice ornament using dots for coal and a tiny carrot nose. I usually sand the edges lightly so it looks like a sweet old keepsake instead of something too perfect.
Some handy options:
- Unfinished Wood Slices with Bark 10-12 Pack: Start your project with these rustic slices; the bark edges add instant charm to your handcrafted snowman ornaments.
- Fine Tip Acrylic Paint Marker Set: Create precise coal eyes and carrot noses easily with these markers, perfect for detailed artwork on small surfaces.
- Natural Jute Twine for Crafts: Finish your ornament with a classic touch by using durable twine for hanging loops that match the rustic style.


Reindeer Silhouette With Red Nose
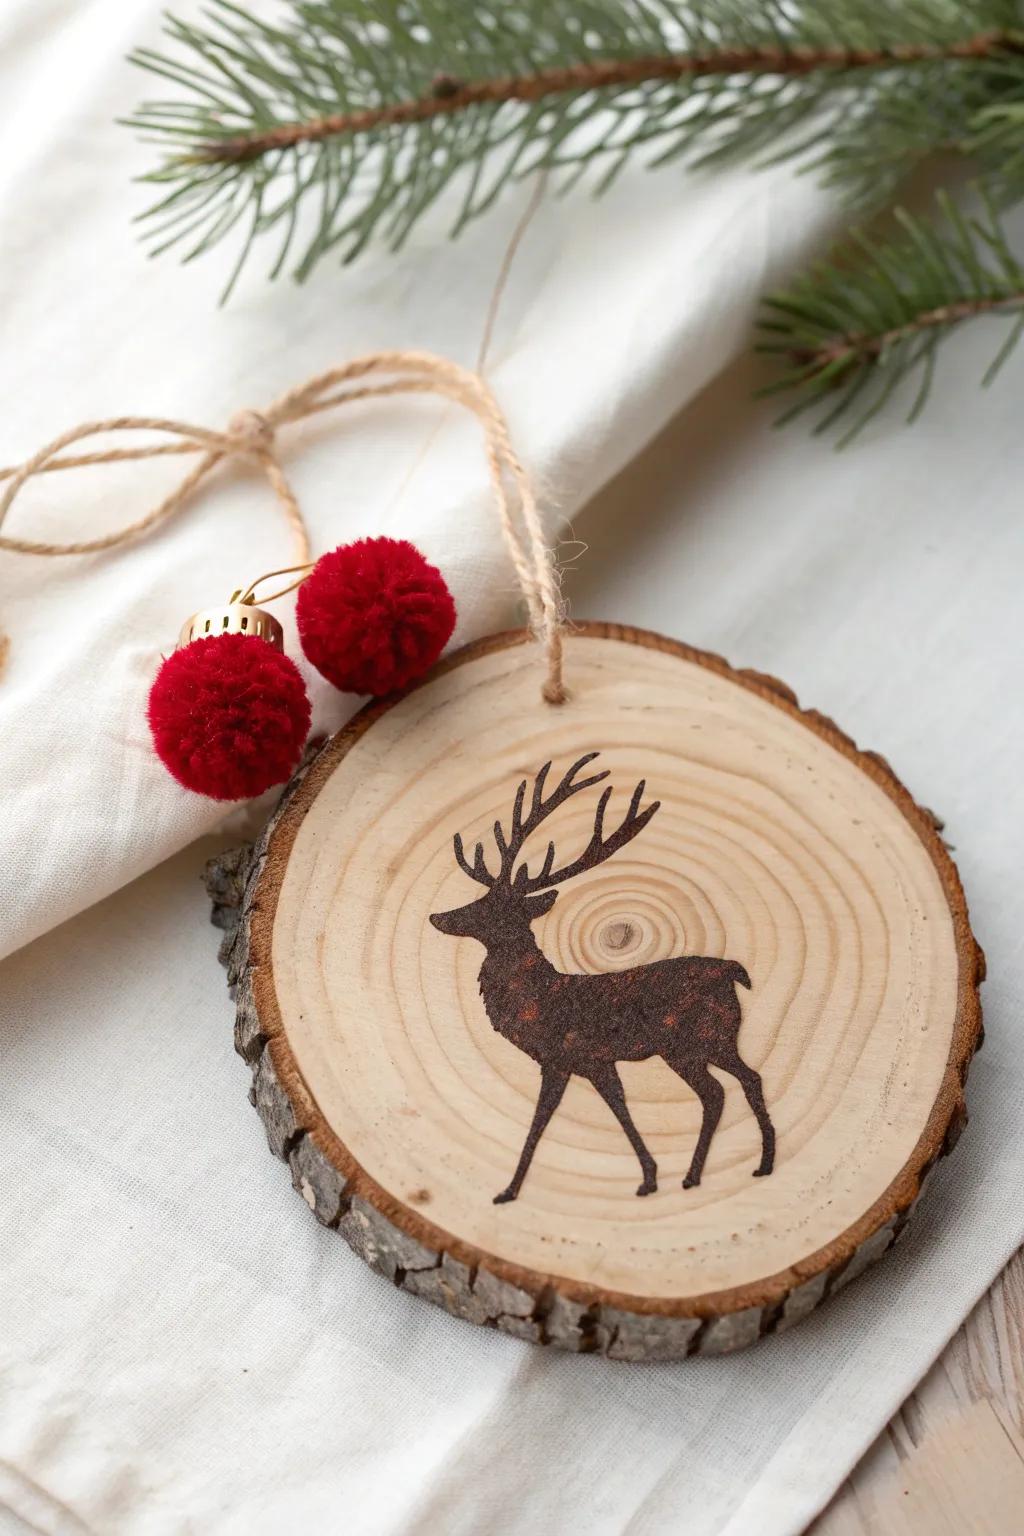
A bold reindeer silhouette on a wood slice ornament is my go-to for that rustic cabin vibe, especially with a little red pom detail for the nose. I’ve done this in both paint and wood burning, and the burned version always feels extra timeless.
A few suggestions:
- Pre-Drilled Natural Wood Slices: Start your rustic projects with these smooth, pre-drilled wooden circles, perfect for painting or burning designs easily.
- Wood Burning Pyrography Kit: Create timeless, permanent silhouettes on your ornaments with a versatile heated tool designed for precision and control.
- Red Mini Pom Poms: Add a festive pop of color and texture to your reindeer ornaments with these soft, bright embellishments.


Simple Evergreen Tree Icons
I love painting tiny evergreen trees—one big one or a trio—right on each wood slice ornament for a clean farmhouse look. If your slices have bark edges, the natural texture does half the decorating for you.
Give these a look:
- Pre-Drilled Wood Slices with Bark: Start your project easily with ready-to-use wood circles featuring natural bark edges and pre-drilled holes for hanging.
- Pine Tree Stencils: Achieve perfect, crisp tree silhouettes every time by using these reusable stencils instead of freehand painting.
- Acrylic Paint Set: Use bold, opaque green acrylic or multi-surface craft paint to ensure your tree designs really pop on the wood.
Handwritten Holiday Words
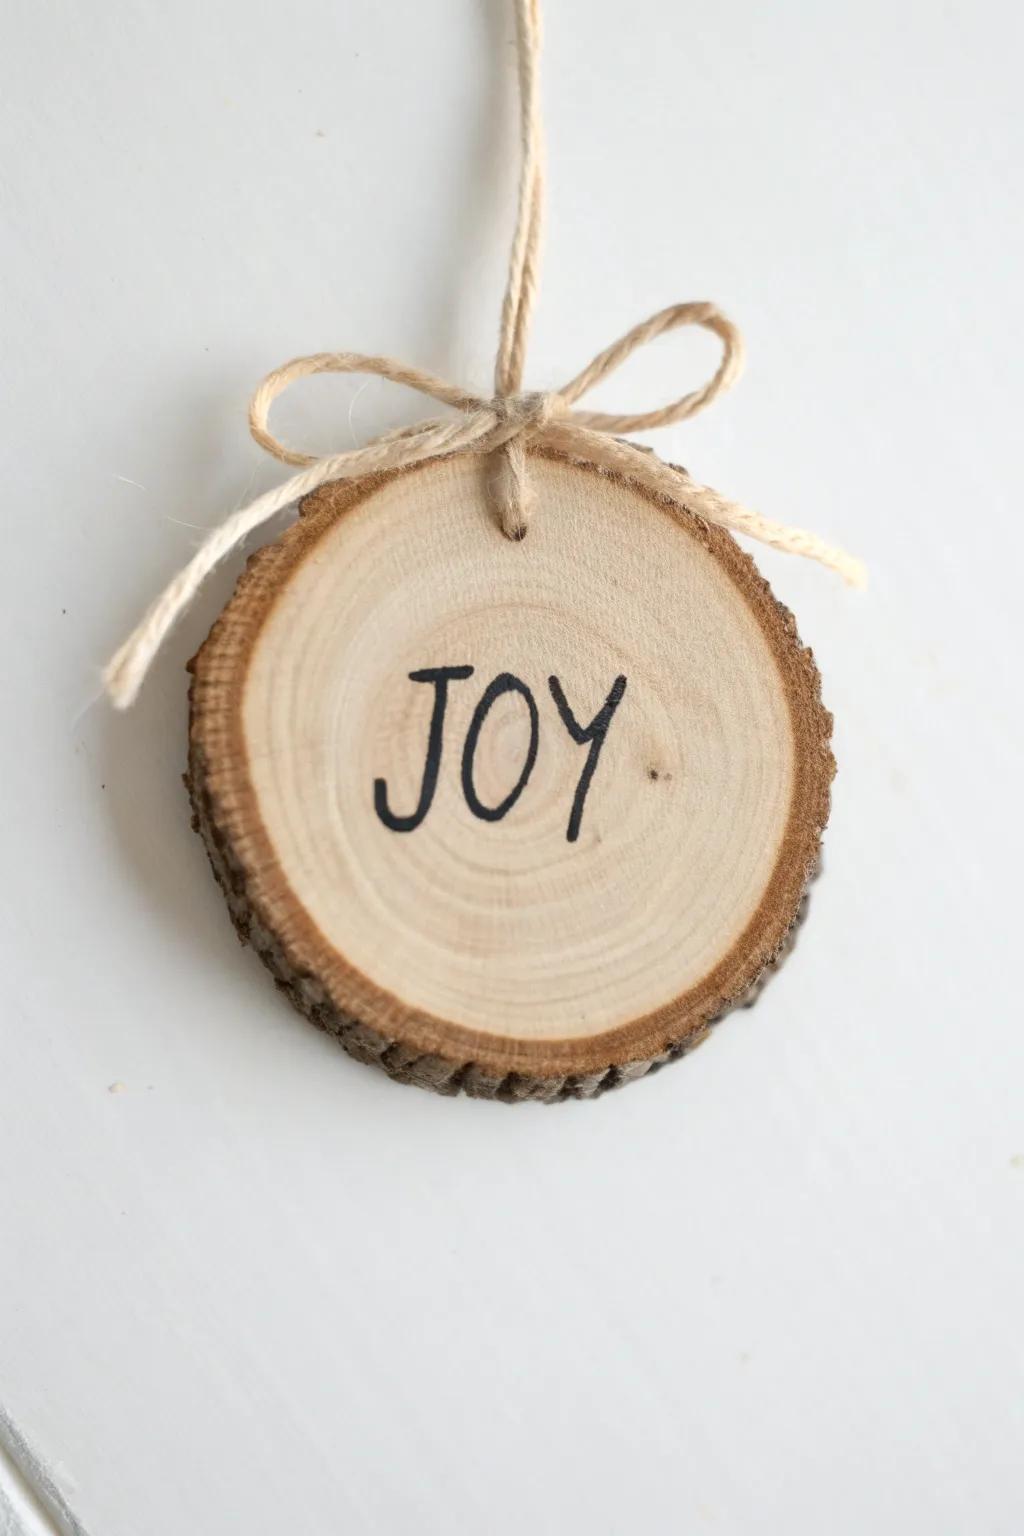
A crisp word like Joy, Noel, or Peace on a wood slice ornament looks so good with twine and a soft bow. I usually sketch it in pencil first because my “casual handwriting” gets real confident the moment permanent ink shows up.
Maybe worth checking out:
- Pre-Drilled Wood Slices: Start your project with these rustic bases, ready for your festive words and personal artistic touch.
- Black Permanent Paint Markers: Achieve crisp, bold lettering that stands out beautifully against natural wood grain for lasting holiday cheer.
- Natural Jute Twine: Finish your rustic ornament with this essential cord, perfect for hanging loops and tying charming little bows.
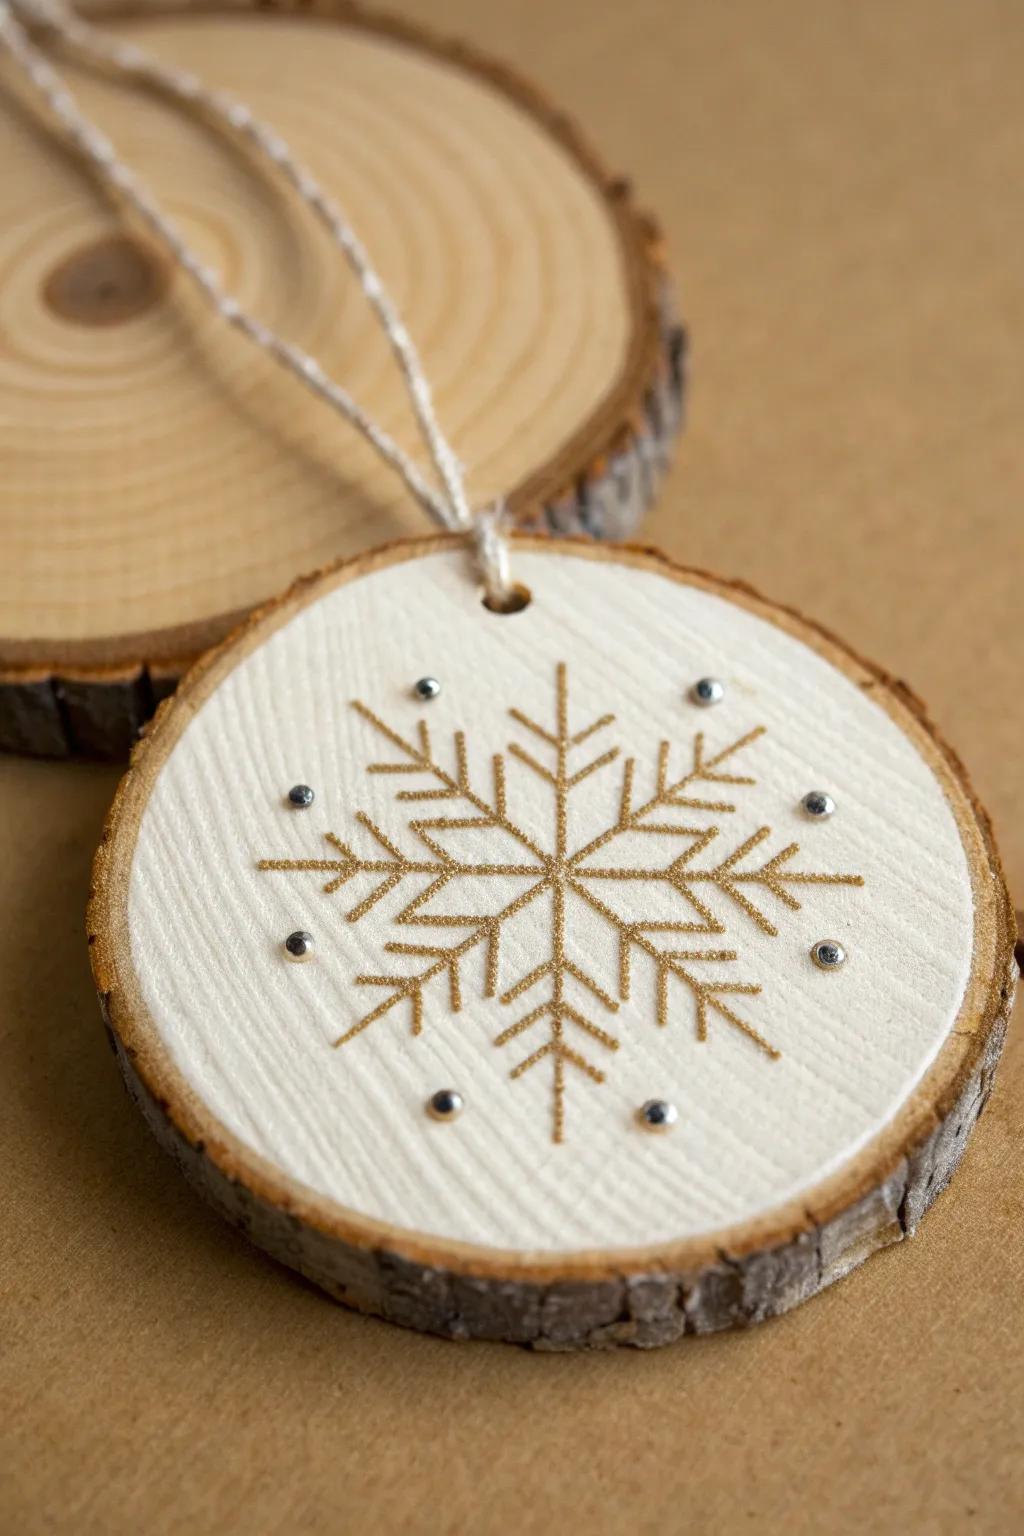
Wood-Burned Snowflakes
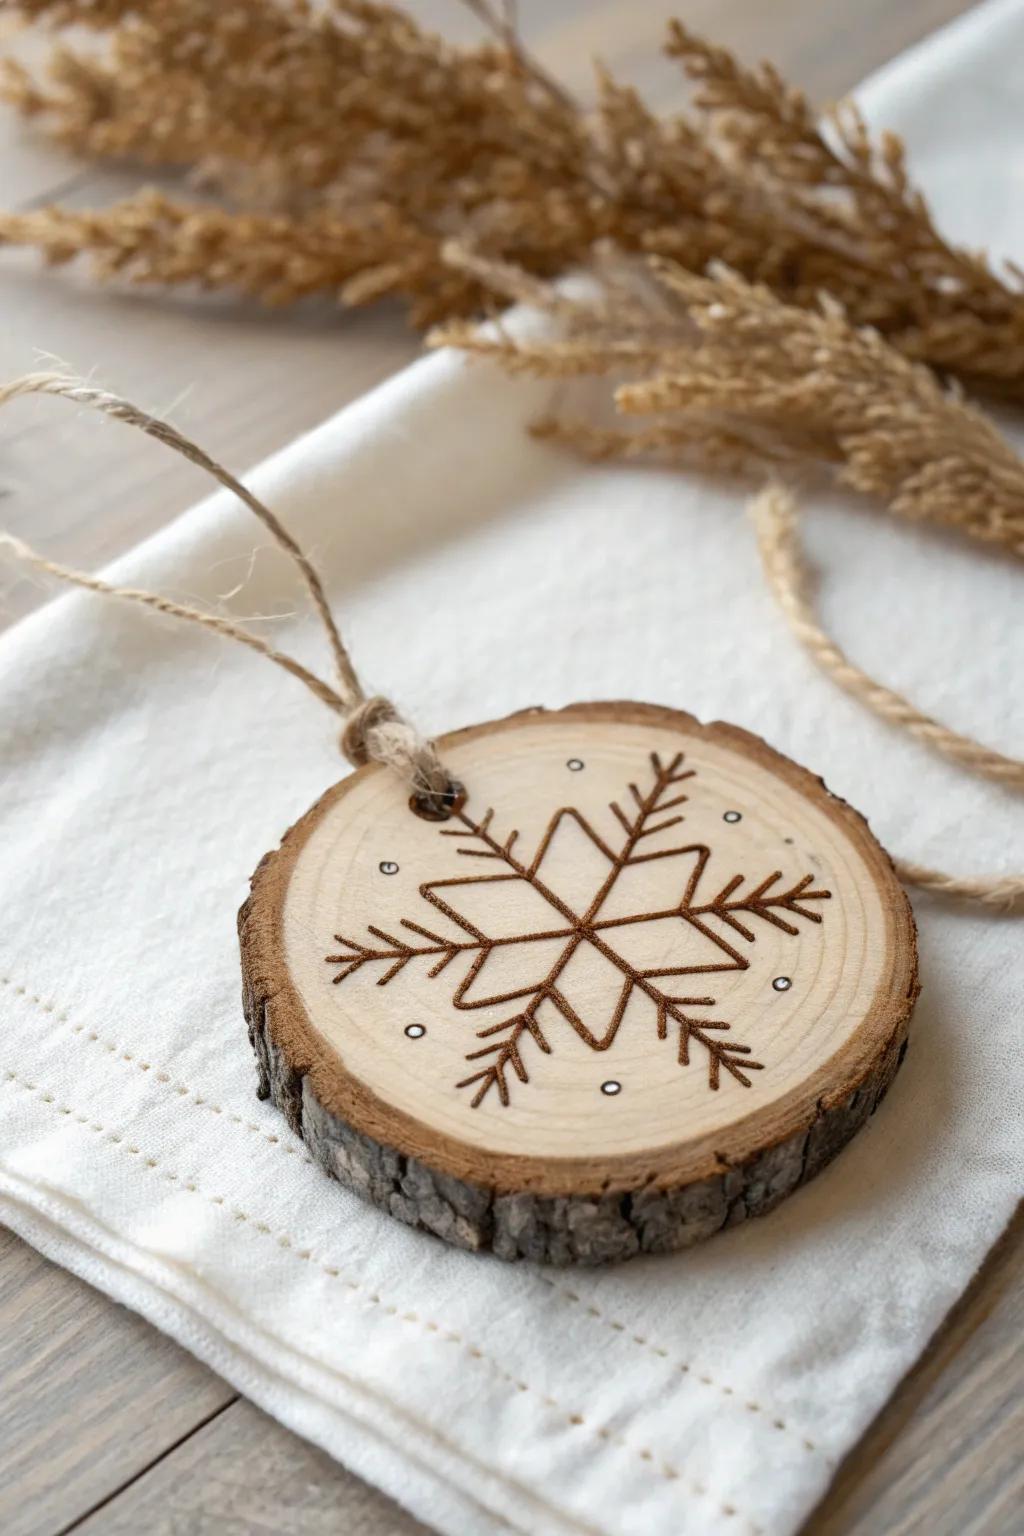
If you’ve got a basic burner, a wood-burned snowflake on a wood slice ornament is an easy win that never goes out of style. I like leaning into the imperfect lines—mine always look more handmade and charming that way.
You might give these a try:
- Wood Burning Pyrography Kit: Create detailed snowflake designs easily with a starter set containing various tips for precise line work.
- Natural Wood Slices with Bark: Find the perfect rustic canvas for your ornaments with these pre-drilled, clean wooden rounds.
- Natural Jute Twine: Finish your handmade ornaments with durable, rustic twine that complements natural wood tones perfectly.

Decoupage With Wrapping Paper
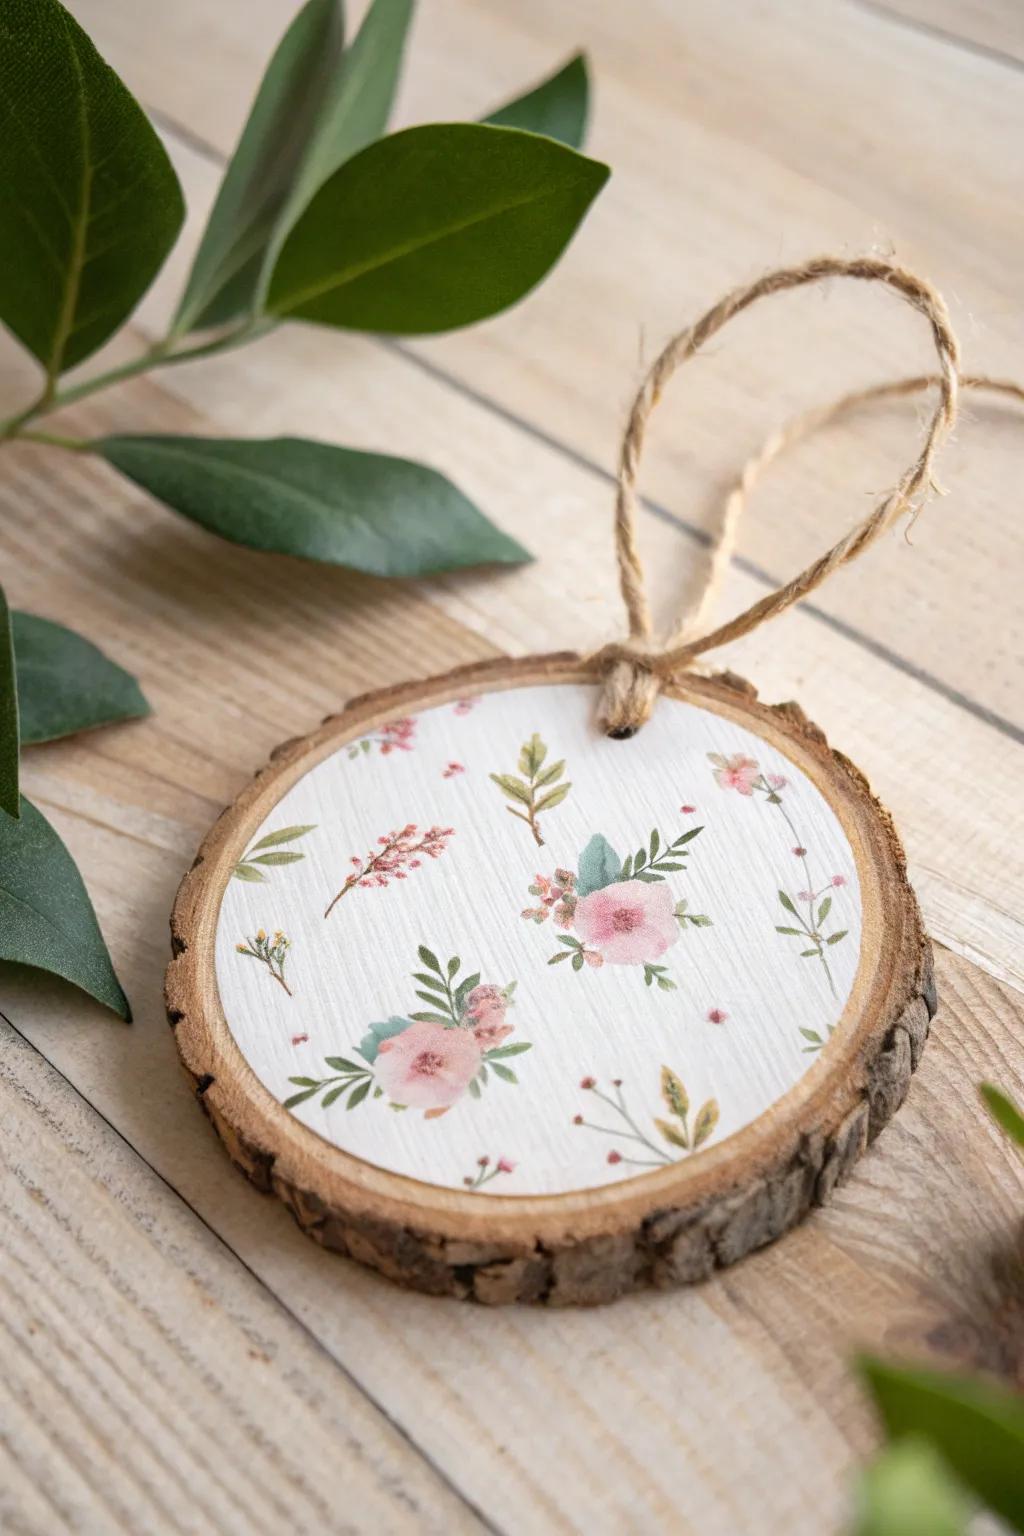
I’ll decoupage a little circle of pretty wrapping paper onto a wood slice ornament using clear craft glue, then sand the edges so it melts into the grain. It’s my favorite way to use up scraps that are too cute to toss.
Items that may come in handy:
- Natural Wood Slices with Holes: Start your crafting session with pre-drilled, natural wood slices perfect for DIY ornaments and personalized decorations.
- Floral Patterned Paper Pack: Choose lovely floral or vintage-style paper designs to create charming, delicate decoupage patterns on wood.
- Matte Decoupage Glue & Sealer: Secure your paper perfectly and seal the design with this essential adhesive for a smooth finish.
Stamped Vintage-Style Motifs
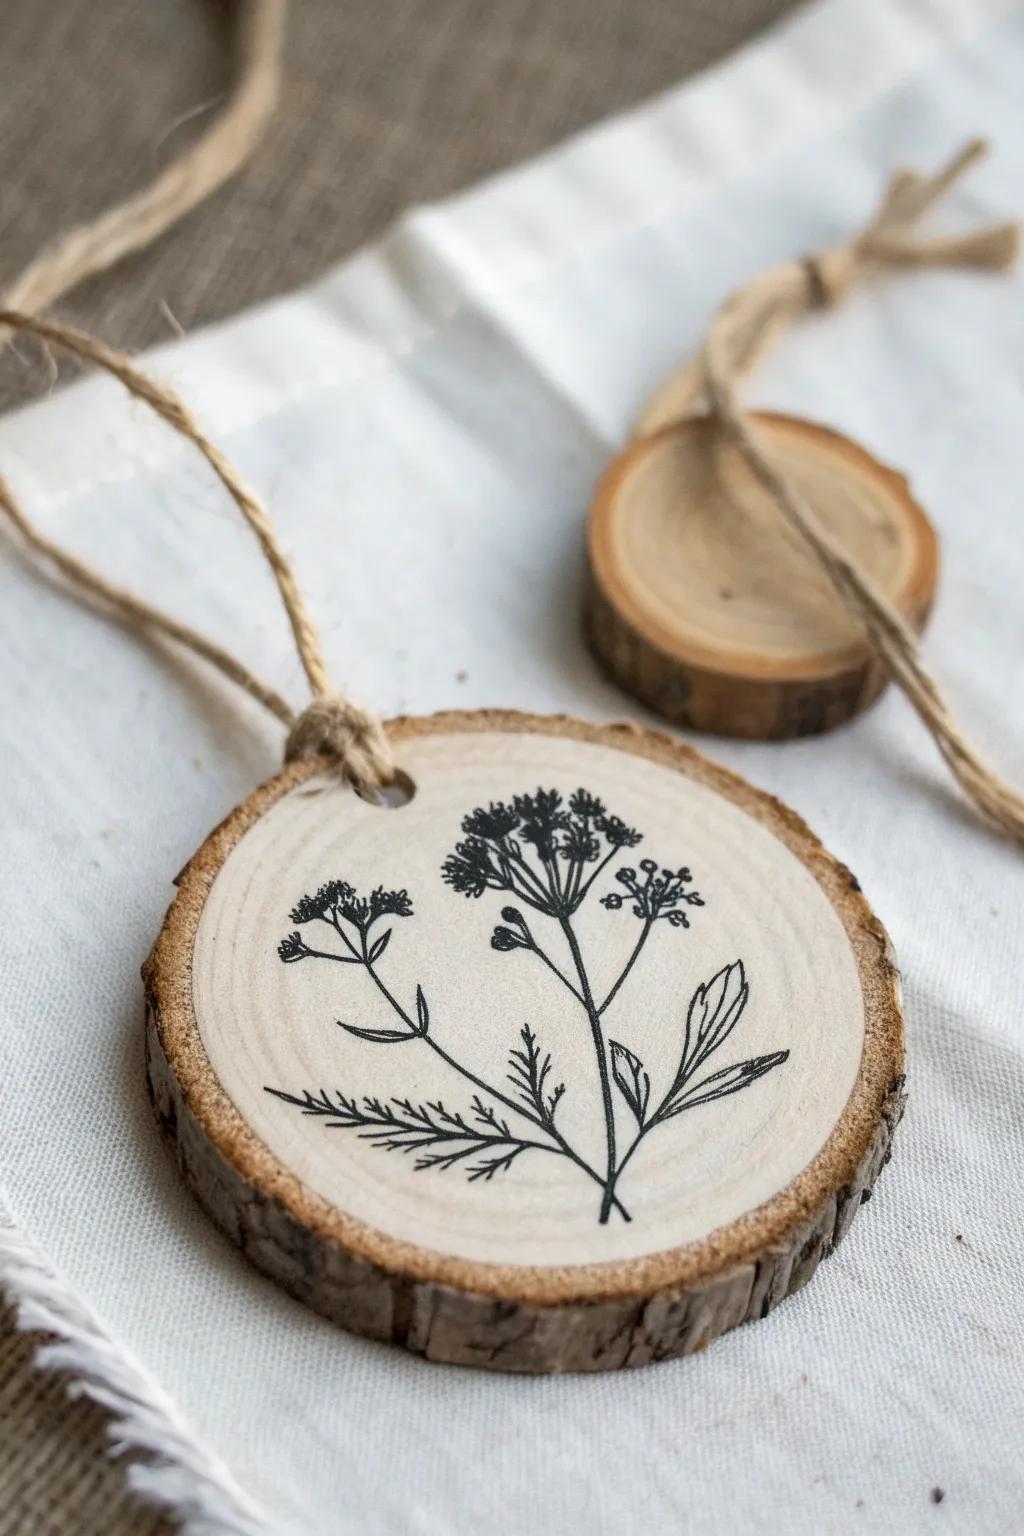
Stamps are perfect when you want a whole set of wood slice ornaments that feel cohesive—think little birds, botanicals, or tiny stars. I usually add a light wash of paint behind the stamp so the design pops without looking too bold.
Check if these fit your needs:
- Botanical Rubber Stamp Set: Create elegant nature-themed designs on your ornaments easily with detailed stamps featuring various flowers, leaves, and herbs.
- Permanent Black Ink Pad: Ensure your stamped designs stay crisp and don’t smudge on the porous wood surface with waterproof archival ink.
- Natural Wood Slices with Holes: Start your project right with pre-drilled, clean wood rounds that are ready for your creative stamping ideas.
Burned Forest Scene Medallions
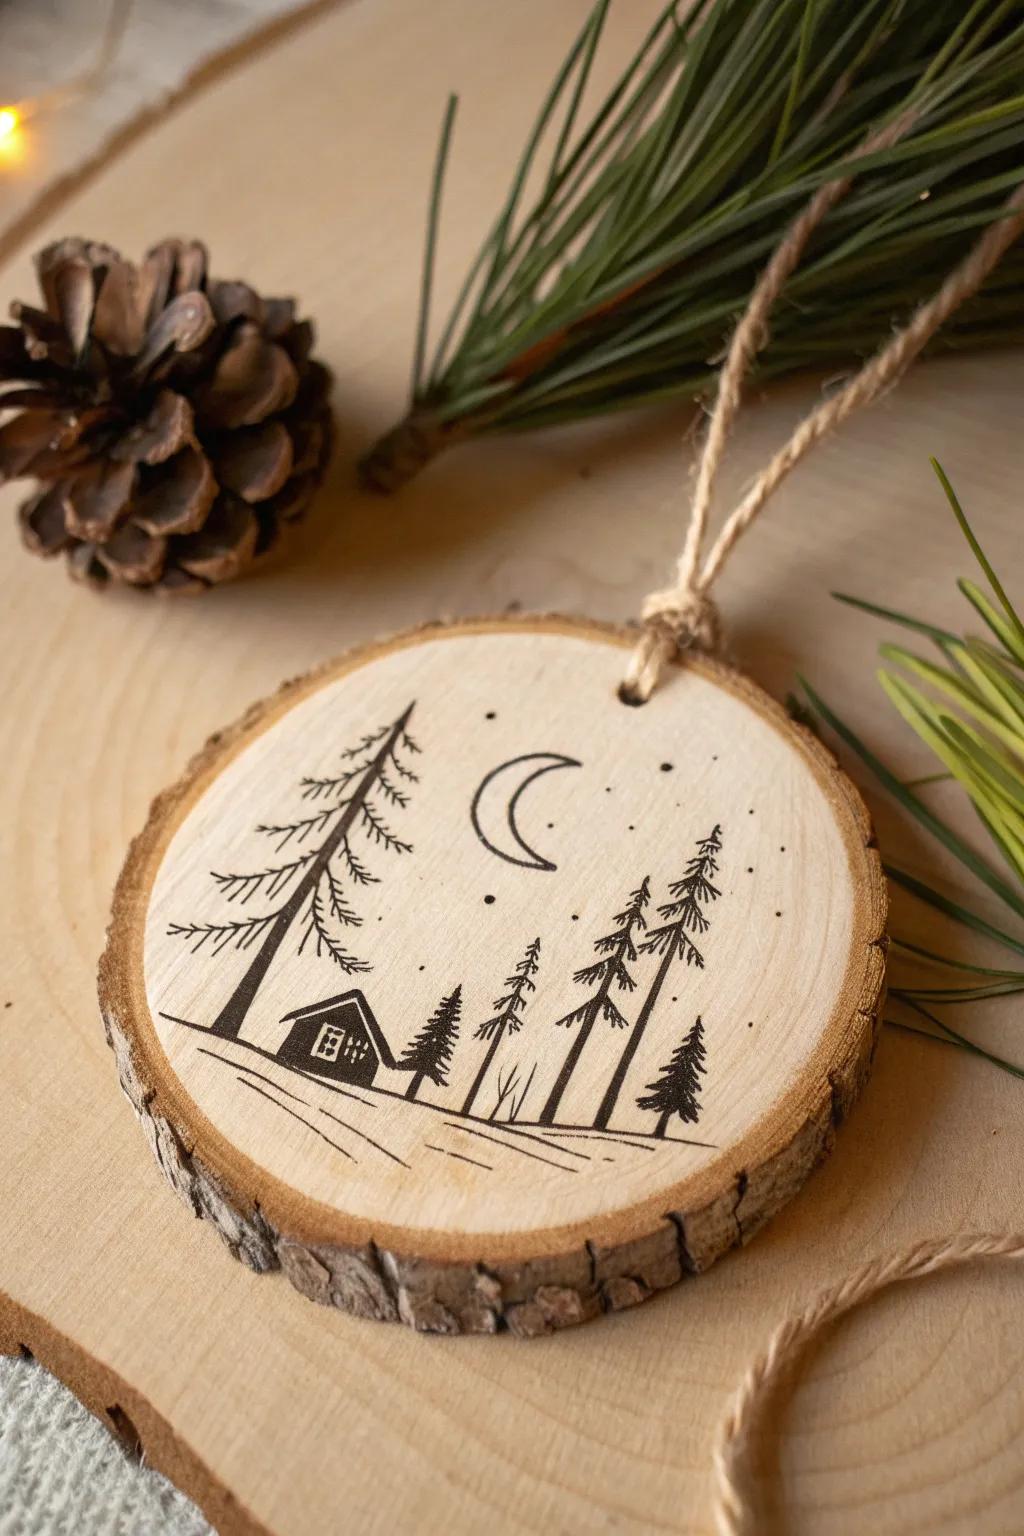
I’ll wood burn a tiny line-art forest scene—pines, a moon, maybe a cabin—onto a wood slice ornament for a moody, outdoorsy feel. These are slow to make, but every time I hang them up I’m glad I took the extra minutes.
Possibly handy products:
- Wood Burning Pyrography Tool Kit: Create detailed lines and shading for your forest designs with a versatile, heat-adjustable pyrography pen.
- Pre-Drilled Natural Wood Slices (2.5-3.5 inch): Start your project immediately with rustic, pre-sanded pine rounds that are ready for your burning tool.
- Natural Jute Twine or Hemp Cord: Finish your rustic ornament by threading durable, natural twine through the loop for easy hanging display.
Faux Birch Tree Slices
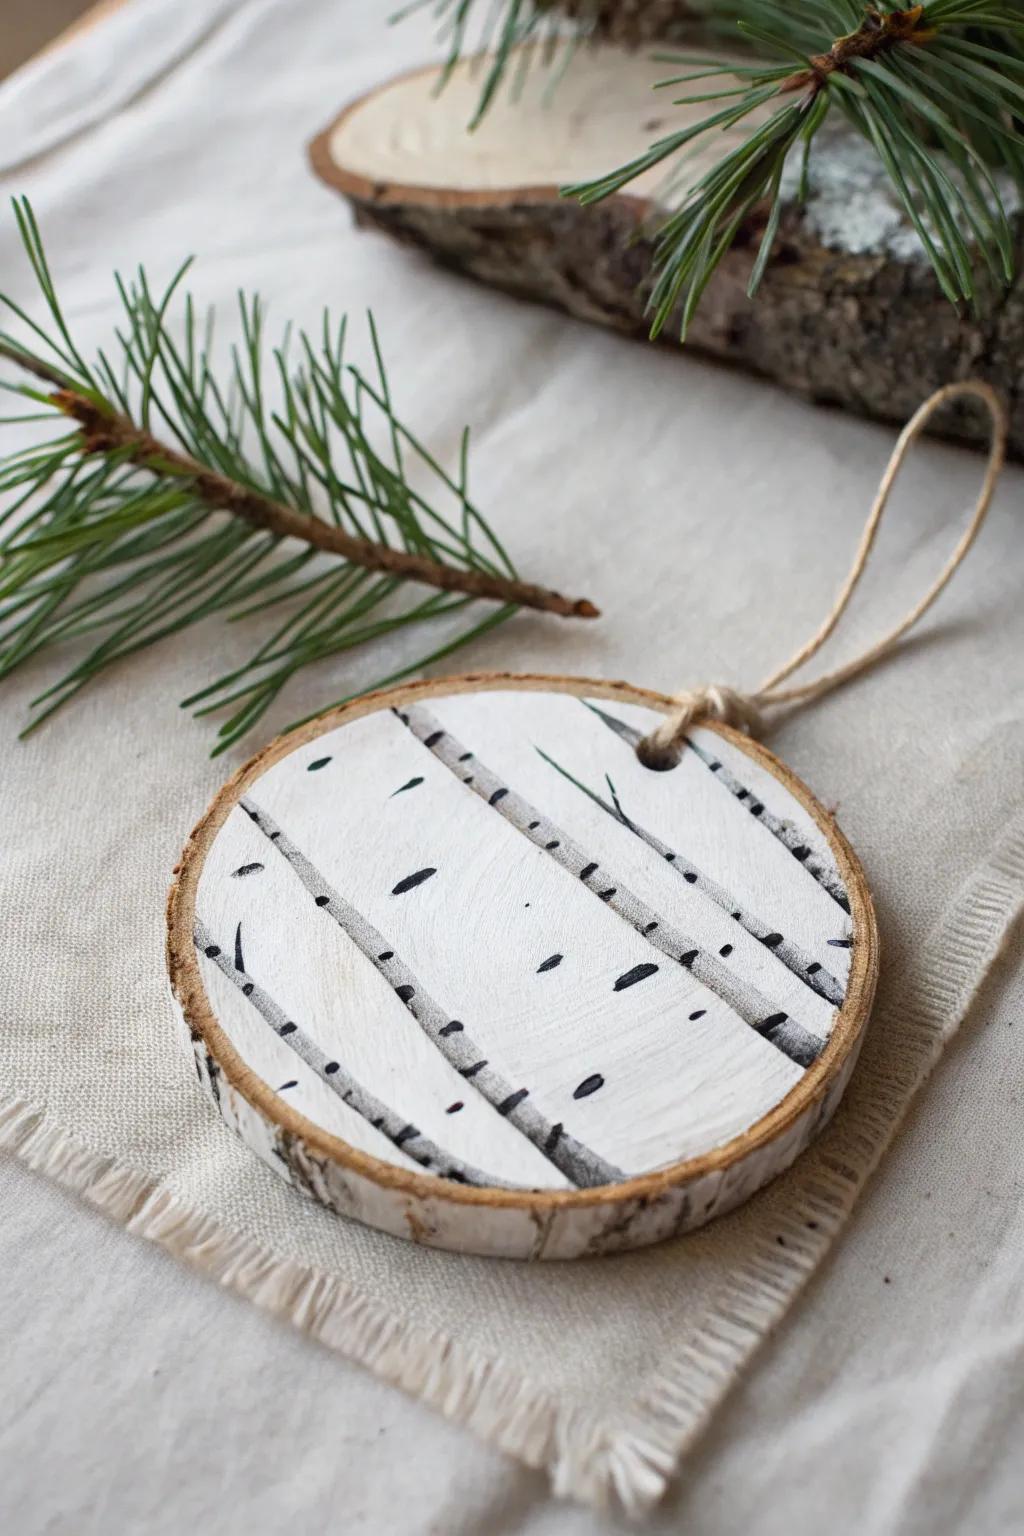
For a lighter look, I paint my wood slice ornaments to mimic birch bark, with white trunks and little black markings. It’s one of those designs that looks fancy but is basically just layers of imperfect stripes.
Check these products out:
- Unfinished Round Wood Slices: Start your project with these pre-drilled natural wood circles, perfect for creating your own custom painted ornaments.
- Matte White Acrylic Paint: Create the signature birch bark base layer with this high-coverage paint that adheres smoothly to wood surfaces.
- Fine Tip Black Paint Markers: Easily draw the distinctive birch markings and details with precision using these convenient and quick-drying markers.
Stitched Yarn Snowflakes
If you drill small holes around the center, you can stitch a yarn snowflake right into a wood slice ornament like a tiny embroidery hoop. I tried this on a whim and now it’s my favorite “busy hands” project for cozy evenings.
A few choices to try:
- Unfinished Wood Slices with Holes: Choose pre-drilled natural wood slices to create the perfect rustic canvas for your embroidered snowflake designs.
- Mini Hand Drill Set: Use a precision hand drill to easily create the tiny hole patterns needed for stitching your snowflakes.
- Gold Metallic Embroidery Floss: Add a festive sparkle to your ornament by stitching your snowflake pattern with shimmering metallic embroidery thread.
Photo Transfer Keepsakes
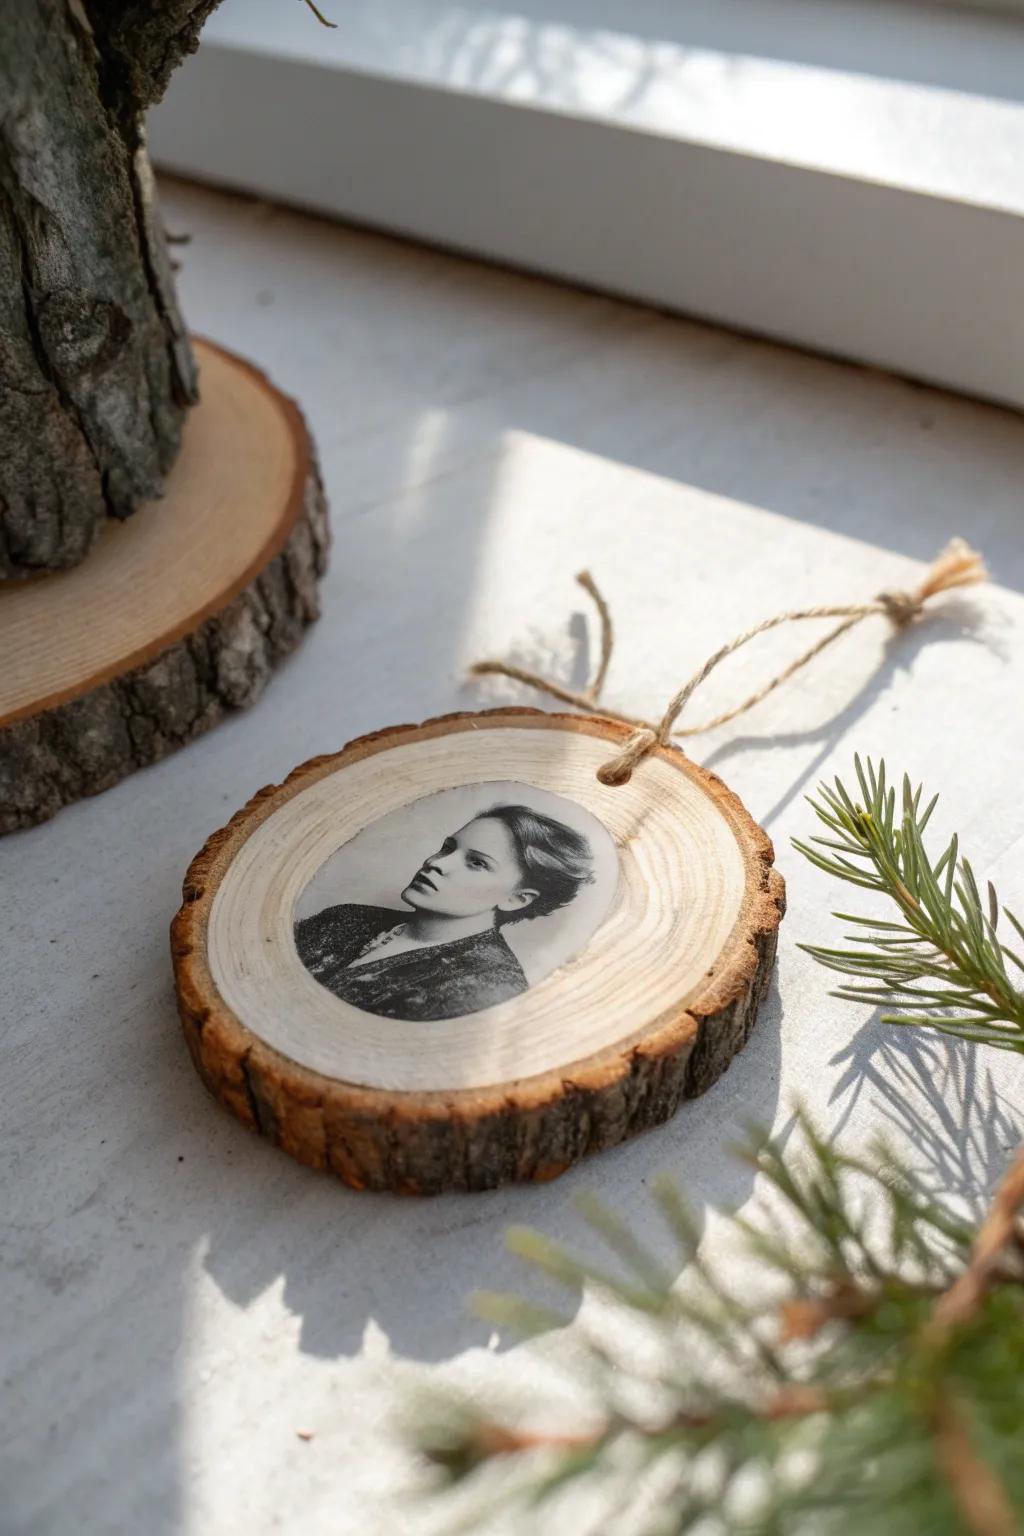
Turning a wood slice ornament into a photo keepsake is such a tearjerker in the best way—pets, kids, wedding shots, you name it. I’ve made these as gifts, and the trick is keeping the image slightly faded so the wood grain still peeks through.
A few relevant products:
- Pre-Drilled Natural Wood Slices: Start your project right by choosing smooth, pre-drilled wood rounds perfect for crafting rustic ornaments.
- Photo Transfer Medium Gel: Use this essential medium to seamlessly transfer your laser-printed photos onto wood surfaces with professional results.
- Foam Brush Applicators: Apply your transfer medium and sealants evenly and smoothly with these helpful, inexpensive crafting tools.


