
Mixing hardwood floors is one of my favorite ways to make an open space feel intentional without throwing up walls. With the right mix of tone, grain, and layout, you can blend different woods so it looks collected and cozy, not chaotic.
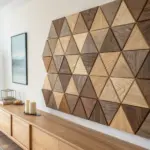
Geometric Inlay “Compass” Centerpiece
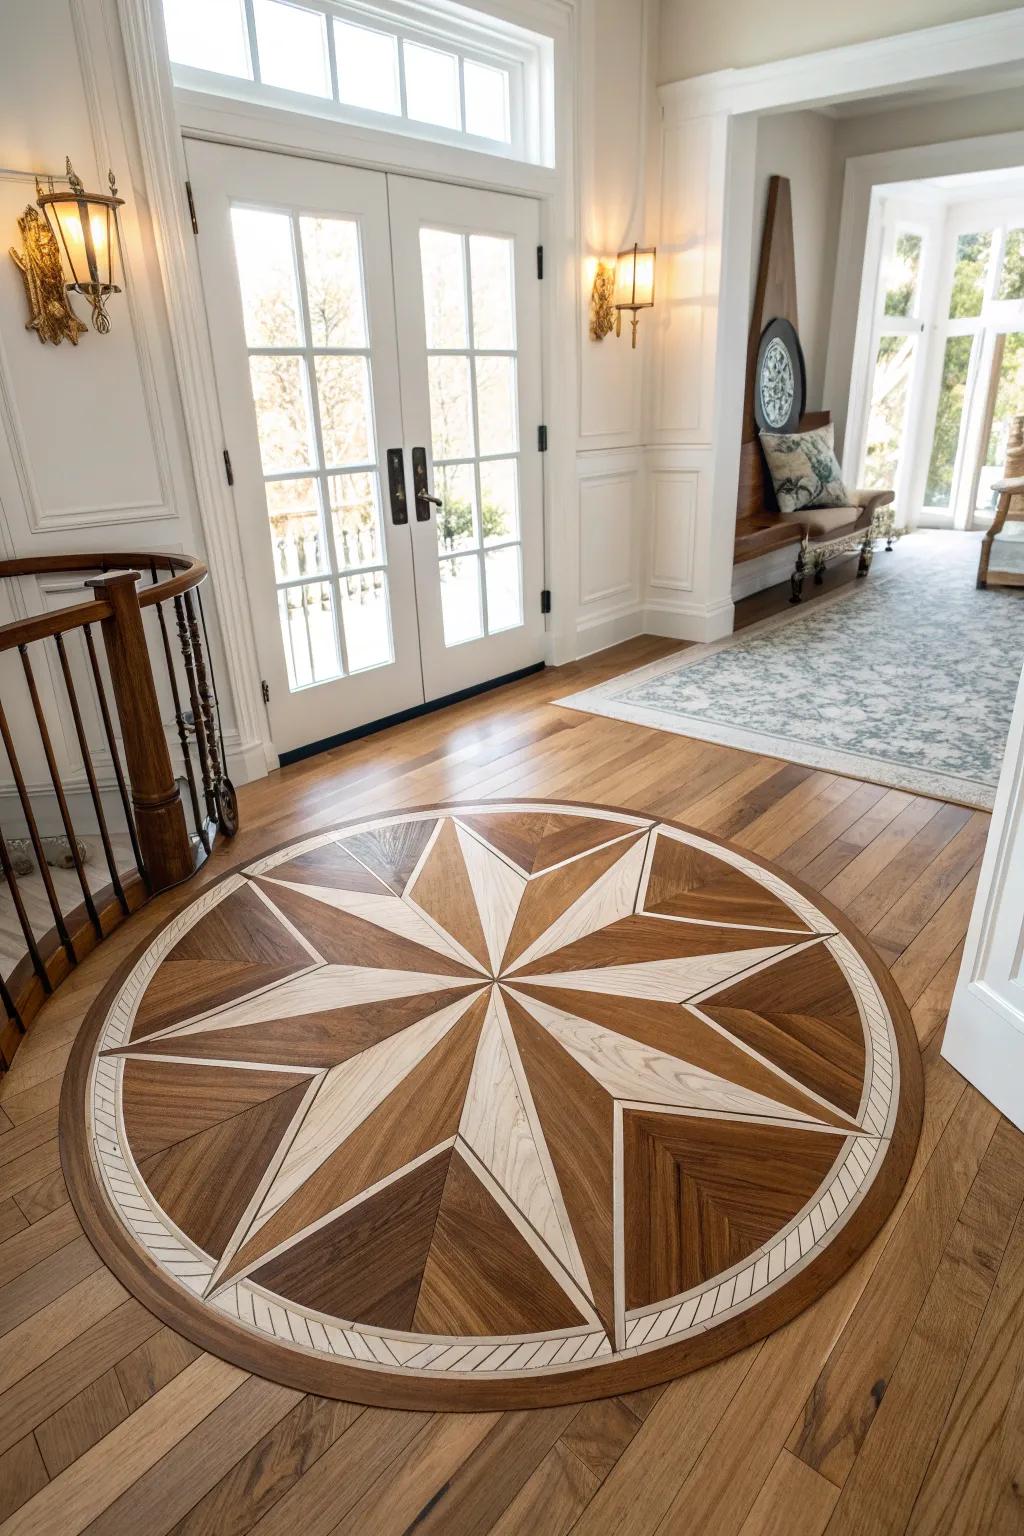
A bold hardwood medallion inlay—think compass or star geometry—turns mixing hardwood floors into a statement piece, especially in a foyer. I’ve helped design one using two contrasting species, and it created that instant heirloom feeling you usually only see in historic homes.
A few helpful options:
- Pre-Made Wood Floor Medallion: Instantly upgrade your entryway by installing a pre-assembled hardwood medallion for a classic custom look.
- Router and Template Guide Kit: Create your own custom inlays with precision using a versatile router kit perfect for detailed woodworking.
- Heavy-Duty Wood Floor Adhesive: Ensure your new inlay stays perfectly secure for years with high-quality, professional-grade wood flooring adhesive.

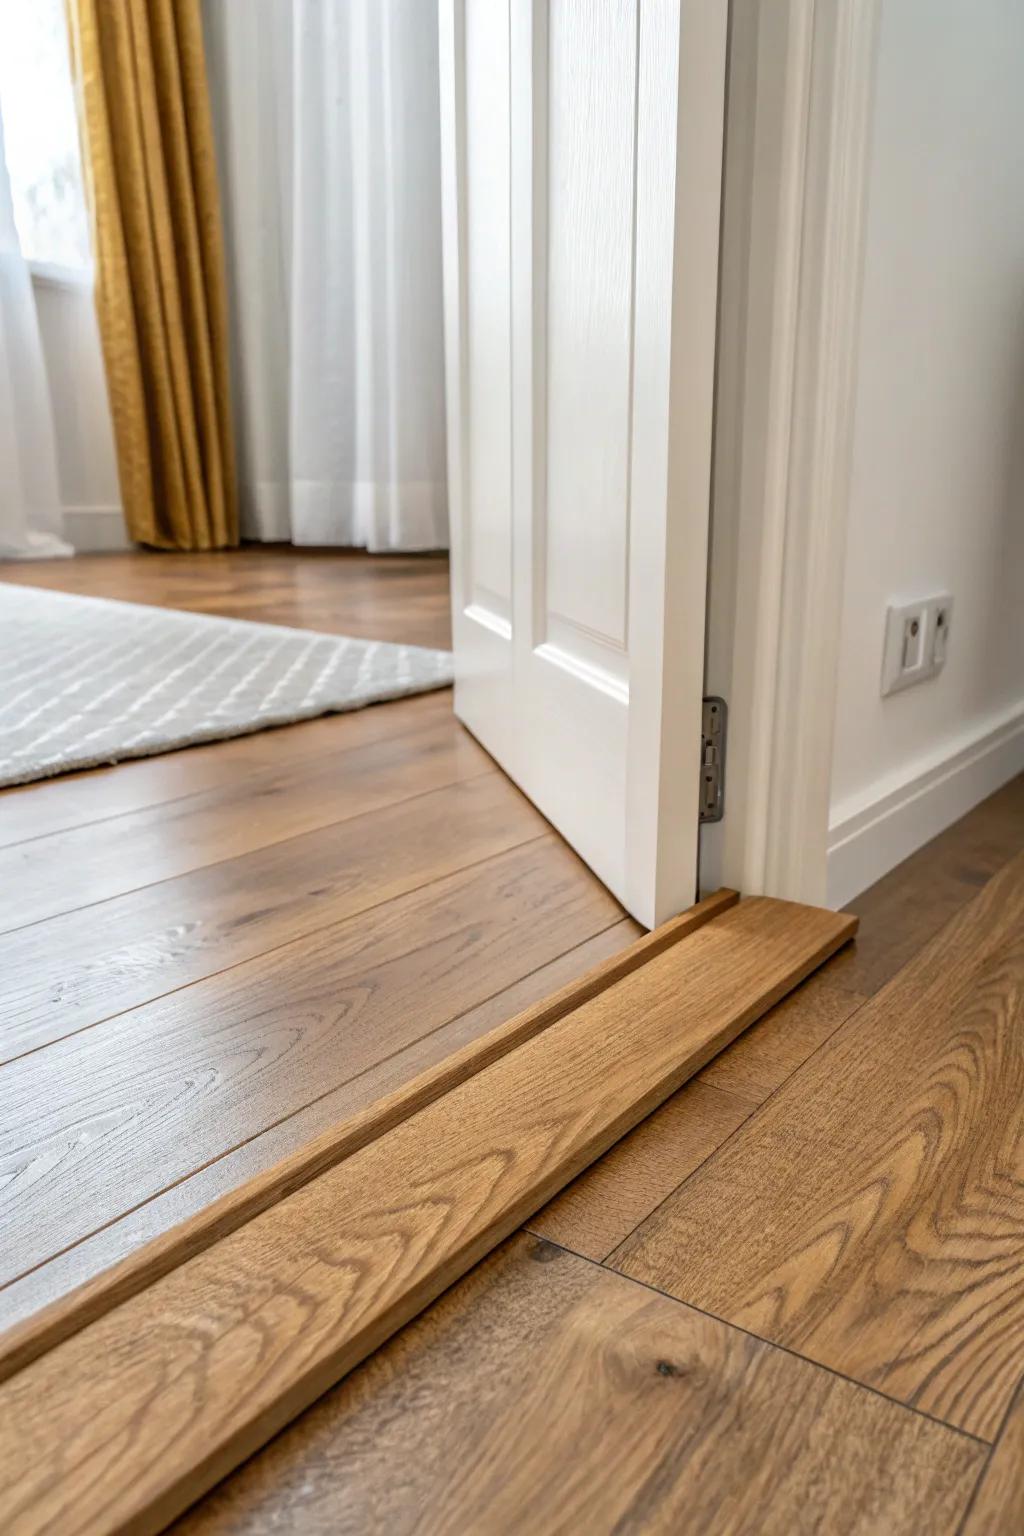
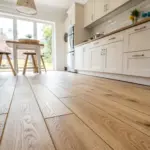
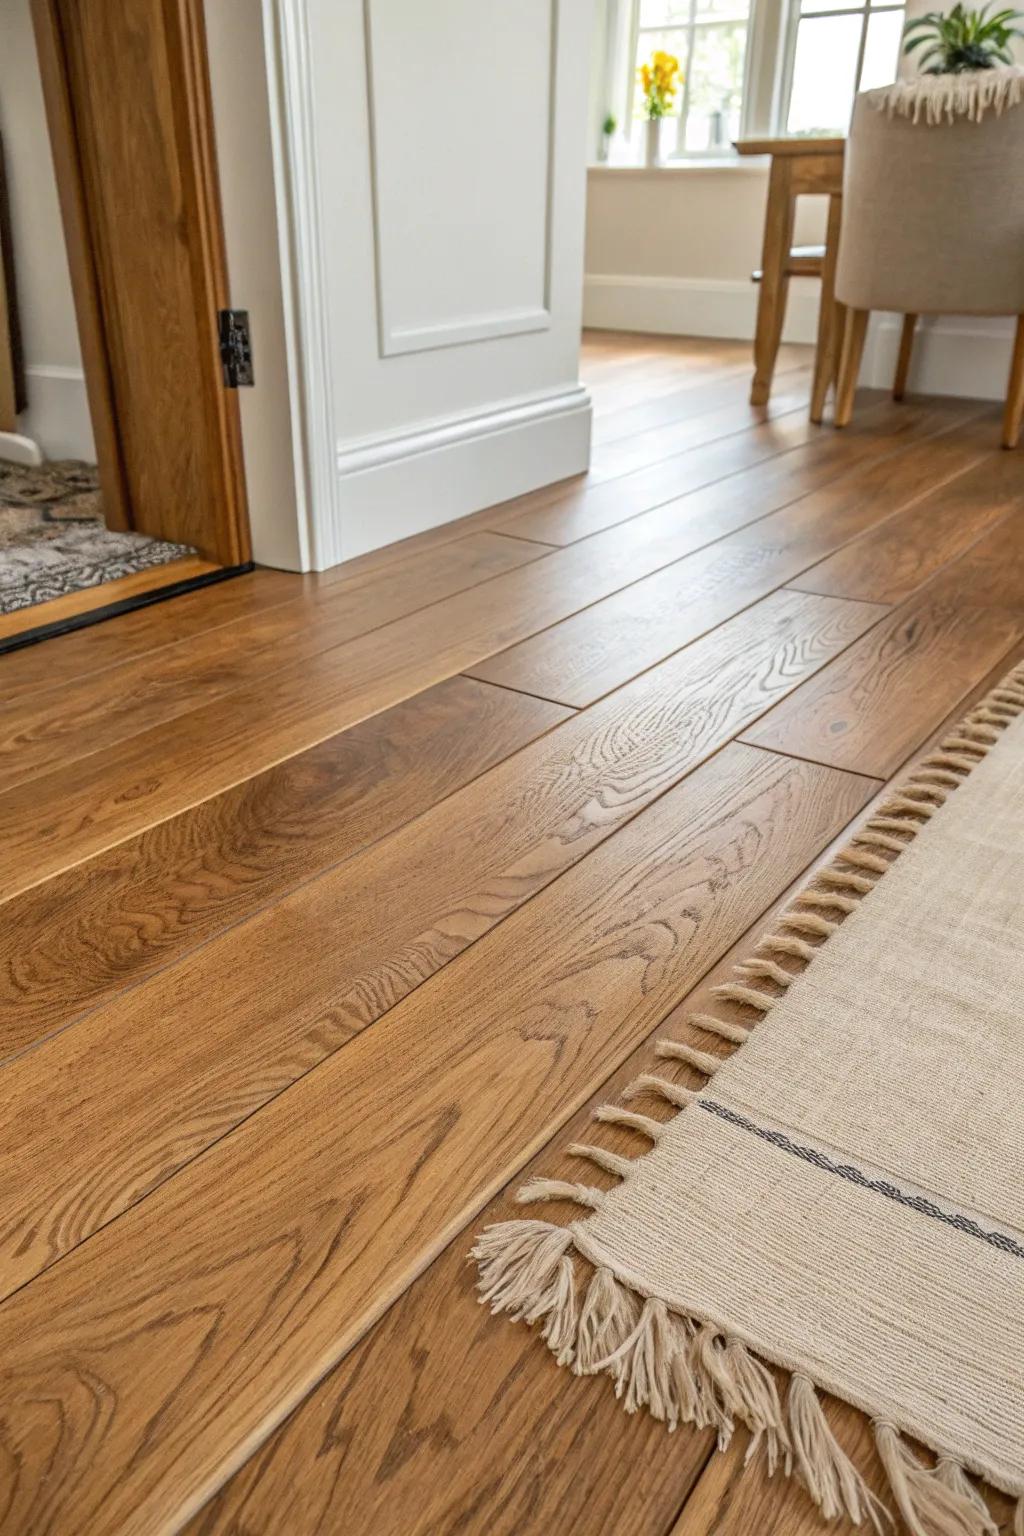
Two-Tone Room-to-Room Transition
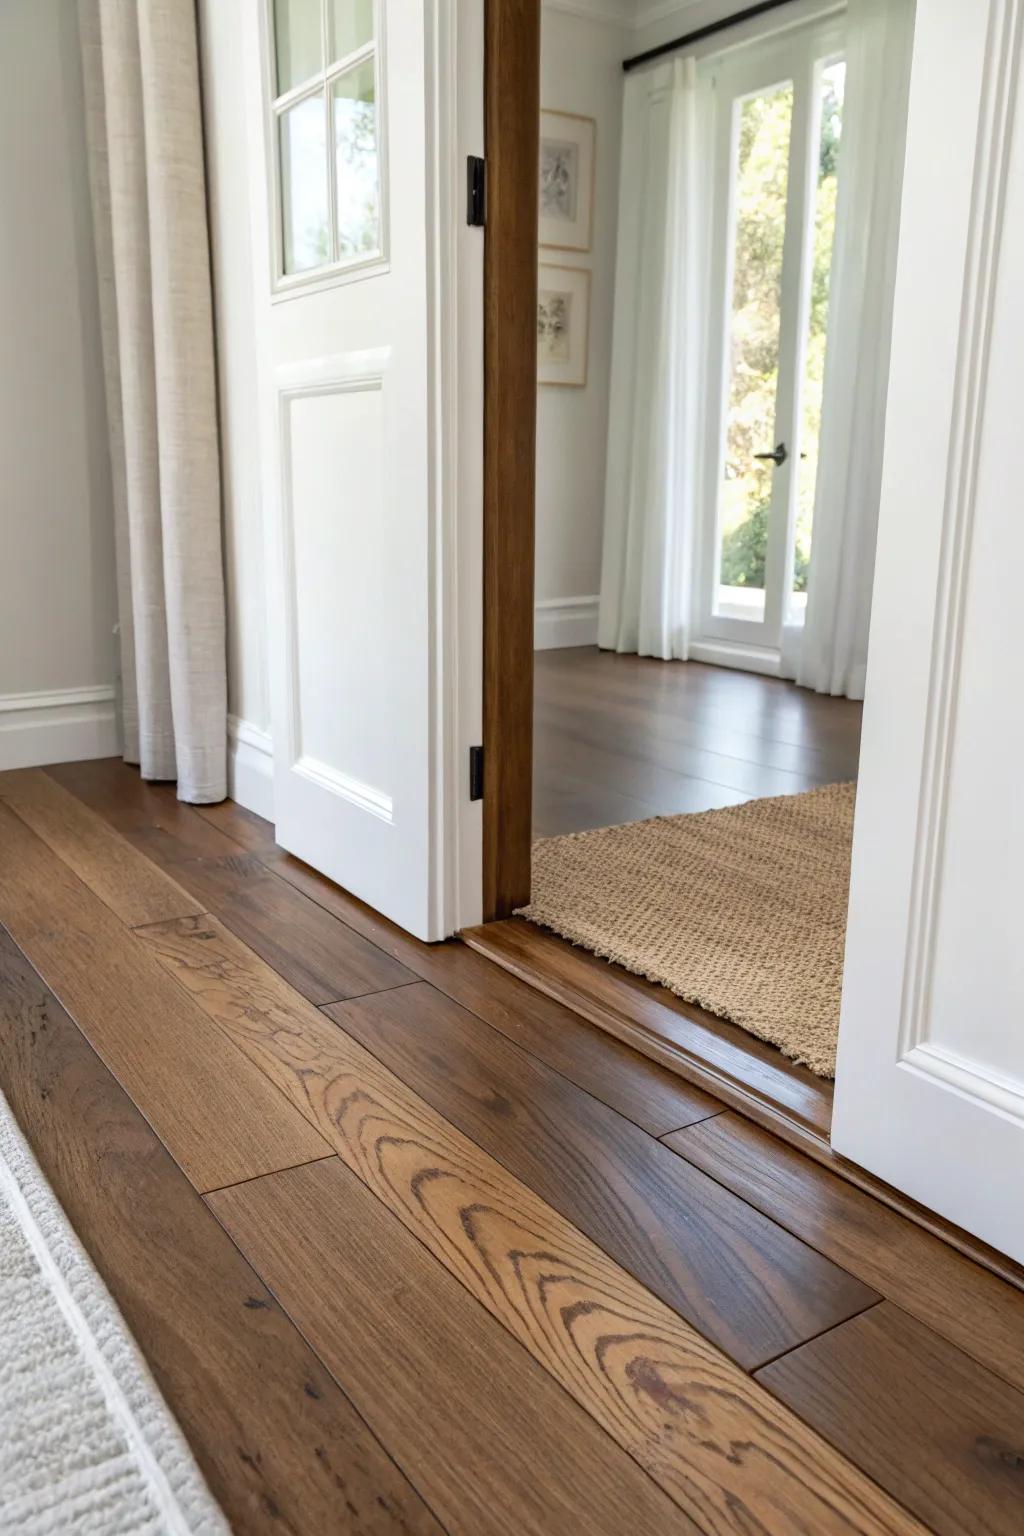
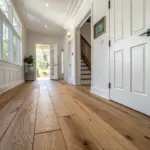
When I’m mixing hardwood floors between rooms, I love pairing a lighter main area with a deeper tone in the next room to create an easy, natural shift. I’ve done this with a simple straight seam at the doorway, and it instantly made each room feel like its own “zone” without feeling choppy.
These products might be useful:
- Hardwood Floor Transition Strip: Create a seamless bridge between different floor tones with a transition strip to neatly define separate spaces.
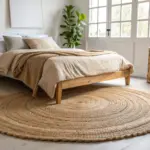
- Jute or Seagrass Area Rug: Soften the shift between hardwood colors by placing a neutral, natural fiber rug in the adjacent room.
- Wood Floor Scratch Repair Kit: Keep both your lighter and darker hardwood floors looking pristine seamless by quickly fixing minor scratches.
Directional Change at Doorways
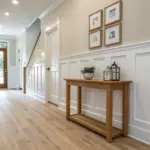
One of the simplest mixing hardwood floors ideas I use is changing plank direction right at a threshold, like straight in one room and perpendicular in the next. I’ve done this in a hallway transition, and it made the layout feel more designed without adding extra materials.
A few suggestions:
- Hardwood Floor Transition T-Molding: Seamlessly connect two level floors with a stylish T-mold that covers expansion gaps and unifies the transition.
- Contour Gauge Profile Tool: Use this handy tool to perfectly trace and cut your flooring planks around complex door jambs and frames.
- Unfinished Oak Threshold Strip: Choose an unfinished wood threshold that you can stain to perfectly match your specific flooring color tones.
Light Field With Dark Threshold Strip
A slim transition strip in a darker wood is my go-to when two floor tones meet and I want a crisp, intentional break. I’ve used this trick when I couldn’t perfectly match old flooring, and that little strip made it look like I planned it from day one.
A few things you might like:
- Dark Hardwood T-Molding Transition Strip: Create a seamless bridge between two level floors with a dark wood T-molding that defines the space effectively.
- Threshold Reducer for Uneven Heights: Look for a darker wood reducer strip if your connecting floors have slightly different heights to prevent tripping.
- Construction Adhesive for Flooring: Secure your new transition strip firmly to the subfloor with a reliable, heavy-duty construction adhesive for longevity.
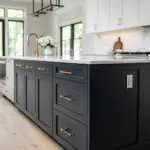
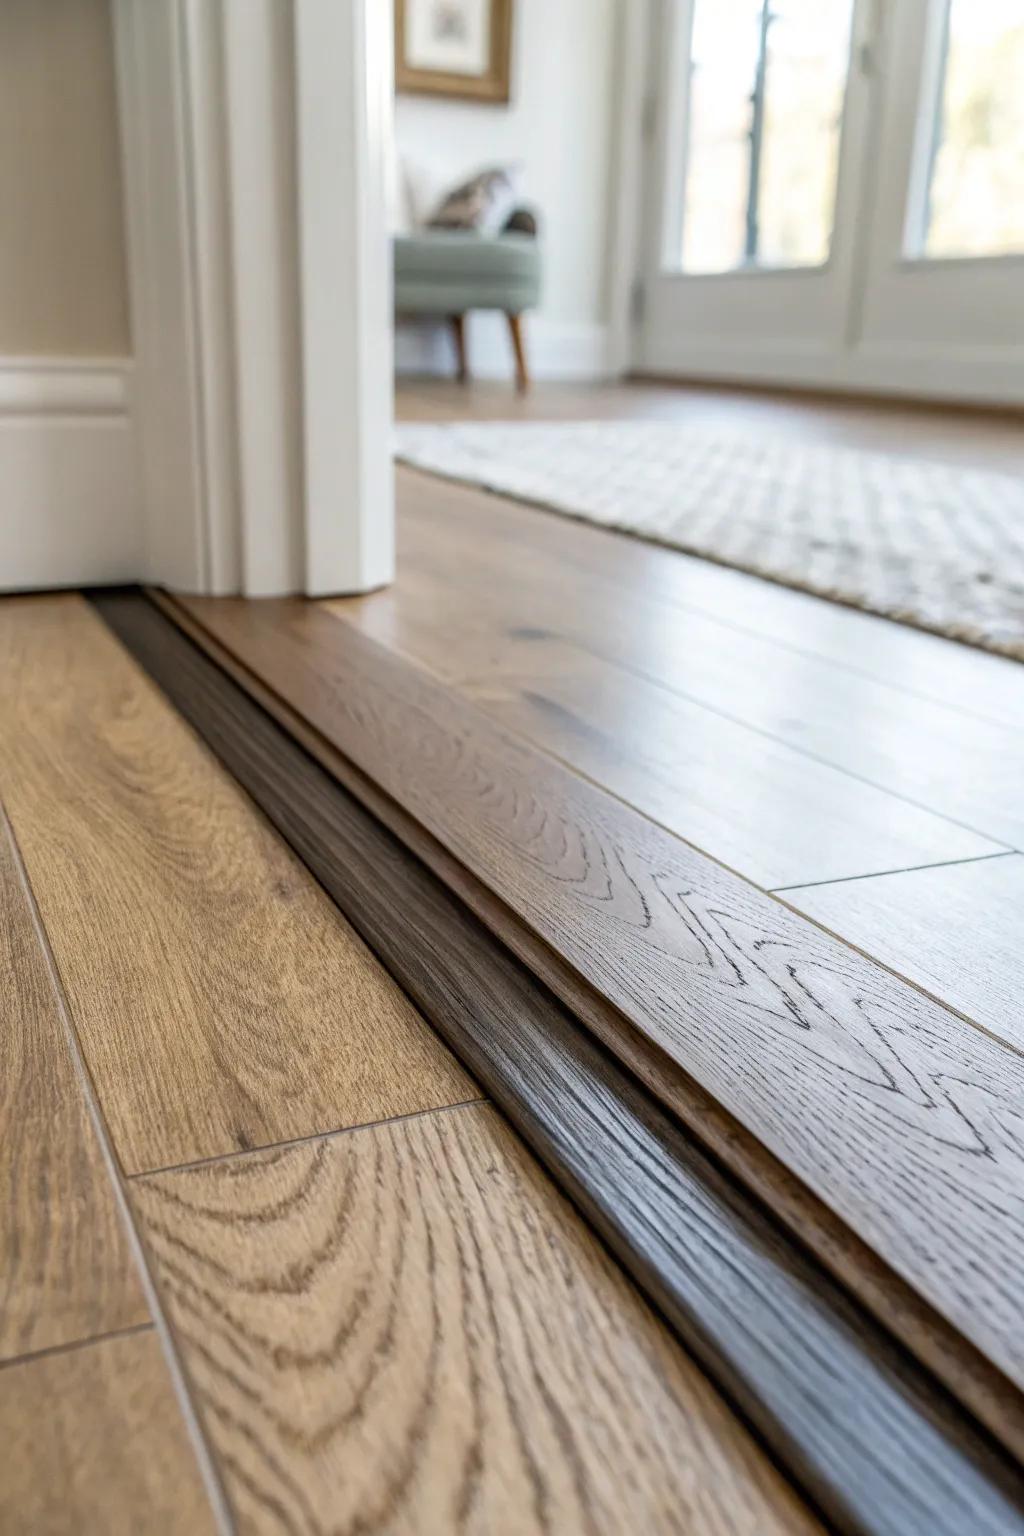
Kitchen-to-Dining Wood Shift
Mixing hardwood floors between the kitchen and dining area can be gorgeous if you treat it like a boundary line for function. I’ve paired a more rustic, character-heavy wood in the dining space with a cleaner, tighter-grain look near the kitchen, and it kept the whole area feeling practical but warm.
Maybe worth checking out:
- Hardwood Floor Transition Strip: Connect different flooring styles seamlessly with a sturdy threshold that defines space while preventing trip hazards.
- Wood Floor Scratch Repair Kit: Maintain the distinct look of both wood areas by quickly fixing minor scratches and scuffs.
- Non-Slip Rug Pad: Keep your area rugs secure near the transition line to protect your floors and improve safety.
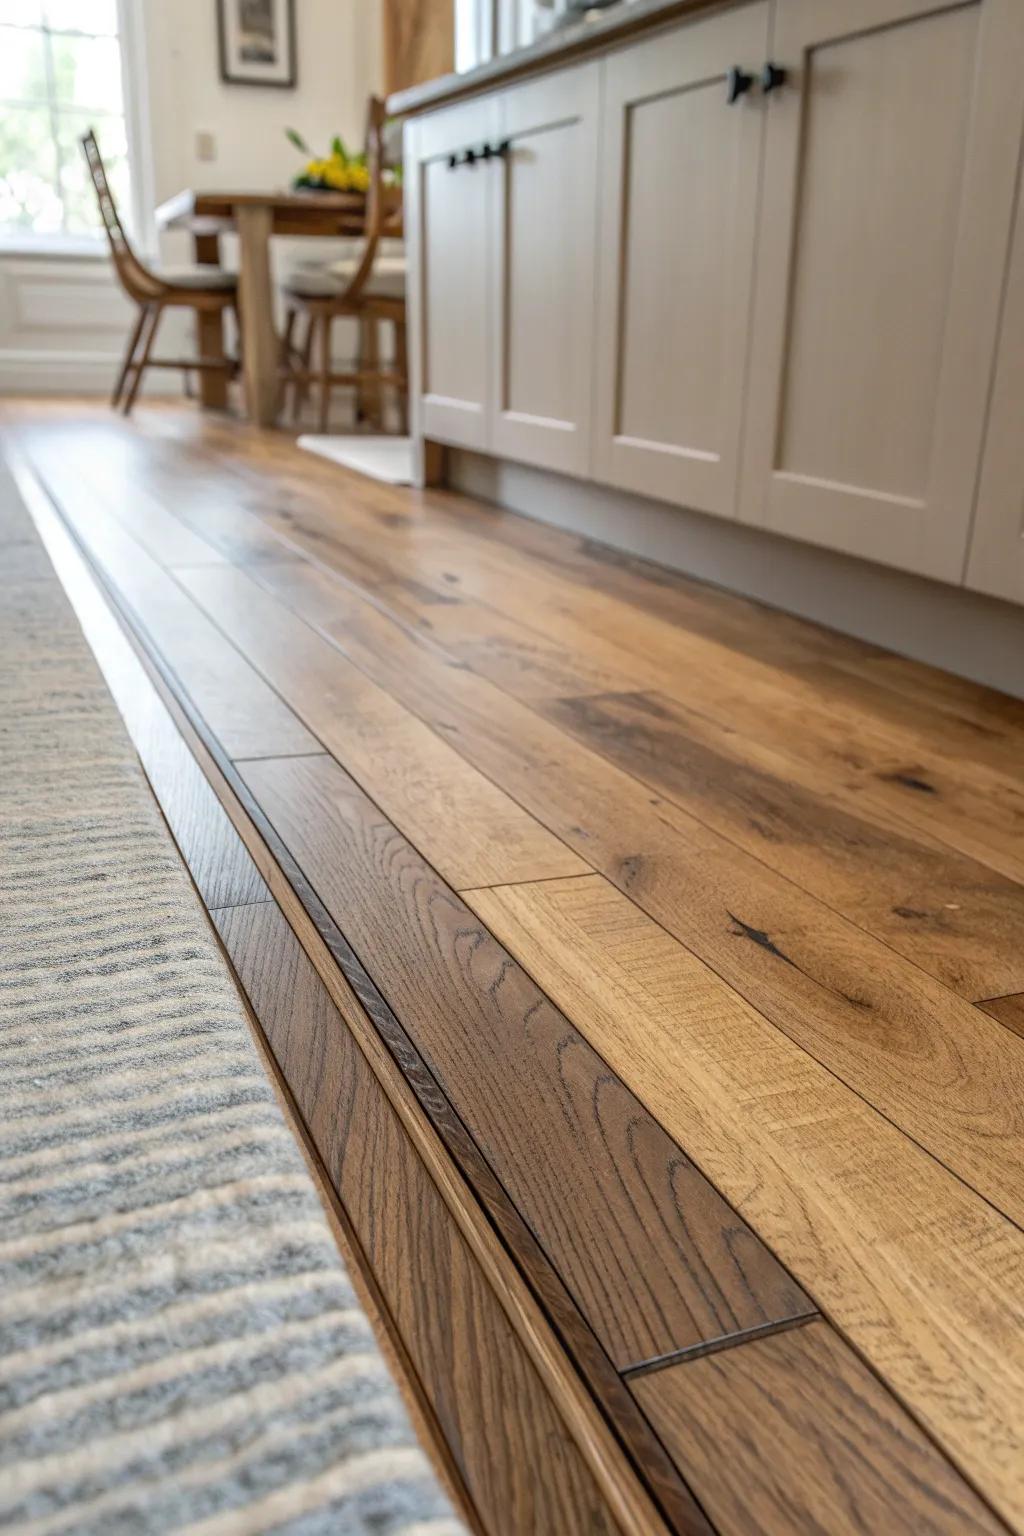
Foyer “Rug” Made From Mixed Woods
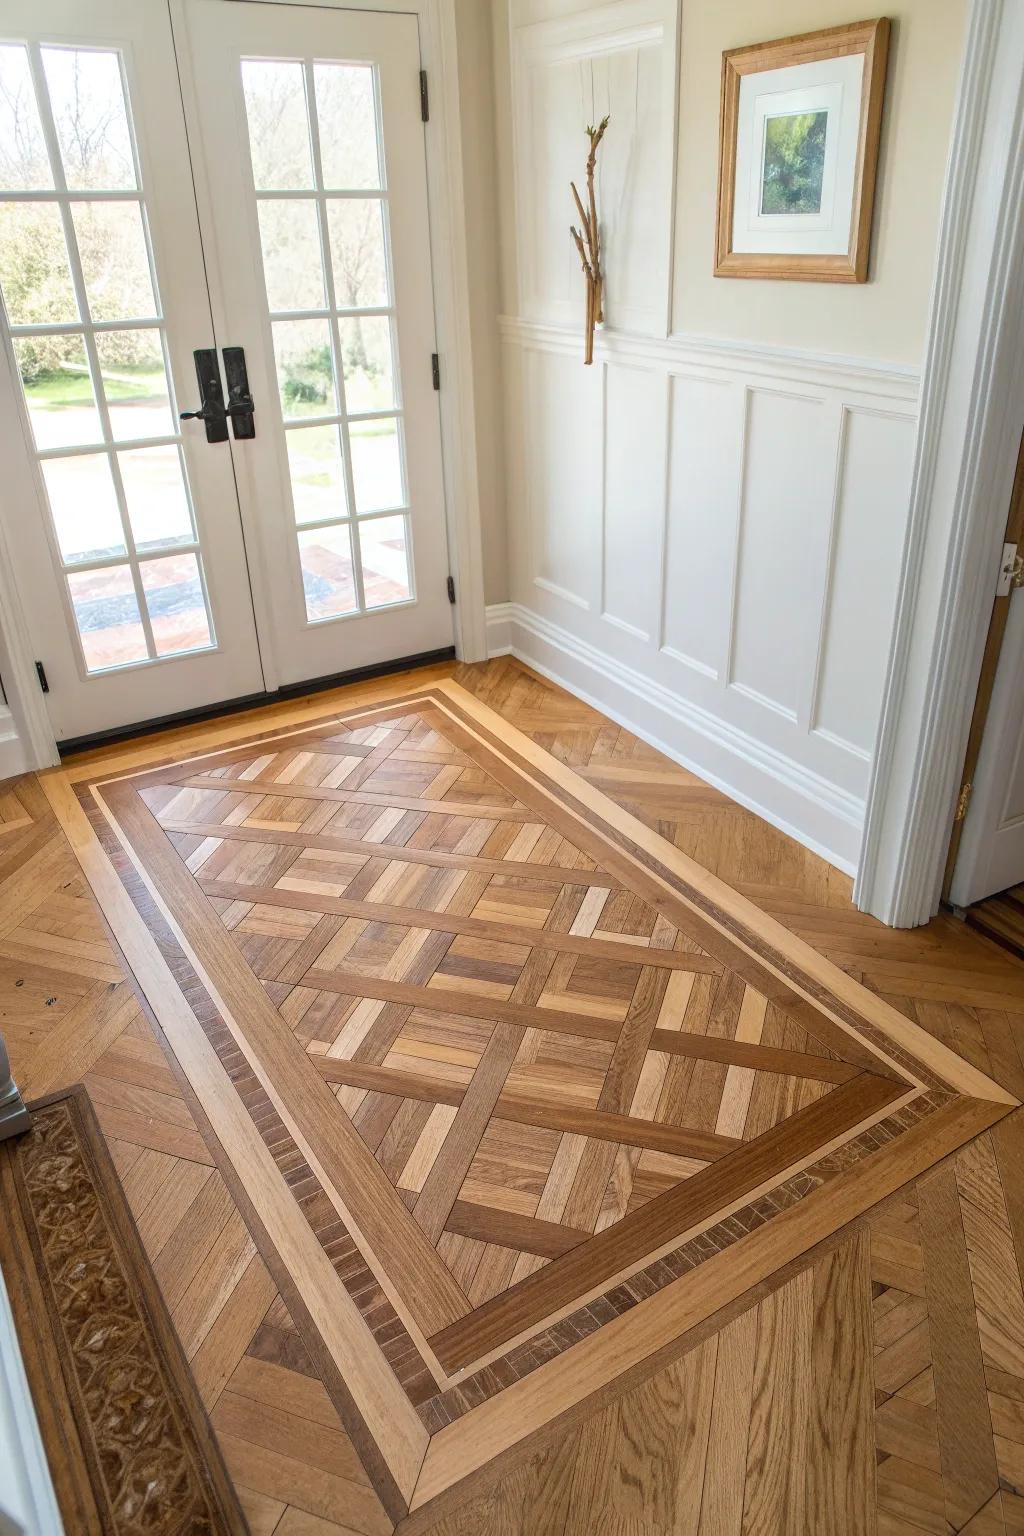
In an entry, I love building a hardwood inlay “rug” using a couple tones, like a framed rectangle that mimics a real rug. I’ve made one with reclaimed offcuts, and it’s always the first thing people comment on when they walk in.
You might like:
- Contour Gauge Profile Tool: Perfectly replicate irregular shapes and corners to ensure your intricate wood inlay fits seamlessly into the existing floor design.
- Wood Flooring Adhesive: Secure your mixed wood planks permanently with a high-strength adhesive designed specifically for creating stable, long-lasting floor inlays.
- Brad Nailer Kit: Fasten your decorative border pieces quickly and neatly without splitting delicate wood strips during the intricate installation process.
Chevron Using Two Complementary Stains
If you want a little drama, a two-tone chevron layout is bold in the best way—especially in a long hallway. I tried this with two stains in the same warmth range, and it created movement without screaming for attention.
You might give these a try:
- Oil-Based Wood Stain Kit: Create that stunning two-tone effect by testing different complementary stain colors on your wood planks first.
- Engineered Chevron Wood Flooring: Achieve the precise chevron angle easily with pre-cut engineered planks ready for installation in your home.
- Flooring Tapping Block & Pull Bar: Ensure your intricate chevron pattern stays tight and gap-free during installation with these essential tools.
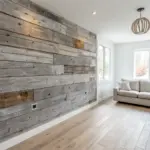
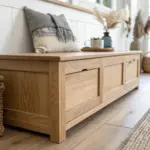
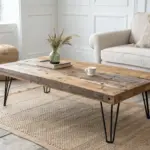
Patchwork Boards for Farmhouse Charm
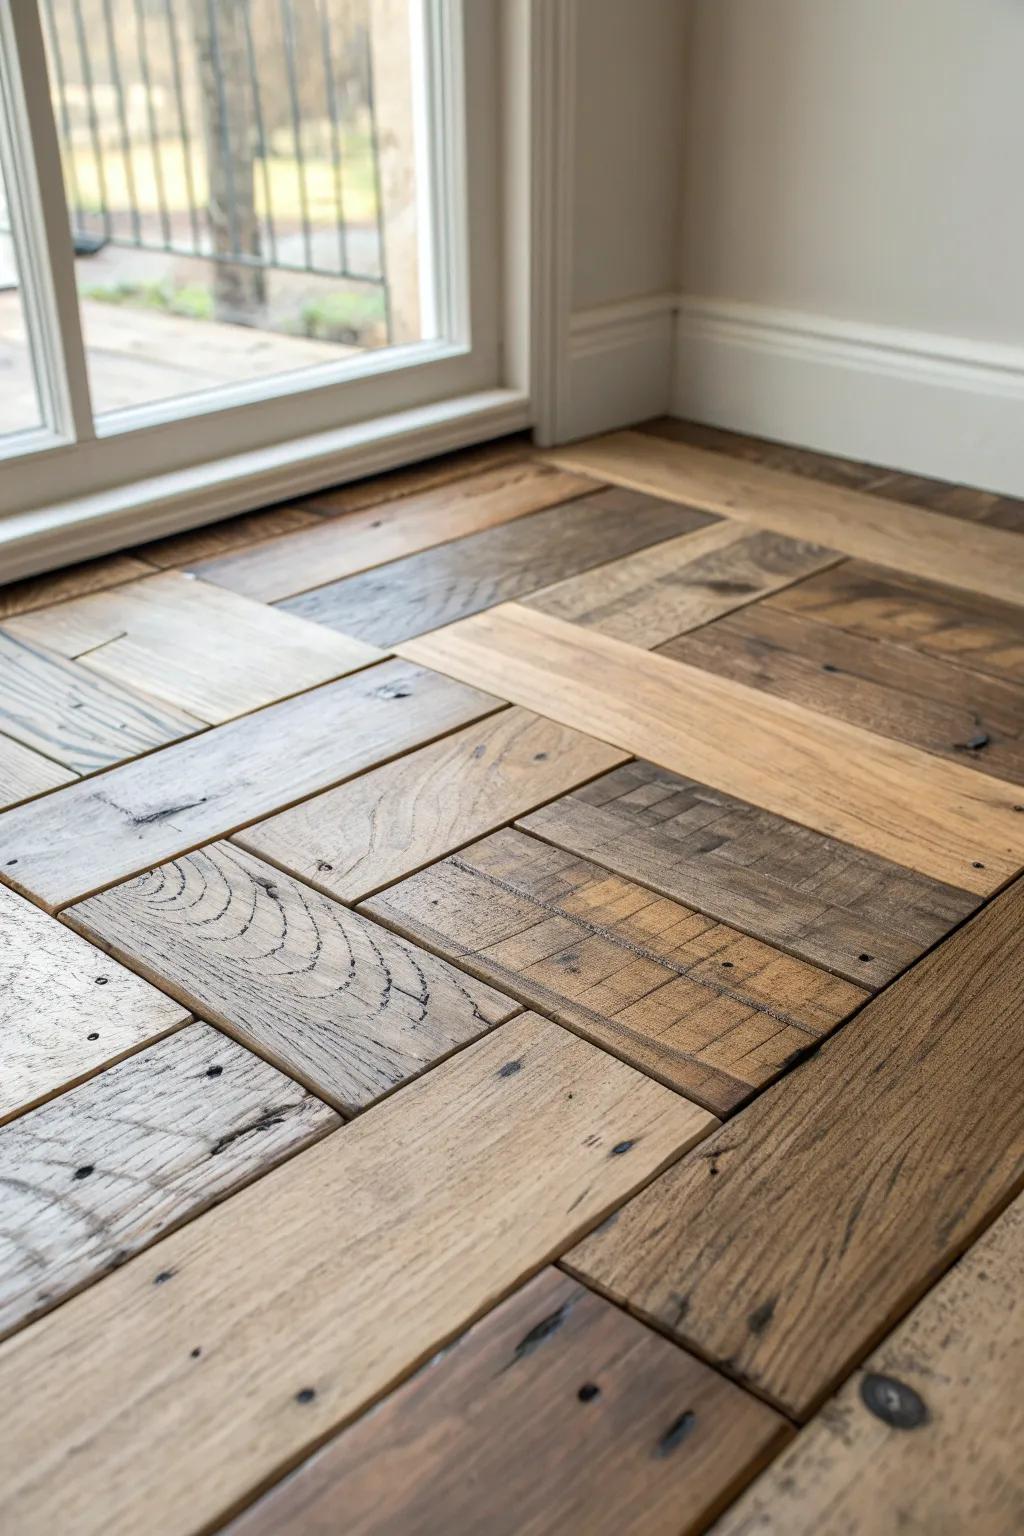
For that cozy, collected look, I’ll mix reclaimed hardwood boards with visible knots and old nail marks, then blend in a few cleaner boards to keep it balanced. I’ve done this in a living space, and it gave instant rustic character without feeling like a barn costume.
Possibly helpful picks:
- Reclaimed Wood Flooring Samples: Explore various finishes and textures with samples to perfectly match your rustic farmhouse vision before committing.
- Matte Floor Sealant or Wax: Protect your unique patchwork floor while maintaining that authentic, low-sheen natural finish essential for rustic charm.
- Wood Repair Wax Sticks: Easily fill accidental deep scratches or enhance existing knots to customize the aged character of your boards.
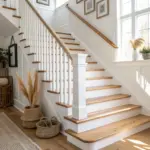
Wide Planks Next to Narrow Strips
Mixing wide plank flooring in one area with narrow strip flooring in another can feel surprisingly intentional when you align the edges cleanly. I’ve used wide planks in the main room and narrow strips in the hallway, and it made the hallway feel longer and more classic.
Consider these options:
- Wide Plank Engineered Hardwood Flooring: Upgrade your main living areas with wide planks to create a spacious, modern, and open atmosphere.
- Narrow Strip Solid Wood Flooring: Install classic narrow strips in corridors or smaller rooms to enhance perspective and add traditional charm.
- T-Molding / Floor Transition Strip: Create a seamless and professional connection between your different flooring widths with a matching transition strip.
Diagonal Insert to Define a Corner
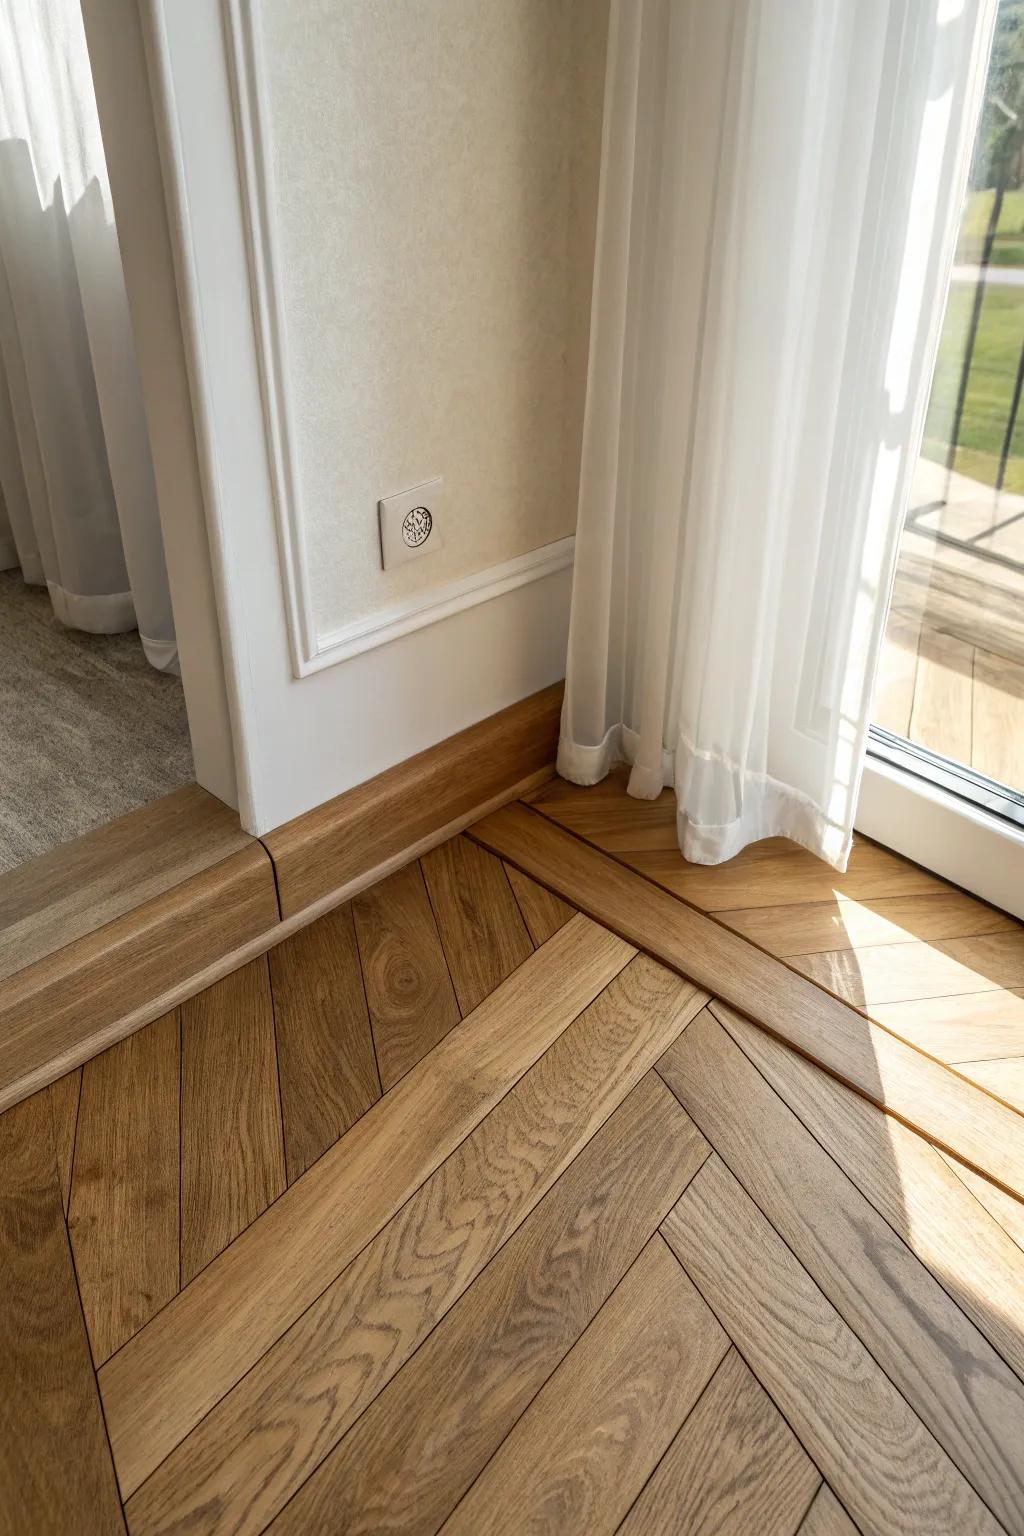
In open layouts, I like adding a diagonal hardwood insert in one corner (like the reading nook area) while keeping the rest straight. I tried it once to “carve out” a cozy spot, and it worked like visual furniture even before the chair went in.
Give these a look:
- Engineered Oak Hardwood Flooring: Select engineered oak planks to create your custom diagonal layout and add warmth to any specific corner.
- Wood Floor Border or Divider Strips: Use contrasting wood divider strips to cleanly separate the straight-laid floor from your new diagonal insert section.
- Miter Saw for Precision Cuts: Ensure perfect angles for your diagonal pattern installation with a reliable miter saw for accurate corner cuts.
Fireplace Hearth Direction Switch
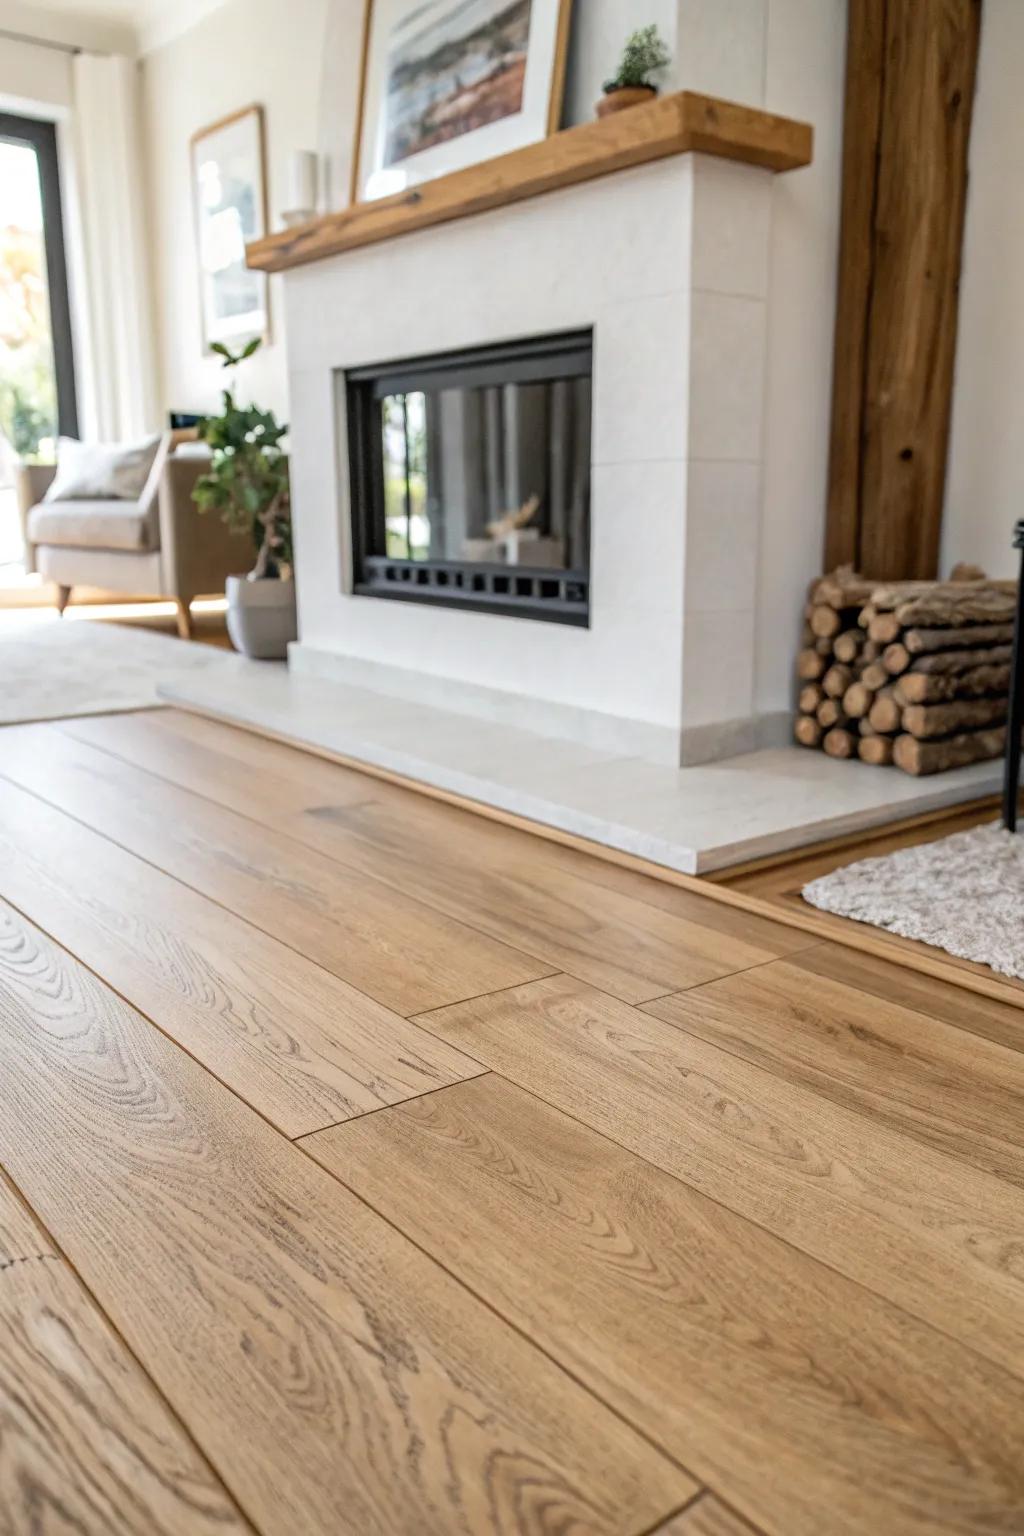
Right in front of a fireplace, I love switching plank direction or adding a contrasting band so the hearth area feels anchored. I’ve done a hardwood direction change at a hearth line, and it made the fireplace feel like a true focal point instead of just “another wall feature.”
Might be a good match:
- Wood Floor Transition Strip: Define your fireplace hearth cleanly by installing a transition strip to separate the changing floor directions.
- Flooring Installation Kit: Ensure your custom hearth design is tight and seamless with the right spacers and tapping blocks.
- Contour Gauge Profile Tool: Perfectly cut your new planks around complex fireplace moldings or stone edges for a professional finish.
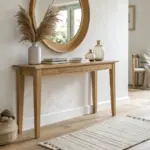
Gradient Blend From Light to Dark
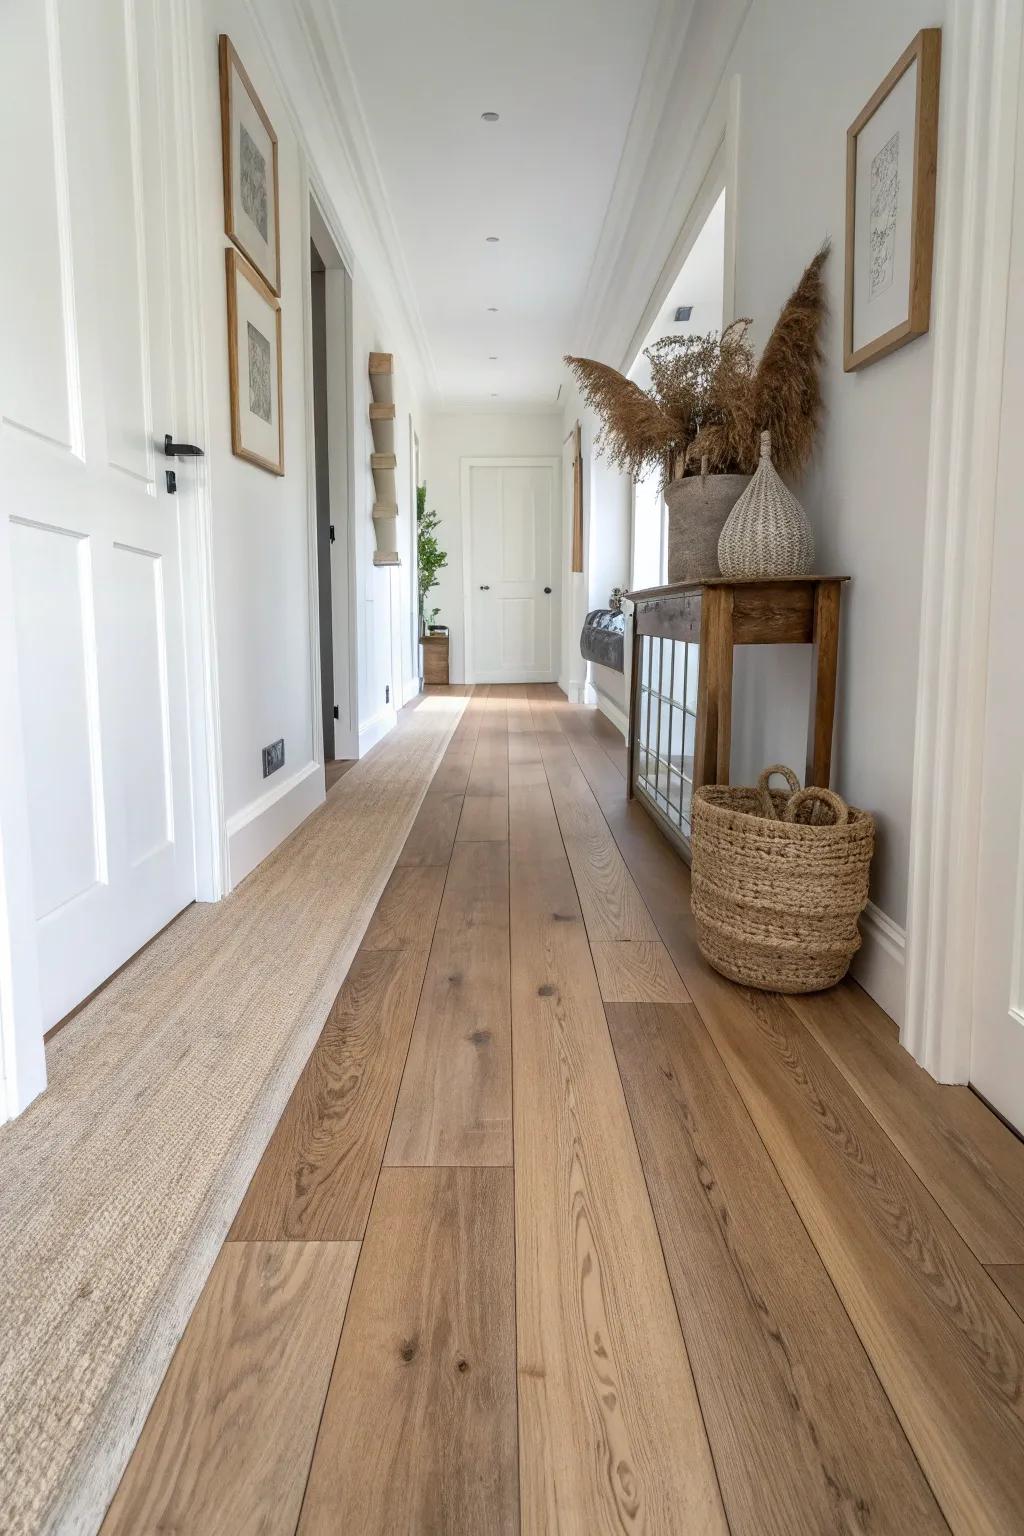
A tone gradient floor—slowly shifting from lighter boards to darker ones—can look insanely high-end when you take time to lay it out. I tried a soft gradient in a long space, and walking through it felt like moving through different moods of the same home.
These products might help:
- Engineered Hardwood Sample Pack: Order various wood tone samples to simplify planning your perfect gradient transition before committing to full installation.
- Woven Seagrass Runner Rug: Add natural texture and warmth to your hallway with a durable runner that complements mixed wood tones.
- Decorative Dried Pamapas Grass: Enhance your hallway’s natural aesthetic by styling vases with these fluffy, neutral stems for an airy feel.
Center “Runner” Strip of Contrasting Wood
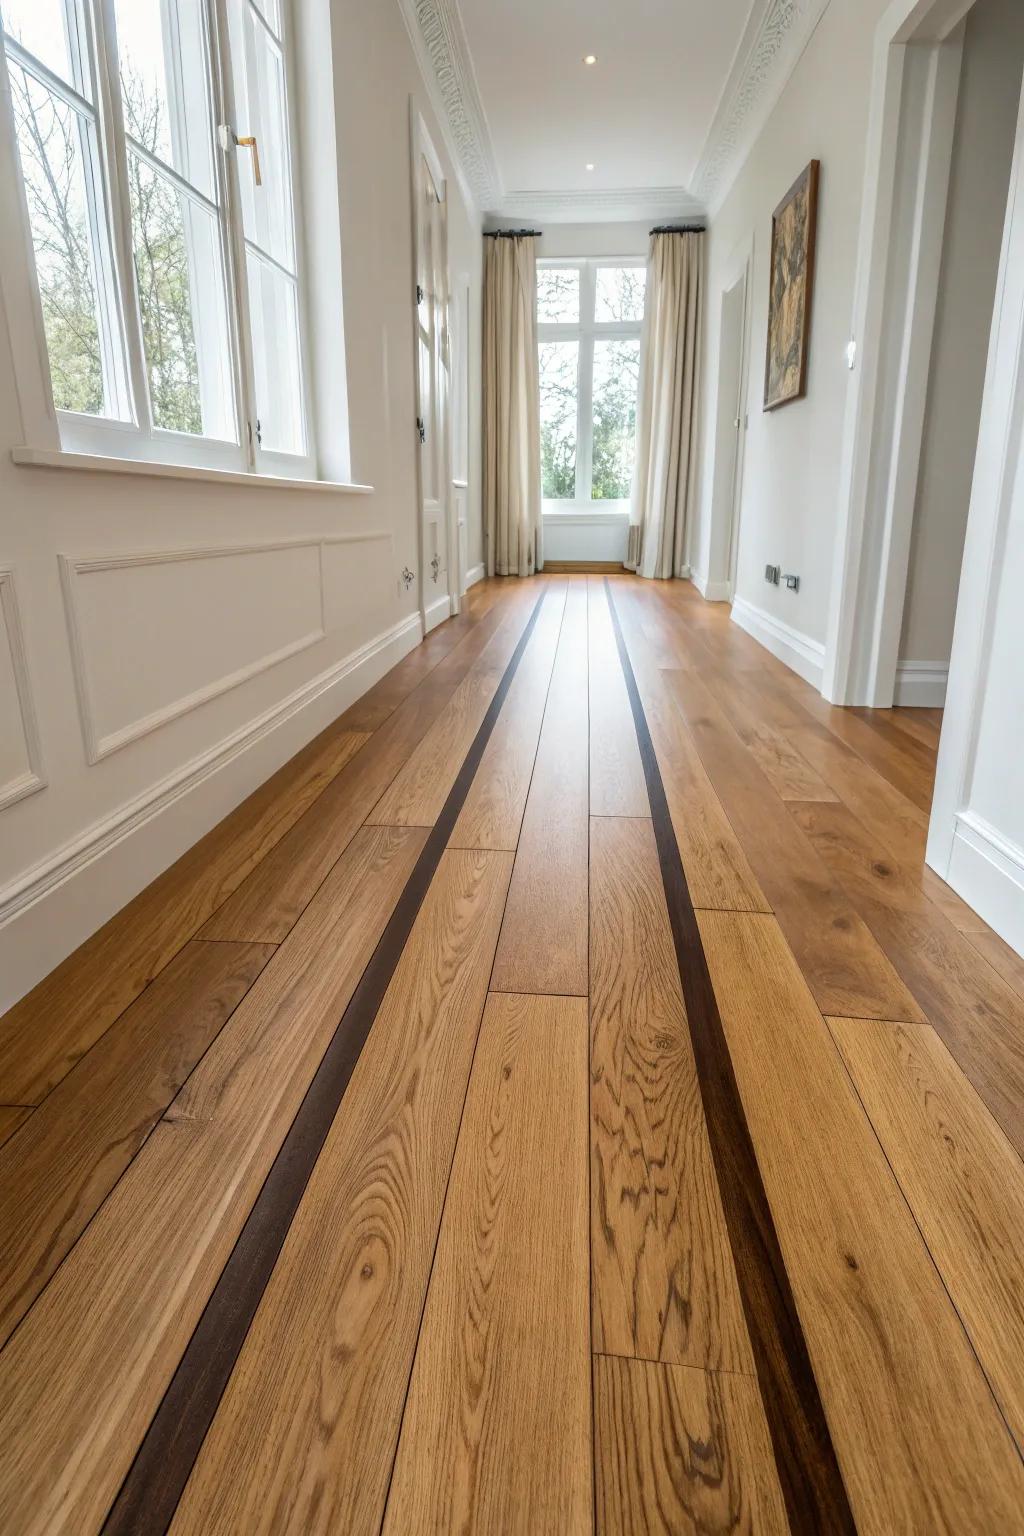
In a long room, a contrasting hardwood runner down the center can define a walkway while the sides stay calm. I built one like this for a narrow space, and it gave major architectural energy without adding a single wall.
Check these products out:
- Dark Walnut Flooring Planks: Select a rich, dark wood species to create the dramatic contrasting runner effect shown in this hallway design.
- Wood Flooring Adhesive: Ensure a secure, long-lasting bond for your intricate flooring inlay patterns with a high-quality professional wood adhesive.
- Wait-Less Wood Floor Cleaner: Keep both light and dark wood tones distinct and residue-free with a gentle, streak-free cleaning solution.


