
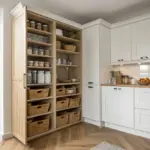
A good picture frame design does more than hold a photo—it sets the whole mood of a room. I’ve built and dressed up a lot of frames in my shop, and these ideas are the ones that always make people stop and look twice.
Modern Square-Edge Frame
Any time I’m after a modern vibe, I skip fancy profiles and keep a crisp, straight square edge. I’ve made these in batches for gallery walls, and the consistency looks so satisfying.
Some handy options:
- Solid Oak Wood Picture Frame: Choose natural solid oak frames to replicate this warm, modern aesthetic perfect for clean lines and durability.
- Pre-Cut White Mat Board Set: Elevate your photos instantly by adding crisp white mats that create professional focus and visual breathing room.
- Beveled Wood Frame Set (Gallery Wall): Create a unified look with a multi-pack of wide-profile wooden frames designed for cohesive gallery wall displays.
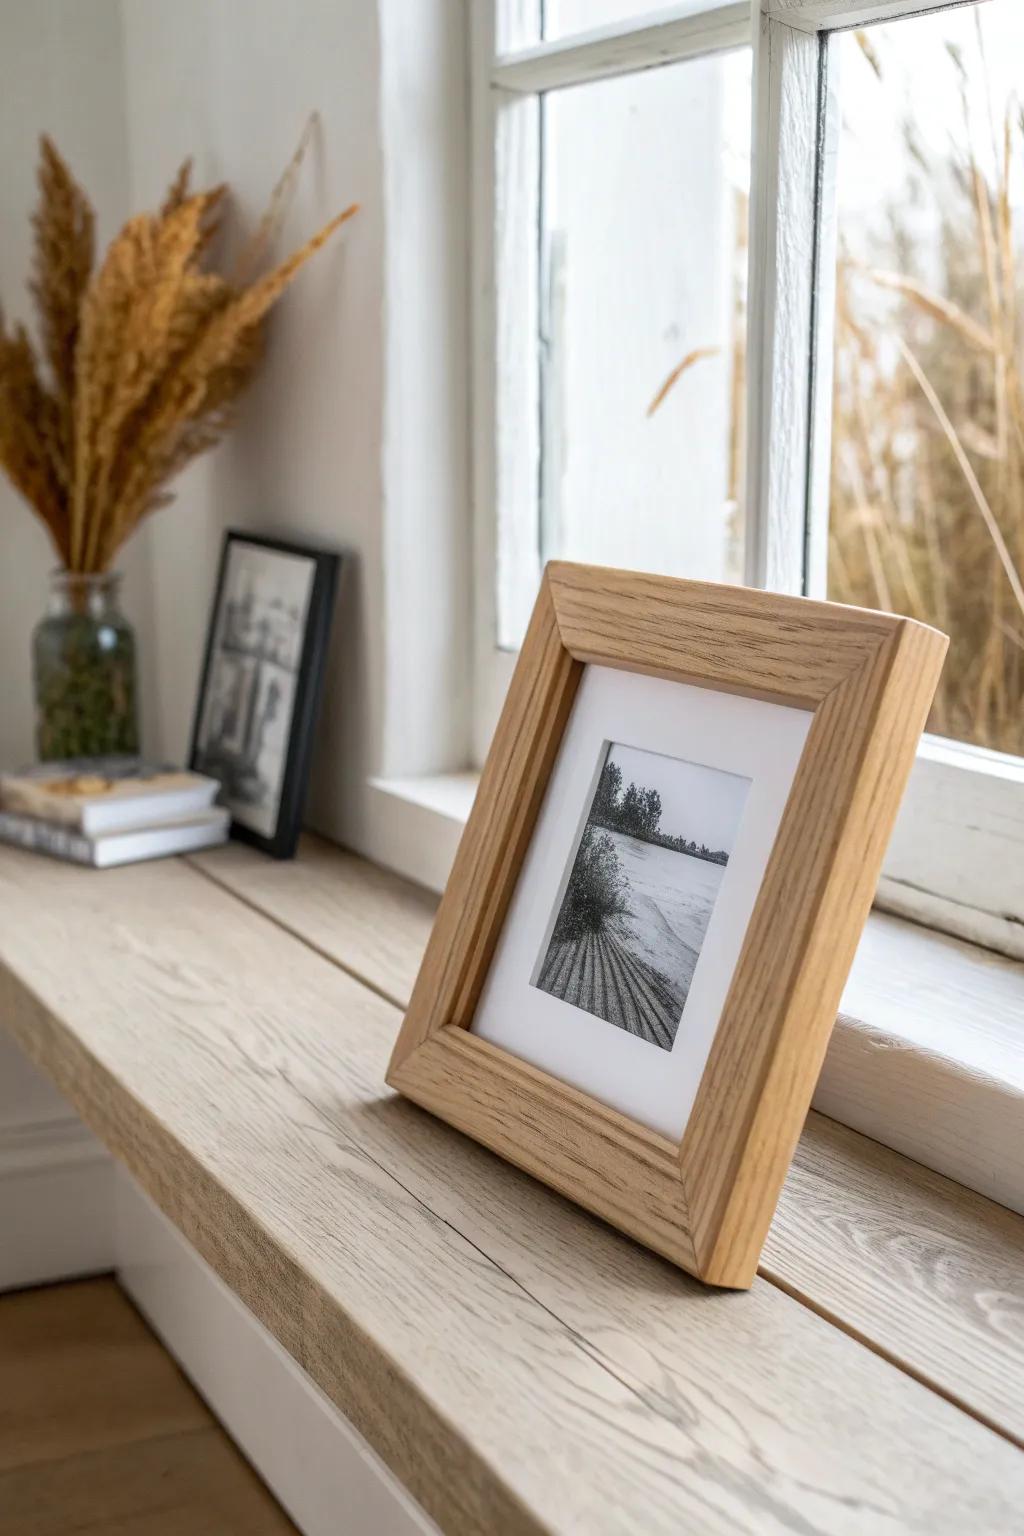
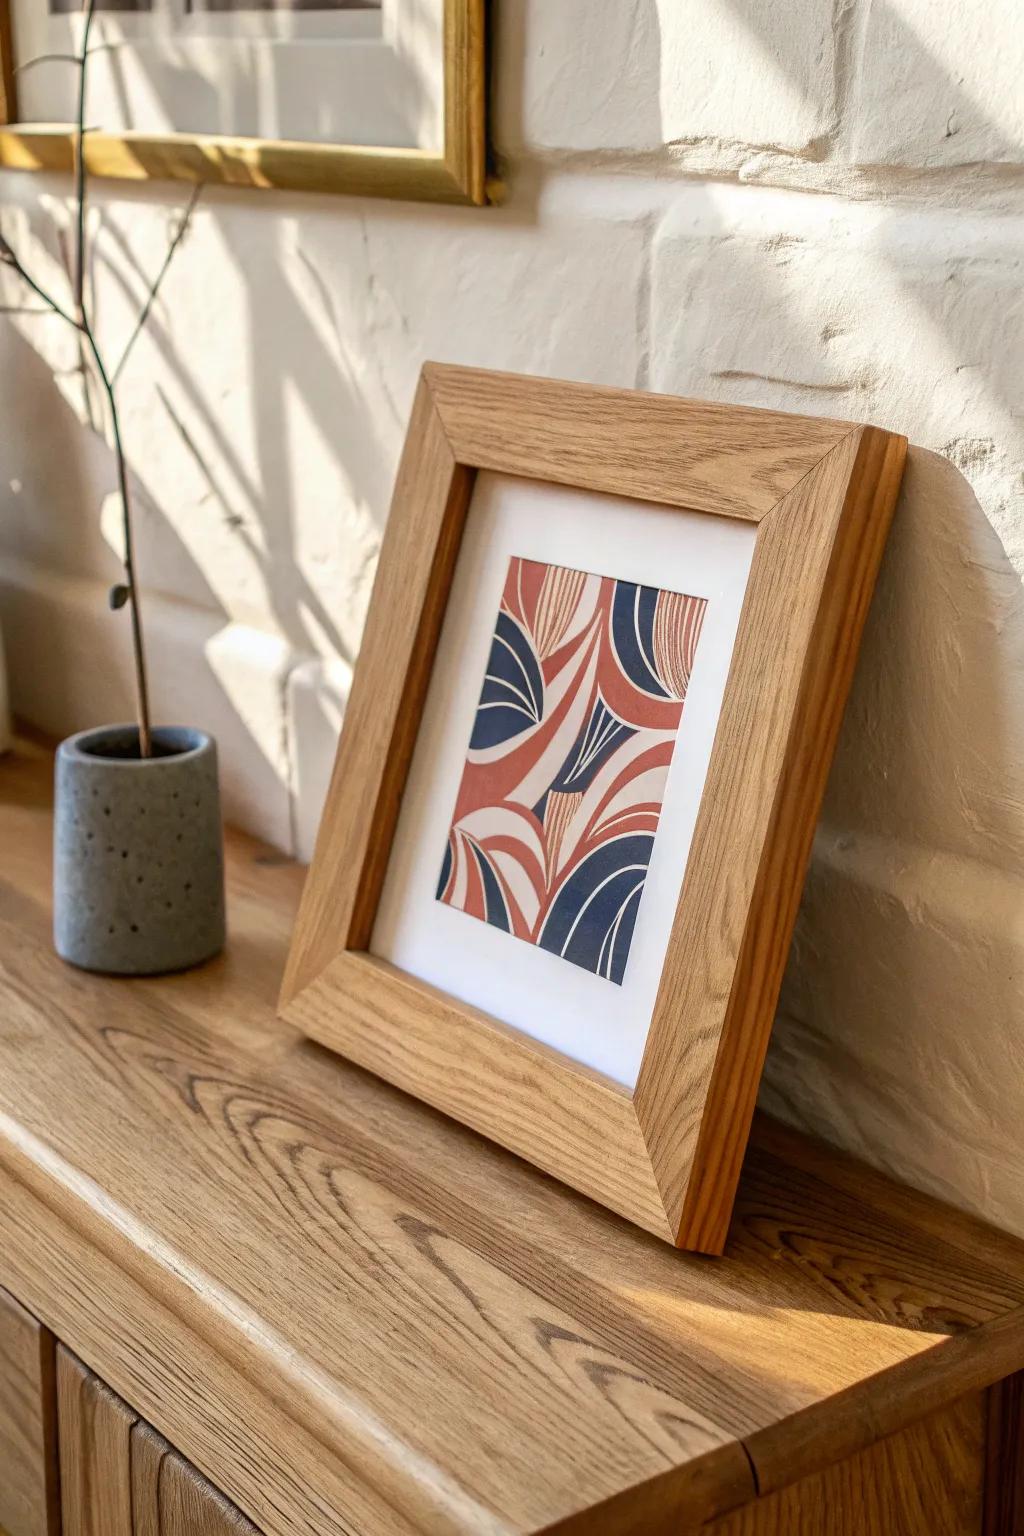
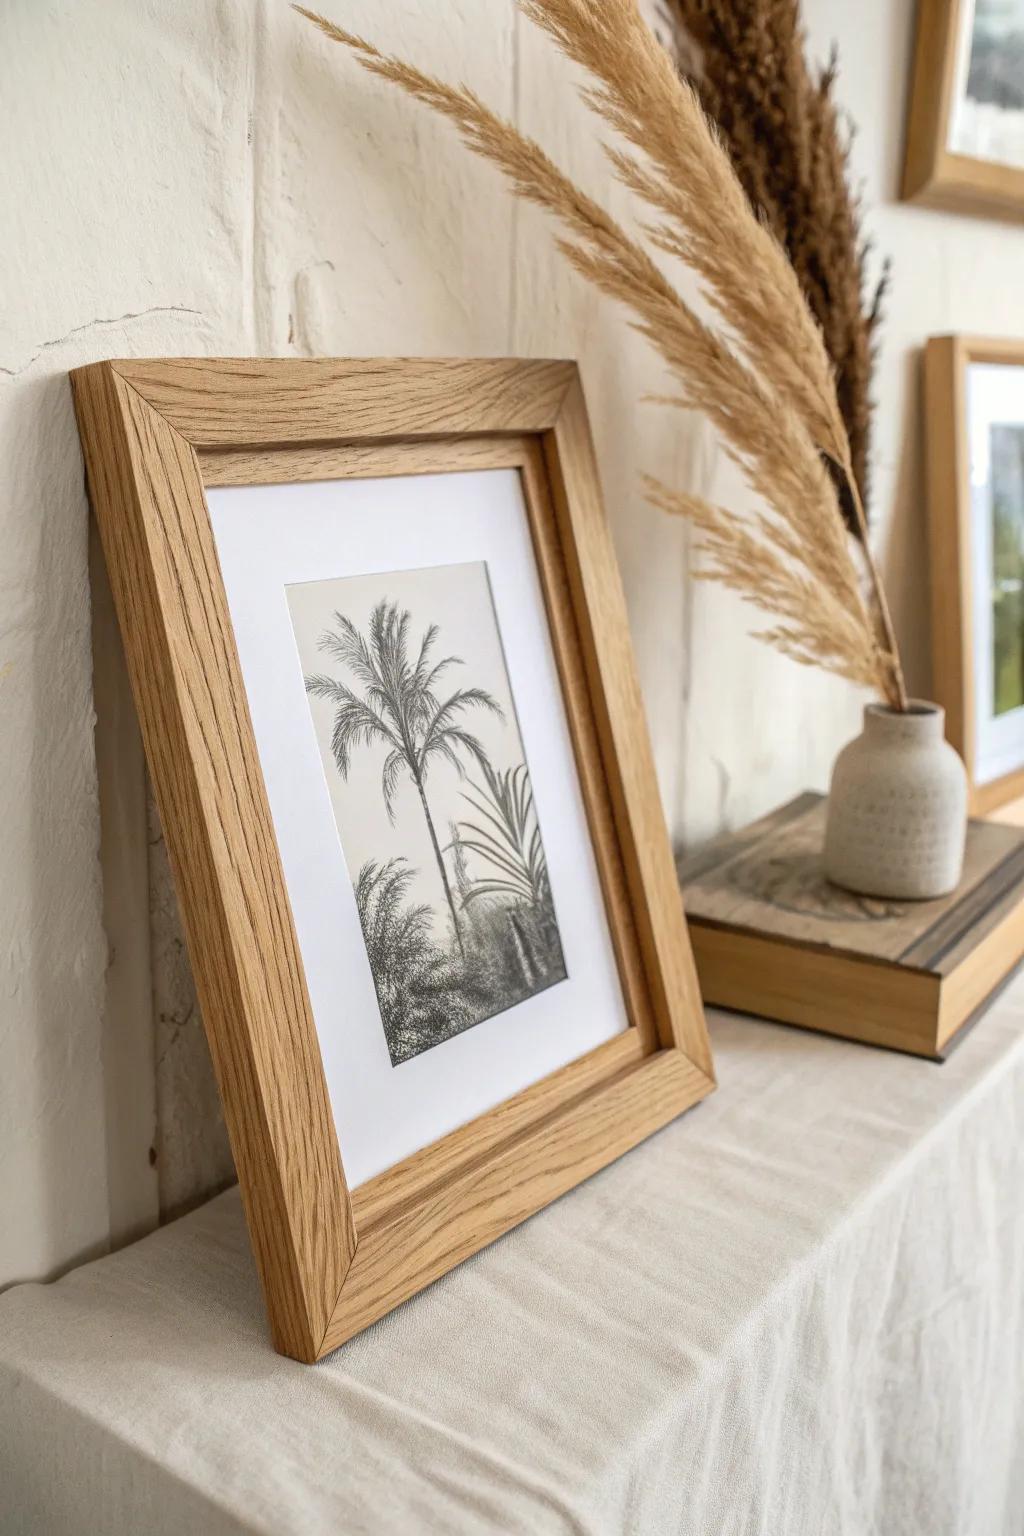
Classic Mitered Wood Frame
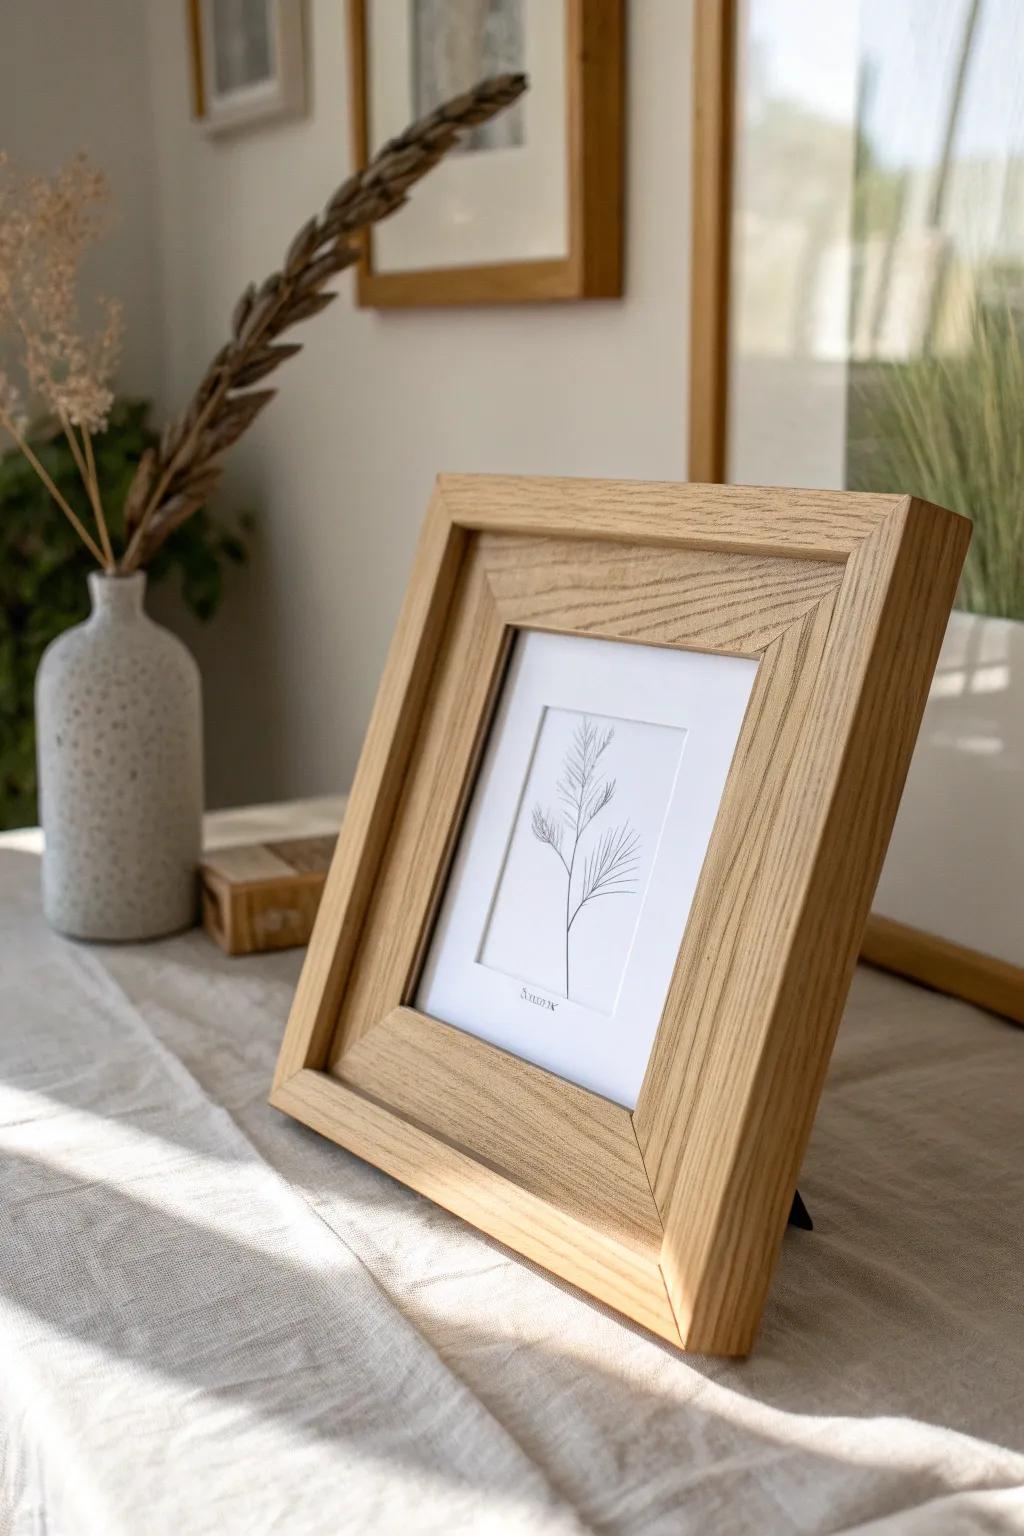
When I want that timeless, clean look, I cut simple 45s and let the wood grain be the star. A light sand and a smooth clear coat is my go-to when the photo deserves all the attention.
Possibly handy products:
- Clear Matte Wood Finish: Protect your custom frame while keeping that natural look by applying a high-quality, clear matte finish.
- Miter Saw Protractor / Angle Finder: Ensure your corners are perfectly flush every time by using a precision angle finder for your cuts.
- Corner Clamp for Woodworking: Hold your mitered joints securely in place while the glue sets to achieve seamless, professional-looking corners.

Rustic Reclaimed Wood Frame
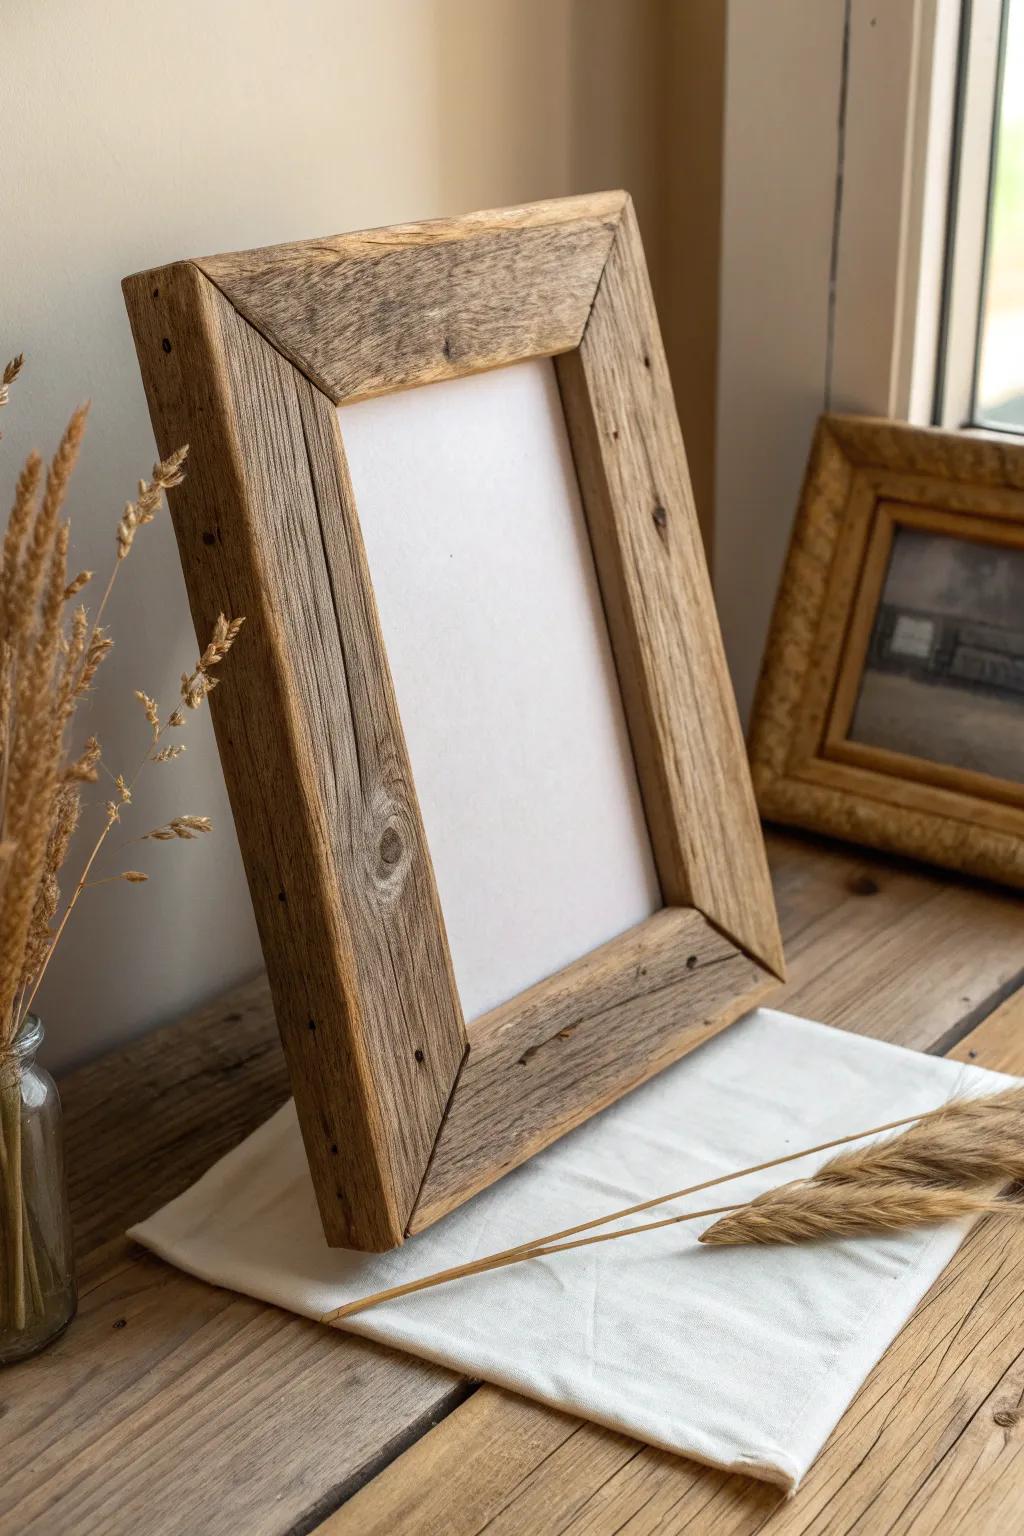
I love building frames from reclaimed wood because every dent and saw mark tells a story. I usually just brush it clean and wax it so the weathered texture stays front and center.
A few things you might like:
- Clear Furniture Wax: Protect your reclaimed wood and seal in that rustic charm with a quality clear furniture wax.
- Wire Brush Set: Clean off dirt and debris while enhancing the natural grain texture of old wood efficiently.
- V-Nail Joiner Tool: Secure your mitered corners tightly and professionally from the back for a durable, long-lasting frame.

Wide Plank Statement Frame
A chunky, wide border turns even a small print into a statement piece, and I’ve used this trick a lot for entryways. I like to soften the corners slightly so it feels substantial but still cozy.
May just do the trick:
- Wide Border Solid Wood Picture Frame: Choose chunky, natural wood frames to instantly add warmth and substantial character to your smaller art prints.
- Pre-Cut Picture Frame Mat Board: Use a crisp white mat board to create negative space that highlights the artwork within a larger frame.
- Minimalist Wall Art Print Set: Find abstract or botanical prints with bold colors that stand out beautifully against wide, neutral wooden borders.
Distressed Farmhouse Finish Frame
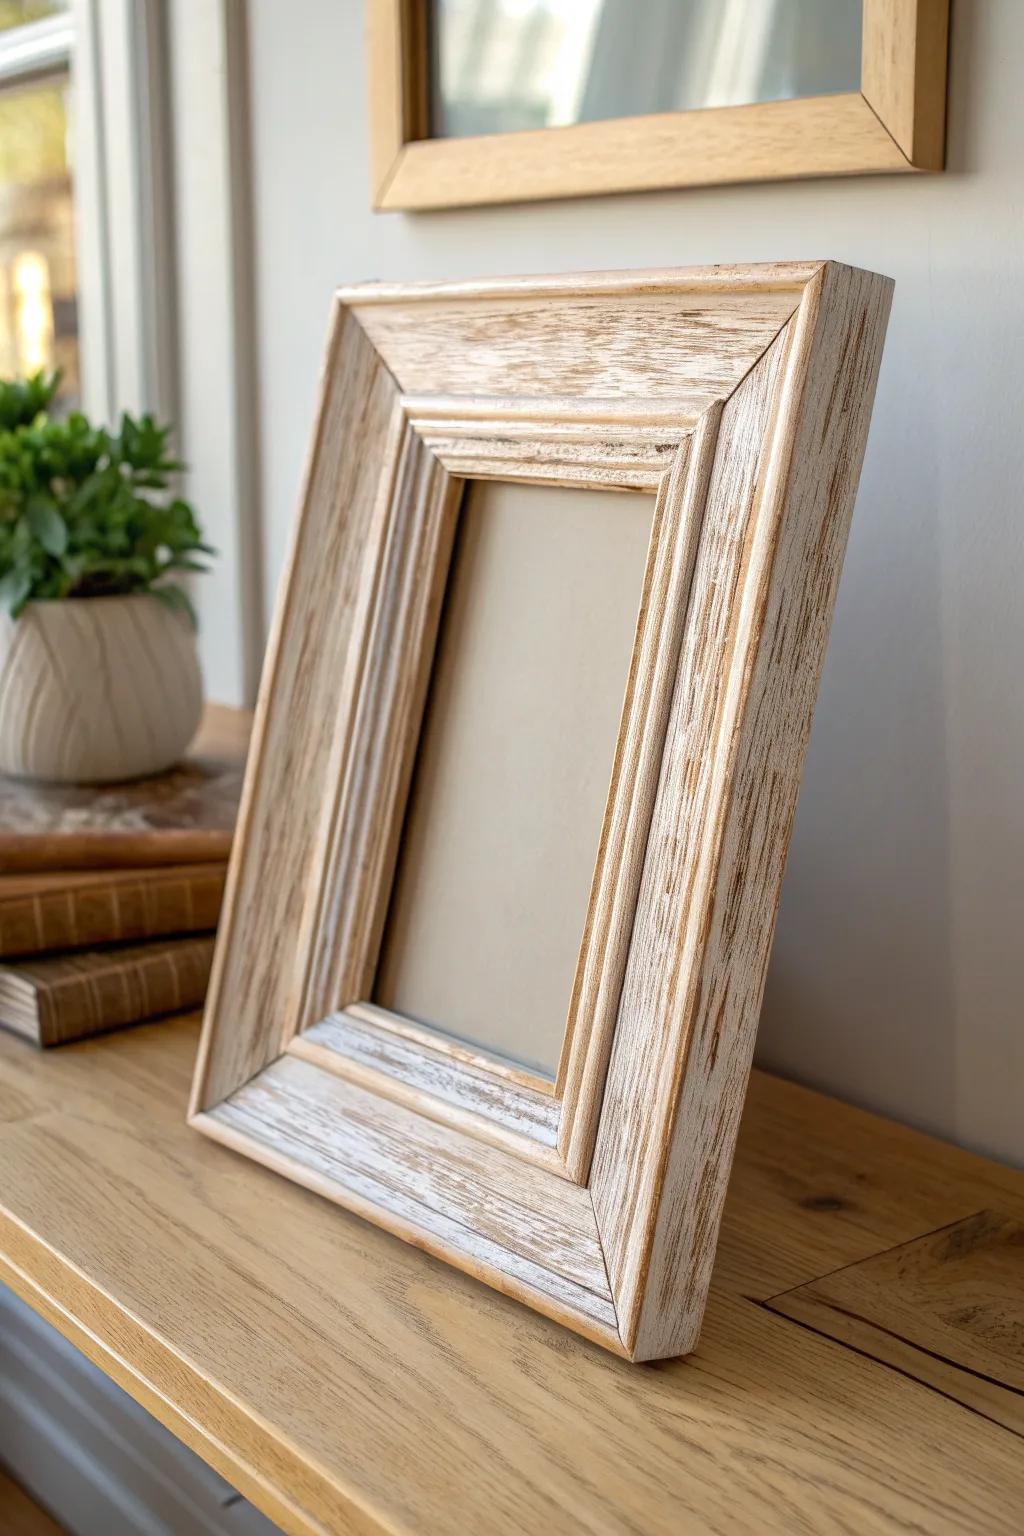
For that lived-in farmhouse feel, I paint the frame and lightly sand back edges to reveal hints of the wood underneath. The first time I tried this, I over-sanded, and honestly it looked even better—happy accidents are real with distressed finishes.
Check these products out:
- Chalk Style Furniture Paint: Apply a coat of matte chalk paint to your frame for that perfect, easily distressable farmhouse base layer.
- Sanding Sponge Block Set: Use flexible sanding blocks to gently rub away paint from edges and corners, creating an authentic worn look.
- Clear Wax Sealer: Protect your distressed finish and add a subtle sheen by buffing on a layer of clear furniture wax.
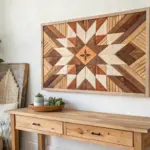
Stained Frame With Contrasting Inlay
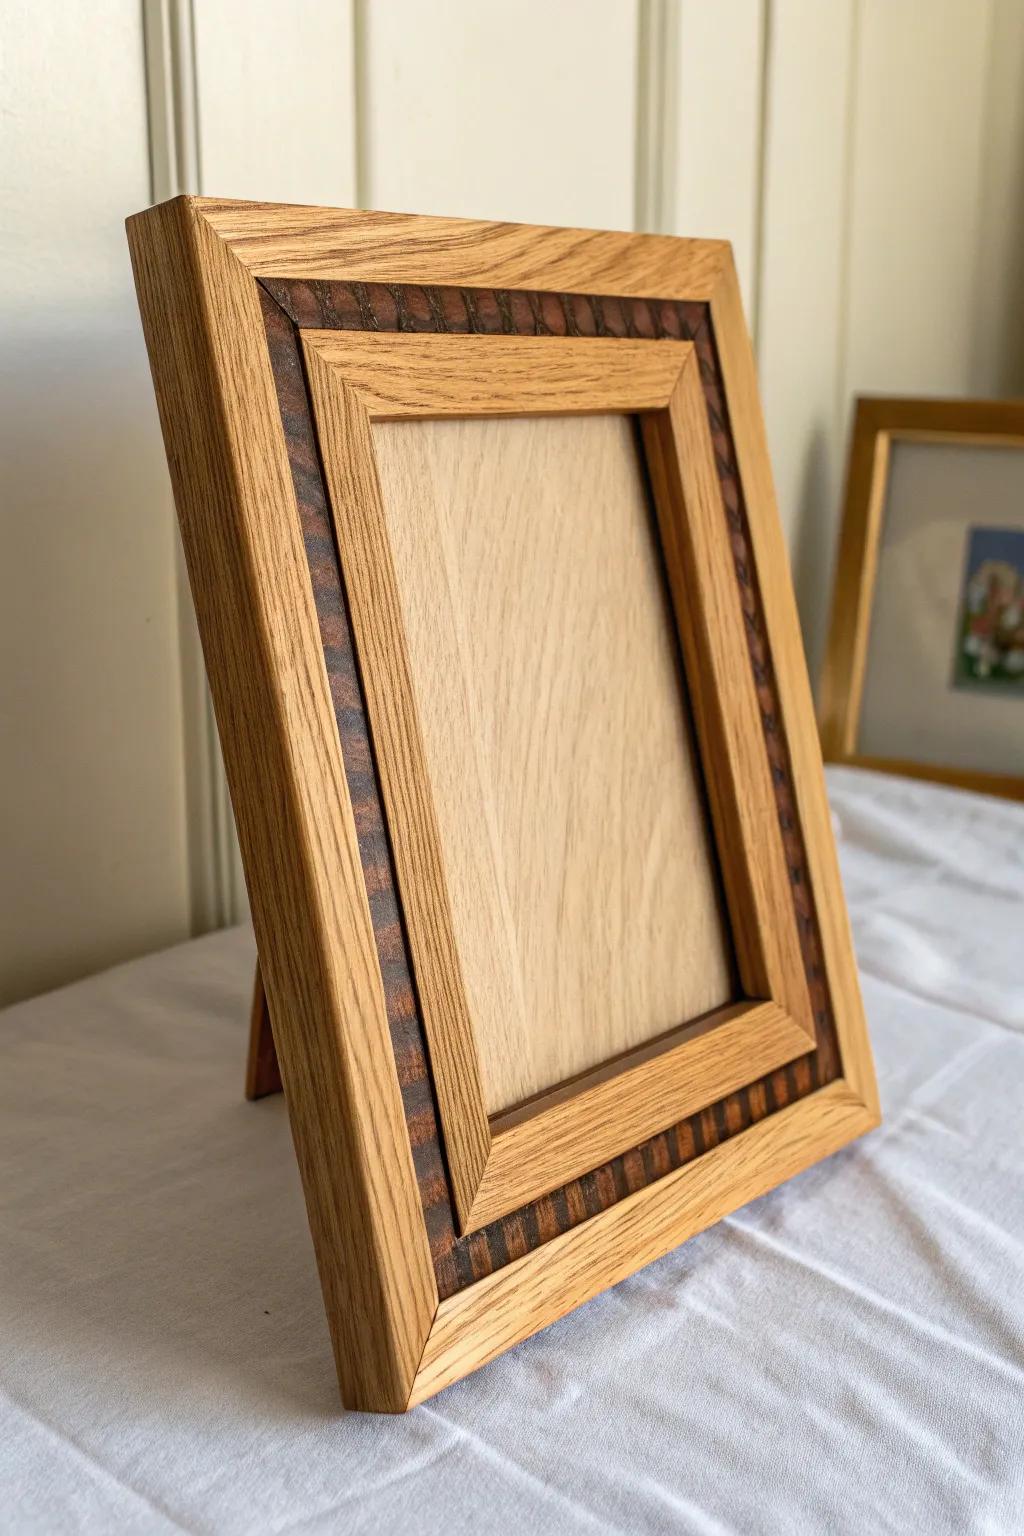
I’ll cut a thin strip of a darker wood and set it in like a simple wood inlay—it reads “custom” without being fussy. I’ve done walnut-style contrast against lighter boards, and it always gets questions from guests.
Try these:
- Mixed Wood Veneer Pack: Create striking visual contrast by selecting dark veneers like walnut to glue into your lighter wood frame channels.
- Chisel Set for Woodworking: Carve precise grooves and clean up inlay channels to ensure your contrasting wood strips fit perfectly flush.
- Wood Glue and Clamp Kit: Ensure a permanent bond for your delicate inlay strips with high-quality adhesive and clamps to hold corners tight.
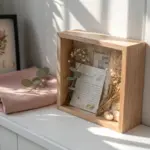
Floating Frame With Shadow Gap
A floating frame makes artwork feel instantly elevated, and the little shadow line is the magic. I’ve used this for pressed prints and kid art, and it gives everything that “gallery” look without trying too hard.
A few helpful options:
- Solid Wood Floating Frame: Create a modern gallery look for your canvas art with this easy-to-load, elegant wooden frame.
- Deep Shadow Box Frame: Display pressed flowers or 3D art beautifully using this deep frame that adds dimension to walls.
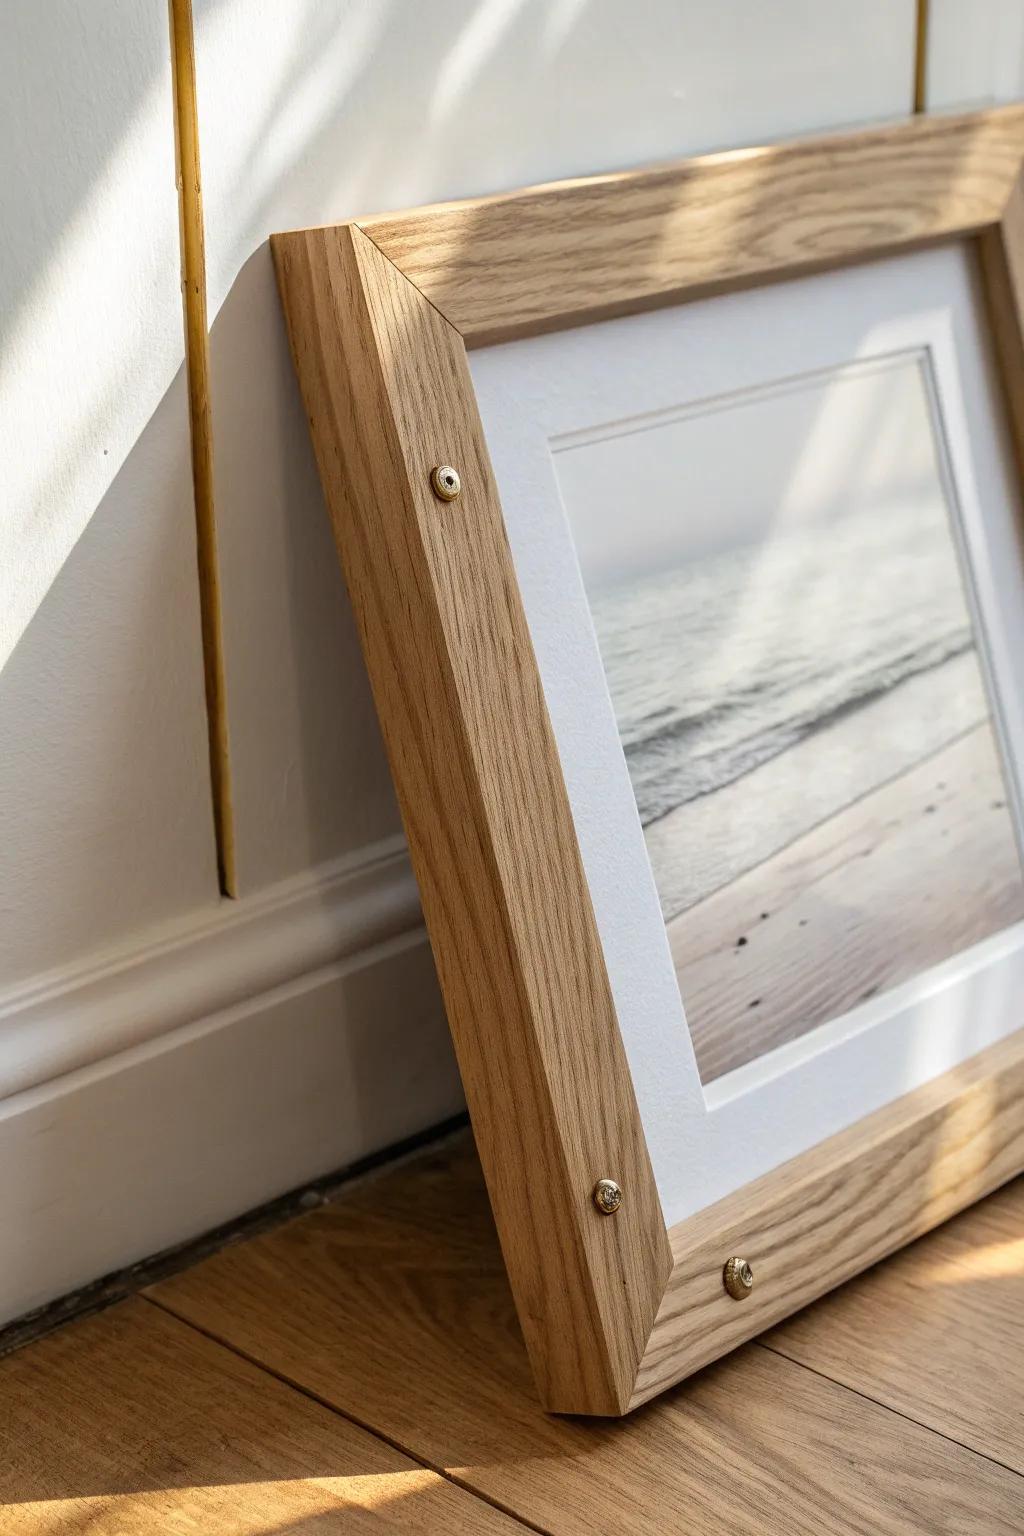
- Oak Frame with Exposed Hardware: Achieve a rustic, handcrafted aesthetic with frames featuring visible corner joinery details for added character.
Double Mat Look Using Wood Spacers
When I don’t want to fuss with paper mats, I add thin wood spacers inside the frame to create depth. I tried this on a black-and-white photo set and it made the whole wall feel more intentional.
Useful items to consider:
- Deep Shadow Box Frame: Choose deep frames with built-in spacers to easily achieve a recessed, gallery-style look for your artwork.
- Frame Spacer Strips: Use these adhesive strips to separate glass from artwork, creating professional depth without cutting custom mats.
- Acid-Free Mounting Tape: Secure your prints firmly against the backing board to ensure they stay flat behind the spacers.
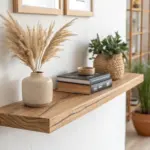
Picture Ledge Frame Display
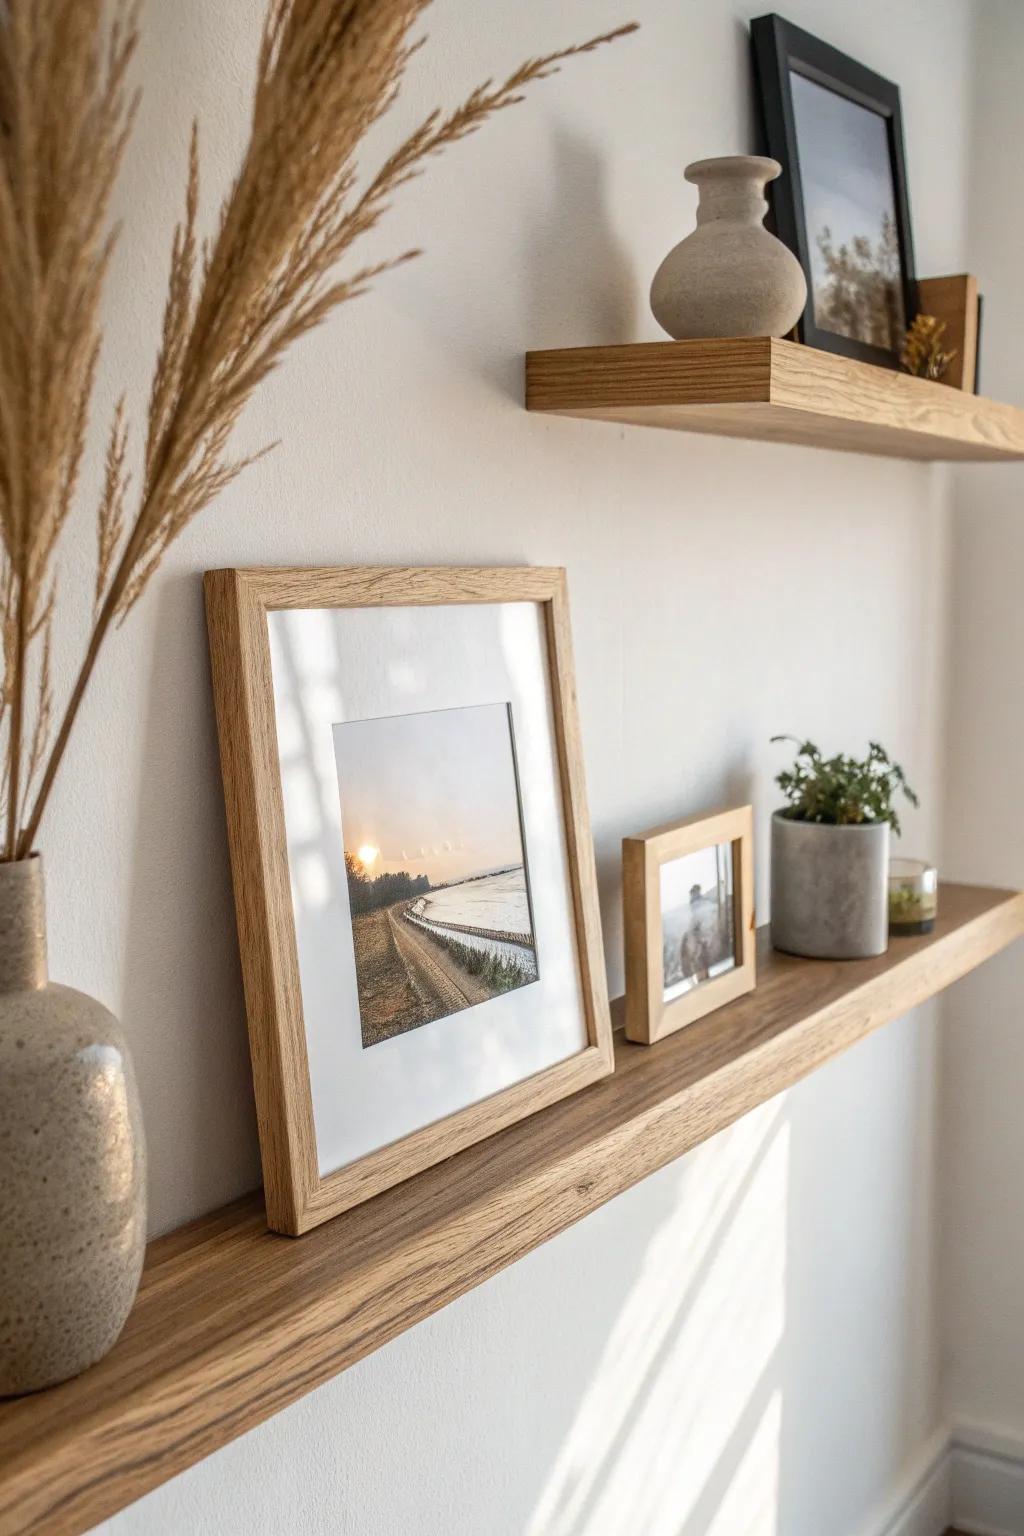
Instead of committing to nail holes everywhere, I build a shallow frame ledge so you can layer frames and swap them anytime. I use this in my own place when I’m constantly changing out seasonal prints.
You might give these a try:
- Wooden Floating Picture Ledge: Create a gallery wall easily with this ledge, allowing you to cycle art without damaging your walls.
- Natural Wood Picture Frames: Showcase your favorite prints in these simple wooden frames that perfectly complement a neutral, minimalist shelf display.
- Small Ceramic Stone Vases: Add texture and height to your display by layering in these earthy, stone-finished vases alongside your artwork.
Corkboard-Backed Memory Frame
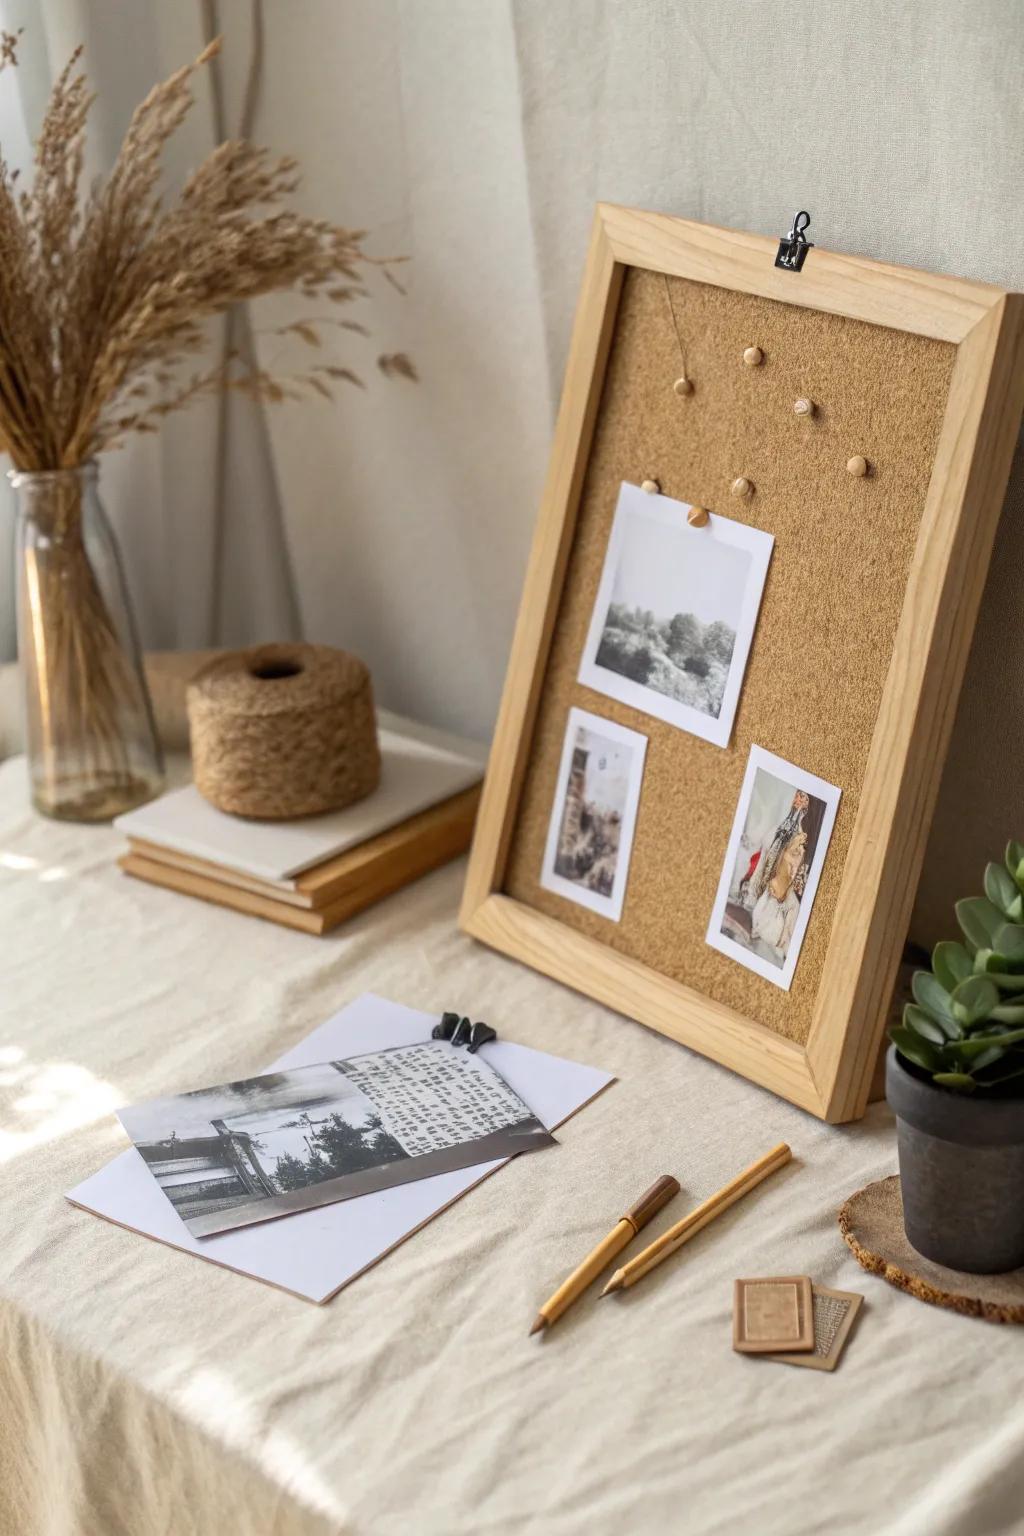
Replacing the backing with cork turns a frame into a mini memory board for notes, postcards, and snapshots. I’ve kept one by my workbench to pin inspo sketches and it’s weirdly motivating.
Consider these options:
- Adhesive Cork Roll or Sheets: Transform any existing standard picture frame into a functional pinboard instantly by cutting this material to size.
- Wooden Push Pins: Secure your memories with these natural-looking tacks that perfectly complement a neutral or rustic room aesthetic.
- Deep Shadow Box Frame: Choose a frame with extra depth to easily accommodate the thickness of cork backing and pinned items.
Barn Hardware Inspired Corner Brackets
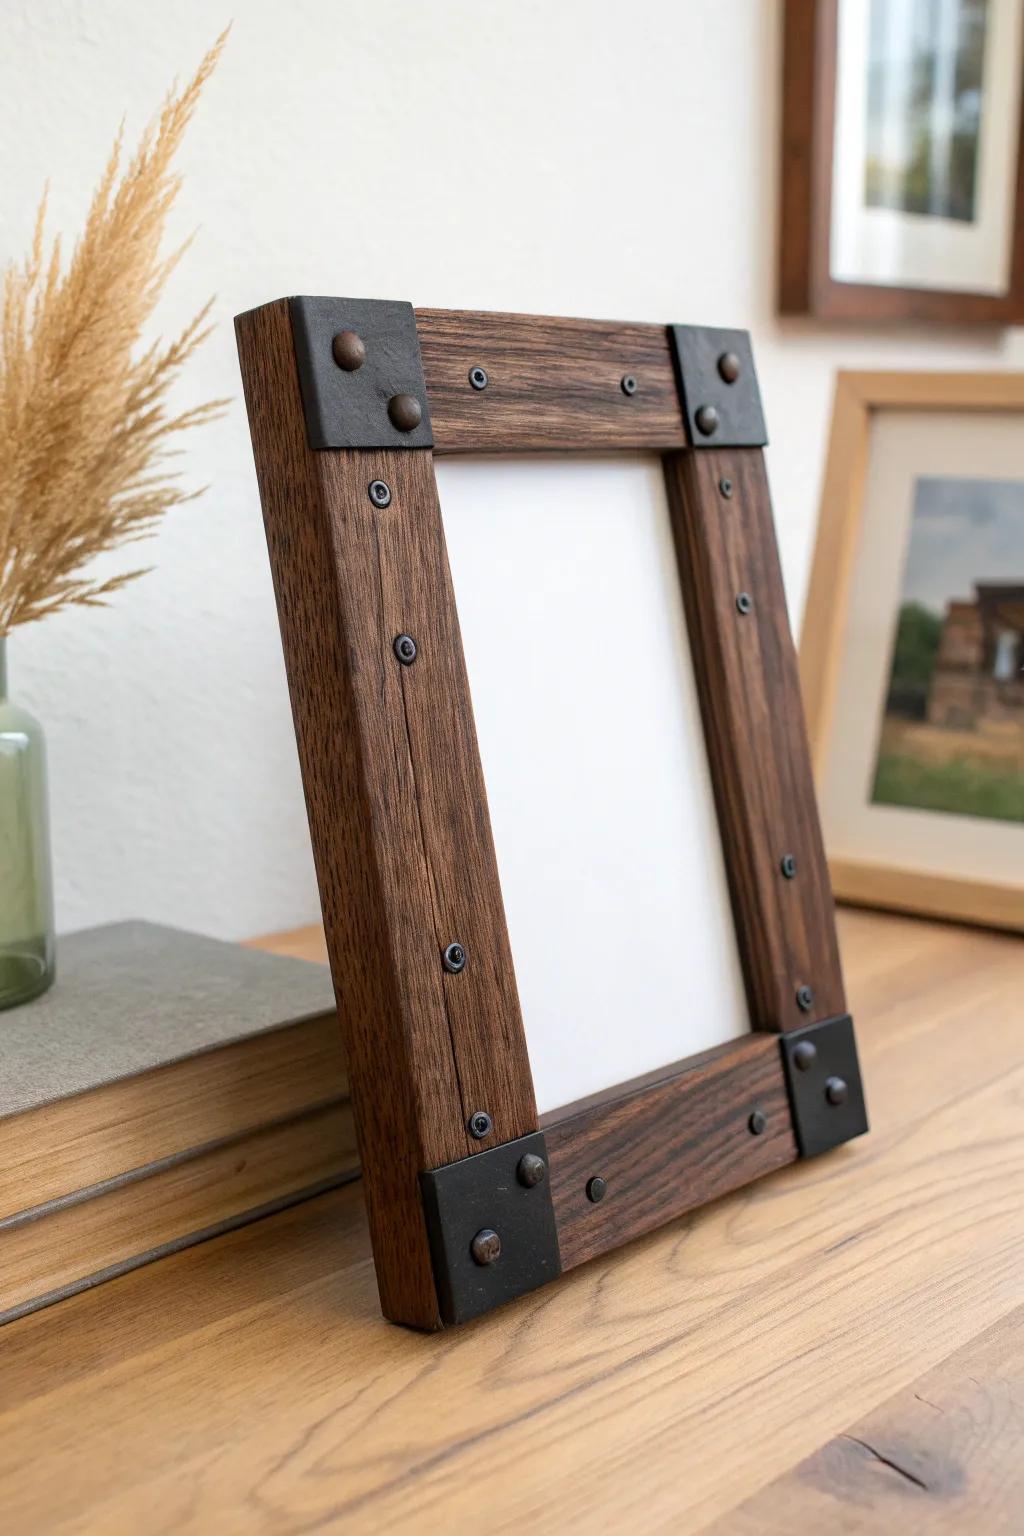
Adding simple metal corner accents gives a frame that rugged, workshop vibe without making it heavy. I’ve used this look on dark-stained wood, and it instantly reads rustic-industrial in the best way.
A few suggestions:
- Iron L-Shape Corner Brackets: Secure your frame joints while adding a distinct rustic industrial look with these sturdy metal corner accents.
- Decorative Clavos Head Nails: Add authentic detailing to your hardware brackets by hammering in these vintage-style decorative nail heads.
- Black Wood Hex Screws: Complete the workshop aesthetic by fastening your brackets with visible, dark finish hex head wood screws.


