
If your walls are feeling a little “same old,” switching up the way you frame things can make everything look fresh without buying a bunch of new decor. I’m always amazed how a bit of wood framing creativity can turn everyday photos and keepsakes into true statement pieces.
Staircase Corner Wrap
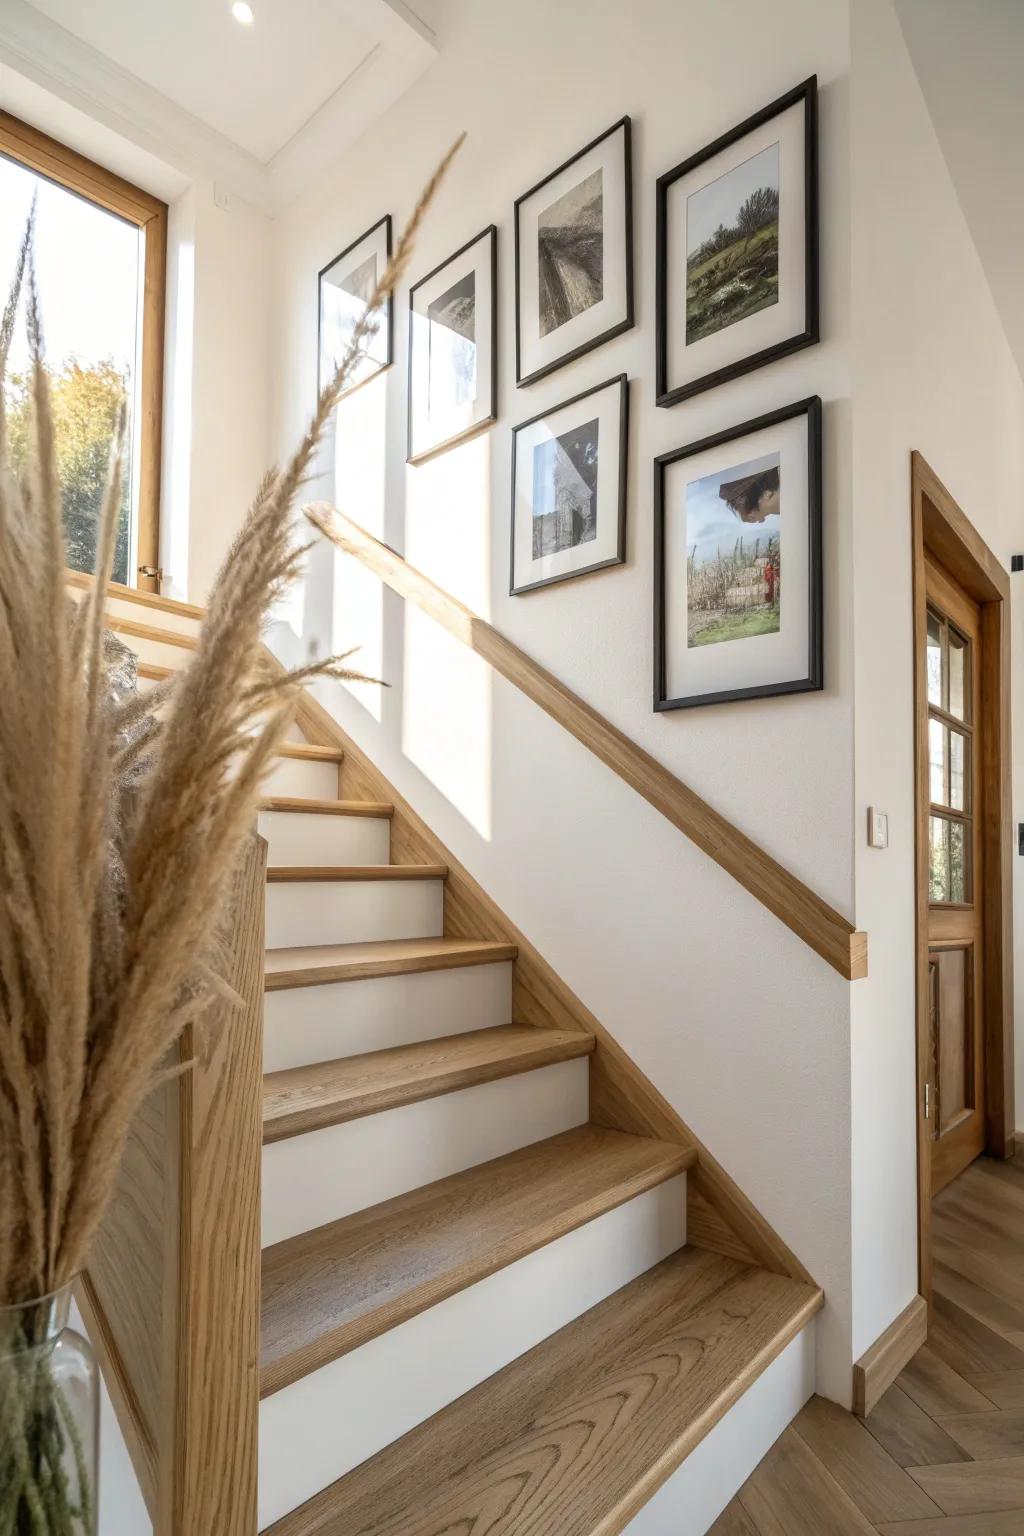
I’ve wrapped frames up a stair wall and right around the corner, and it turns that awkward area into a mini timeline. Keeping the bottom edges aligned is the little trick I use so it feels cohesive instead of chaotic.
Products that could assist:
- Set of Matching Black Frames with Mats: Create a unified gallery look effortlessly by using identical frames that standardize your display instantly.
- Picture Hanging Level Tool: Ensure your ascending timeline stays perfectly straight and aligned to avoid a chaotic, crooked appearance.
- Adhesive Picture Hanging Strips: Secure your frames safely on the wall without using nails, allowing for easy adjustments anytime.
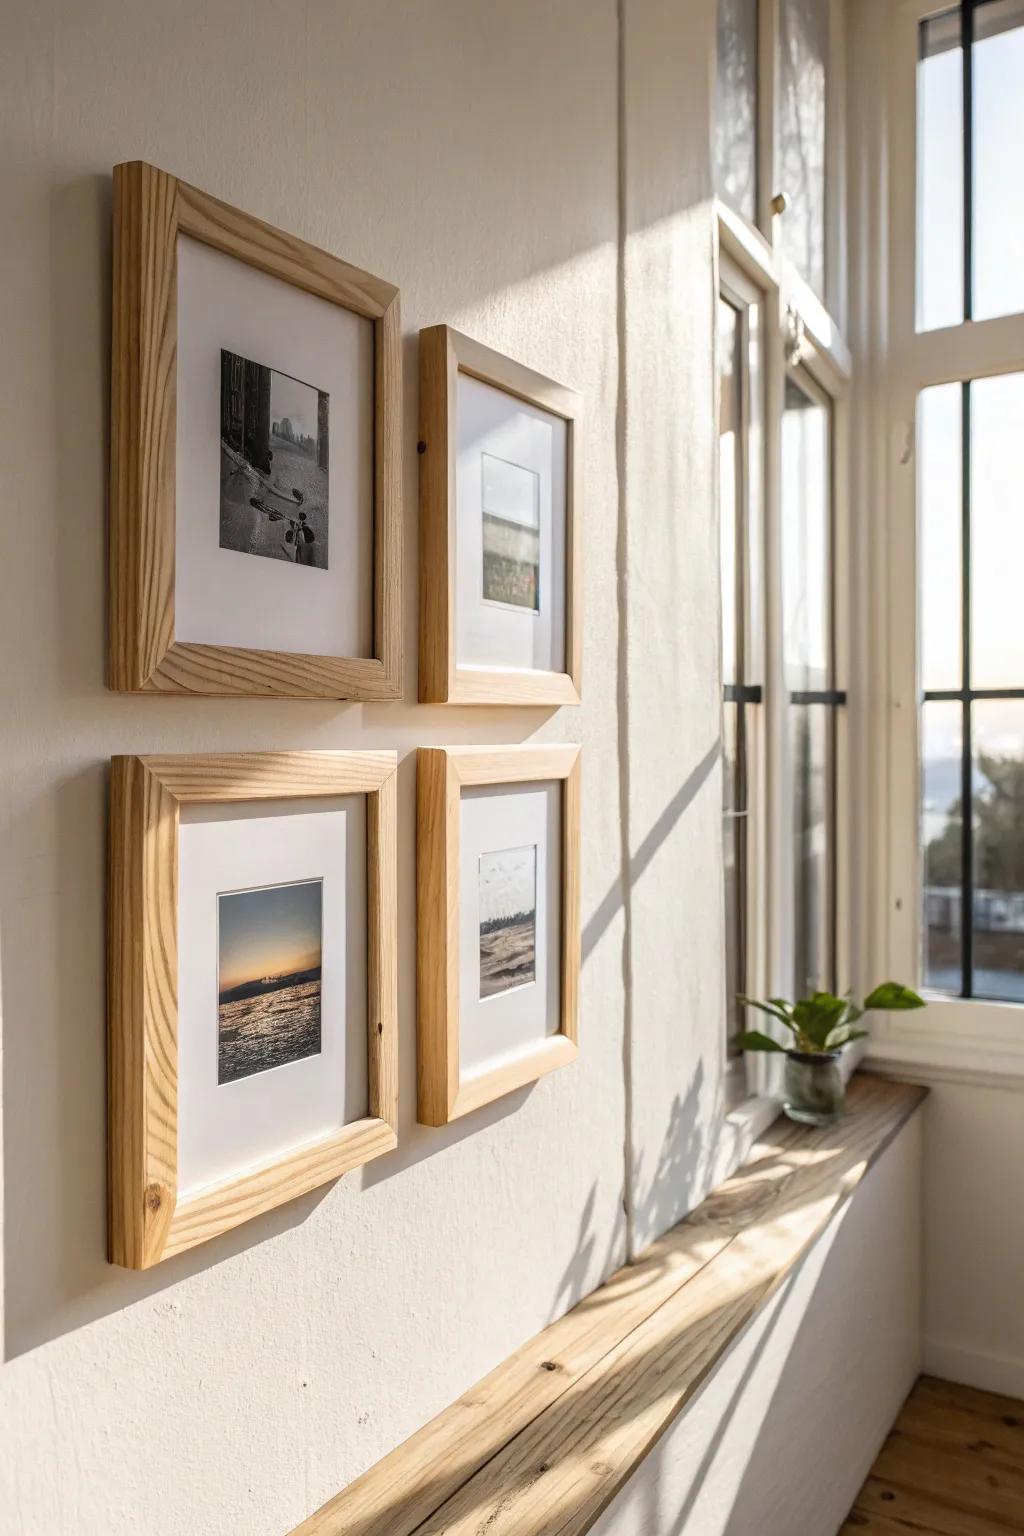
Mixed-Size Gallery Wall
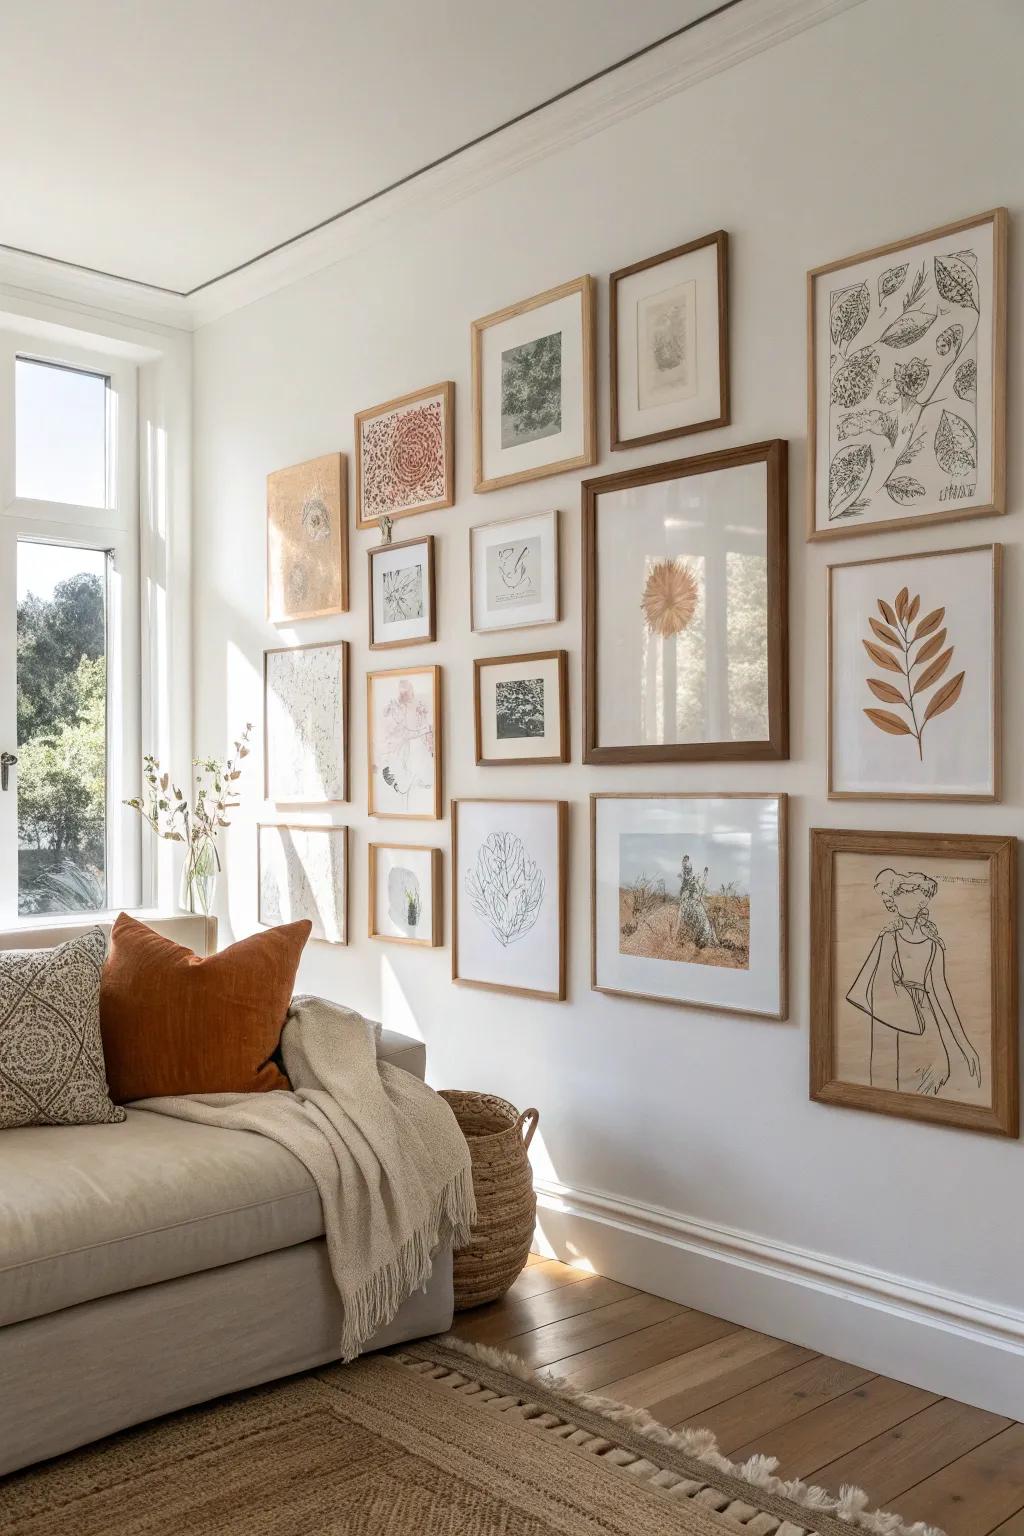
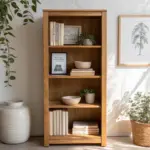
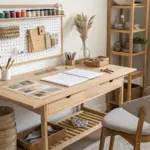
In my own space, I mix natural wood frames in a relaxed gallery wall so the grain ties everything together even when the art styles don’t match. I always lay it all out on the floor first, then hang the biggest piece as my anchor.
A few relevant products:
- Natural Wood Picture Frame Set: Create a unified look with these varied frame sizes, perfect for anchoring your personal gallery wall display.
- Large Woven Storage Basket: Add texture to your floor space near the gallery wall with a natural woven basket for cozy blankets.
- Abstract Botanical Art Prints: Instantly refresh your gallery arrangement with neutral botanical prints that complement natural wood tones beautifully.
Clean Grid Gallery
When I want instant calm, I build matching simple pine frames and hang them in a tidy grid layout. I’ve found it makes even quick phone snapshots look intentional and “finished.”
These products might help:
- Light Wood Picture Frame Set: Create a cohesive gallery wall easily with these matching natural wood frames that brighten up any space.
- White Photo Mat Boards: Give your snapshots a professional, gallery-style finish by adding these clean mats to your existing frames.
- Picture Hanging Level Tool: Ensure your grid layout is perfectly straight and symmetrical with this essential tool for precise spacing.

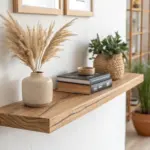
Leaning Frames on Picture Ledges
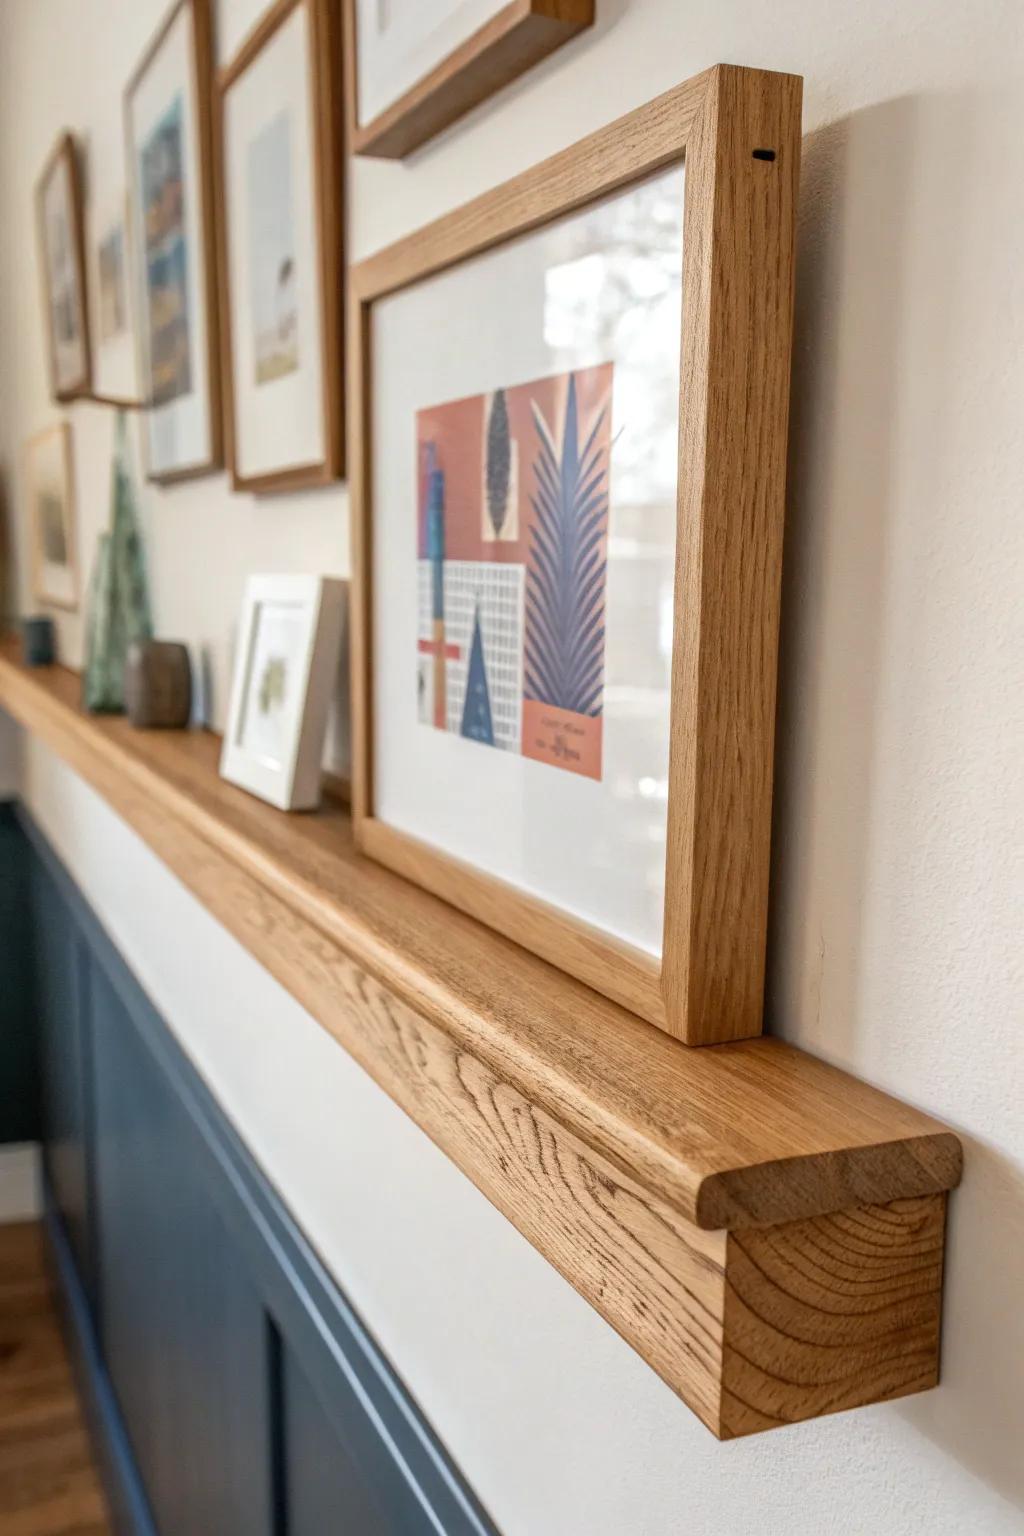
I make a chunky picture ledge from scrap boards and let frames lean and overlap for that casual, layered look. It’s my favorite because I can swap art in two minutes without patching new nail holes.
Consider these options:
- Solid Wood Floating Picture Ledge: Instantly recreate this layered gallery look by installing a sturdy wooden ledge to display your favorite prints.
- Set of Matching Wood Frames: Curate a cohesive display with a set of minimalist wooden frames perfect for leaning against the wall.
- Removable Museum Putty: Keep your leaning frames securely in place and prevent accidental slips with a small dab of putty.
Oversized Mat, Tiny Photo
One of my go-to upgrades is an oversized mat with a tiny photo centered, like it’s getting its own spotlight. I tried it with a faded family snapshot and it instantly felt like a gallery piece.
Some ideas to consider:
- Wide Gallery Wood Frame: Choose a frame with a wide profile to add substance and draw attention to your centered photo.
- Pre-Cut Picture Matting: Look for crisp white mats with small openings to instantly create that dramatic, professional gallery aesthetic.
- Acid-Free Mounting Tape: Secure your tiny photo perfectly in place without damaging the original print using archival-quality adhesive.
Moody Colored Matting
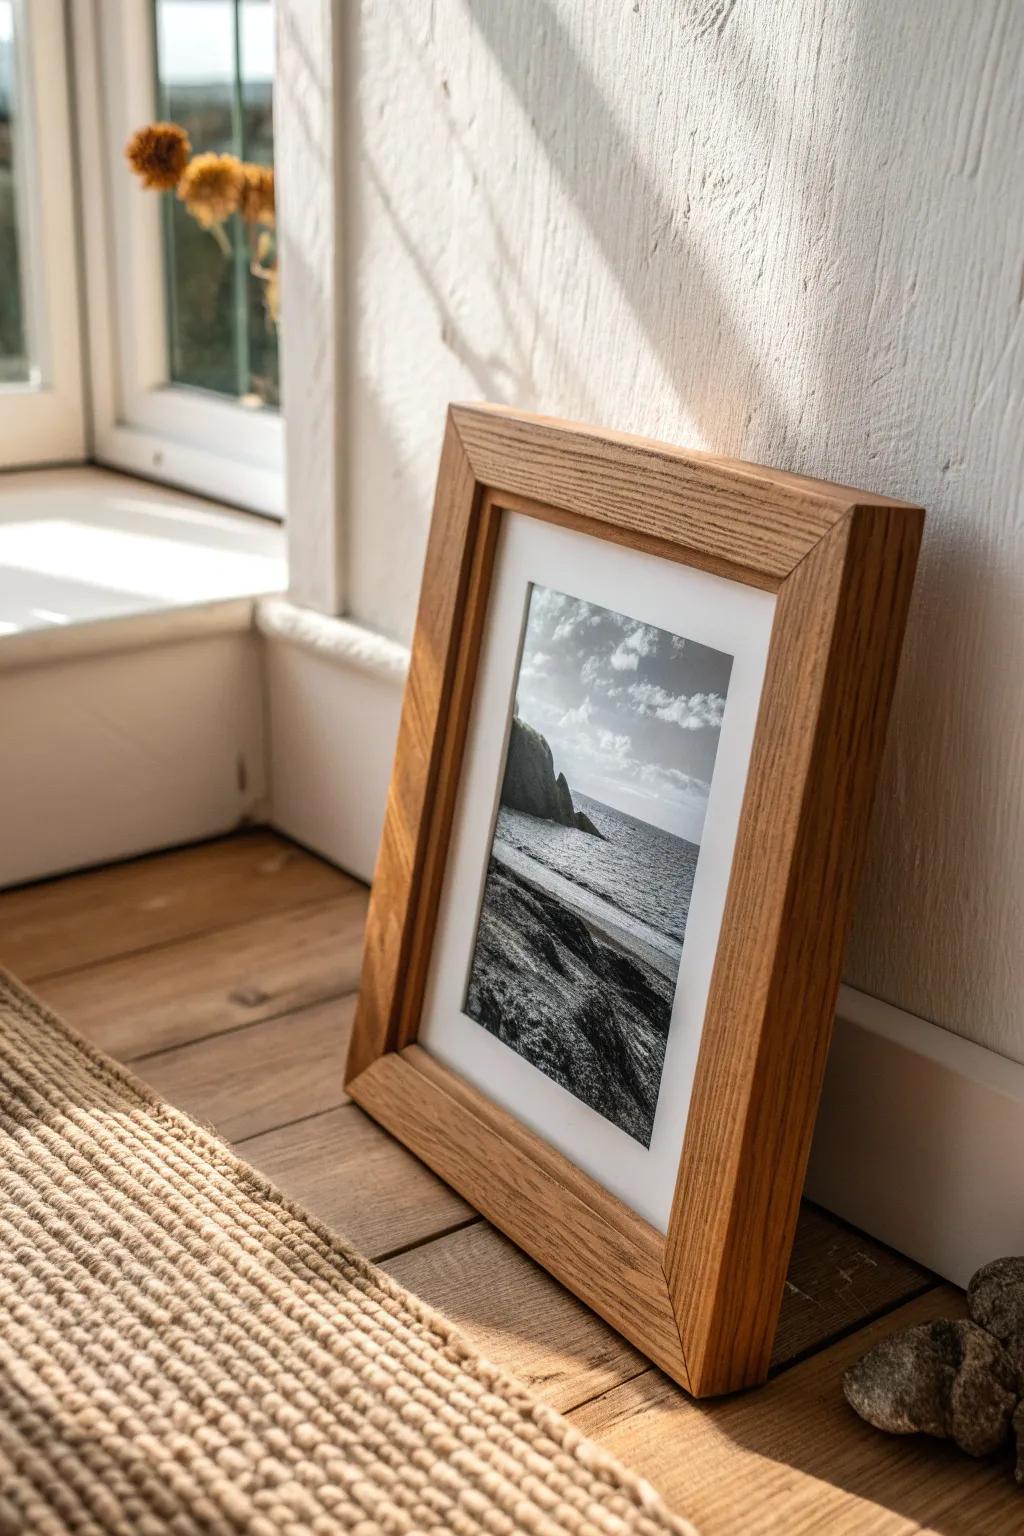
Instead of plain white, I cut colored mats in earthy tones that play nicely with warm wood finishes. The first time I used a deep clay color behind a black-and-white print, the whole frame looked custom.
A few suggestions:
- Pre-Cut Picture Frame Mats: Upgrade your existing frames instantly by swapping in these mats available in various deep, moody colors.
- Mat Board Cutter Tool: Create completely custom sizes and layered effects for your artwork with this precise handheld cutting tool.
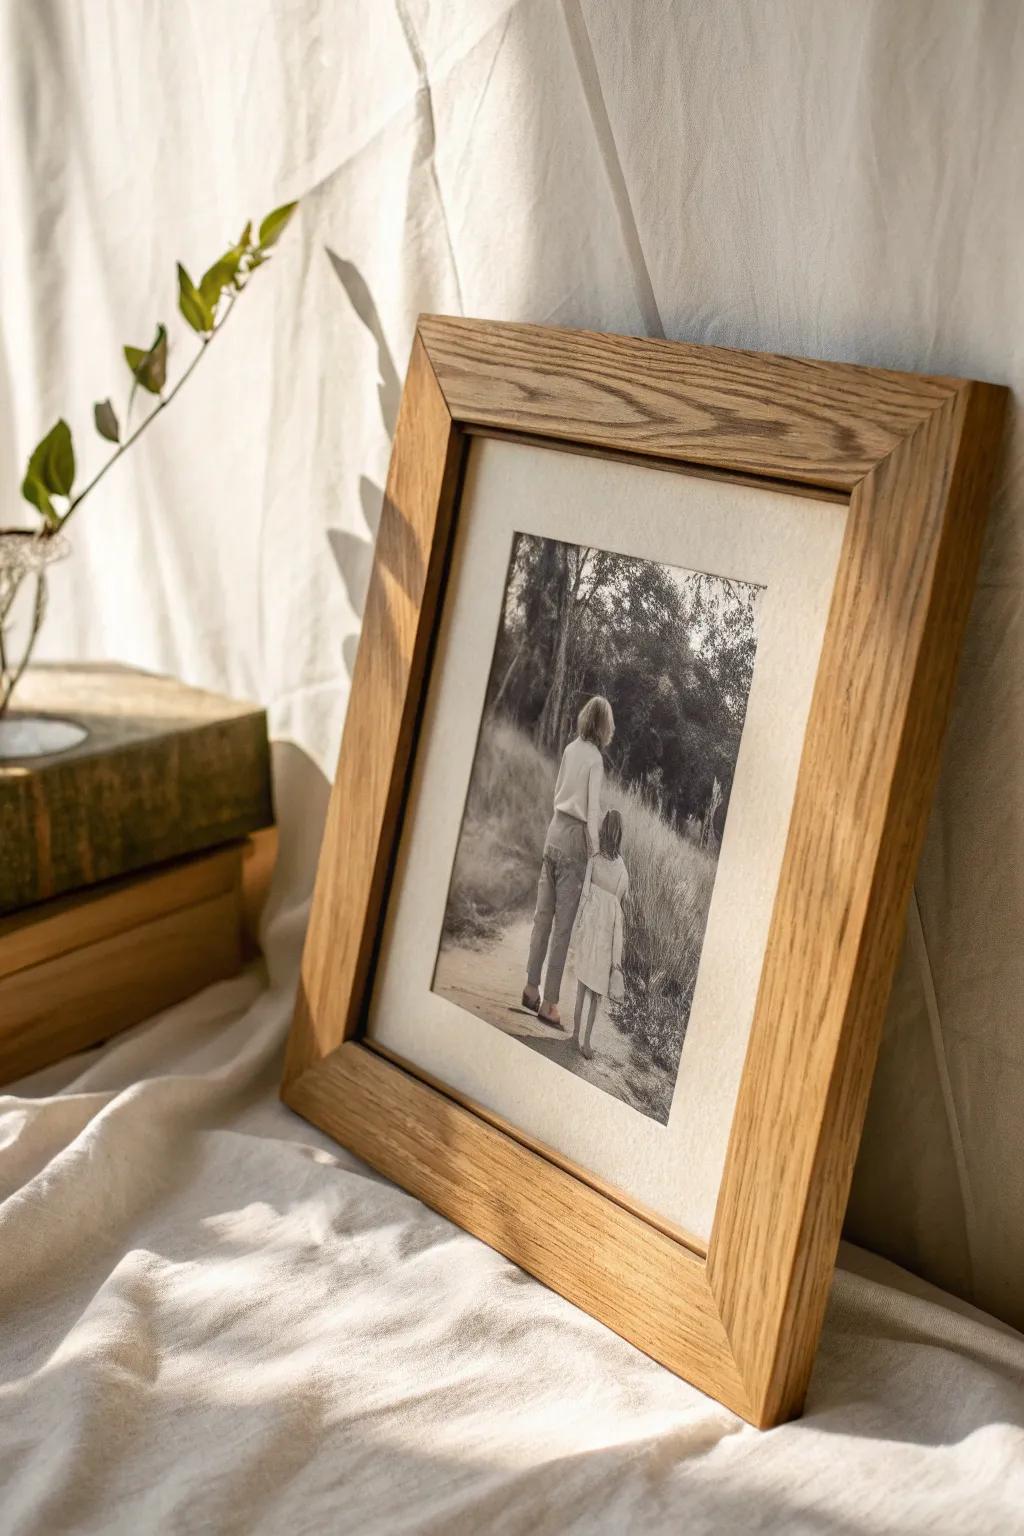
- Solid Oak Picture Frame: Pair your new colored matting with a natural wood frame to achieve that warm, earthy aesthetic.
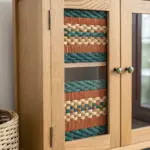
Floating Glass Sandwich Frames
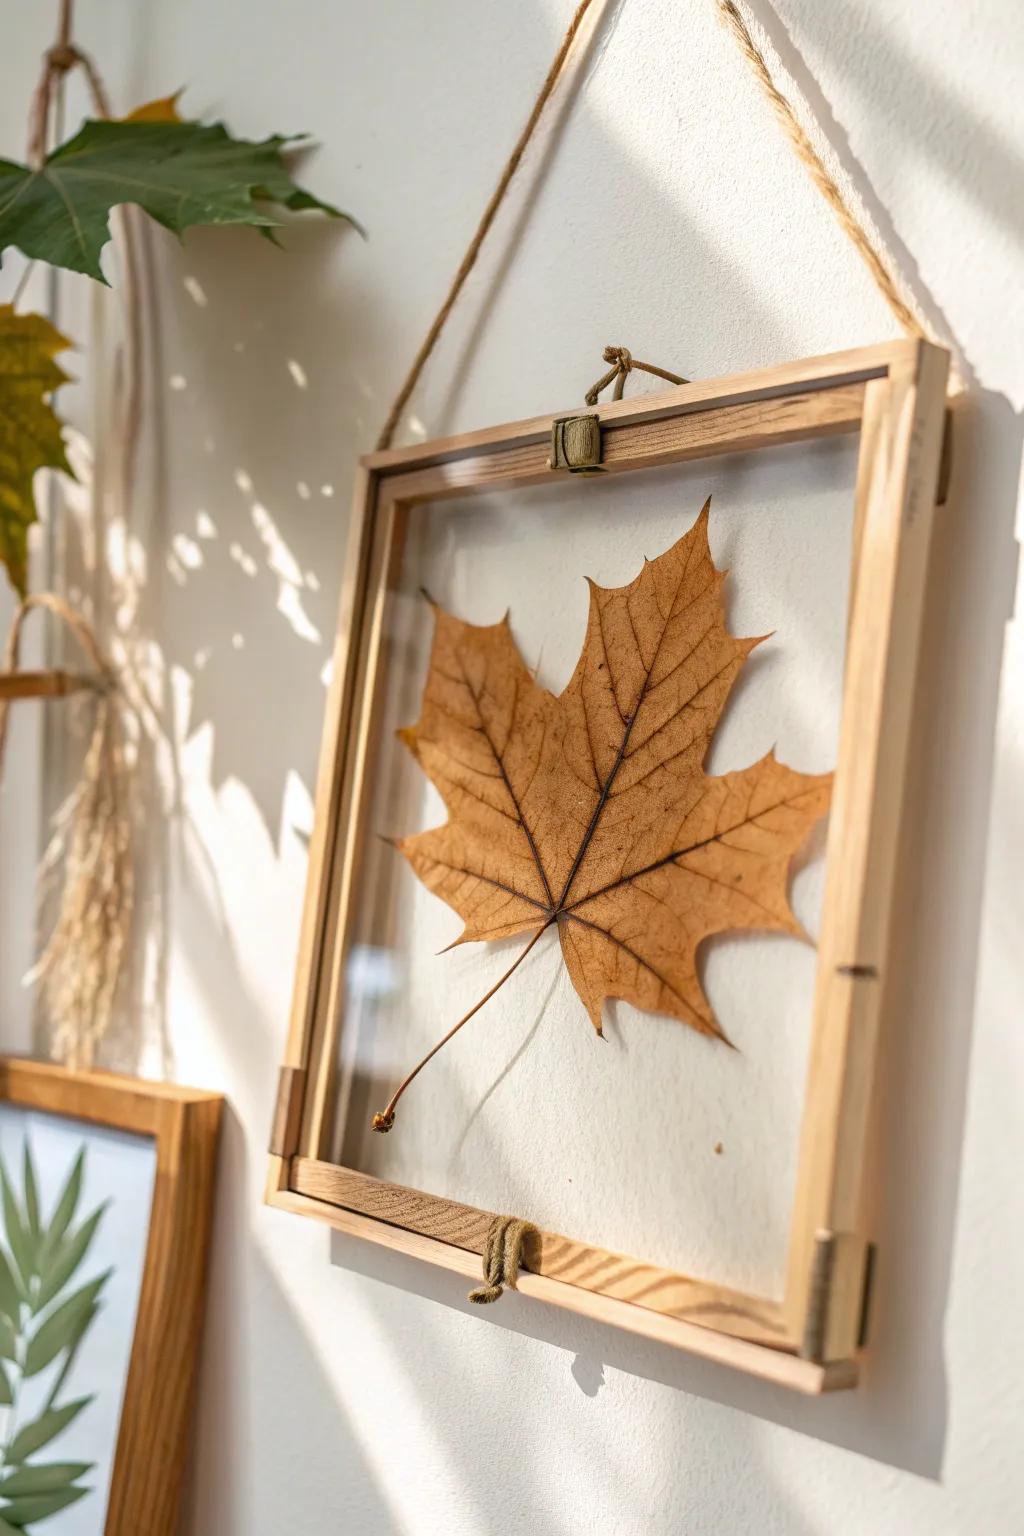
For delicate pieces like pressed leaves, I love a glass sandwich frame so the edges show and everything feels airy. I pressed a maple leaf from a fall walk and now it looks like it’s hovering on the wall.
May just do the trick:
- Wooden Floating Glass Frame: Display your botanical finds by placing them between glass panes for an airy, elegant look on any wall.
- DIY Flower Press Kit: Preserve leaves and petals perfectly flat before framing to ensure they last longer inside your glass display.
- Natural Jute Twine Spool: Use strong, rustic twine to hang your frames securely while adding a charming, natural aesthetic to your decor.
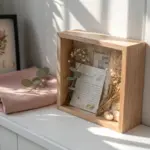
Shadow Box Keepsake Display
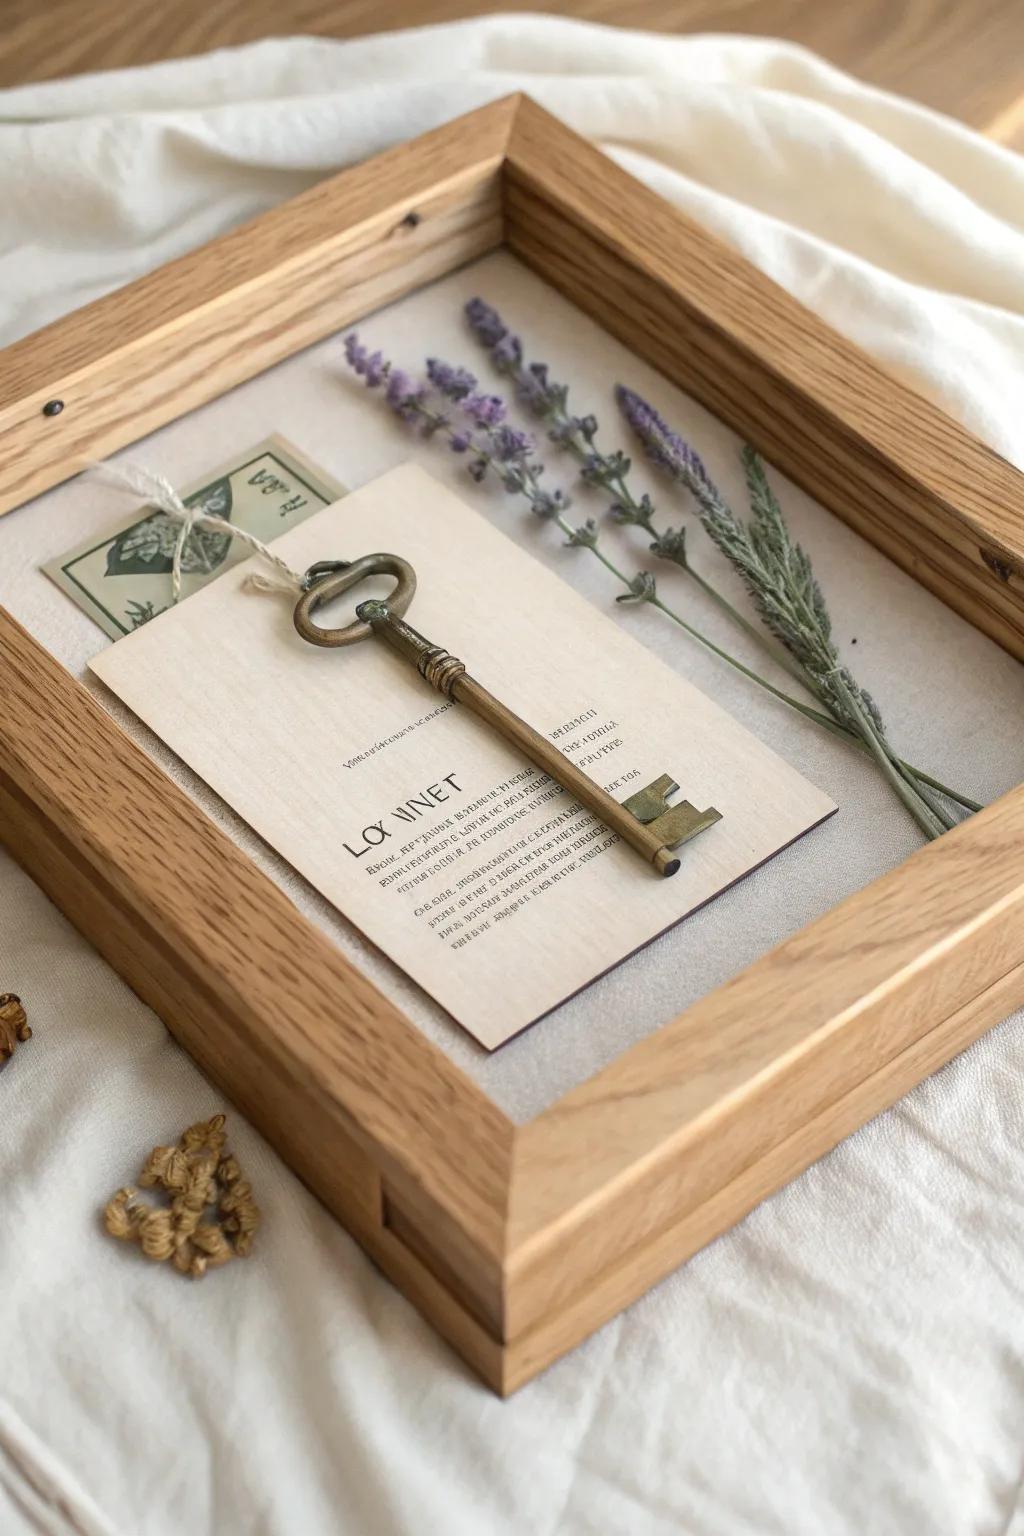
A deep shadow box is where I frame small 3D keepsakes—tickets, a tiny key, even a dried sprig—without it looking like junk-drawer chaos. I like mounting items on a linen-wrapped backer so it reads as intentional decor.
Possibly helpful picks:
- Deep Wood Shadow Box Frame: Choose a deep wooden frame to effortlessly display bulky keepsakes while adding natural warmth to your wall decor.
- Linen Fabric Sticky Backing Sheets: Create a textured, professional background for your items with self-adhesive linen sheets that elevate the overall look.
- Decorative Vintage Keys: Add a touch of mystery and antique charm to your display using these vintage-style decorative skeleton keys.
DIY Hinged Rotating Art Frame
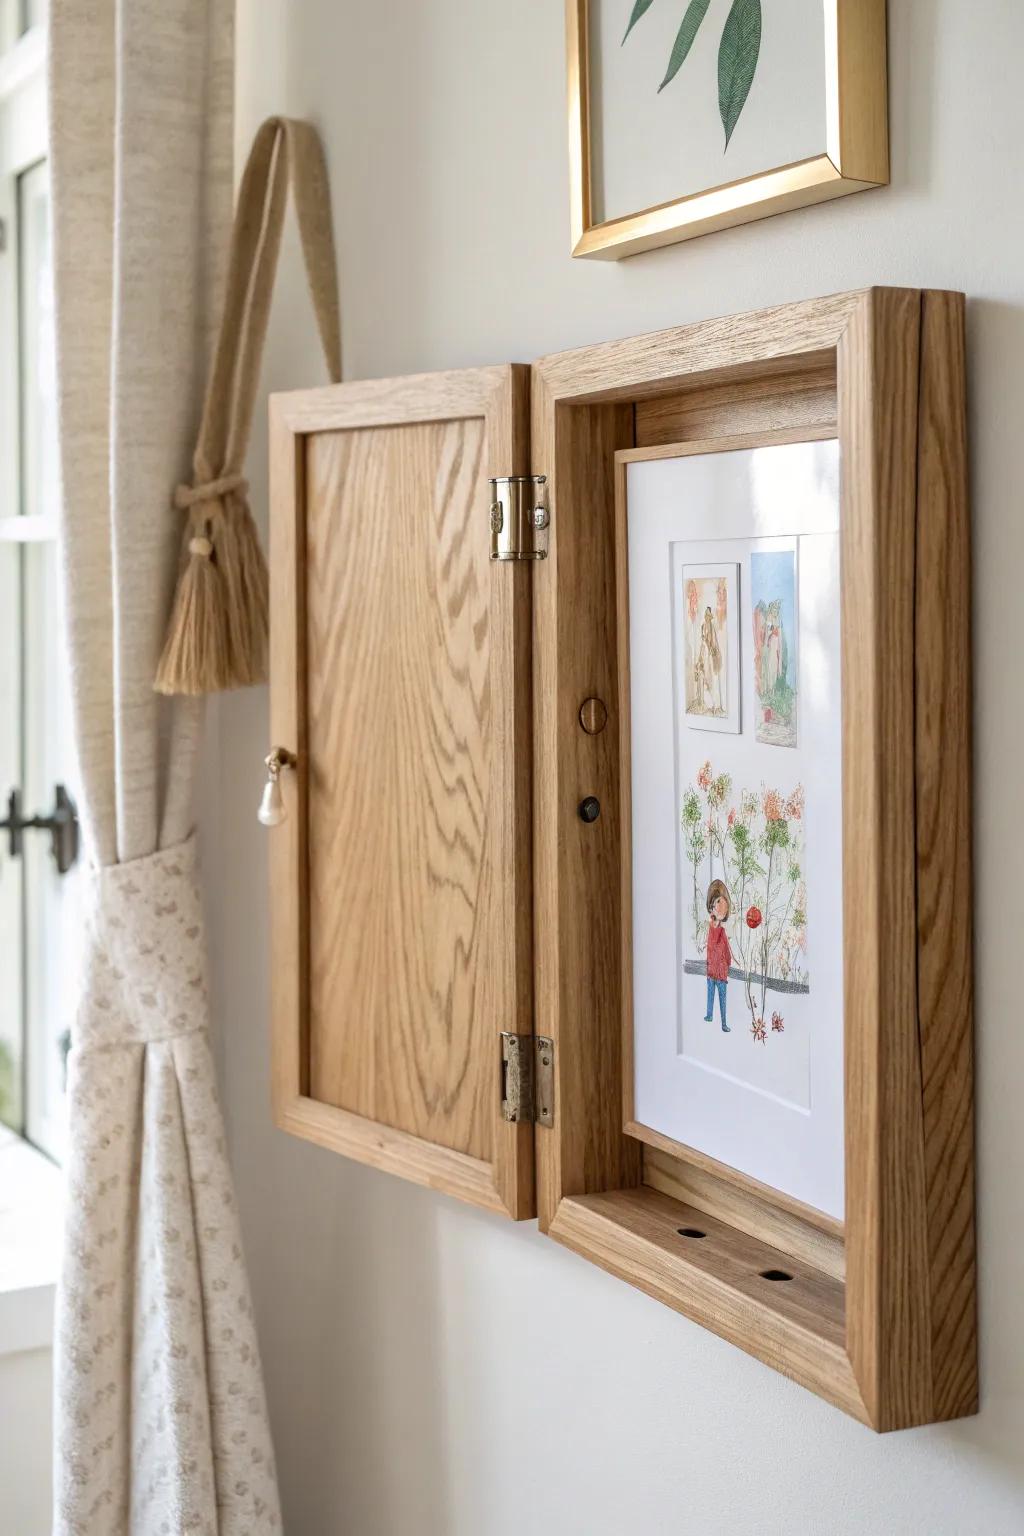
I’ve built a hinged front frame that opens like a door, so kids’ drawings can be swapped without taking it off the wall. It’s basically my guilt-free solution for keeping up with nonstop new artwork.
These products might be useful:
- Small Brass Cabinet Hinges: Secure the movable front frame to the back box using durable, attractive hinges for smooth opening and closing.
- Magnetic Door Catch or Latch: Keep your rotating art frame securely closed against the wall with a simple magnetic catch mechanism.
- Pre-Made Kids Art Frame: Skip the DIY process entirely with a ready-made frame designed specifically for storing and displaying children’s artwork.
Textile Float-Mount Moment
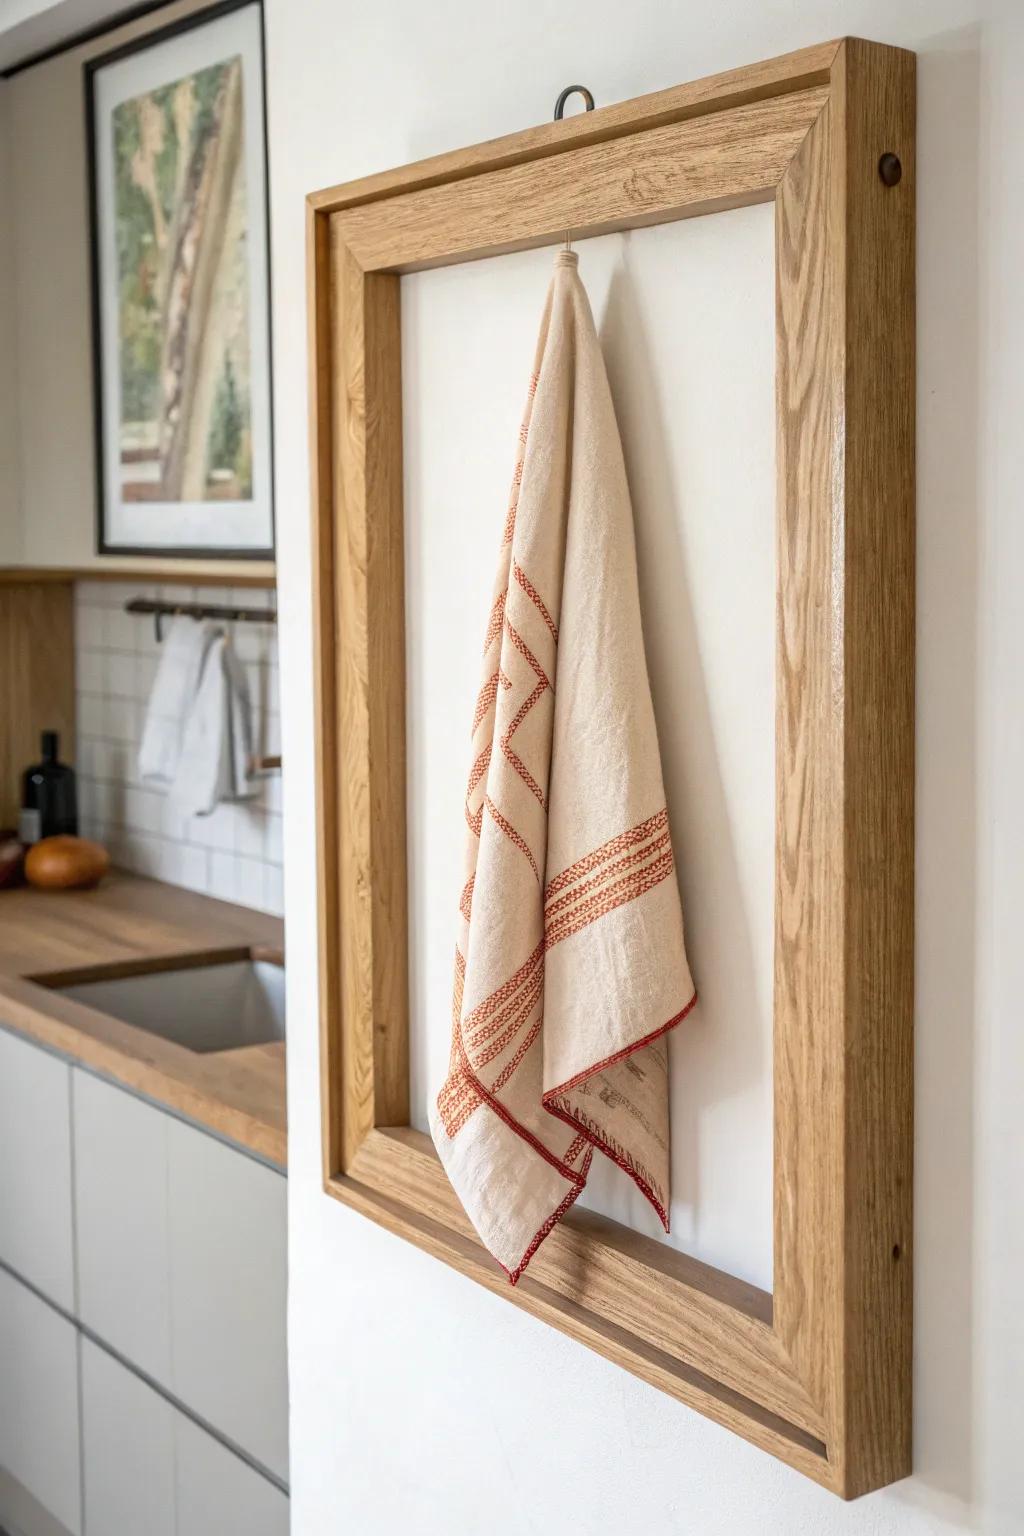
Framing a tea towel or bandana with a float mount adds soft texture against wood and glass in the coziest way. I did this with a thrifted linen scrap and it became the most commented-on piece in my kitchen.
Maybe worth checking out:
- Deep Shadow Box Frame: Create depth and showcase your favourite textile’s texture by choosing a deep frame that allows for creative float mounting.
- Decorative Linen Tea Towel: Find the perfect vintage-inspired or patterned linen towel to focus your kitchen’s aesthetic and serve as unique wall art.
- Wooden Magnetic Poster Hanger: Opt for this minimalist, damage-free hanging method to easily swap out textiles and achieve a relaxed, organic look.
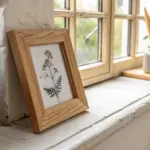
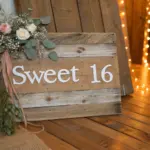
Handwritten Notes and Recipes
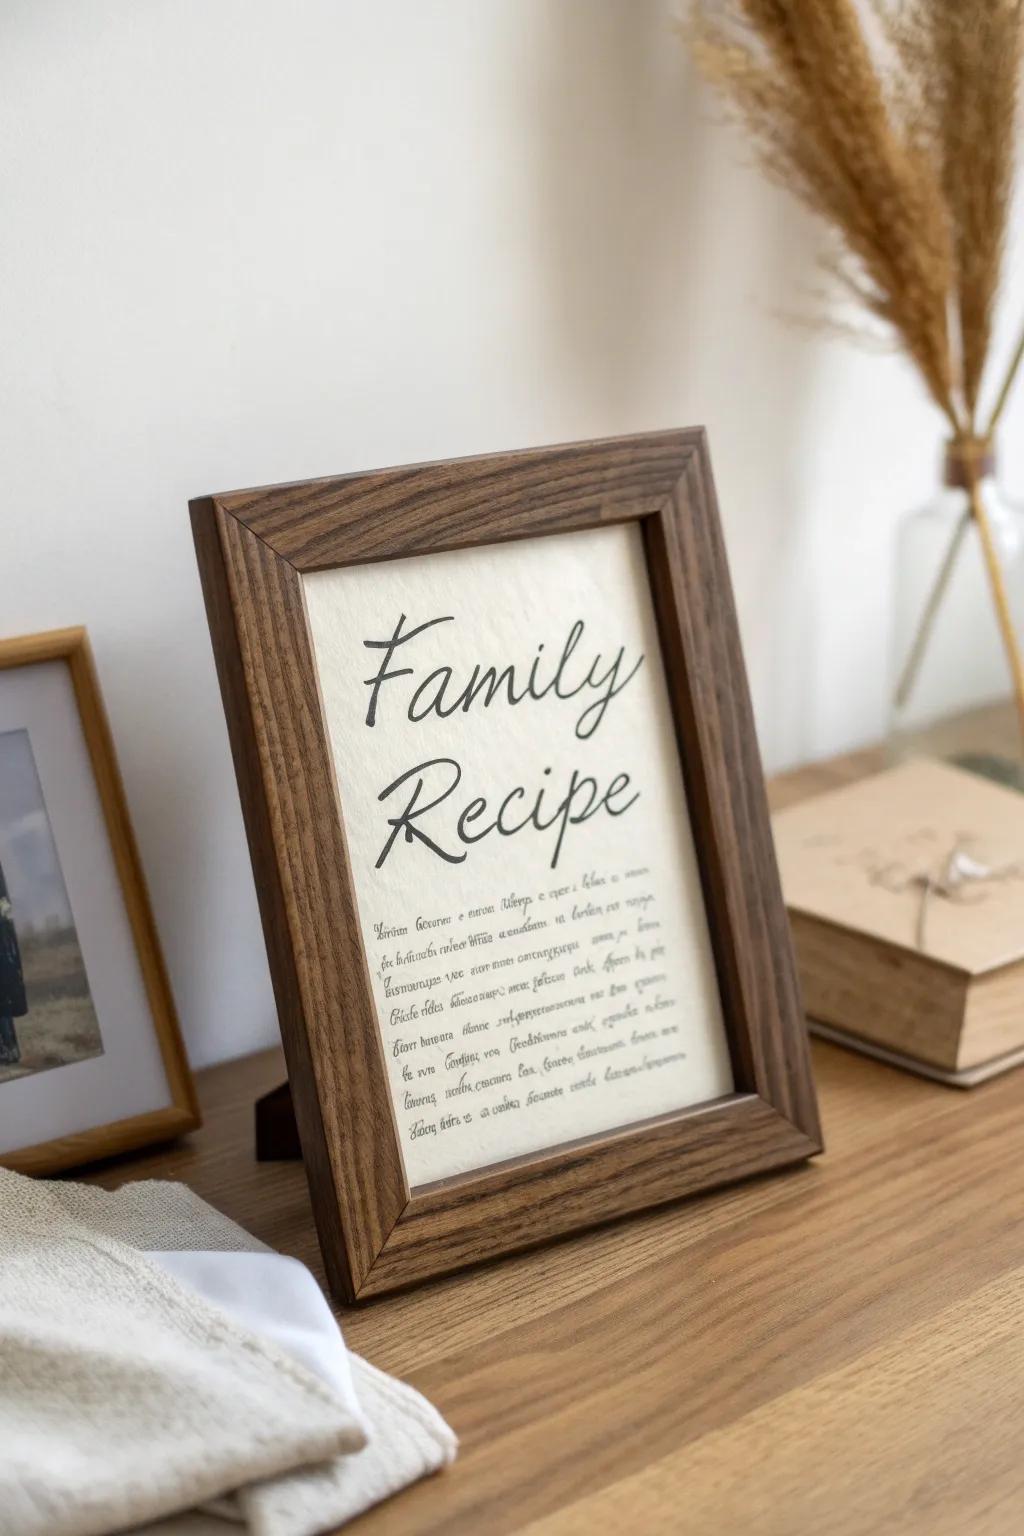
I love framing handwritten recipes and little notes, especially in a slim dark wood frame that makes the ink pop. I copied a beloved family recipe onto nicer paper once, and it still gives me that Sunday-dinner feeling.
You might like:
- Dark Wood Picture Frames: Choose a classic dark wood frame to elegantly contrast against paper and highlight your handwritten text.
- Textured Cardstock or Cotton Paper: Use high-quality, textured paper to rewrite cherished notes, giving them an authentic and timeless appearance.
- Calligraphy Pens or Markers: Create beautiful headings and legible text for your display pieces with precision archival ink pens.
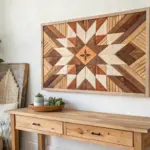
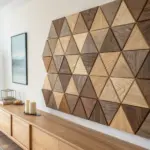
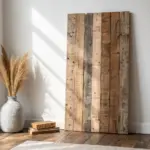
Maps and Drawings on Wood Backers
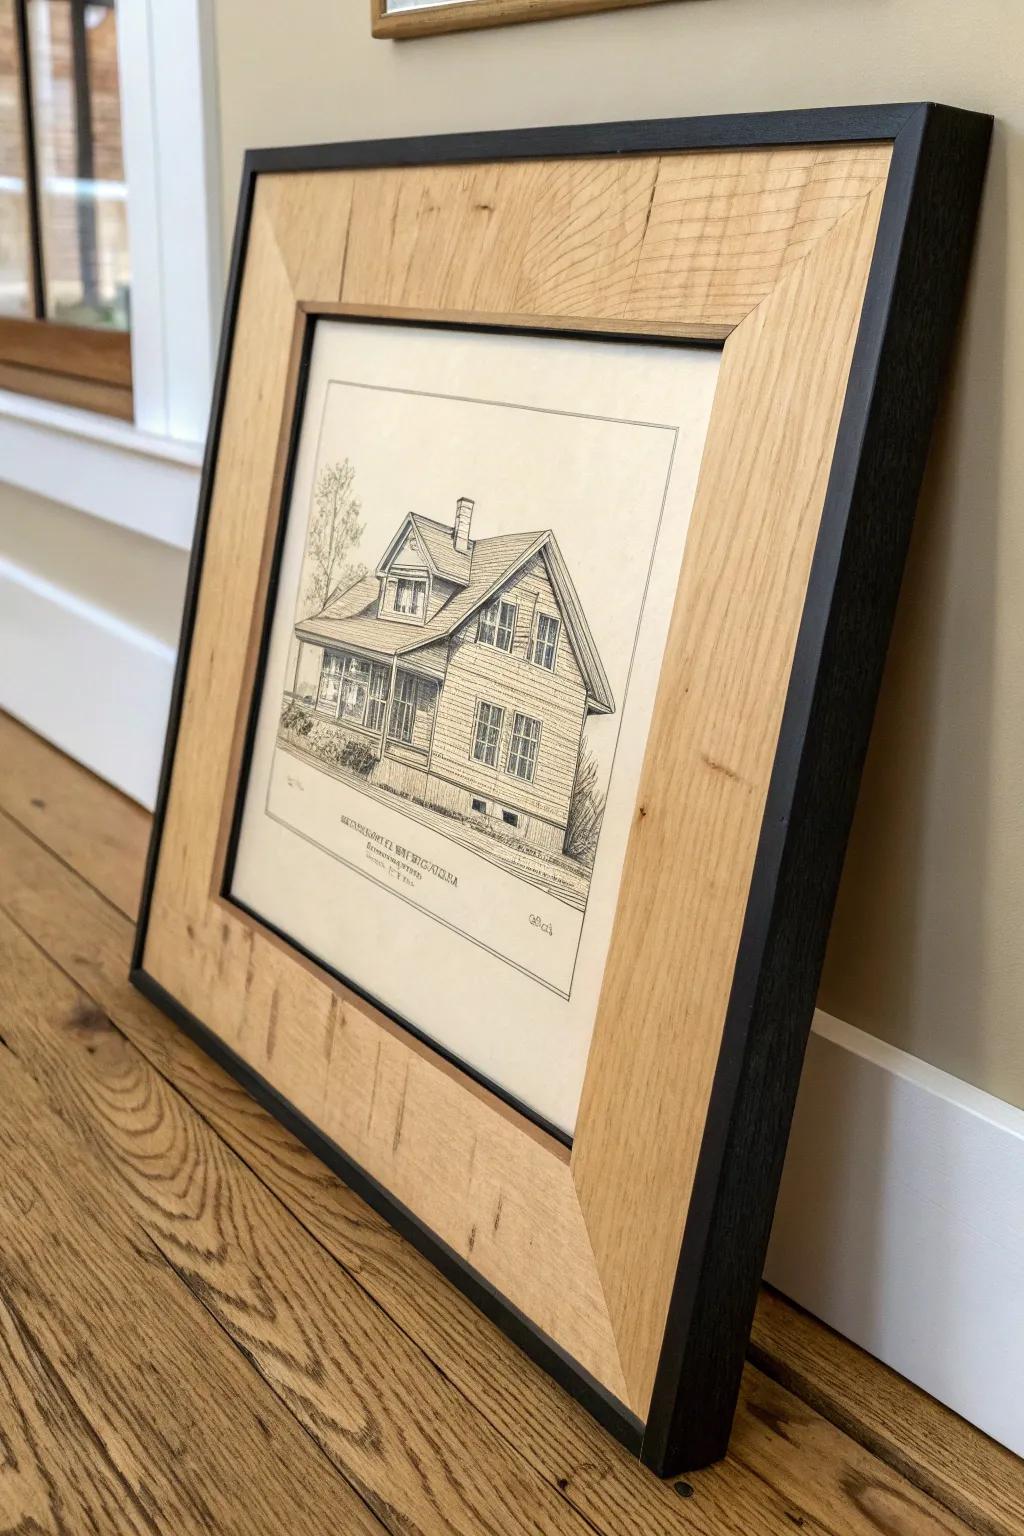
For big impact, I mount a map or architectural drawing onto sealed plywood, then frame it so the wood edge becomes part of the art. I tried it with an old house plan and it looked instantly collected and rustic.
Give these a look:
- Acid-Free Spray Adhesive: Secure your documents to wooden backings permanently and smoothly without risking bubbling or discoloration over time.
- Clear Matte Varnish: Protect your mounted artwork and the exposed wood grain from dust and UV light with a flat finish.
- Deep Shadow Box Frame: Accommodate the extra thickness of plywood mounting while creating a professional, gallery-style depth for your display.
Wallpaper and Paper Panels
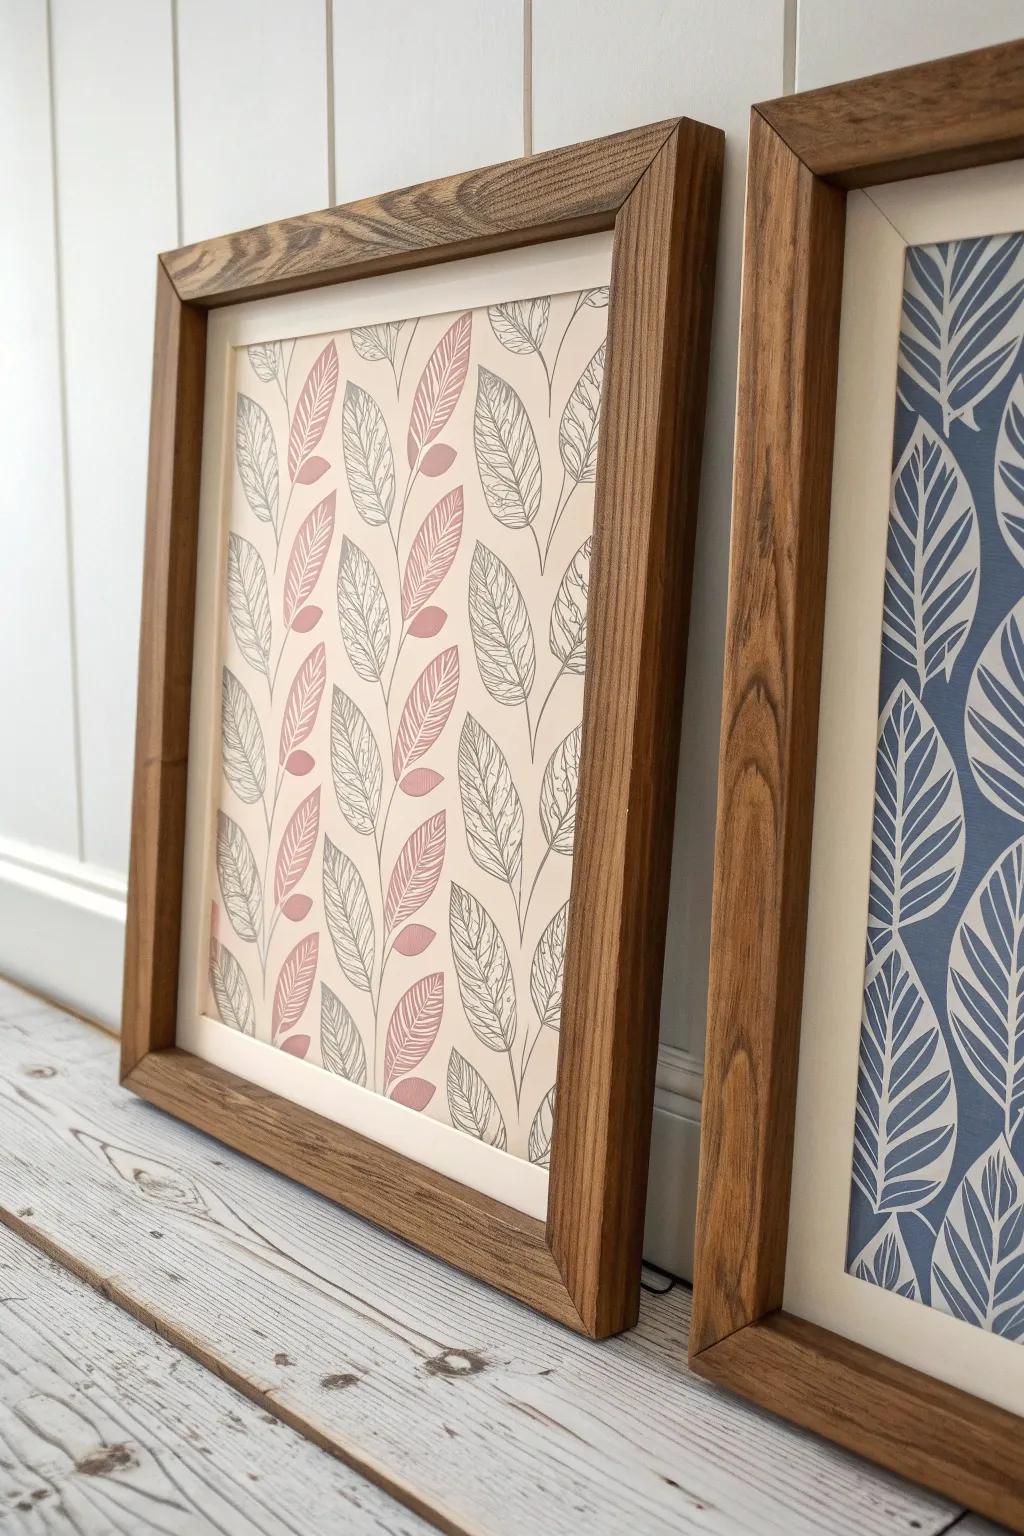
Whenever I have a gorgeous wallpaper offcut or patterned paper, I frame it as a bold panel instead of letting it hide in a drawer. I’ve even paired two different prints in matching frames to make a cheap-but-fancy diptych.
Possibly handy products:
- Natural Wood Picture Frame: Choose unfinished or light oak frames to achieve that warm, rustic look shown in your inspiration photo.
- Peel and Stick Wallpaper Samples: Browse colorful floral or geometric wallpaper samples to create instant, affordable art without buying full rolls.
- Pre-Cut Picture Matting: Give your paper panels a professional finish by adding crisp white mats to help the patterns pop.
Salvaged Window as Multi-Frame
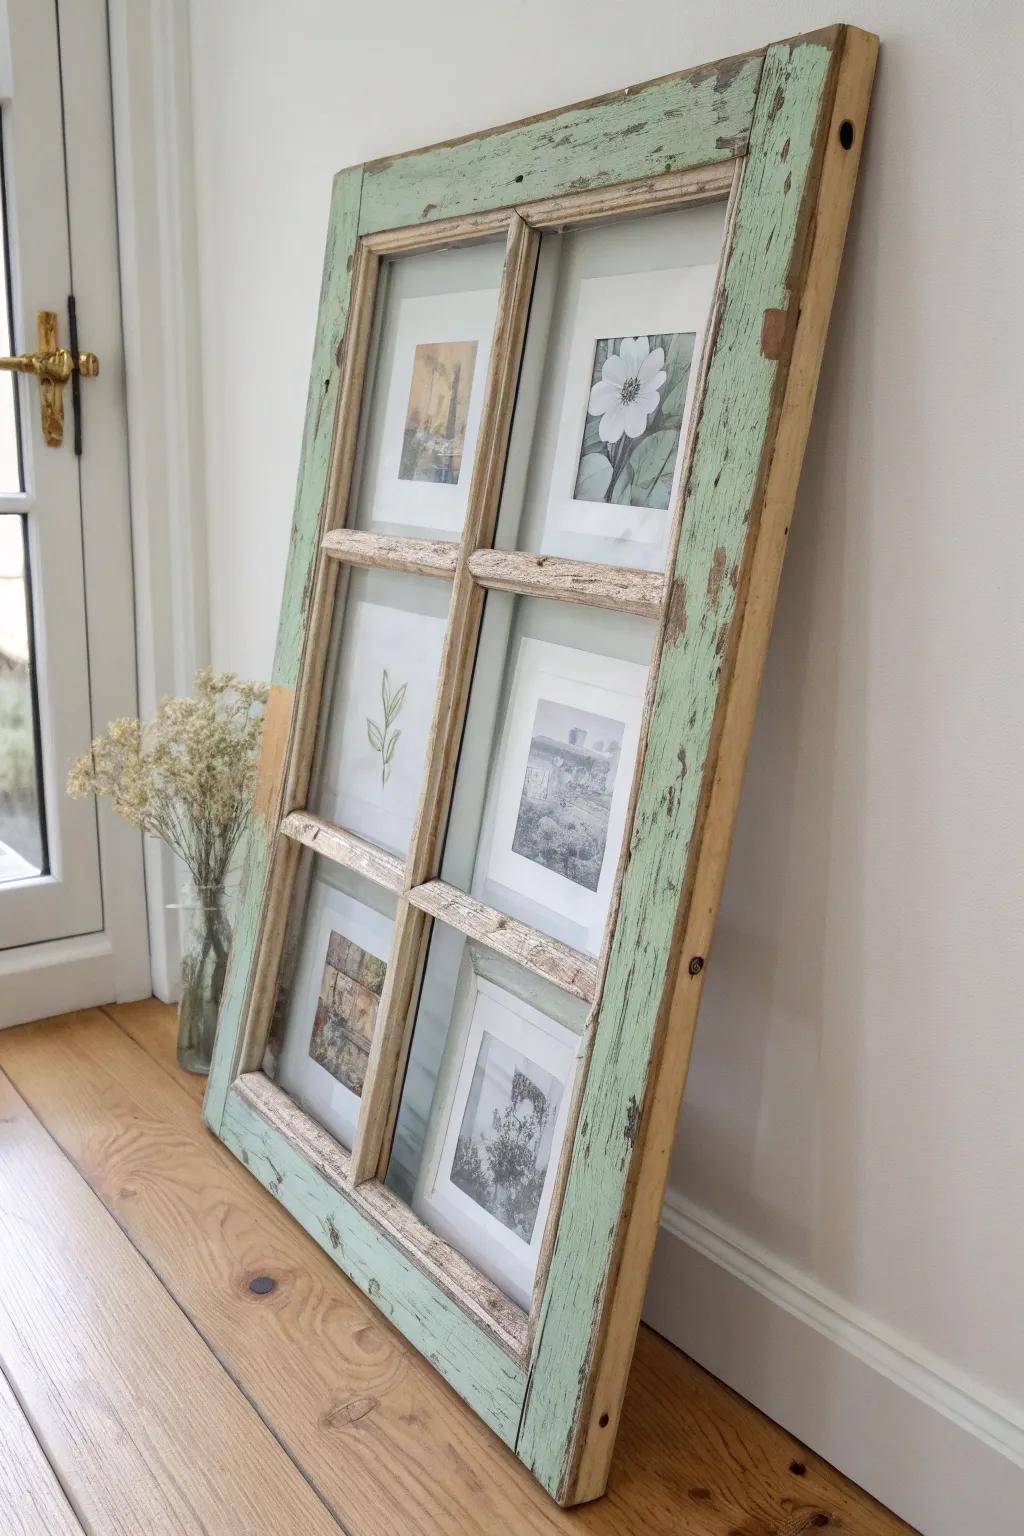
An old window sash makes the coolest multi-opening frame, and the worn paint adds instant character. I usually screw thin plywood to the back, then clip photos behind each pane so I can rotate them seasonally.
A few choices to try:
- Thin Plywood Sheets: Secure a sturdy backing for your salvaged window frame project to easily mount and display your chosen photos.
- Metal Picture Turn Buttons: Use these small hardware pieces to hold your backing board in place while allowing for easy photo swaps.
- Photo Mounting Clips: Attach your photos securely behind the glass panes without damaging the original prints using these versatile clips.
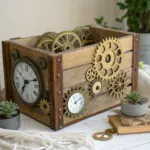
Frame-Within-a-Frame Diorama

For a real wow moment, I build a frame within a frame by adding a shallow shelf inside and styling it like a tiny scene—photo, dried flower, little wood carving. The first one I made stopped people mid-conversation because it’s part art, part shadowbox, and totally unexpected.
Try these:
- Deep Shadow Box Frame: Choose a deep wooden shadow box as your base to create dimensions for internal framing and layered displays.
- Dried Pampas Grass or Wheat Stems: Add natural texture and height to your diorama scene with these dried botanicals to complement the artwork.
- Small Wooden Decorative Bird: Place a miniature bird figure on the shelf or edge to bring a touch of life to your display.


