
A herringbone backsplash is one of those details that instantly makes a kitchen feel more finished and intentional. I’ve used it in everything from cozy farmhouse makeovers to clean modern spaces, and it always adds that “you thought this through” texture.
Large-Format Herringbone Pieces
Using longer tiles for a large-format herringbone backsplash keeps the pattern calmer and more contemporary. I like it when the kitchen already has busy stone counters, because it adds structure without fighting.
A few choices to try:
- Large White Rectangle Ceramic Tiles: Create a calming, contemporary backsplash by arranging these longer format tiles in a classic herringbone layout.
- Pre-Mixed White Grout: Simplify your tiling project with ready-to-use grout that ensures a clean, cohesive finish for your backsplash.
- Wooden Serving Board: Warm up your modern stone and tile kitchen with this rustic wooden serving board for stylish countertop display.

White Tile With Dark Grout
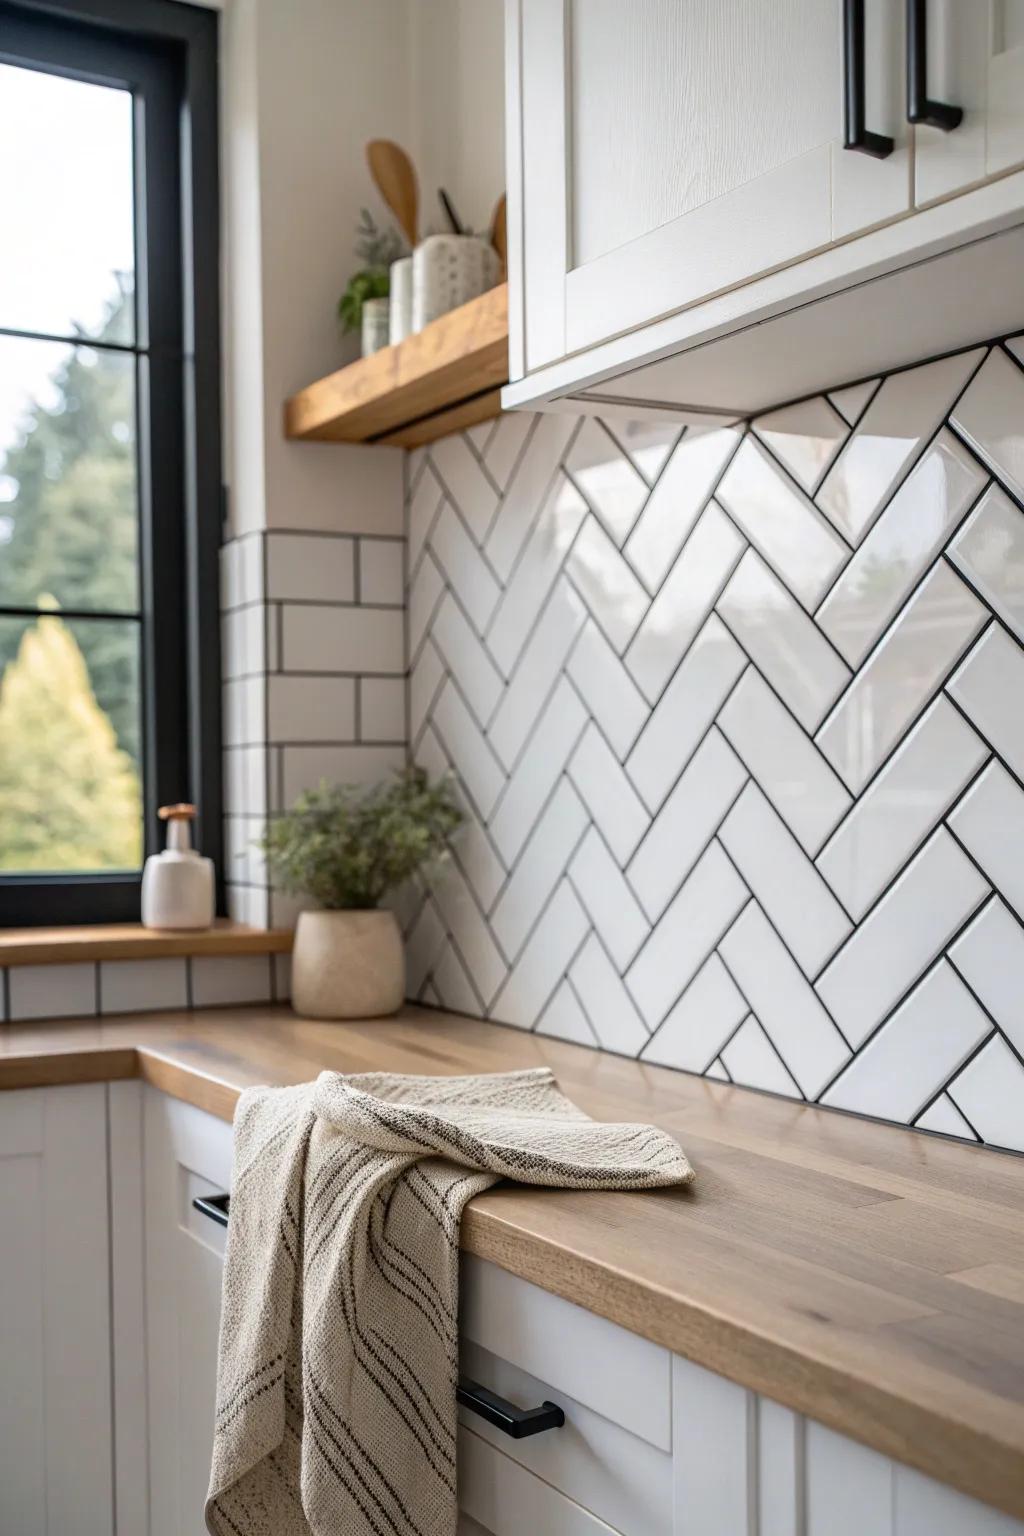
If you want the pattern to really pop, try a white herringbone backsplash with dark grout—it turns the layout into graphic art. I’ve done this behind a range wall, and it instantly became the main focal point.
A few suggestions:
- Matte White Subway Tiles: Create the foundation of your herringbone pattern with these versatile ceramic tiles for a clean, classic look.
- Charcoal or Black Grout: Use this contrasting grout to make your white herringbone pattern pop and add graphic appeal to your walls.
- Butcher Block Countertop Oil: Protect your wood countertops and keep them looking warm and inviting with this food-safe conditioning oil.

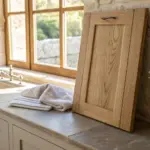
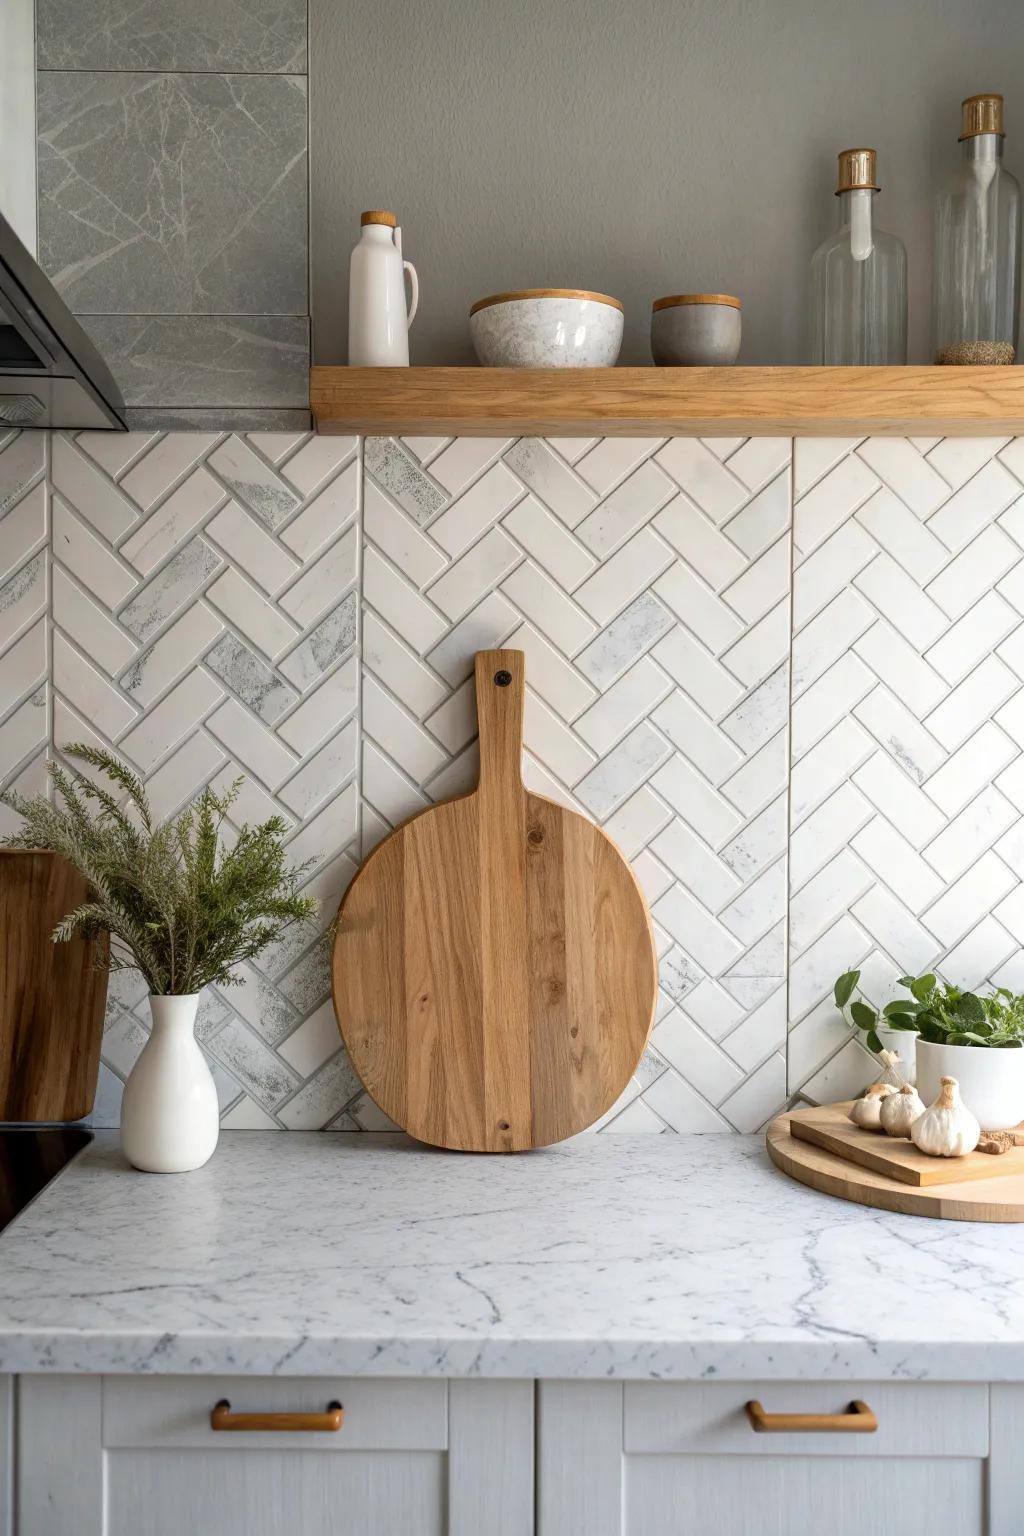
Marble-Look Herringbone Elegance
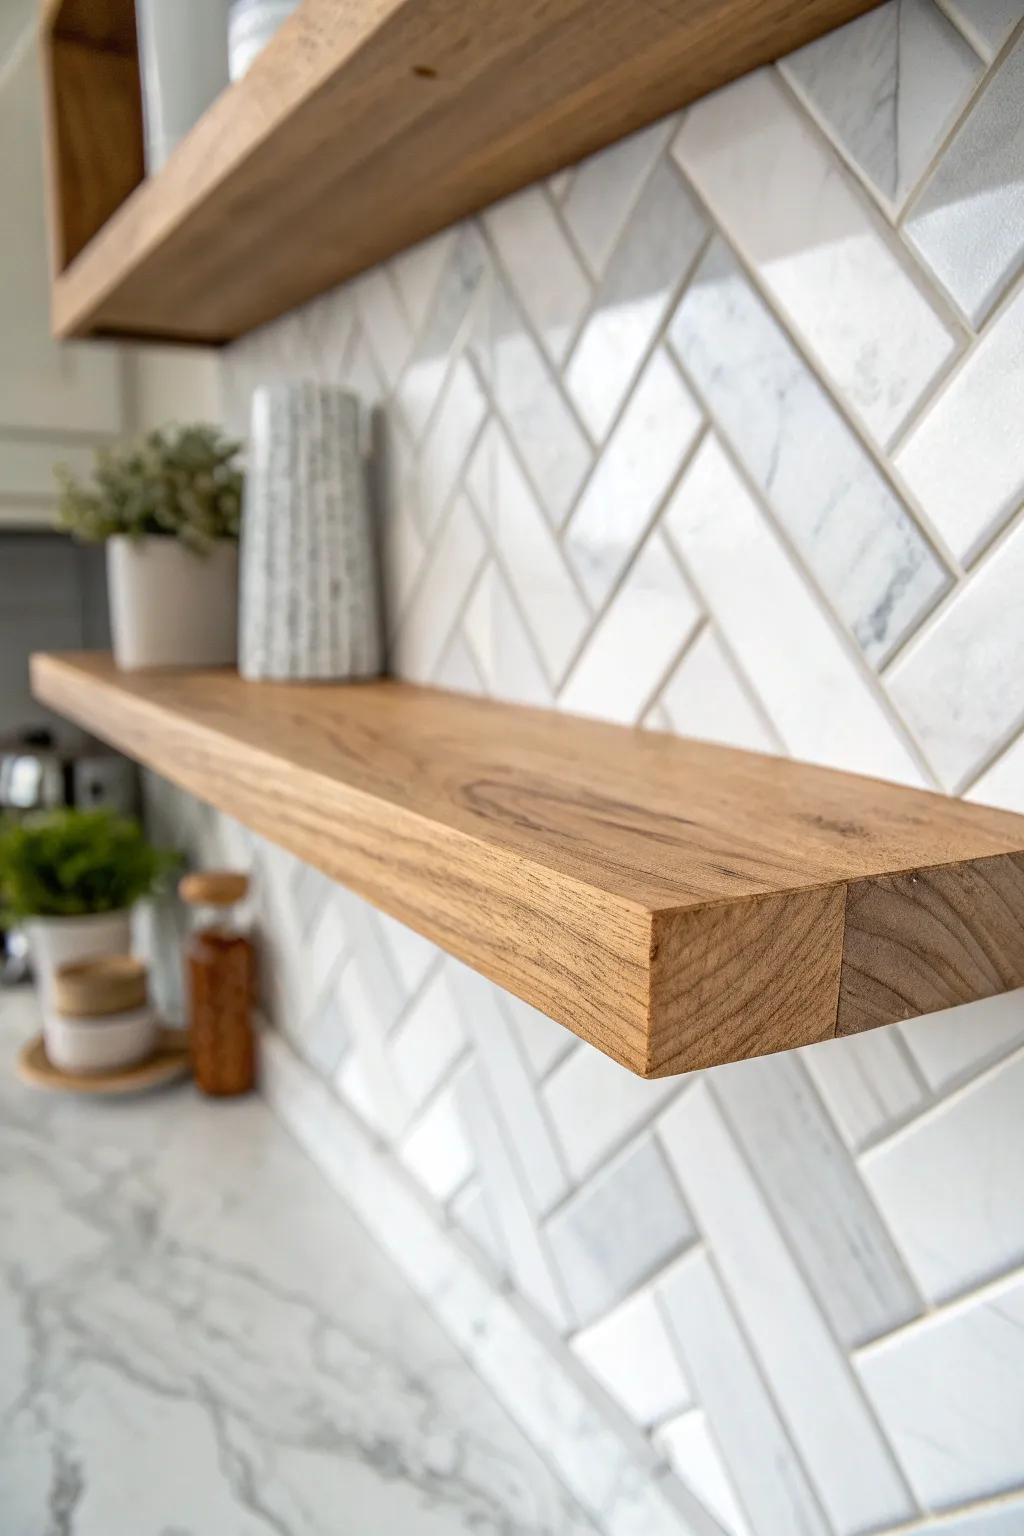
For that dressed-up, traditional vibe, a marble-look herringbone backsplash adds gentle movement without feeling busy. I’ve installed it with warm wood shelves, and the combo looks expensive even in a modest kitchen.
Check these products out:
- Peel and Stick Marble Herringbone Tile: Transform your kitchen walls easily with self-adhesive tiles that mimic the elegant look of real marble.
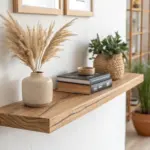
- Floating Oak Wood Shelves: Add warmth and storage to your backsplash area with rustic floating wooden shelves for displaying decor.
- Ceramic Textured Vase: Complete your shelf styling with a neutral, textured vase perfect for holding greenery or utensils.

Blue Coastal Herringbone Pop
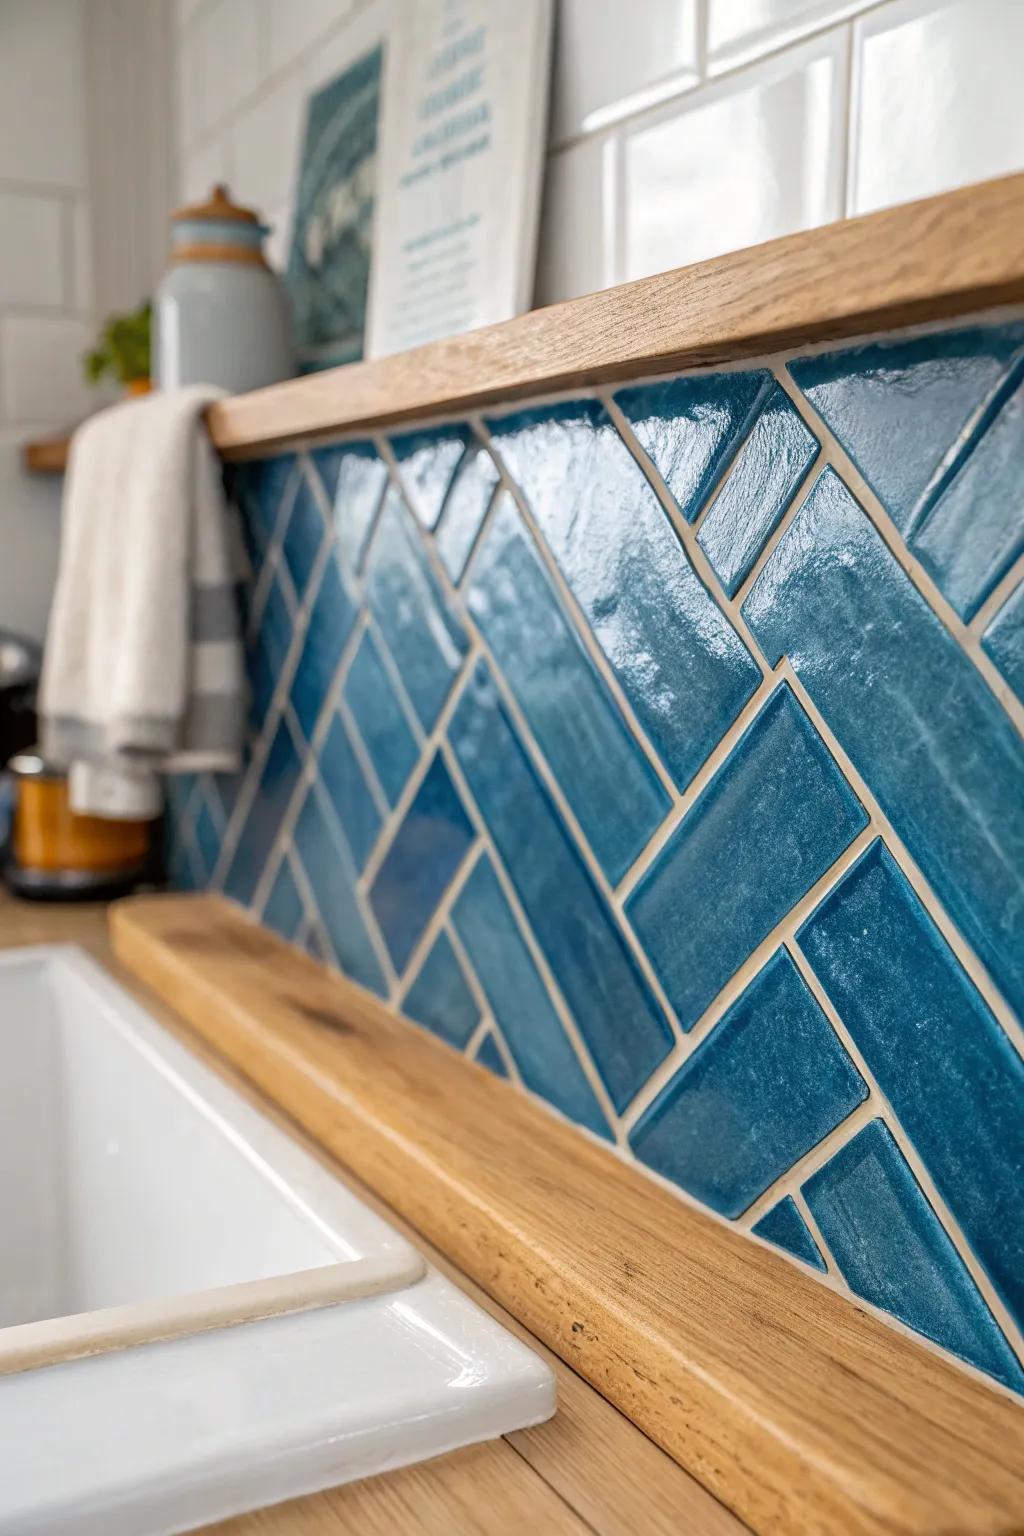
A blue herringbone backsplash is the quickest way I know to bring that relaxed coastal feeling into a kitchen without changing the cabinets. I’ve paired it with white uppers and warm wood accents, and it feels fresh year-round.
You might like:
- Glossy Blue Ceramic Subway Tiles: Create a vibrant coastal focal point by installing these glossy tiles in a classic herringbone layout.
- Light Oak Floating Shelves: Add warmth and contrast to your cool blue tile with these sturdy natural wood wall shelves.
- Striped Kitchen Dish Towels: Complete the casual beach house look with these classic soft cotton textiles for your sink area.
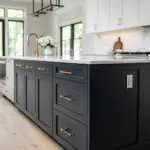
Moody Black Herringbone Drama
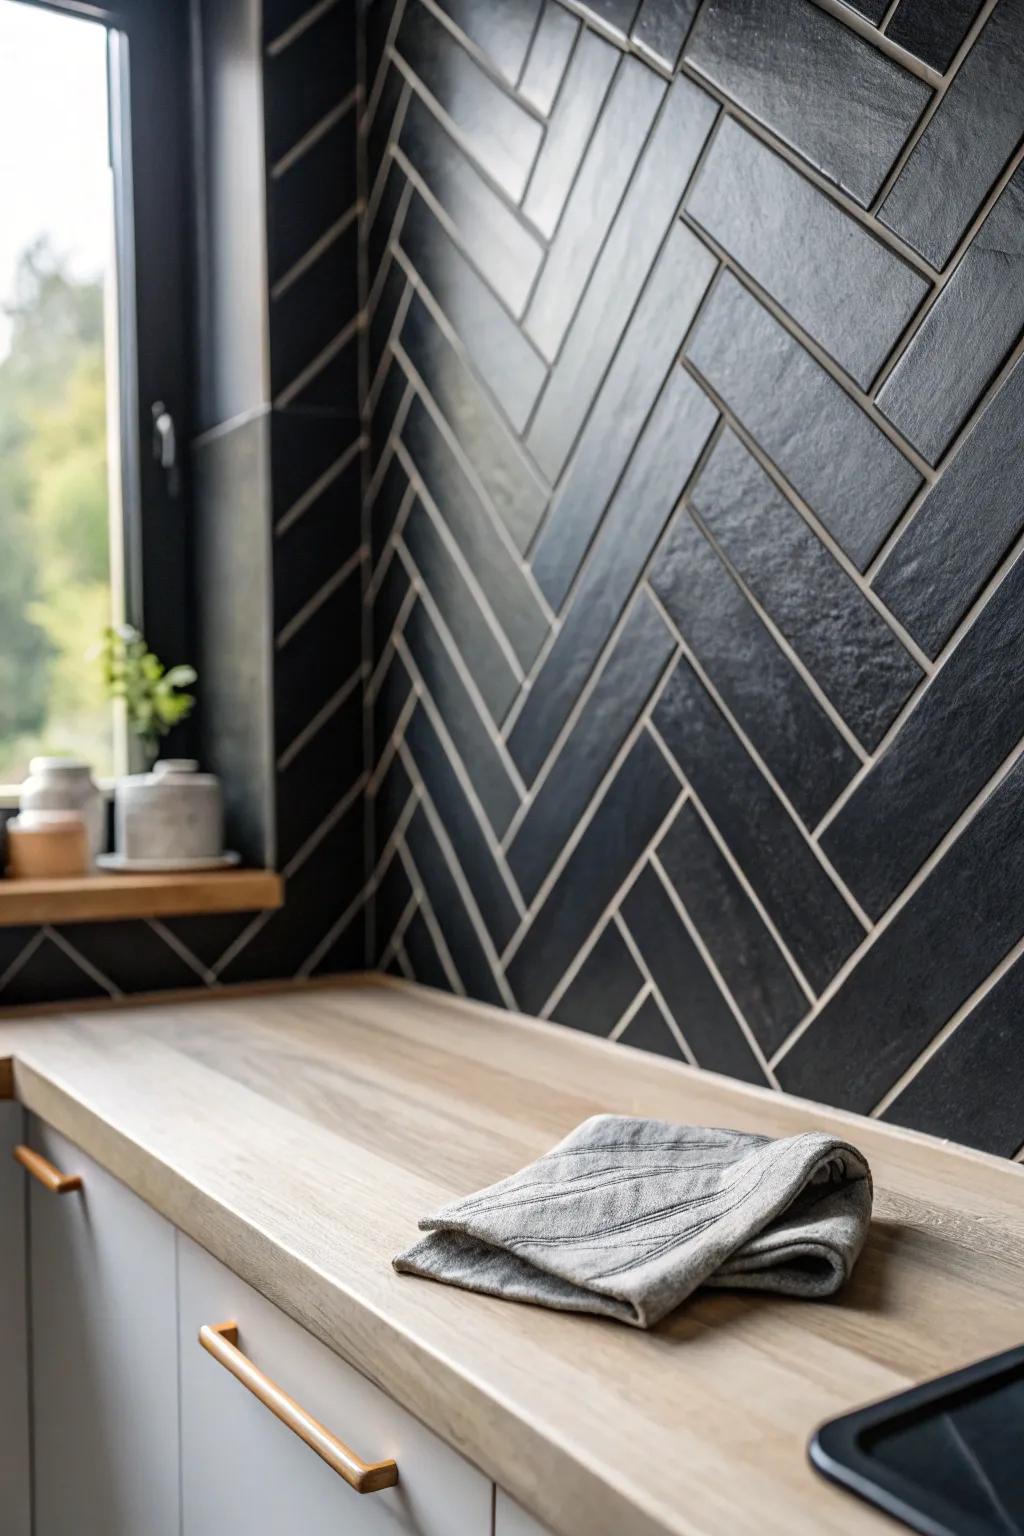
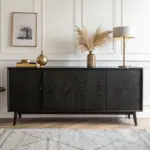
A black herringbone backsplash gives you that bold, modern contrast, especially against light cabinets and counters. I’ve used it in a remodel where the kitchen felt bland, and it instantly turned sophisticated.
May just do the trick:
- Black Slate Herringbone Mosaic Tiles: Transform your kitchen instantly with these dark tiles that add dramatic texture and modern sophistication to your walls.
- High-Contrast White Grout: Make your black tile pattern pop by using a bright white grout to emphasize the geometric herringbone layout.
- Maple Wood Butcher Block Countertop: Soften the moody black backsplash with the natural warmth of light wood counters for a balanced, inviting look.
Brick-Style Herringbone Charm
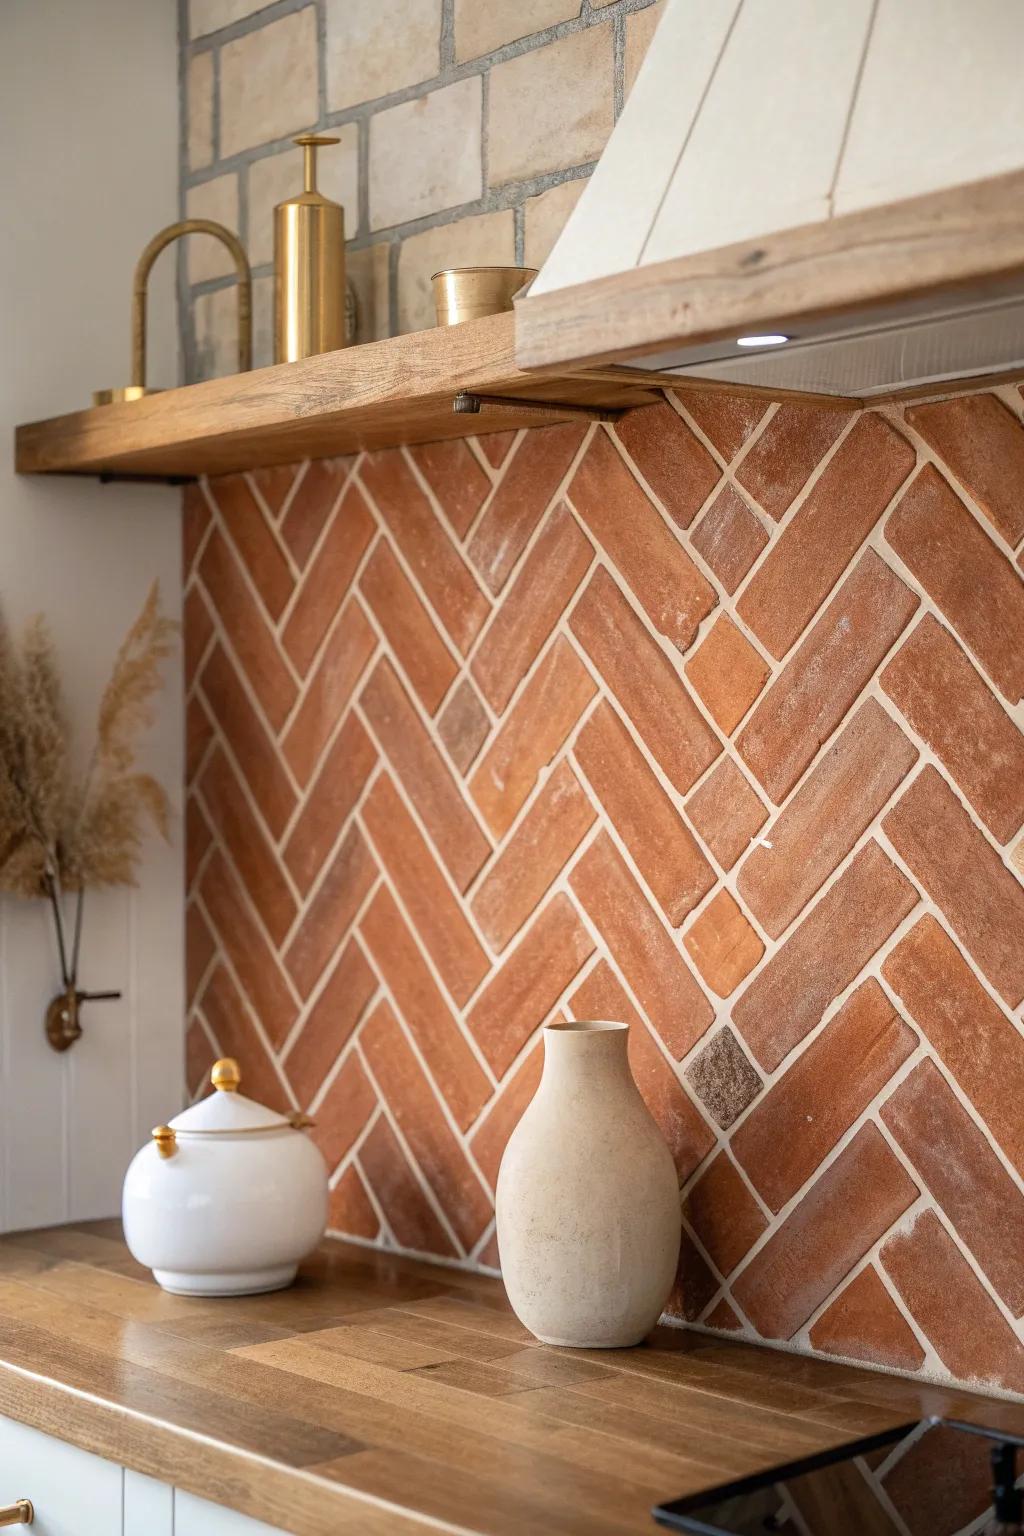
A brick herringbone backsplash brings that farmhouse grit in the best way, especially with open shelves and vintage-style lighting. I’ve worked with brick-look surfaces before, and the texture hides everyday smudges really well.
Items that may come in handy:
- Red Brick Veneer Tiles: Recreate this rustic look effortlessly by choosing thin brick veneers that add instant texture and warmth.
- Rustic Wooden Floating Shelves: Install sturdy open shelving to display decor and keep essentials handy while enhancing the farmhouse aesthetic.
- Ceramic Farmhouse Vase: Add a finishing touch with a textured ceramic vase, perfect for softening the rugged brick backdrop.

Counter-To-Ceiling Herringbone
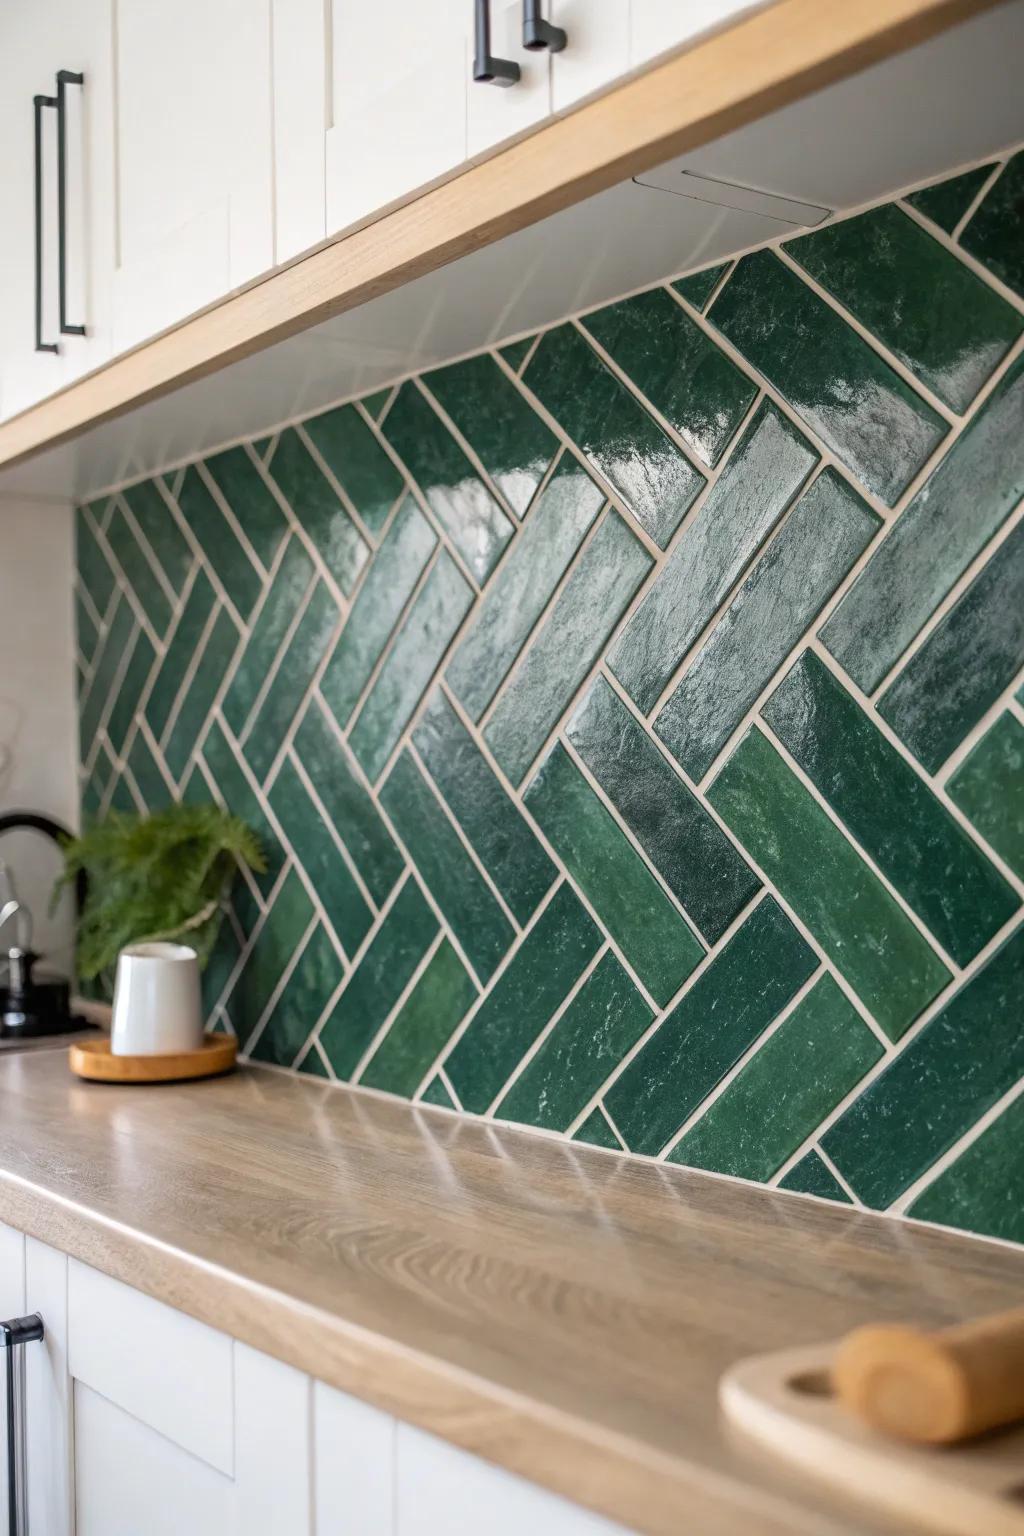
Running a herringbone backsplash all the way to the ceiling makes the whole wall feel intentional, like a feature wall that also works hard. I’ve done this behind a main cooking zone, and it instantly looked custom-built.
A few relevant products:
- Dark Green Ceramic Subway Tiles: Recreate this bold kitchen aesthetic by installing these rich, glossy green tiles in a classic herringbone pattern.
- Premium Non-Sanded White Grout: Make your tile pattern pop by using bright white grout to define lines and enhance visual contrast.
- Butcher Block Countertop Oil: Protect your wooden work surfaces and maintain that warm natural glow with regular applications of food-safe oil.
Herringbone Only Behind the Hood
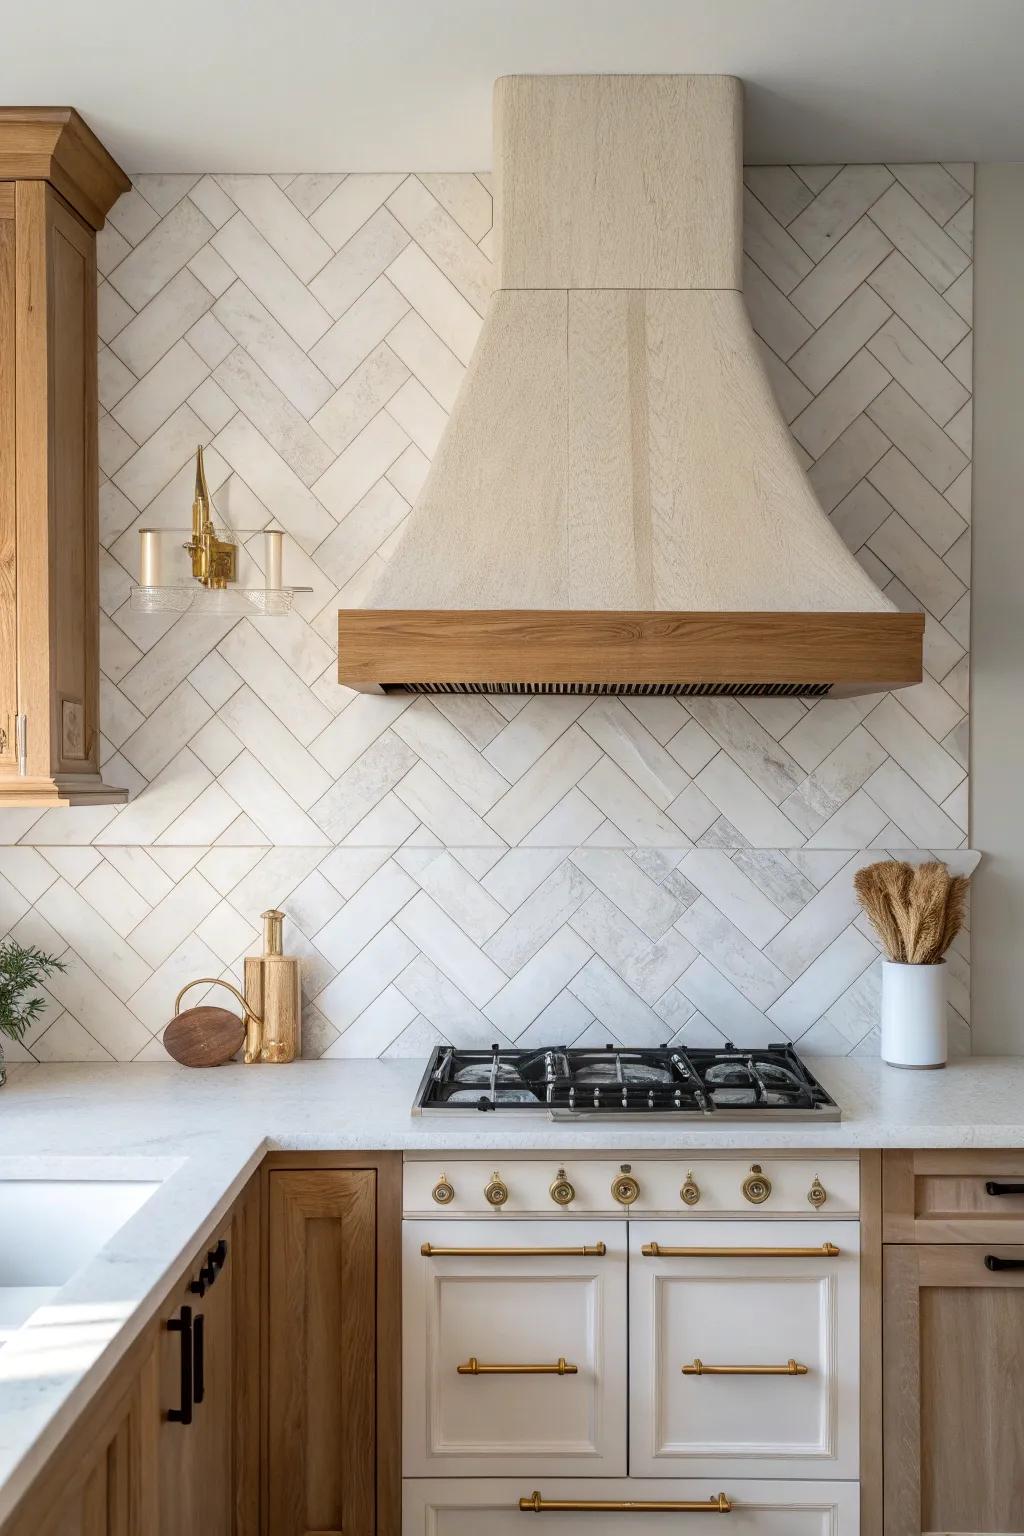
One of my favorite budget-friendly moves is using a herringbone backsplash just in the hood area and keeping the rest simple. I’ve used this trick to get that wow moment without tiling every inch.
A few helpful options:
- Marble Herringbone Mosaic Tile Sheets: Create a stunning focal point easily by installing these convenient pre-meshed sheets directly behind your range hood.
- Antique Brass Pot Filler Faucet: Enhance the elegance of your herringbone feature wall with a practical, vintage-style pot filler mounted above the stove.
- Wooden Range Hood Cover: Frame your beautiful tile work perfectly with a custom wood hood cover that adds warmth and architectural interest.
Herringbone With a Clean Border Frame
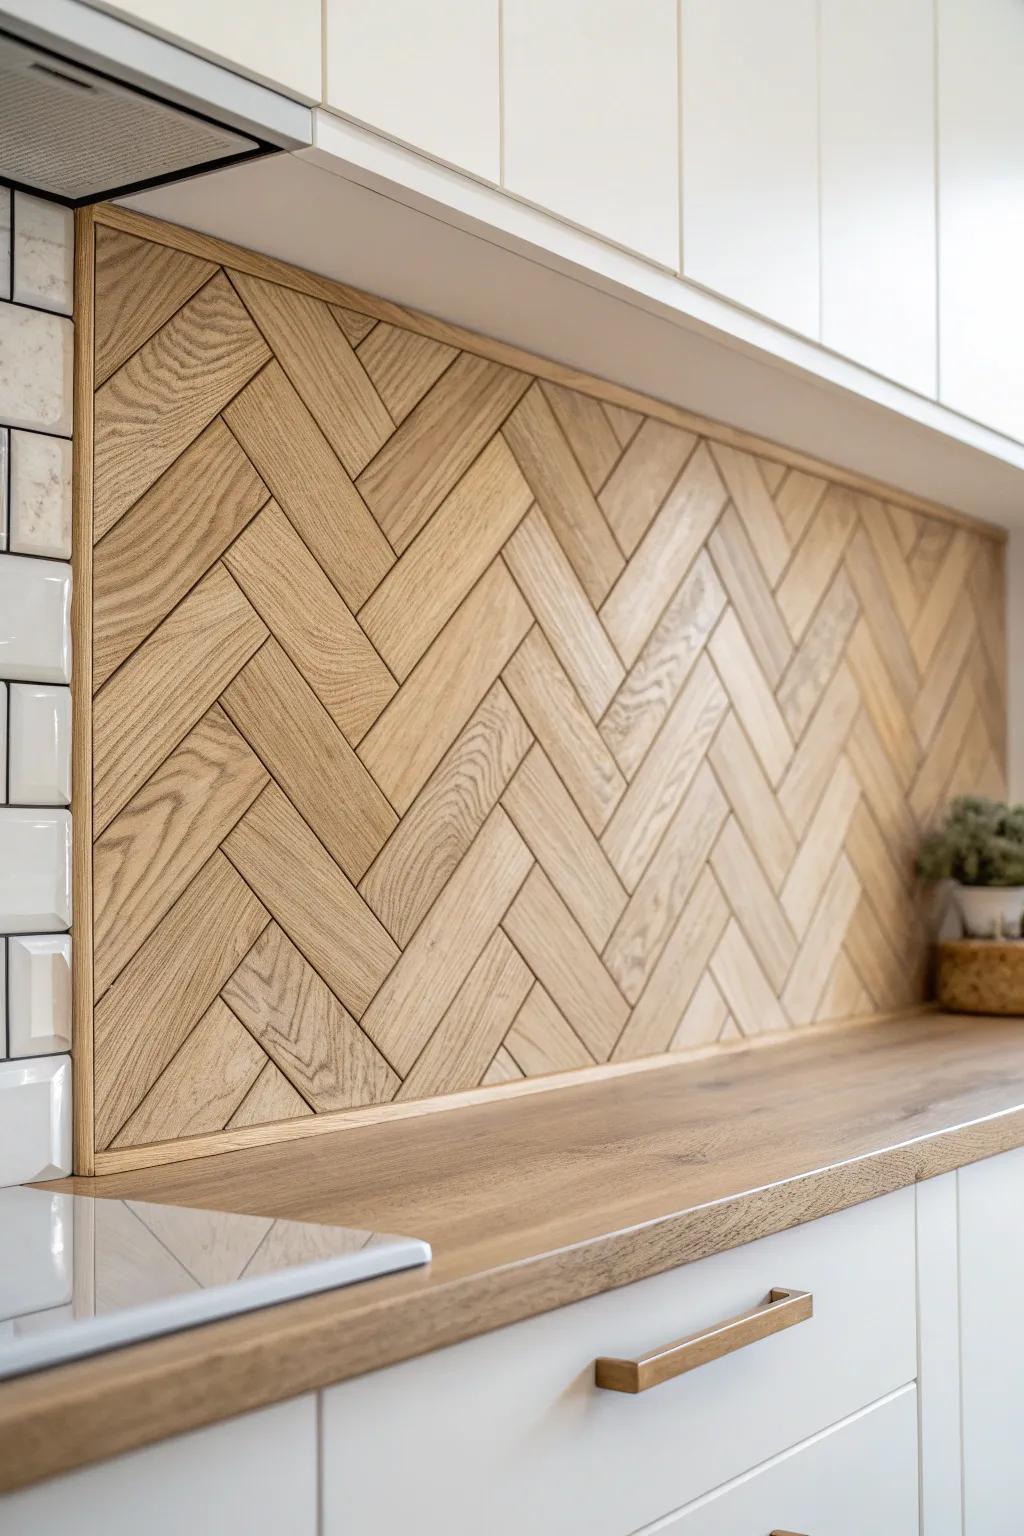
Adding a slim border around a herringbone backsplash gives it a finished, built-in look—kind of like framing artwork. I’ve done this when the tile edges felt visually messy, and it tightened everything up instantly.
These products might be useful:
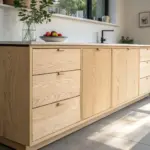
- Thin Wood Trim Molding: Create that polished border effect easily by applying this trim around the edges of your DIY backsplash.
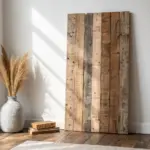
- Wood Effect Peel and Stick Tile: Achieve the look of custom carpentry without the heavy saws by using these realistic adhesive wood planks.
- Construction Adhesive or Wood Glue: Ensure your custom wooden frame stays securely attached to the wall or tile surface for lasting durability.
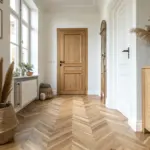
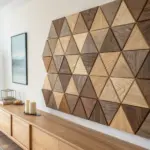
Wrap the Herringbone Around Corners
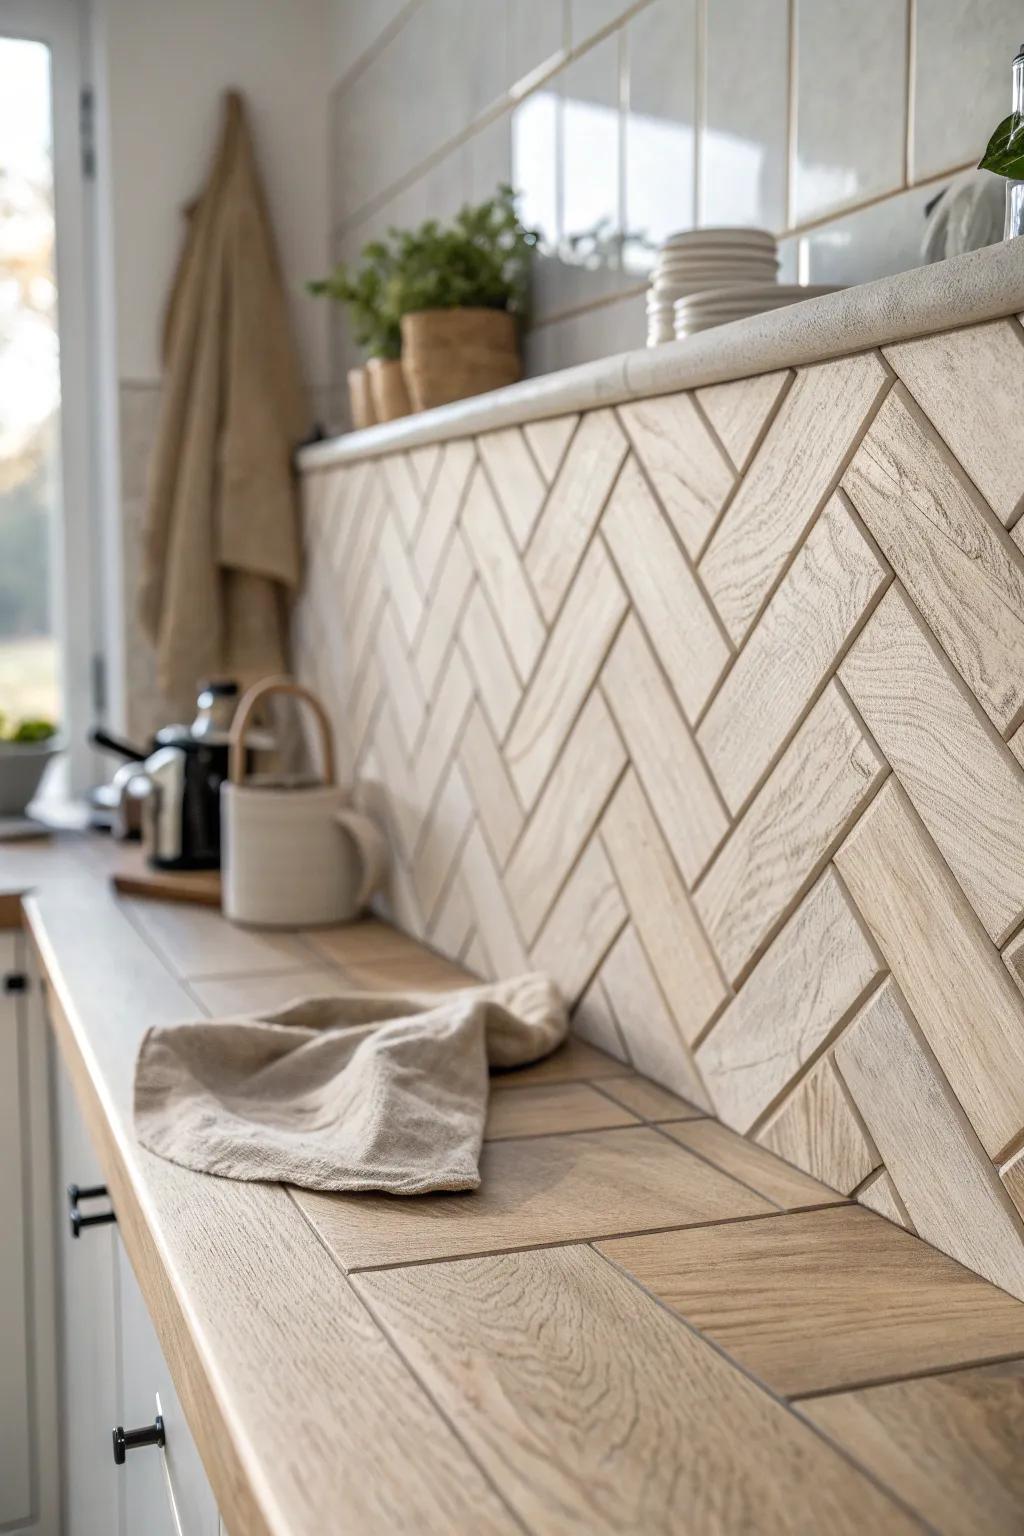
Let your herringbone backsplash wrap into corners (instead of stopping flat) for that seamless, high-end look. I’ve done corner planning on tricky walls, and taking the time to align the “V” points is so worth it.
Try these:
- Self-Adhesive Wood Look Tile Sheets: Create this warm, textured look in minutes with peel-and-stick tiles that cut easily for corners.
- Precision Tile Cutter: Ensure your corner cuts are flawless and sharp to maintain a perfectly continuous herringbone pattern.
- Flexible Tile Edge Trim: Finish your corner transitions smoothly with flexible trim that hides rough edges and adds polish.
Herringbone With Wood Floating Shelves
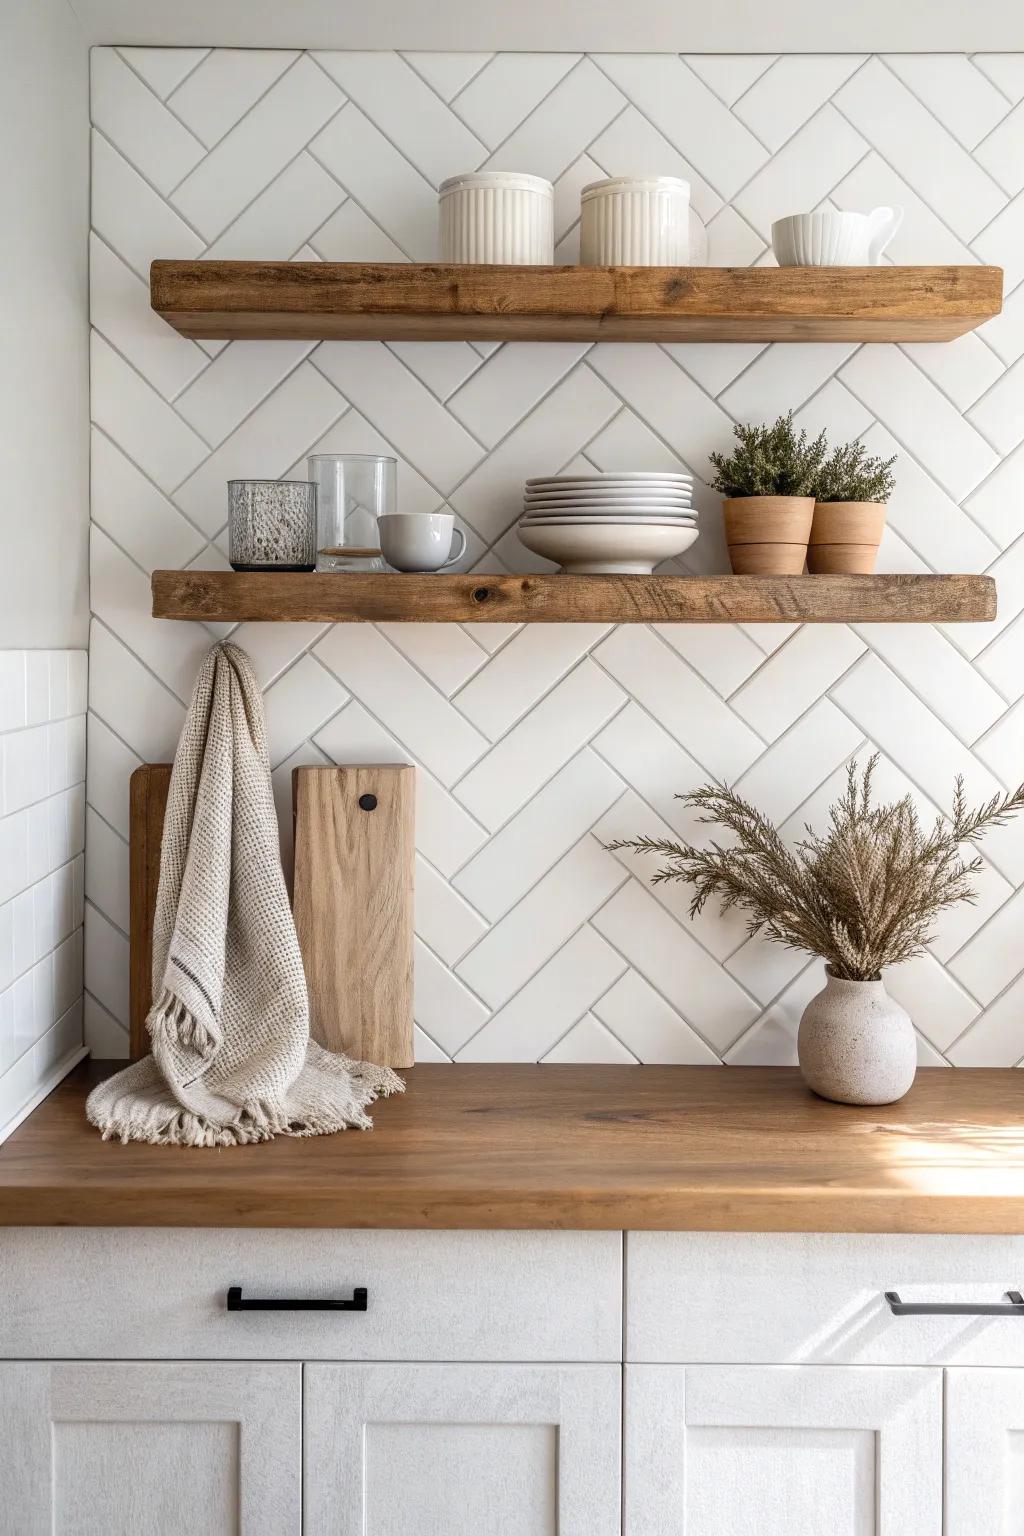
Pairing a herringbone backsplash with wood floating shelves is my forever favorite because the crisp pattern and warm grain balance each other. I’ve built shelves from reclaimed boards, and they make even simple tile feel cozy and collected.
You might give these a try:
- Reclaimed Wood Floating Shelves: Instantly add warmth and rustic texture to your kitchen walls with sturdy, pre-finished floating shelves.
- Ceramic Stoneware Vase: Style your shelves with a textured ceramic vase, perfect for holding dried natural stems or florals.
- White Herringbone Tile: Create this timeless backdrop yourself using classic white rectangular tiles arranged in the chevron-like pattern.


