
A tray ceiling already has built-in depth, but the right trim is what makes it feel intentional and finished. These tray ceiling trim ideas are the exact kinds of details I use in my own projects to add charm, contrast, and that “custom home” look.
Box-Beam Ring Around the Tray
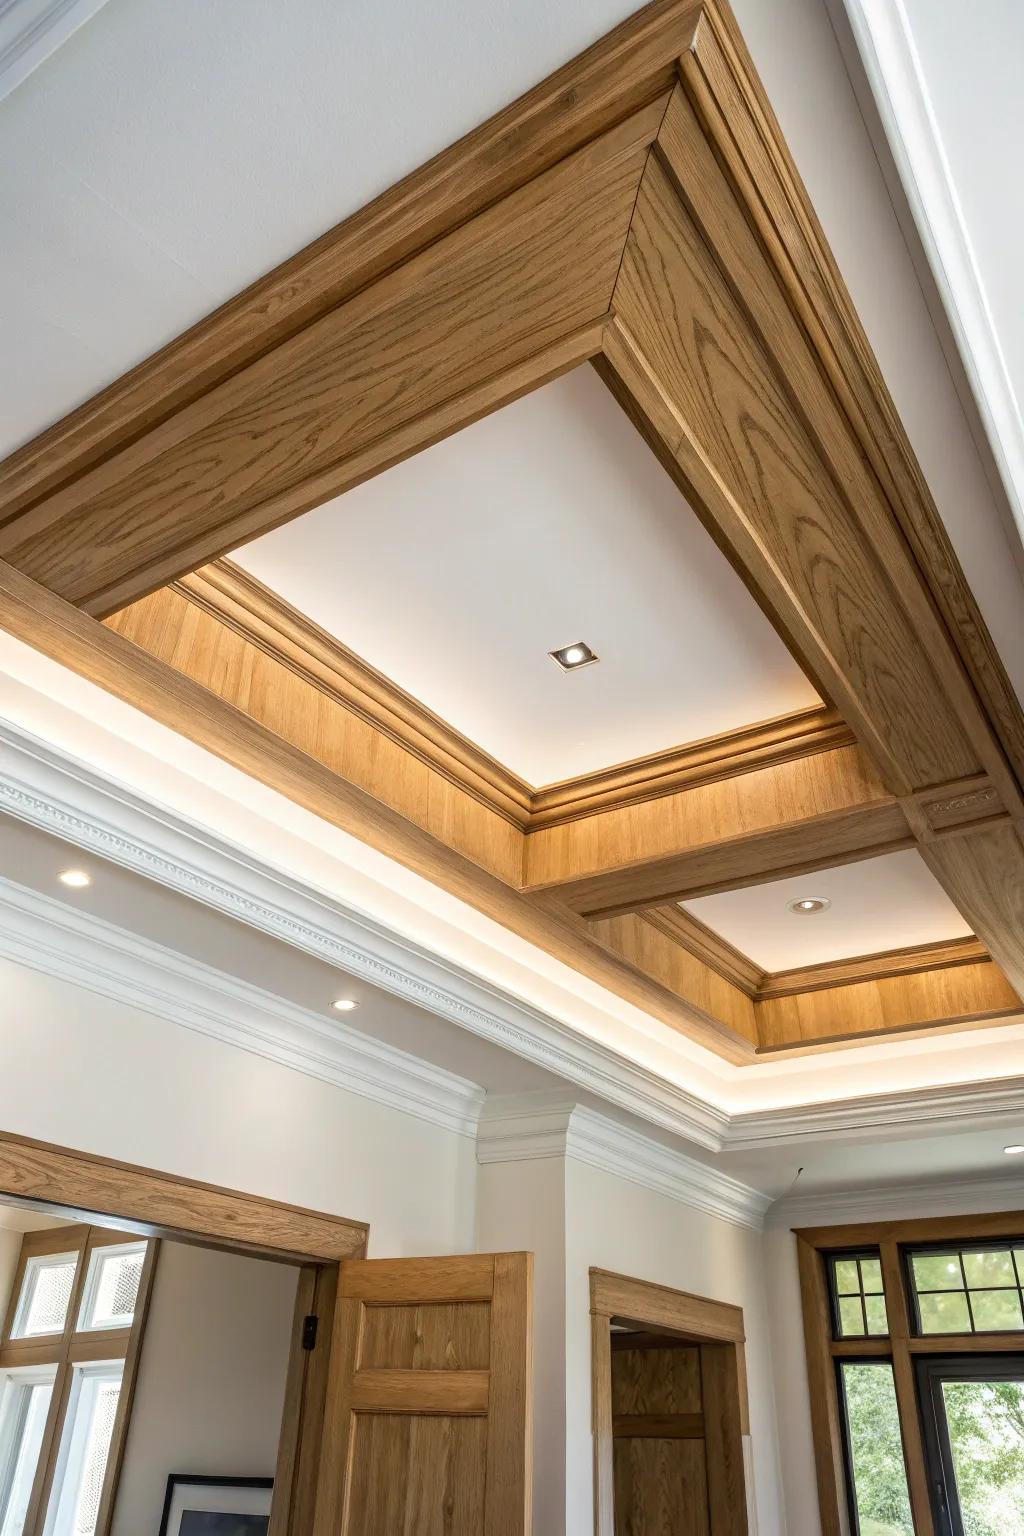
A hollow box beam built as a rectangle (or square) around the inner tray edge acts like beefy trim with instant presence. I’ve built these from plywood and solid-wood faces, and they hide tiny ceiling imperfections like a charm.
Maybe worth checking out:
- Hardwood Veneer Sheets: Cover your plywood box beams with real wood veneer for that high-end, solid timber appearance effortlessly.
- Recessed LED Gimbal Light Kit: Install these slim, adjustable lights inside your tray ceiling to highlight the trim work and add ambiance.
- Wood Stain and Polyurethane: Protect your new beams and enrich the wood grain with a durable, high-quality stain and finish combo.


Simple Modern Square-Edge Trim
If you’re not into ornate profiles, straight square-edge trim around the tray perimeter looks crisp and modern. I’ve milled my own clean boards for this, and the sharp lines make a recessed ceiling feel super intentional.
A few things you might like:
- Primed Square Edge MDF Boards: Create crisp, modern lines easily with pre-primed boards that are ready for your custom paint finish.
- Brad Nailer Kit: Secure your new ceiling trim efficiently with a reliable nailer designed for precision finish carpentry work.
- Paintable Caulk for Trim: Achieve a seamless, professional look by filling gaps between your new square trim and the ceiling.


Contrasting Paint With Bright White Trim
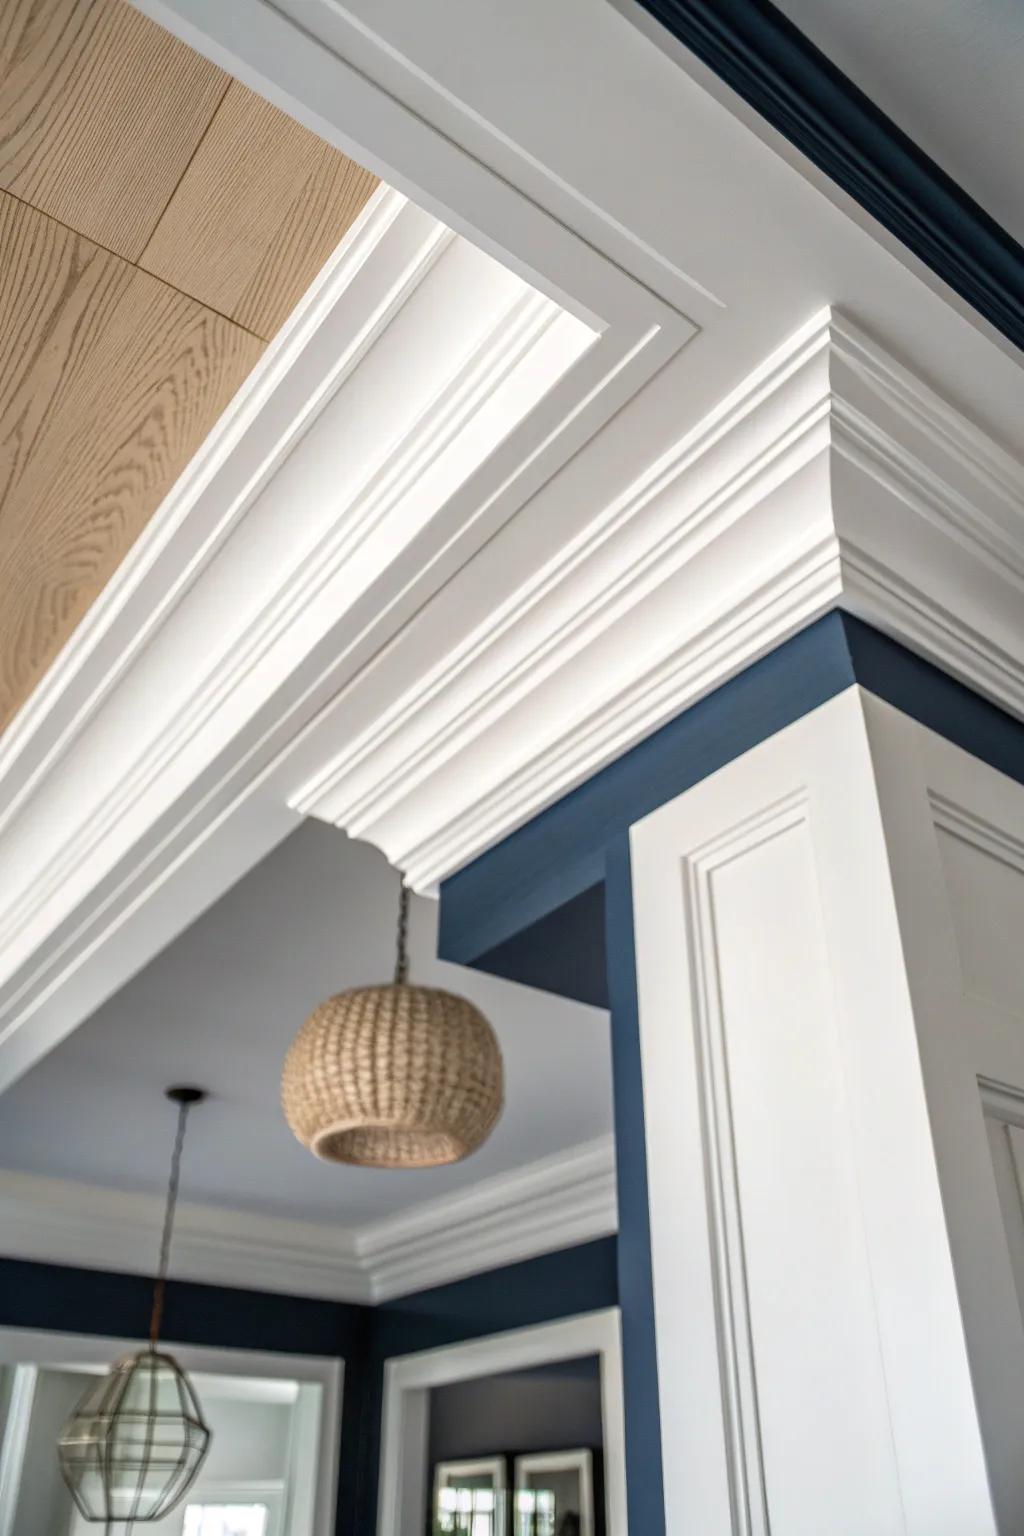
Painting the tray plane a deeper shade while keeping the tray ceiling trim bright white is the easiest way to show off the depth. I’ve done this with moody blues and warm grays, and the contrasting paint makes the molding pop like crazy.
A few helpful options:
- Crown Molding Kit: Instantly elevate your room’s architecture with elegant trim that frames your ceiling and highlights contrasting paint colors.
- Navy Blue Interior Paint: Create dramatic depth by applying this rich, deep shade to your tray ceiling inset or soffit areas.
- Woven Pendant Light: Add warmth and texture to your tray ceiling center with a natural woven chandelier that softens the contrast.


Two-Tone Step With a Dark Riser
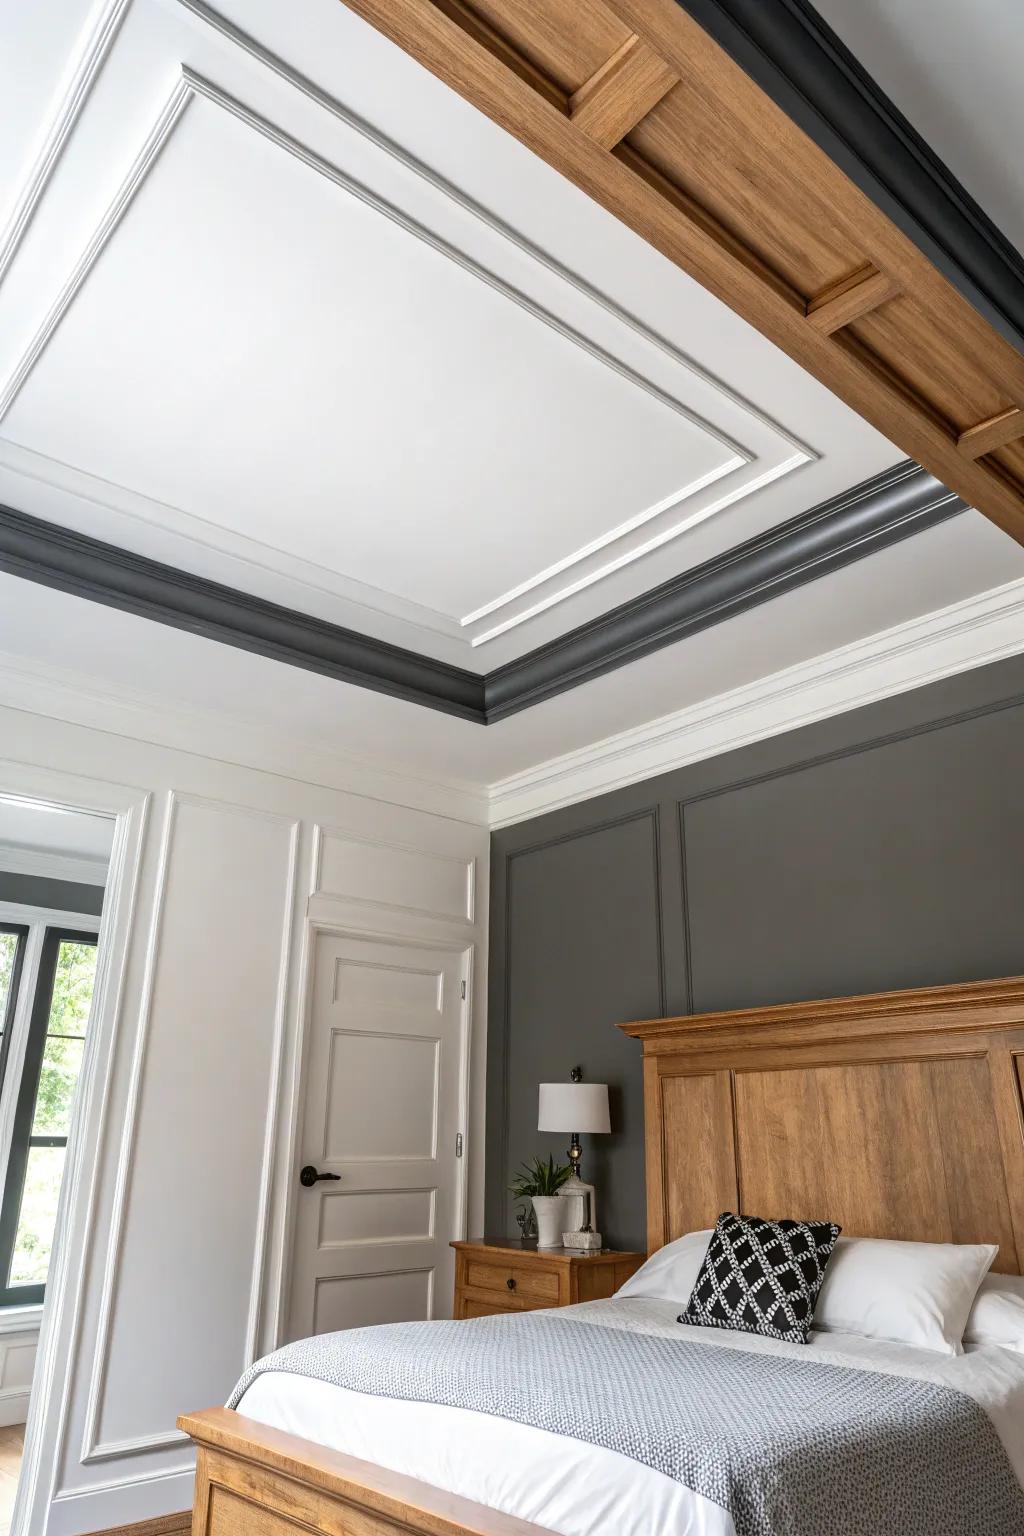
Try painting the vertical “step” (the riser) darker than both ceiling surfaces and outline it with clean trim for a bold frame. I tested this in a primary bedroom once, and the tray ceiling suddenly looked more architectural without adding extra molding.
Explore these options:
- Painters Tape For Sharp Lines: Ensure crisp, professional lines between your dark riser and light ceiling with precision masking tape.
- Angled Sash Paint Brush: Achieve perfect control when cutting in along trim and corners with a high-quality angled brush.
- Peel and Stick Crown Molding: Enhance the architectural look easily by adding a lightweight trim border without using heavy tools.
Picture-Frame Molding Inside the Tray
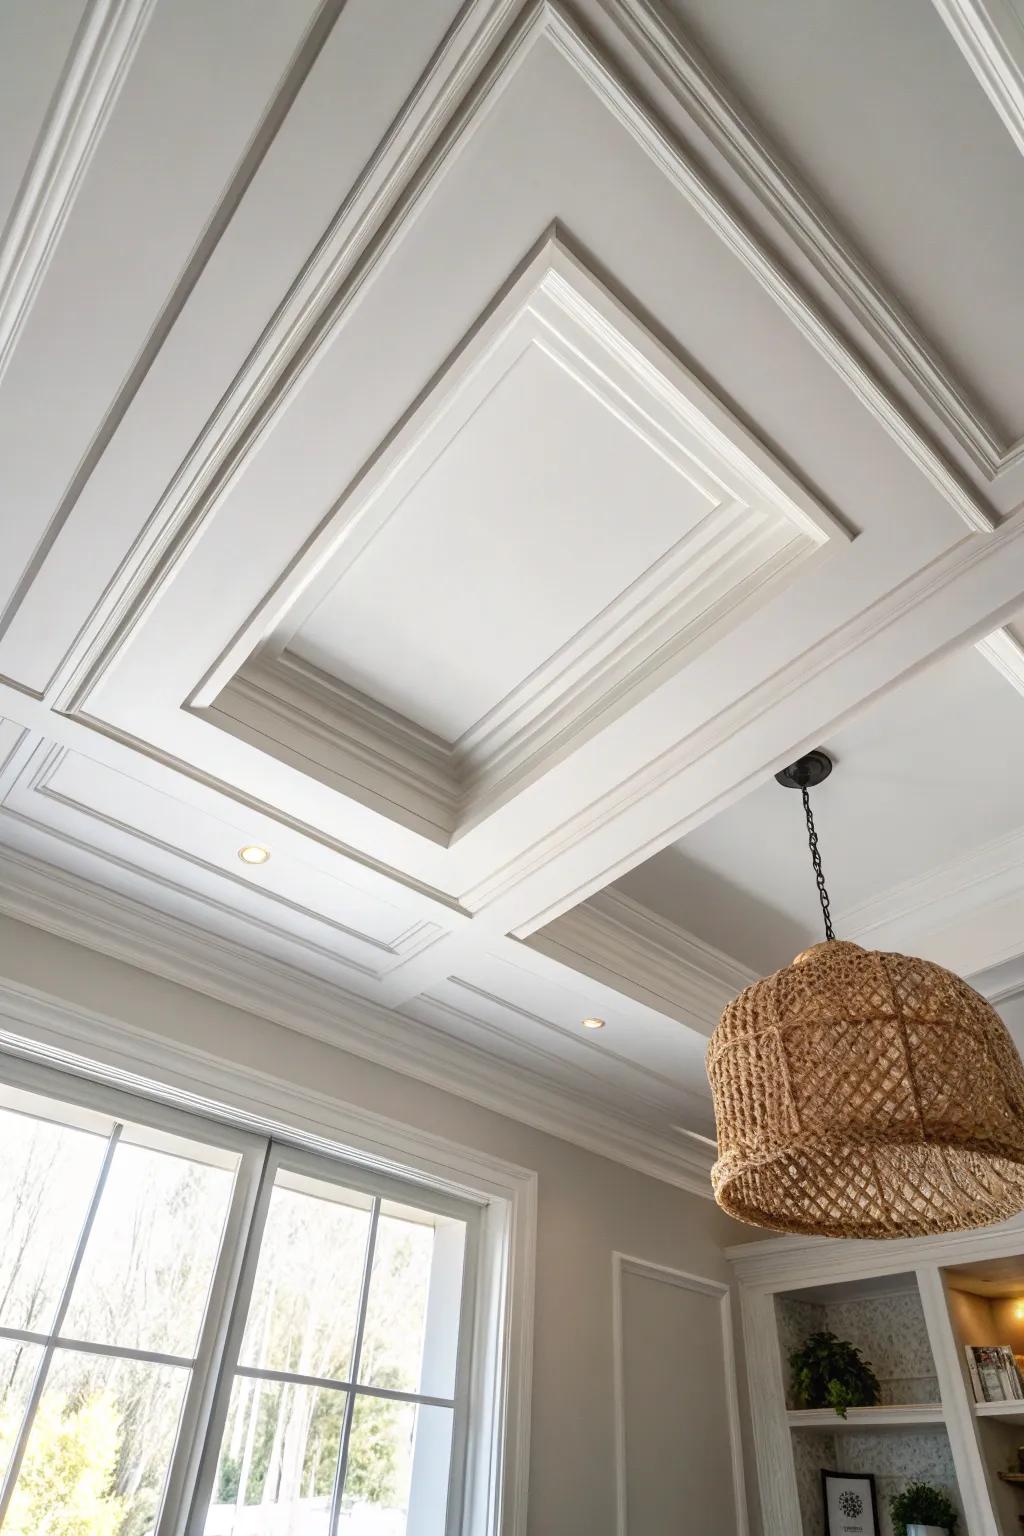
Adding a picture-frame molding rectangle on the flat tray surface gives you that classic, tailored ceiling detail. I like this because it’s basically just careful measuring and miter cuts, but it reads like custom ceiling trim.
You might give these a try:
- Primed Panel Molding Kit: Create elegant ceiling details easily with ready-to-paint molding strips that add instant architectural character overhead.
- Compound Miter Saw: Achieve precise angles for seamless corners by investing in a reliable saw for all your trim projects.
- Cordless Brad Nailer: Secure your molding quickly without dragging hoses, ensuring a clean and professional ceiling installation experience.
Coffered-Style Grid With Applied Trim
You can fake a coffered grid by applying thin trim strips in a tidy pattern inside the tray and finishing it all one color. I’ve built this with lightweight pine, and it adds serious texture without heavy framing.
Some handy options:
- Unfinished Wood Molding Strips: Create your grid pattern easily with lightweight wood molding. Simply cut to fit and stain to match your decor.
- Peel and Stick Grasscloth Wallpaper: Add texture between your trim pieces with grasscloth wallpaper. This creates the high-end look of inlaid panels instantly.
- Woven Basket Pendant Light: Complete the natural, textured aesthetic by hanging a woven pendant light in the center of your new ceiling.

Cove Lighting Hidden Behind a Trim Ledge
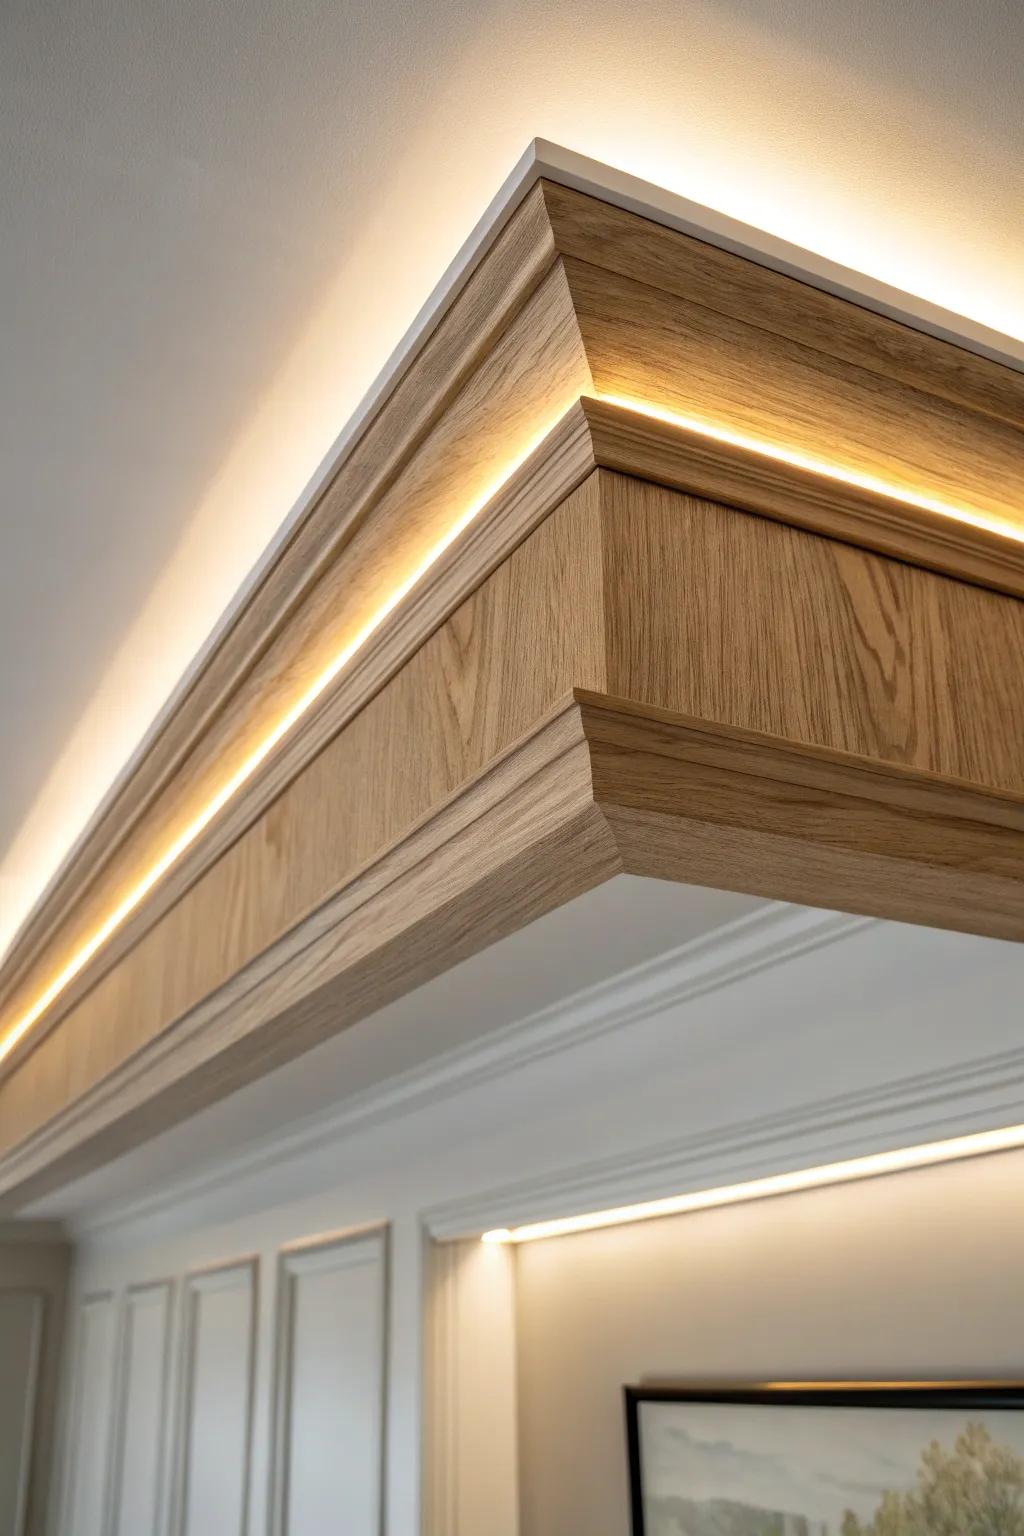
Build a small ledge with trim so you can tuck cove lighting behind it, and you’ll get that soft glow that makes bedrooms feel extra calm. I’ve routed a simple light shelf into my tray ceiling trim builds, and it looks way pricier than it is.
A few suggestions:
- Warm White LED Strip Lights: Create that cozy, soft glow in your tray ceiling with these flexible and dimmable adhesive lighting strips.
- Aluminum LED Channel Diffusers: Install your lights inside these channels to eliminate hot spots and achieve a professional, evenly diffused look.
- Decorative Wood Crown Molding: Build your custom light shelf using high-quality wood molding that adds architectural depth and conceals the wiring.
Ceiling Medallion With a Trim Ring
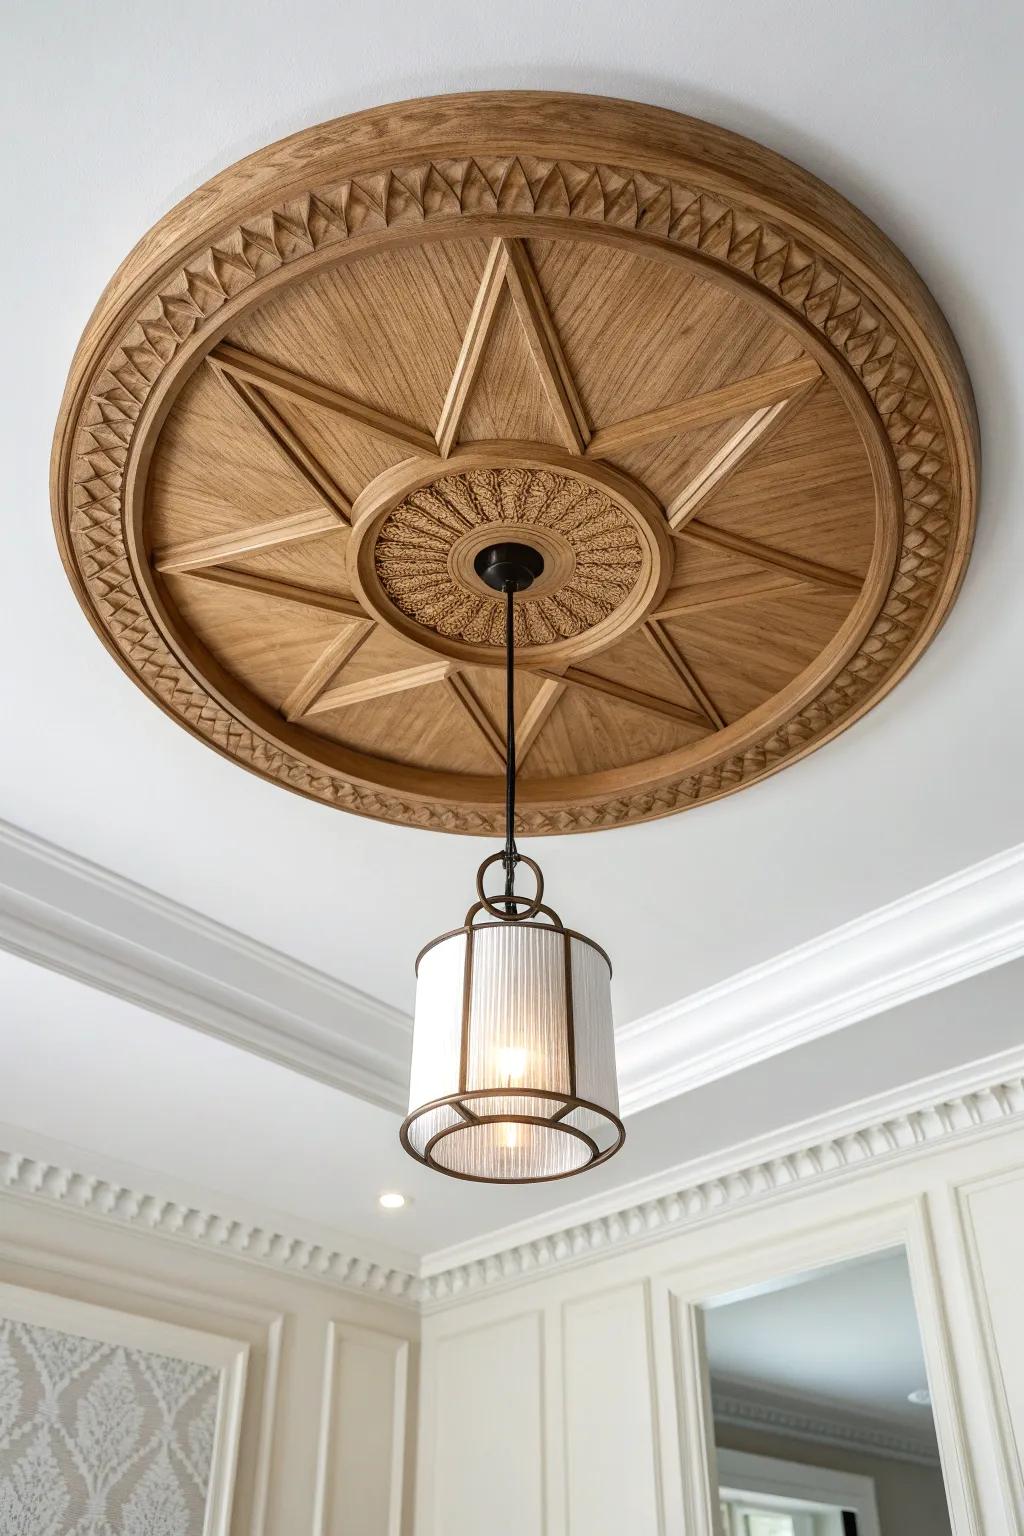
A center ceiling medallion looks extra finished when you add a thin trim ring to echo the tray shape. I’ve paired this with simple crown, and it ties the whole tray ceiling trim story together around the light fixture.
Possibly helpful picks:
- Detailed Wood Ceiling Medallion: Create a stunning focal point by installing a detailed, carved wood medallion above your light fixture.
- Flexible Trim Molding: Add a custom circular border around your medallion easily with flexible, paintable molding strips.
- Industrial Pendant Light: Complete the look with a modern industrial pendant light that contrasts beautifully with traditional woodwork.
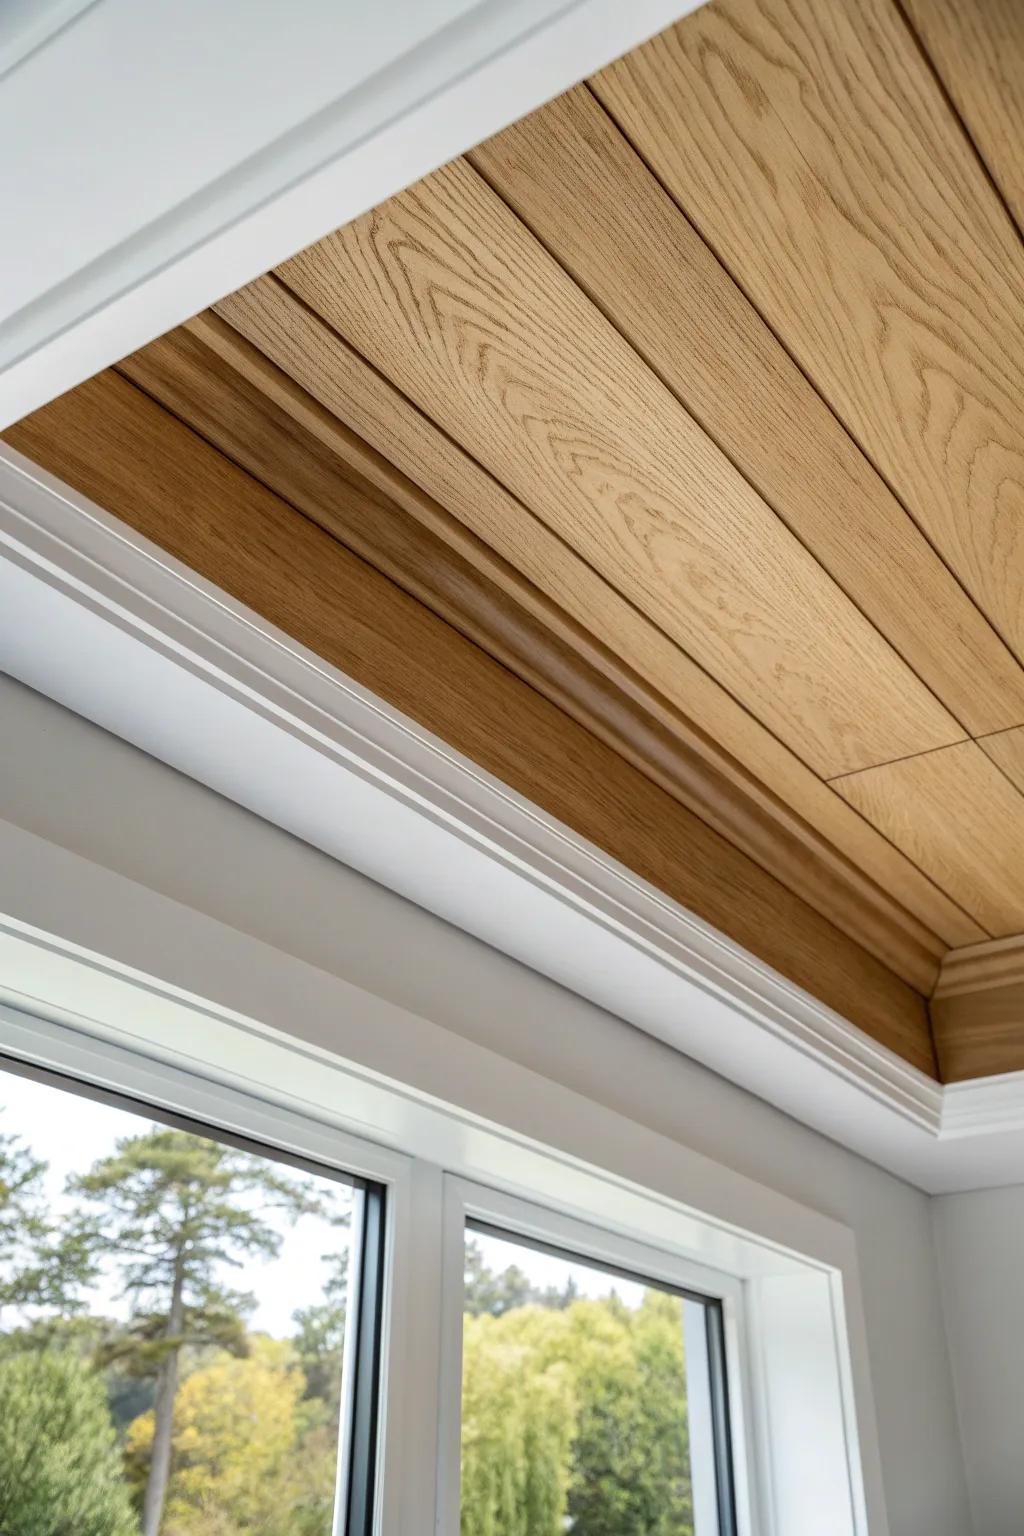
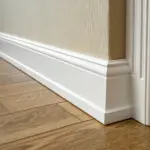
Extra-Wide Farmhouse Trim Bands
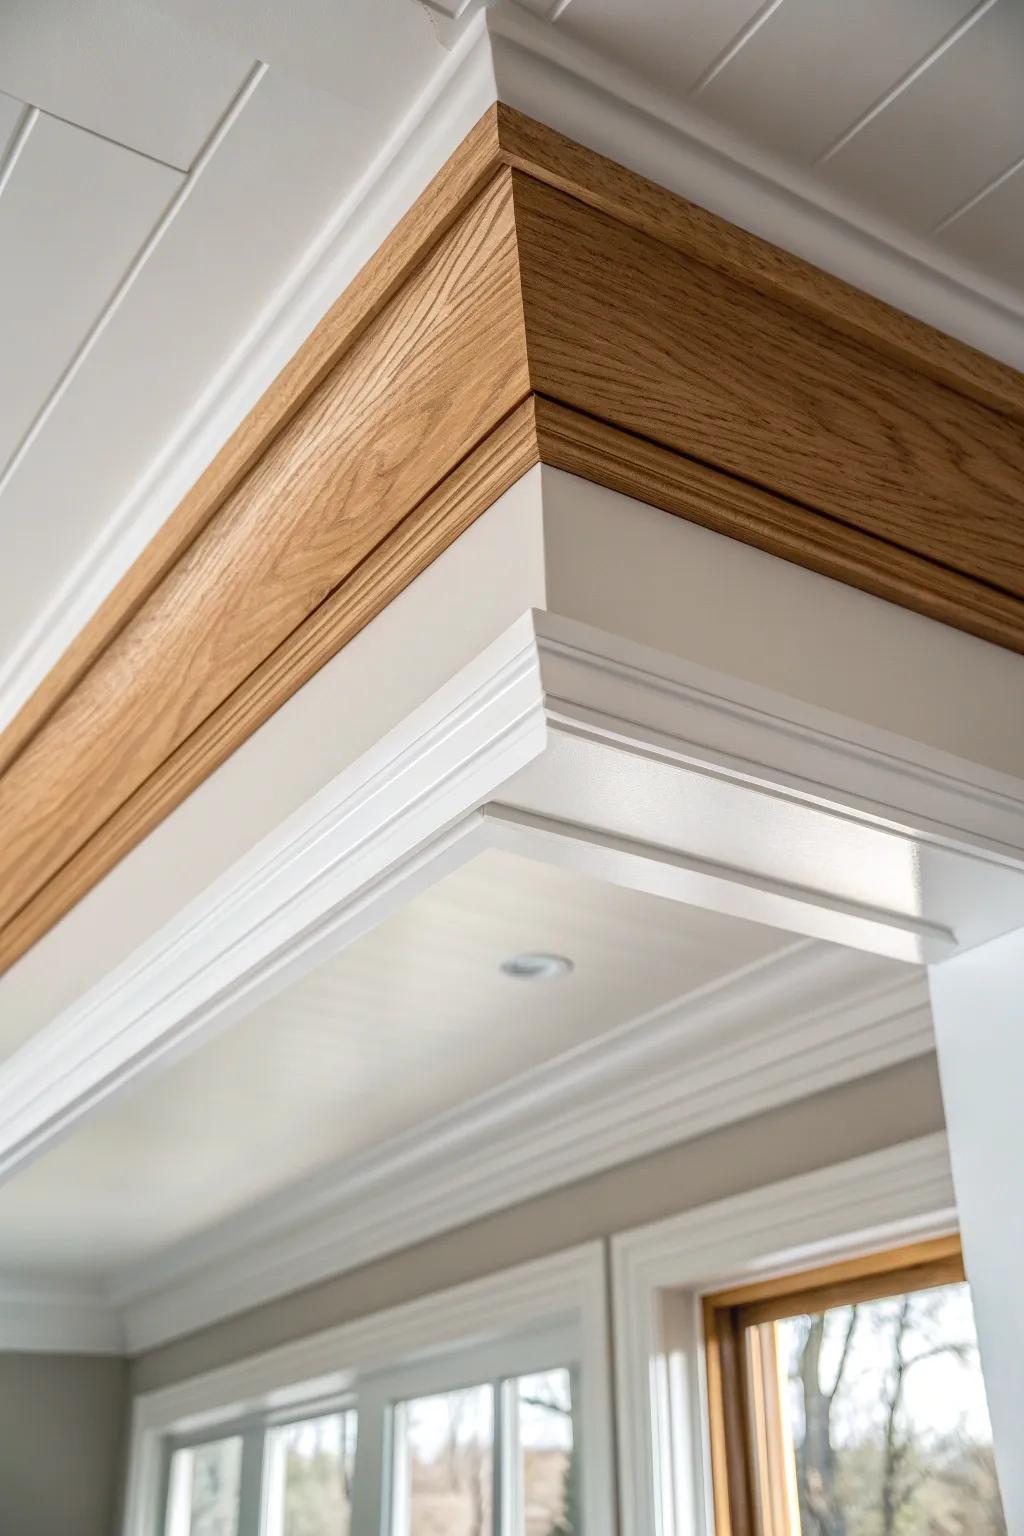
Wide flat-stock bands (think 1x material) make awesome farmhouse trim around the tray, especially with sharp corners and clean caulk lines. I like this approach because it’s beginner-friendly, and it still delivers bold tray ceiling trim impact.
Check if these fit your needs:
- Compound Miter Saw: Achieve those sharp, professional corners by creating precise angle cuts necessary for fitting wide trim bands perfectly.
- Red Oak Lumber Boards: Use these durable, stain-grade hardwood boards to recreate the beautiful natural wood accent seen in the inspiration photo.
- Paintable Siliconized Caulk: Ensure seamless joints between your painted white trim pieces for a flawless, high-end finish that looks custom-built.
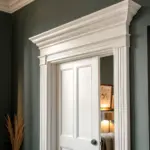
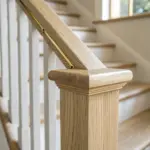
Decorative Corner Blocks to Skip Fussy Miters
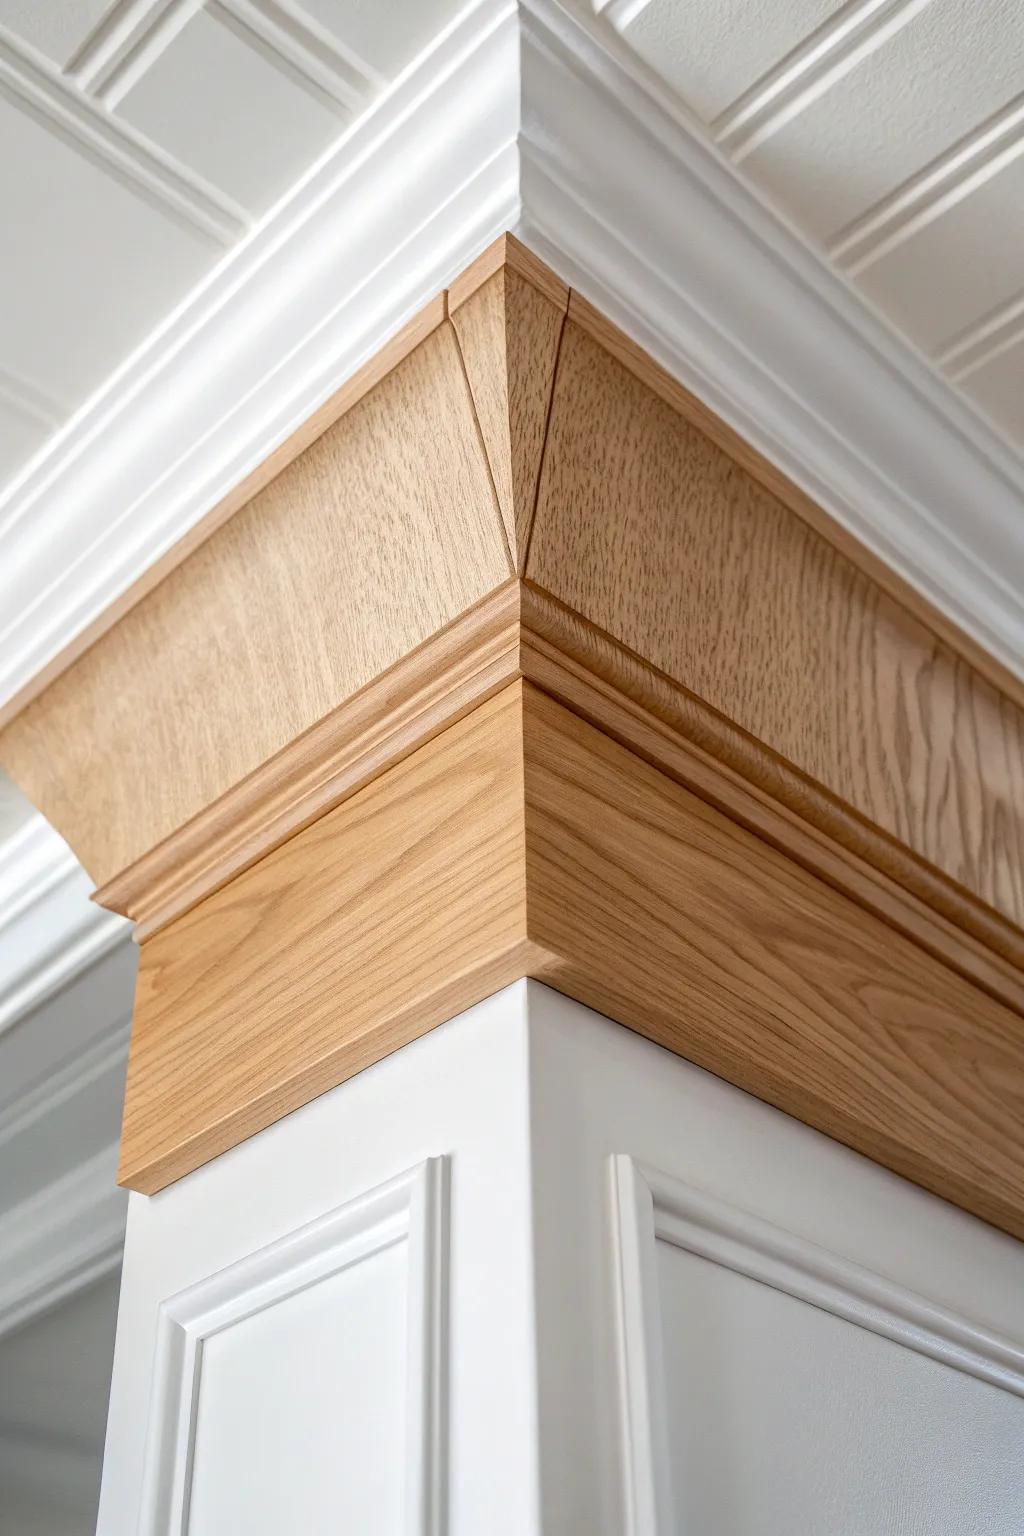
Corner blocks let you butt the trim into a feature piece instead of chasing perfect miter joints in the air. I’ve used chunky corner blocks on tray edges, and it made my tray ceiling trim install faster and more “custom carpenter” looking.
Items that may come in handy:
- Wood Corner Blocks for Inside/Outside Corners: Simplify your trim installation by using these ready-made wood blocks to avoid difficult miter cuts on corners.
- Unfinished Hardwood Crown Molding: Select stain-grade hardwood molding to recreate the warm, contrasting wood trim look shown in this design inspiration.
- Brad Nailer Kit for Finish Carpentry: Secure your decorative blocks and heavy trim pieces efficiently with a reliable brad nailer for professional results.
Wood Trim With a Slim Metal Inlay
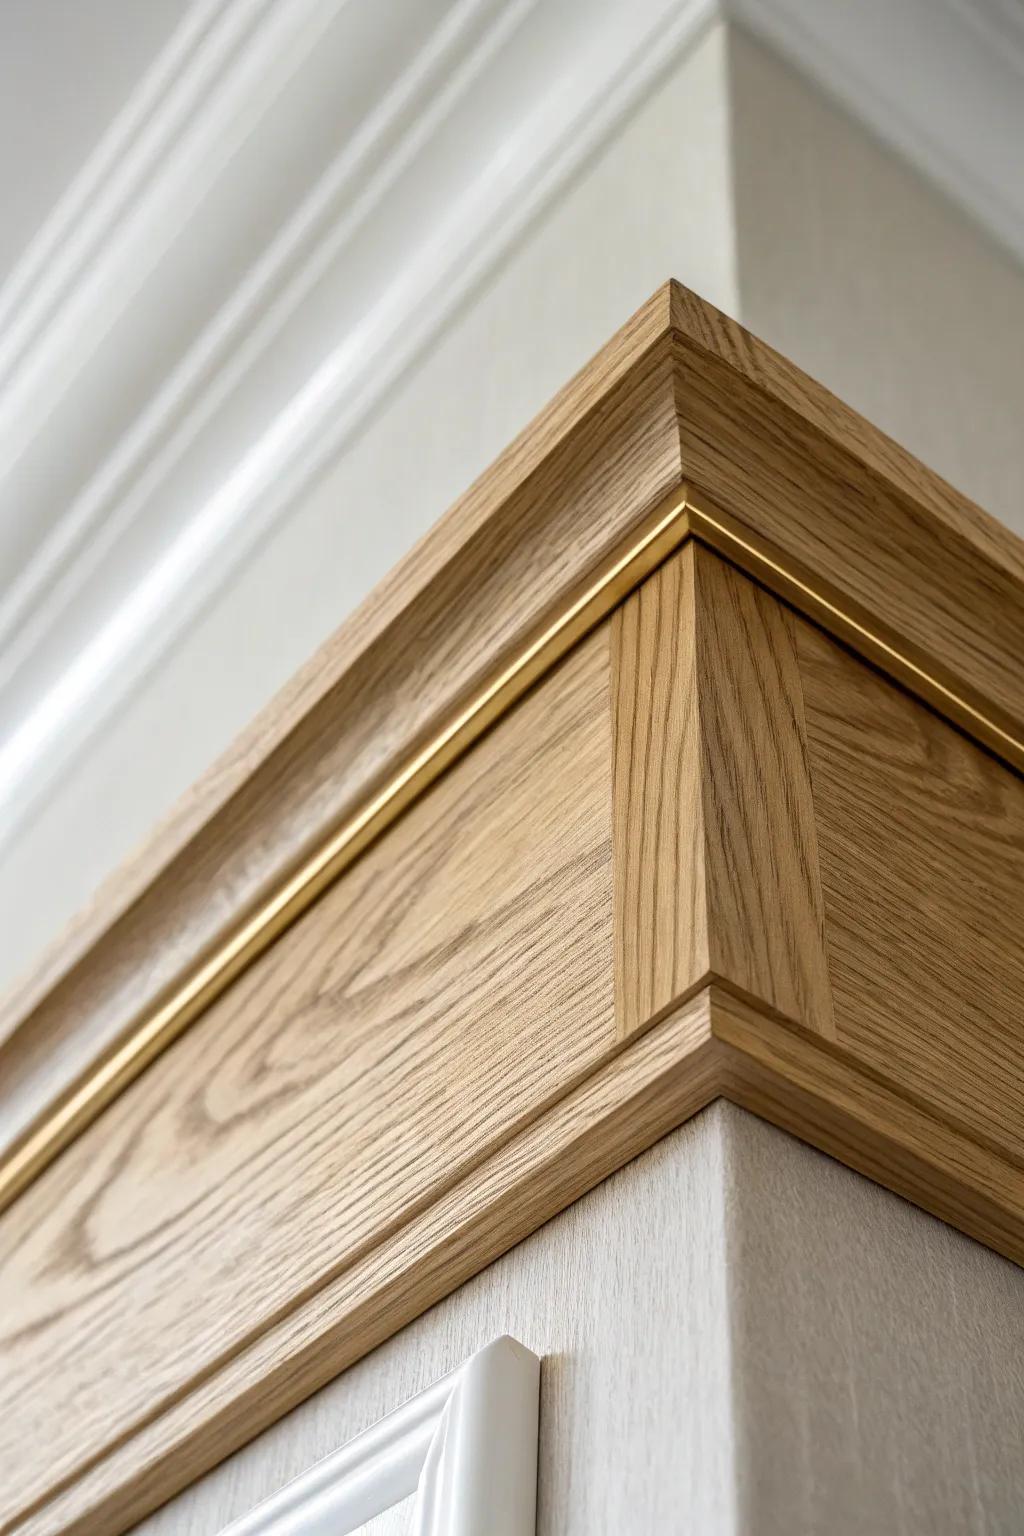
For a subtle wow, route a shallow groove in the tray trim and set in a thin metal inlay strip for a tiny glint. I’ve done this with warm wood tones, and the mixed-material trim feels modern without losing that handcrafted vibe.
Useful items to consider:
- Brass Flat Bar Inlay Strip: Add a sophisticated metallic touch to your woodwork by inserting this durable brass strip into routed grooves.
- Palm Router Tool: Create precise, shallow grooves in your trim molding effortlessly with this compact and maneuverable woodworking tool.
- Oak Crown Molding: Start your project with high-quality hardwood molding that provides the perfect sturdy base for custom metal inlays.
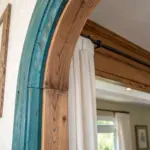
Soft Curved Corners With Bent Wood Trim
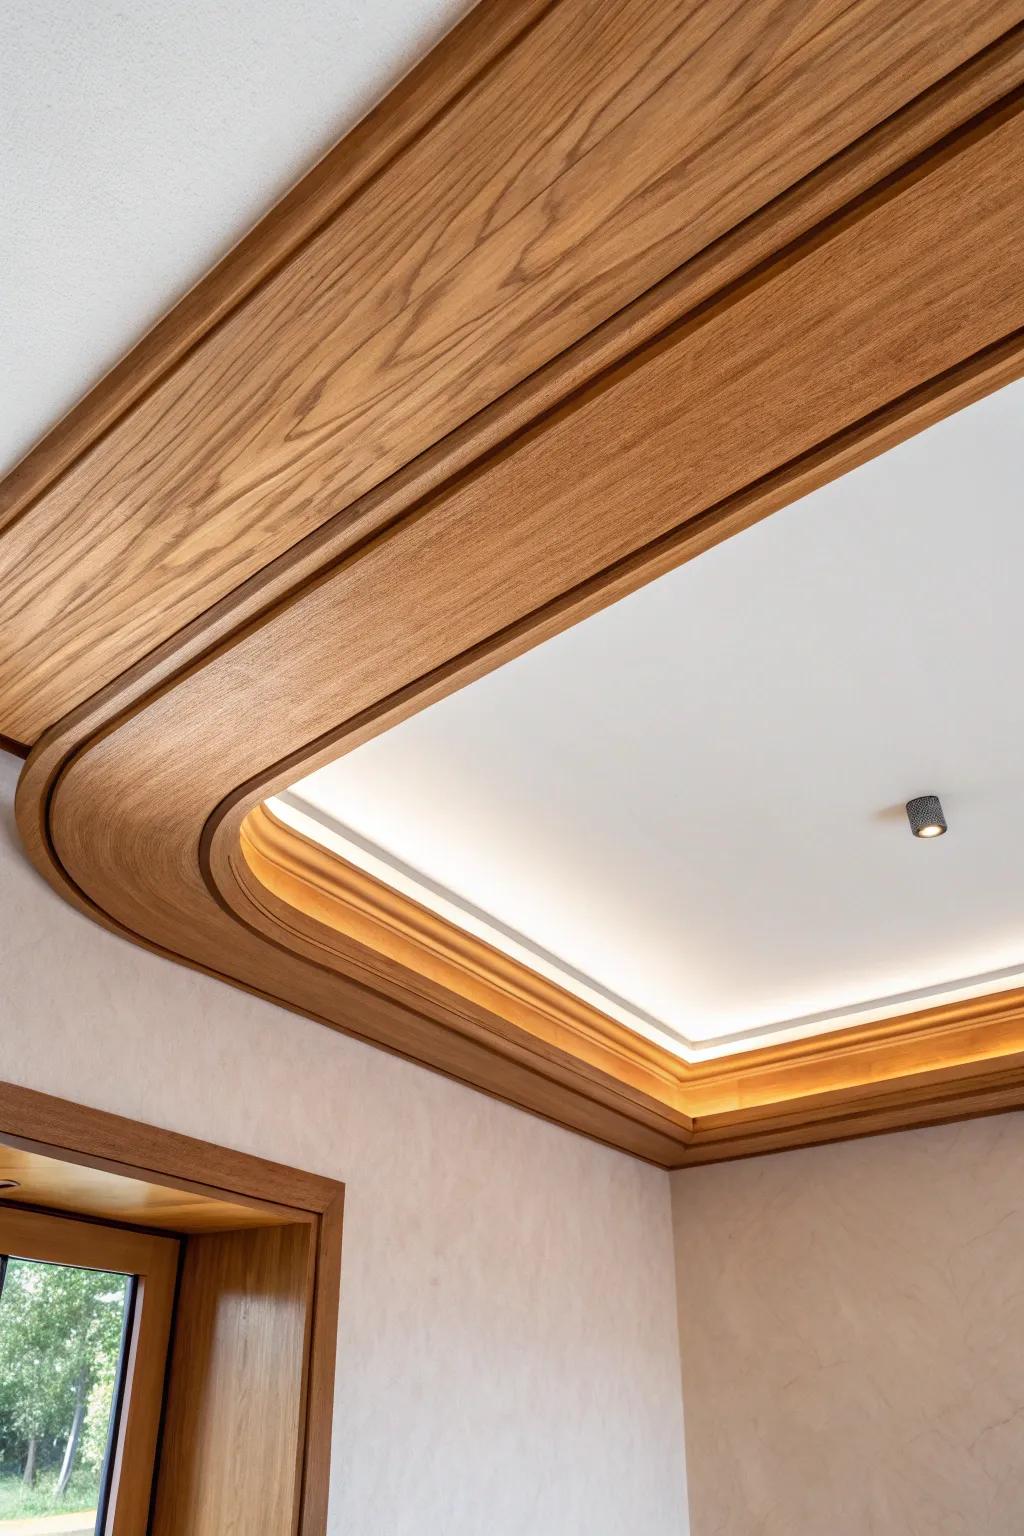
Instead of sharp 90s, you can soften the tray corners by laminating thin wood strips into gentle curves and trimming the edge to match. I’ve bent my own corner pieces, and the curved tray ceiling trim reads like a designer upgrade right away.
Might be a good match:
- Flexible Wood Veneer Sheets: Use flexible wood veneer to wrap curved surfaces smoothly, creating that seamless and high-end finished look.
- Bendable Plywood Panels: Build your curved substrate easily with specialized plywood designed specifically to bend without cracking or breaking.
- Industrial Wood Glue: Secure your laminated layers permanently with a strong adhesive that provides ample open time for positioning.
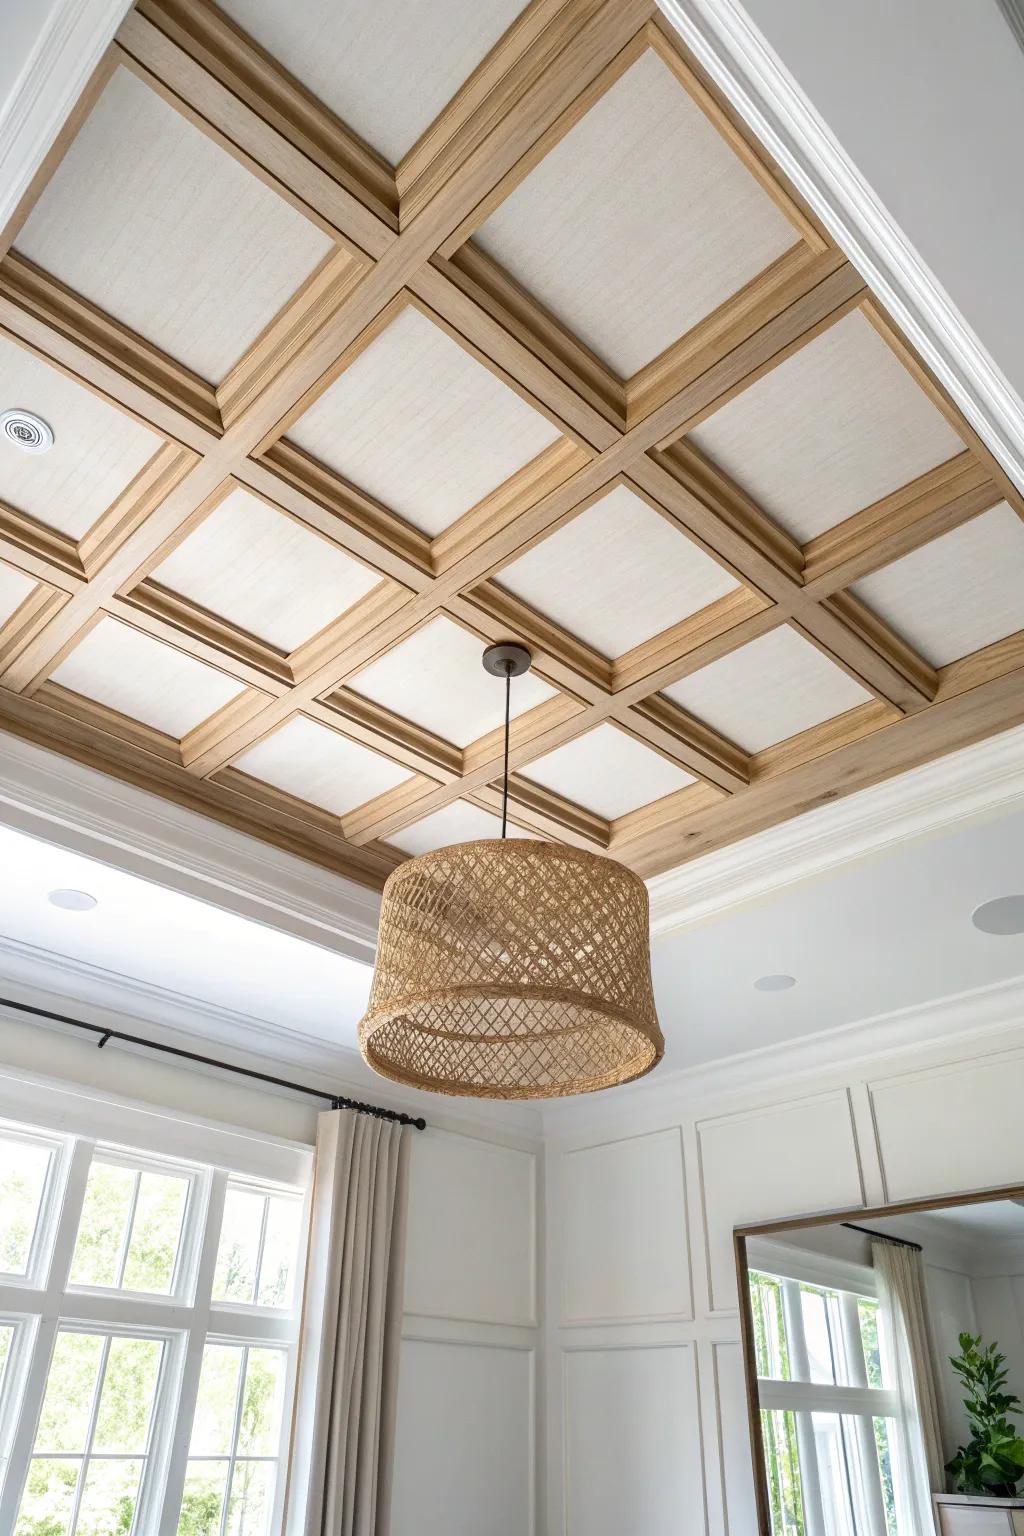
Cane or Fabric Inset Framed by Trim
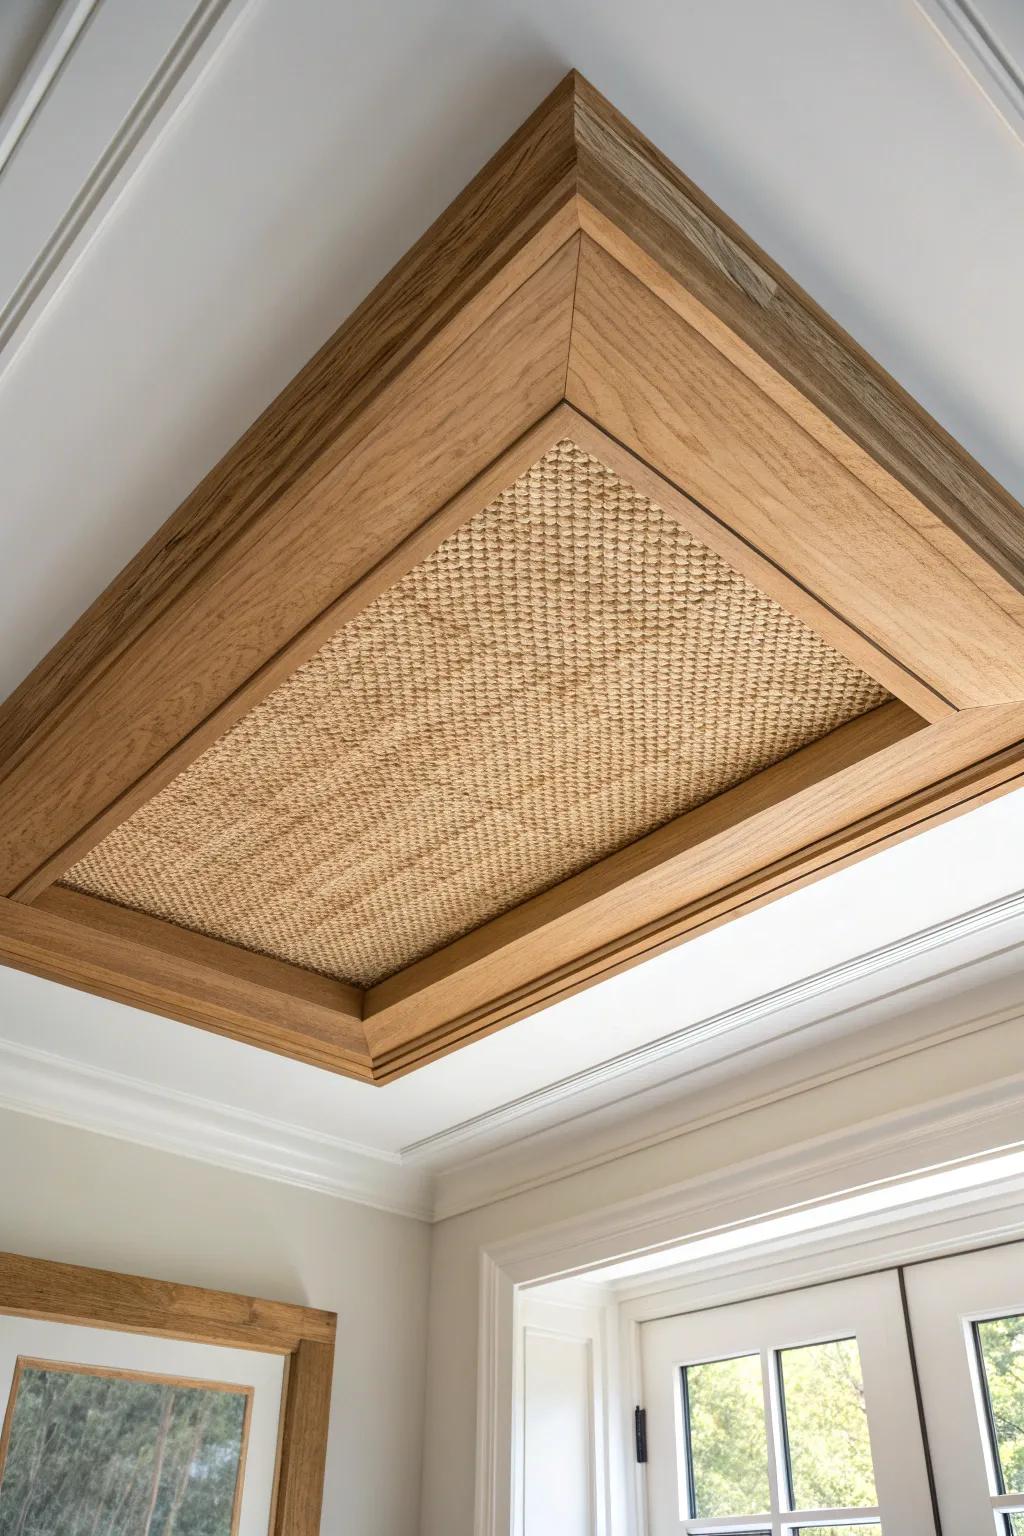
Frame the tray with clean wood trim, then inset a panel of woven cane or upholstered fabric in the flat center for a totally unexpected texture moment. I’ve played with this idea on a sample panel, and it turns a basic tray ceiling into a “wait, how did they do that?” feature.
Possibly handy products:
- Natural Rattan Cane Webbing Roll: Add this woven texture to your ceiling inset to create an airy, sophisticated focal point in any room.
- Unfinished Oak Moulding or Trim: Frame your new ceiling texture with clean wood moulding to give the project a polished, professional finish.
- Heavy Duty Construction Adhesive: Secure your panels and trim safely overhead with a strong, reliable adhesive meant for vertical interior applications.


