
Cabinet fronts do so much of the heavy lifting in a room, because they’re basically the “face” you see all day long. I’ve rebuilt and refinished a lot of doors in my workshop, and the right cabinet front design can make even a basic cabinet box feel totally custom.
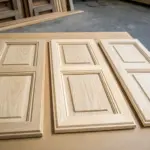
Raised Panel Cabinet Fronts
When I want a more traditional, furniture-like feel, I go for raised panel cabinet fronts with a little extra depth and shadow. I’ve routed these on older cabinet doors to make them look higher-end without replacing the whole kitchen.
Check these products out:
- Raised Panel Router Bit Set: Carve elegant profiles into your cabinet doors and create professional raised panel joinery with this essential tool.
- Unfinished Oak Cabinet Doors: Skip the routing and instantly upgrade your space with ready-to-install, solid wood raised panel cabinet doors.
- Classic Round Cabinet Knobs: Complete the traditional aesthetic by adding these simple, timeless hardware pieces to your newly finished panels.
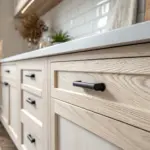
Classic Shaker Cabinet Fronts
I keep coming back to Shaker cabinet fronts because that simple frame-and-panel look works in almost every style I build, from farmhouse to modern. In my own kitchen refresh projects, I’ll tweak the rail width slightly to make them feel more “you” without losing that timeless vibe.
Maybe worth checking out:
- Round Brushed Cabinet Knobs: Update the look of your frame-and-panel doors simply by adding these classic, understated metal knobs.
- Rail and Stile Router Bit Set: Craft your own custom rail widths and achieve professional joints for durable shaker cabinet doors.
- Unfinished Oak Wood Veneer: Refresh worn cabinet centers or reface frames to match that light, natural wood aesthetic easily.
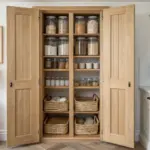
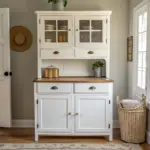
Beadboard Center Panel Fronts
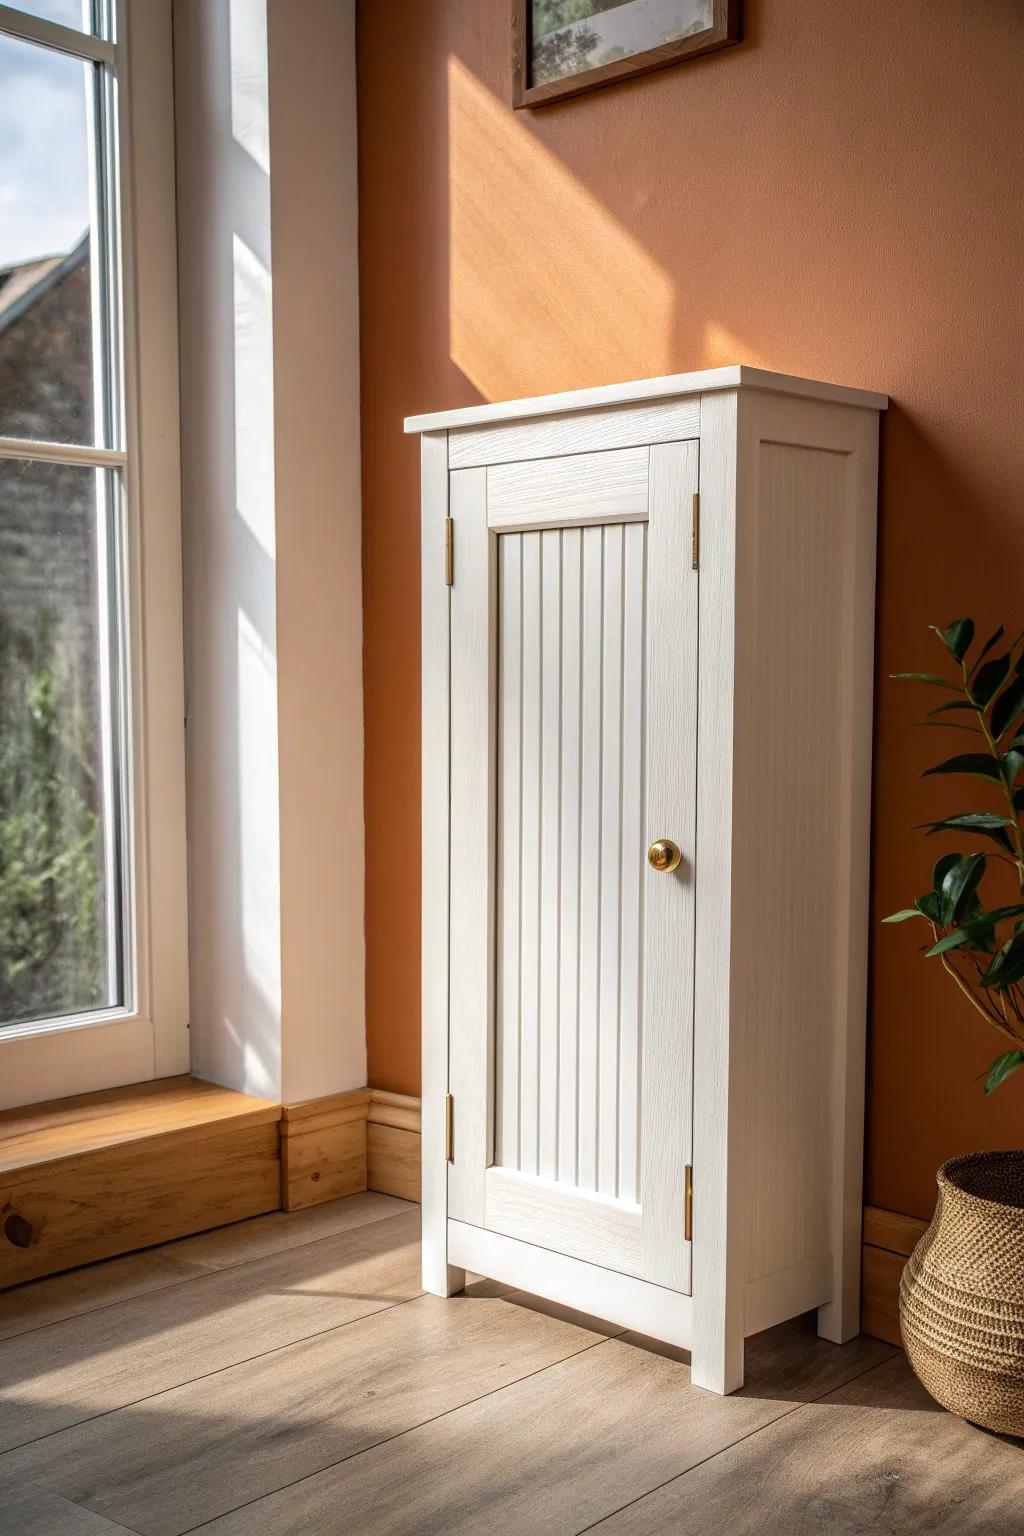
Adding a beadboard insert to cabinet fronts is such an easy way to bring cozy cottage texture into a space. I’ve swapped plain center panels for beadboard on a pantry run, and it instantly made the cabinets feel more relaxed and charming.
May just do the trick:
- Beadboard Wallpaper or Paneling: Instantly add texture to flat cabinet doors by applying paintable beadboard wallpaper for a charming cottage look.
- Brass Round Cabinet Knobs: Complete your cabinet makeover with classic gold-tone hardware that perfectly complements the textured white beadboard style.
- White Chalk Style Paint: Refresh your cabinet frames and new beadboard panels with a matte white finish for a cohesive appearance.
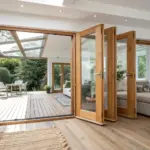
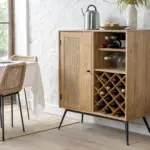
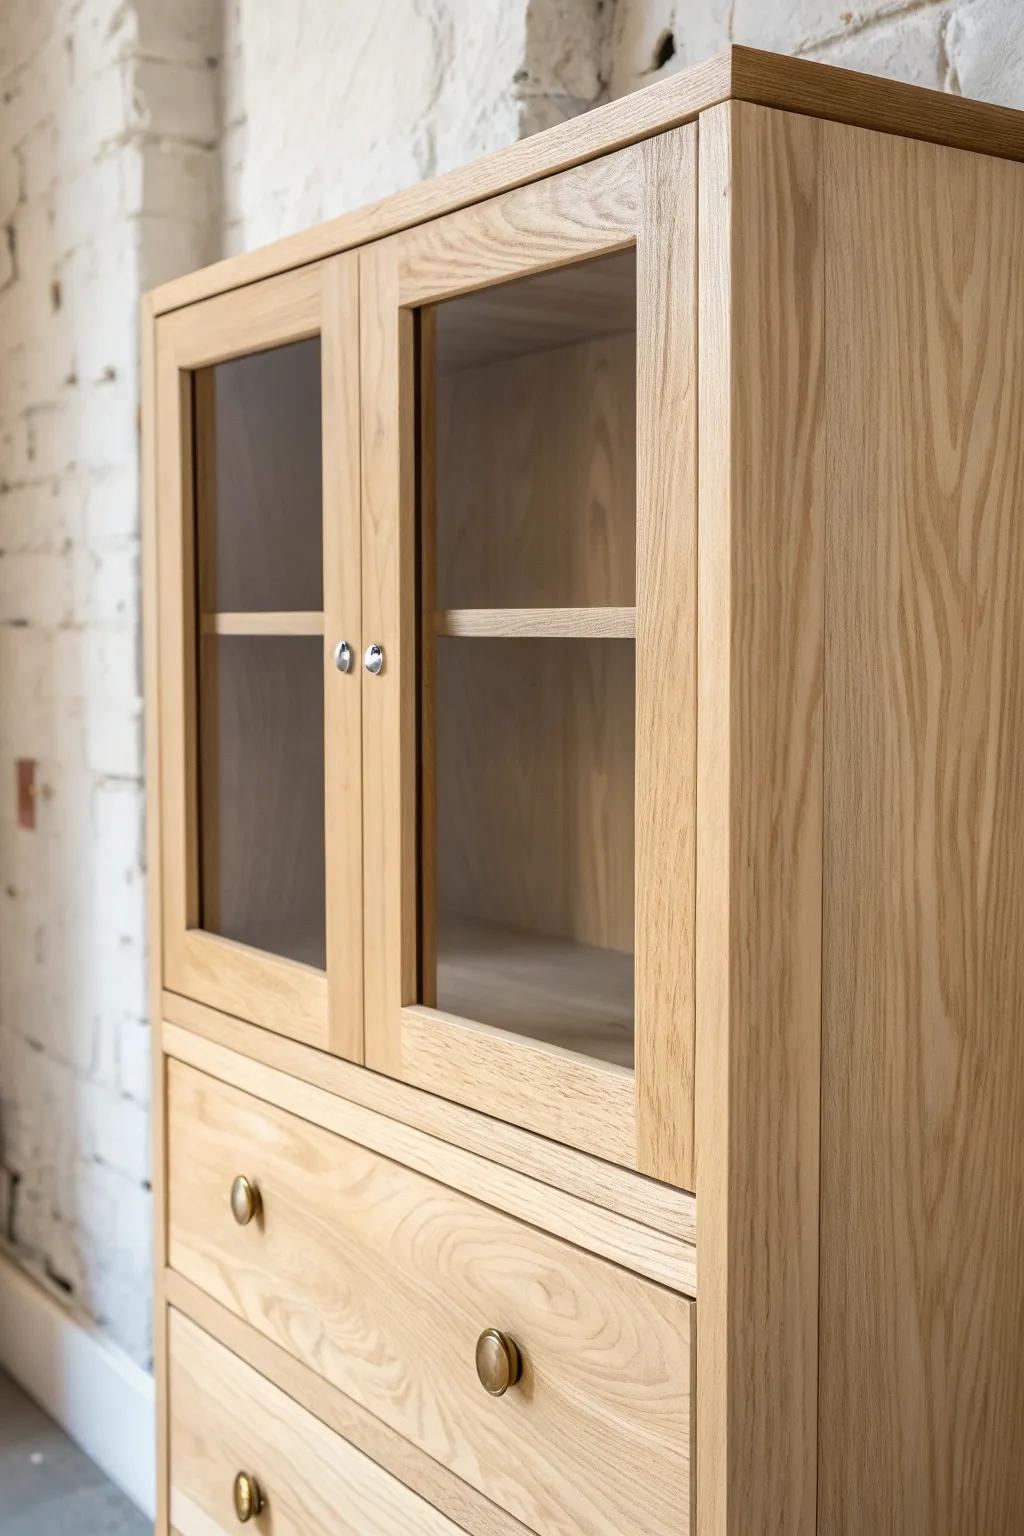
Glass-Front Cabinet Doors
Glass-front cabinet doors lighten up heavy cabinetry, and I love using them as a “breathing space” between solid fronts. I’ve done both clear and frosted glass, and frosted is my favorite when you want the airy look without showing every mug inside.
These products might help:
- Freestanding Cabinet with Glass Doors: Instantly add airy storage to your living space or kitchen with this stylish and functional display unit.
- Frosted Glass Window Film: Transform clear glass into a sleek, private surface easily to hide clutter while maintaining a light look.
- Black Cabinet Knobs and Hinges: Update your existing cabinetry with high-contrast hardware to replicate this modern yet classic aesthetic effortlessly.
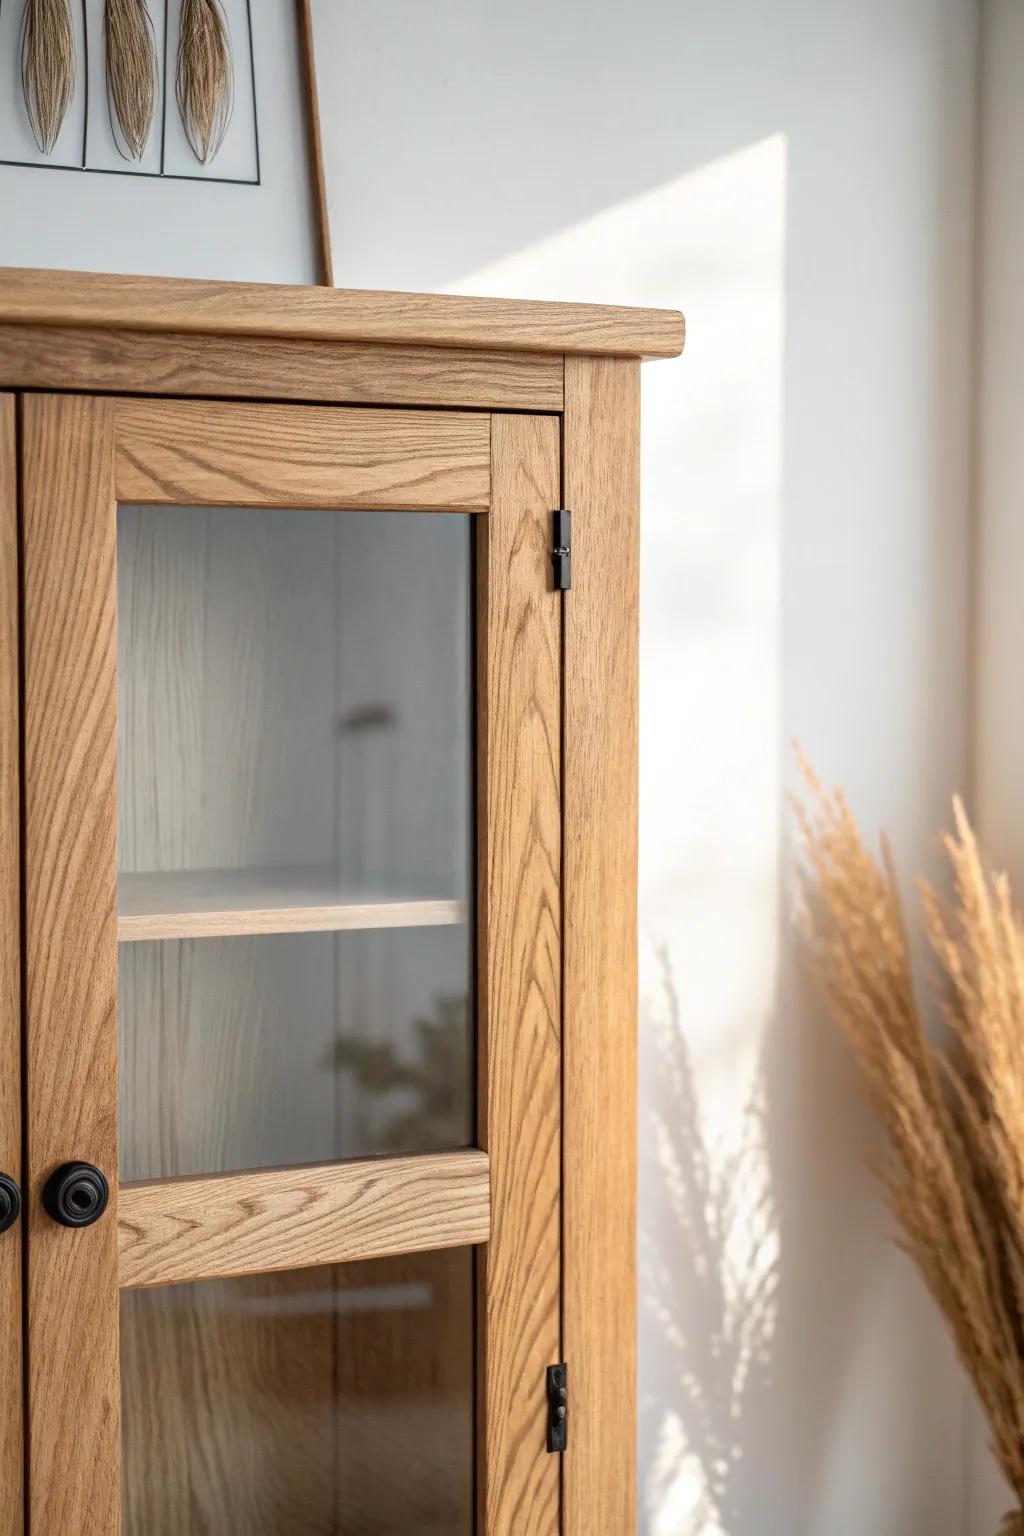
Mullion Grid Glass Fronts
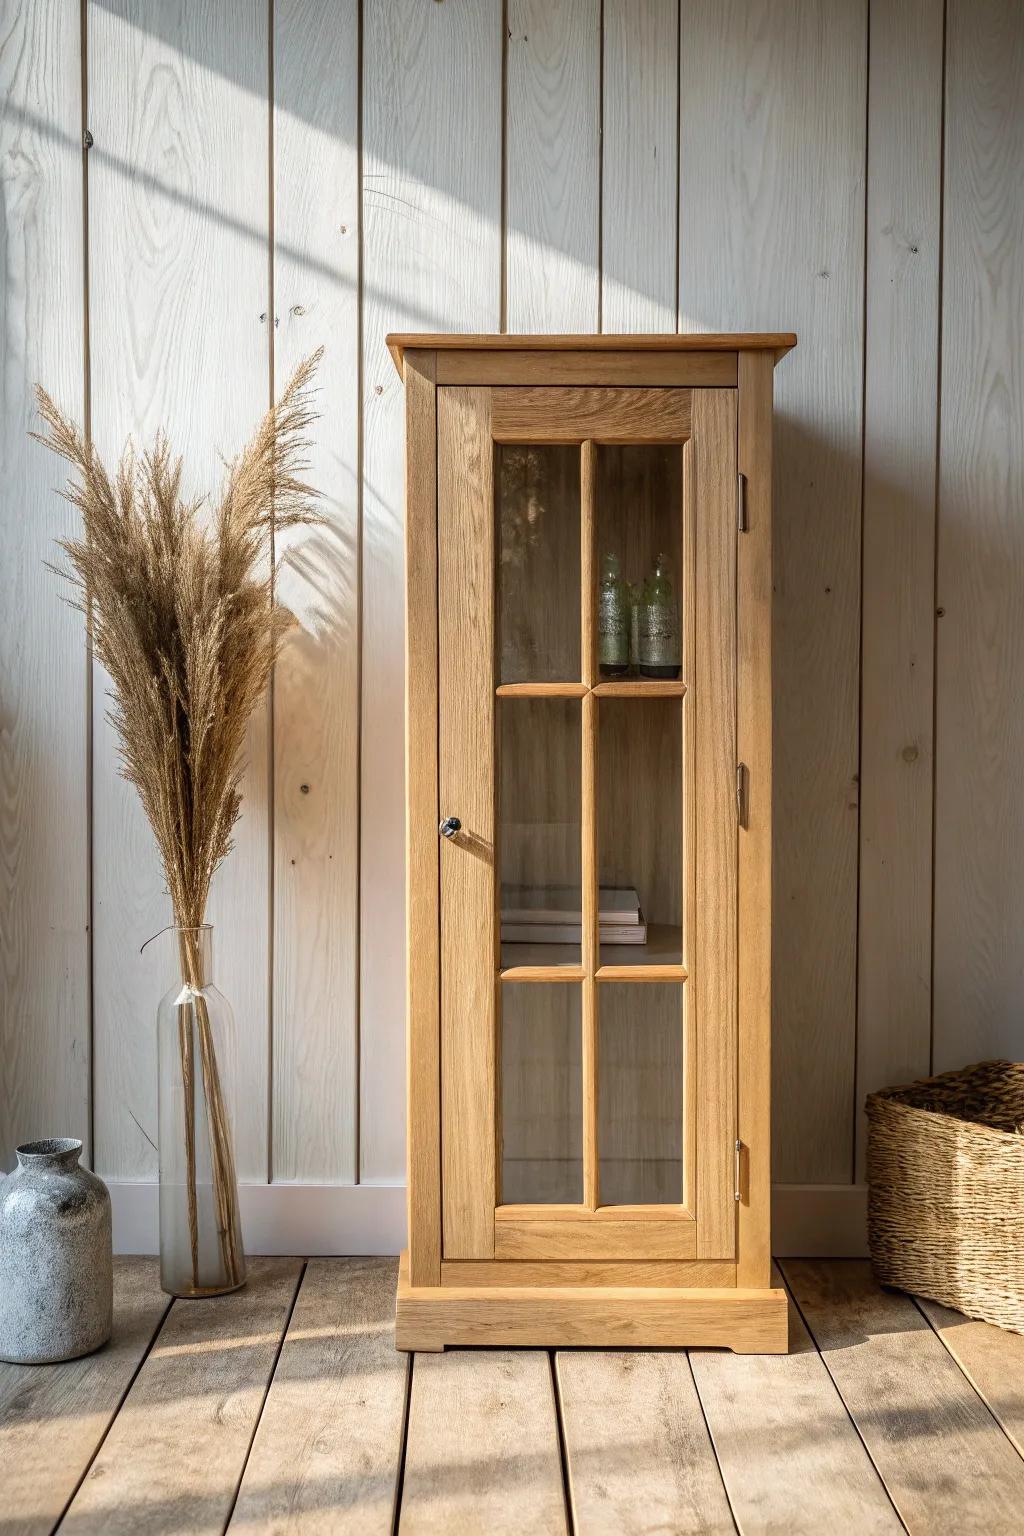
If you like a little structure, mullion cabinet fronts (that wood grid over glass) add instant character. I’ve rebuilt a few doors with narrow mullions, and that little detail makes them feel like vintage built-ins.
Consider these options:
- Glass Display Cabinet with Mullions: Add instant vintage charm to your room with a display cabinet featuring classic glass pane detailing.
- Adhesive Wood Trim strips: Create your own faux mullion grid on existing glass doors with these easy-to-cut moulding strips.
- Tall Narrow Curio Cabinet: Fit storage into tight spaces with a slender cabinet design that mimics traditional built-in furniture styles.
Inset Cabinet Fronts
Inset cabinet fronts sit flush inside the frame, and they always read as careful craftsmanship. I’ve installed inset doors on a built-in hutch before, and the clean gaps and alignment made the whole piece feel heirloom-quality.
Some ideas to consider:
- Inset Cabinet Hinges: Ensure your doors sit perfectly flush with the frame by choosing reliable hinges designed specifically for inset cabinetry.
- Round Brass Cabinet Knobs: Replicate the classic look of the photo by adding simple, elegant round knobs to your drawers and doors.
- Cabinet Door Glass Check Retainer Clips: Secure the glass panes in your new shaker-style inset doors safely and easily with these specialized retainer clips.
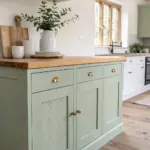
Partial Overlay Cabinet Fronts
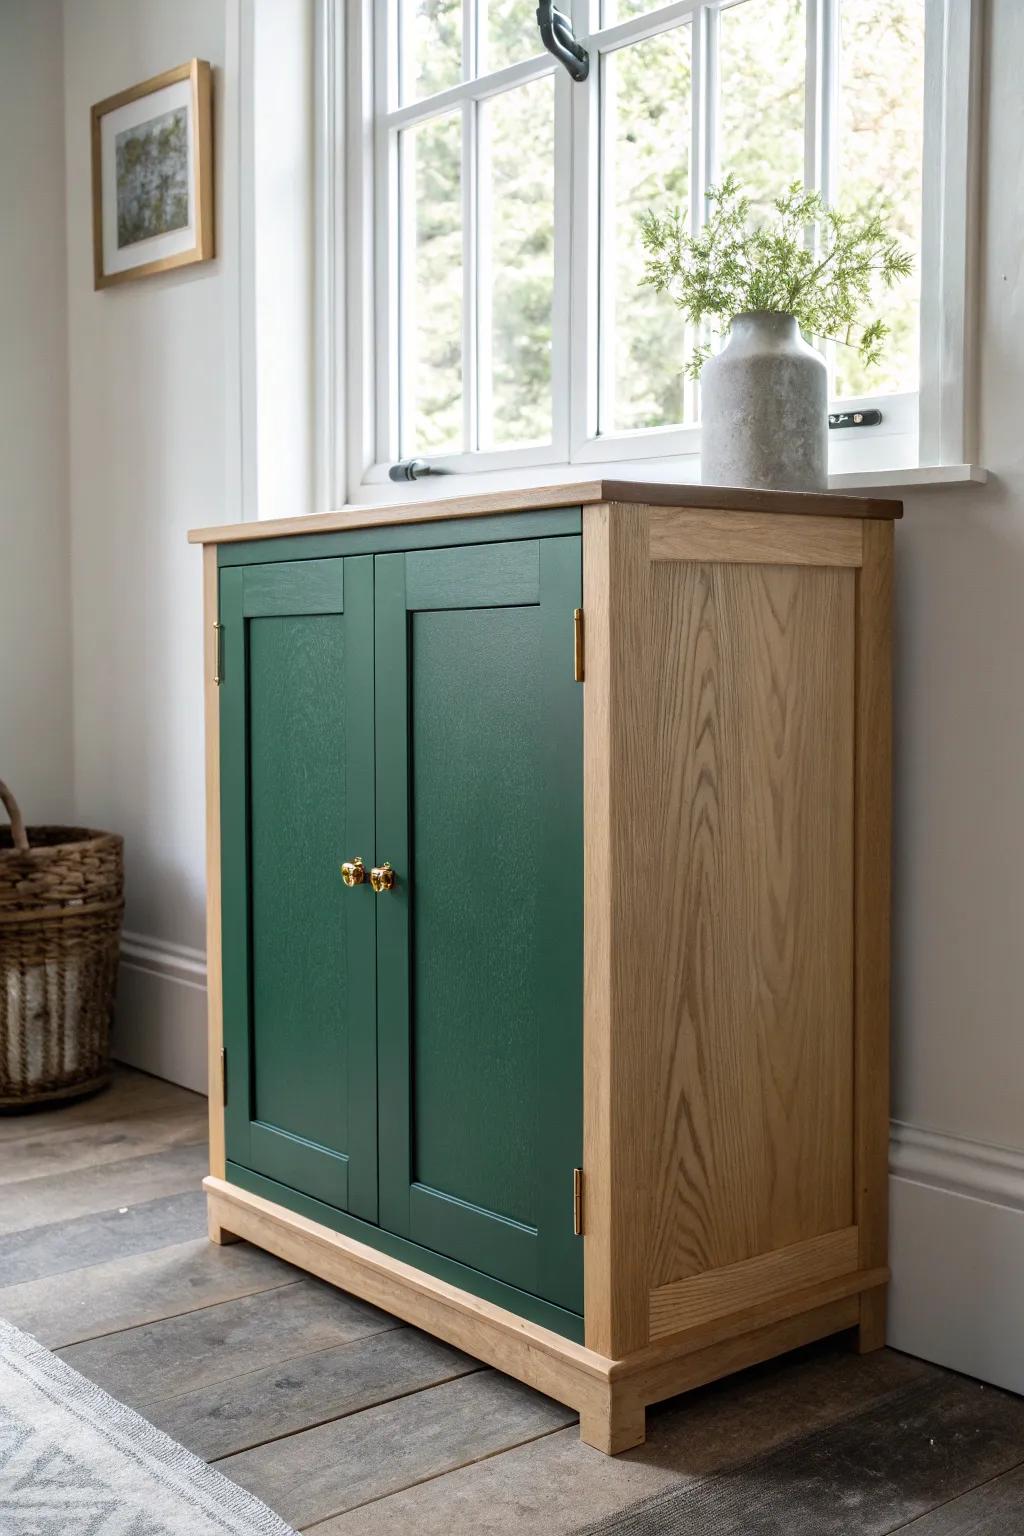
Partial overlay cabinet fronts show more of the face frame, which gives a more classic, traditional rhythm. I’ve used this style when upcycling older cabinets because it blends beautifully with existing boxes that aren’t perfectly square.
Might be a good match:
- Partial Overlay Cabinet Hinges: Secure your new doors perfectly with reliable hardware designed specifically for this classic face-frame style.
- Dark Green Cabinet Paint: Recreate the stunning look in the image by painting your custom cabinet fronts in a deep, rich green.
- Gold Cabinet Knobs: Add a touch of elegance to your finished project with simple, classic gold hardware that pops against dark colors.
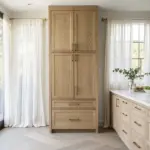
Arched Top Cabinet Fronts
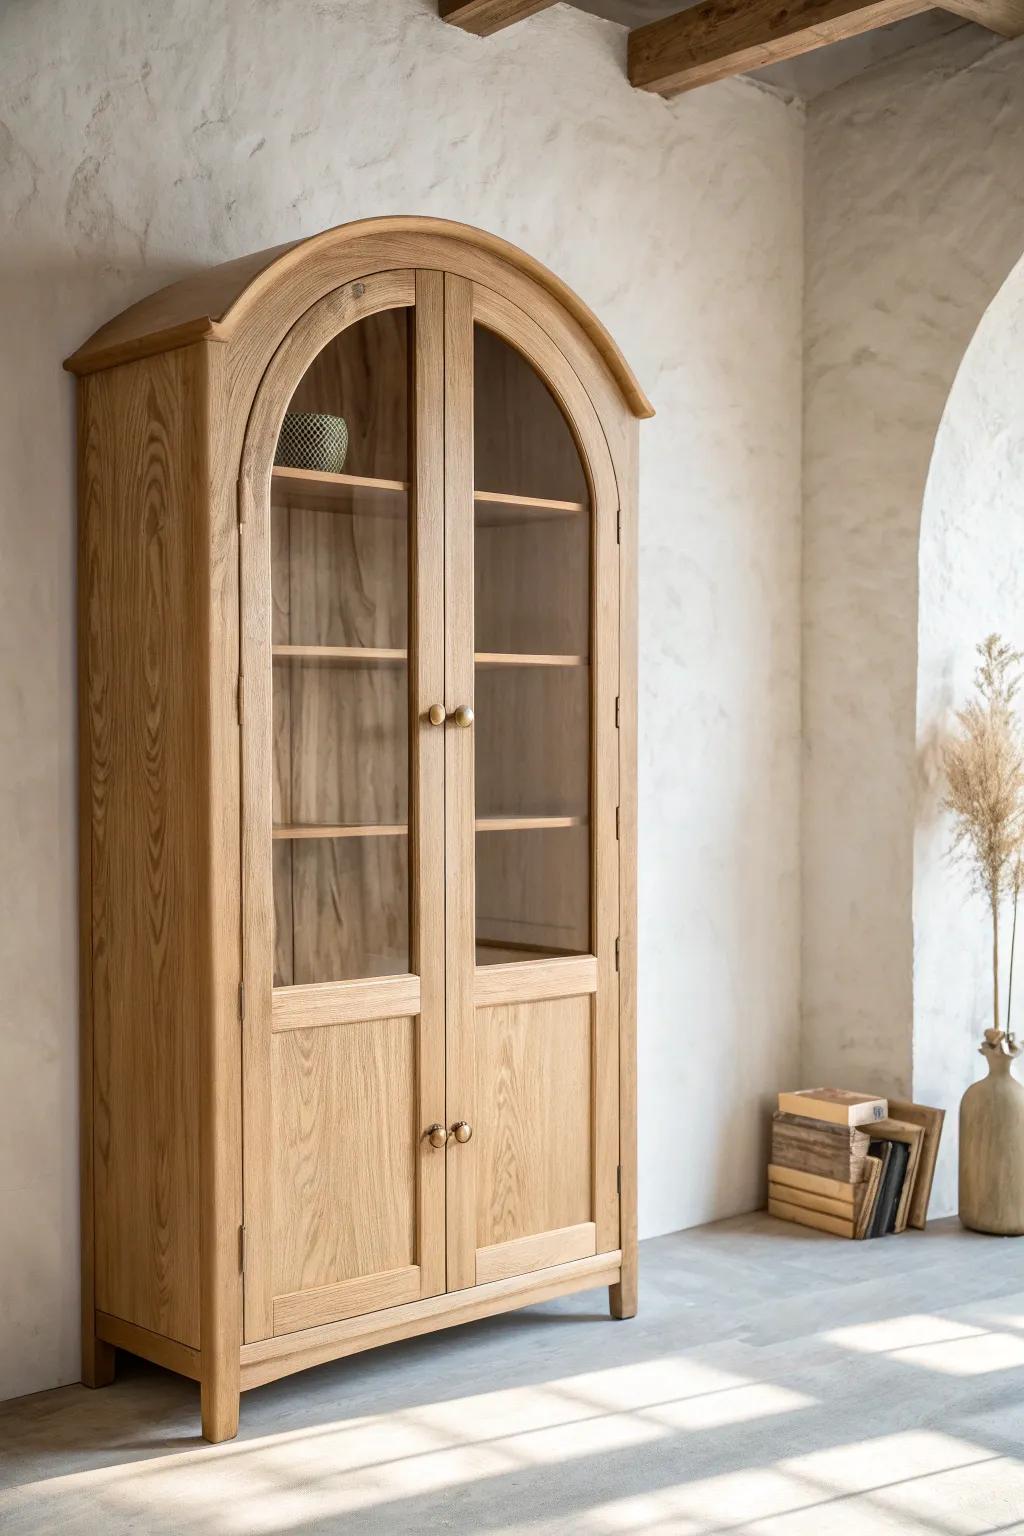
An arched cabinet front is such a simple way to add softness and make one area a focal point. I’ve added arches to a couple upper doors and a pantry front, and it instantly made the whole run feel more custom and “designed.”
A few suggestions:
- Standalone Arched Cabinet: Instantly add a focal point to your room without remodeling by choosing a freestanding arched cabinet for storage.
- Brass Ball Cabinet Knobs: Recreate the classic look of this cabinet by swapping your current hardware for simple, elegant brass ball knobs.
- Arched Window Mirror: Mimic the architectural softness of arched cabinetry elsewhere in your room by hanging a decorative arched window mirror.
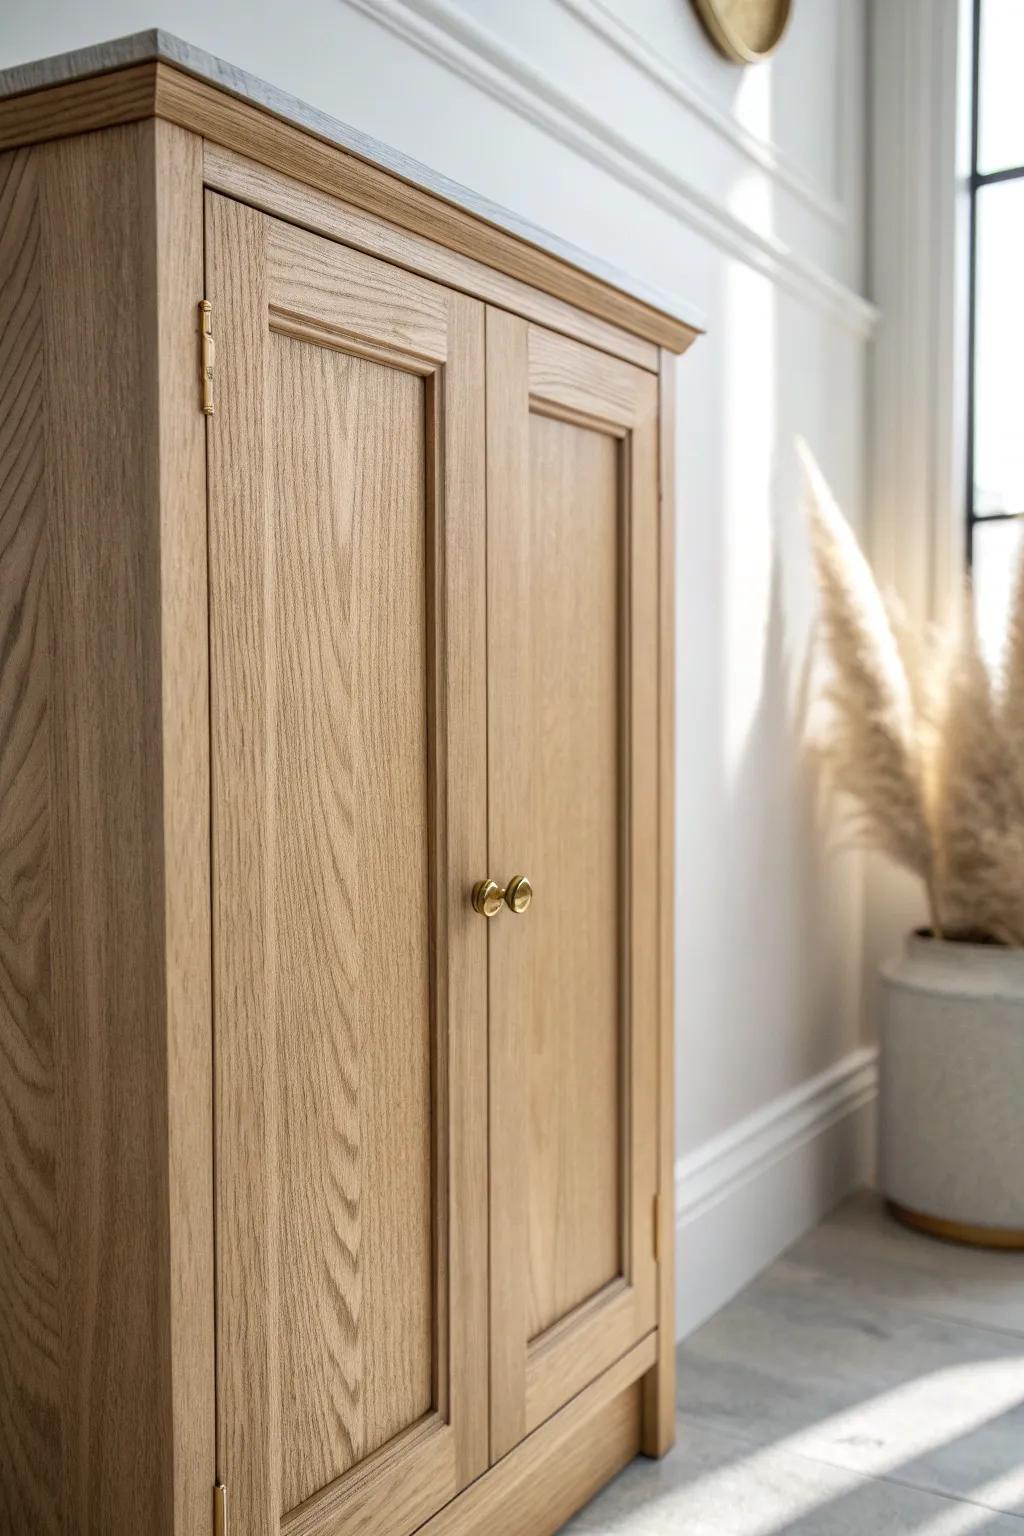
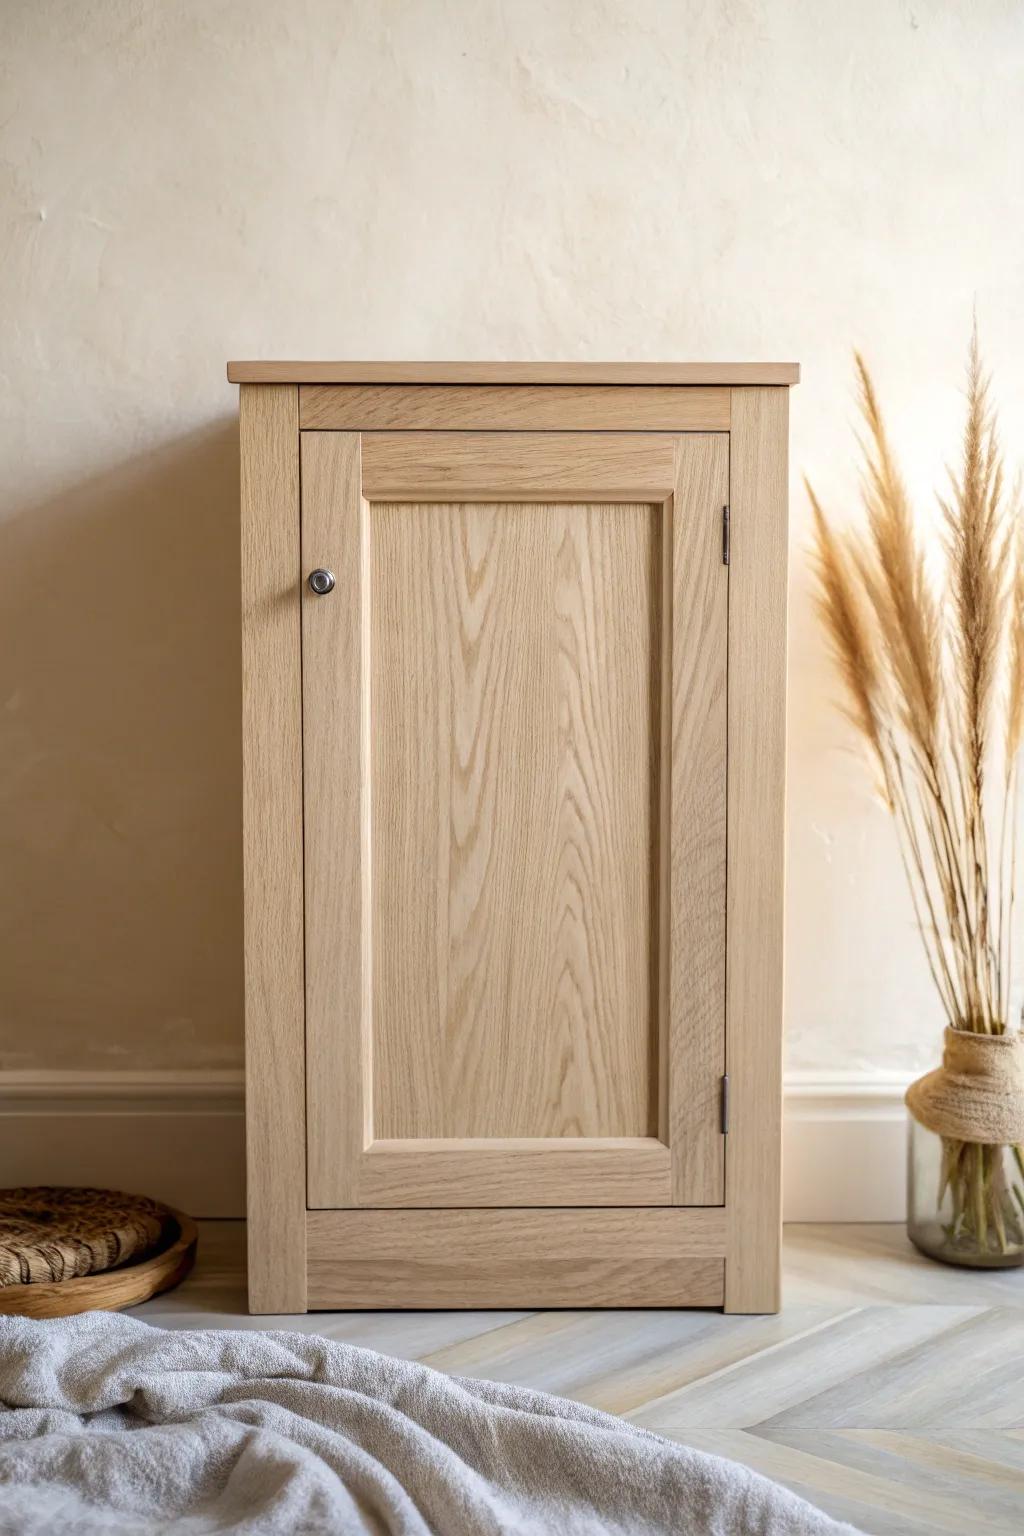
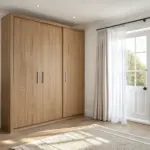
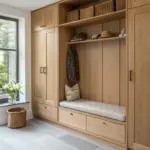
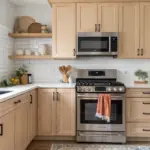
Natural Wood Grain Fronts
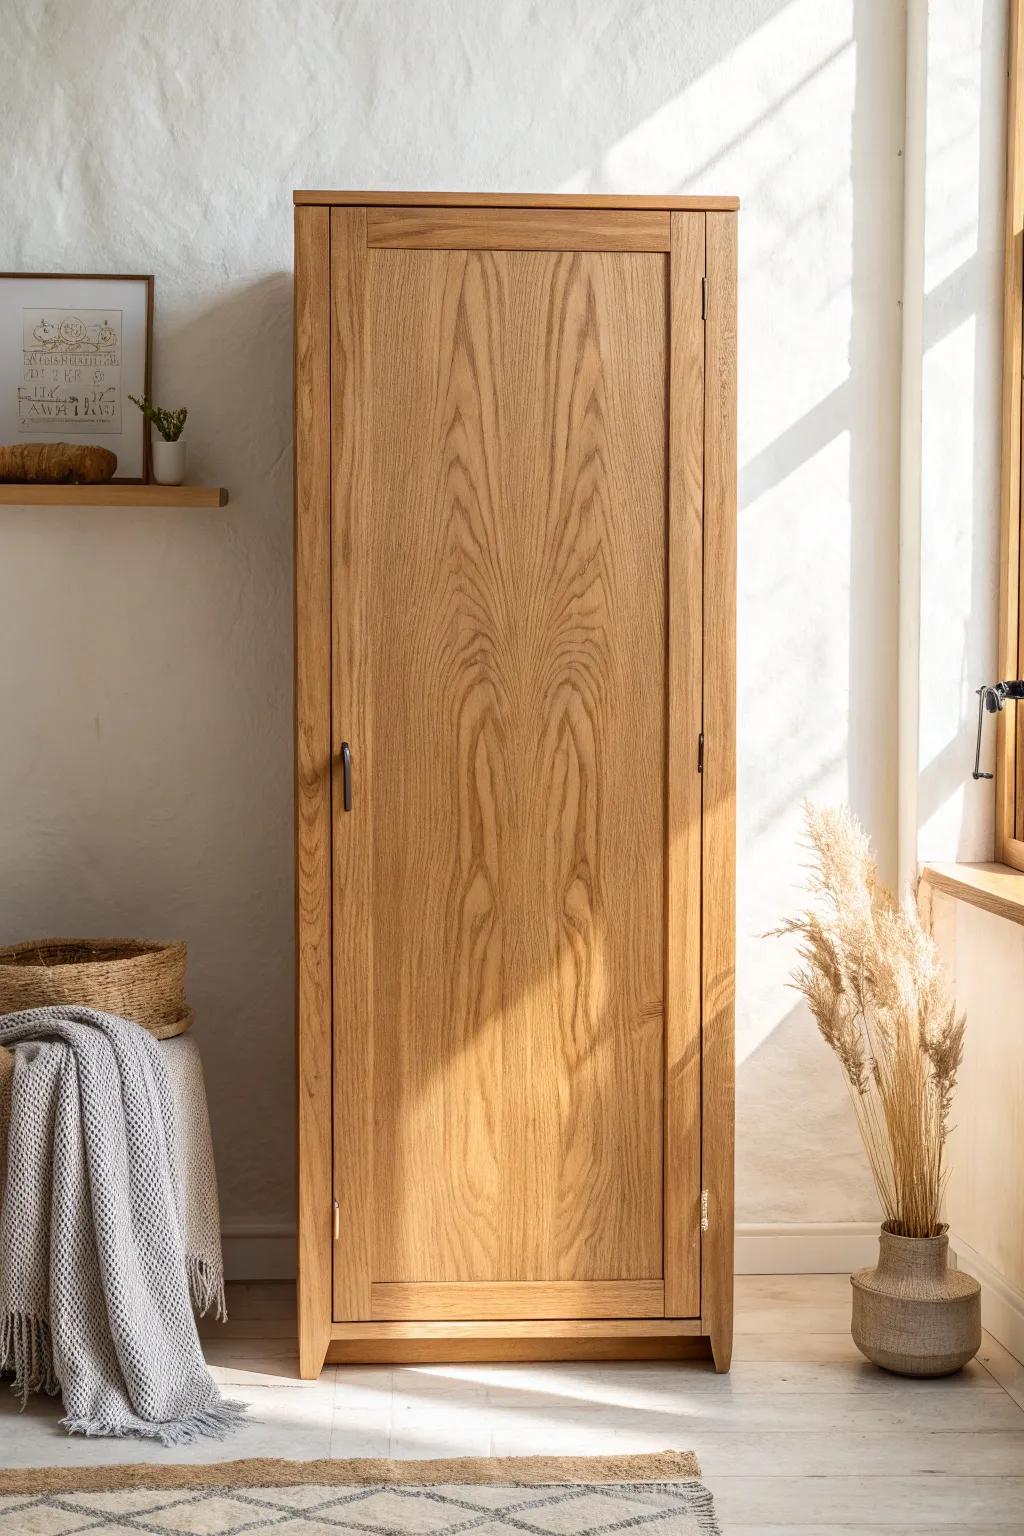
Letting natural wood grain cabinet fronts be the star is one of my favorite “no-fuss, big-impact” moves. In my shop, I’ll often use a simple door profile specifically so the grain pattern feels like the main design feature.
Products that could assist:
- Natural Wood Veneer Sheets: Refresh existing flat cabinet doors by applying real wood veneer for an authentic, high-end grain appearance.
- Clear Matte Wood Finish: Protect your raw wood surfaces while keeping the natural look and feel without adding unwanted shine.
- Minimalist Black Cabinet Pulls: Add a subtle modern touch that complements the wood tones without distracting from the beautiful grain patterns.
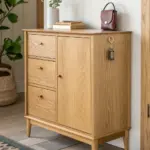
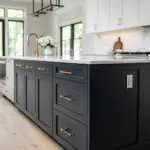
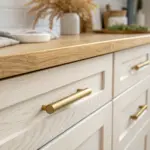
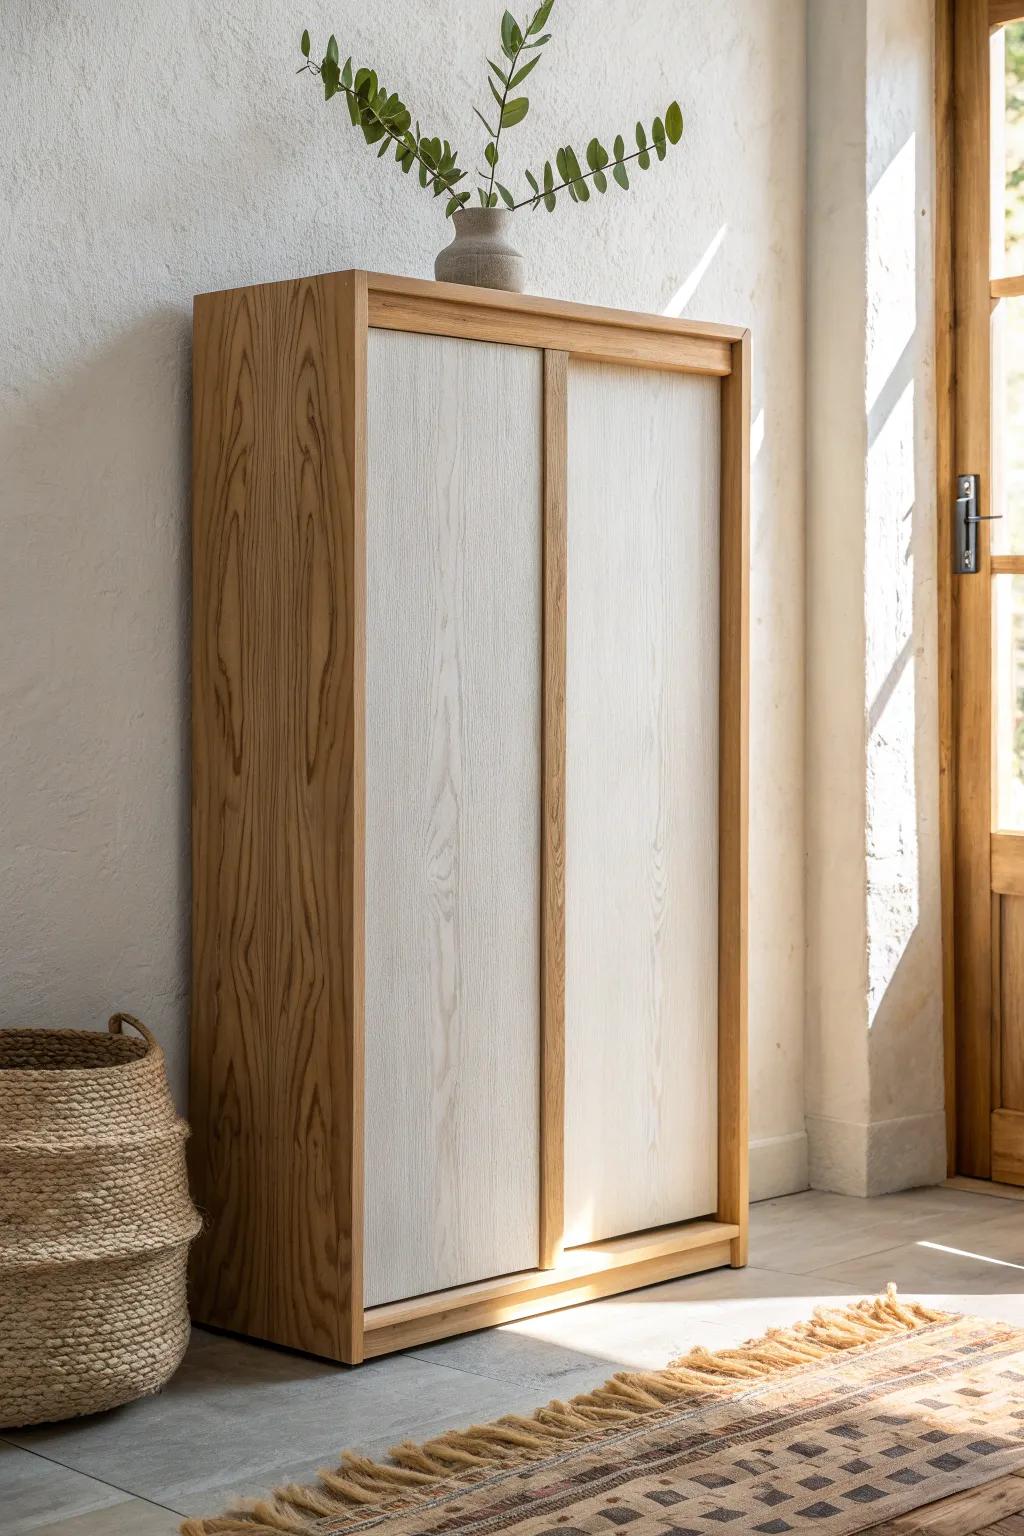
Two-Tone Cabinet Front Designs
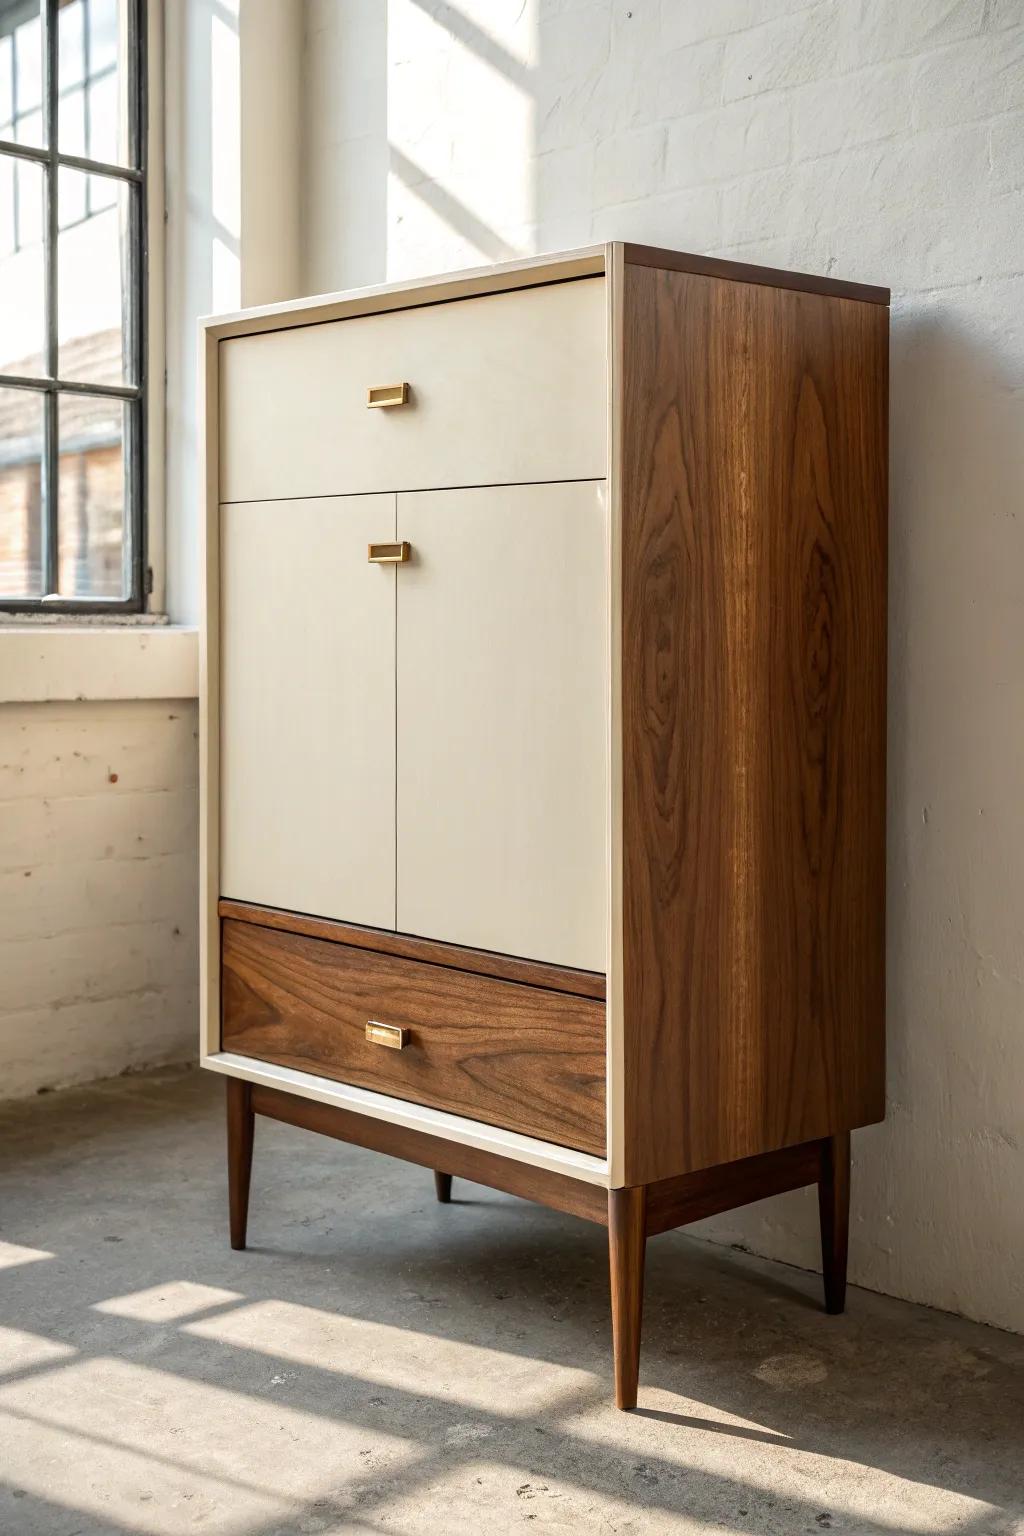
Two-tone cabinet fronts (light uppers, darker lowers, or a contrasting island) add depth without adding clutter. I’ve done this on a makeover with warm wood base fronts and painted uppers, and it made the room feel layered and intentional.
Possibly helpful picks:
- Self-Adhesive Wood Veneer: Transform flat surfaces instantly by applying this veneer to create rich, warm wood tones on lower cabinets.
- Cream or Off-White Cabinet Paint: Paint your upper cabinets with a soft, durable finish to achieve that crisp, high-contrast two-tone aesthetic.
- Modern Gold Finger Pulls: Tie the two different finishes together elegantly by installing sleek, minimal hardware that complements both wood and paint.
Fluted Vertical Groove Fronts
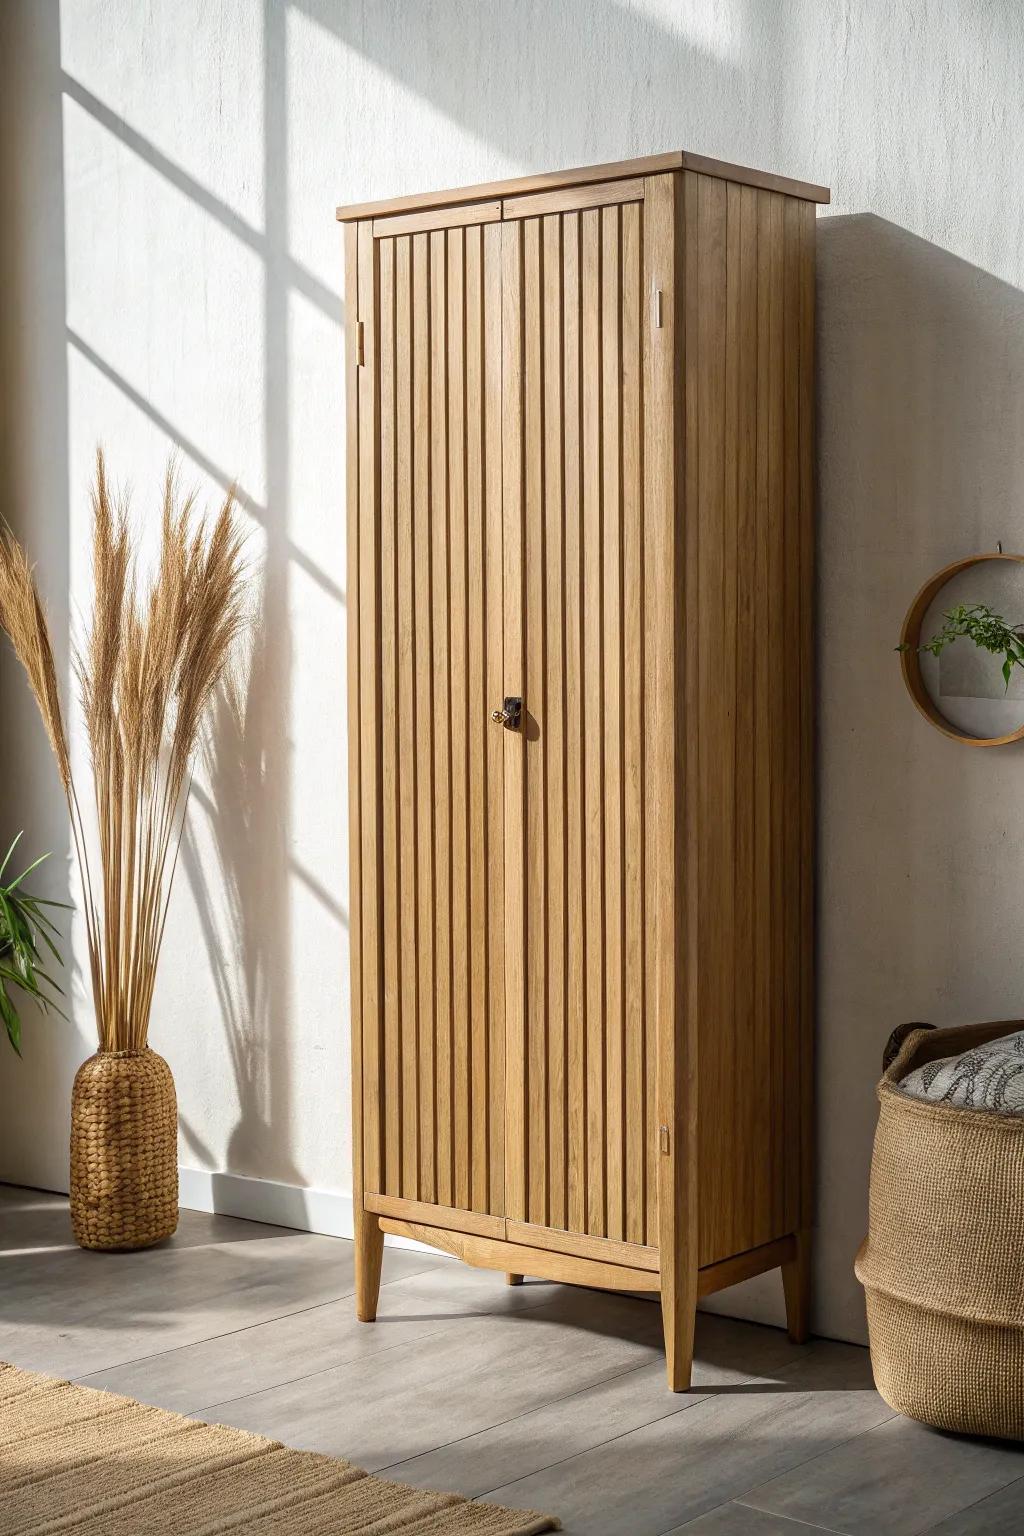
Fluted cabinet fronts bring that modern texture everyone loves, and the vertical lines can make ceilings feel taller. I’ve created the look by adding grooved panels to flat doors, and it’s one of those upgrades that looks way pricier than it is.
A few things you might like:
- Freestanding Fluted Wood Storage Cabinet: Instantly add texture to your room with a ready-made fluted cabinet that mimics this high-end look.
- Unfinished Tambour Wood Paneling: Create your own custom fluted doors by applying flexible tambour panels to existing flat cabinet surfaces.
- Half-Round Wood Moulding Trim: Achieve the grooved effect on a budget by gluing individual half-round molding strips to plain doors.
Reeded Glass Cabinet Fronts
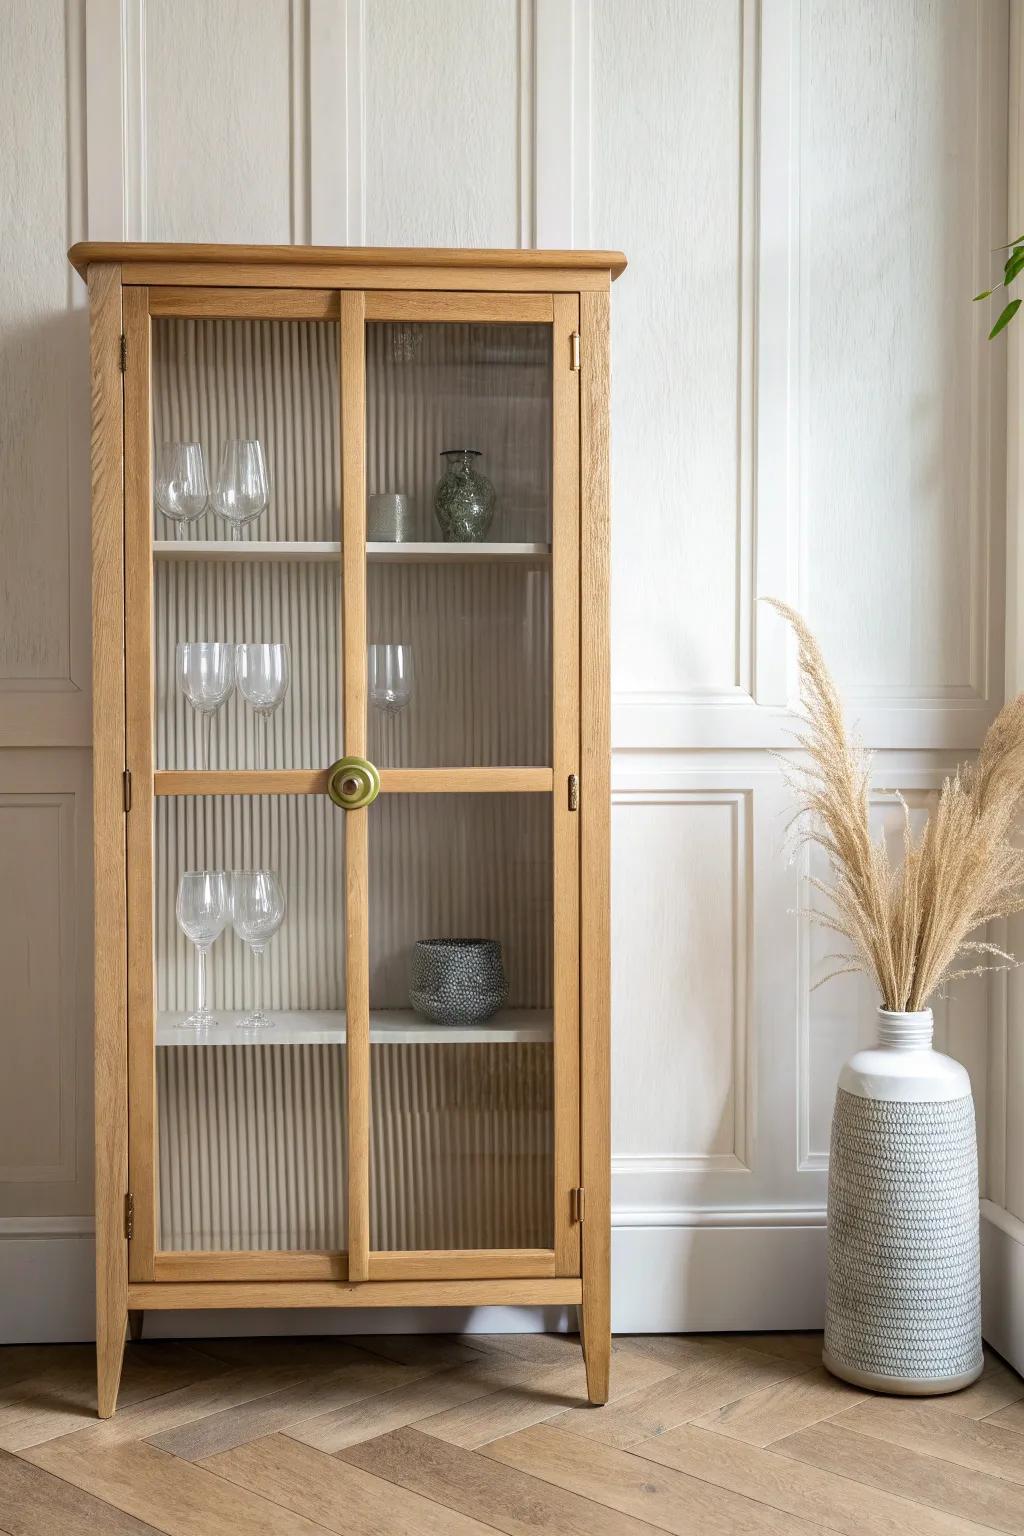
Reeded glass cabinet fronts give you that dreamy, diffused look with just a hint of what’s inside. I used reeded glass on a wet bar project once, and it made basic cabinet boxes feel instantly elevated.
Give these a look:
- Reeded Glass Window Film: Transform your existing plain glass cabinet doors instantly with this easy-to-apply film for that textured, high-end look.
- Freestanding Fluted Display Cabinet: Add instant storage and style to your room with a ready-made cabinet featuring beautiful fluted glass doors.
- Gold Cabinet Knobs: Complete your cabinet’s upgrade by adding elegant brass or gold hardware that perfectly accents natural wood tones.
Geometric Applied Molding Fronts
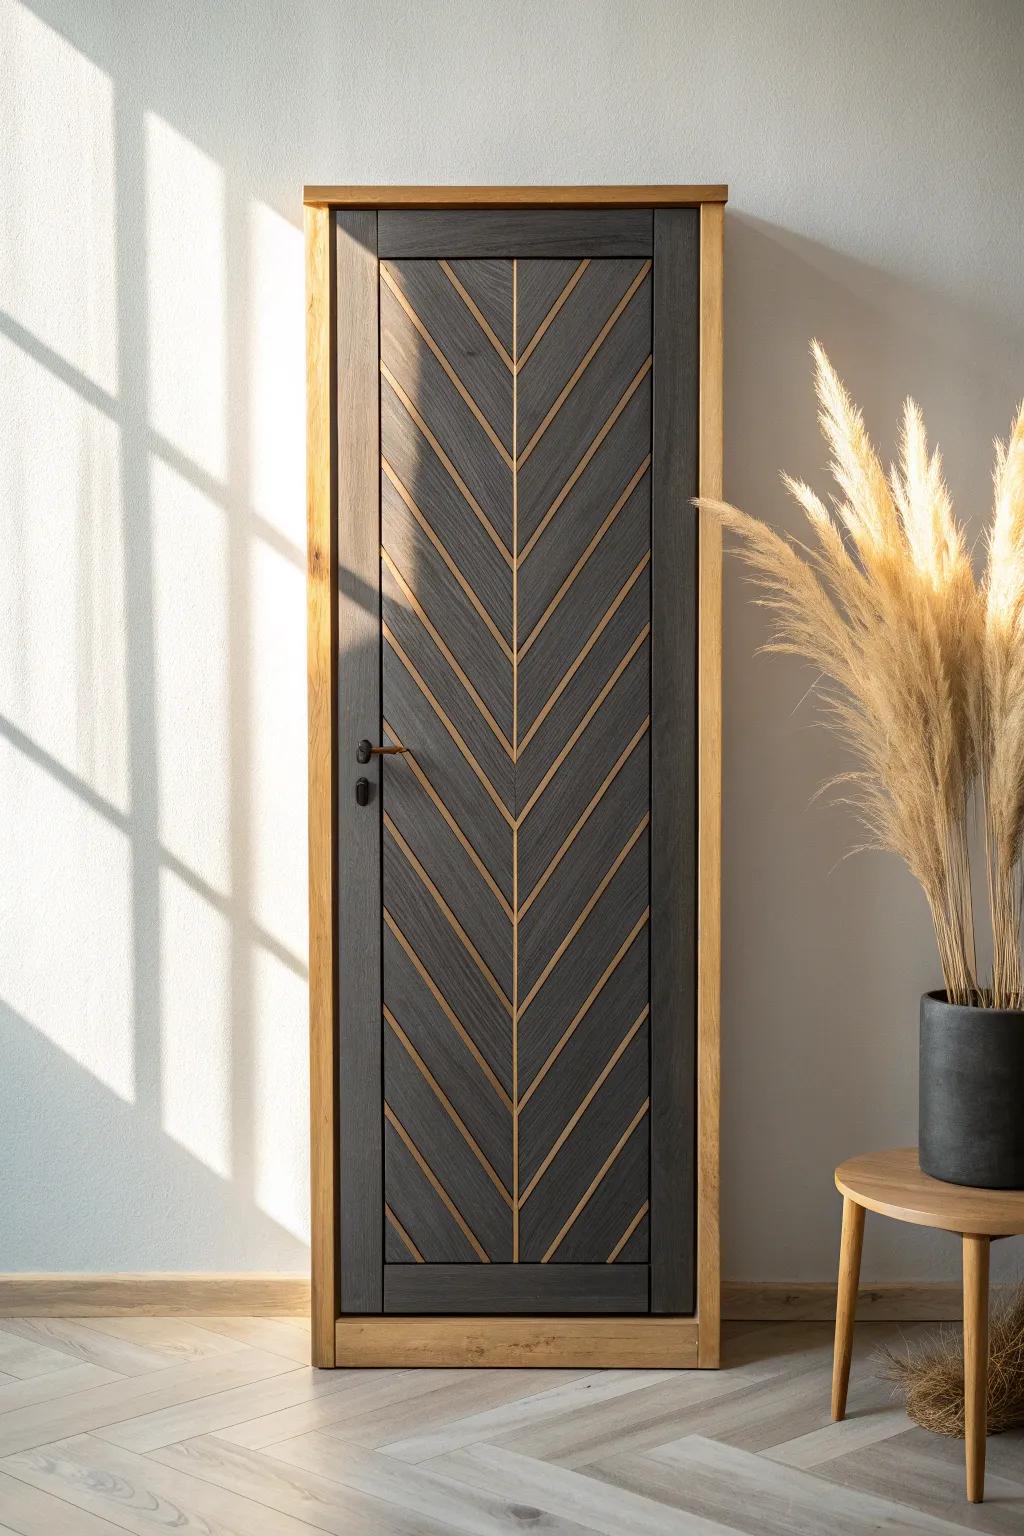
Adding geometric molding to plain cabinet fronts is my favorite way to fake a high-end custom door. I’ve glued and pinned thin trim into patterns on flat doors, and once painted, it looks like it came from a boutique cabinet shop.
You might like:
- Self-Adhesive Molding Trim Strips: Create crisp geometric lines easily with peel-and-stick trim, adding instant dimension to plain cabinet doors.
- Construction Adhesive or Wood Glue: Ensure your custom design stays in place securely by applying a strong, reliable adhesive on molding.
- Miter Shears for Angled Cuts: Achieve perfect geometric angles without heavy power tools by cutting trim strips precisely with these shears.
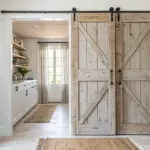
X-Brace Farmhouse Fronts
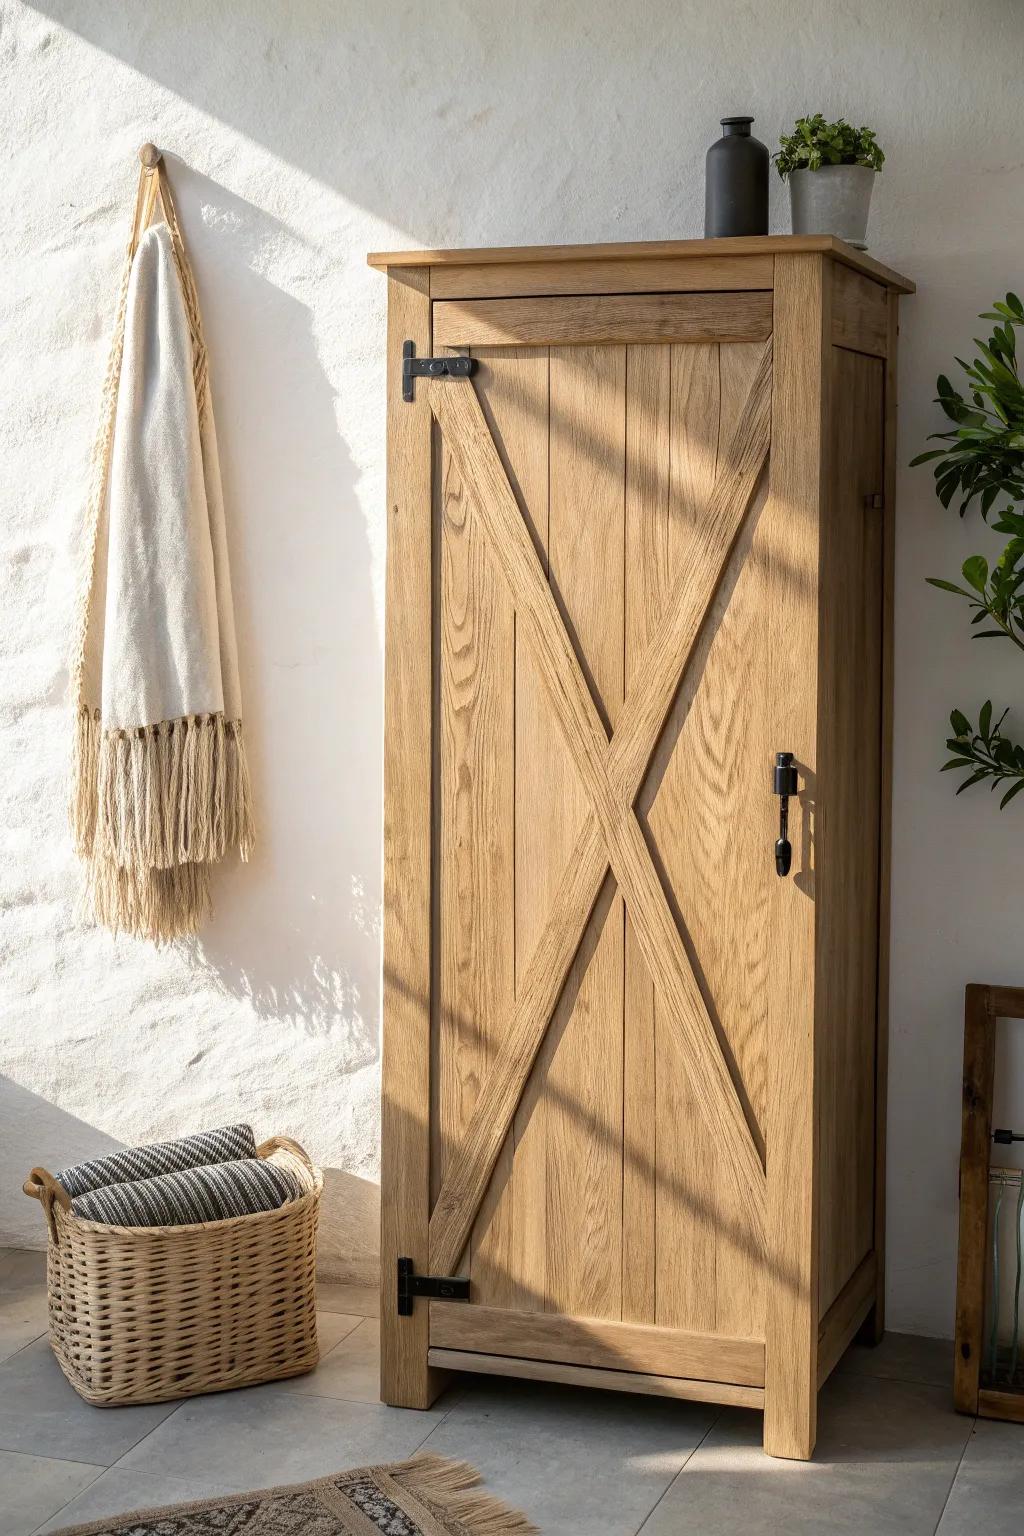
X-brace cabinet fronts give that barn-door energy without turning your whole kitchen into a theme. I’ve built a pair for a laundry cabinet, and the angled braces looked amazing with a lightly distressed finish.
A few helpful options:
- Black Iron T-Hinges: Instantly add rustic character to your cabinet doors with these sturdy, classic farm-style hinges.
- Matte Black Cabinet Pull Handle: Complete the farmhouse aesthetic by installing a robust, matte black handle for easy everyday access.
- Oak Wood Stain & Sealer: Protect your wood and highlight the natural grain with a warm, durable finish for lasting beauty.
Tongue-and-Groove Plank Fronts
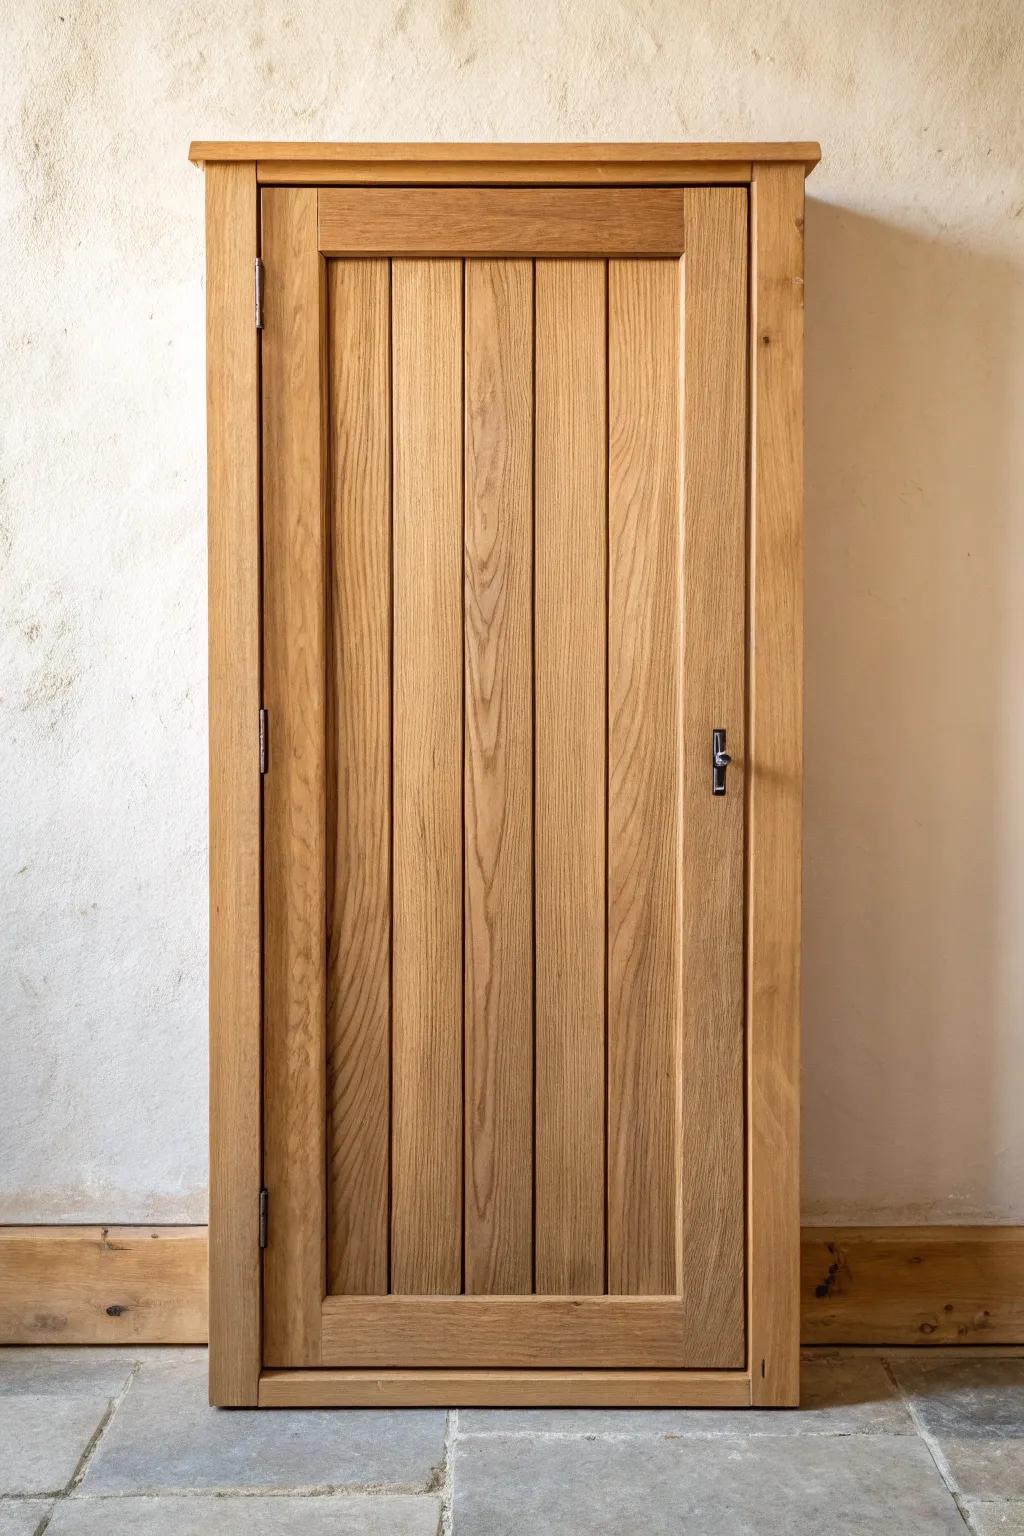
Tongue-and-groove cabinet fronts create a planked look that feels rustic and warm, especially on an island or pantry. I’ve made these using thin boards on a door frame, and the seams add just enough texture to feel handcrafted.
A few relevant products:
- Tongue and Groove Router Bit Set: Create perfectly matched plank joints for your cabinet doors with this essential tool for seamless connections.
- Unfinished Oak Lumber Boards: Source quality hardwood boards to build durable, authentic plank-style fronts that can be stained to match.
- Antique Cabinet Latch Hardware: Finish your rustic cabinet project with period-appropriate latches that add functional charm and vintage character.
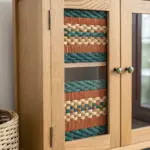
Metal Mesh Insert Fronts
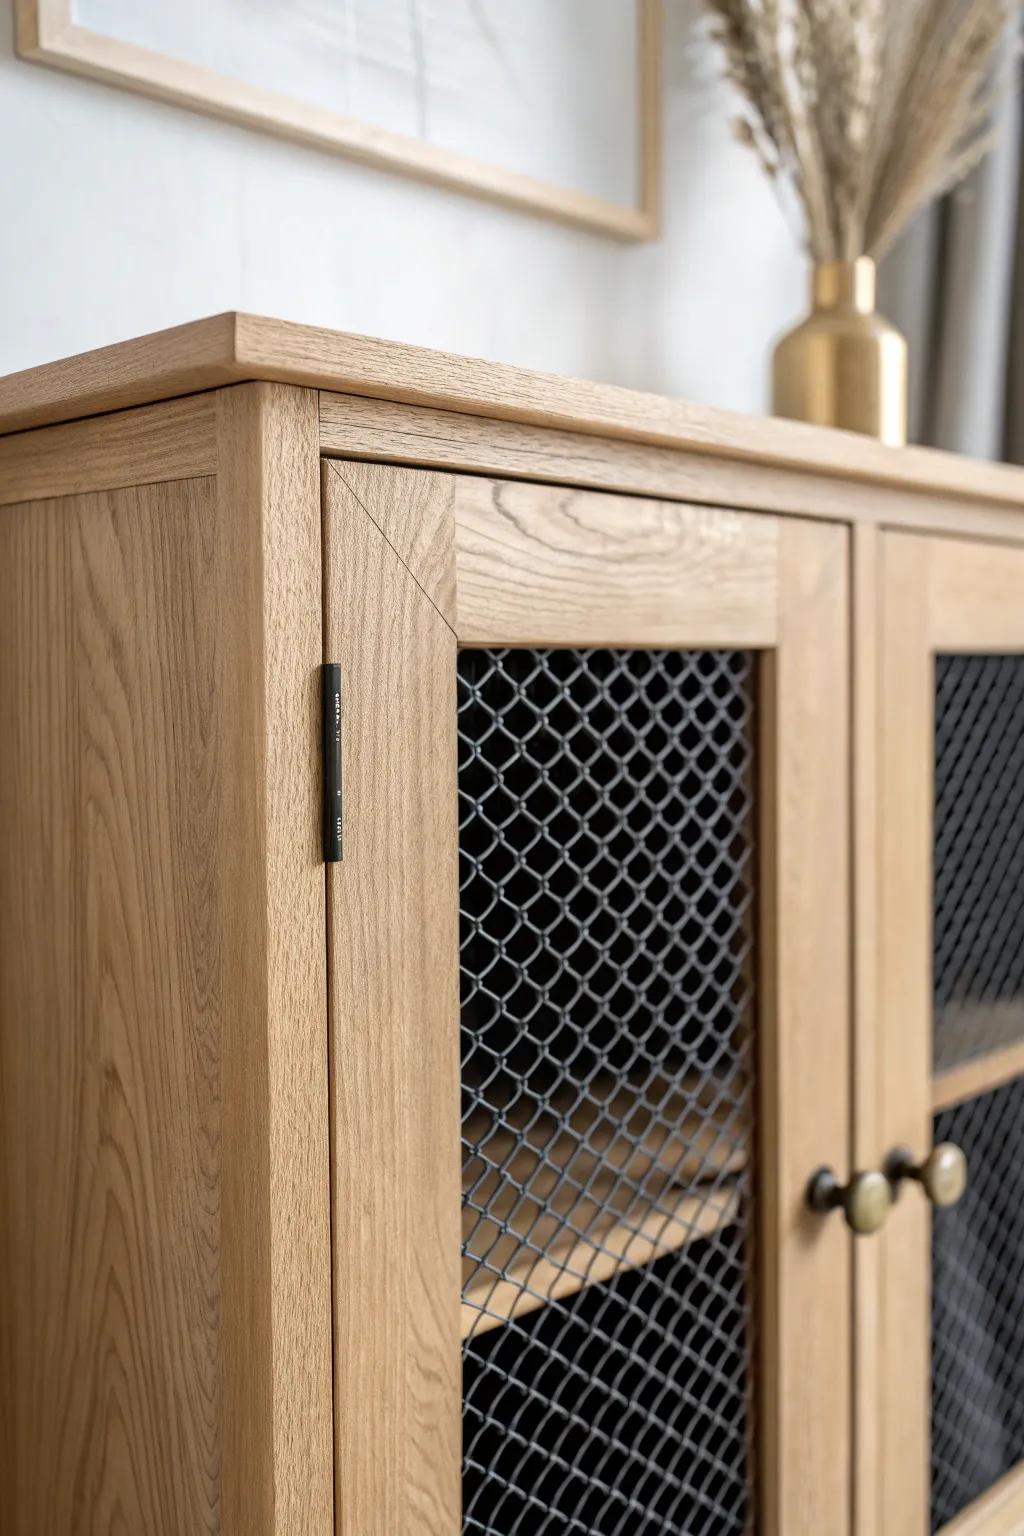
Metal mesh cabinet fronts are such a cool middle ground between solid doors and glass because they hide clutter but still feel light. I’ve installed mesh inserts in a coffee bar cabinet, and it added an industrial edge without overpowering the wood.
These products might be useful:
- Decorative Wire Mesh Sheet: Add industrial flair to your cabinet doors by cutting these mesh sheets to fit your existing frames easily.
- Heavy-Duty Wire Cutters: Ensure a clean, precise cut for your metal inserts with durable cutters designed for tough wire mesh materials.
- Heavy Duty Staple Gun: Secure your new mesh inserts firmly to the back of wooden cabinet frames for a professional, lasting finish.
Chalkboard Cabinet Front Panels
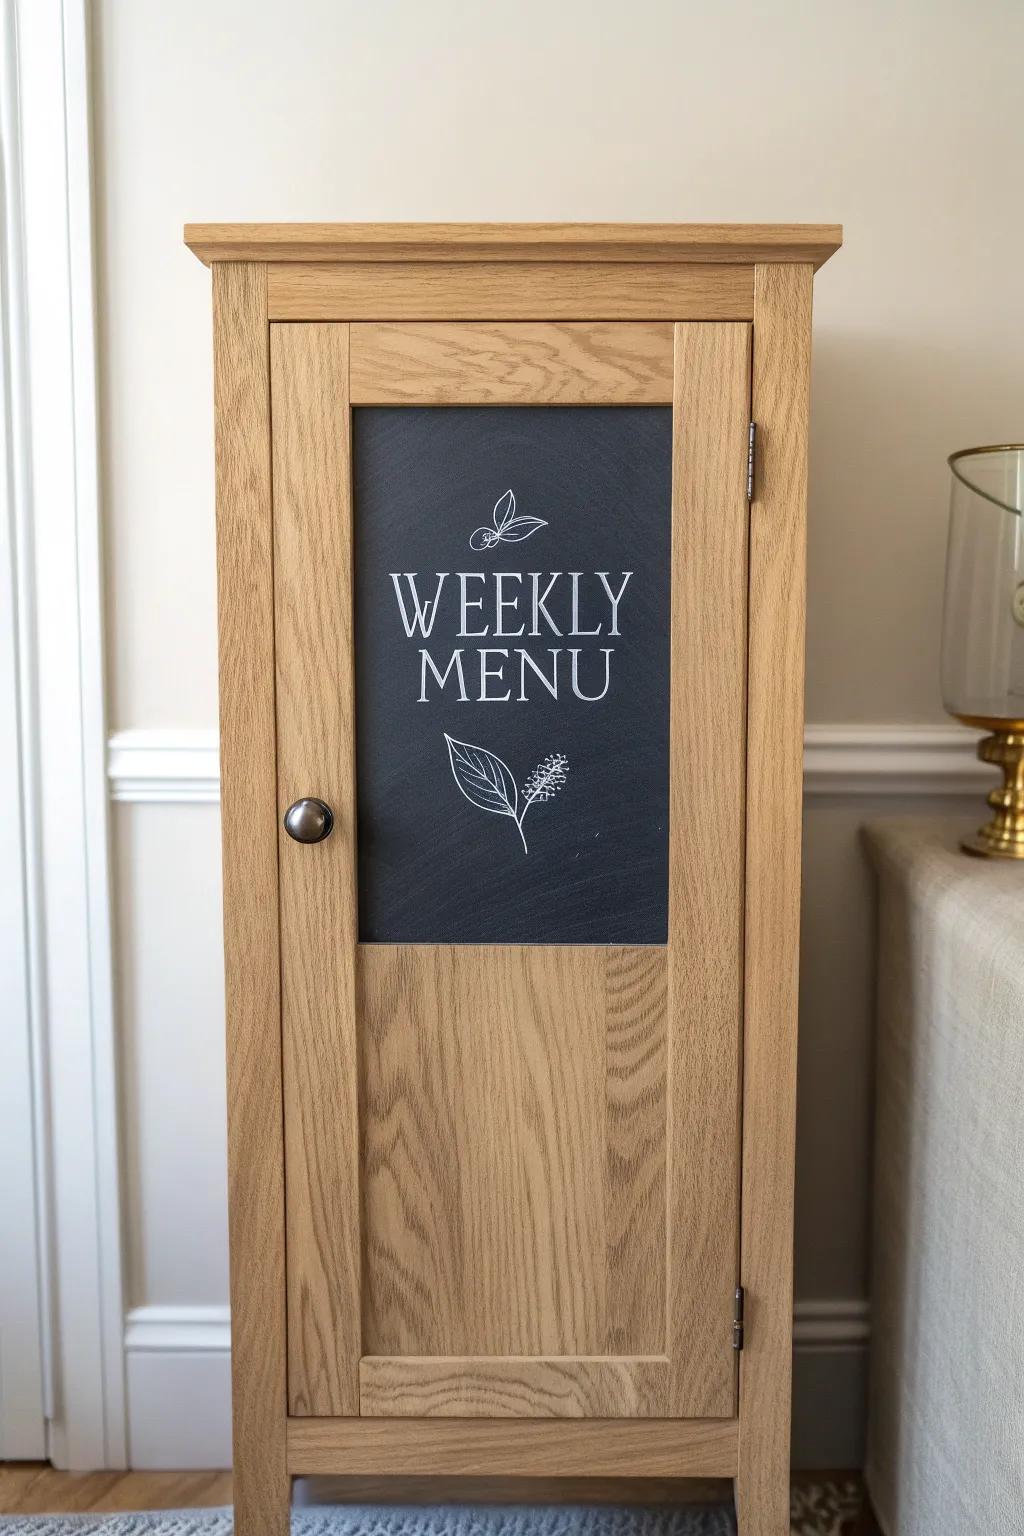
Turning a cabinet front into a chalkboard panel is both cute and ridiculously practical for grocery lists or weekly menus. I’ve done this on a pantry door, and it’s honestly saved me from buying the same ingredients twice more than once.
Possibly handy products:
- Adhesive Chalkboard Vinyl Roll: Transform any flat cabinet panel quickly by applying this customizable peel-and-stick vinyl surface for instant notes.
- Chalkboard Paint Kit: Create a durable, permanent writing surface on wooden doors with this specialty paint for a custom finish.
- Liquid Chalk Markers: Design beautiful, smudge-free weekly menus and grocery lists with these vibrant, easy-to-clean writing tools.
Resin Inlay Cabinet Front Designs
If you want a real showstopper, try resin inlay cabinet fronts—a slim channel filled with tinted resin or a clear pour over a textured inlay. I’ve experimented with resin lines in routed grooves on slab doors, and under the right light it looks like functional cabinetry turned into art.
A few choices to try:
- Epoxy Resin Kit: Create stunning, durable inlays by mixing this clear resin, perfect for filling routed grooves or coating custom textures.
- Resin Pigment Set: Customize your cabinet design with vibrant colors or subtle tints to create eye-catching contrasts against natural wood.
- Wood Router Tool: Carve precise channels and grooves into your cabinet fronts to prepare the perfect base for your resin pour.


