
A dresser bar is one of my favorite ways to turn a forgotten piece of furniture into something you actually use every day. With a little woodworking and a few smart upgrades, an old dresser can hold bottles, glassware, tools, and even your coffee setup without feeling cluttered.
Line the Back With a Mirror Panel
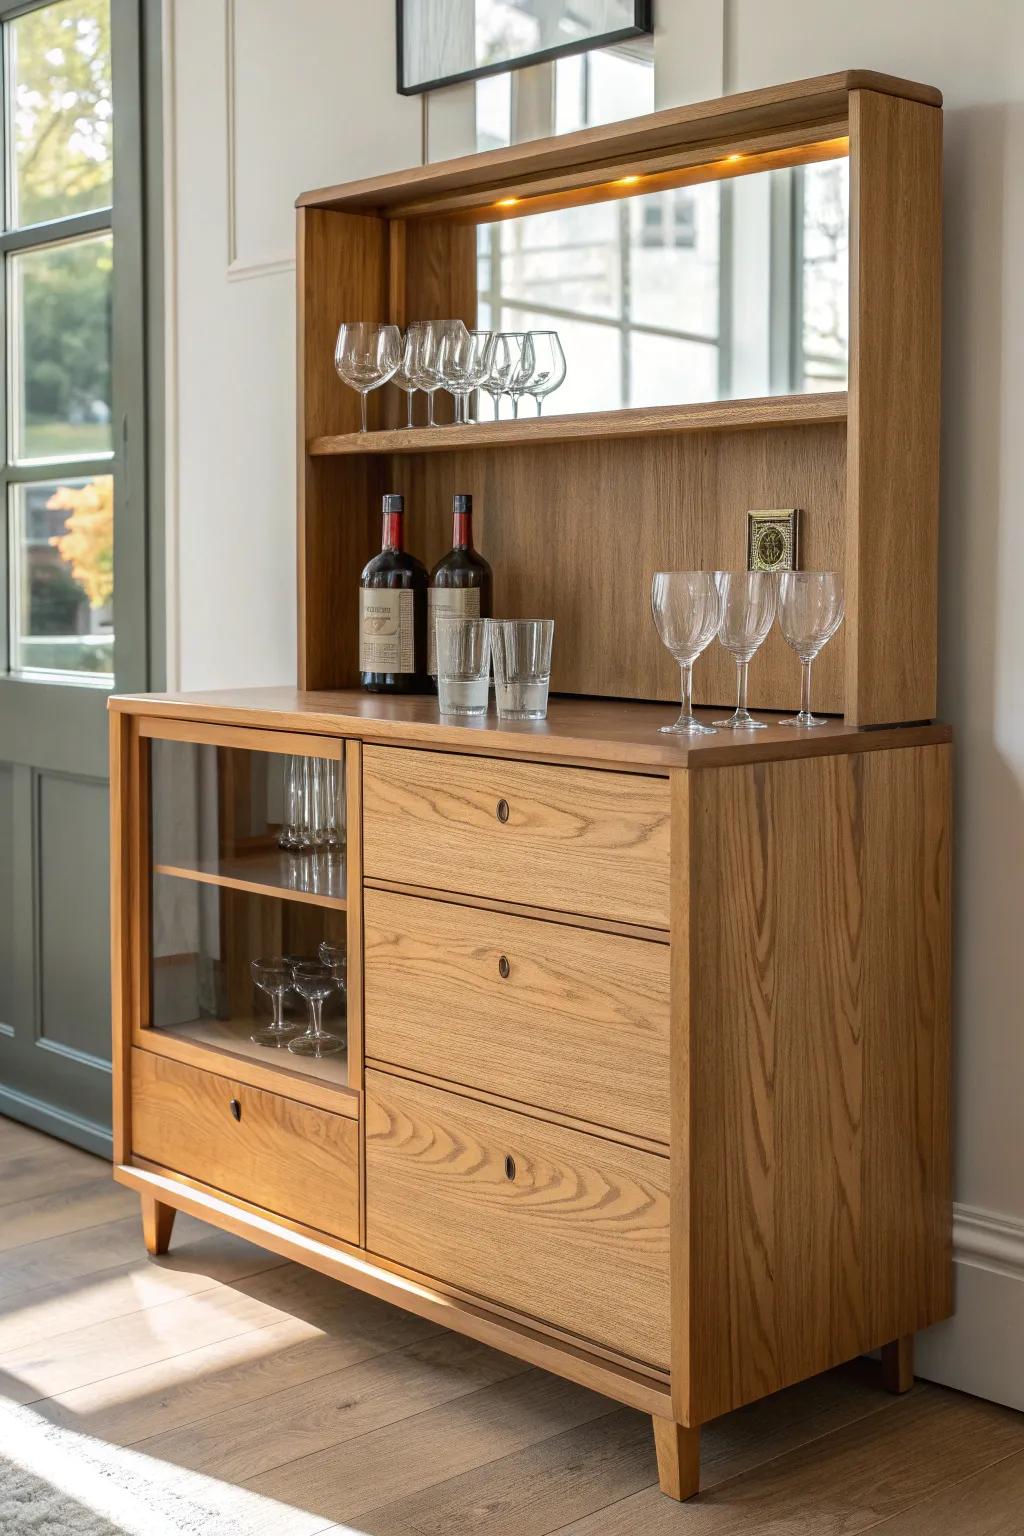
I’ve added a mirror back inside the open shelf area, and it doubles the sparkle from glassware while making the bar look deeper. If you’re nervous about cutting glass, I’ve had great luck using a thin mirrored panel and securing it with trim.
Check if these fit your needs:
- Acrylic Mirror Sheet: Create a safe, lightweight reflective backdrop for your shelves easily; cut it to size without heavy tools.
- Under Cabinet LED Lighting Kit: Enhance the mirror’s effect by adding warm light to showcase your glassware and add visual depth.
- Wood Trim Molding: Finish the edges of your new mirrored panel professionally to ensure it blends seamlessly with your furniture.
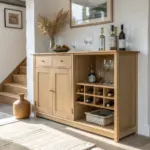
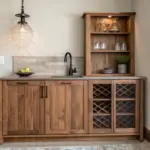
Add a Wine Rack Insert
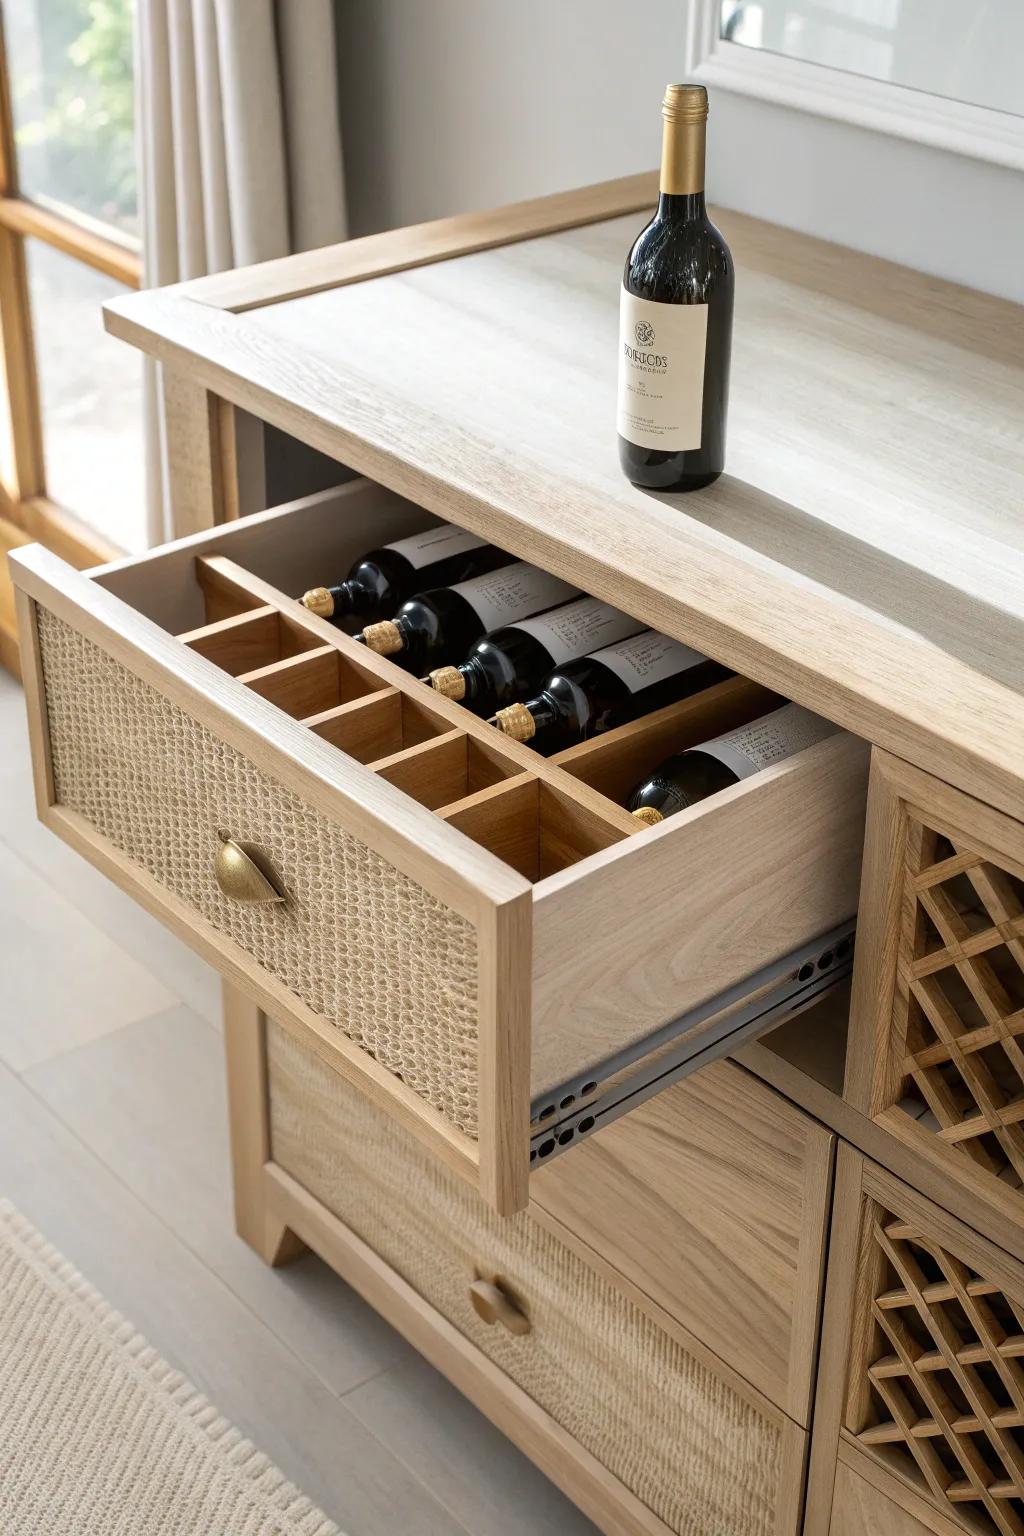
I’ve swapped a drawer space for an X-style wine rack more times than I can count, and it instantly screams “bar” without needing much decor. A couple angled dividers made from scrap wood keep bottles from rolling around like they own the place.
These products might help:
- Drawer Wine Rack Organizer Insert: Transform your existing dresser drawers into secure bottle storage quickly with these drop-in organizational inserts.
- Stackable Bamboo Wine Rack: Place these modular racks inside open cabinetry or deep drawers to keep your favorite vintages neatly organized.
- DIY Wood Drawer Dividers: Create a completely custom fit for your specific drawer dimensions to stop bottles from rolling around.

Install an Under-Shelf Stemware Rack
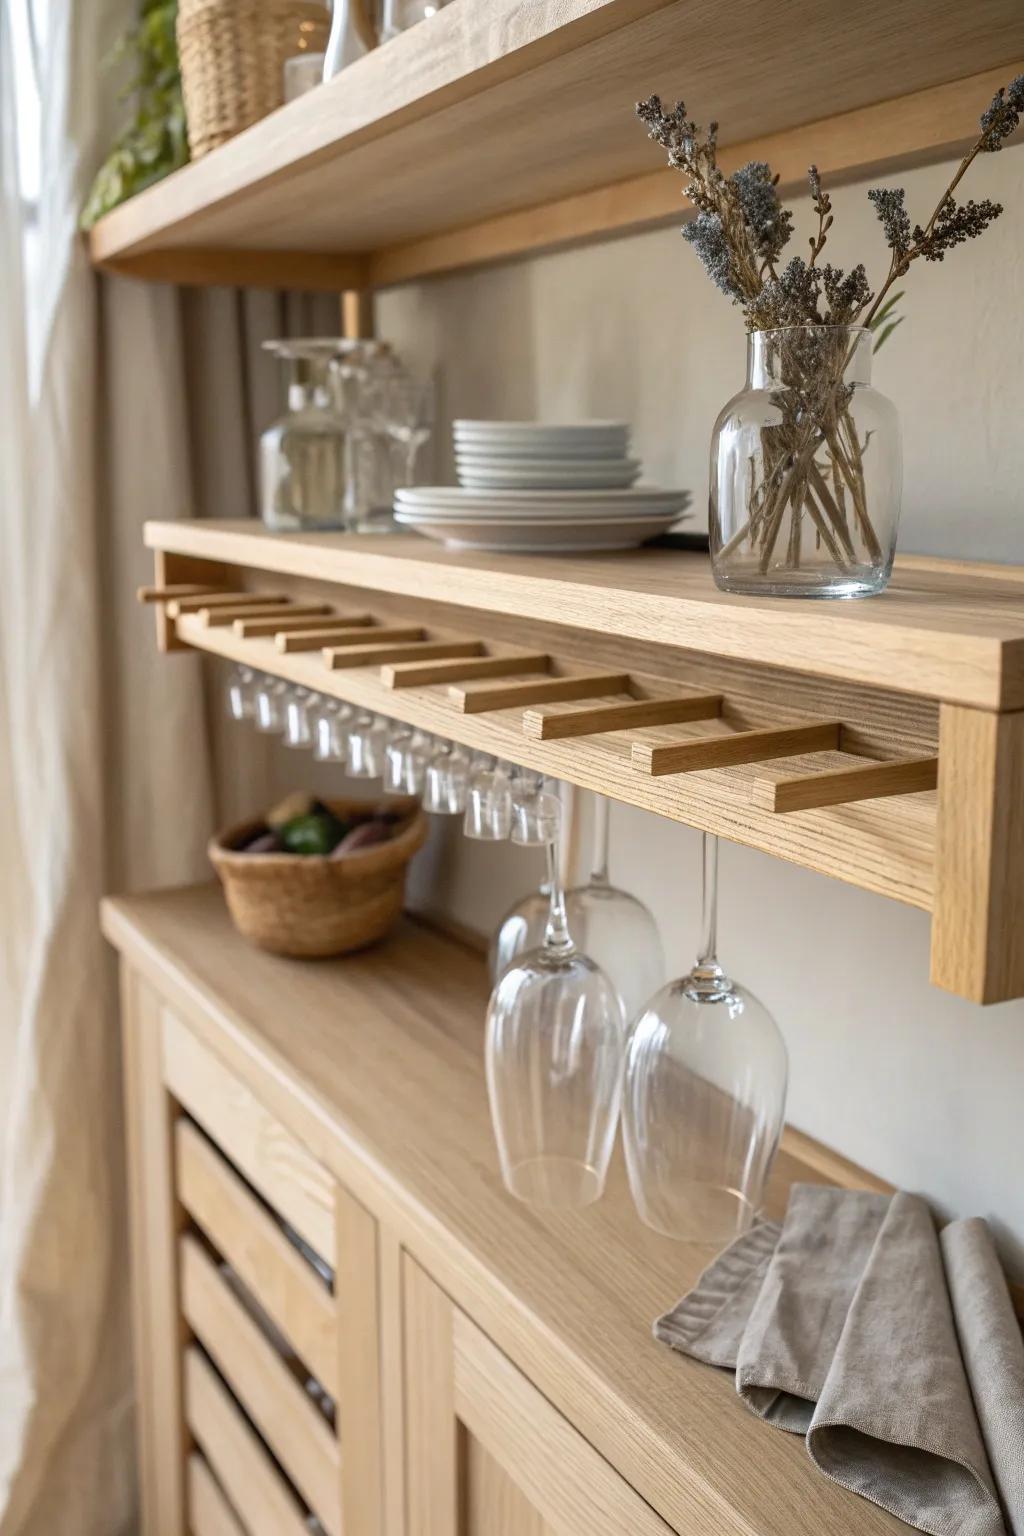
Whenever I build a stemware rack under a shelf, the whole dresser bar feels custom and fancy, even if the dresser was a total curb find. I always do a quick test-fit with my biggest glasses so nothing bumps or scrapes when you slide them in.
May just do the trick:
- Wooden Under Cabinet Wine Glass Rack: Upgrade your existing shelves with this classic wooden rack to securely hold stemware while adding a natural, custom aesthetic.
- Minimalist Clear Glass Vase: Add a touch of elegance to your open shelving with a simple glass vase perfect for displaying dried botanicals.
- Set of White Ceramic Plates: Refresh your display shelving with a crisp stack of white ceramic plates that offer both functionality and clean style.
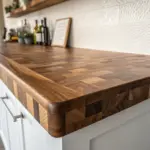
Upgrade to a Butcher Block Top
A chunky butcher block top is my go-to because it gives you a real mixing surface and makes the dresser look more substantial. I’ve saved a few wobbly old tops by screwing a fresh wood slab right over them and trimming it clean.
A few helpful options:
- Unfinished Hardwood Butcher Block Countertop: Transform your dresser instantly by securing a solid wood slab on top for a sturdy, stylish workspace.
- Food-Safe Wood Sealer & Finish: Protect your new bar surface from spills and stains while enhancing the natural wood grain beautifully.
- Heavy-Duty Wood Screws Assortment: Ensure a secure, wobble-free installation by fastening your new butcher block top firmly to the dresser frame.
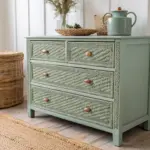
Go Classic Farmhouse Paint and Stain

When I want that cozy farmhouse style, I paint the body and stain the top so the wood grain still gets to shine. I’ve learned the hard way to sand the edges a bit first—paint sticks so much better and chips way less.
Useful items to consider:
- Chalk Style Furniture Paint: Achieve that classic matte finish easily; most require minimal prep work and offer excellent coverage for your project.
- Wood Stain for Tabletops: Enhance natural wood grain on the dresser top with a rich stain that adds warmth and contrast instantly.
- Sanding Blocks for Distressing: Ensure paint adheres properly and create charming distressed edges for that authentic, lived-in farmhouse look.
Swap Hardware for Instant Personality
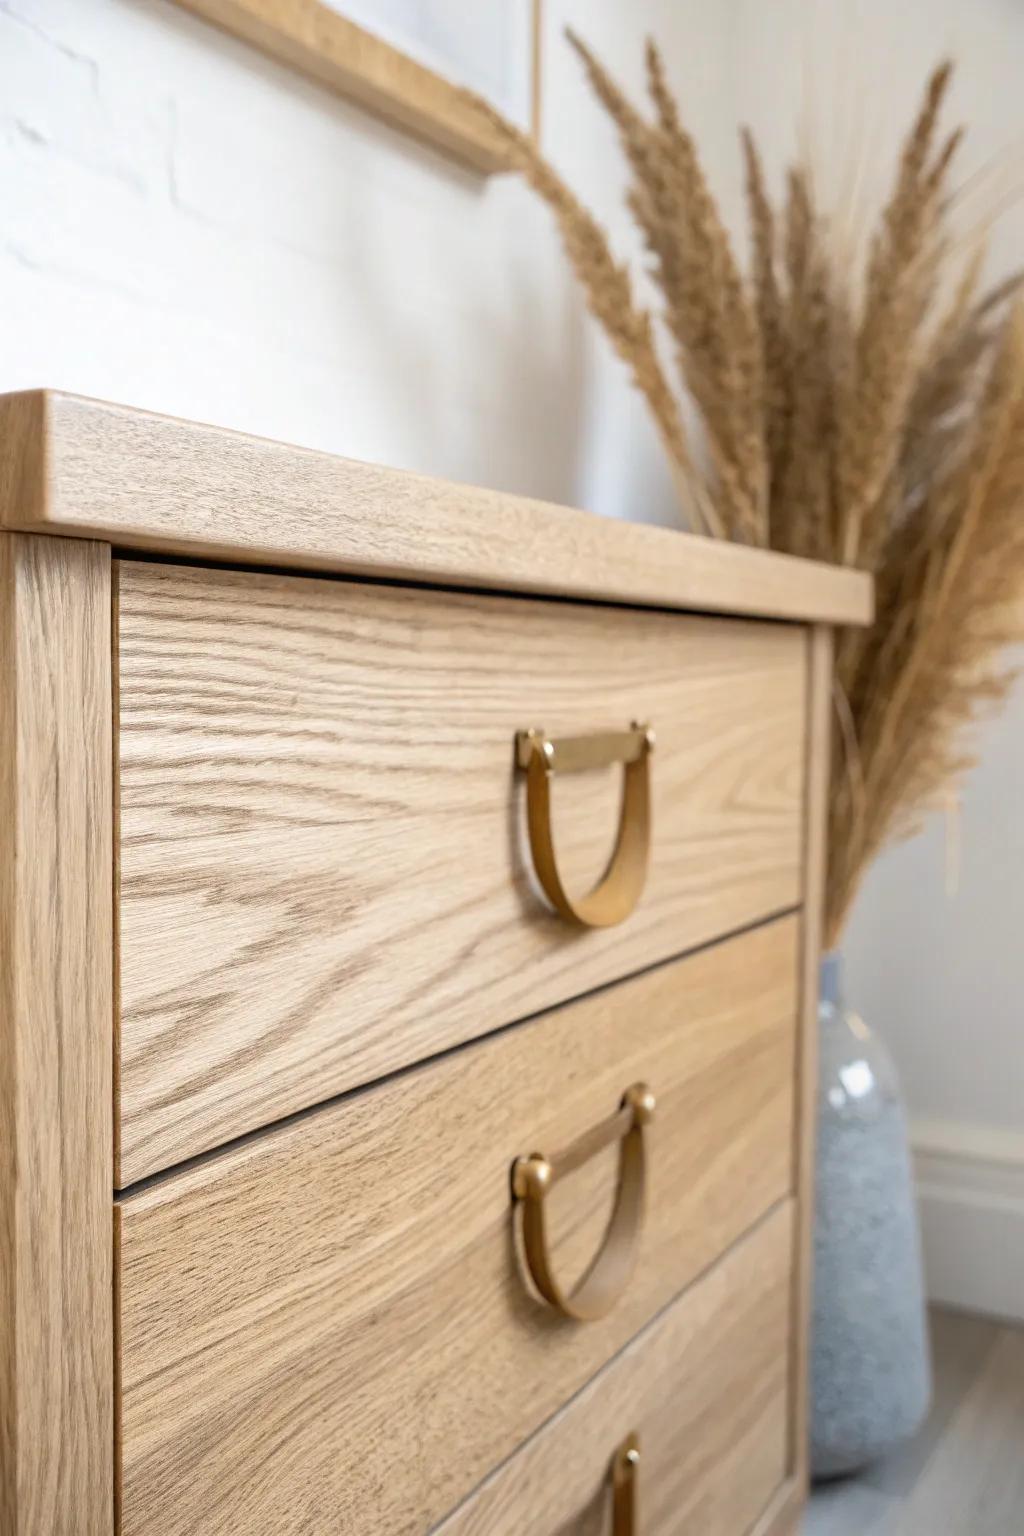
Changing drawer pulls is one of those tiny upgrades that makes a dresser bar feel totally “designed,” even if the build was simple. I keep a little jar of salvaged knobs in my shop, and mixing styles can look surprisingly intentional.
These products might be useful:
- Brass Half-Moon Drawer Pulls: Add a modern, geometric touch to your dresser bar by attaching these elegant semicircular handles.
- Leather Cabinet Pulls with Brass Accents: Instantly warm up your furniture’s look by installing these tactile leather straps with metallic fasteners.
- Brushed Gold Cup Bin Pulls: Create a classic, vintage-inspired aesthetic for your bar station with these easy-to-install metal cup handles.
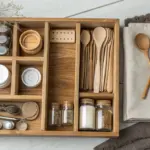
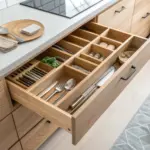
Create a Dedicated Bar Tool Drawer

My favorite “why didn’t I do this sooner” move is adding simple dividers to make a bar tool drawer for jiggers, strainers, and little spoons. Once everything has a spot, the dresser bar stays tidy even when friends are mixing their own drinks.
You might give these a try:
- Adjustable Wooden Drawer Dividers: Instantly create custom compartments in your dresser drawer to keep every bar tool neatly organized and accessible.
- Velvet or Felt Drawer Liners: Protect your drawers and tools from scratches while adding a touch of elegance with self-adhesive lining.
- Essential Bar Tool Set: Equip your new drawer with necessary basics like strainers, jiggers, and mixing spoons to start mixing immediately.
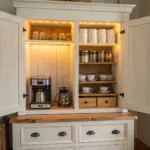
Add Warm Interior Lighting
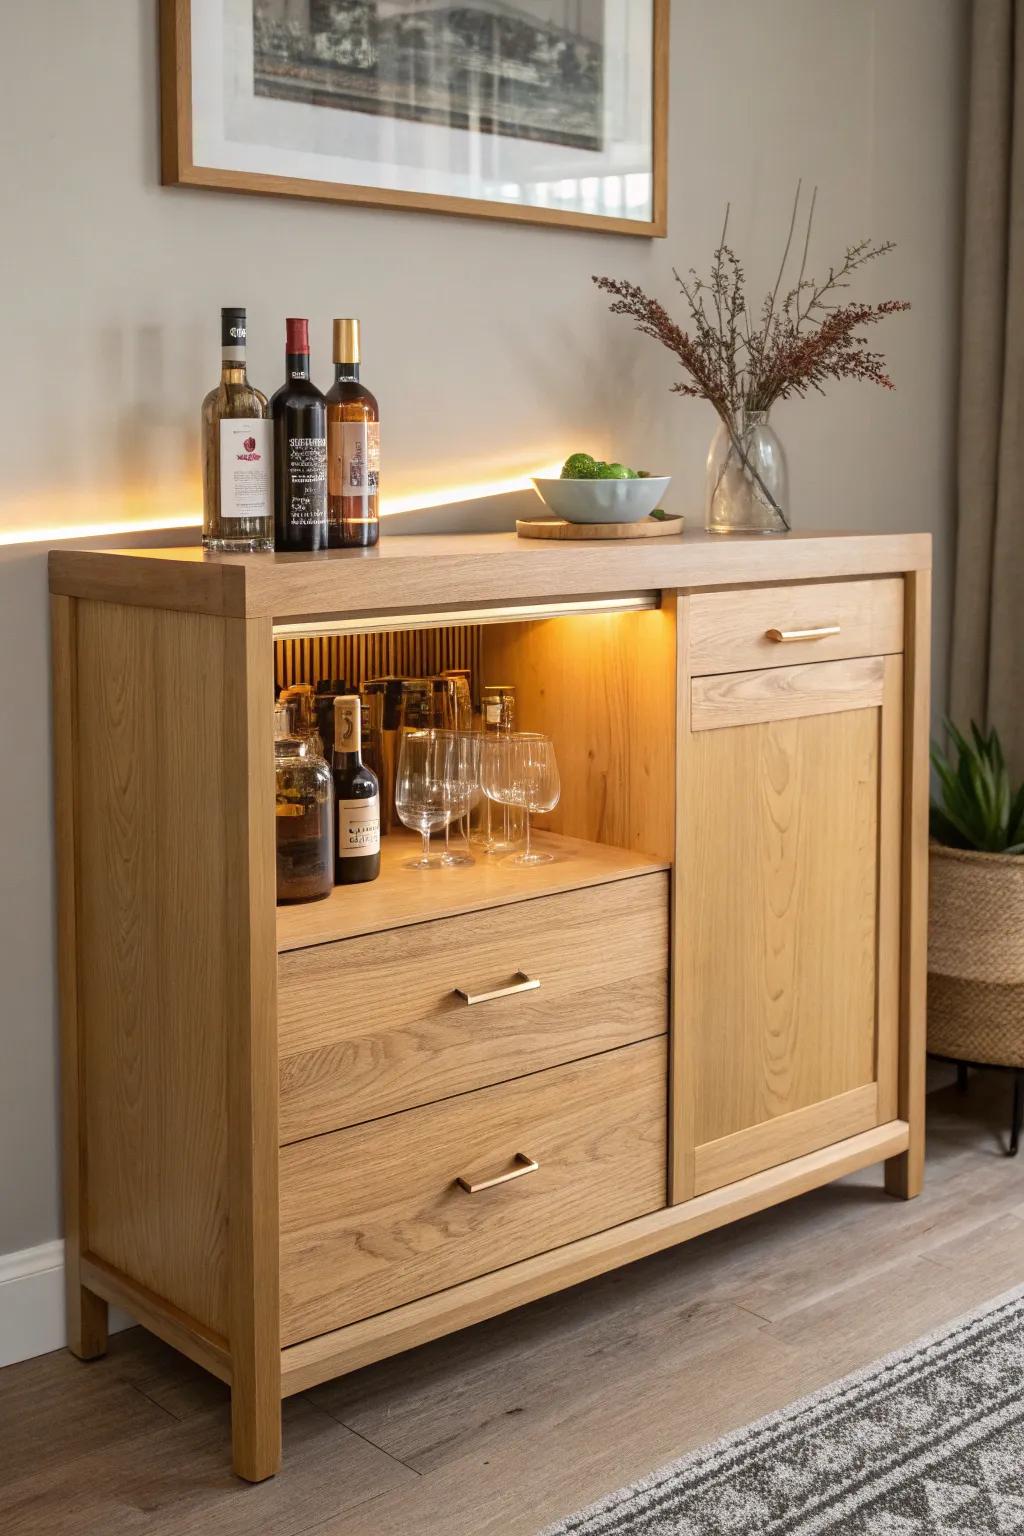
A little LED lighting inside the open shelves makes bottles glow and instantly turns the dresser bar into a mood piece at night. I usually tuck the lights behind a face frame or trim strip so you see the glow, not the hardware.
Try these:
- Warm White LED Strip Light Kit: Install these flexible strips along inner edges to create glowing, ambient light that beautifully highlights your glassware.
- Rechargeable Motion Sensor Puck Lights: Place these wireless lights under shelves for an easy, cable-free upgrade that illuminates when you reach inside.
- Adhesive Cable Management Clips: Use these discreet organizers to hide unsightly wires behind the face frame, keeping your bar display neat.
Turn One Drawer Into an Ice Bin

I once converted a drawer into a removable ice bin by building a snug wood cradle and dropping in a metal liner, and it’s still one of my most-used party features. Just seal the wood well so drips don’t creep into the dresser over time.
A few suggestions:
- Stainless Steel Hotel Pan: Create the perfect ice reservoir with a durable, easy-to-clean metal insert that fits right into your drawer space.
- Polyurethane Wood Sealer: Protect your dresser from moisture damage and drips by applying a strong, waterproof sealant to the interior wood cradle.
- Drawer Slide Rails: Ensure your drawer can handle the extra weight of heavy ice by upgrading to sturdy, heavy-duty ball-bearing slides.
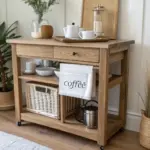
Create a Coffee-and-Cocktails Dresser Bar
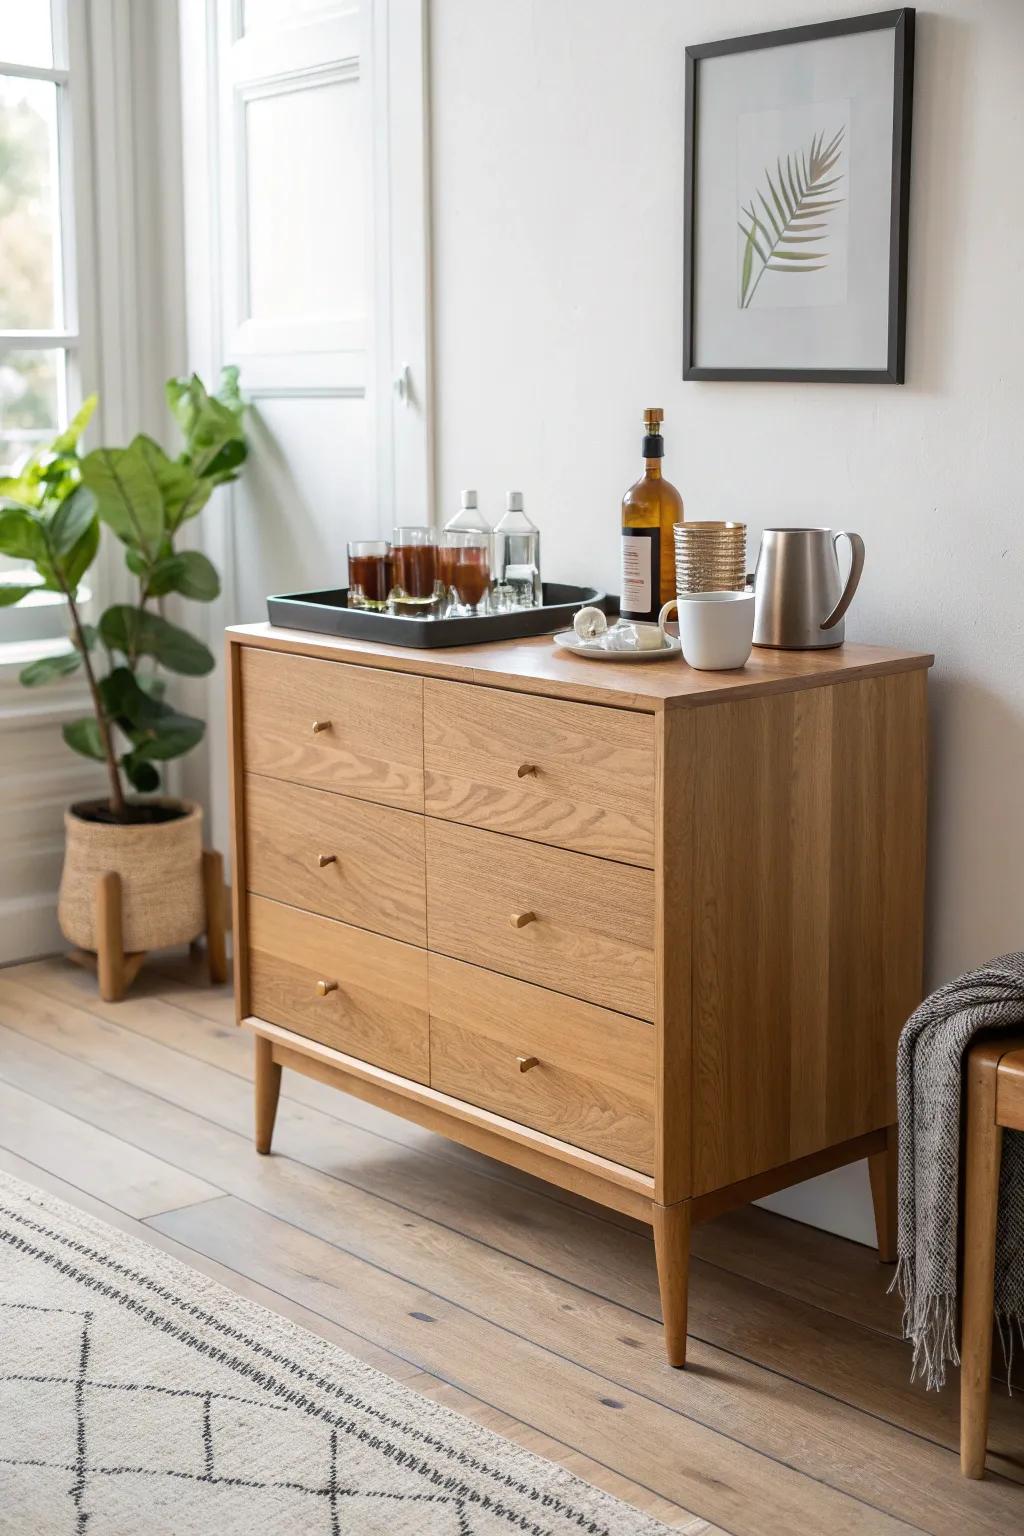
I love a coffee bar + cocktail bar combo: mugs and beans in one drawer, spirits and bitters in another, and everyone’s happy all day long. I usually dedicate the top surface to a tray system so swapping from morning to evening takes seconds.
A few choices to try:
- Large Serving Tray with Handles: Corral your bar tools and glasses on a sturdy, stylish tray to protect your dresser surface and stay organized.
- Stainless Steel Milk Pitcher: Pour perfectly frothed milk for your morning latte with a sleek, durable pitcher that looks great on display.
- Stackable Glass Tumblers: Serve both iced coffee and evening cocktails in versatile, durable glassware that saves space while looking elegant.
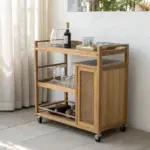
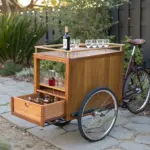
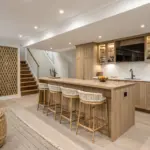
Add Casters for a Rolling Dresser Bar
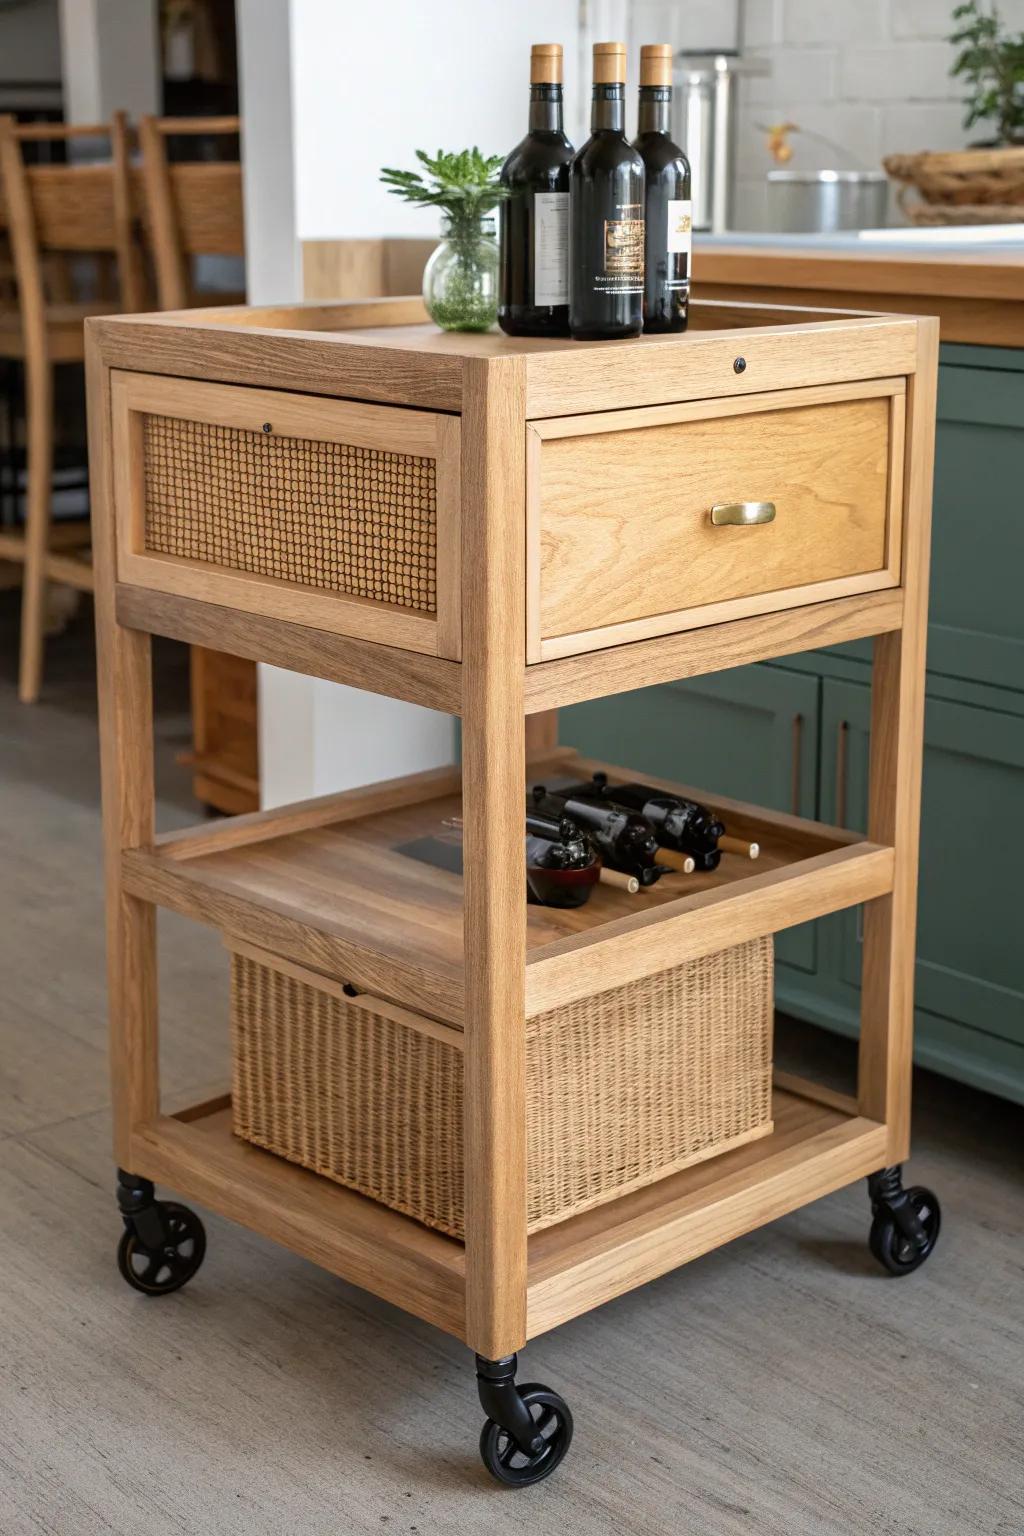
Putting sturdy casters on a dresser bar is a game-changer when you entertain, because you can roll it right where the crowd gathers. I always choose wheels rated for real weight—bottles add up fast, and I’ve learned that lesson the noisy way.
You might like:
- Heavy-Duty Swivel Casters with Brakes: Install these durable wheels to easily mobilize your bar cart and lock it securely in place while serving drinks.
- Woven Storage Baskets: Use these textured baskets on lower shelves to organize linens or overflow supplies while adding a rustic, stylish touch.
- Cane Webbing Roll: Upgrade standard drawer fronts with this material to replicate the trendy, airy aesthetic seen in the inspiration image.
Build Pull-Out Serving Trays
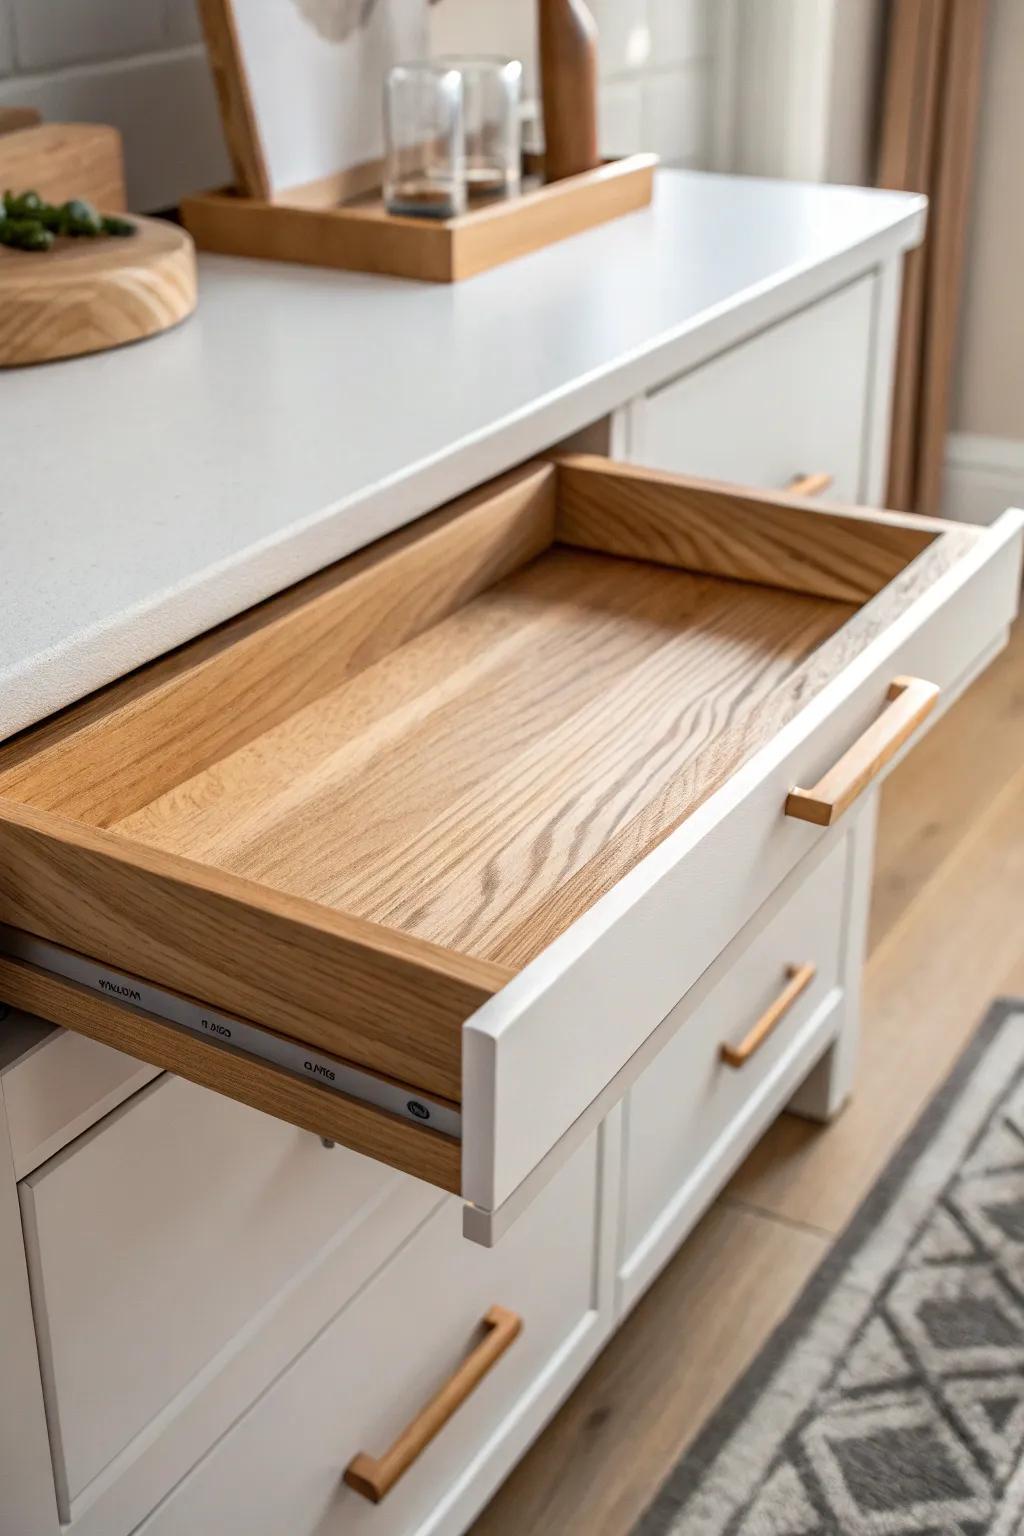
I’ve added shallow pull-out trays in place of a drawer so you can set out garnishes and glasses without sacrificing your main worktop. A simple stop block in the back keeps the tray from sliding out too far when you’re in a hurry.
A few relevant products:
- Heavy-Duty Side Mount Drawer Slides: Upgrade your pull-out tray mechanism to ensure smooth, stable motion when holding heavy glassware and bottles.
- Wood Drawer Organizer Inserts: Keep your new serving tray tidy by separating garnishes, bar tools, and napkins into organized sections.
- Modern Wood Drawer Handles: Match your new pull-out tray to existing cabinetry with sleek wooden handles for a cohesive look.
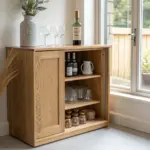
Use Sliding Barn-Style Doors Up Top
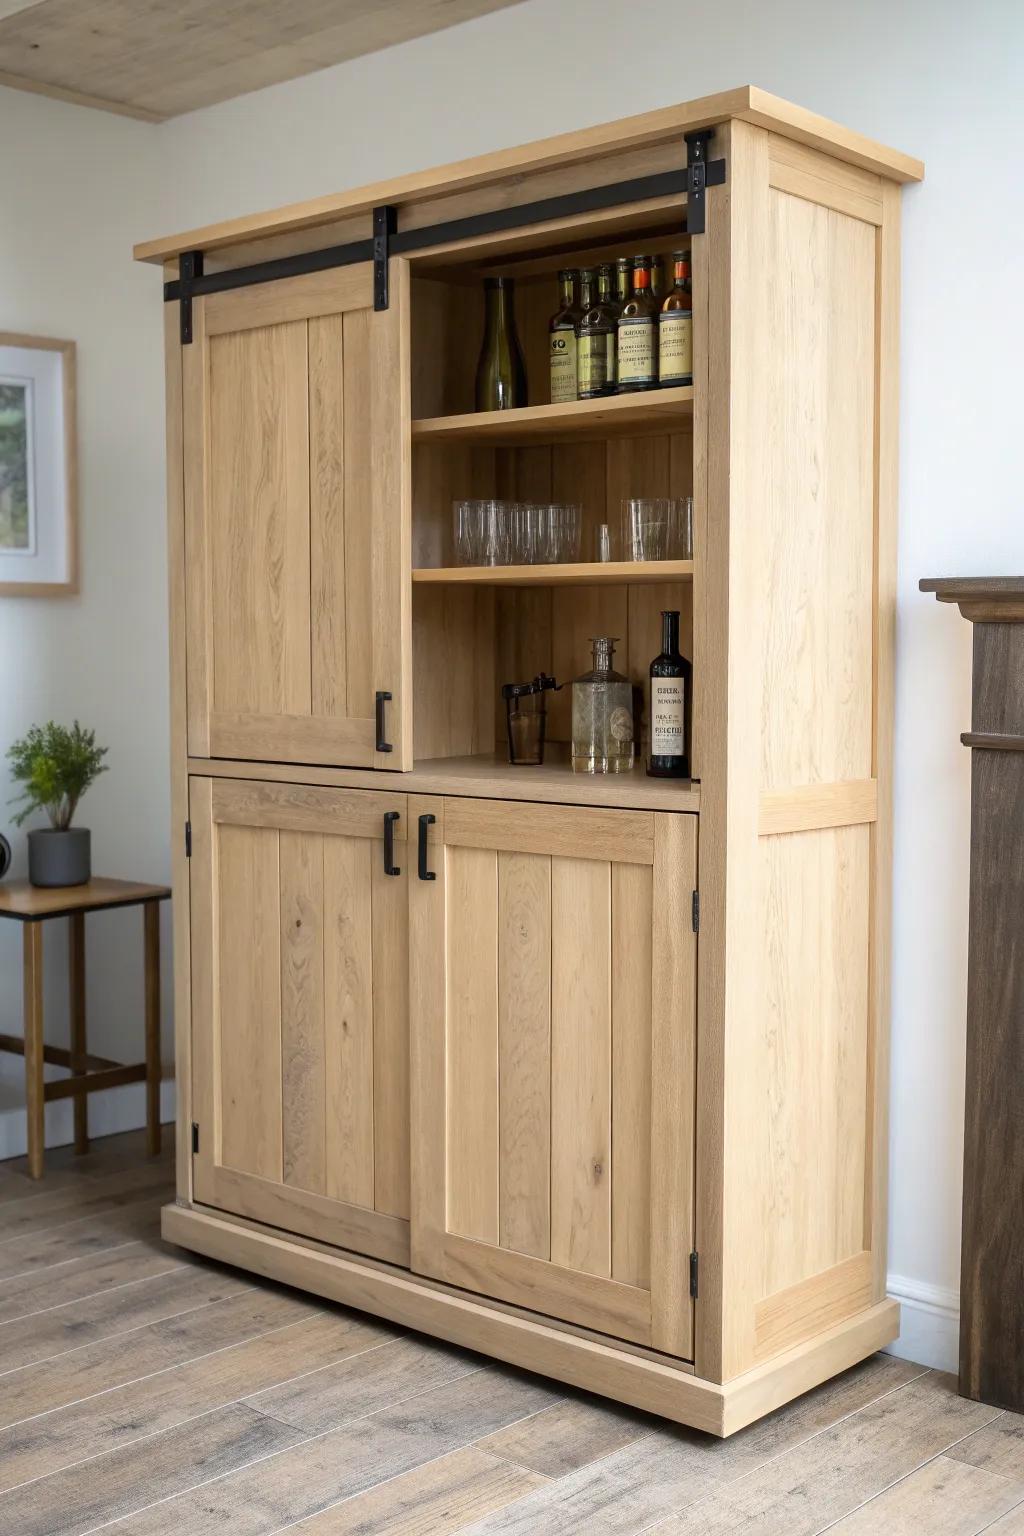
For dressers with a wide front, I’ve built a little upper cabinet area and added sliding wood doors to hide the bottles when I want a cleaner look. It’s such a fun mix of practical and rustic, and it makes the piece feel built-in.
A few things you might like:
- Mini Sliding Door Hardware Kit: Install a smooth track system to easily mount cabinet-sized sliding doors for a rustic, hidden bar look.
- Matte Black Cabinet Pulls: Upgrade your doors with modern rectangular handles that create a sharp contrast against light wood finishes.
- Crystal Whiskey Tumbler Set: Display elegant glassware on your new shelves to catch the eye whenever the sliding doors are open.
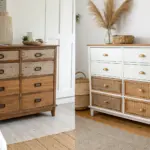
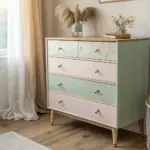
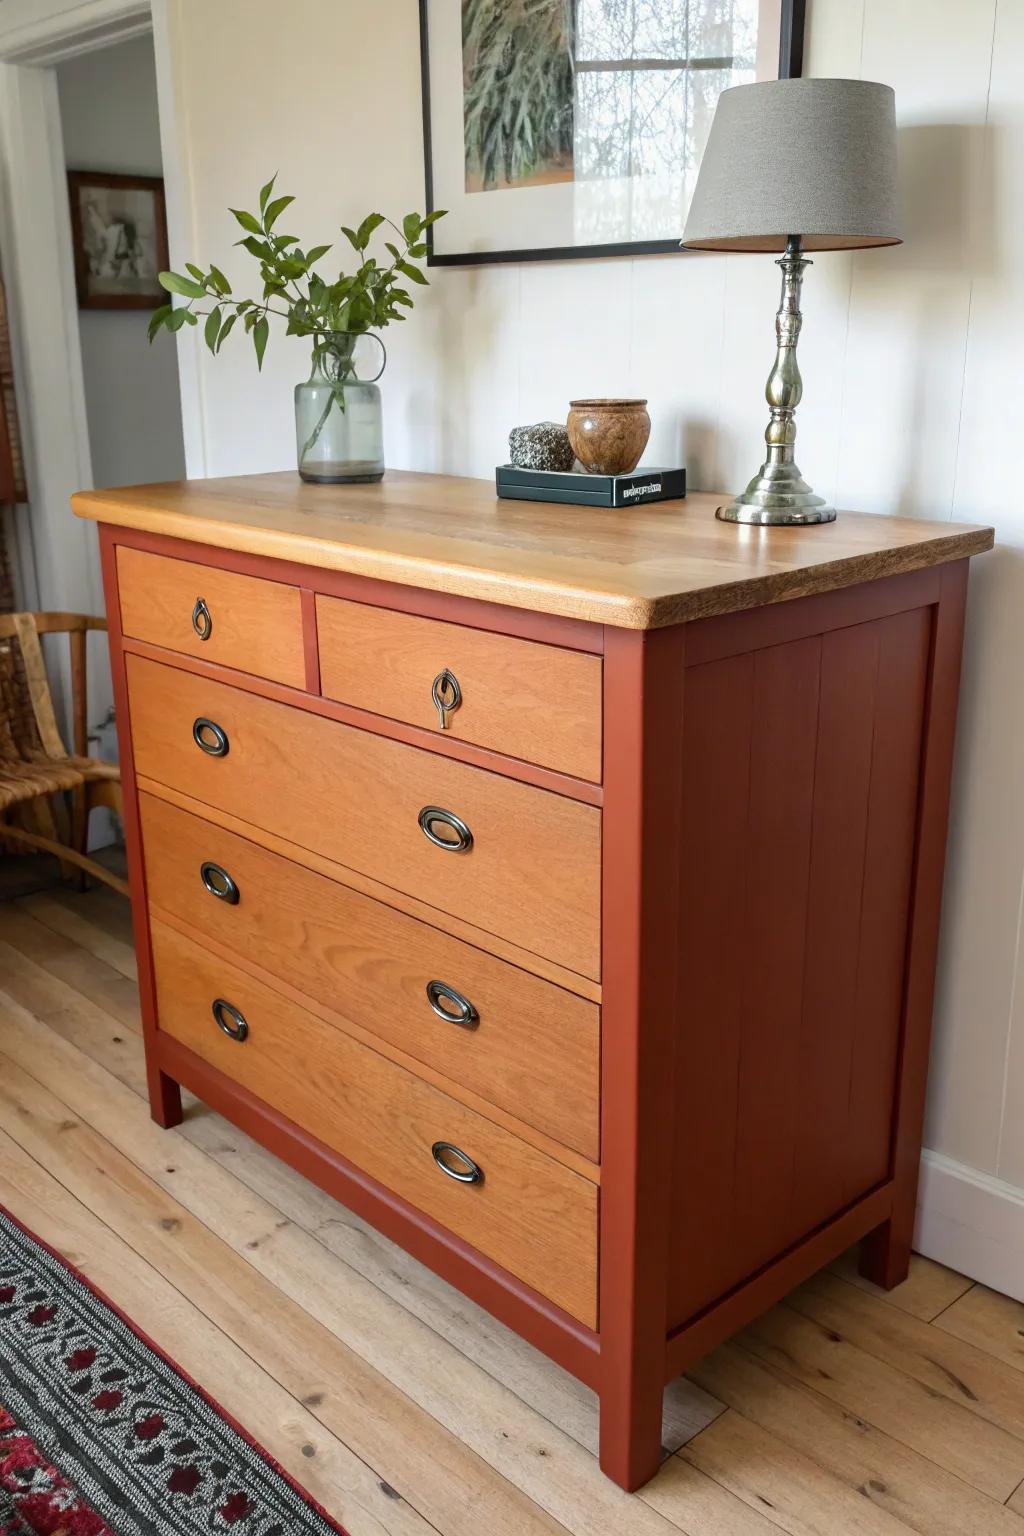
Try a Two-Tone Color Block Finish
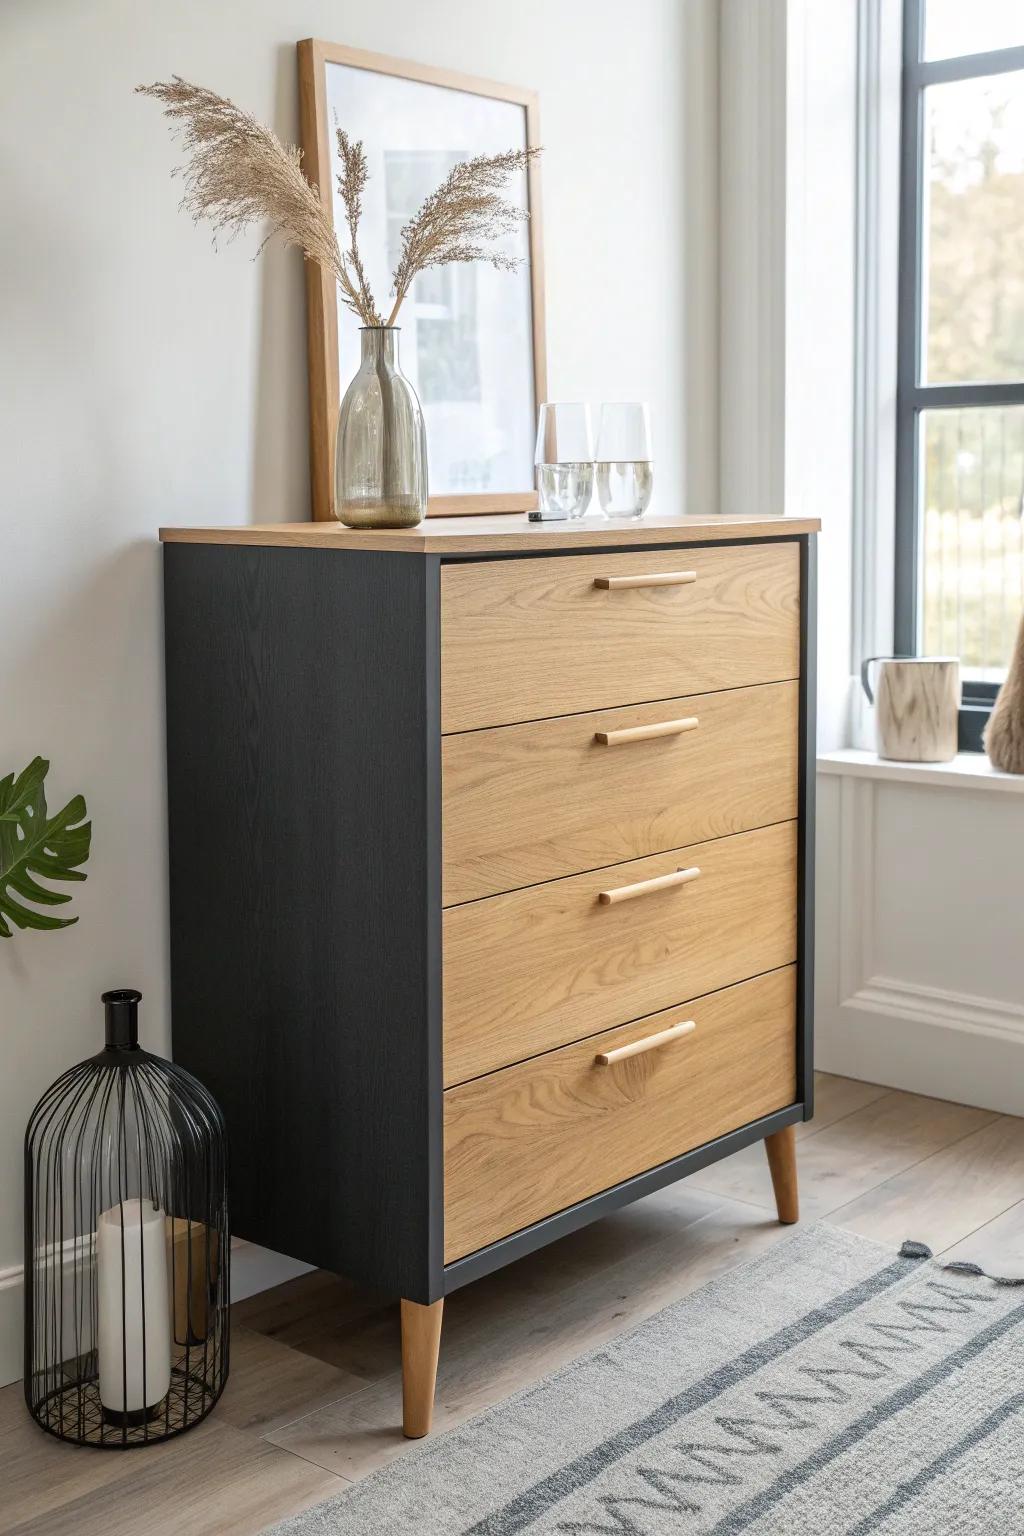
A bold two-tone finish (like light drawers and a darker frame) makes a dresser bar feel fresh without needing fancy materials. I’ve found that taping crisp lines takes patience, but the payoff is so worth it when the colors snap.
Products that could assist:
- Matte Black Chalk Paint: Transform your dresser frame instantly with matte black paint to create dramatic contrast against natural wood drawers.
- Painter’s Tape for Crisp Lines: Ensure professional-looking edges and distinct color separation between the frame and drawers with high-quality painter’s tape.
- Minimalist Wooden Drawer Pulls: Swap out old hardware for sleek wooden handles that perfectly complement the natural tone of your drawer fronts.
Add a Metal Pipe Foot Rail
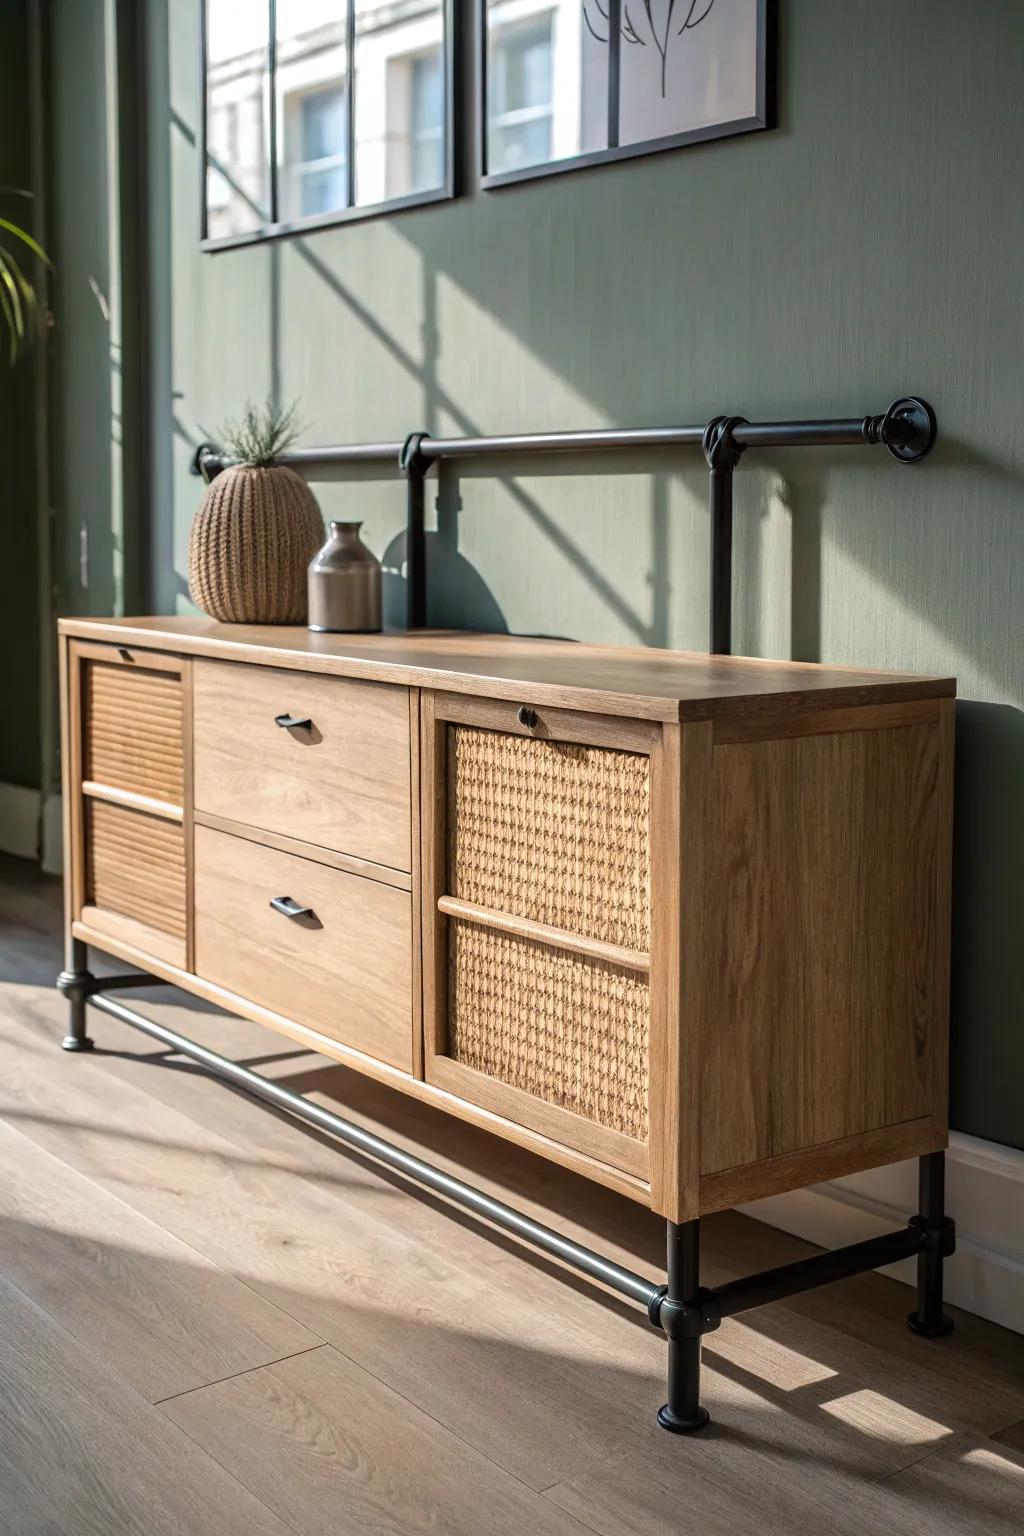
If your dresser bar is used like a real serving station, a foot rail made from a metal pipe across the bottom is a shockingly “pro” touch. I’ve installed them with simple brackets, and it instantly makes the bar feel more comfortable to hang around.
Give these a look:
- Industrial Black Iron Pipe Kit: Build your own custom foot rail easily with durable, sturdy pipes that add an authentic industrial look.
- Floor Flange Pipe Mounts: Secure your foot rail firmly to the floor or cabinet base with these essential, heavy-duty mounting flanges.
- Decorative Pipe Tee Fittings: Connect your railing sections seamlessly using these classic fittings to achieve that professional, structural bar style.
Make a Hidden Flip-Top Mixing Surface
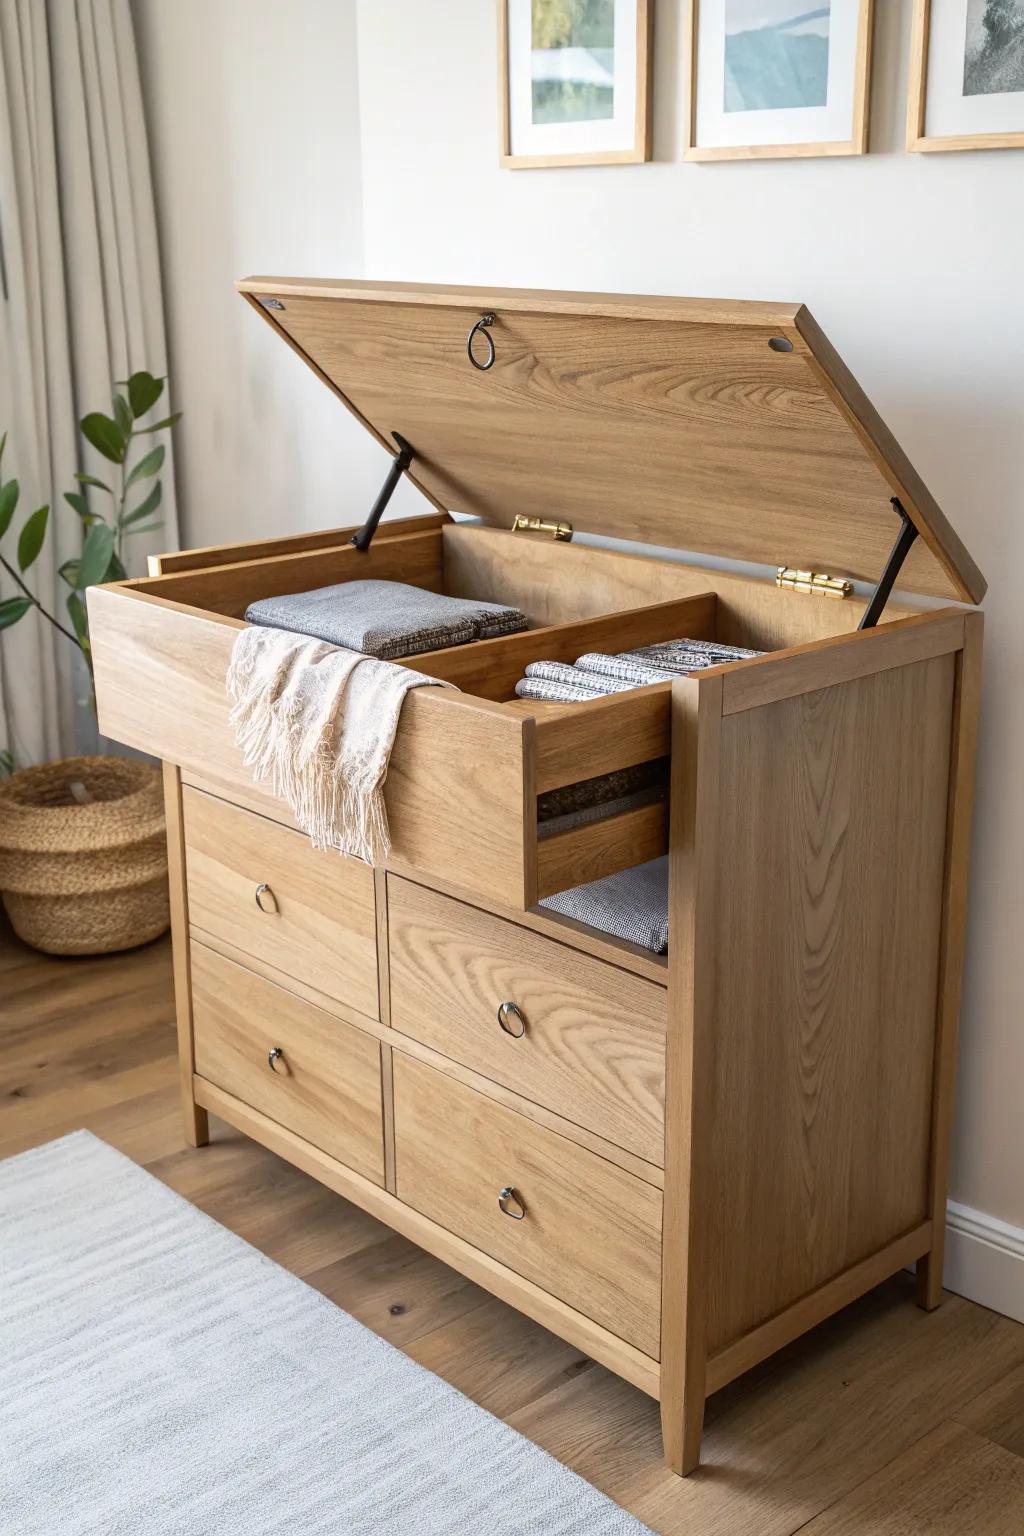
One of my biggest wow builds was a dresser bar with a flip-top surface that lifts to reveal a shallow prep well for tools and napkins. I used sturdy hinges and a support arm so it stays open safely while you’re mixing.
Some handy options:
- Heavy-Duty Lid Stay Hinges: Install reliable support hinges to keep your heavy wooden lid open safely while you mix drinks.
- Solid Brass Butt Hinges: Use durable brass hinges to create a smooth, long-lasting pivot point for your flip-top surface.
- Recessed Ring Pull Handle: Add a flush-mount ring pull to easily lift the lid without interrupting the flat surface area.
Build a Garnish Garden Drawer
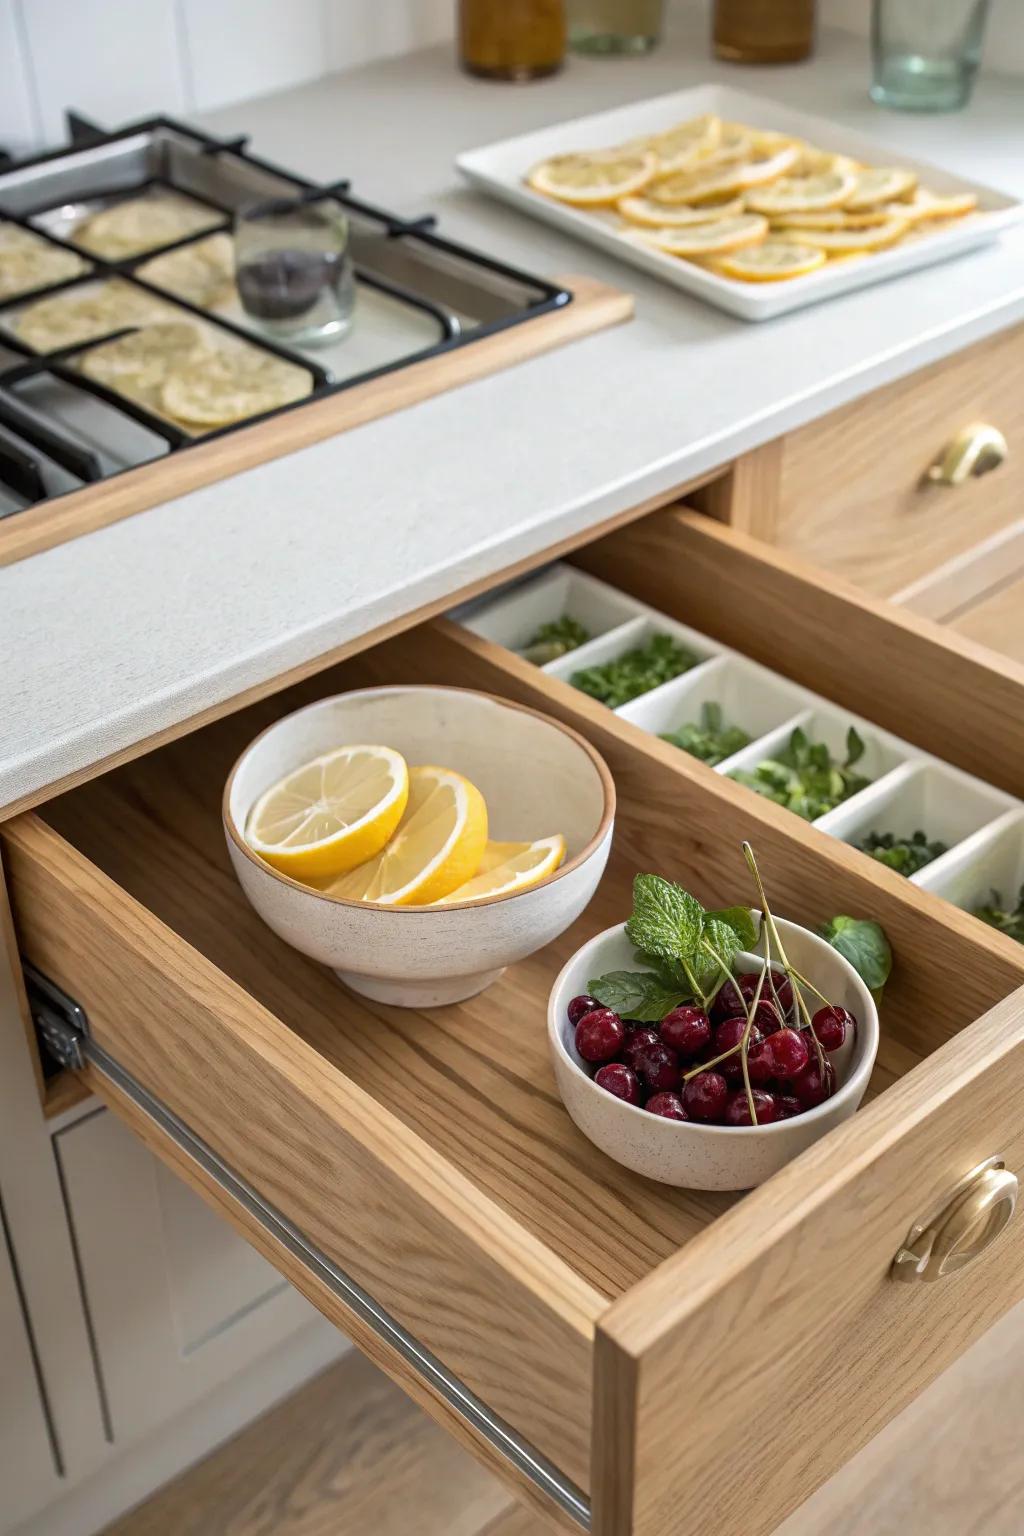
For a fun conversation piece, I turned a top drawer into a little garnish drawer with removable containers for citrus, cherries, and even a tiny herb tray. It sounds extra, but once you’ve made a drink with fresh mint grabbed right from your dresser bar, you’ll get it.
Might be a good match:
- Ceramic or Stone Small Serving Bowls: Keep lemons and cherries fresh and stylish with these small bowls perfect for holding bar garnishes.
- Drawer Organizer with Removable Bins: Organize your fresh herbs and small ingredients neatly inside your drawer using these versatile sorting trays.
- Gold or Brass Drawer Pulls: Upgrade your existing dresser drawers to match a bar aesthetic with these elegant gold hardware pulls.
Pour a Resin “River” Bar Top
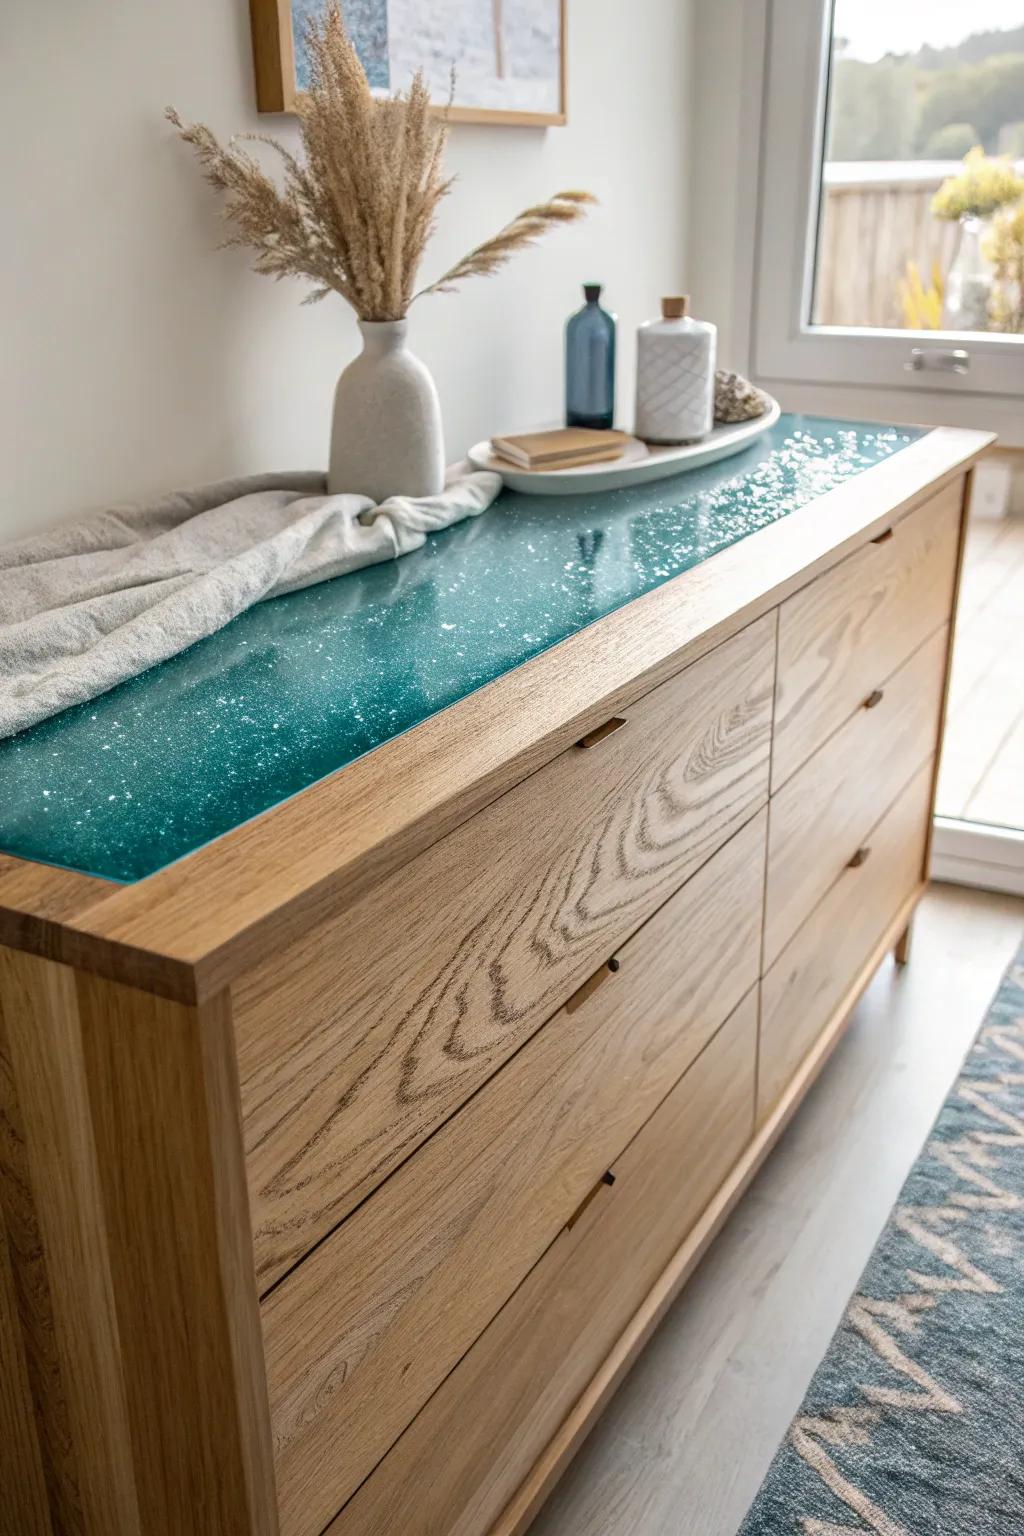
When I want serious drama, I pour a resin inlay down the top like a little “river,” and it makes the dresser bar look like a one-of-a-kind art piece. I always do a test pour on scrap first because resin has a mind of its own, and I like staying one step ahead.
Consider these options:
- Clear Epoxy Resin Kit: Create a durable, glossy surface for your bar top project with high-quality, easy-to-mix casting resin.
- Turquoise Mica Powder Pigment: Achieve that stunning aquatic look by mixing vibrant teal or turquoise shimmer powder into your epoxy base.
- Heat Gun for Bubble Removal: Ensure a crystal-clear finish by gently removing trapped air bubbles from your resin pour with controlled heat.


