
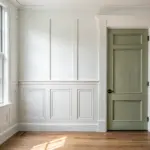
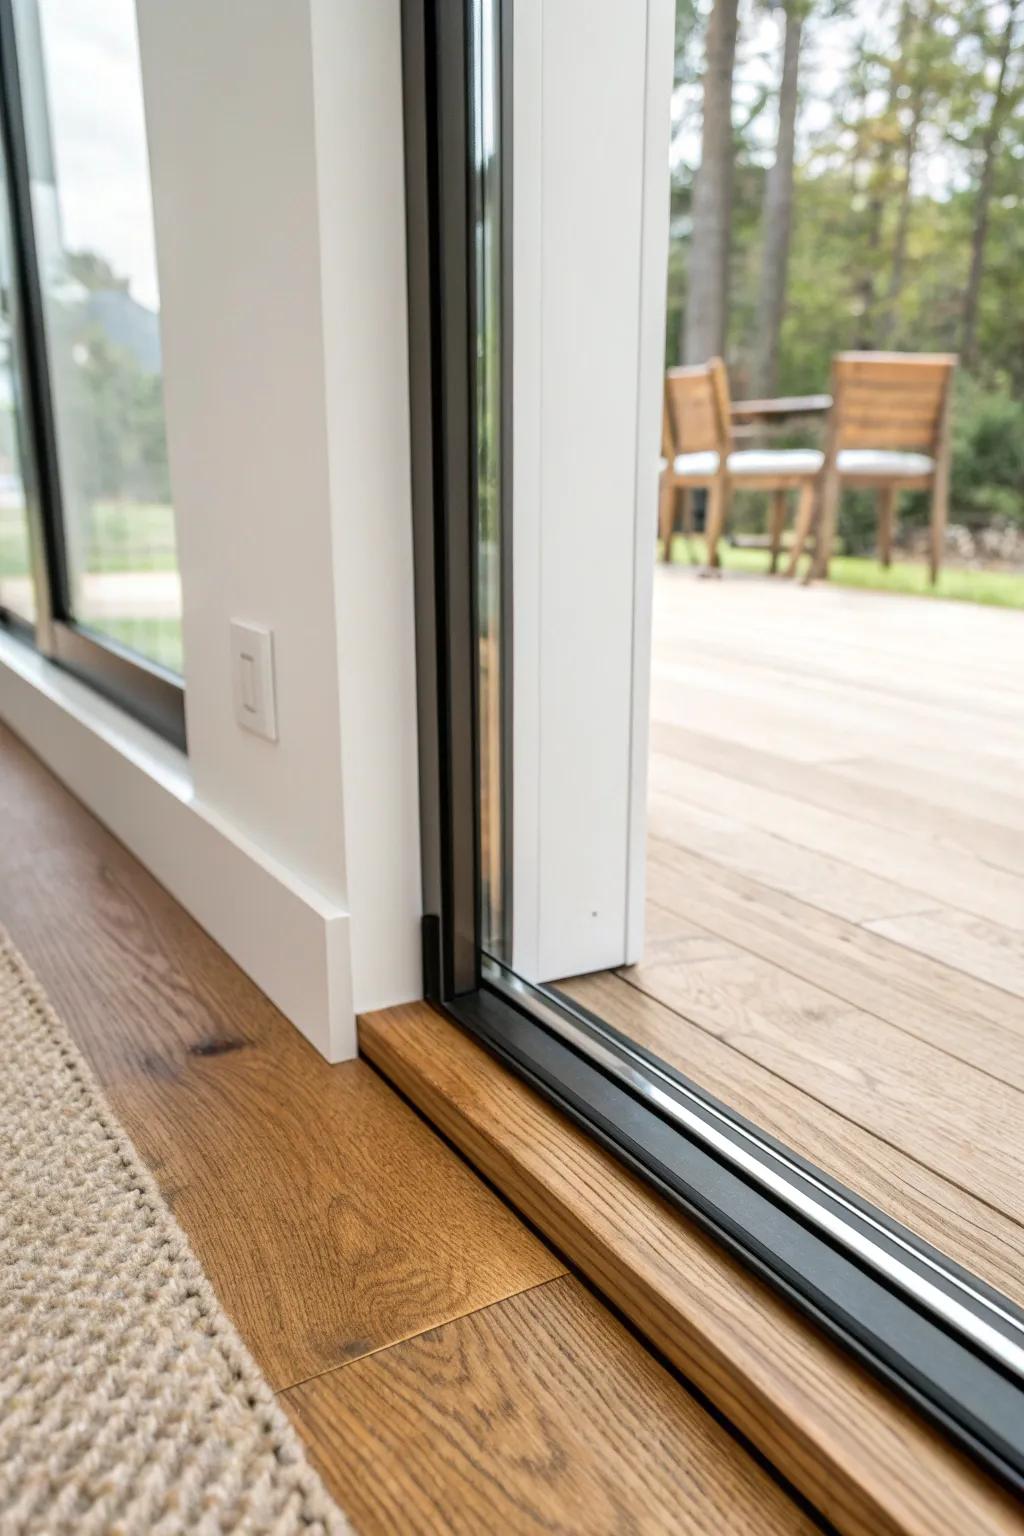
A basic sliding door can feel a little builder-grade, but the right trim makes it look like it truly belongs in the room.
Flat Farmhouse Board Trim
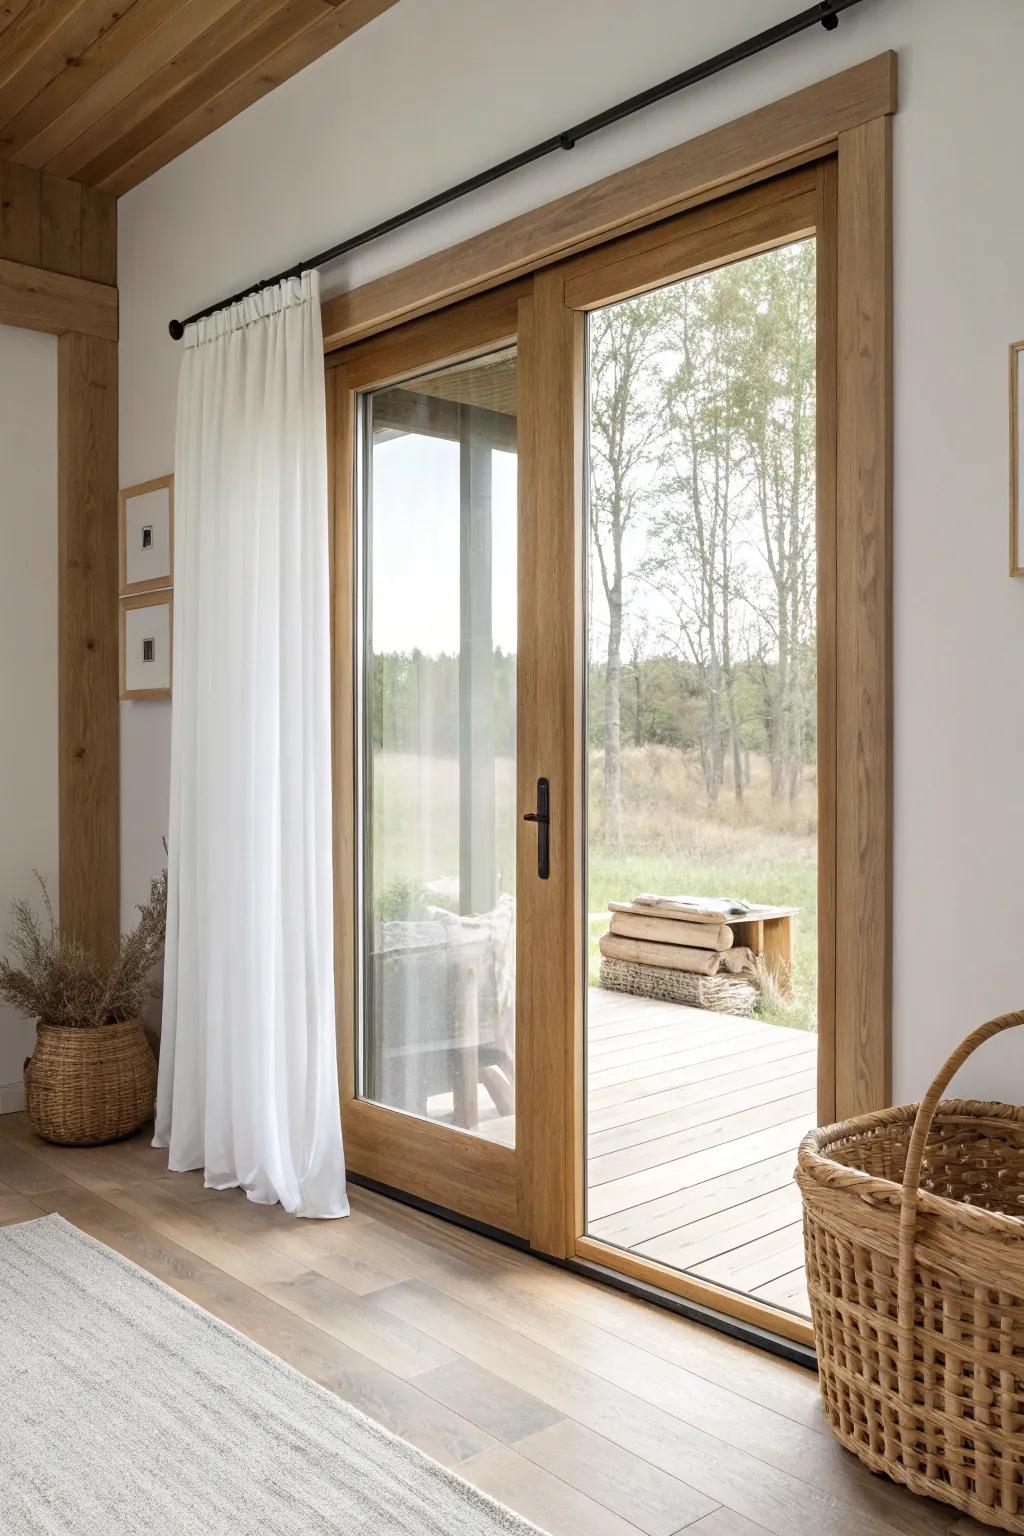
When I want an easy win, I wrap the sliding glass door trim with simple flat boards (think clean farmhouse casing) and crisp square corners. I’ve done this in more than one rental refresh because it looks custom without needing fussy profiles.
A few choices to try:
- Primed MDF Board for Craftsman Trim: Create that clean, flat casing look instantly by mounting these sturdy boards around your door frame.
- Industrial Black Curtain Rod: Complement your new flat trim with a simple, contrasting hardware accent mounted high above the frame.
- Natural Wood Stain: Highlight the natural grain of your wood trim or door frame for a warm, organic finish.


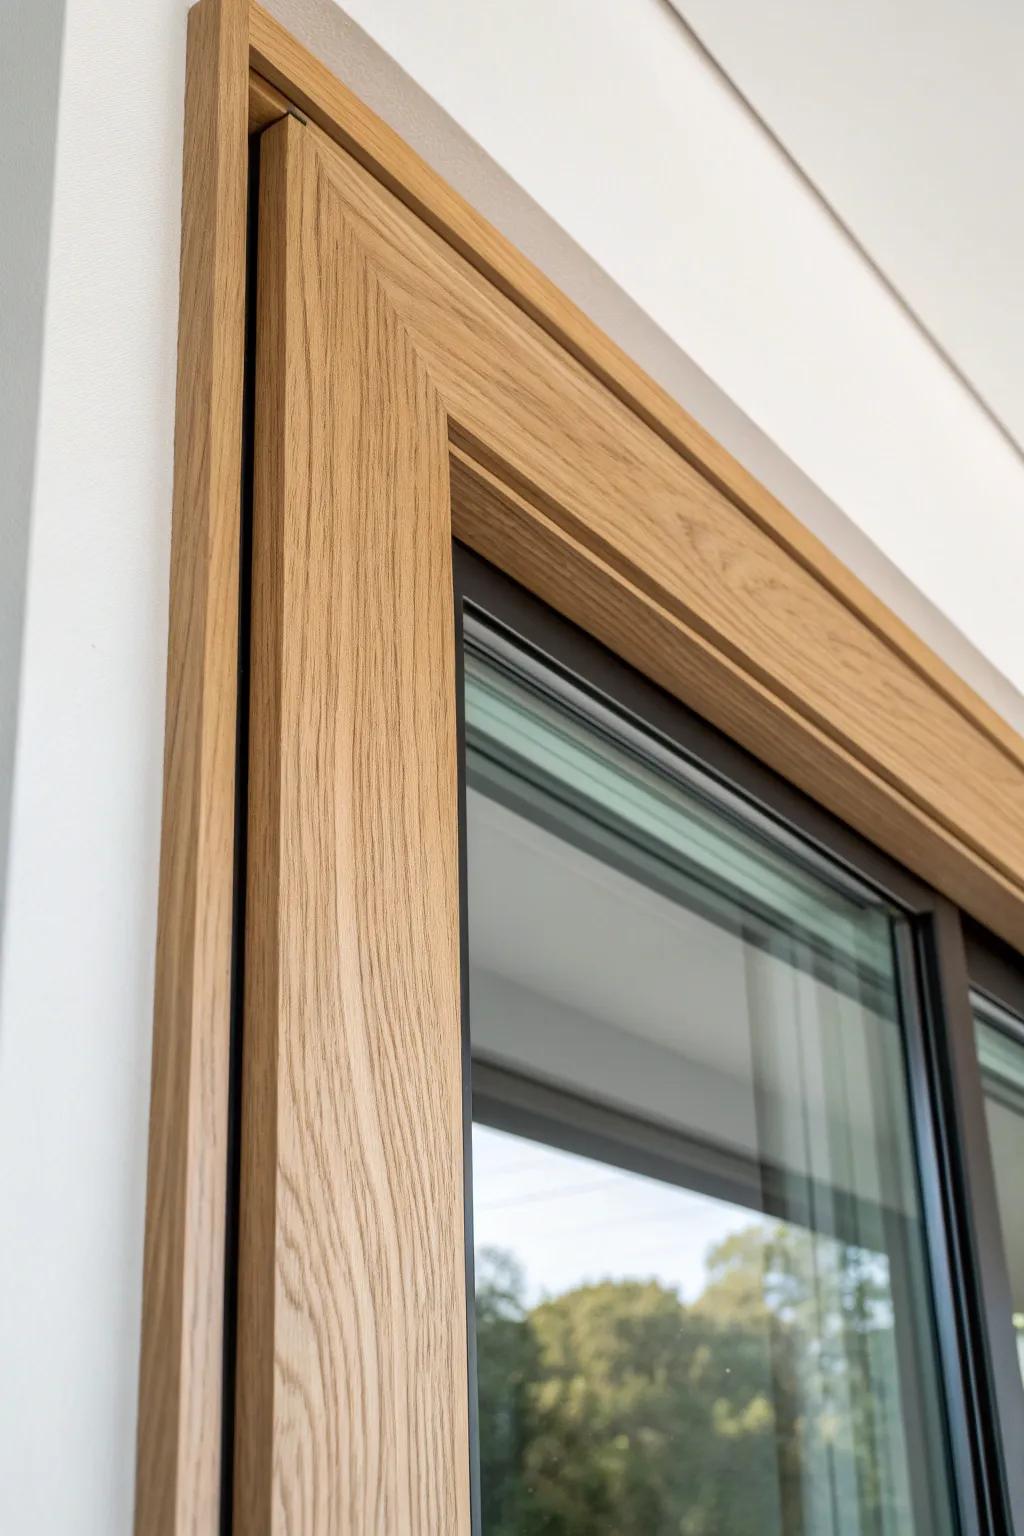
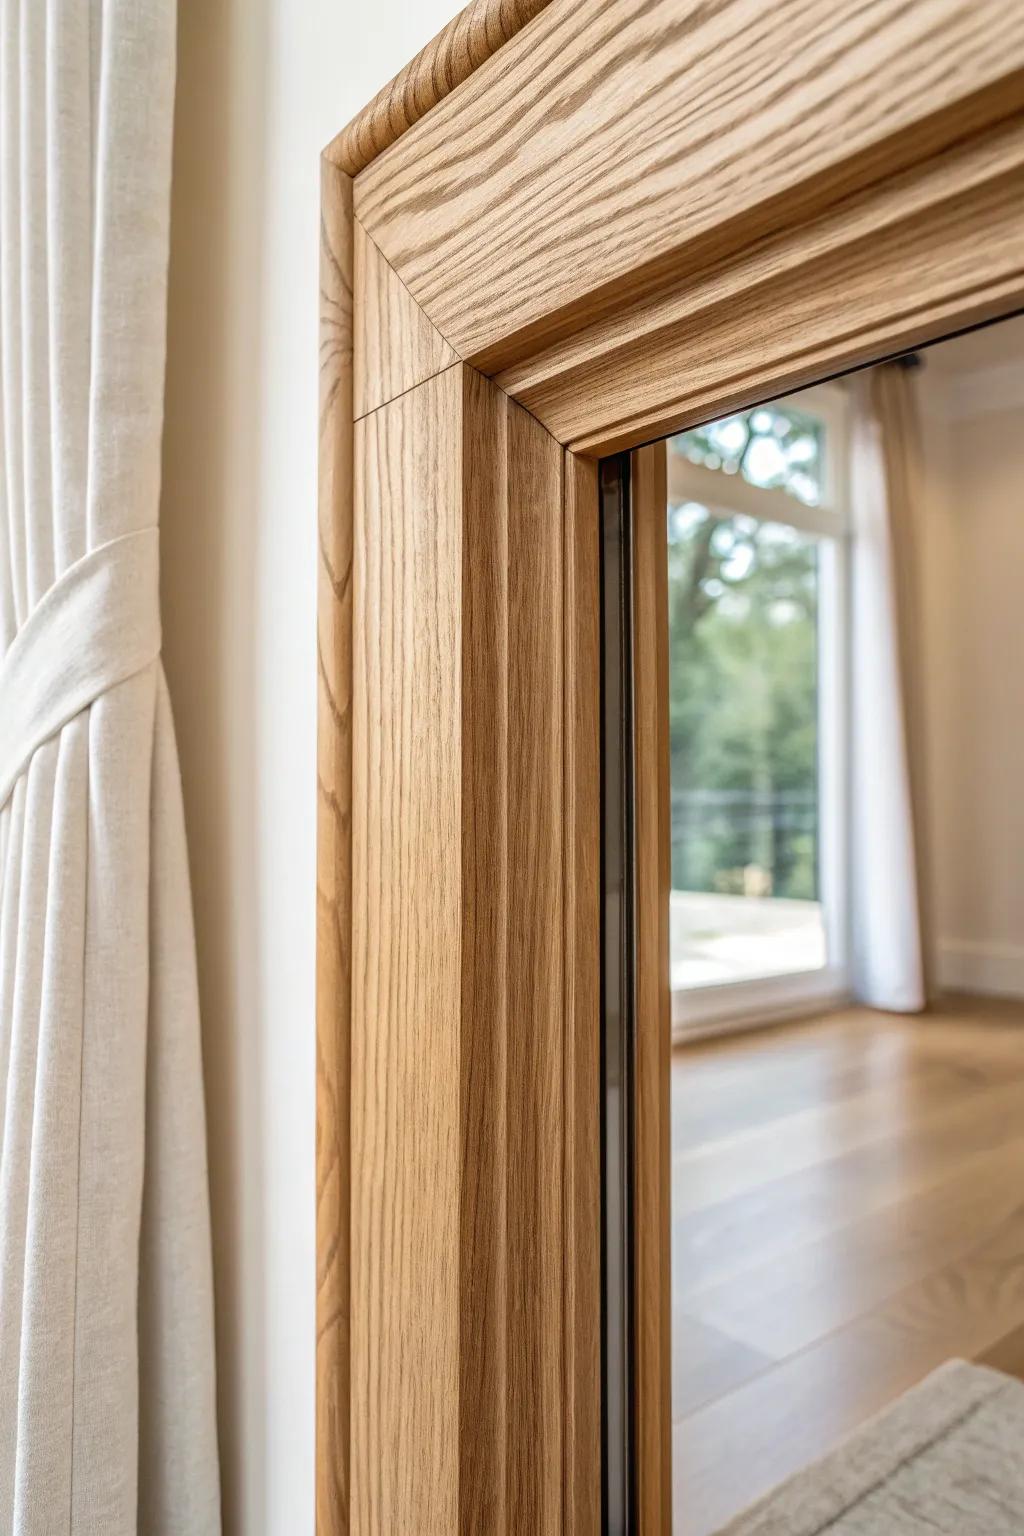
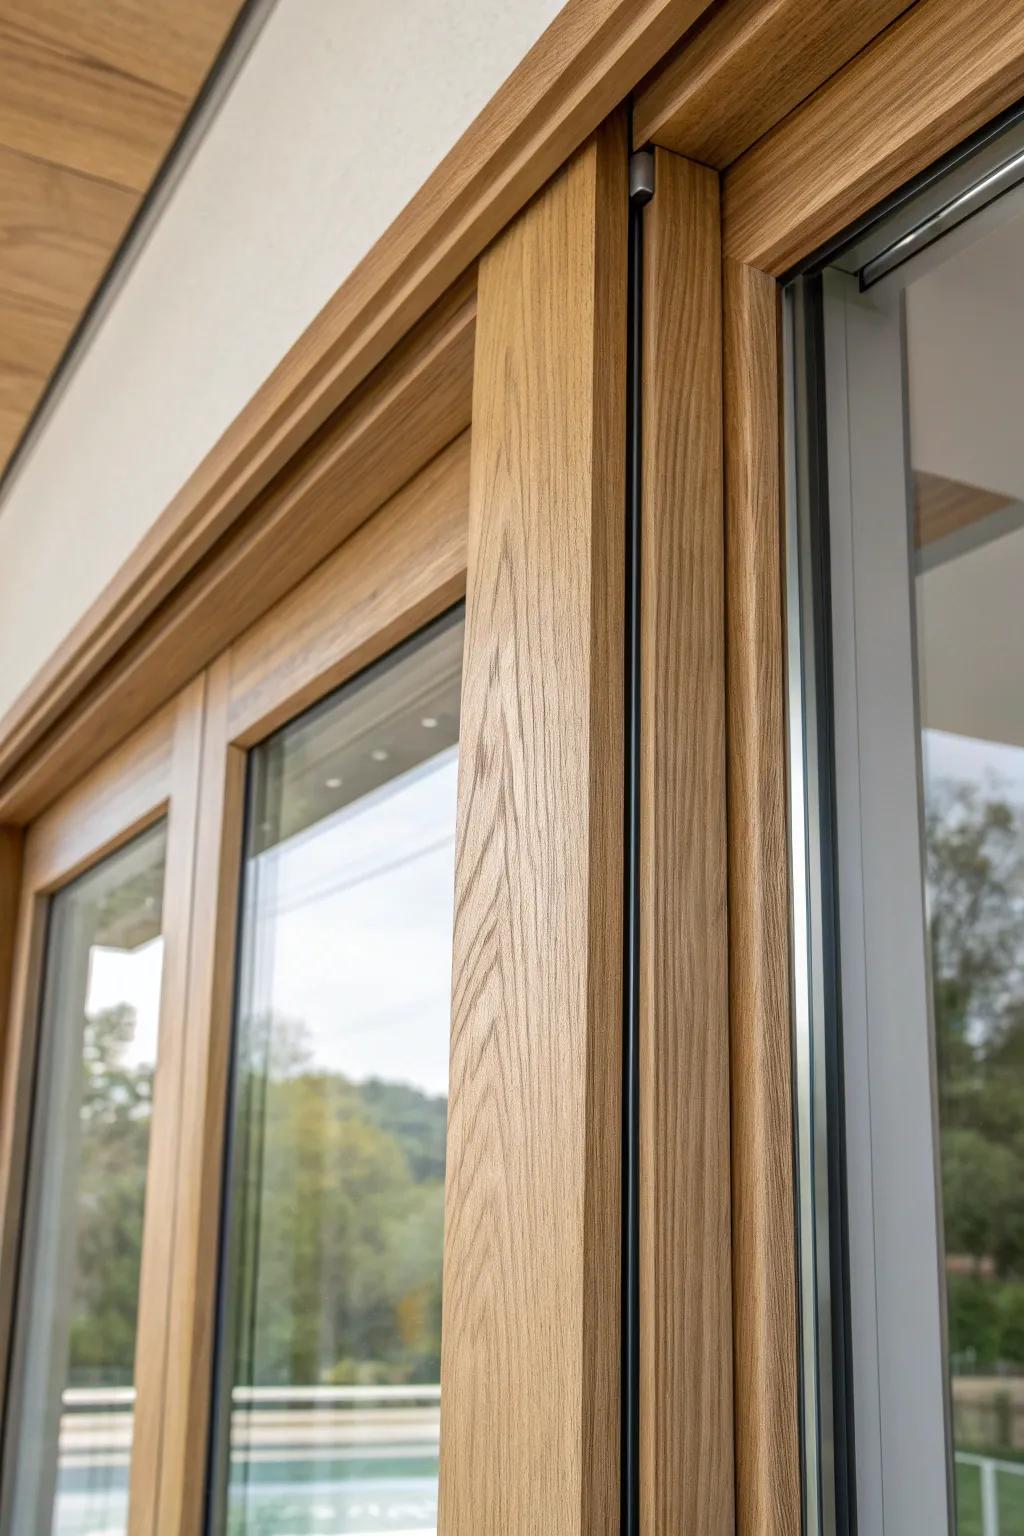
Craftsman-Style Wide Casing
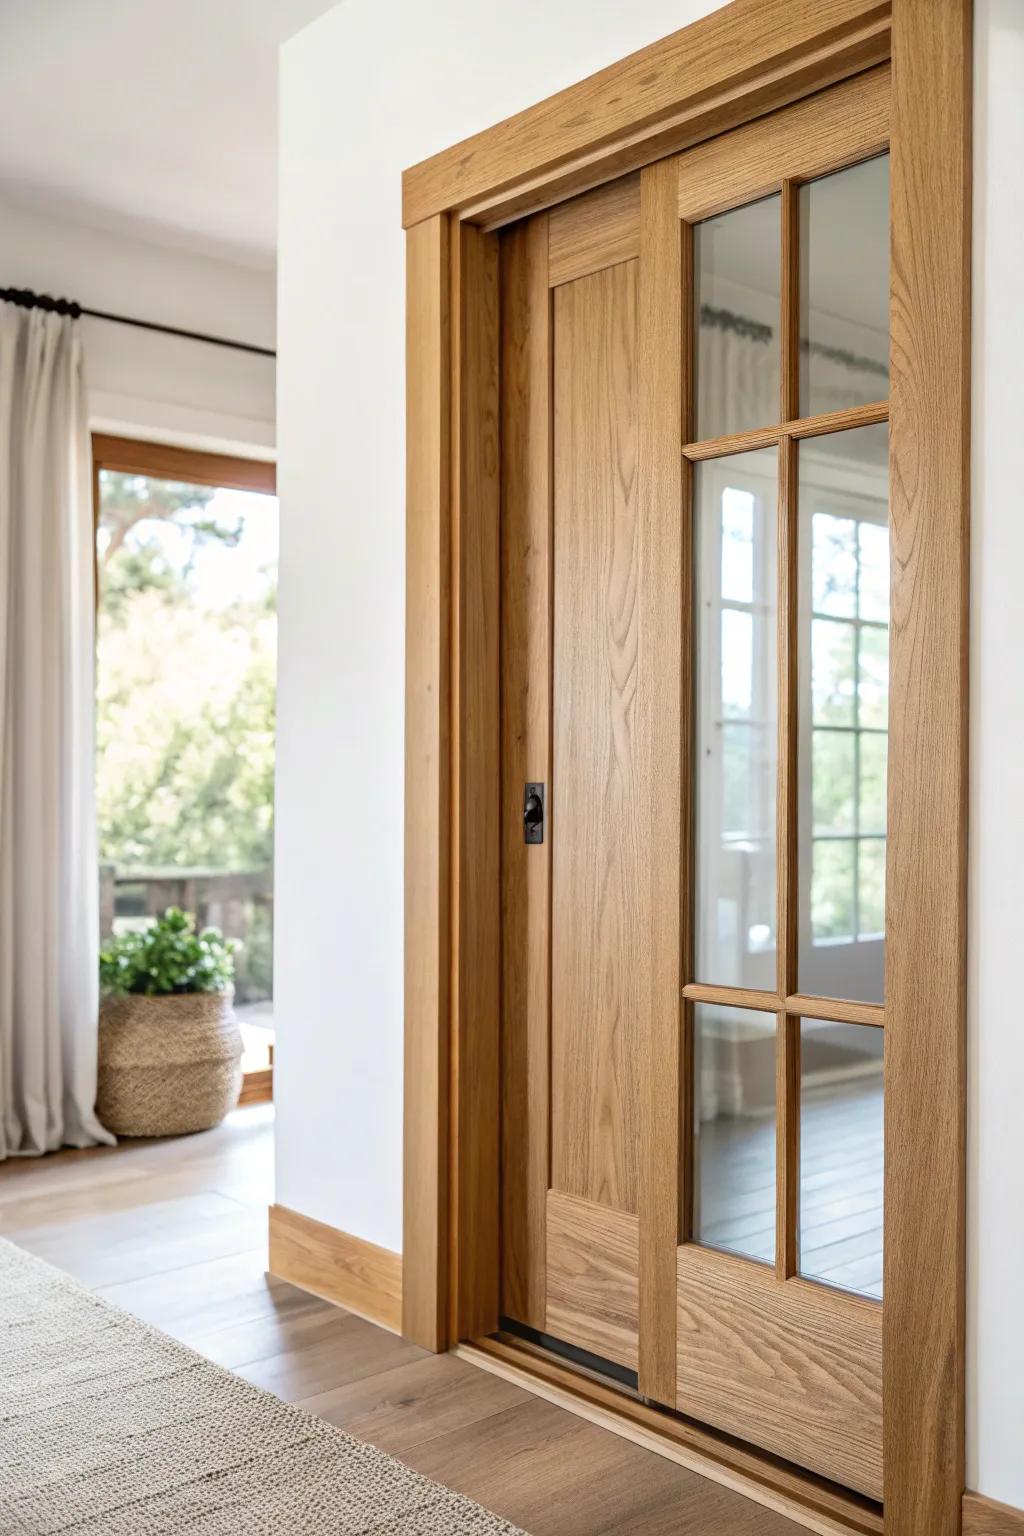
A chunky Craftsman casing instantly makes a sliding door feel grounded, and I love using wider side boards to give the opening real presence. I’ve built this look with basic lumber, and it always reads way more expensive than it is.
Consider these options:
- Solid Oak Lumber Boards: Use high-quality hardwood boards to build custom, wide casings that add immediate warmth and architectural weight to your doorway.
- Matte Black Pocket Door Hardware: Install sleek recessed pulls to complement the wood tones and achieve that modern, functional sliding finish seen here.
- Wood Stain and Sealer: Protect your new craftsmanship with a top-rated finish that enhances the natural grain without darkening the wood too much.
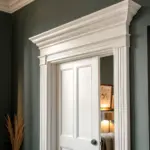
Built-Up Header With a Cap
Adding a layered built-up header on top of your sliding glass door trim is my go-to “architectural upgrade” trick. I usually stack a few boards and finish with a small cap molding, and the whole wall suddenly looks designed.
A few things you might like:
- Unfinished Hardwood Boards: Build your layered header base using solid, unfinished boards that you can stain to match your decor perfectly.
- Wooden Crown Molding: Add the essential finishing cap to your built-up header for that custom, high-end architectural look.
- Wood Finish Stain: Enhance the natural grain of your new header trim with a quality stain that protects the wood long-term.
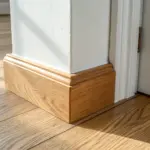
Plinth Blocks at the Bottom
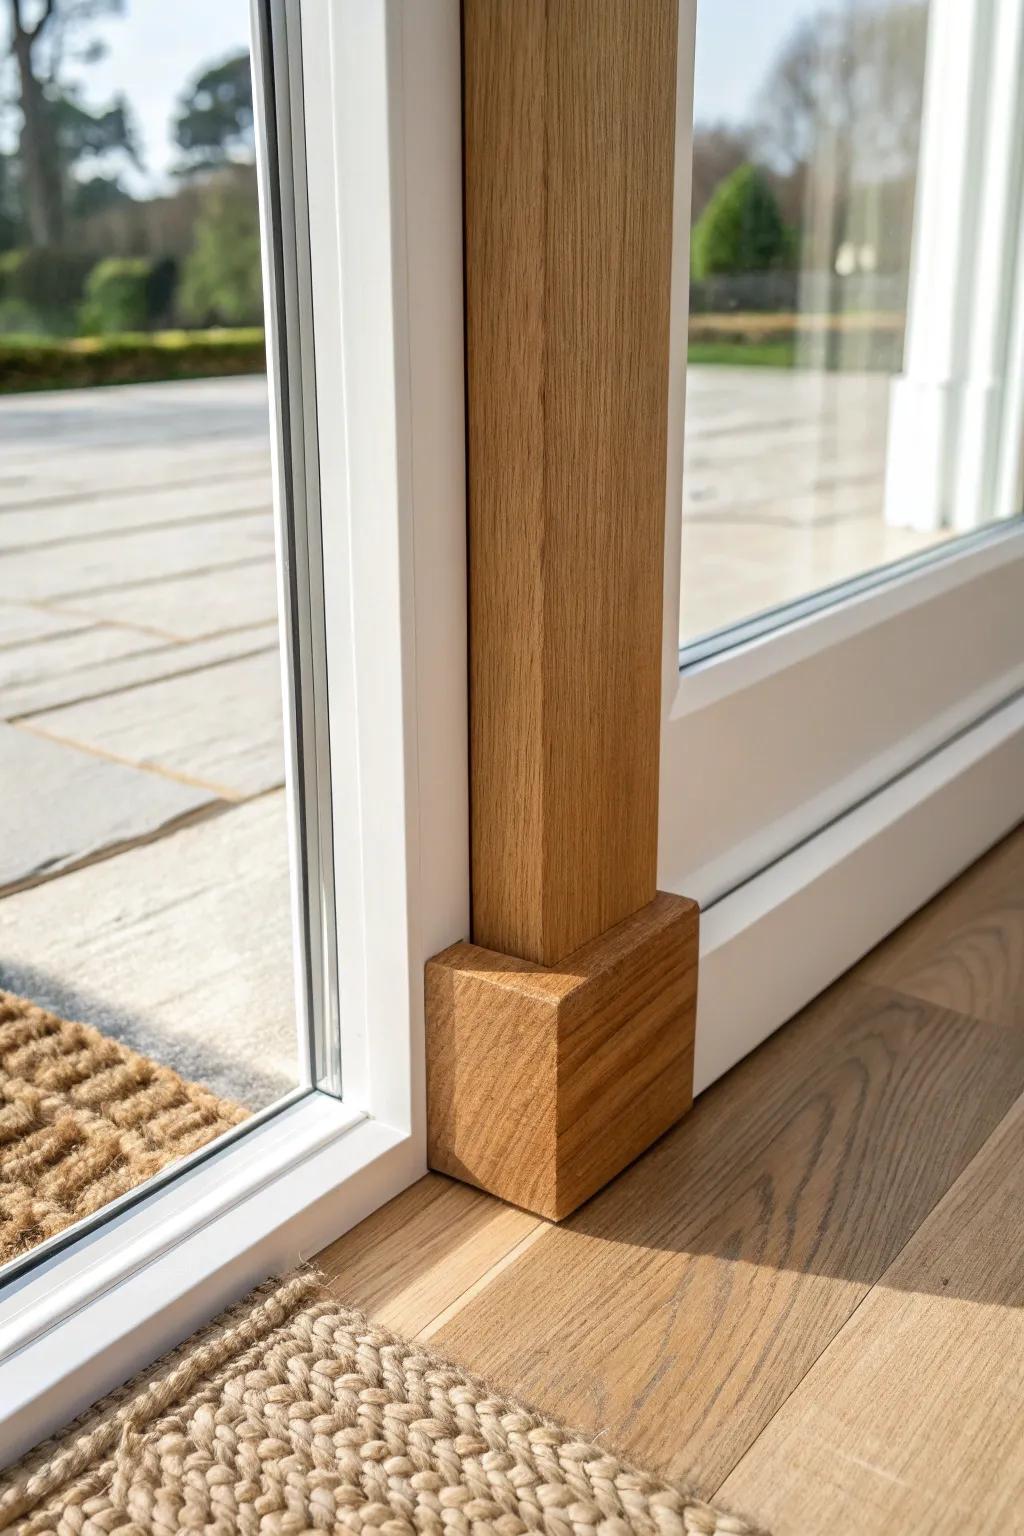
If your trim meets the floor in an awkward way, plinth blocks are a lifesaver for a sliding glass door. I started using them after fighting uneven flooring on a remodel, and now I add them anytime I want a sturdier, more intentional base.
You might like:
- Solid Wood Plinth Blocks: Upgrade your door trim instantly with these sturdy wooden blocks, providing a seamless transition between floor and casing.
- Wood Stain and Finish: Match your new plinth blocks to your existing trim perfectly by applying a high-quality stain and protective finish.
- Finish Nailer Kit: Secure your new trim pieces firmly and professionally without damaging the wood using a reliable finish nailer tool.
Baseboard Return Into the Casing
For a super polished look, I tie the baseboard right into the sliding glass door trim with a clean return so it looks continuous. I’ve noticed this one small detail makes the whole doorway feel “built-in” instead of stuck on.
Items that may come in handy:
- General Purpose Wood Filler: Use this to fill gaps between trim pieces for a seamless, professional finish before painting or staining.
- Paintable Caulk for Trim: Apply this along joints where the baseboard meets the casing to create crisp, clean lines instantly.
- Fine Grit Sanding Sponges: Smooth out your mitered returns and filler spots gently to ensure a perfectly flat surface for finishing.
Mitered Picture-Frame Trim
A mitered casing (like a picture frame) around a sliding glass door feels classic and tidy, especially in modern farmhouse spaces. I’ve cut these miters a ton, and taking my time to dial in tight corners is what makes it look pro.
You might give these a try:
- Compound Miter Saw: Achieve precise angular cuts for your trim corners with a reliable saw designed for accurate, clean miters.
- Digital Angle Finder Tool: Ensure your corners are perfectly tight by measuring exact angles before cutting your expensive hardwood casing.
- Brad Nailer Kit: Secure your new wood trim firmly in place without splitting the delicate grain using an efficient nailer.

Bold Black Contrast Trim
Painting the sliding glass door trim a deep black contrast color gives you that crisp, graphic outline that makes the glass feel even bigger. I tried it in a bright room with light walls, and it instantly sharpened the whole space.
These products might help:
- Satin Finish Black Paint: Transform your door frames with durable, interior paint that delivers a smooth, modern finish for striking contrast.
- Angled Sash Paint Brushes: Achieve clean, crisp lines along glass edges and corners by using high-quality angled brushes designed for trim.
- Painters Tape for Glass: Protect your glass panes and ensure razor-sharp paint lines with precision tape designed for delicate surfaces.
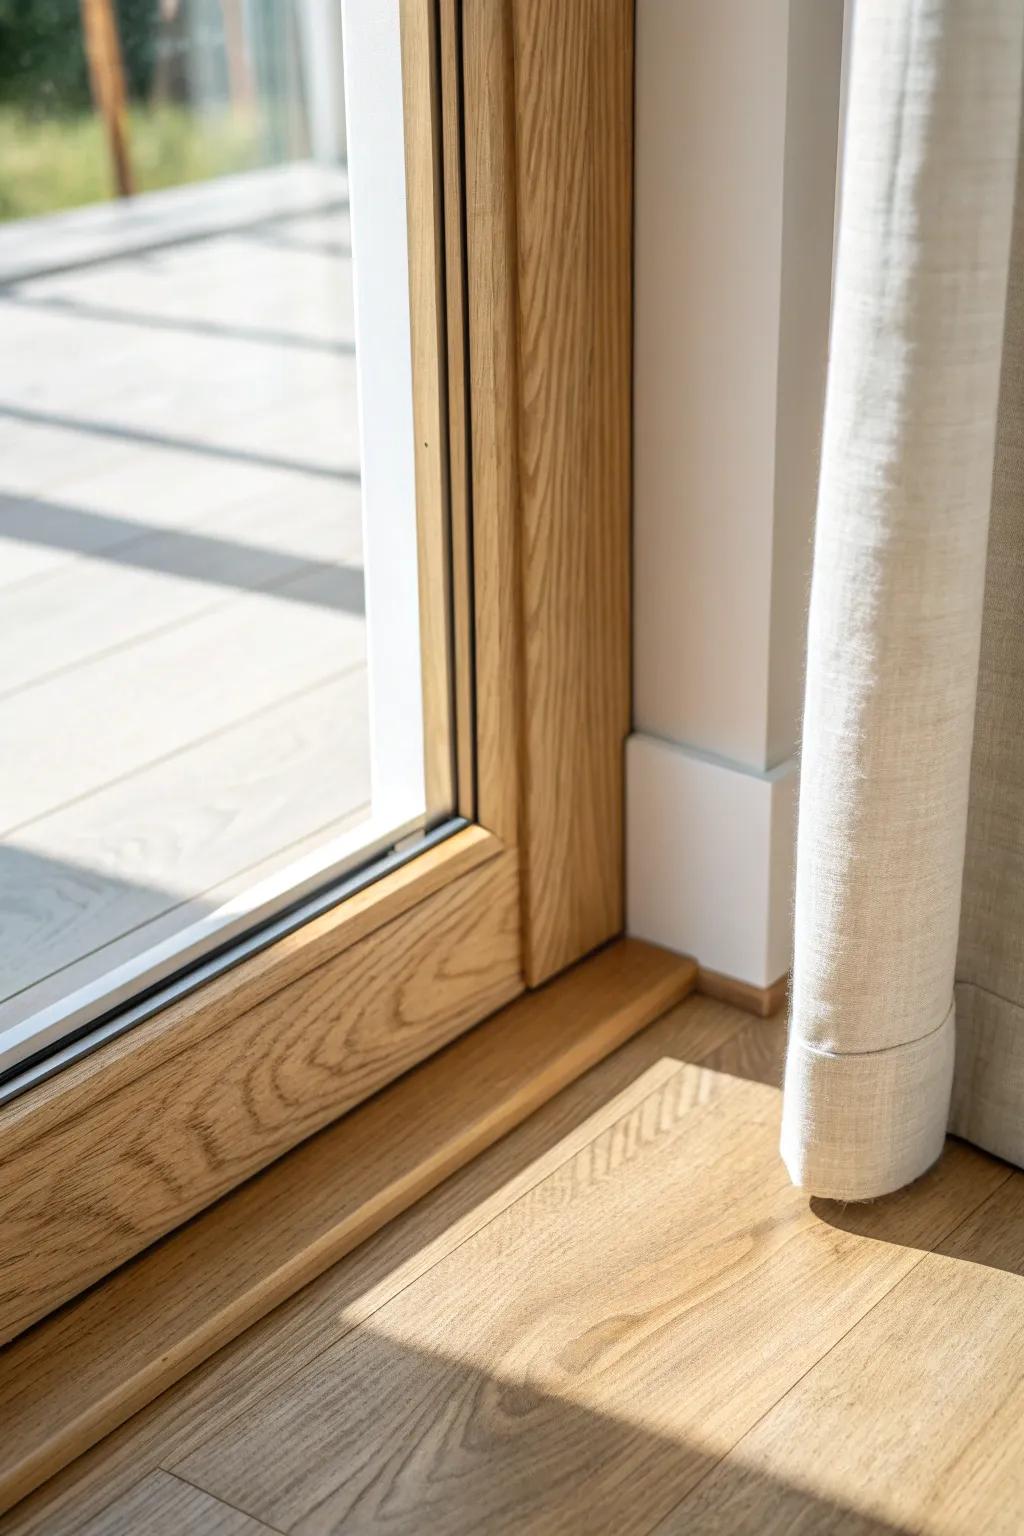
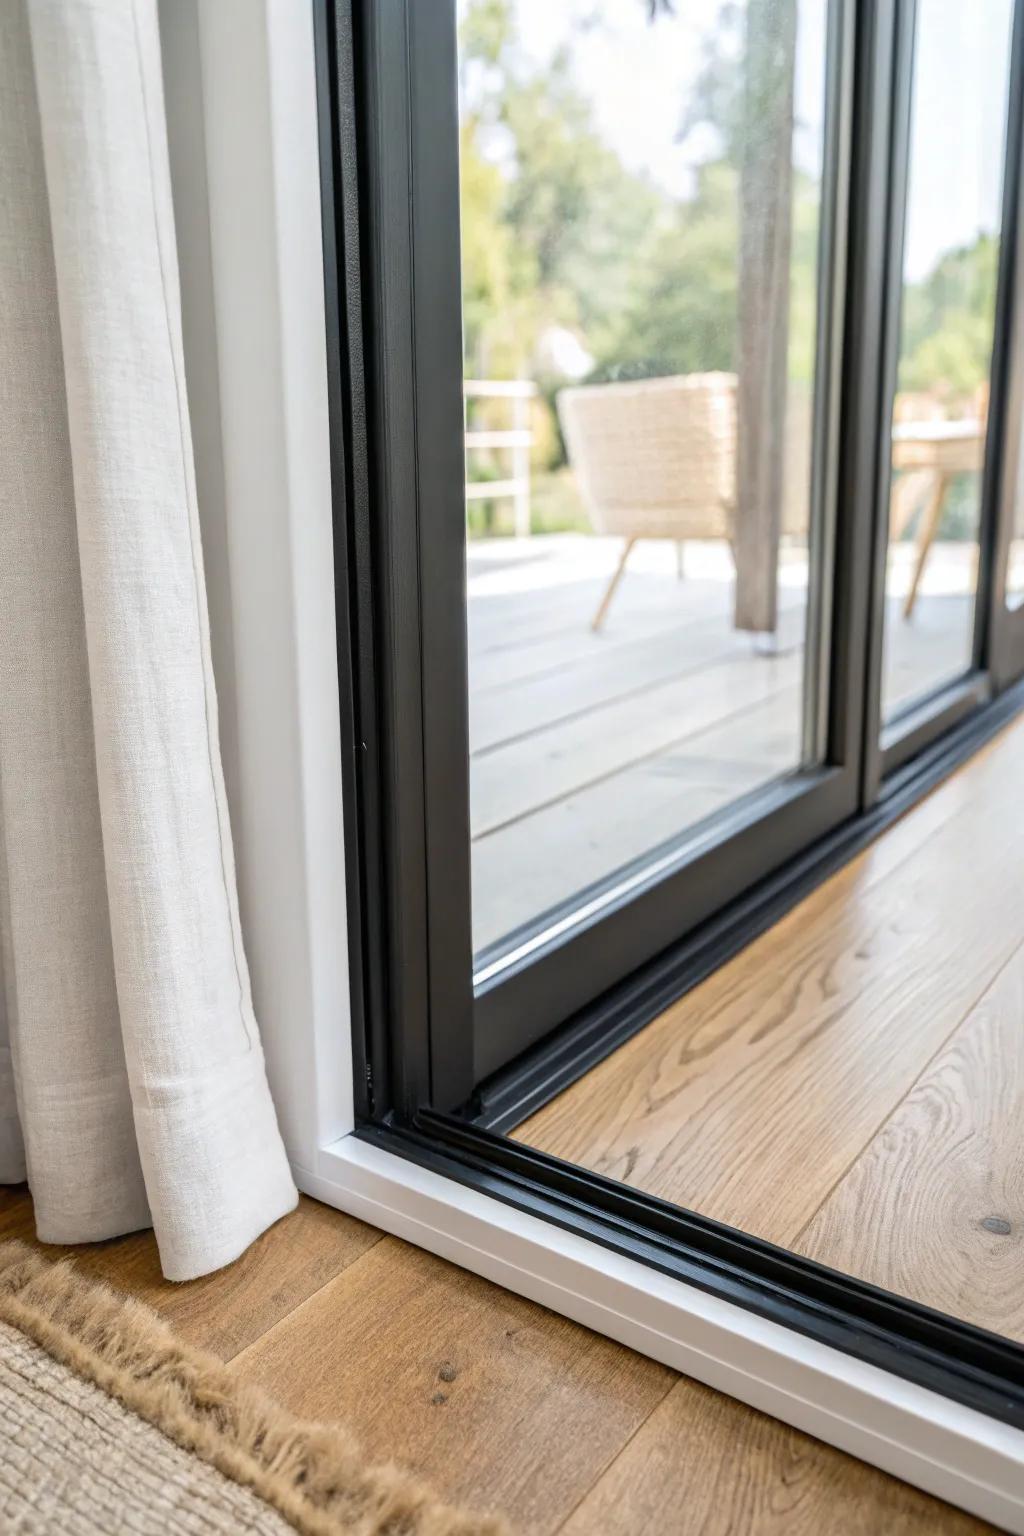
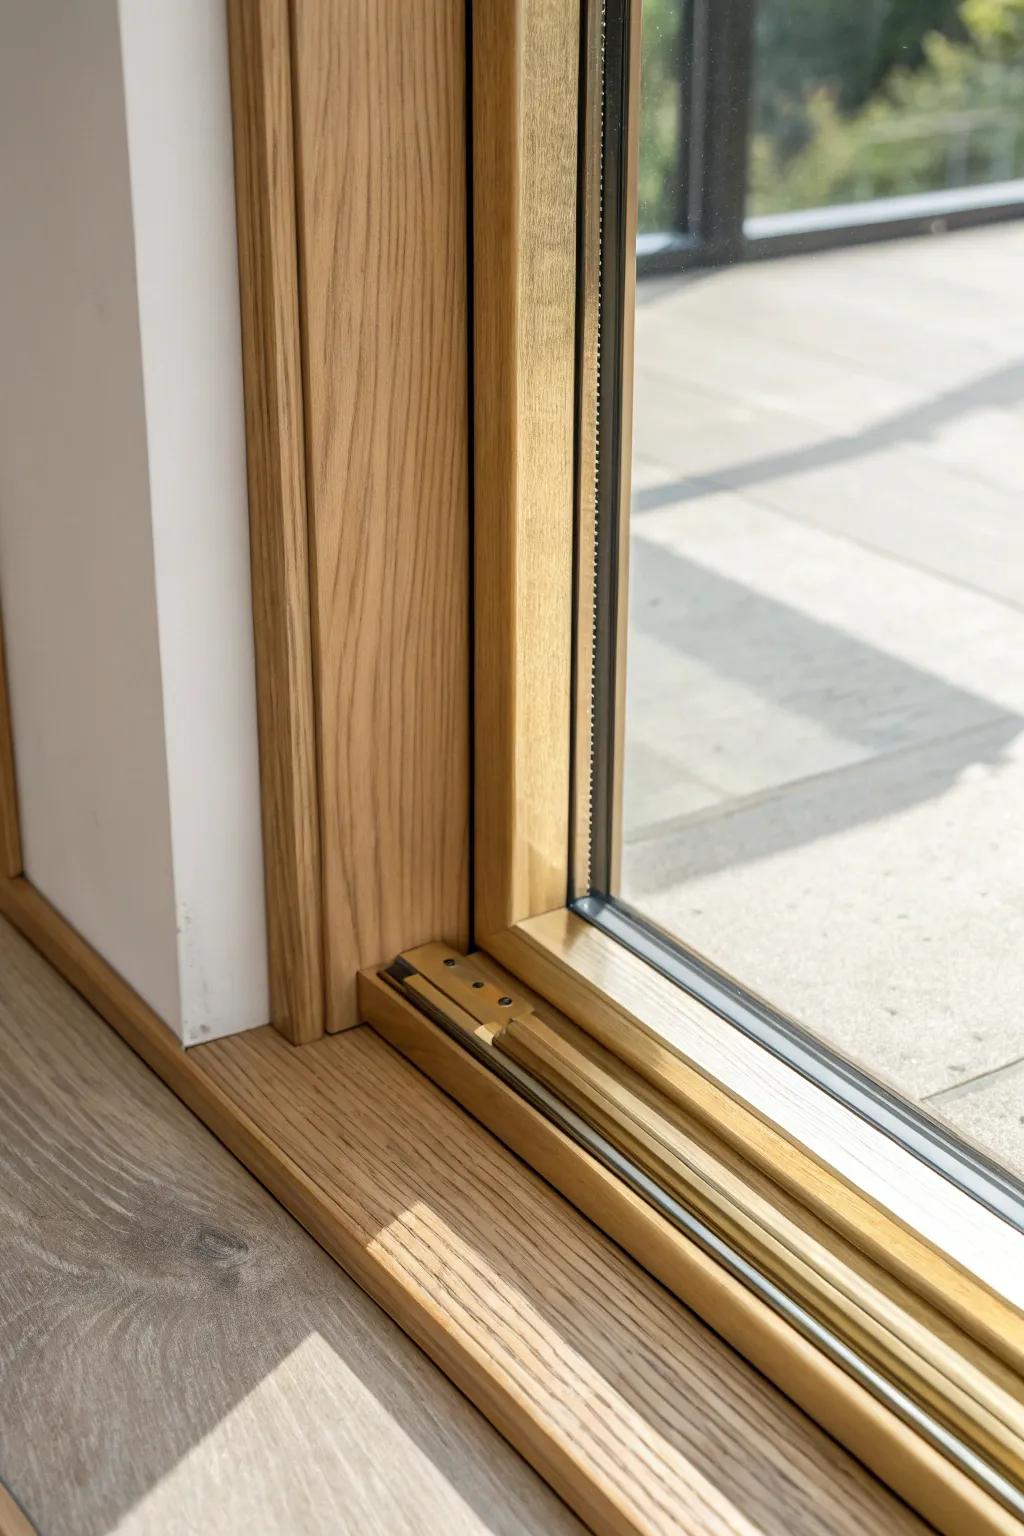
Natural Stain to Match Wood Floors
Staining the trim to echo your flooring is one of my favorite ways to warm up a sliding door, especially if the room has lots of white paint. I’ve tested stains on scrap until the undertones matched, and that little effort makes it look seamless.
These products might be useful:
- Wood Stain Sampler Kit: Test different shades on scrap wood first to find the perfect undertone match for your existing floors.
- Polyurethane Floor Finish: Protect your newly stained trim from high foot traffic and sunlight with a durable, clear protective coat.
- Oak Threshold Molding: Install unfinished oak threshold molding to create a seamless, stainable transition between your door track and flooring.
Two-Tone Trim With a Wood Header
Keeping the side casing painted while using a stained wood header gives the sliding glass door trim a subtle statement without going full contrast. I’ve done this when I wanted warmth up top but still needed the sides to blend into the wall.
Some handy options:
- Natural Wood Stain: Choose a warm, rich stain to give your wood header a distinct color that complements your interior decor.
- Paintable Wood Casing: Use high-quality, primed wood casing for the sides to easily paint them white for a seamless wall blend.
- Angled Paint Brush Set: Ensure crisp lines between your stained header and painted casing with precision brushes designed for trim work.
Fluted Casing With Classic Details
If you love traditional style, adding fluted trim with a more detailed top piece can turn a plain sliding door into a real focal point. I’ve restored older-profile trim before, and it’s amazing how those grooves and layers add instant character.
Possibly handy products:
- Unfinished Oak Fluted Door Casing: Add distinctive character to your sliding doors with easy-to-install fluted woodwork that accepts stain beautifully.
- Wood Stain for Interior Trim: Protect your improved door casing and enhance the natural wood grain with a rich, durable finish.
- Miter Box and Saw Set: Achieve perfect corners on your new door trim using this essential tool for precise angle cuts.
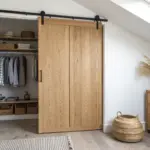
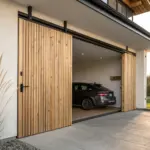
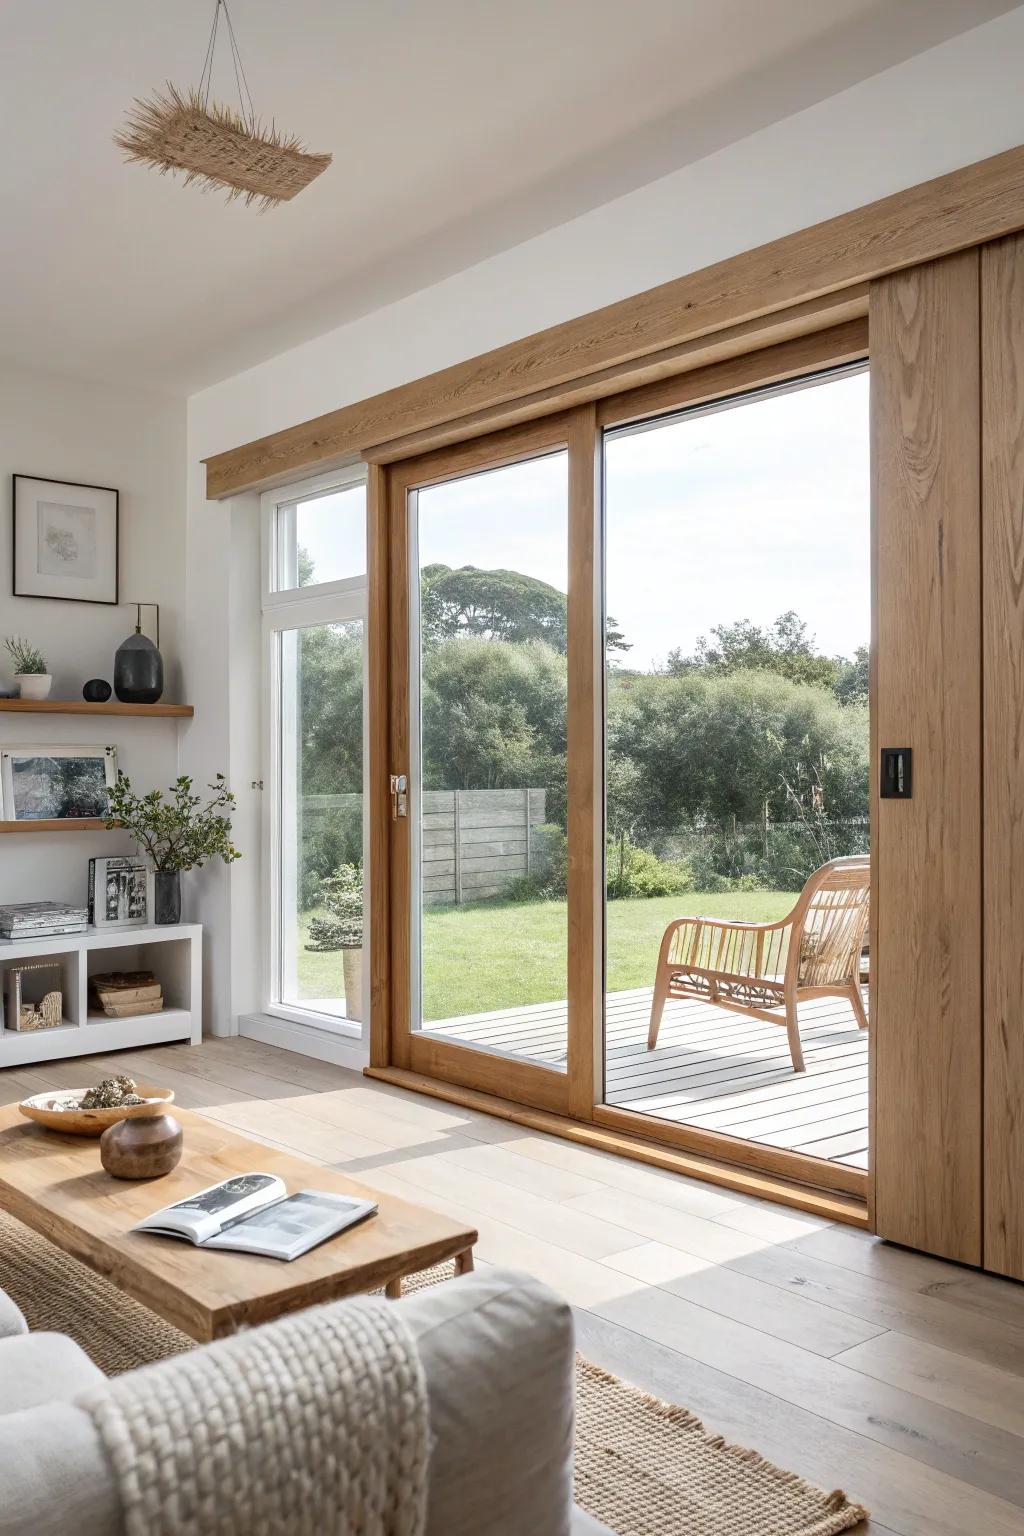
Matching Interior and Exterior Wrap
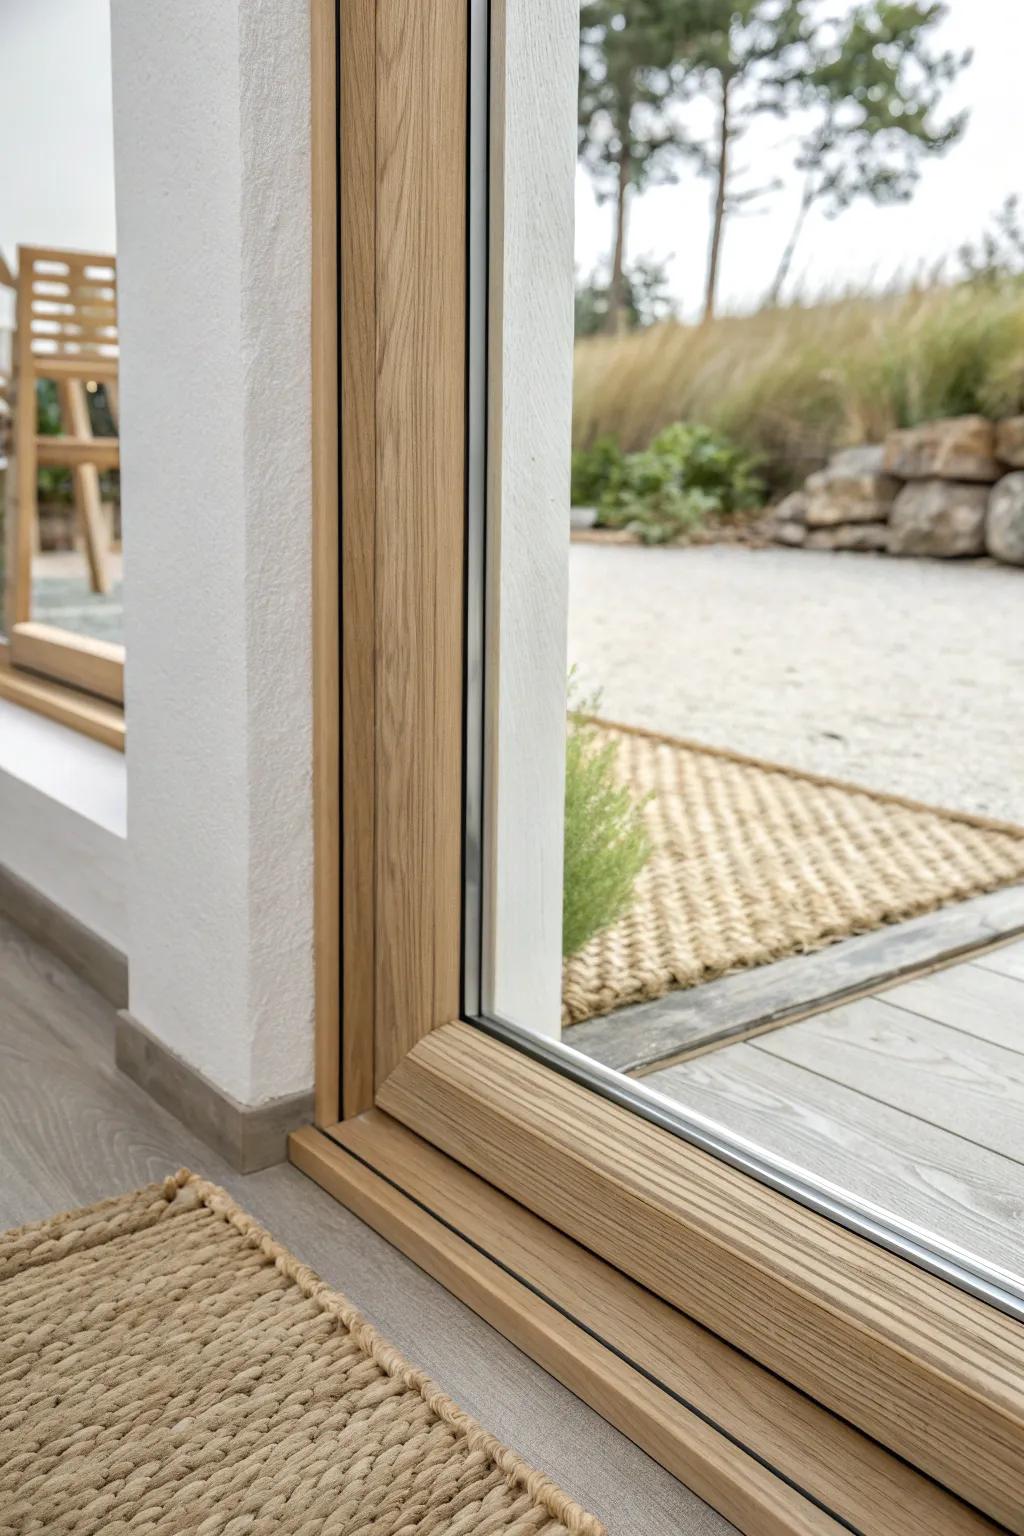
When I can, I like the sliding glass door trim to look finished from both sides by carrying a consistent wrap to the exterior. I’ve done this on patio doors, and it makes the whole indoor-outdoor transition feel thoughtfully built.
Give these a look:
- Clear Wood Varnish or Sealer: Protect your interior and exterior wood trim from moisture and sun damage while maintaining a natural finish.
- Exterior Grade Wood Caulk: Seal gaps between your trim and the exterior siding to prevent drafts and ensure a seamless look.
- Natural Fiber Doormat: Complete your entryway’s aesthetic with a durable, textured mat that complements natural wood trim elements.
Reclaimed Wood Frame Trim
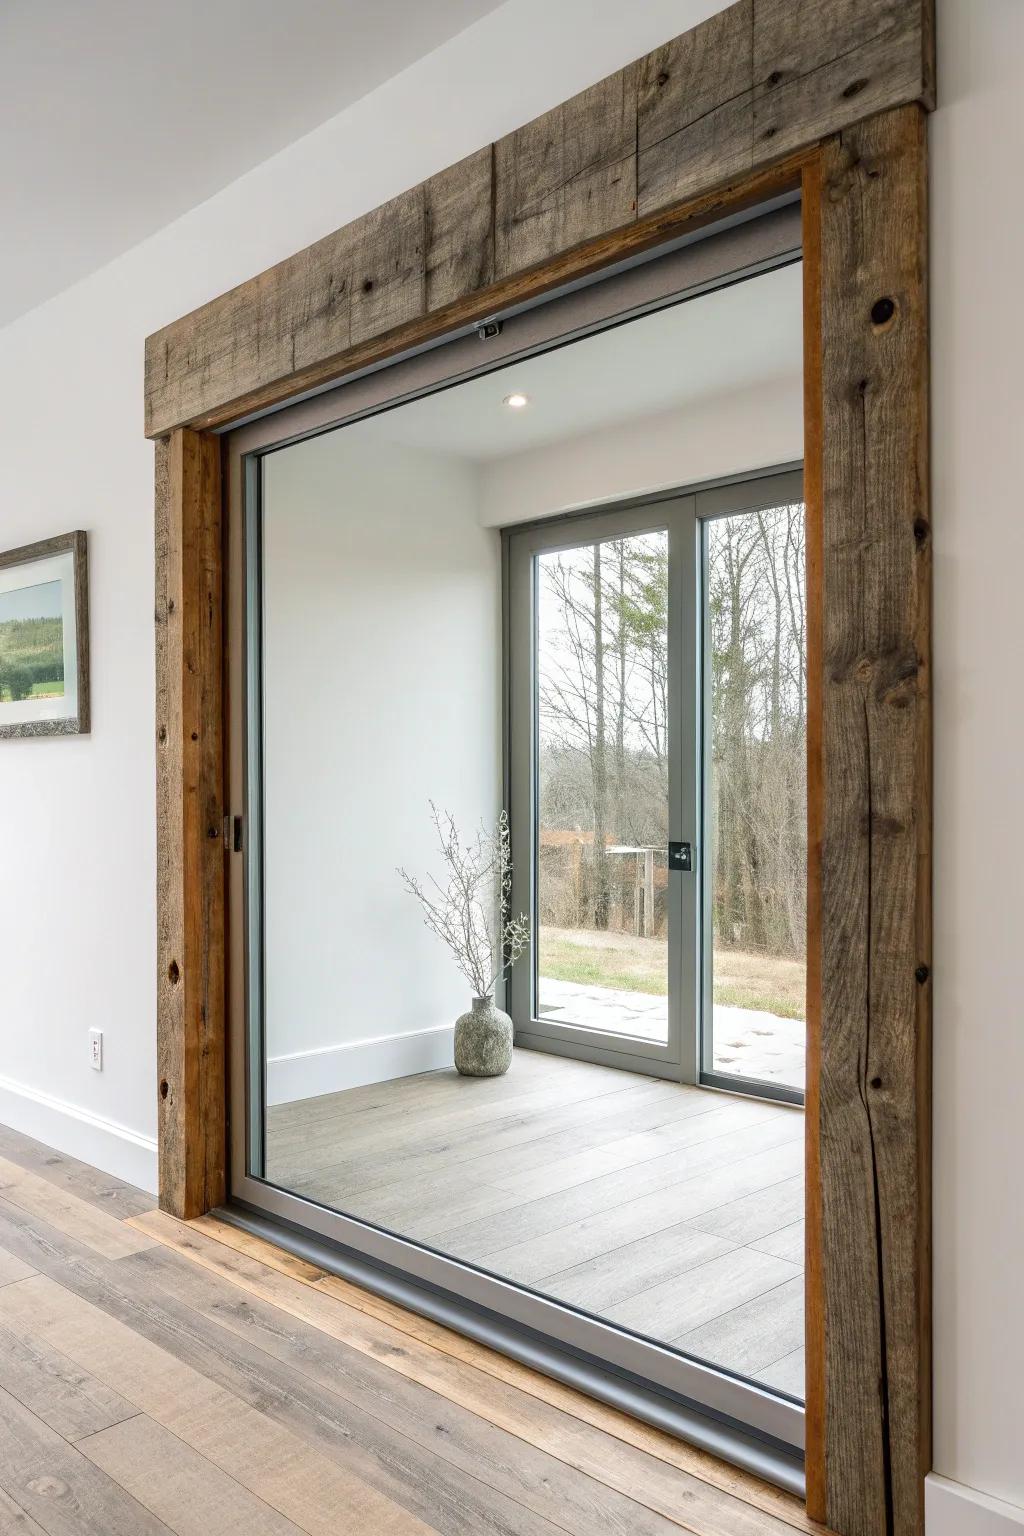
A border of reclaimed wood around a sliding glass door brings in that cozy, story-filled texture you just can’t fake. I’ve used old boards with nail holes and saw marks, and they make even a newer door feel lived-in and charming.
A few suggestions:
- Reclaimed Wood Planks: Instantly add rustic character to your trim with these authentic weathered boards perfect for DIY framing projects.
- Wood Distressing Tools: Create your own aged look on new lumber using specialty tools designed to mimic vintage saw marks.
- Matte Clear Wood Finish: Protect your rustic trim while preserving its natural, dry appearance with a non-glossy, durable protective seal.
Charred Wood (Shou Sugi Ban) Trim
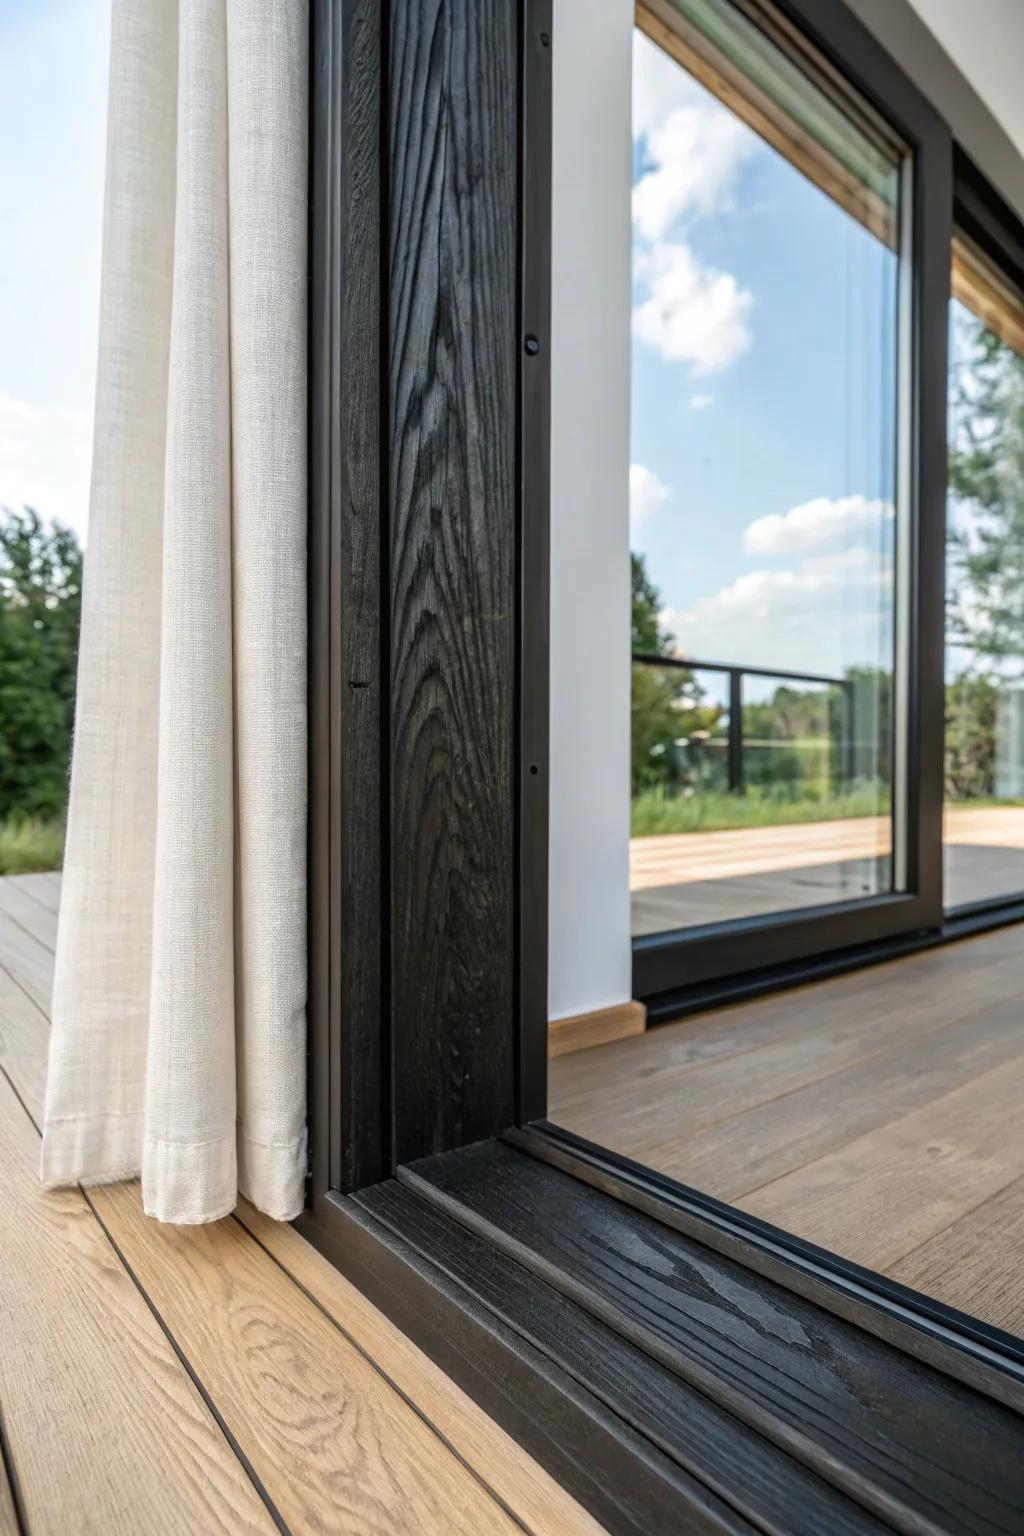
For a dramatic twist, I’ve made sliding glass door trim using lightly charred shou sugi ban boards sealed smooth, and it looks like modern art framing the view. The deep grain texture reads bold but still feels natural and woodsy.
Explore these options:
- Propane Torch Weeding Gadget: Achieve the authentic charred look yourself by carefully burning the wood surface with a high-heat torch.
- Matte Polyurethane Sealer: Protect your charred wood trim and prevent soot transfer by applying a durable, clear matte finish.
- Wire Brush Drill Attachment: Reveal the beautiful, deep grain texture after charring by brushing away loose soot and soft wood.
Live-Edge Header Accent
Using a live-edge slab just for the top header turns the sliding door into a statement piece without overwhelming the room. I’ve built one with a flattened slab and simple sides, and everybody notices the organic edge immediately.
A few helpful options:
- Live Edge Wood Slab: Find a unique wood slab to create a custom, natural header that instantly adds rustic character.
- Matte Wood Finish: Protect your live-edge accents and enhance the natural grain with a durable, clear matte finish.
- Heavy Duty Mounting Brackets: Ensure your solid wood header stays securely in place with strong, discreet mounting hardware.
Thin Metal Inlay Reveal Line
A slim metal inlay strip set into the sliding glass door trim gives a surprisingly sleek, custom look—like tailored jewelry for the doorway. I’ve routed a shallow channel for the insert, and that tiny line adds big “designer” energy.
Check these products out:
- Self-Adhesive Metal Trim Strips: Instantly upgrade your door trim with these easy-to-apply metallic strips for a sleek, modern, and high-end aesthetic.
- Flat Brass Inlay Bar: Create a permanently embedded, custom jewelry look for your woodwork by inserting this durable solid brass flat bar.
- Compact Router for Woodworking: Carve precise, shallow channels in your door trim effortlessly to perfectly seat your new metal inlays.
Resin-Filled Accent Channel Trim
If you like a little wow, I’ve poured clear resin into a routed channel along the sliding door casing for a glassy accent that still feels wood-forward. It’s a fun way to stabilize knotty boards too, so the sliding glass door trim stays solid.
A few relevant products:
- Deep Pour Epoxy Resin Kit: Create a stunning, durable glassy finish in wood channels with a resin formula designed for deep casting.
- Handheld Compact Wood Router: Carve precise, clean channels into your existing door trim to prepare the perfect space for your resin pour.
- Metallic Mica Powder Pigment Set: Add a touch of color or shimmer to your clear resin to make the accent channel truly pop.
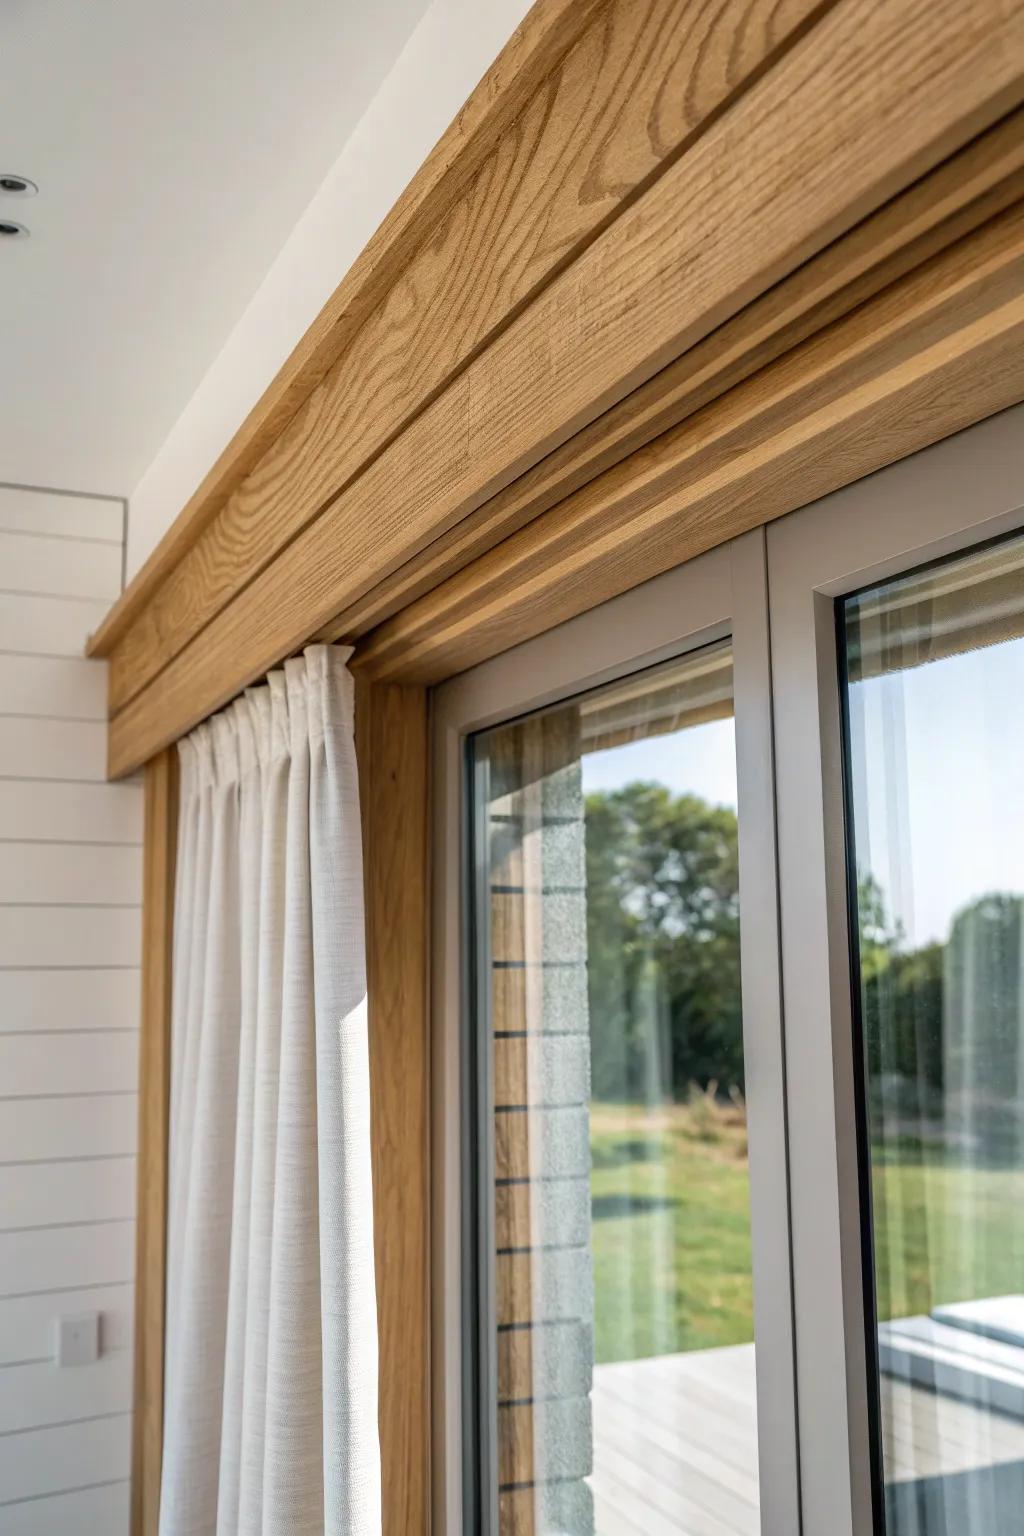
Hidden Curtain Pocket With Soft Lighting
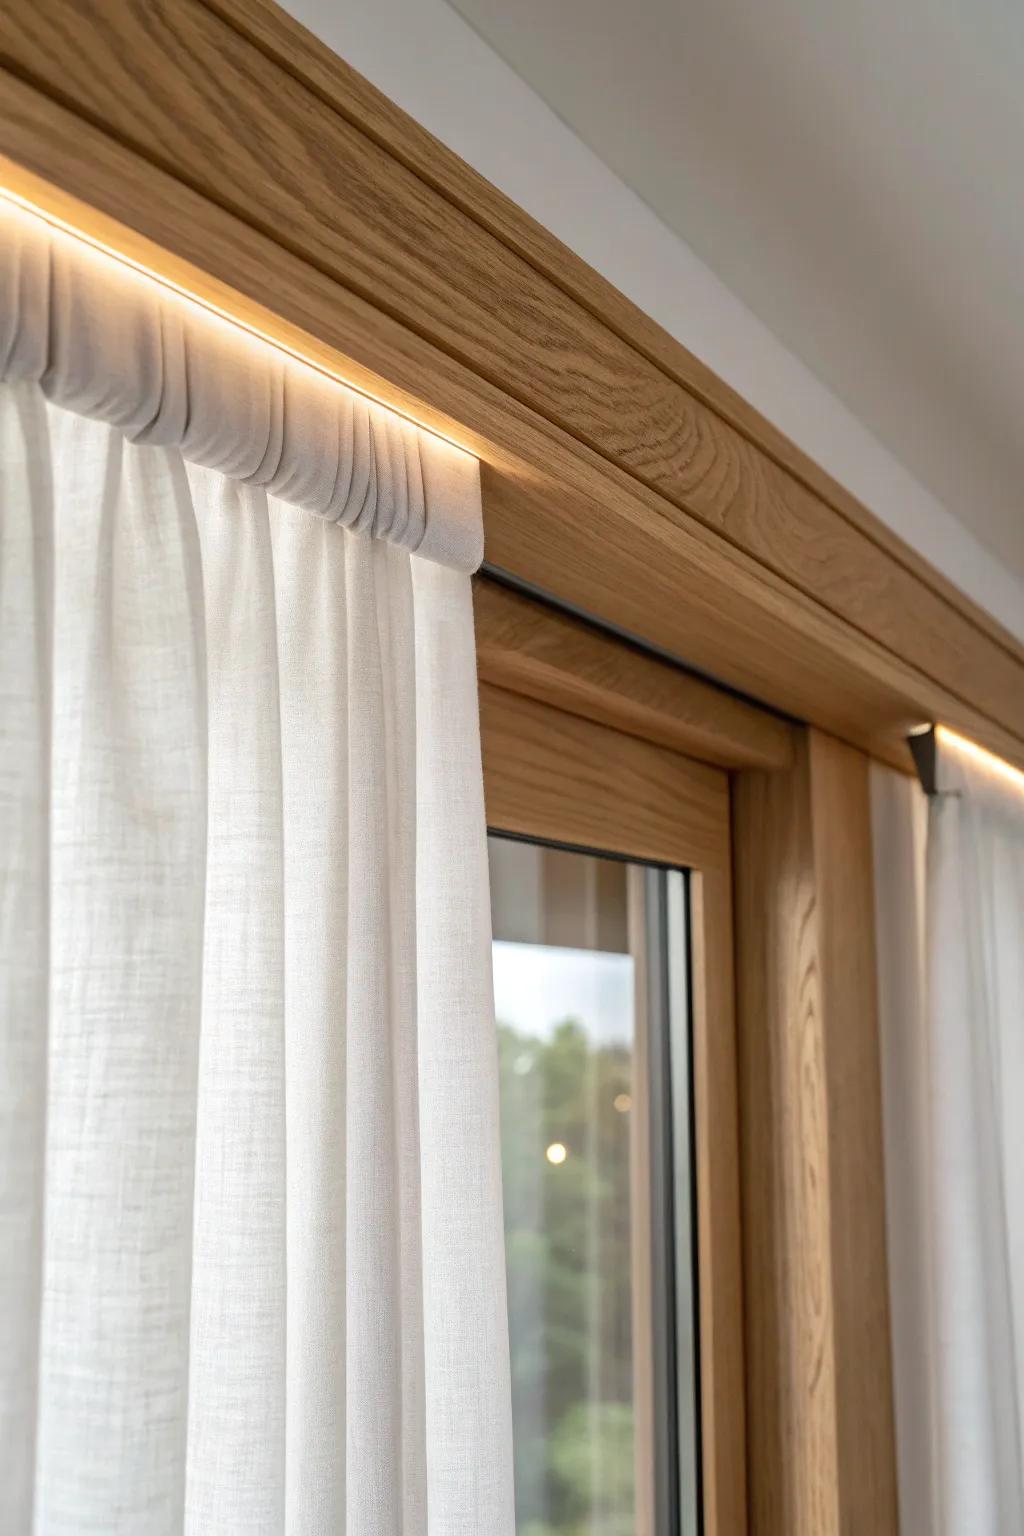
I’ve built a deeper header that hides a curtain pocket so the drapes seem to float right out of the sliding glass door trim. If you want maximum drama at night, I’ve also tucked hidden LED lighting behind a small lip for a soft glow that frames the opening.
Products that could assist:
- Flexible LED Strip Lights Warm White: Add a soft, ambient glow inside your trim pocket to beautifully illuminate your drapes at night.
- Ceiling Mount Curtain Track System: Install this track inside your hidden pocket to allow curtains to glide smoothly and appear to float.
- Semi-Sheer Linen Textured Curtains: Choose these lightweight drapes to diffuse the LED light and create an elegant, airy atmosphere.


