
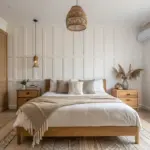
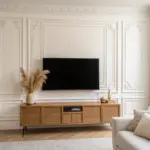
A wood ceiling already brings so much warmth, but the trim is what makes it look finished instead of “almost done.”
Classic Wood Crown Molding
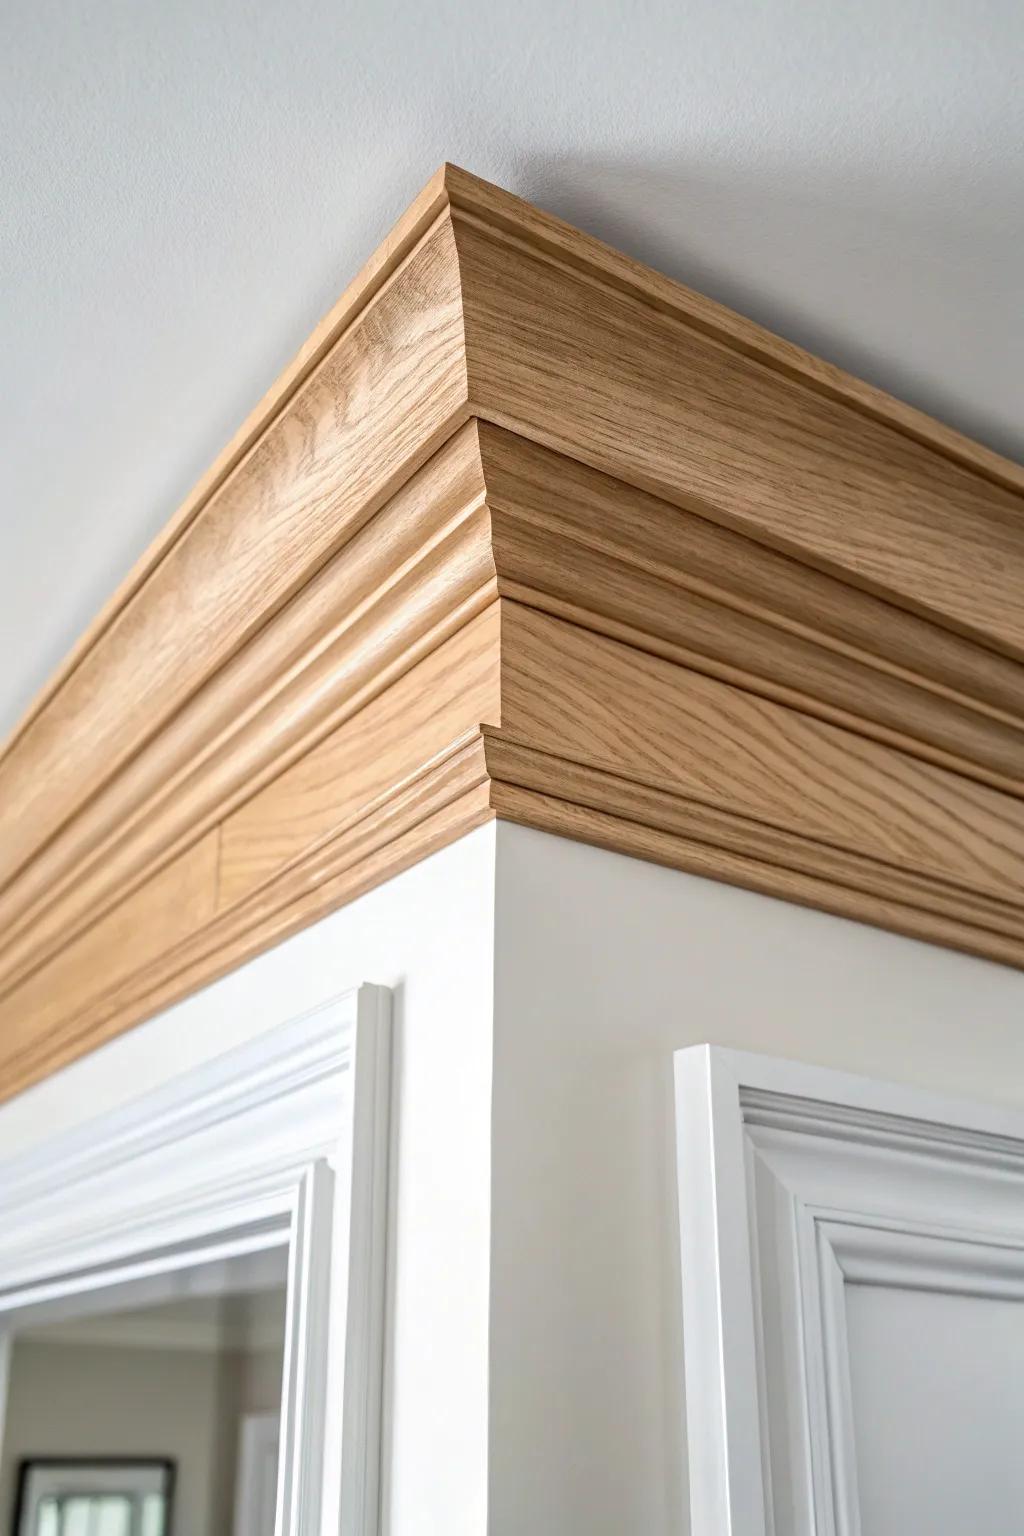
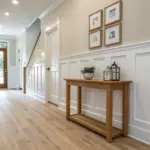
If you want the most timeless upgrade, wood crown molding at the wall-to-ceiling line is my go-to because it instantly cleans up the transition. I’ve used simple profiles on plank ceilings and they make the whole room feel taller and more pulled together.
A few suggestions:
- Unfinished Solid Wood Crown Molding: Upgrade your ceiling transition instantly with natural wood molding that you can stain or paint to match decor.
- Miter Saw with Laser Guide: Ensure crisp, seamless corners for your molding installation with a precise compound saw designed for angled cuts.
- Wood Finishing Tung Oil: Enhance the natural grain of your wood trim while providing protection with a classic, easy-to-apply finish.


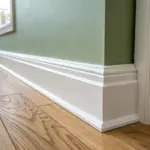
Quarter-Round to Hide Tiny Gaps
For DIY installs, quarter-round trim is the little hero that hides wavy walls and those “why is there a gap?” moments. I’ve saved more than one ceiling install by popping it on after the planks were up and instantly relaxing.
Some handy options:
- Unfinished Wood Quarter Round Molding: Cover uneven edges seamlessly with natural wood trim that you can stain to match your existing decor.
- Brad Niler Kit for Finishing Work: Secure your new trim pieces neatly and efficiently without leaving large holes or hammer marks behind.
- Wood Filler for Seamless Joints: Fill nail holes and corner gaps easily to create a professional, flawless finish on your ceiling trim.

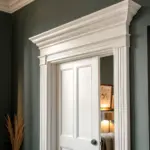
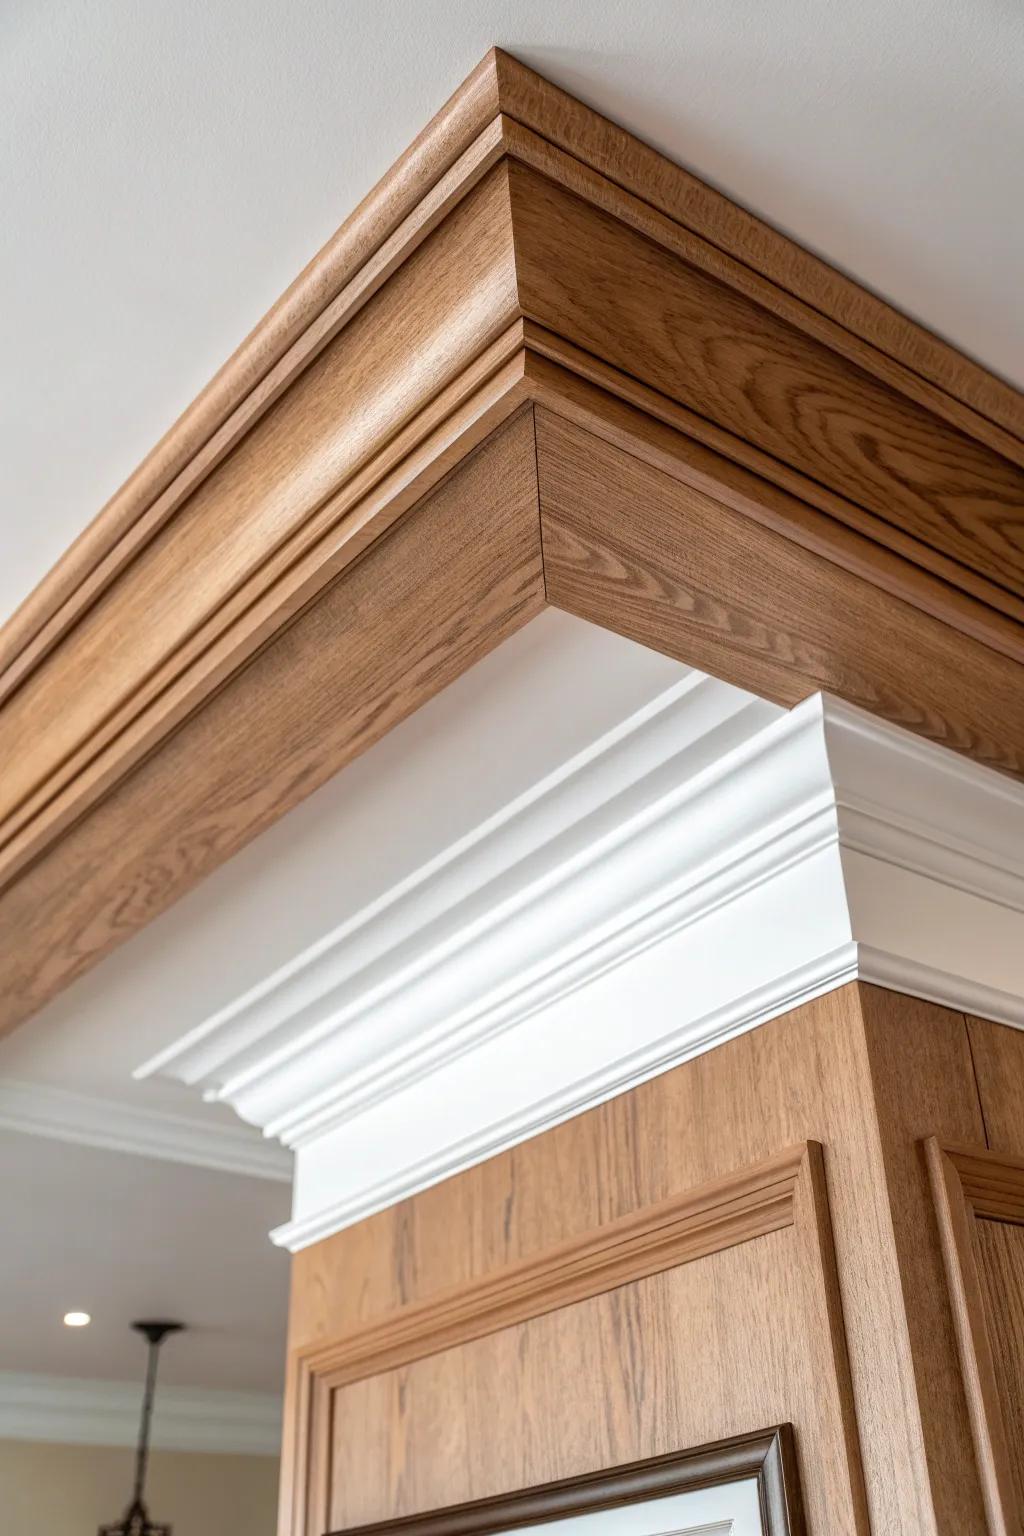
Contrasting Painted Crown on Stained Wood
A dark-stained wood ceiling with painted wood crown is such a classic contrast, especially in kitchens and hallways. I’ve done this combo when the ceiling needed drama but the walls needed to stay bright, and it always looks crisp.
These products might be useful:
- Primed White Crown Molding: Choose prepainted or primed molding options to create that crisp, classic white contrast against darker wood tones instantly.
- Dark Wood Stain: Apply a rich, deep stain to your ceiling beams or upper trim to achieve the necessary dramatic visual foundation.
- Angled Sash Paint Brush: Ensure clean, sharp lines where the white molding meets the dark wood using a high-quality angled sash brush.


Beam Wraps as “Trim Bands”
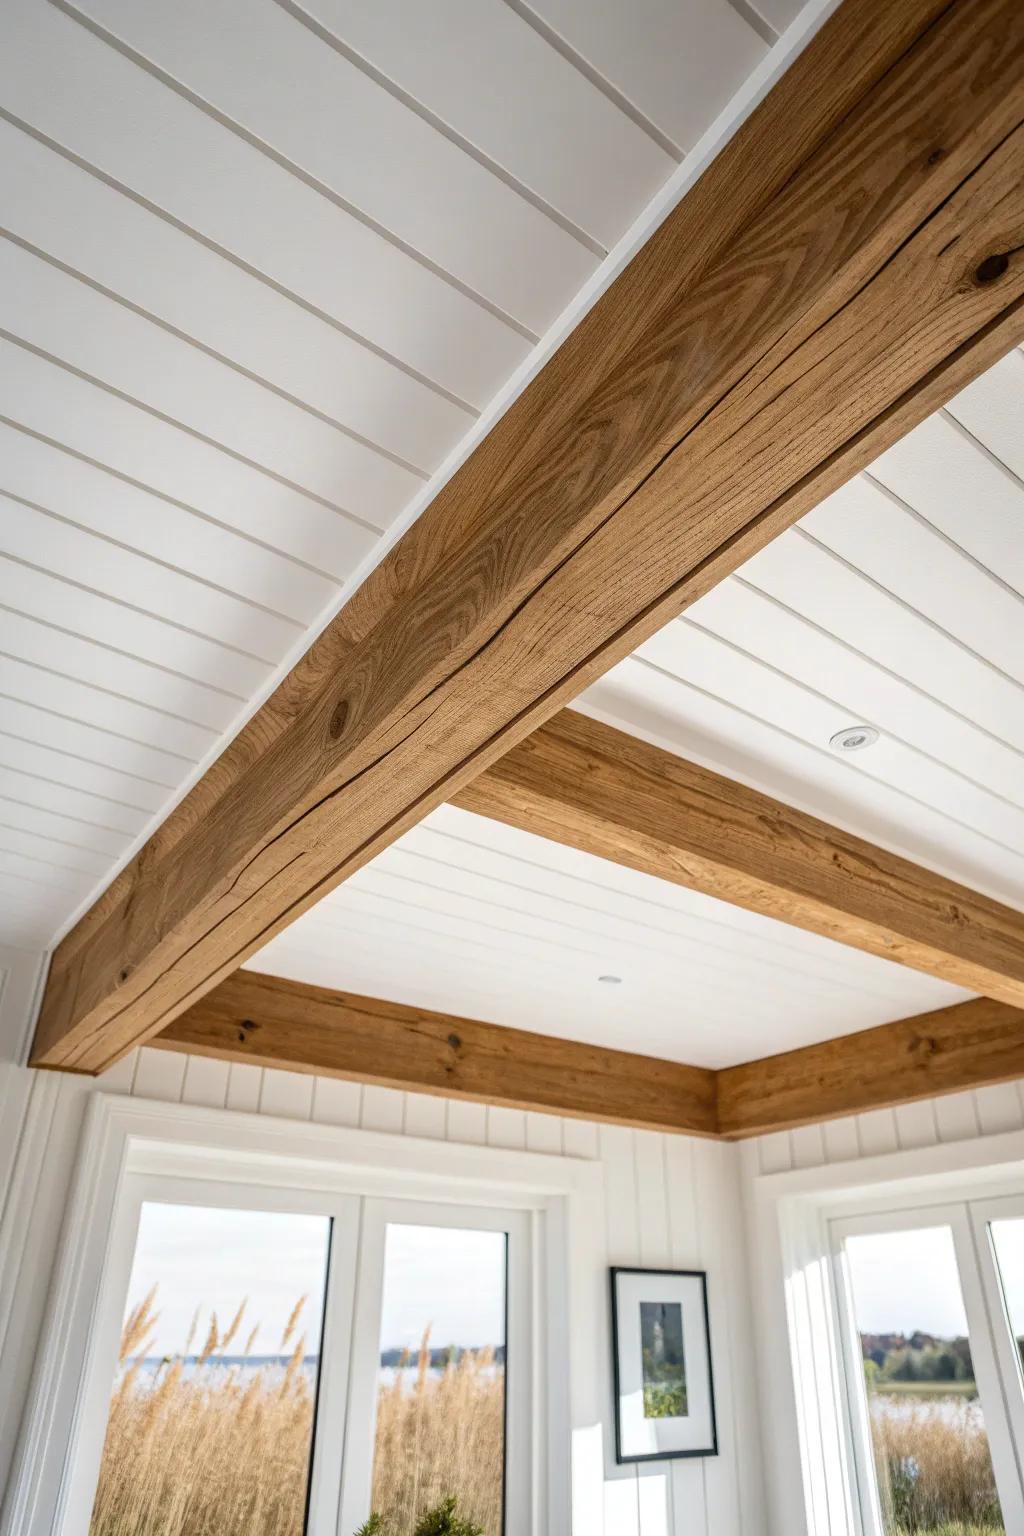
If you want that beam look without heavy lumber, I build hollow beam wraps and use them like bold trim lines across the ceiling. I’ve installed them over a planked ceiling to break up a big span, and it adds instant farmhouse structure.
Consider these options:
- Faux Wood Ceiling Beams: Add instant rustic charm without the heavy lifting; easily install these lightweight beams to transform plain ceilings.
- Flexible Wood Veneer Sheets: Create your own custom beam wraps by covering simple lumber frames with these real wood veneer surfaces.
- Shiplap Ceiling Planks: Provide the perfect backdrop for your beams by installing these pre-finished planks for a crisp, linear look.
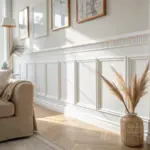
Shiplap Ceiling With a Framed Border

A shiplap ceiling border frame is one of my favorites because it makes the whole ceiling feel custom, like it was always meant to be there. I usually run a wider trim band around the perimeter and it hides ends while adding a clean picture-frame effect.
Items that may come in handy:
- Real Wood Shiplap Planks: Transform your ceiling by installing these interlocking interior planks to create a warm, textured foundation for your room.
- Brad Nailer Kit: Secure your ceiling boards and border trim efficiently with this essential tool designed for detailed finish carpentry.
- Whitewash Wood Stain: Achieve that airy, coastal aesthetic shown in the photo by applying a light whitewash stain to your timber.
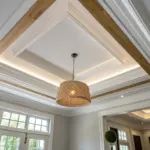
Coffered Grid With Straight Trim
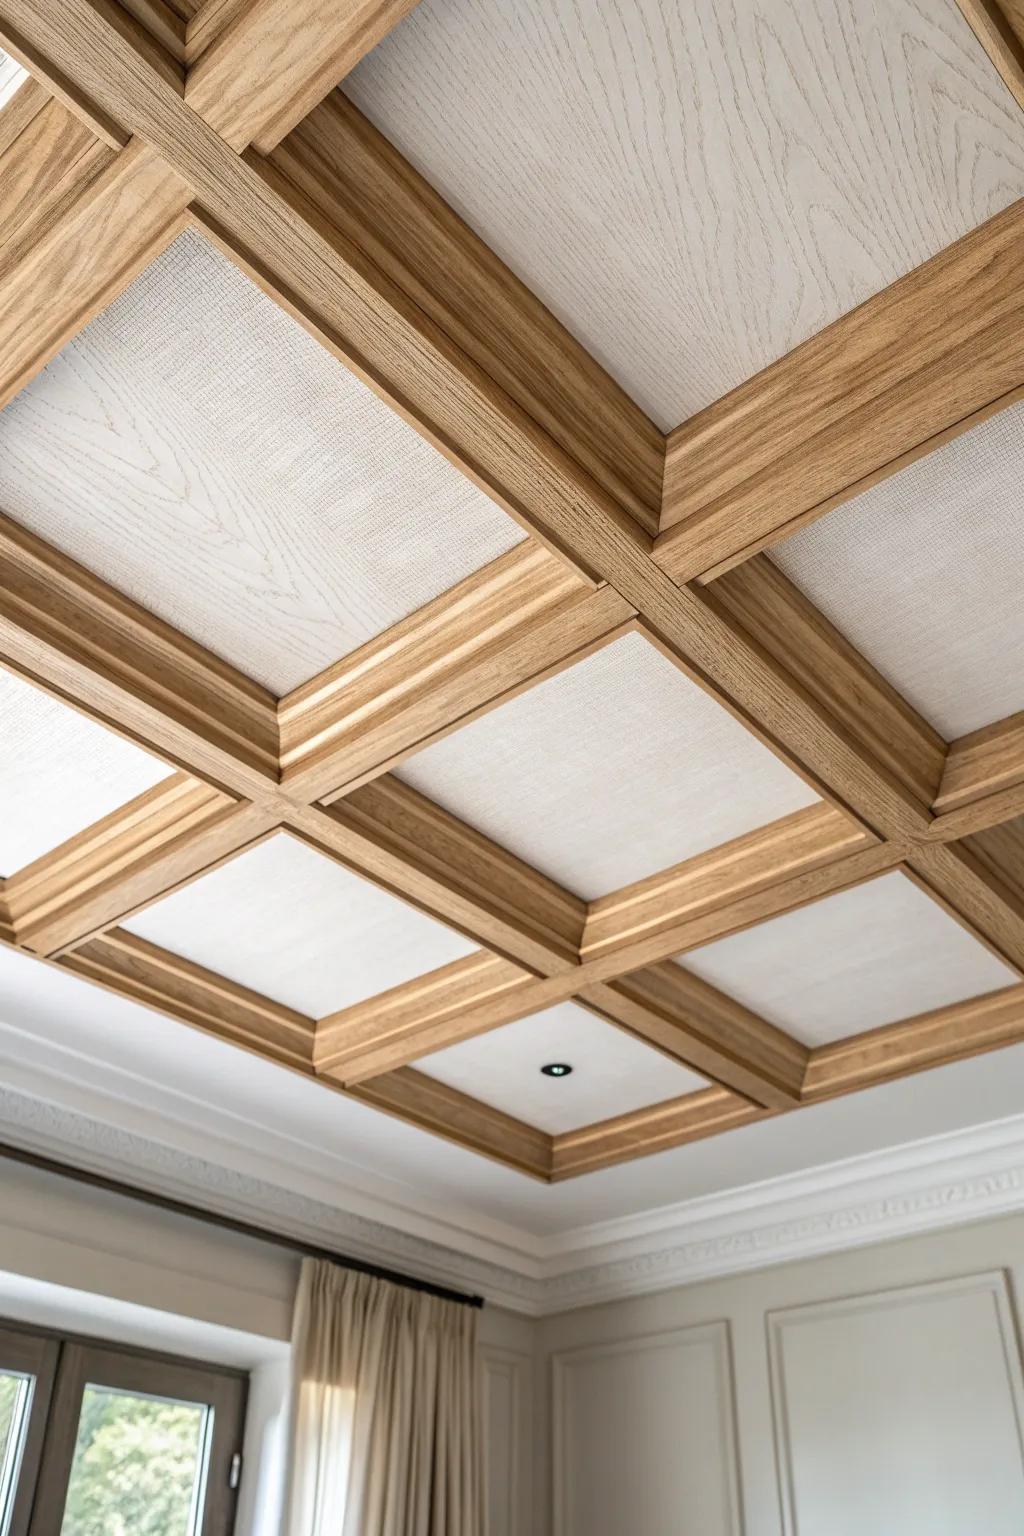
You can fake a coffered ceiling by laying out a grid of straight wood trim over a flat or plank ceiling, and it’s surprisingly doable with careful measuring. I’ve done it in dining spaces where the ceiling needed “architecture,” and the grid makes everything feel upscale and cozy.
Some ideas to consider:
- Unfinished Hardwood Board Lumber: Create the structural grid with durable lumber that you can stain to match your desired aesthetic perfectly.
- Cross Line Laser Level with Tripod: Ensure your ceiling grid lines are perfectly straight and symmetrical for a professional-looking layout installation.
- Wood Stain and Polyurethane Finish: Protect your new trim and bring out the natural wood grain richness with a high-quality finish.

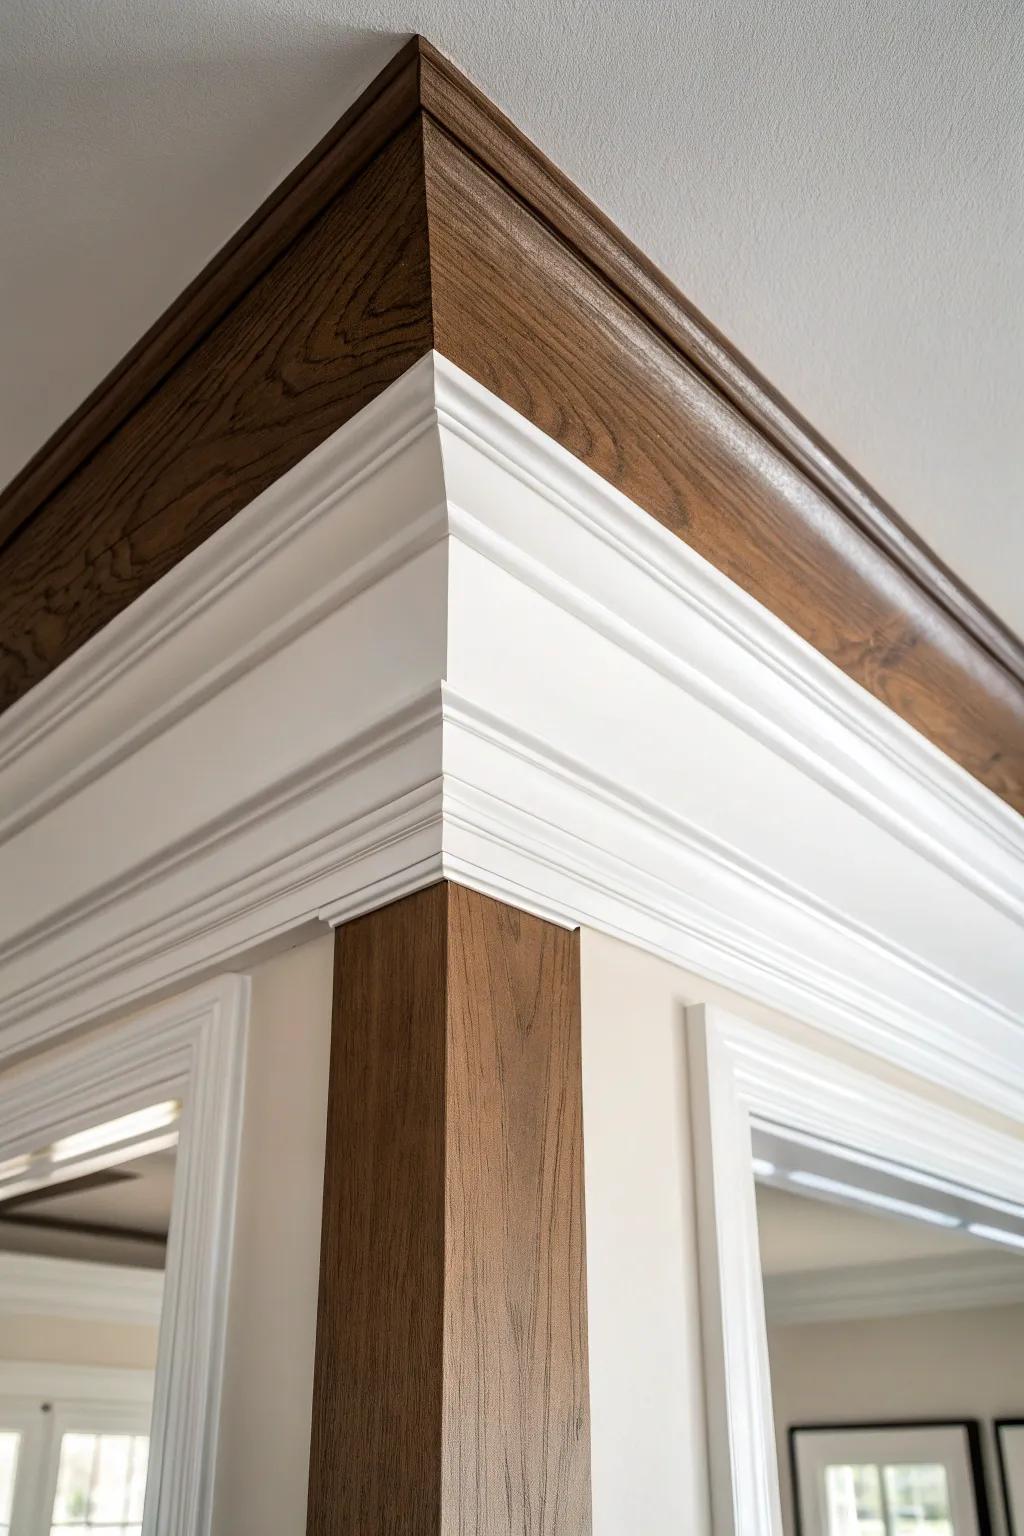
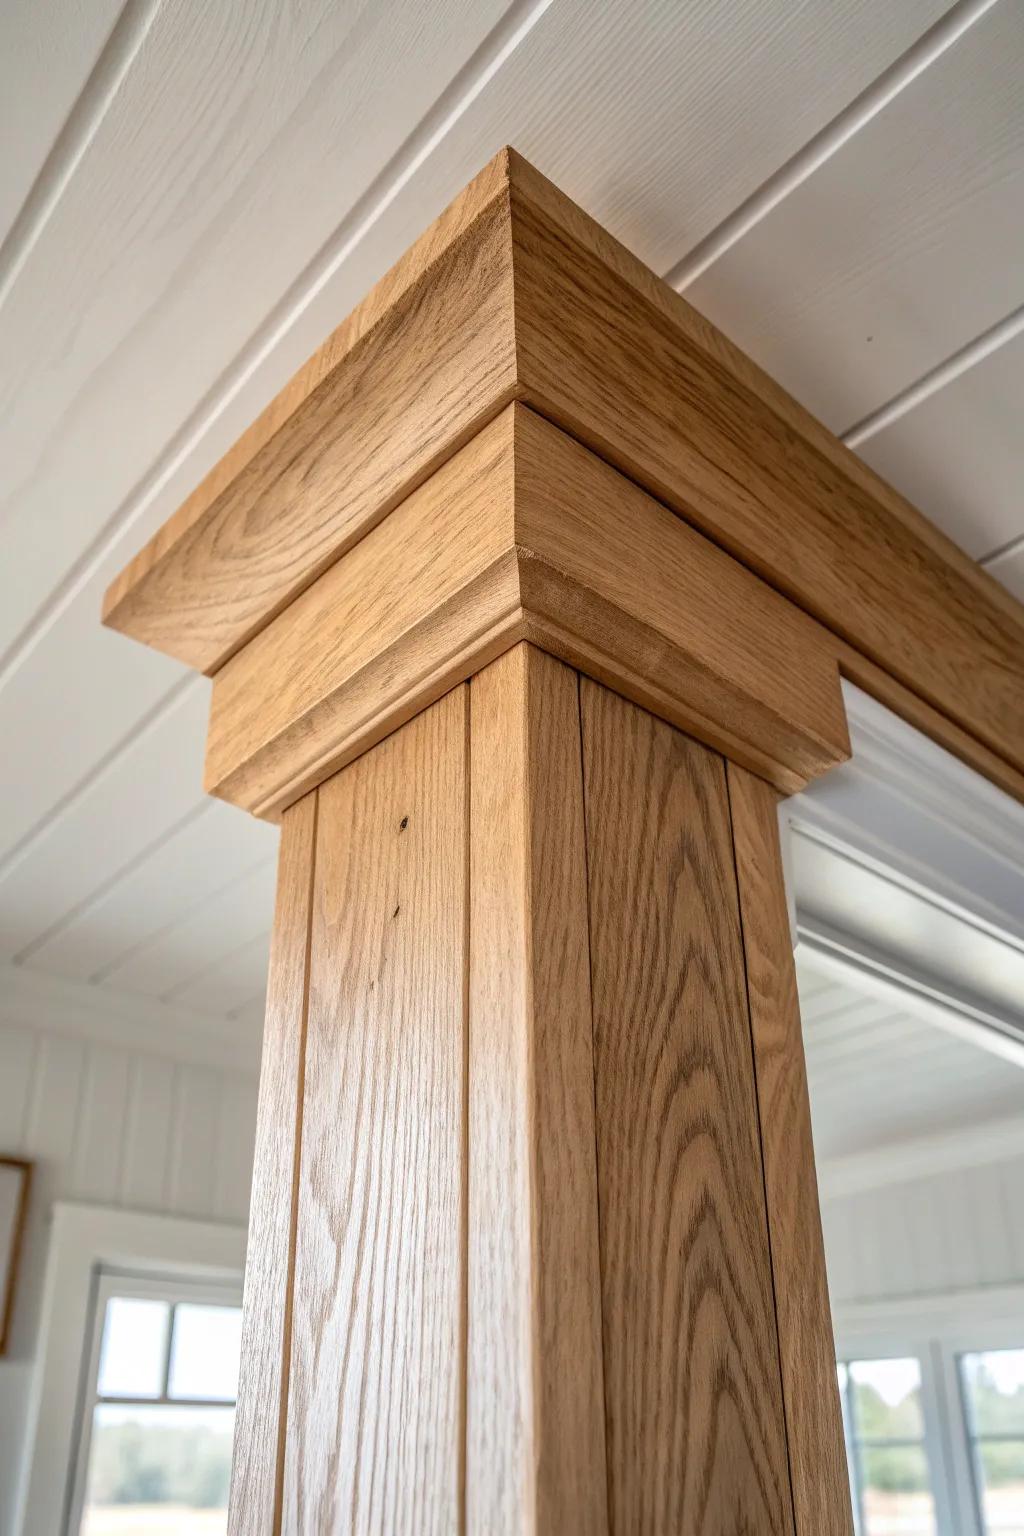
Layered Trim for Tray Ceilings
On tray ceilings, stacking two layers of wood trim (a wider base plus a smaller detail piece) gives that rich, stepped look without being fussy. I’ve used this to frame a wood-planked center tray and it turns the ceiling into the room’s main feature.
A few helpful options:
- Wide Hardwood Crown Molding: Use this as your substantial base layer to create depth and establish a warm, elegant architectural foundation.
- Detailed Rope or Dentil Trim: Add this smaller decorative layer over your base molding to achieve that sophisticated, classic stepped appearance.
- Pneumatic Brad Nailer Kit: Ensure your layered trim stays perfectly aligned and secure during installation with this essential fastening tool.
Vaulted Ridge Cap Trim
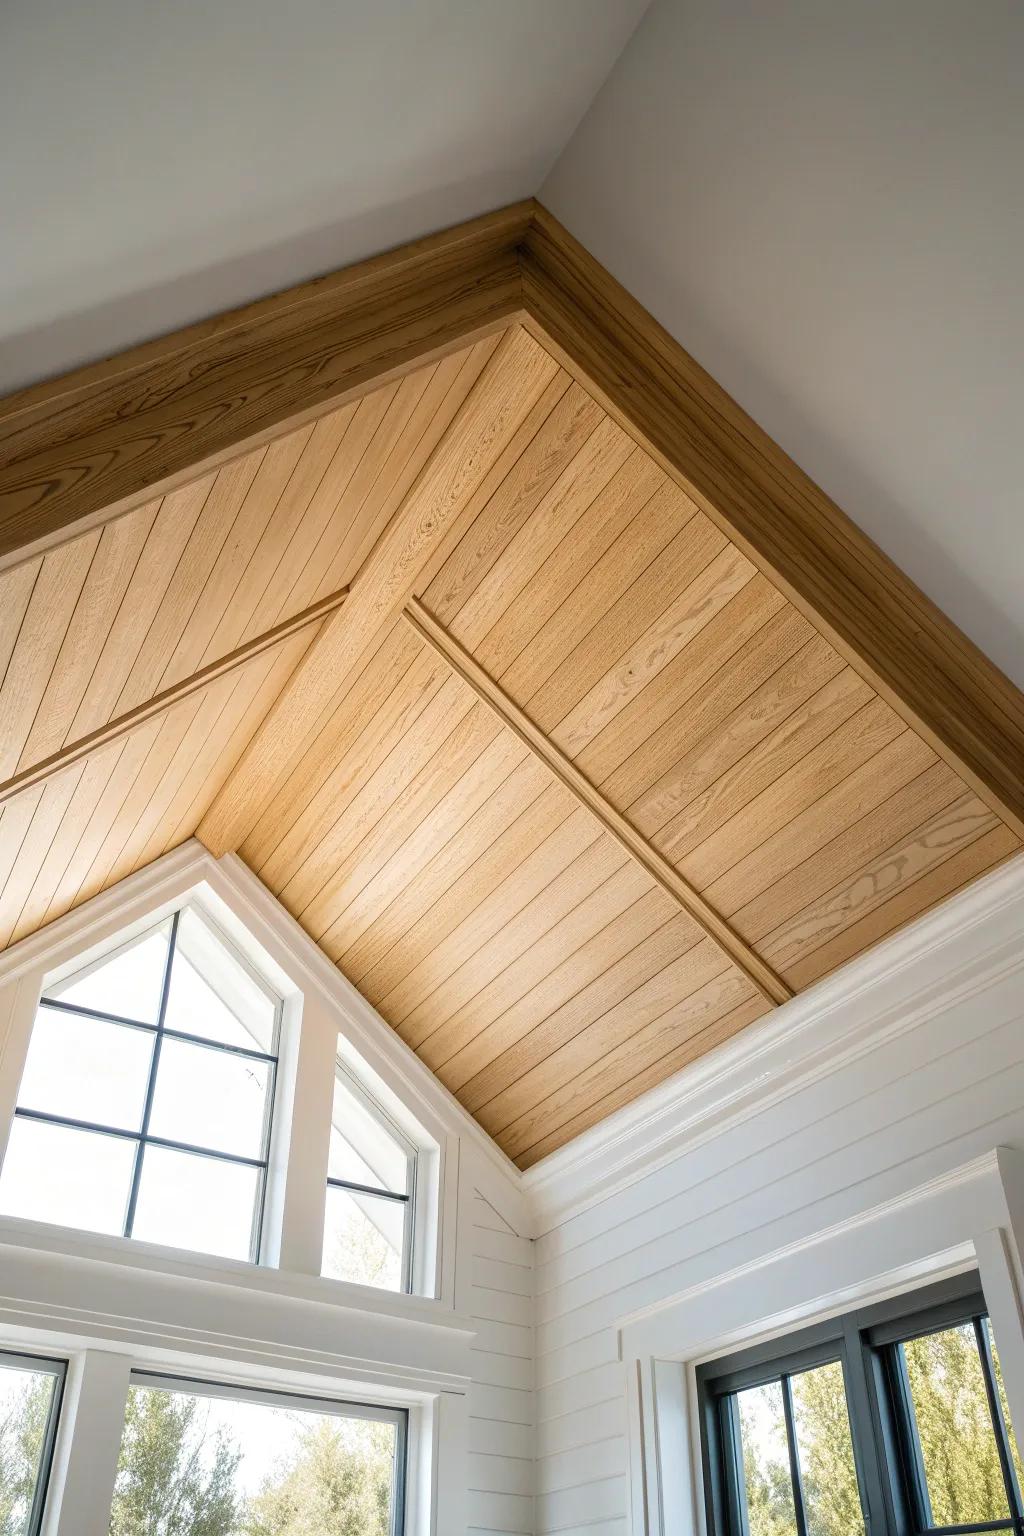
On vaulted ceilings, a ridge cap trim covers the seam where the two ceiling planes meet and makes everything look sharp and intentional. I like using a slightly beefier board here, because it visually “anchors” the peak.
A few things you might like:
- Oak Lumber Boards: Select sturdy hardwood boards to create a custom ridge cap that perfectly matches your ceiling’s grain.
- Finish Nailer Kit: Secure your new ridge trim firmly and discreetly overhead with a reliable finish nailer tool.
- Wood Stain and Sealer: Protect your wood trim and enhance its natural color to make that ceiling peak truly pop.
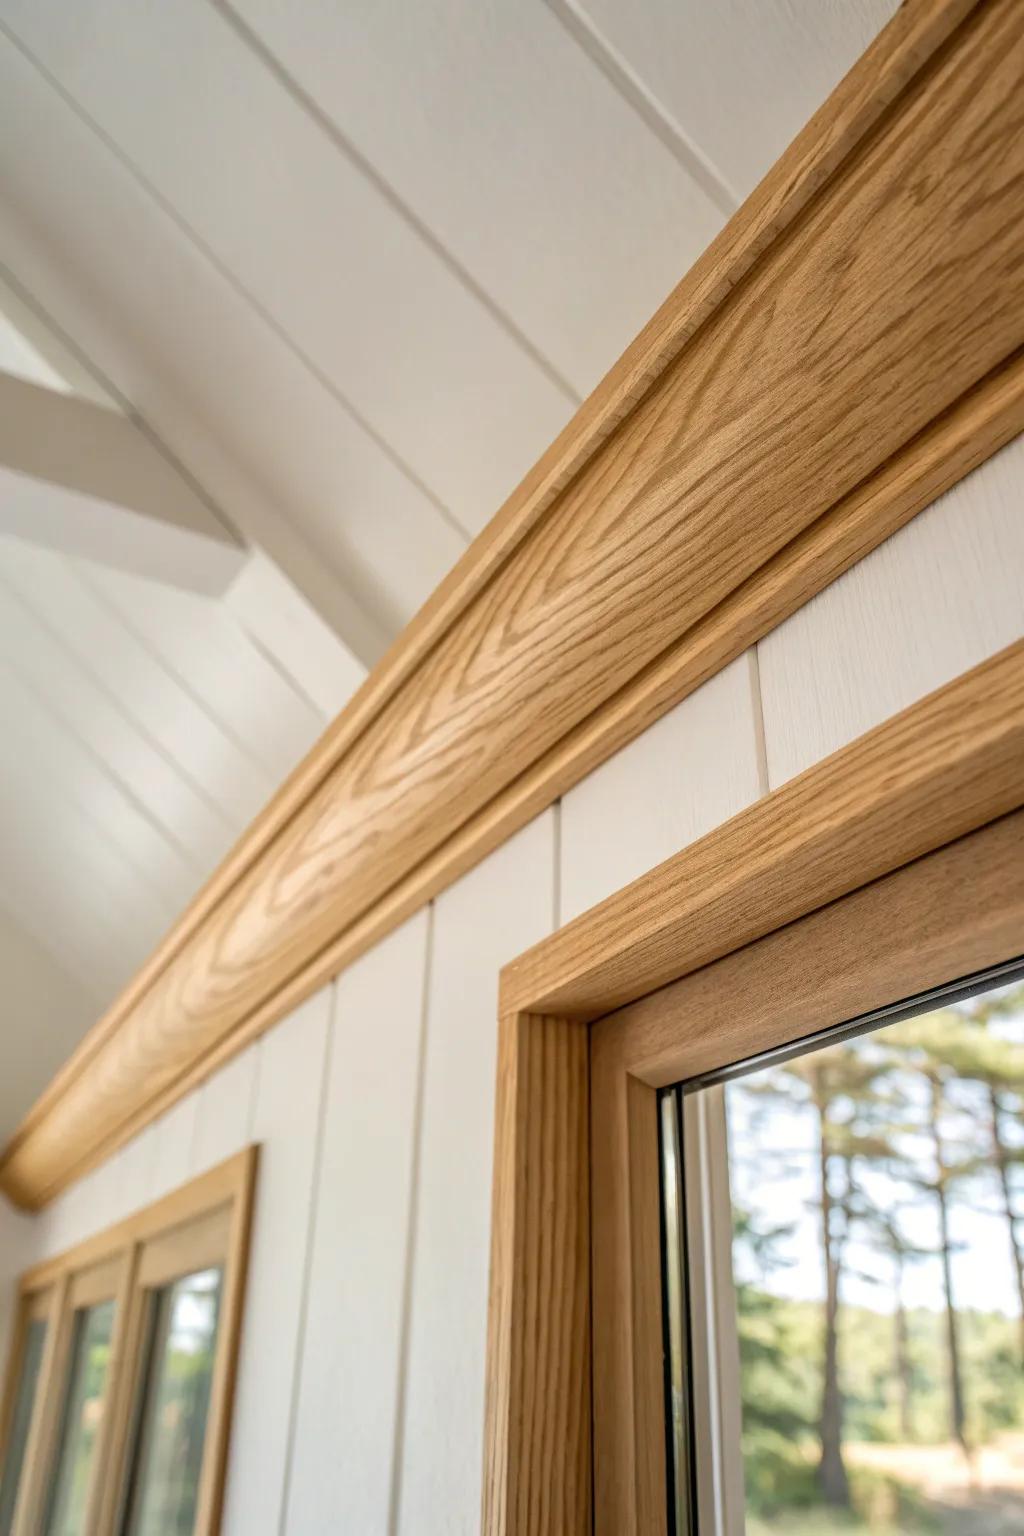
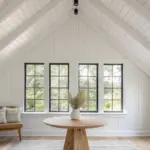
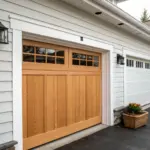
Gable End-Cap Boards on Tongue-and-Groove
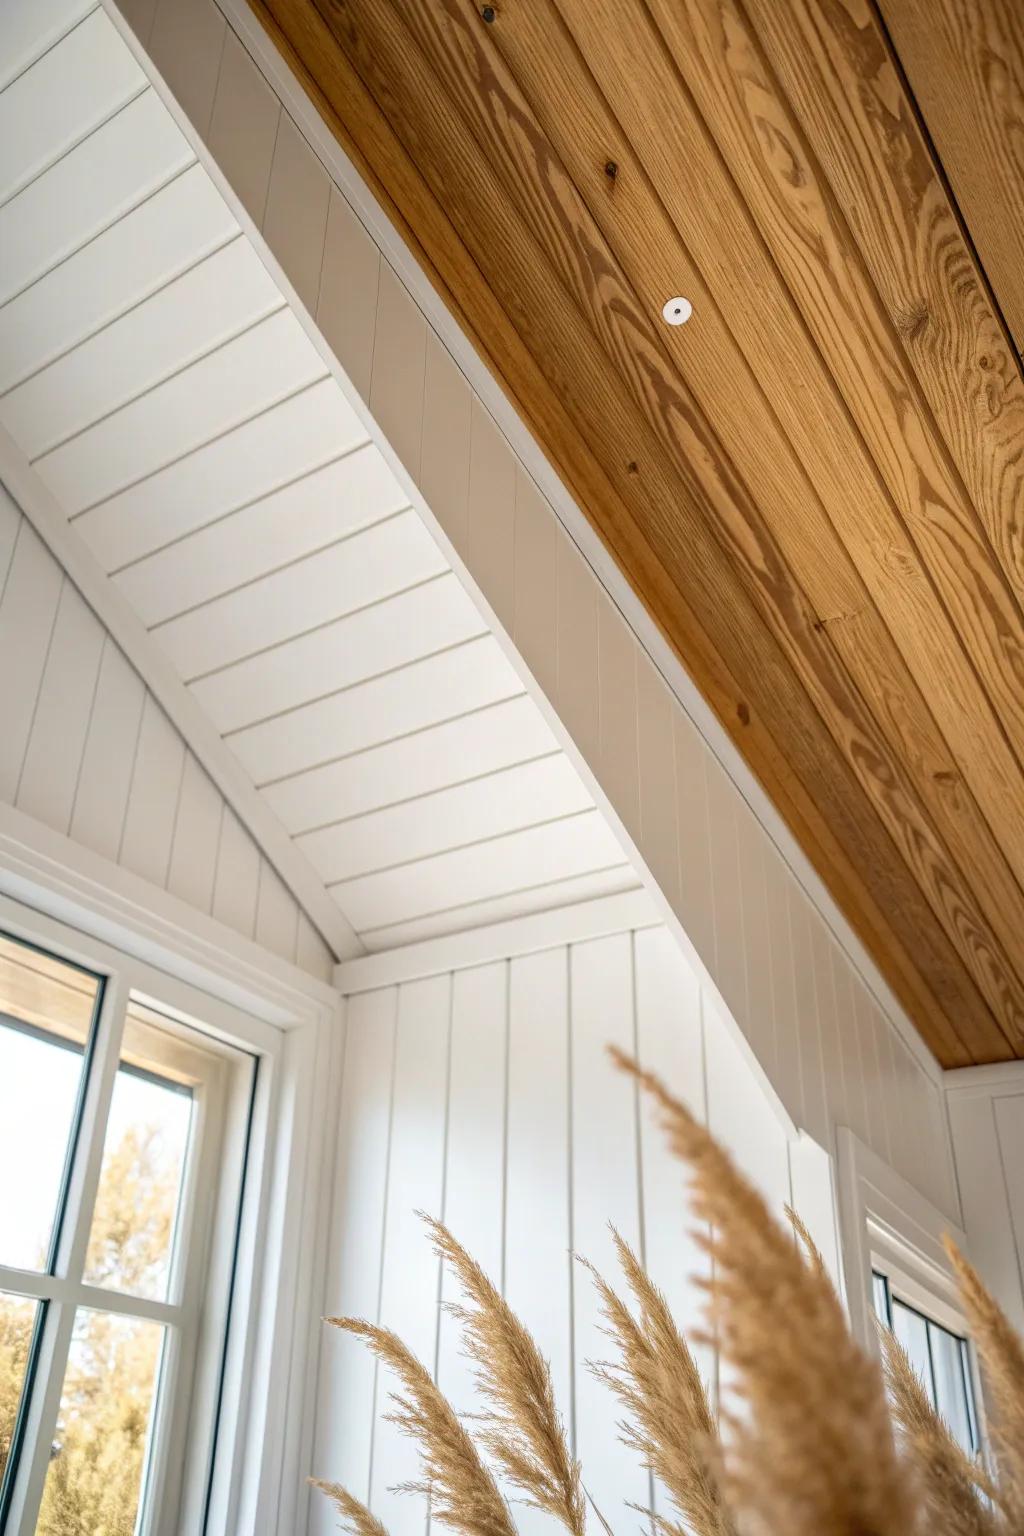
Where tongue-and-groove runs into a gable wall, an end-cap board is the cleanest way I’ve found to stop the planks without awkward cuts showing. I’ve used this trick on angled ceilings and it makes the edge look like a design choice, not a compromise.
May just do the trick:
- General Purpose Wood Trim Boards: Create a clean transition by covering rough plank ends with a flat strip of finished wood trim.
- Pneumatic Brad Nailer Kit: Secure your end-cap boards with minimal visible marks for a professional, seamless finish on high ceilings.
- Wood Filler and Caulk Set: Fill nail holes and seal gaps between the trim and ceiling for a truly polished, completed look.
Chunky Frieze Board for Farmhouse Vibes
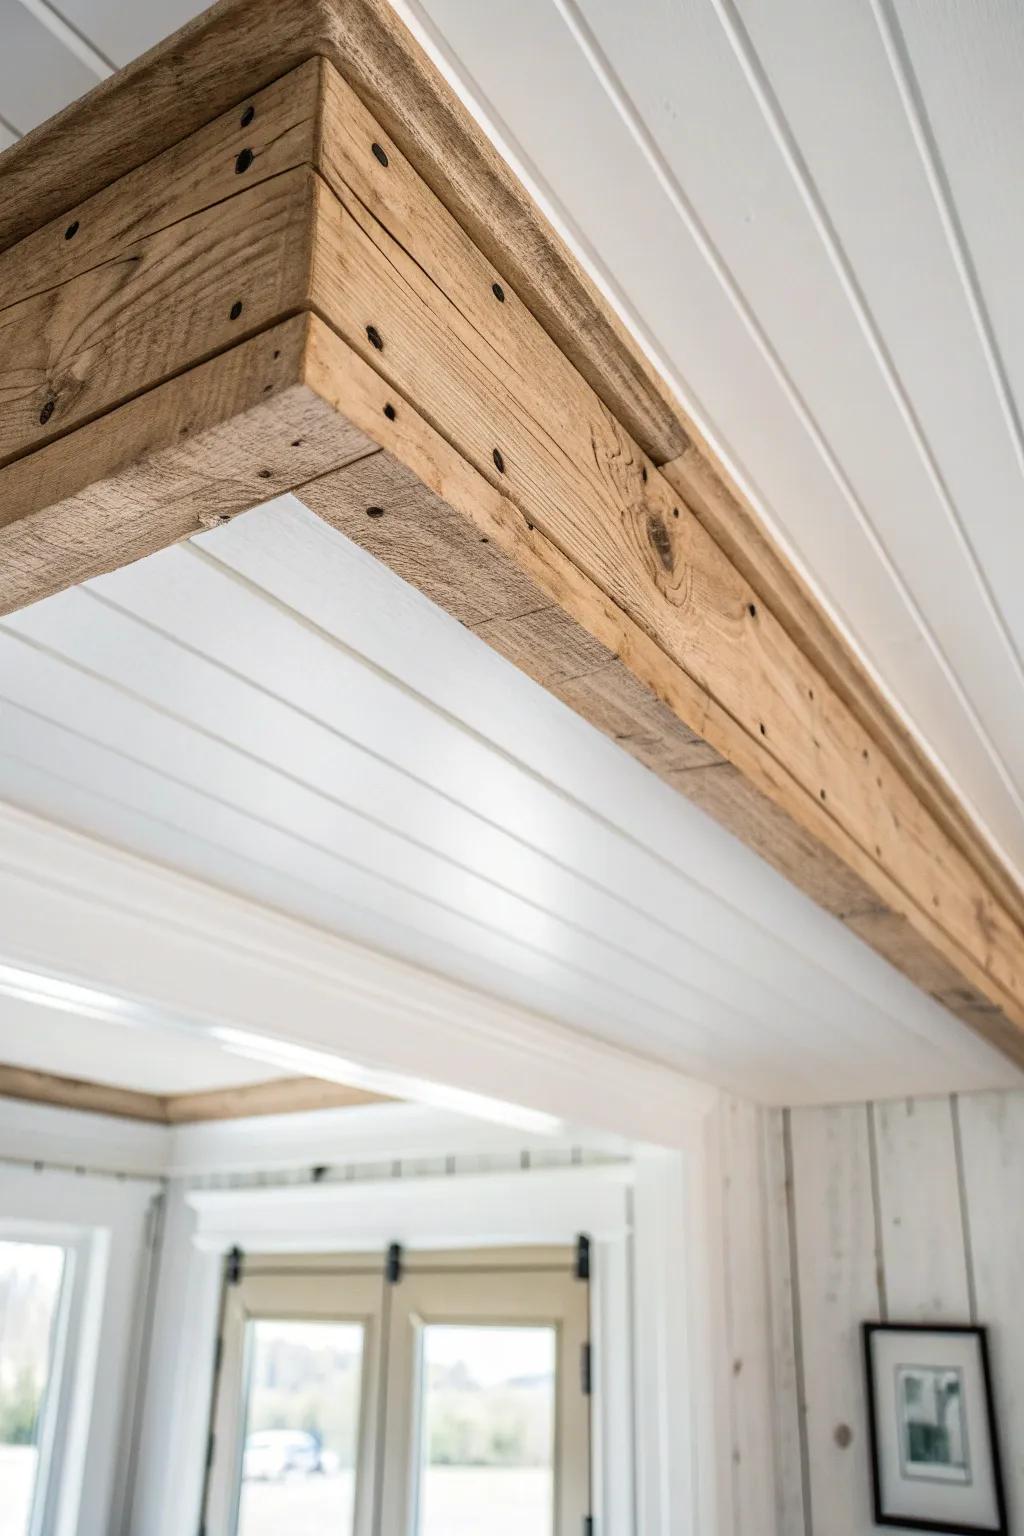
A thick frieze board (basically a chunky perimeter trim) gives you that hearty farmhouse finish, especially with lighter ceiling planks. I’ve built mine from reclaimed boards, and the little knots and nail holes look amazing up there.
These products might help:
- Reclaimed Wood Planks: Achieve that authentic farmhouse look instantly by installing real weathered wood boards along your ceiling perimeter.
- Decorative Clavos or Nails: Add rustic charm by hammering these decorative iron nails into your trim to mimic structural fasteners.
- Wood Stain and Sealer: Enhance the natural grain and protect your timber trim with a quality matte wood finish today.
Beadboard Ceiling With Cap and Shoe Trim
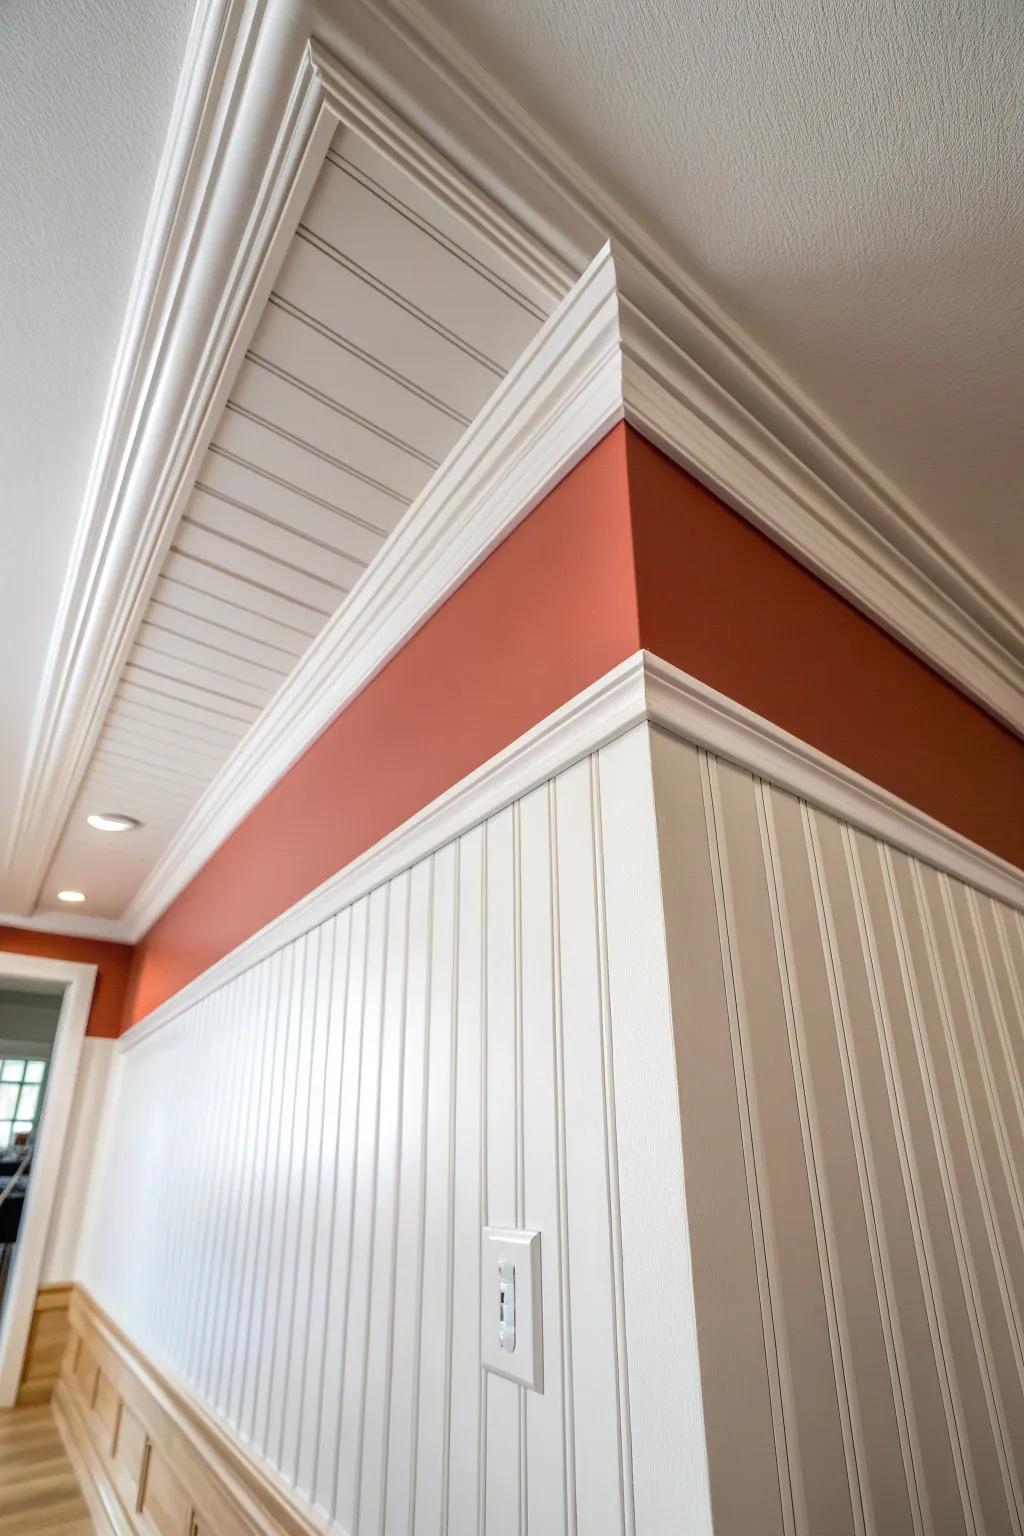
Beadboard looks best when you finish the edges with a simple cap trim plus a small shoe molding to hide any wall wonkiness. I’ve done this in cozy rooms where you want cottage charm, and the trim makes the bead lines look super clean at the perimeter.
Might be a good match:
- Beadboard Paneling Planks: Instantly add cottage charm to your ceiling by installing these classic, easy-to-fit grooved paneling planks.
- Wood Cap Molding: Create a clean, professional transition between your new beadboard and existing structures with this essential trim.
- Primed Shoe Molding: Finish your project flawlessly by using this flexible molding to conceal any uneven gaps along the edges.
Corner Blocks Instead of Mitered Joints
If crown corners stress you out, use wood corner blocks and butt the trim into them—no perfect miters required. I’ve used this on wood ceilings where the walls weren’t square, and it looked intentional and saved me a ton of fussing.
Possibly handy products:
- Wooden Crown Corner Blocks: Simplify your molding installation by establishing square corners instantly, saving you time measuring and cutting complex angles.
- Brad Nailer Kit: Secure your trim pieces and blocks firmly and neatly without splitting delicate wood or leaving large holes.
- Quality Wood Glue: Ensure a permanent, gap-free bond between your trim and corner blocks for a professional, long-lasting finish.
Herringbone Border Around a Plank Field
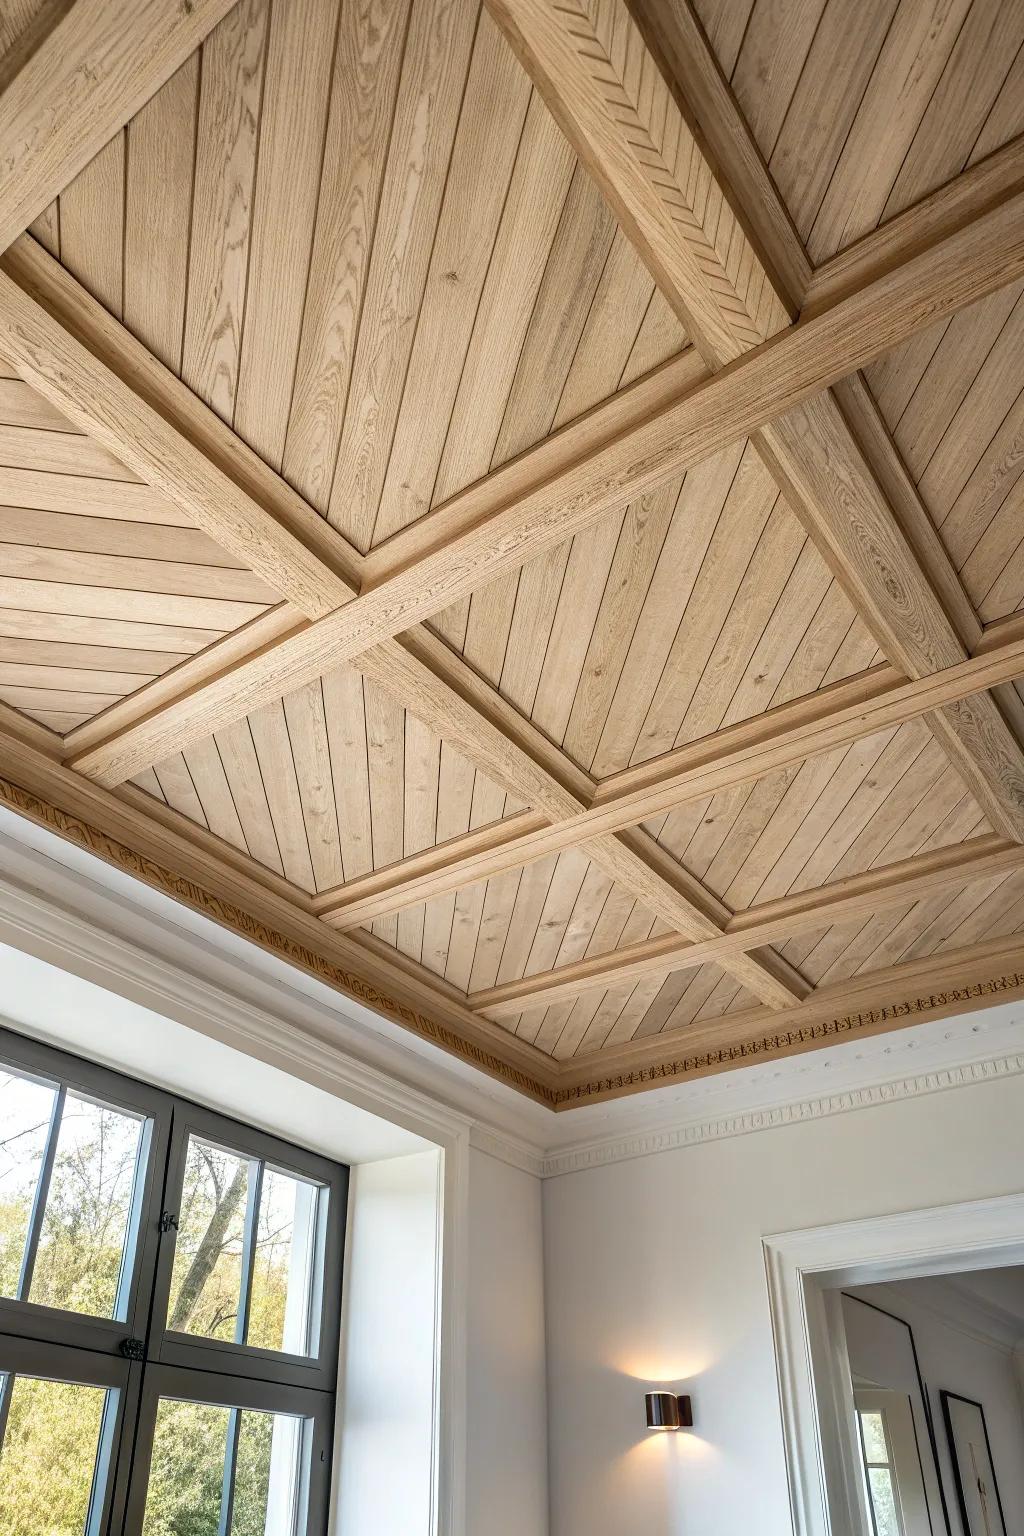
A herringbone trim border around straight-laid ceiling planks is such a sneaky wow move because it reads like custom millwork. I tried it once with leftover strips, and now I’m always looking for ceilings that deserve that little “frame upgrade.”
You might give these a try:
- Unfinished Hardwood Trim Moldings: Find stainable hardwood molding to frame your ceiling sections and create customized border definitions easily.
- Brad Nailer Kit: Secure your intricate herringbone pieces quickly and neatly without splitting delicate wood segments during installation.
- Miter Box and Saw Set: Achieve precise angled cuts essential for joining herringbone patterns cleanly at corners without expensive power tools.
Charred Wood Trim as a Dark Accent Line
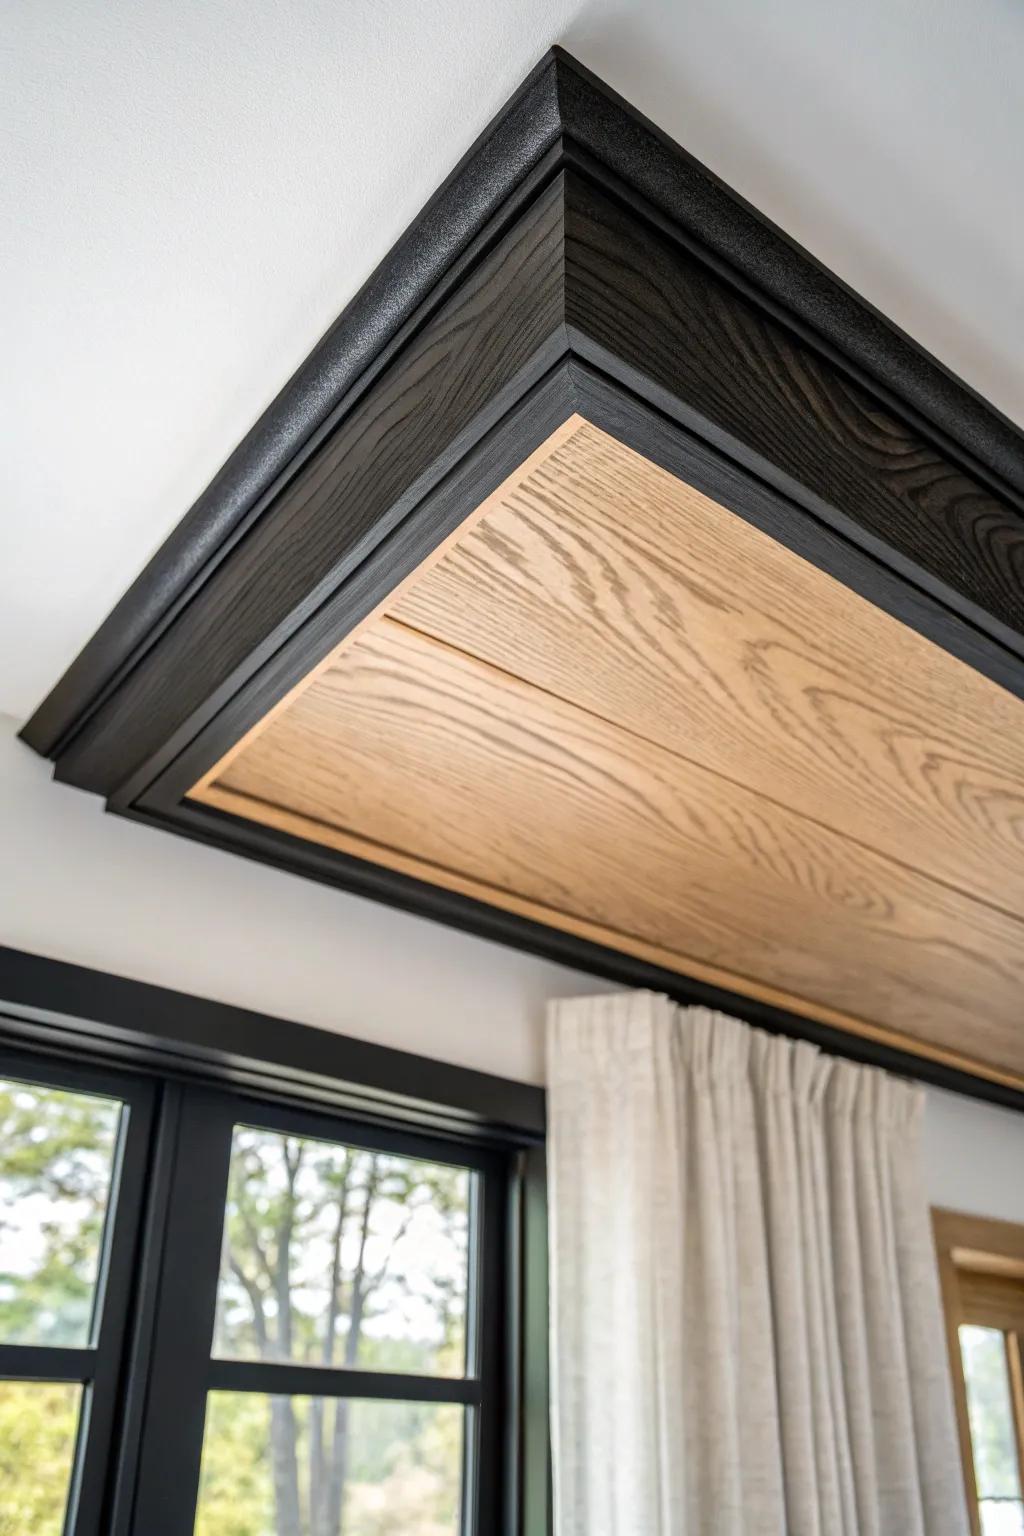
A thin band of charred wood trim around the ceiling perimeter adds dramatic contrast without needing a whole dark ceiling. I’ve used it like an outline against lighter planks, and it makes the wood grain look even richer.
Check if these fit your needs:
- Black Wood Stain: Achieve that dramatic charred look on standard lumber by applying a deep, ebony finish to your trim.
- Crown Molding Profiles: Instantly add architectural depth to your ceiling perimeter with paintable molding ready for a custom dark finish.
- Pre-Primed Black Trim Boards: Save time on installation with pre-finished dark boards that create bold, contrasting lines against lighter wood.
Shadow-Reveal Trim With Hidden Glow
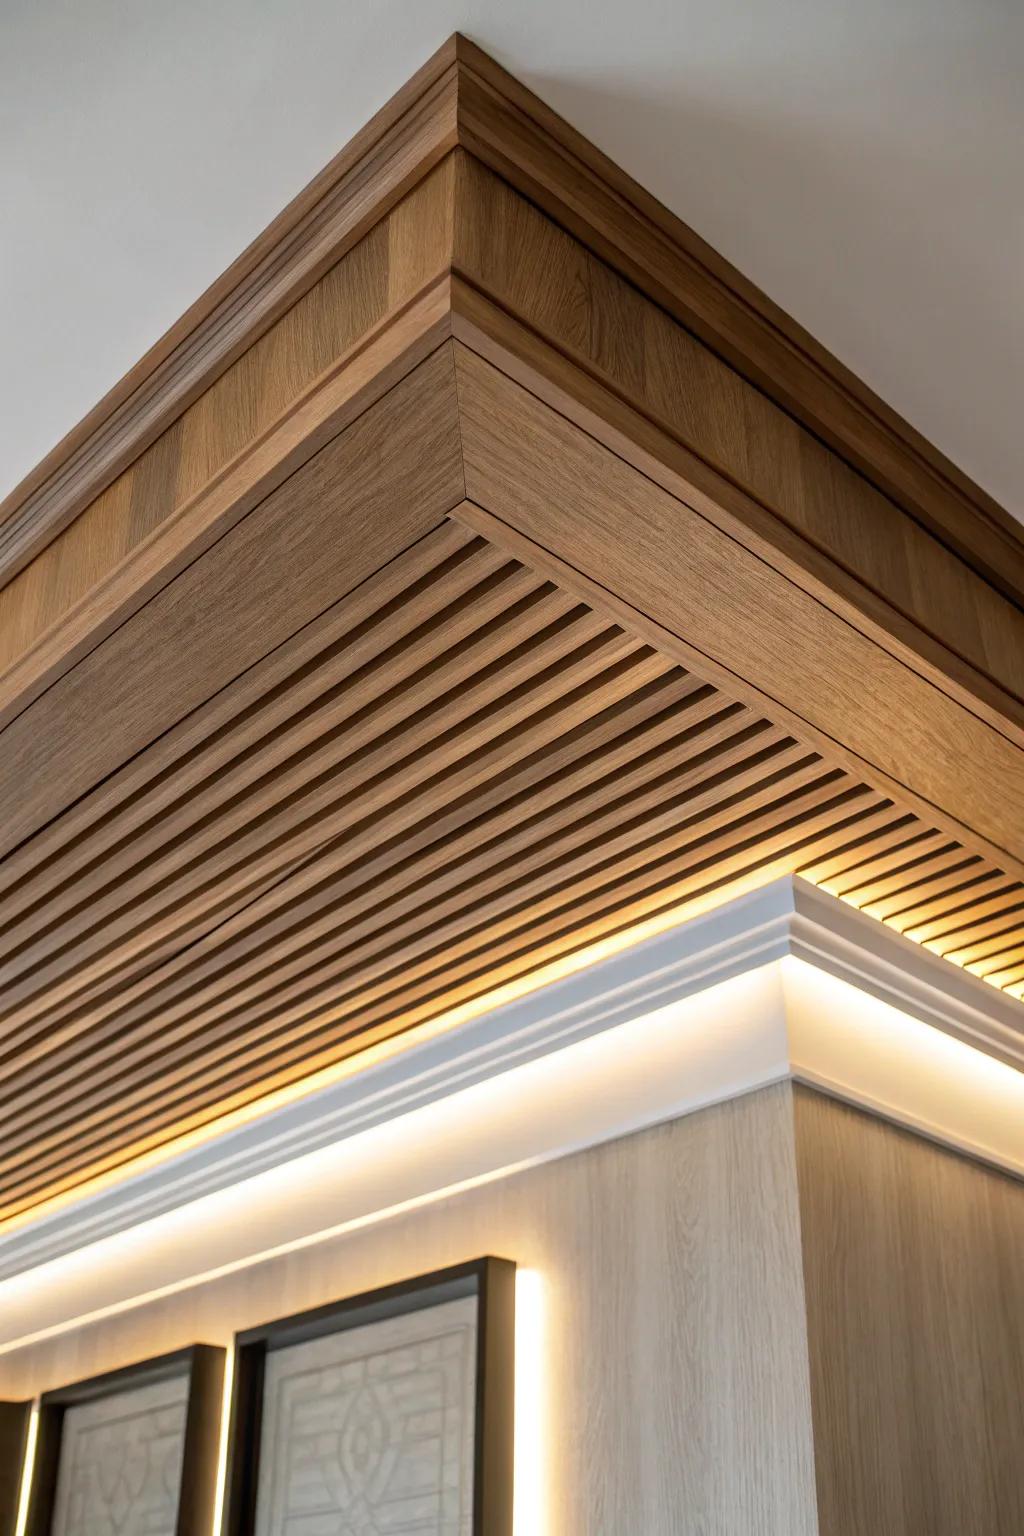
For the biggest jaw-drop, I build a shadow-reveal trim detail so the wood ceiling looks like it “floats” off the wall line. I’ve tucked low-profile lighting behind the trim before, and the soft glow makes the ceiling feel high-end and ridiculously cozy at night.
Explore these options:
- Warm White LED Strip Light Kit: Install these dimmable strips within your reveal gap to create that signature soft, floating ceiling glow effect.
- Flexible Crown Molding or Trim: Use this paintable molding to create a clean, seamless ledge that hides your LED lighting wiring perfectly.
- Wood Slat Wall & Ceiling Panels: Achieve the professional acoustic look shown in the image by mounting these pre-made slat panels overhead.


