
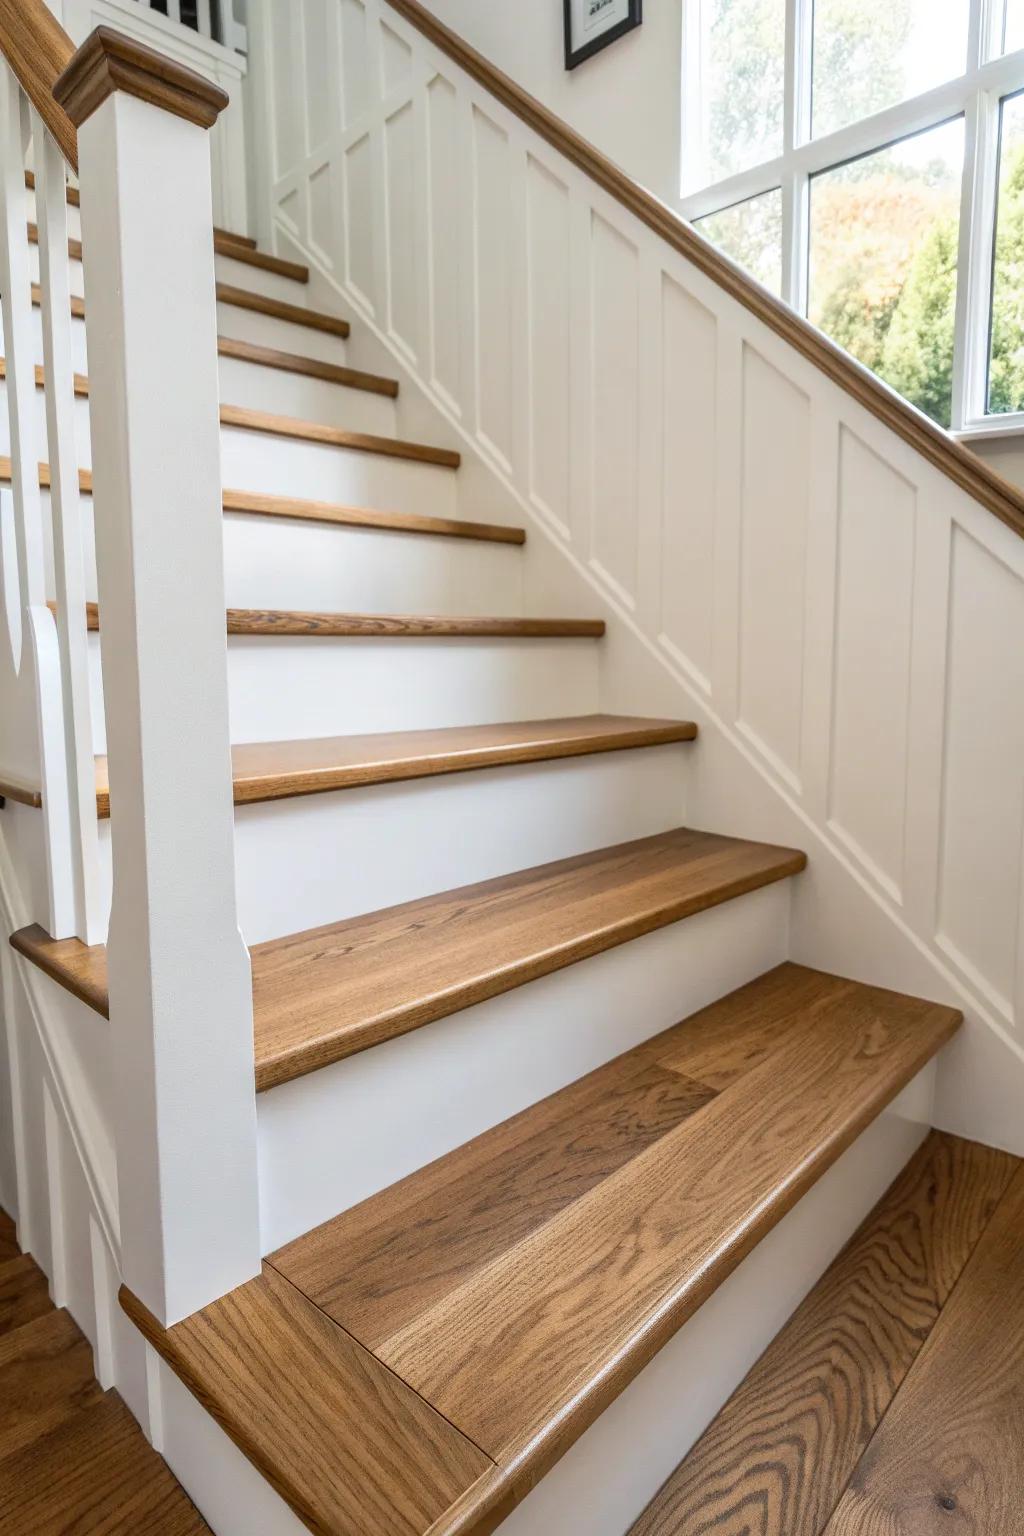
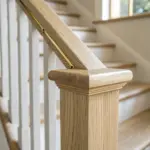
A staircase can be gorgeous, but the side profile is what really makes it feel finished, and that’s where the stair stringer gets to shine.
Exposed Sawtooth Stringer
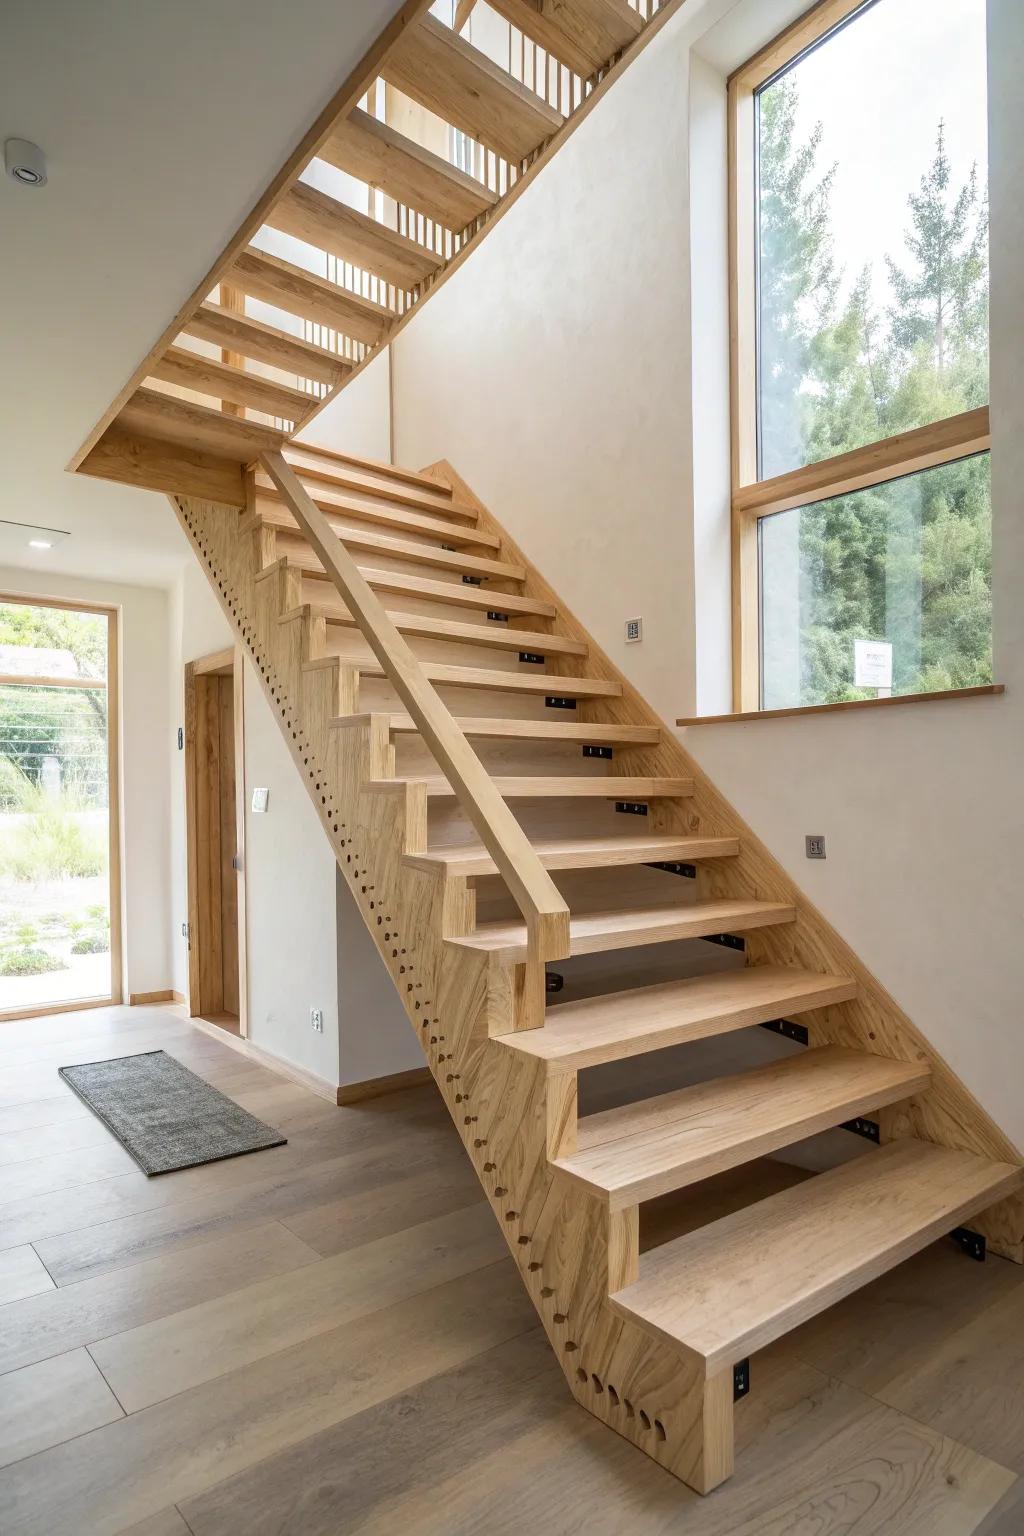
Showing the “teeth” of an open stringer gives a modern, airy vibe, and I’ve used a clear finish to let the plywood layers or wood grain do the talking. It’s such a bold look that even a simple handrail suddenly feels like a gallery detail.
Useful items to consider:
- Clear Polyurethane Wood Finish: Protect your exposed stringers and enhance the natural grain visible in plywood layers with a durable, clear coat.
- Modern Minimalist Handrail Bracket: Secure your simple railing with sleek metal brackets that complement the modern, airy aesthetic of open stringers.
- Slip-Resistant Stair Treads: Add subtle safety to your beautiful wooden steps without hiding the grain using transparent non-slip tape or treads.

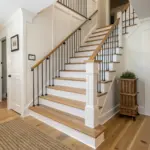
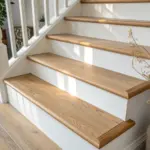
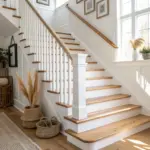
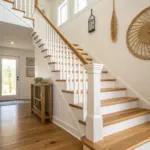
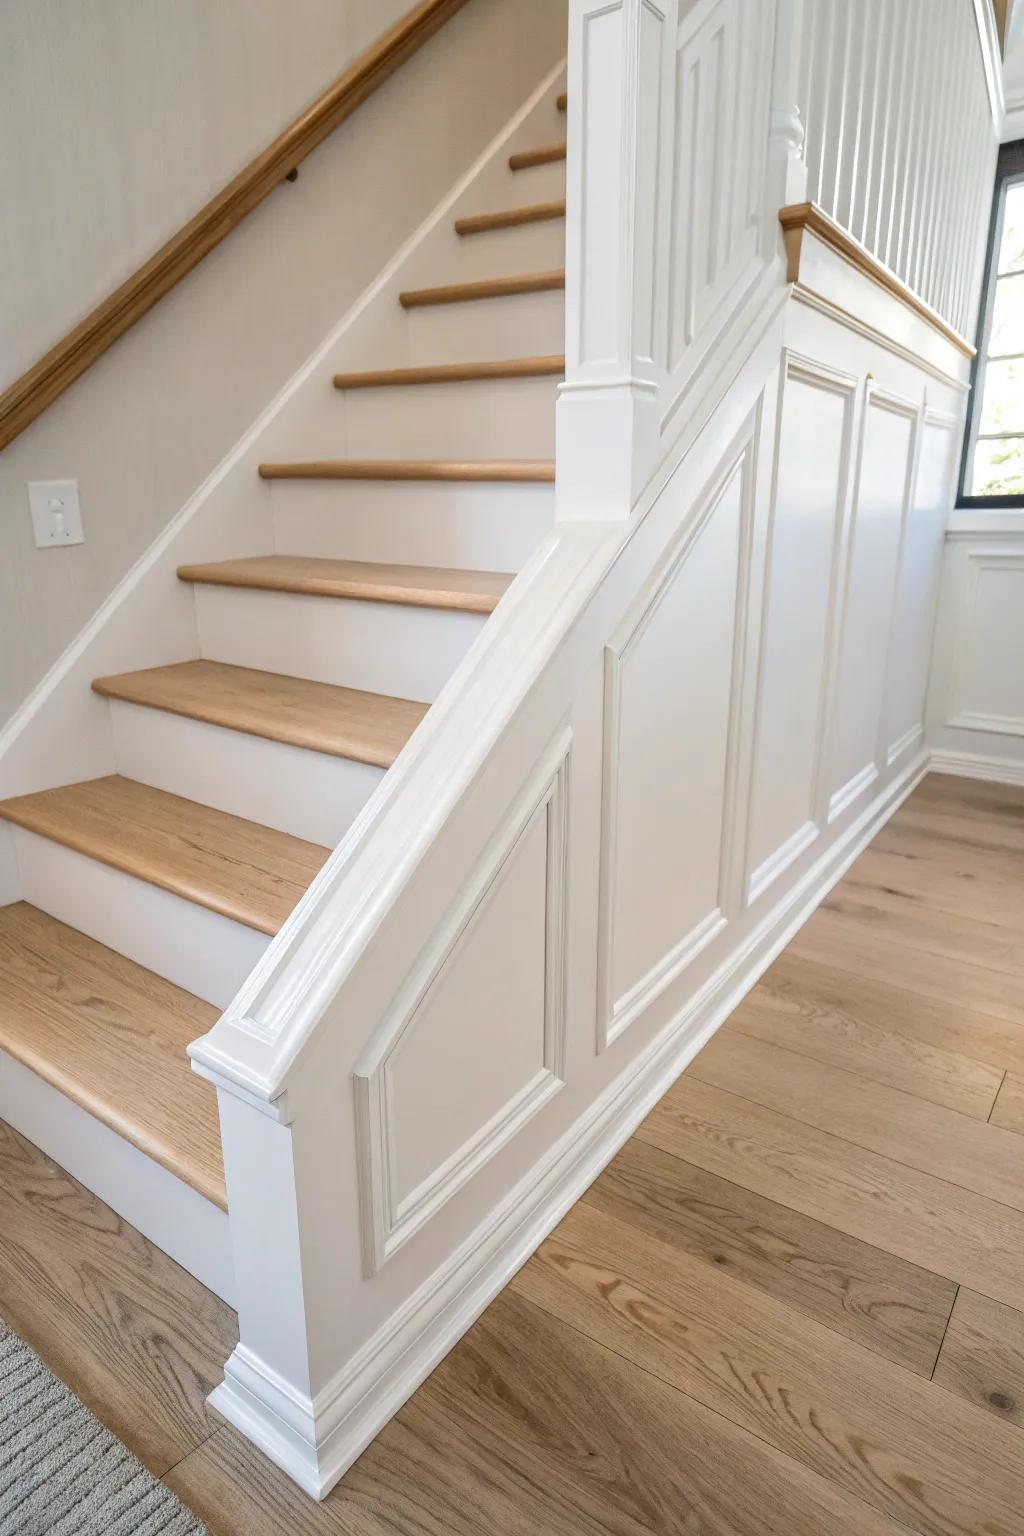
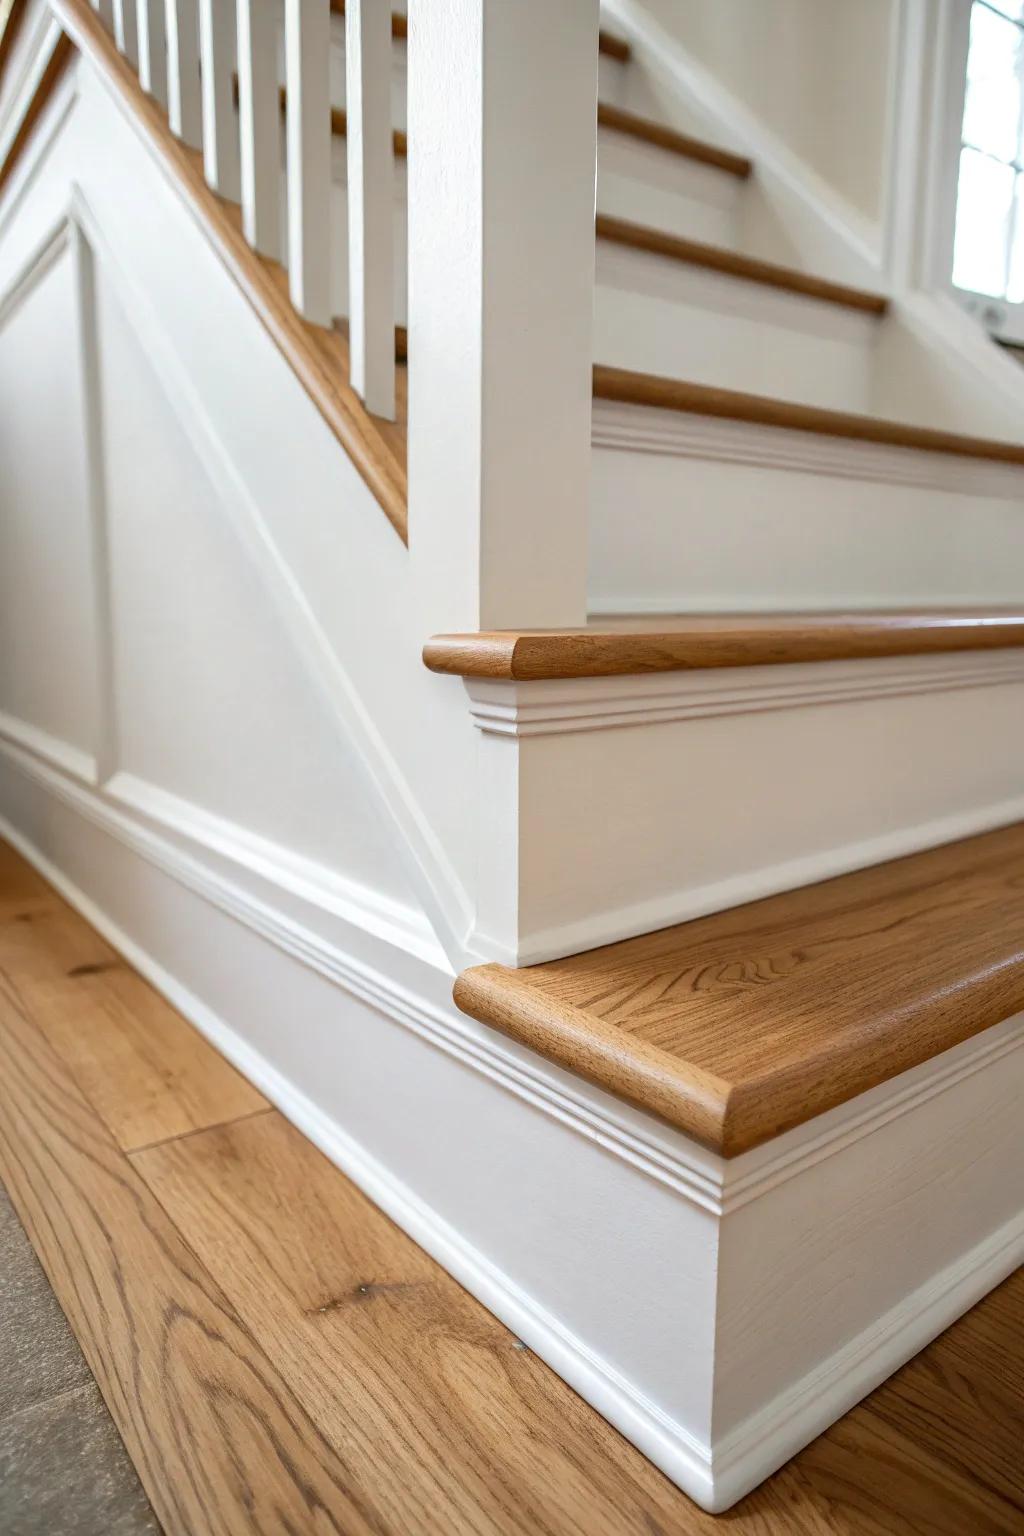
Crisp Painted Skirt Board
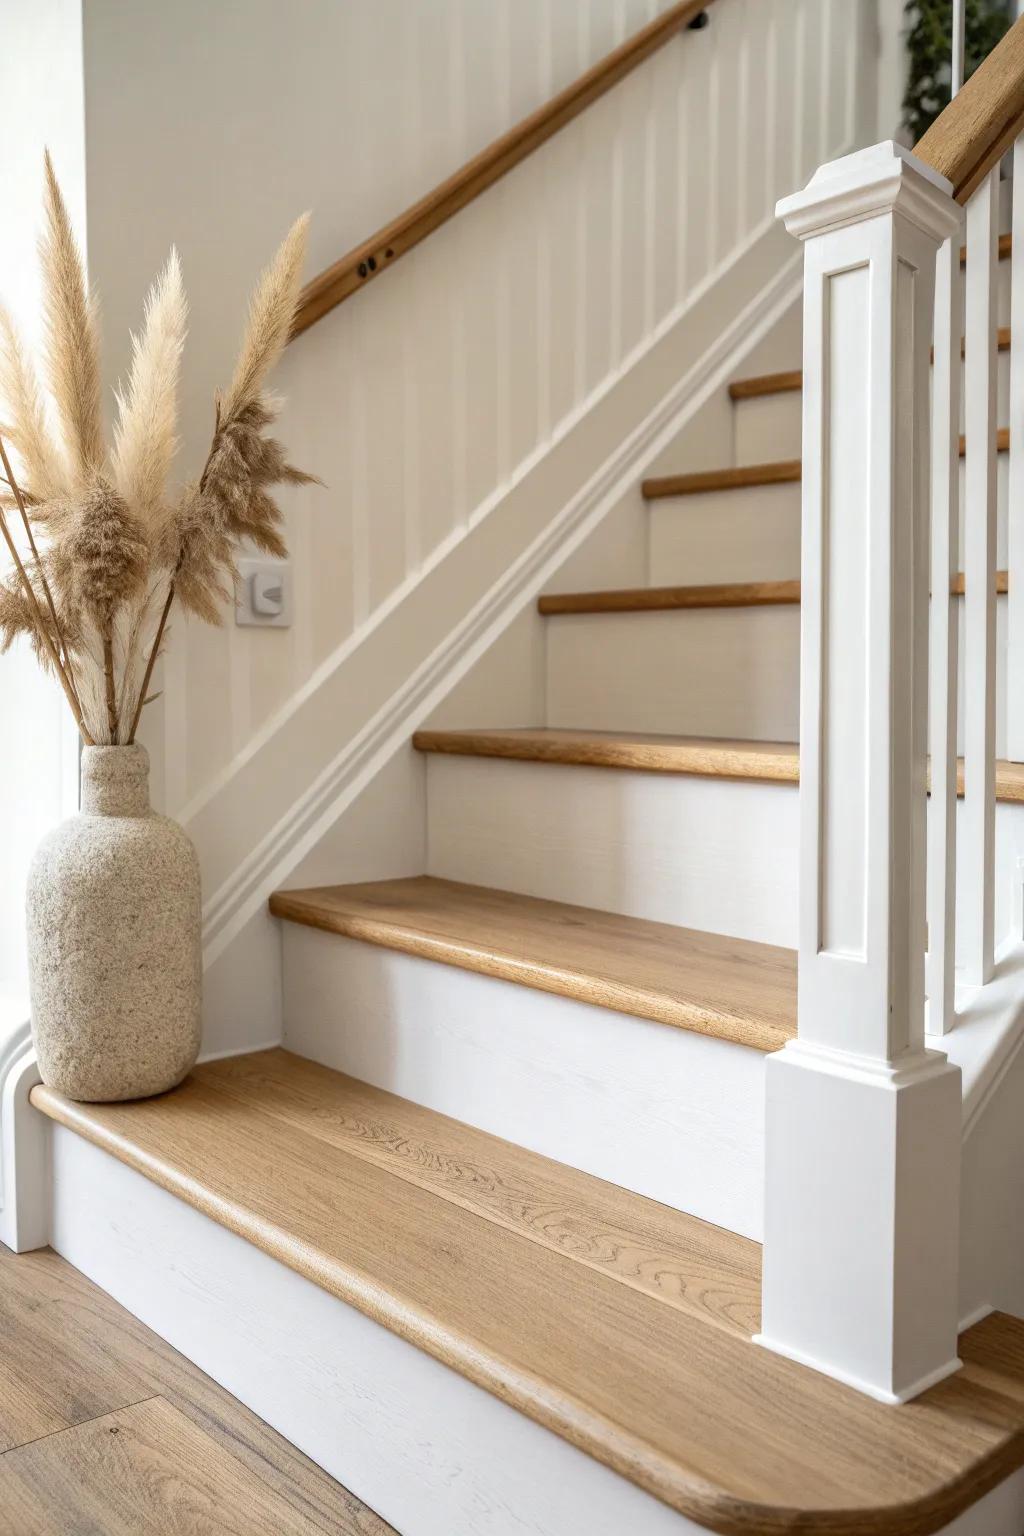
I love a clean painted stair stringer because it instantly sharpens the whole stair outline, and I’ve used a durable trim enamel to get that smooth, wipeable finish. Adding a slightly thicker skirt board makes the profile feel intentional instead of like an afterthought.
A few things you might like:
- Semi-Gloss White Trim Paint: Refresh your stairs with a durable, easy-to-clean finish that resists scuffs and brightens your entryway.
- Angled Sash Paint Brush: Achieve crisp lines along the stair edges for a professional-looking result without needing messy tape.
- Wood Filler for Gaps: Creates a seamless surface by filling nail holes and gaps before painting for a flawless, smooth look.

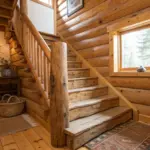
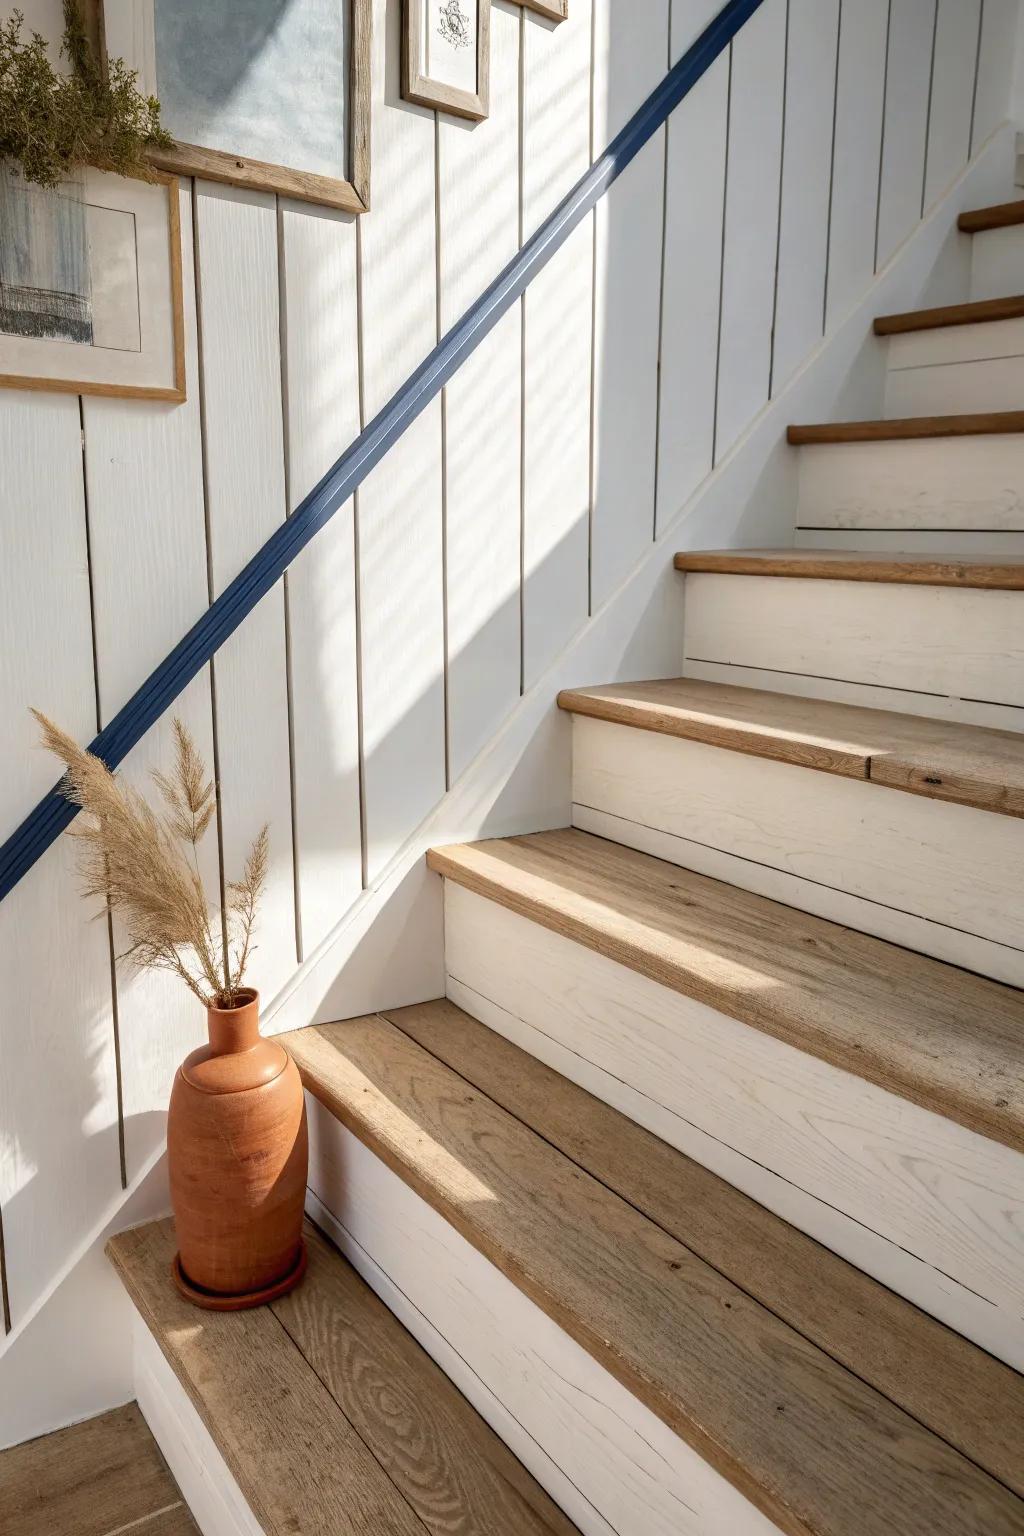
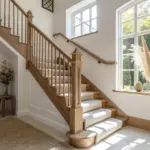
Stained Wood To Match Treads
When I want that warm, classic look, I stain the stringer cladding to match the wood treads, and it makes the staircase feel like one cohesive piece of furniture. I’ve found a satin topcoat hides scuffs way better than high gloss in high-traffic homes.
Some handy options:
- Wood Stain in Oak/Walnut Tones: Achieve that classic warmth by matching your stringer color to your treads with a rich, penetrating wood stain.
- Satin Polyurethane Topcoat: Protect your newly stained wood and hide daily scuffs with a durable, low-sheen satin finish polyurethane topcoat.
- Staining Foam Brushes & Cloths: Ensure a smooth, even application of your stain and finish with distinct applicators designed for detailed woodwork.

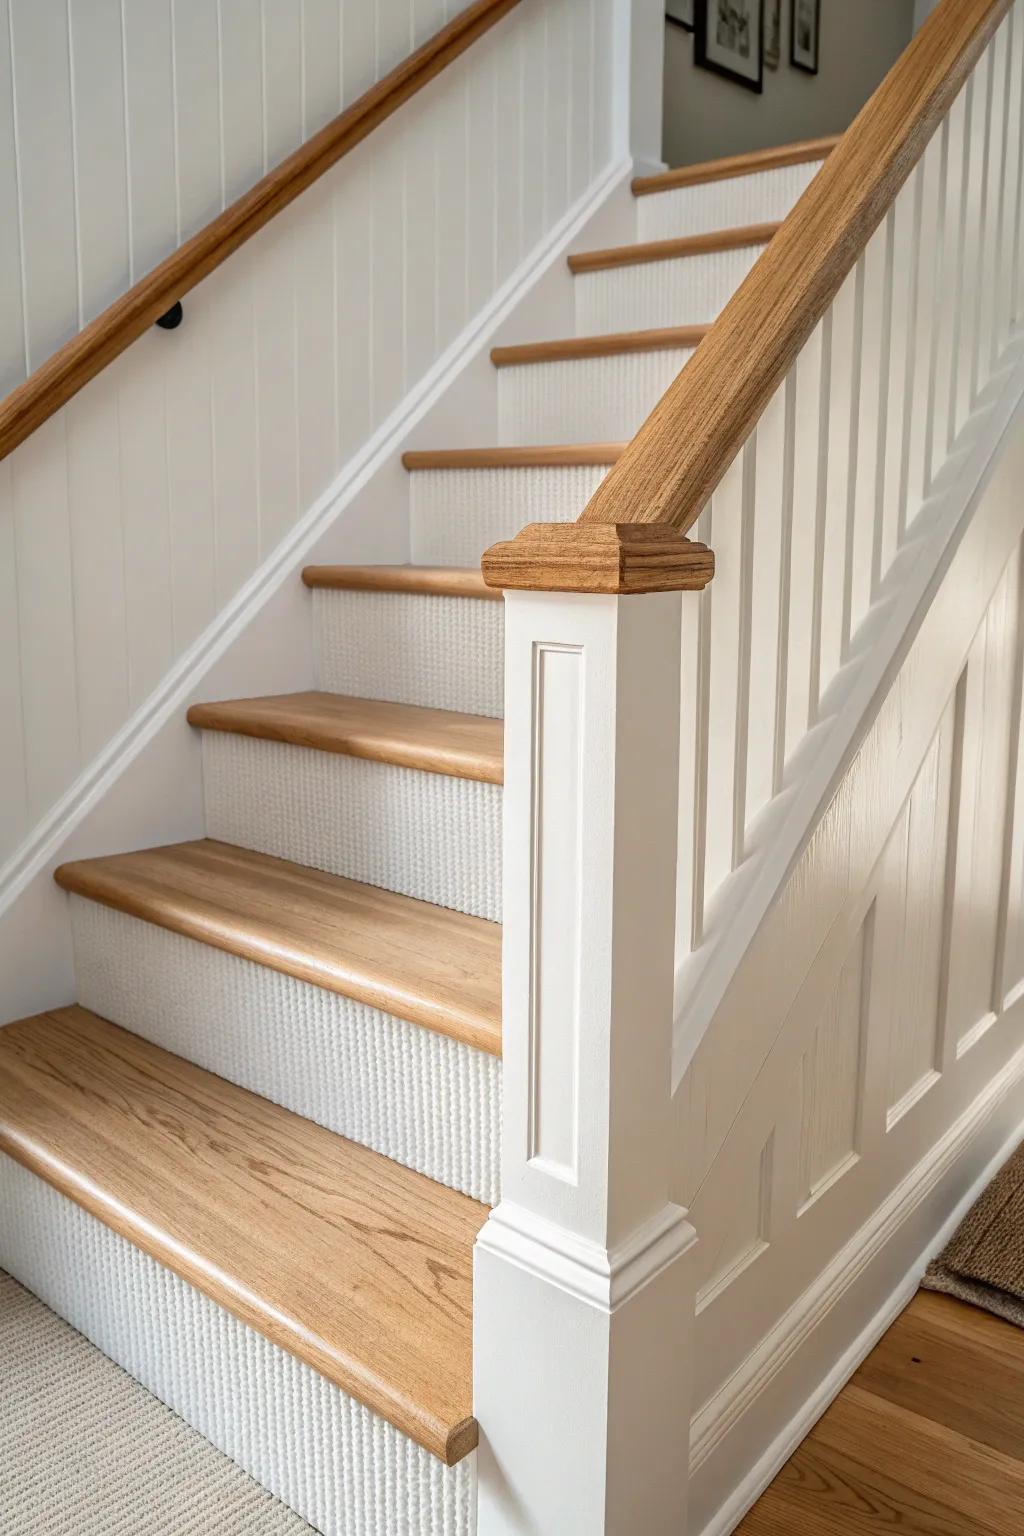
Wainscoting-Style Paneling
One of my go-to upgrades is building shallow panel molding right on the stair stringer face, because it adds instant “old house” charm without eating up space. I’ve done this with simple rectangles, and the minute it’s painted, the stairs look seriously high-end.
Try these:
- Pre-Primed Base Cap Molding: Create elegant, custom panel shapes on your staircase stringer efficiently with this ready-to-paint trim option.
- Brad Nailer Kit: Secure your decorative molding quickly and seamlessly to the staircase surface for a professional, durable finish.
- Paintable Wood Filler: Fill nail holes and corner joints smoothly to ensure your new wainscoting looks flawless after painting.
Shiplap Stringer Wrap
If you’re into farmhouse lines, wrapping the stringer with horizontal shiplap boards makes the angles feel calmer and more architectural. I’ve used this trick on stair remodels where the side wall was boring, and it turned into a feature instead.
Products that could assist:
- Primed Shiplap or Beadboard Planks: Instantly add farmhouse charm to your stairs by installing these ready-to-paint panels directly over your stringers.
- Brad Nailer Kit: Secure your new paneling efficiently and cleanly with this essential pneumatic tool for precise decorative trim work.
- Paintable Caulk and Gun: Create a seamless, professional finish by filling gaps and nail holes before applying your final paint color.
Trim-Outlined Stringer Edge
Outlining the skirt board with a skinny strip of trim molding is one of those small details that reads “custom” from across the room. I’ve done a subtle white-on-white version, and the shadow line alone did all the work.
May just do the trick:
- General Purpose Flexible Molding Trim: Create elegant borders easily on curved or straight skirt boards with this versatile, paintable molding trim.
- Wood Filler and Repair Kit: Ensure a seamless, professional finish by filling any nail holes or gaps before painting your new trim.
- Caulk Gun and Paintable Caulk: Seal the edges of your molding against the stair stringer for a crisp, gap-free shadow line.


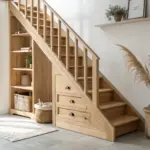
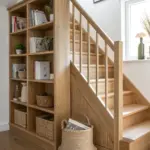
Decorative Tread Brackets
Adding repeated tread brackets (little corbel shapes) under each step makes the stair stringer look like classic craftsmanship, even on a simple staircase. I’ve cut mine from scrap hardwood on the bandsaw, and the rhythm of those shapes is so satisfying.
Give these a look:
- Unfinished Wood Corbels: Instantly add classic architectural detail to your stair stringer with ready-to-mount wooden corbels you can stain.
- Wood Stain & Finish: Ensure your new brackets match your existing staircase perfectly by applying a high-quality wood stain.
- Pin Nailer Kit: Secure your decorative brackets cleanly and effectively without visible nail heads ruining the finished look.
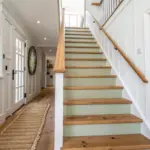
Bold Two-Tone Contrast
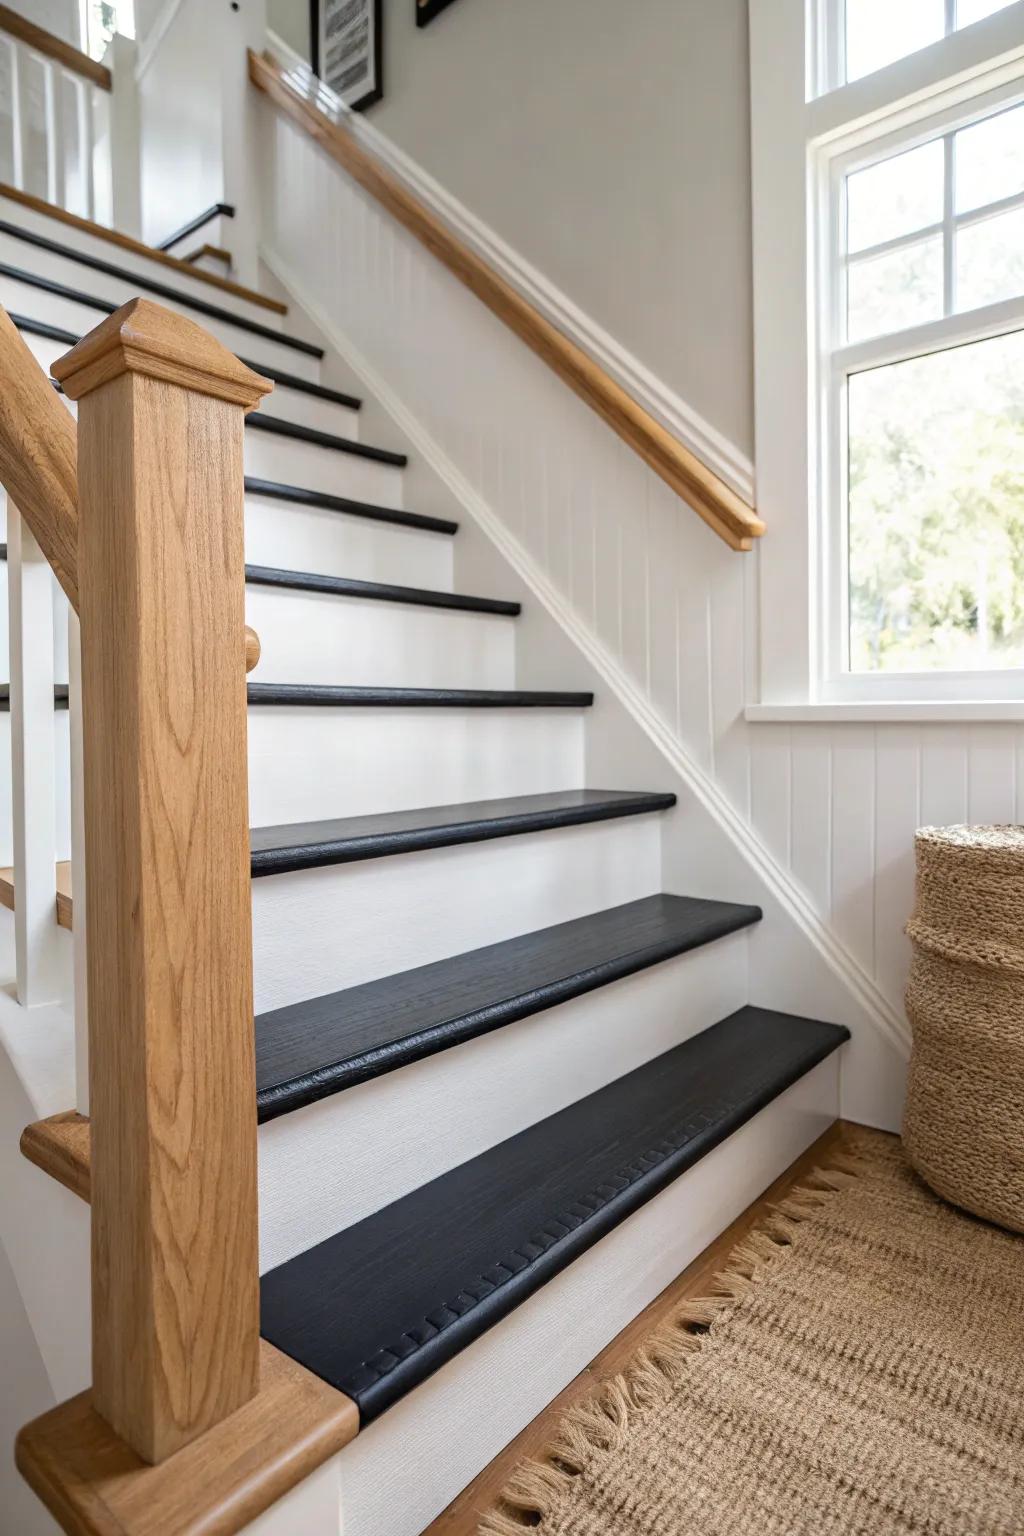
A strong contrast paint combo—like dark treads with a light stringer—creates that crisp line everyone notices first. I’ve used this when a staircase needed definition, and it instantly made the steps feel more intentional and graphic.
A few relevant products:
- High-Contrast Stair Tread Paint: Transform your steps with durable, dark paint that creates a striking, modern contrast against lighter risers.
- Painter’s Tape for Crisp Lines: Ensure professional-looking edges and clean separation between your dark treads and white stringers with quality tape.
- Natural Jute Area Rug: Soften the graphic look at the stair landing with a textured natural rug that complements the wood tones.
Beadboard With a Cap Rail
Beadboard on the stair stringer is such a cozy, cottage detail, especially when you finish it with a simple cap rail at the top edge. I’ve installed it with glue and pins, and it’s my favorite way to hide a wavy stair side without heavy carpentry.
Maybe worth checking out:
- Beadboard Paneling or Wallpaper: Create that classic cottage look instantly by applying textured beadboard panels or thick, paintable wallpaper.
- General Purpose Construction Adhesive: Ensure your decorative panels stay securely in place on the stair side with heavy-duty construction adhesive.
- Top Trim Molding: Finish the raw top edge of your beadboard cleanly with a smooth, paintable chair rail molding.
Reclaimed Wood Plank Overlay
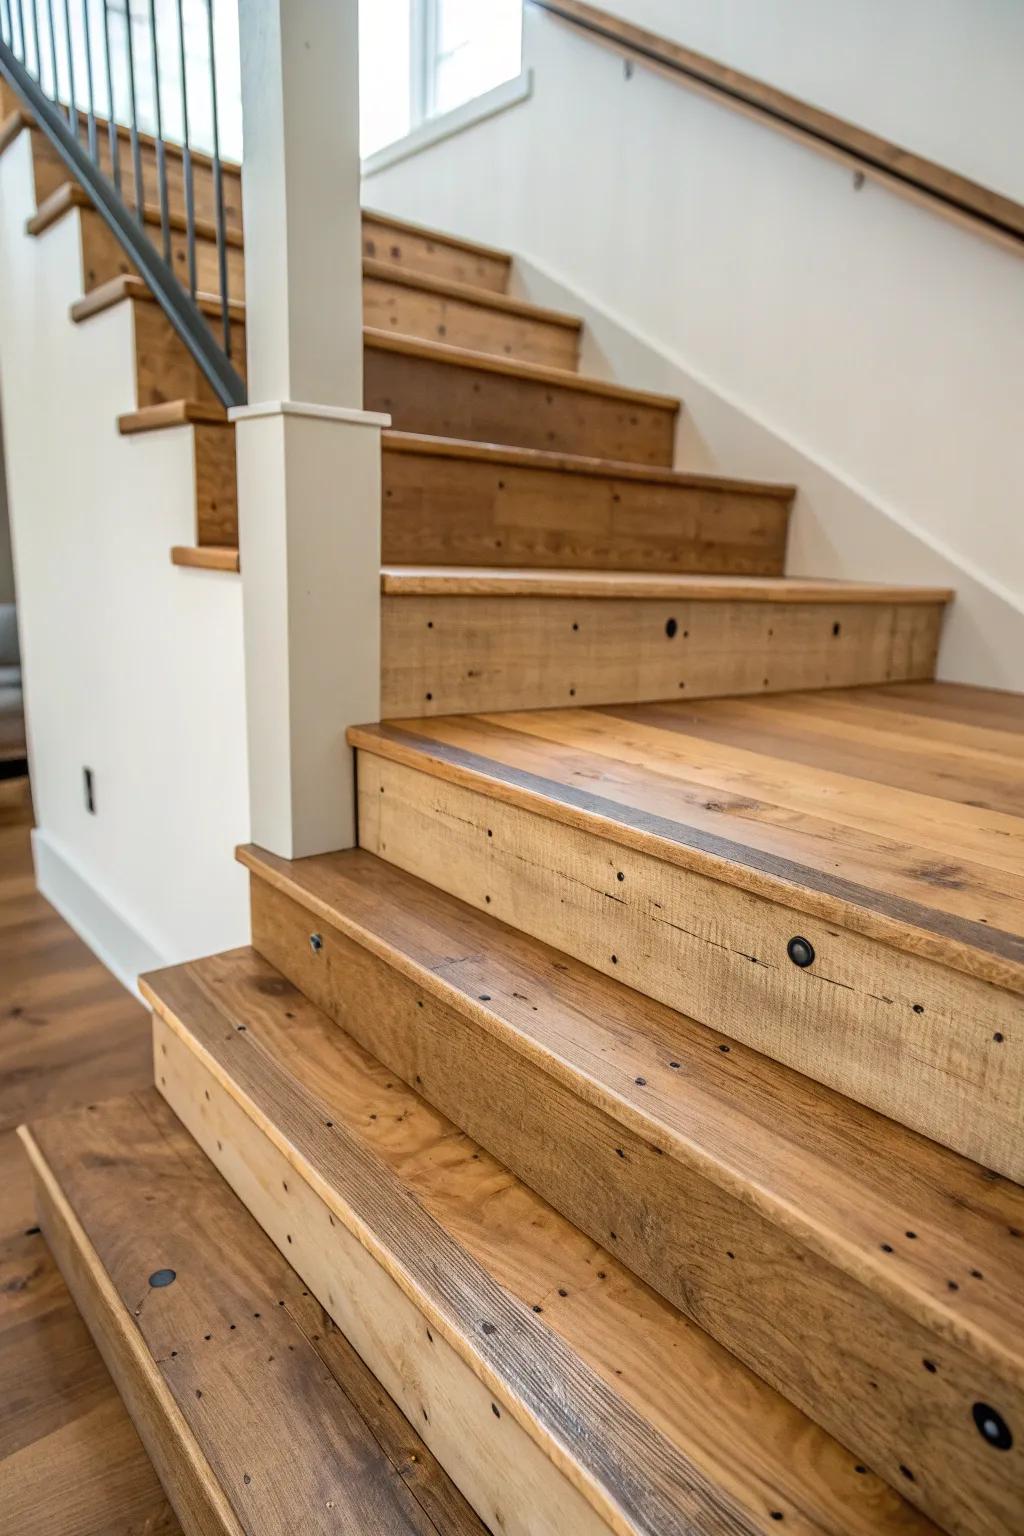
For instant rustic character, I’ll skin the stair stringer with thin reclaimed wood planks and keep the nail holes and knots visible. I’ve done this with salvaged boards, and the staircase ends up looking like a built-in from an old farmhouse.
These products might help:
- Reclaimed Wood Planks: Use authentic barn wood boards to instantly add rustic texture and warmth to your existing stair stringers.
- Brad Nailer Kit: Secure your thin wood overlays efficiently and discreetly with a reliable brad nailer for a clean finish.
- Wood Construction Adhesive: Ensure a permanent, durable bond between your new wood planks and the stringer surface with strong adhesive.
Vertical Slat Stringer Screen
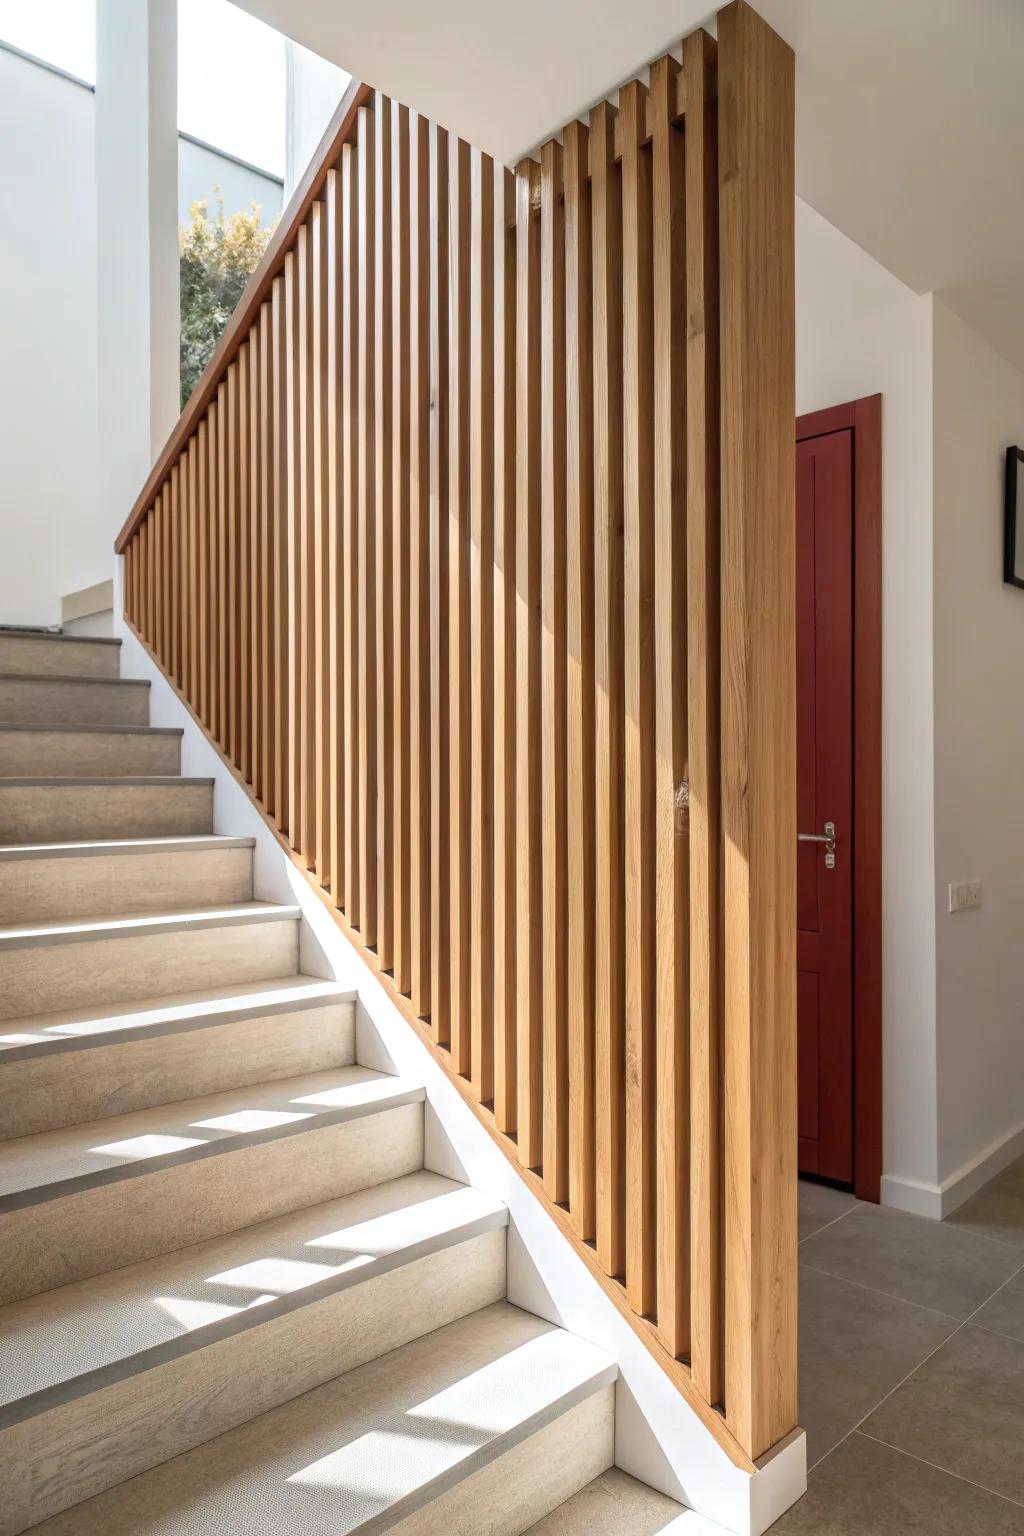
A slim wood slat screen over the stringer is my favorite modern-farmhouse mashup because it adds texture without feeling heavy. I’ve spaced slats evenly with scrap spacers, and the repeating lines make the staircase look taller.
Consider these options:
- Prefinished Solid Oak Slats: Create your custom screen instantly using pre-finished hardwood boards to add warmth and consistent texture to your stairs.
- Wood Slat Wall Acoustic Panels: Install these ready-made panels for a faster, easier way to achieve the vertical slat look with sound-dampening benefits.
- Cordless Finish Nailer Kit: Secure each vertical slat cleanly and efficiently without visible hammer marks using this essential power tool for trim work.
Metal Accent Inlay Strip
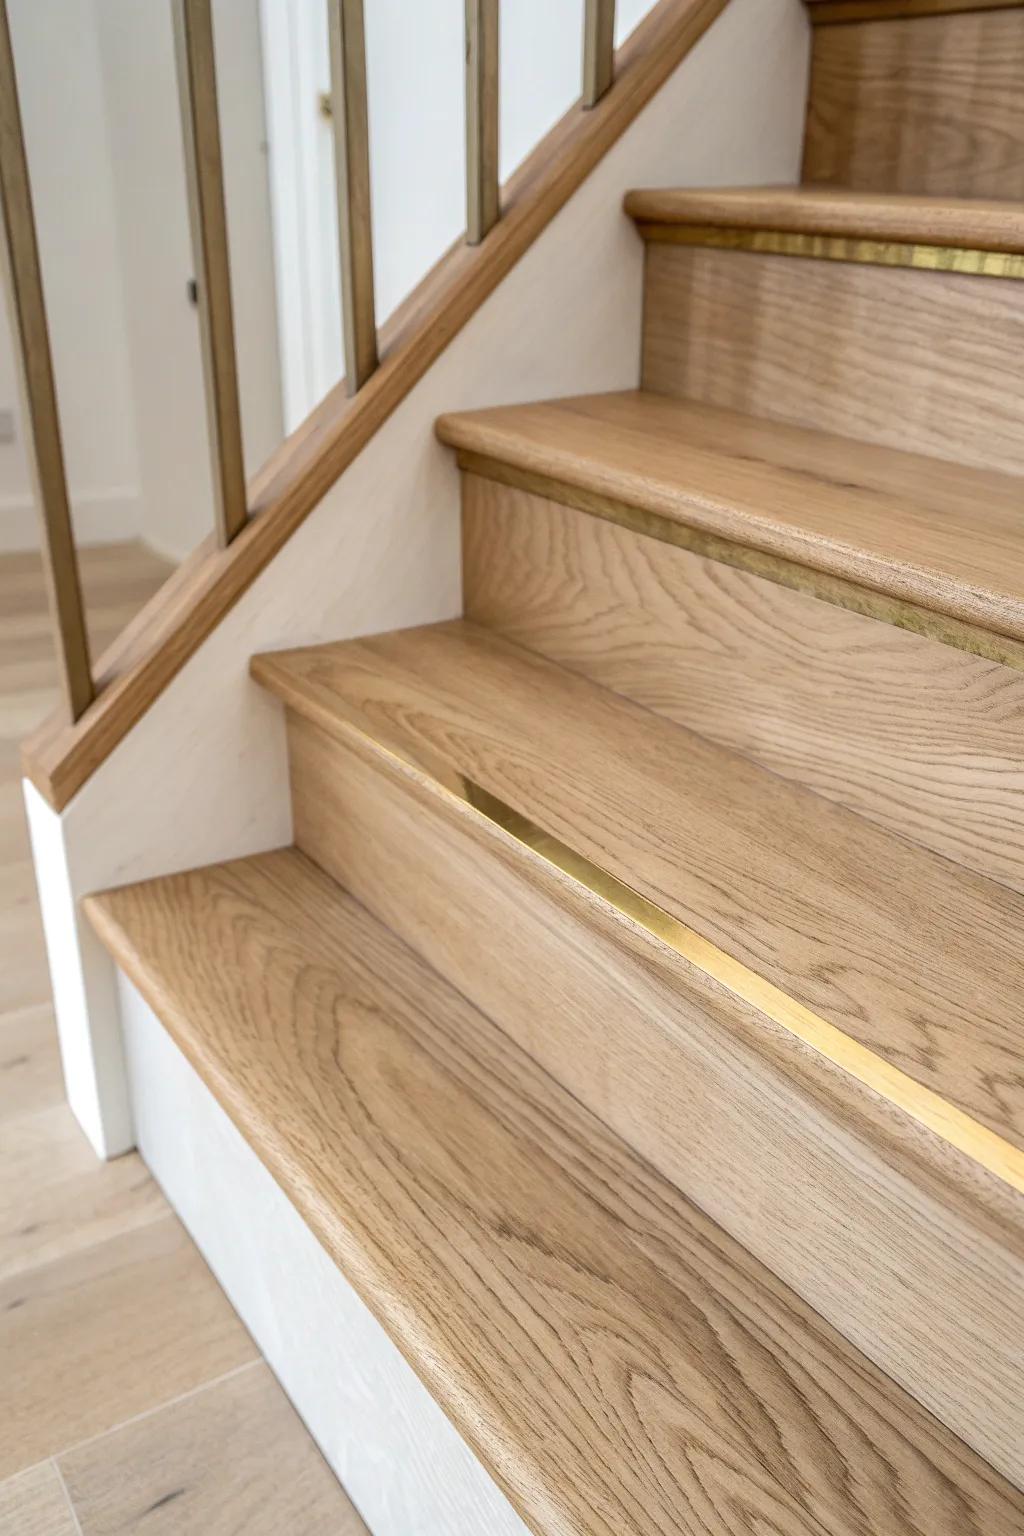
Inlaying a thin metal strip along the top edge of the stair stringer is a subtle flex that catches light as you walk by. I’ve routed a shallow groove for it before, and that tiny glint makes the whole stair profile feel elevated.
Check these products out:
- Brass Flat Bar Stock Strip: Use these solid brass strips to create an elegant, shimmering inlay for your custom woodworking projects.
- Self-Adhesive Gold Metal Trim: Quickly add a metallic accent without routing grooves by applying this durable, peel-and-stick decorative trim tape.
- Stair Nosing Brass Insert: Install these anti-slip metal inserts into your treads to combine safety with a sophisticated, high-end aesthetic.
Hidden LED Glow Line
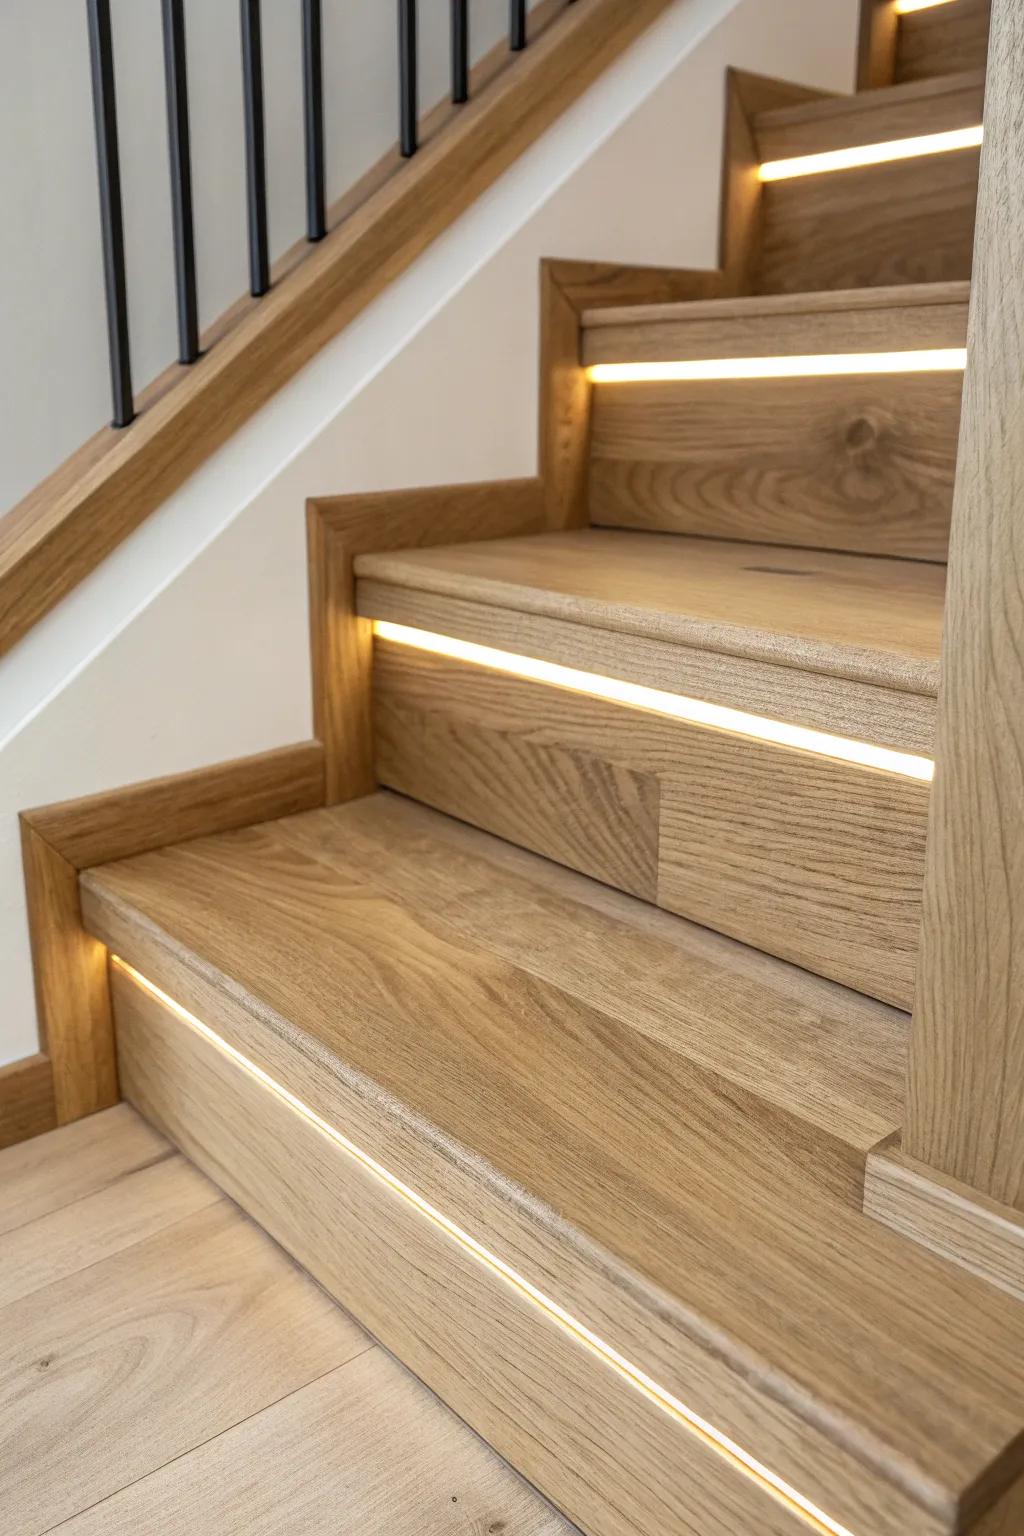
Cutting a small channel so the stringer can hide a soft LED strip under the tread overhang is one of those “how did you do that?” details. I’ve used it for night-friendly stairs, and the glow makes the side profile look almost floating.
You might like:
- Warm White LED Strip Light Kit: Create that inviting, warm glow shown in the photo by installing cuttable, adhesive-backed LED strips under each tread.
- Aluminum Channel Profiles for LED Strips: Pro-tip: Use thin aluminum channels with diffusers to protect your lights and ensure a spotless, uniform glow.
- Motion Sensor LED Controller: Automate your stairway by connecting your new lights to a motion sensor controller for hands-free illumination.
Tile or Wood Mosaic Panels
If you’re craving something artsy, try adding inset mosaic panels to the stringer face—either small tiles or a simple wood pattern. I’ve made quick geometric mosaics from offcuts, and it turns the stair side into a real conversation piece.
Items that may come in handy:
- Geometric Wood Veneer Sheets: Create custom geometric intarsia patterns easily by cutting these thin wood sheets into precise angular shapes.
- Peel and Stick Wood Planks: Achieve the look of complex woodwork quickly with these self-adhesive real wood panels for instant texture.
- Woodworking Chisel Set: Carve accurate recesses for your mosaic insets using these essential tools for precise joinery and detailing.
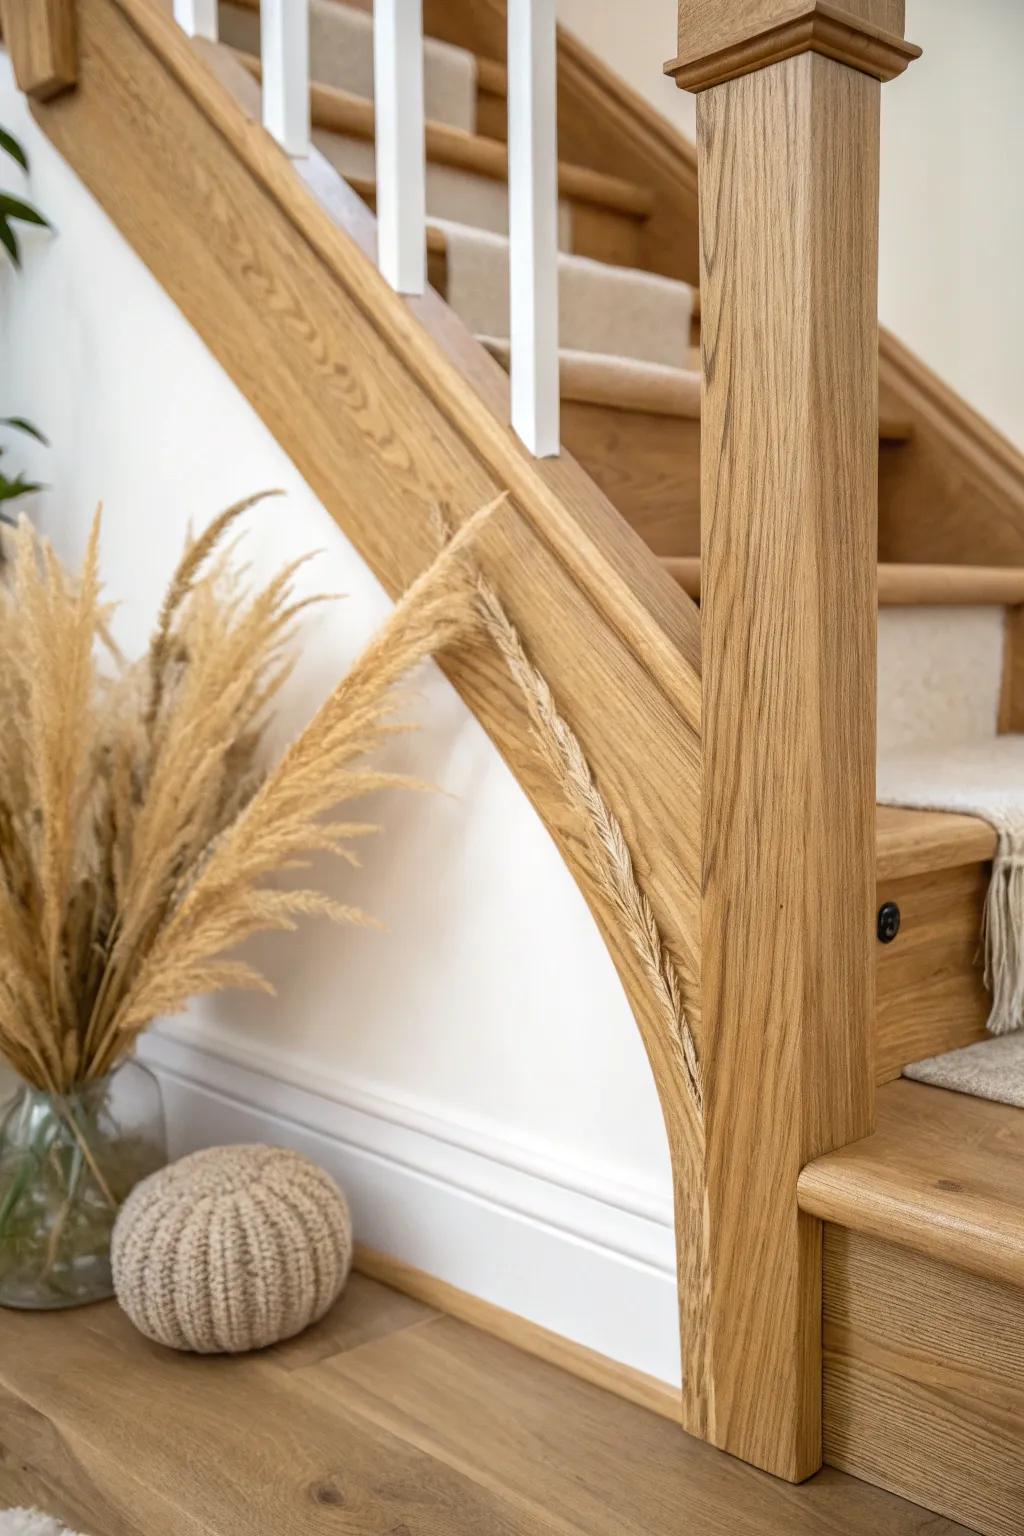
Resin Window With Embedded Finds
For the ultimate wow, I’ve built a shallow “window” into a stair stringer overlay and filled it with clear resin over tiny keepsakes like interesting wood slices, old keys, or dried botanicals. It sounds wild, but once it’s sanded smooth and finished, it looks like functional art built right into the staircase.
Explore these options:
- Clear Epoxy Decor Resin Kit: Create crystal-clear, durable windows for your stairs with this essential resin; perfect for embedding delicate keepsakes.
- Detailed Silicone Resin Molds: Use flexible molds to pre-cast your botanical designs or custom shapes before embedding them into the wood structure.
- Dried Pressed Flowers & Botanicals: Add natural beauty instantly to your project with a variety of preserved flowers perfect for resin embedding.


