
A two-tier kitchen island is one of my favorite ways to separate the messy prep zone from the “come sit and chat” zone without breaking up the whole room.
Banquette-Style Lower Tier

Let the lower tier flow into a small banquette seat so your island becomes a built-in breakfast nook. I tried a bench extension on a two-height concept, and it made the kitchen feel like it had a cozy corner café.
Products that could assist:
- Custom Bench Cushion: Soften your wooden seating area and add immediate comfort with a custom-fit cushion in a durable fabric.
- Ceramic Pitcher Vase: Recreate the cozy cafe vibe by displaying fresh greenery or flowers in a simple, elegant ceramic pitcher.
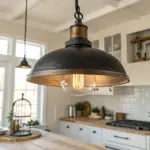
- Woven Pendant Light: Define your breakfast nook area and add warmth by hanging a textured woven pendant light directly above.
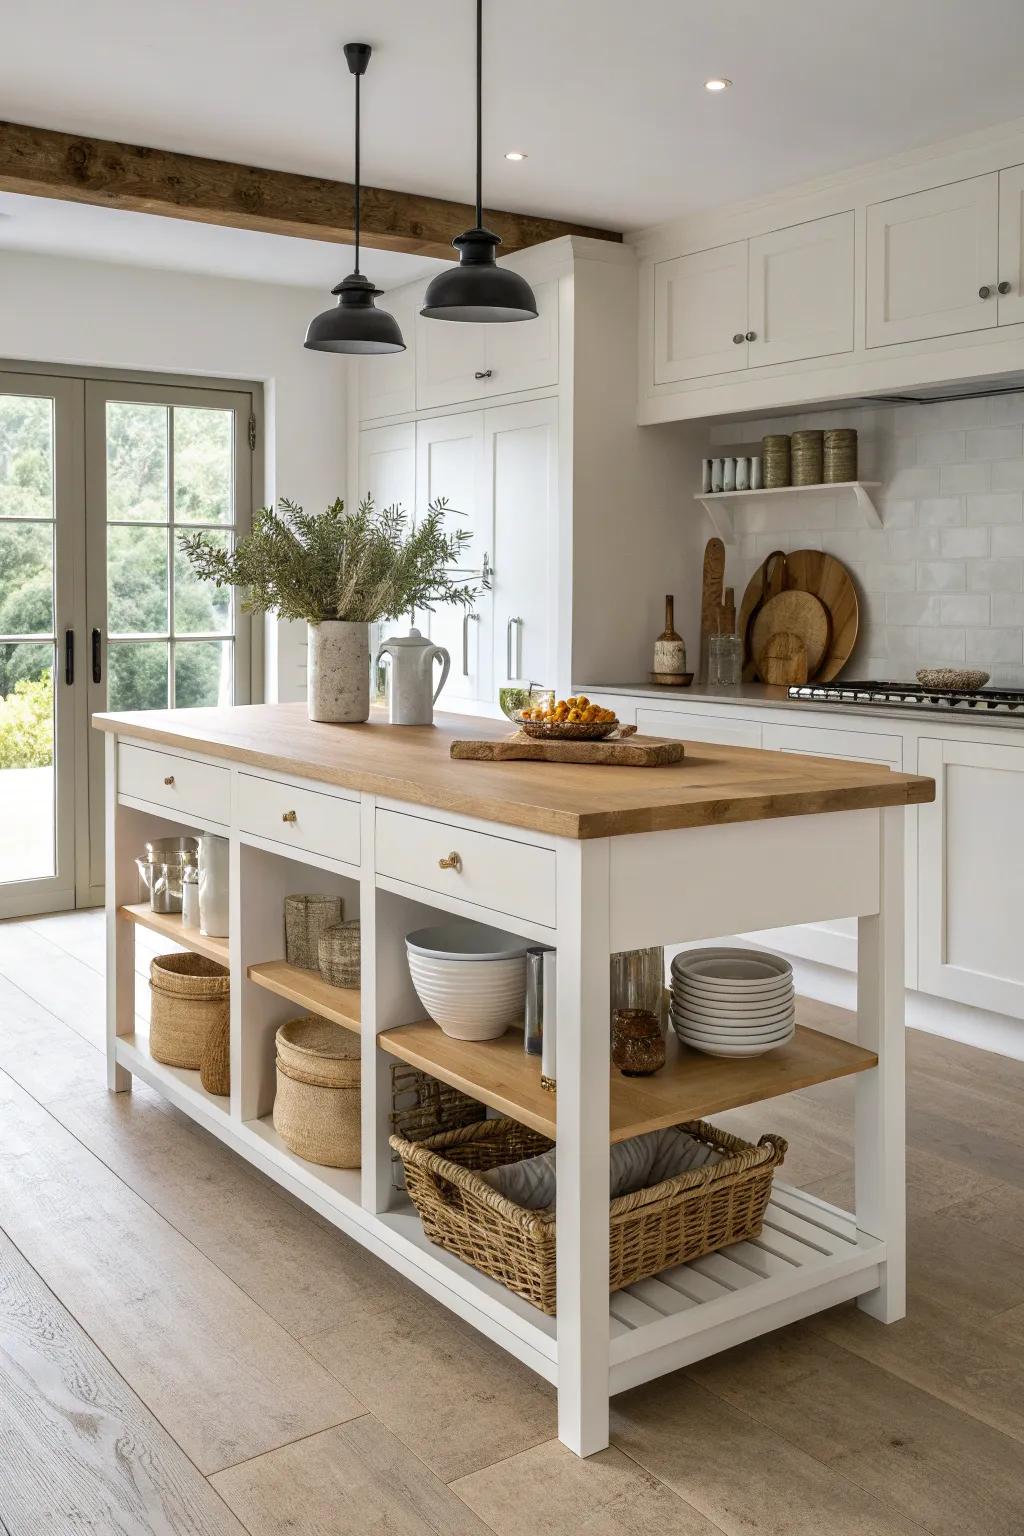
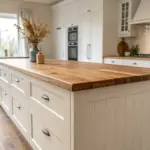
Classic Raised Bar Top

Go for the classic raised bar top so the upper tier becomes the hangout spot while the lower tier hides dishes and prep clutter. I’ve built this setup with simple brackets under the overhang, and it instantly made my island feel more social.
Check if these fit your needs:
- Elevated Countertop Support Brackets: Install these sturdy metal supports to securely lift your new bar top for easy, tiered dining.
- Butcher Block Countertop Slab: Create your upper serving tier with this durable wood surface that adds warmth and extra dining space.
- Adjustable Counter Height Stools: Complete your new hangout spot with adjustable seating that fits perfectly under your raised bar ledge.
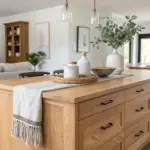
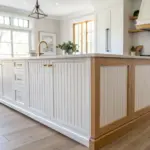

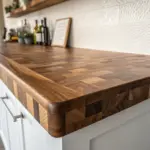
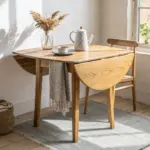
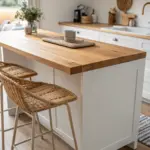
Table-Height Dining Tier
Attach a lower table-height tier to one side so it feels like a kitchen table married the island (way comfier than bar stools for long hangs). I’ve done this with a thick wood top, and it became the spot where everyone ends up lingering.
A few suggestions:
- Solid Butcher Block Countertop: Add a dedicated dining surface by creating a lower tier with a durable, warm wood slab.
- Heavy-Duty Table Legs: Support your new lower dining tier securely with sturdy legs that complement your existing kitchen cabinetry.
- Comfortable Dining Chairs: Complete your cozy eat-in setup with supportive chairs designed for standard table height rather than bar height.
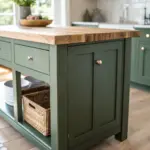
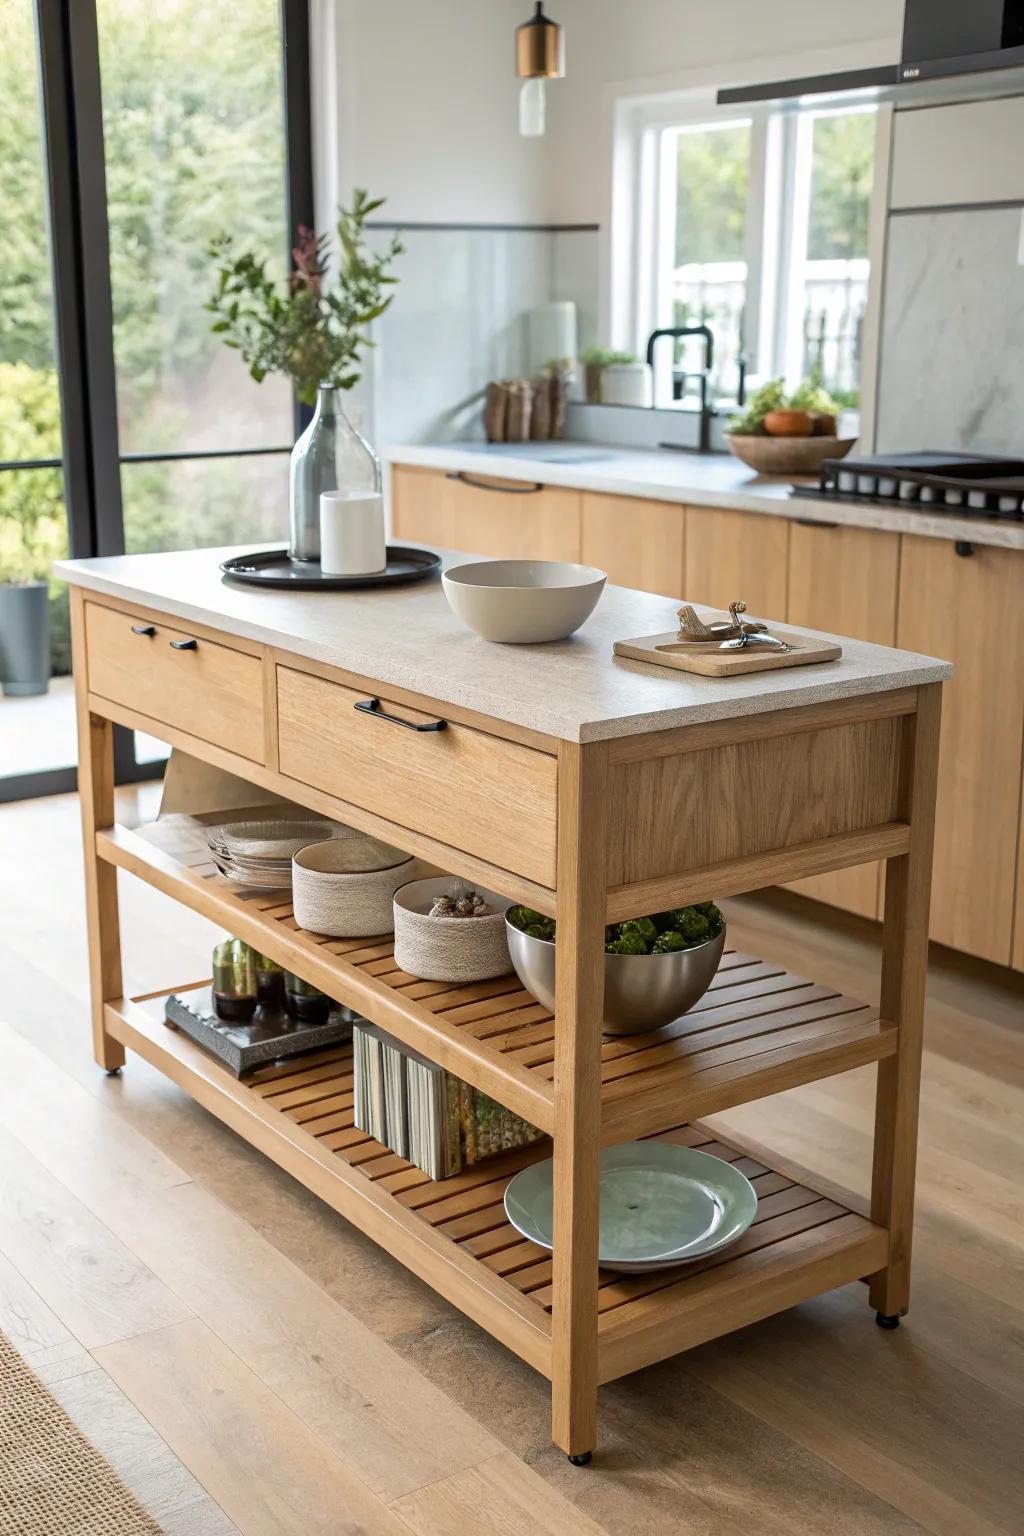
Butcher Block Meets Stone
Mix butcher block on one tier with a stone countertop on the other to make the two levels feel intentional and not just “extra.” I love this combo because I can refinish the wood tier later, and it only gets prettier with use.
A few helpful options:
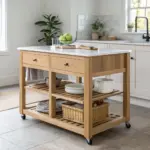
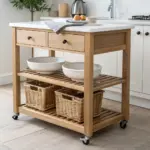
- Freestanding Butcher Block Island: Add warmth and extra prep space to your kitchen with a versatile, movable wooden island cart.
- Marble Pastry Board: Place this stone board on your wood counter to create that mixed-material look instantly.
- Food-Grade Mineral Oil: Keep your butcher block tier looking fresh and hydrated with regular applications of safe oil.
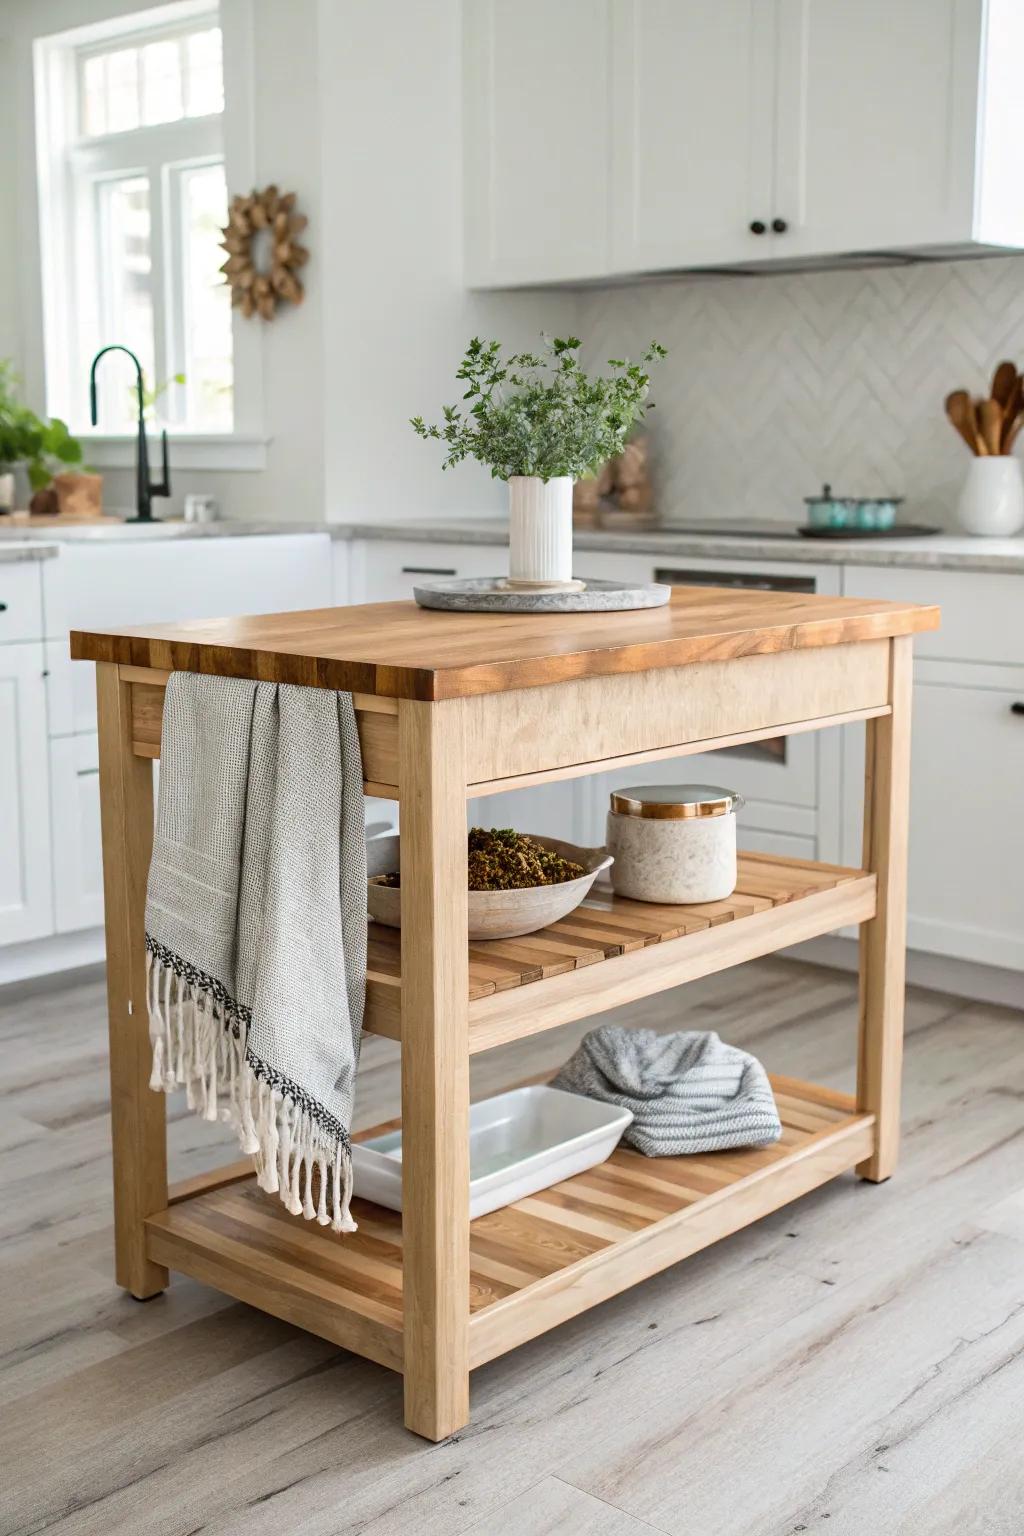
Prep Below, Serve Above
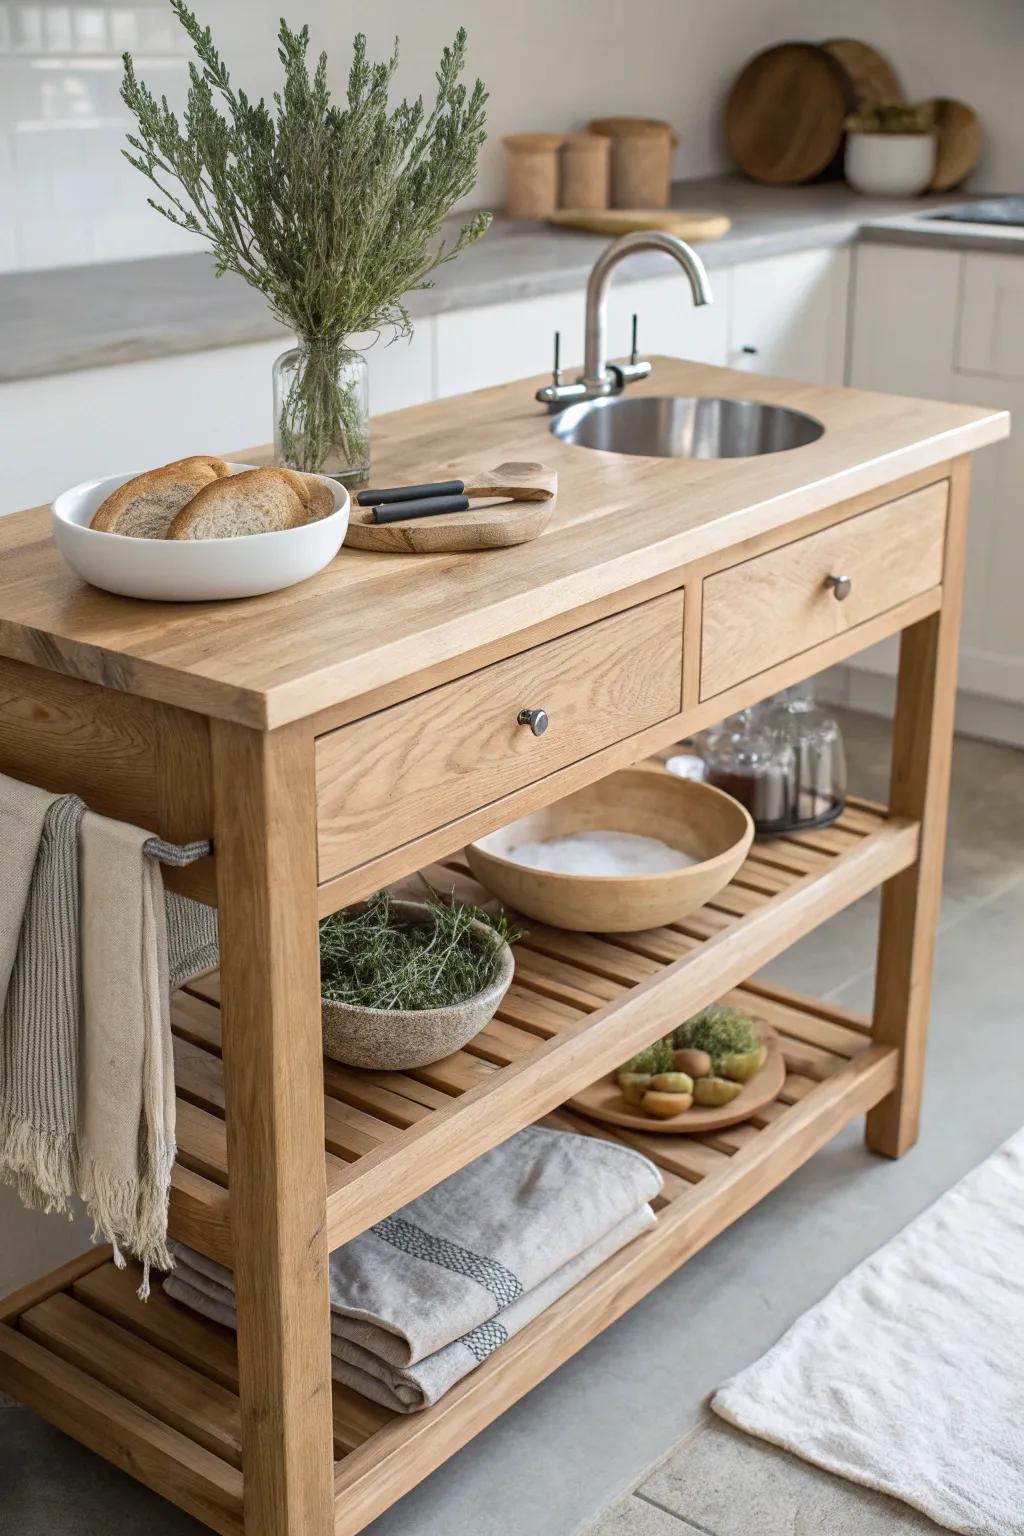
Design the lower tier as the true prep zone (chopping, mixing, even a sink) and keep the upper tier clean for serving and snacking. I’ve watched this layout save so much stress during dinner parties because the mess stays visually tucked away.
Might be a good match:
- Wooden Serving Bowls: Perfect for both mixing ingredients on your prep tier or serving snacks beautifully on the upper level.
- Kitchen Island Towel Holder: Keep clean linens within arm’s reach while you work by adding convenient side storage to your island.
- Woven Storage Baskets for Shelves: Tuck away loose ingredients or tools on lower shelves to keep your prep station looking organized and tidy.
Extra-Deep Overhang for Stools
Make the seating tier actually usable with an extra-deep overhang so knees aren’t banging into the base. When I build islands, I always test with a stool in the shop first, and that one step avoids so many regrets.
Possibly helpful picks:
- Woven Backless Counter Stools: Add natural texture and comfortable seating to your island setup with these sturdy, space-saving woven stools.
- Heavy-Duty Countertop Support Brackets: Securely support your extended countertop overhang to ensure stability and safety for dining and entertaining areas.
- Large Woven Storage Baskets: Keep your kitchen organized by sliding these spacious baskets onto lower shelves for easy, stylish access.
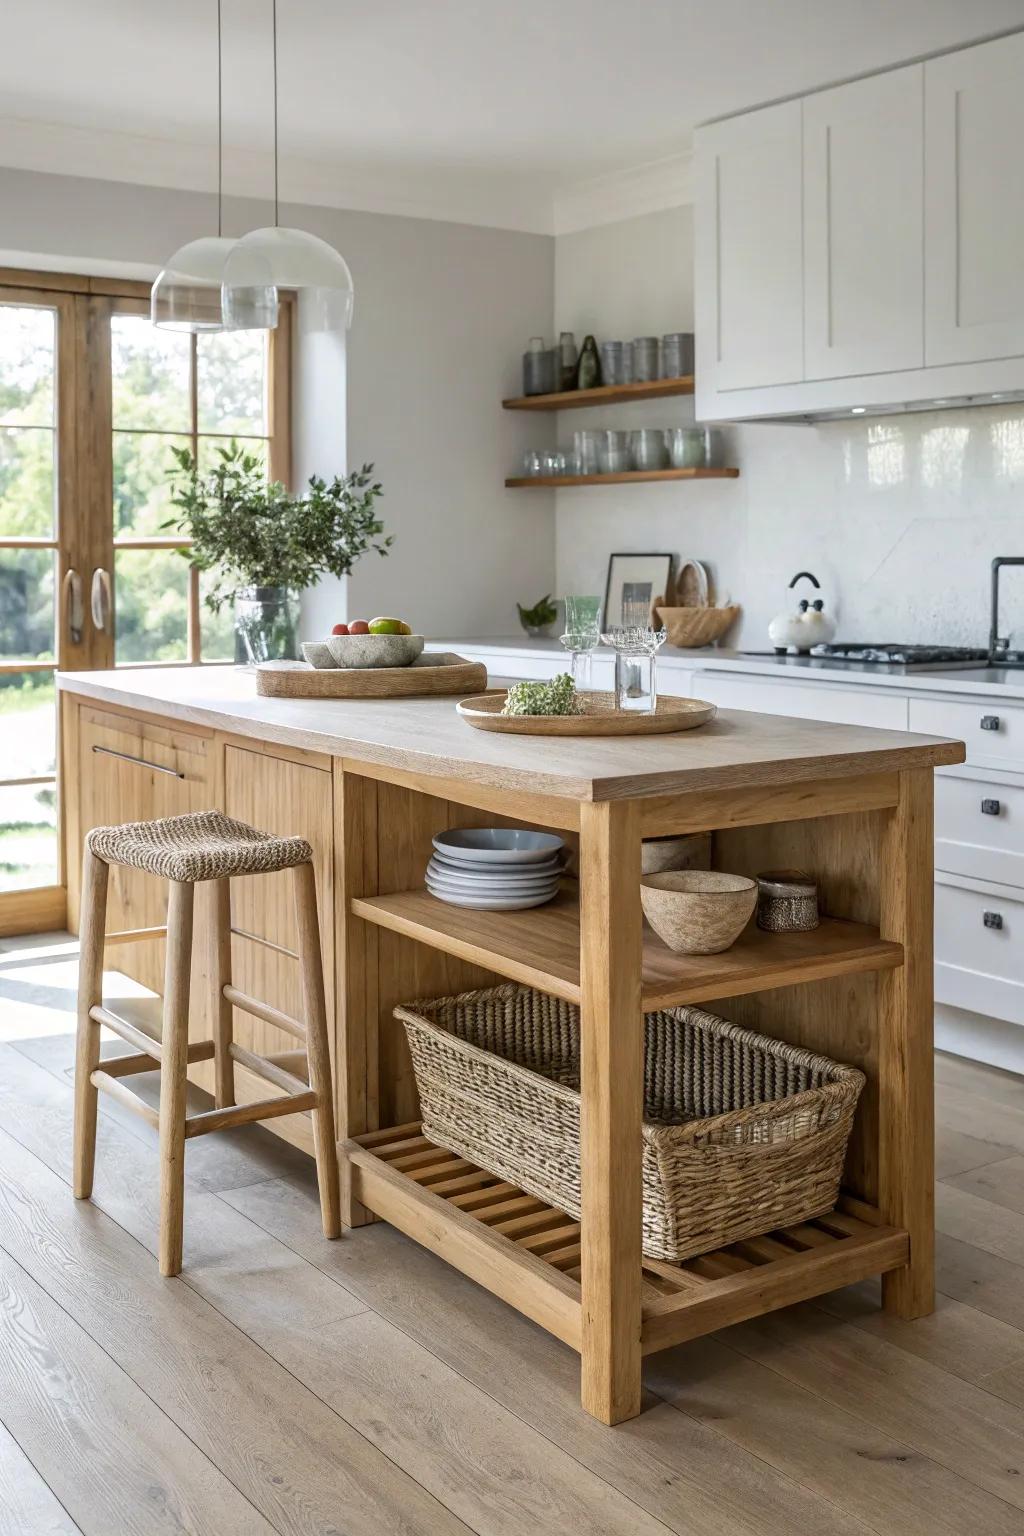
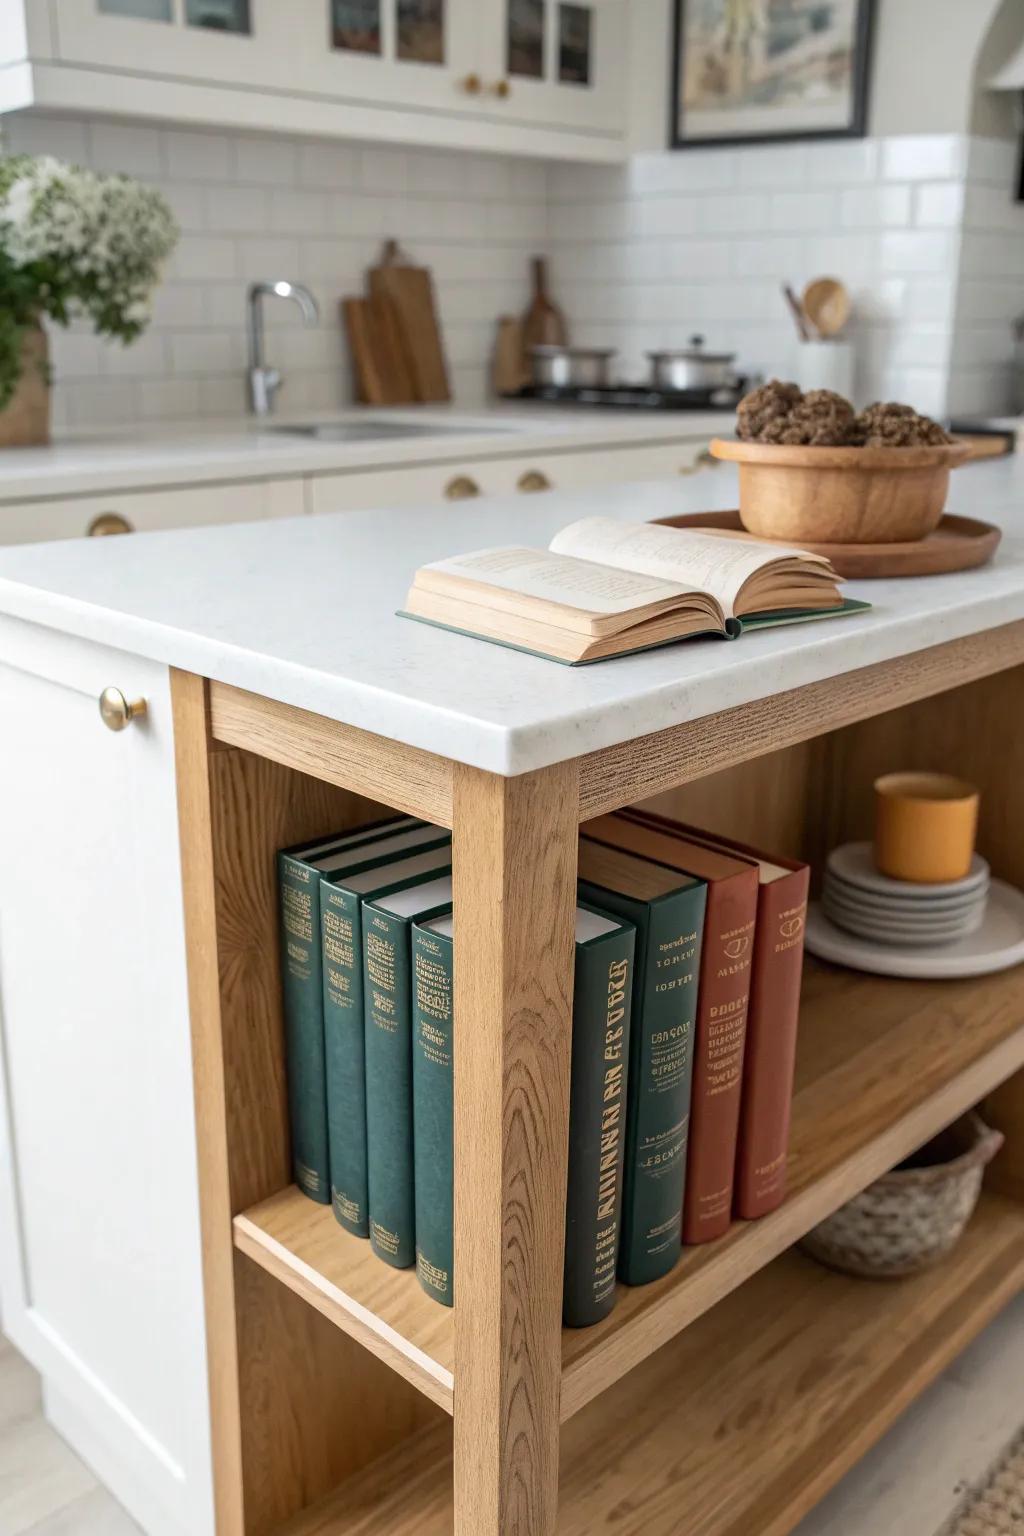
Storage in the Step
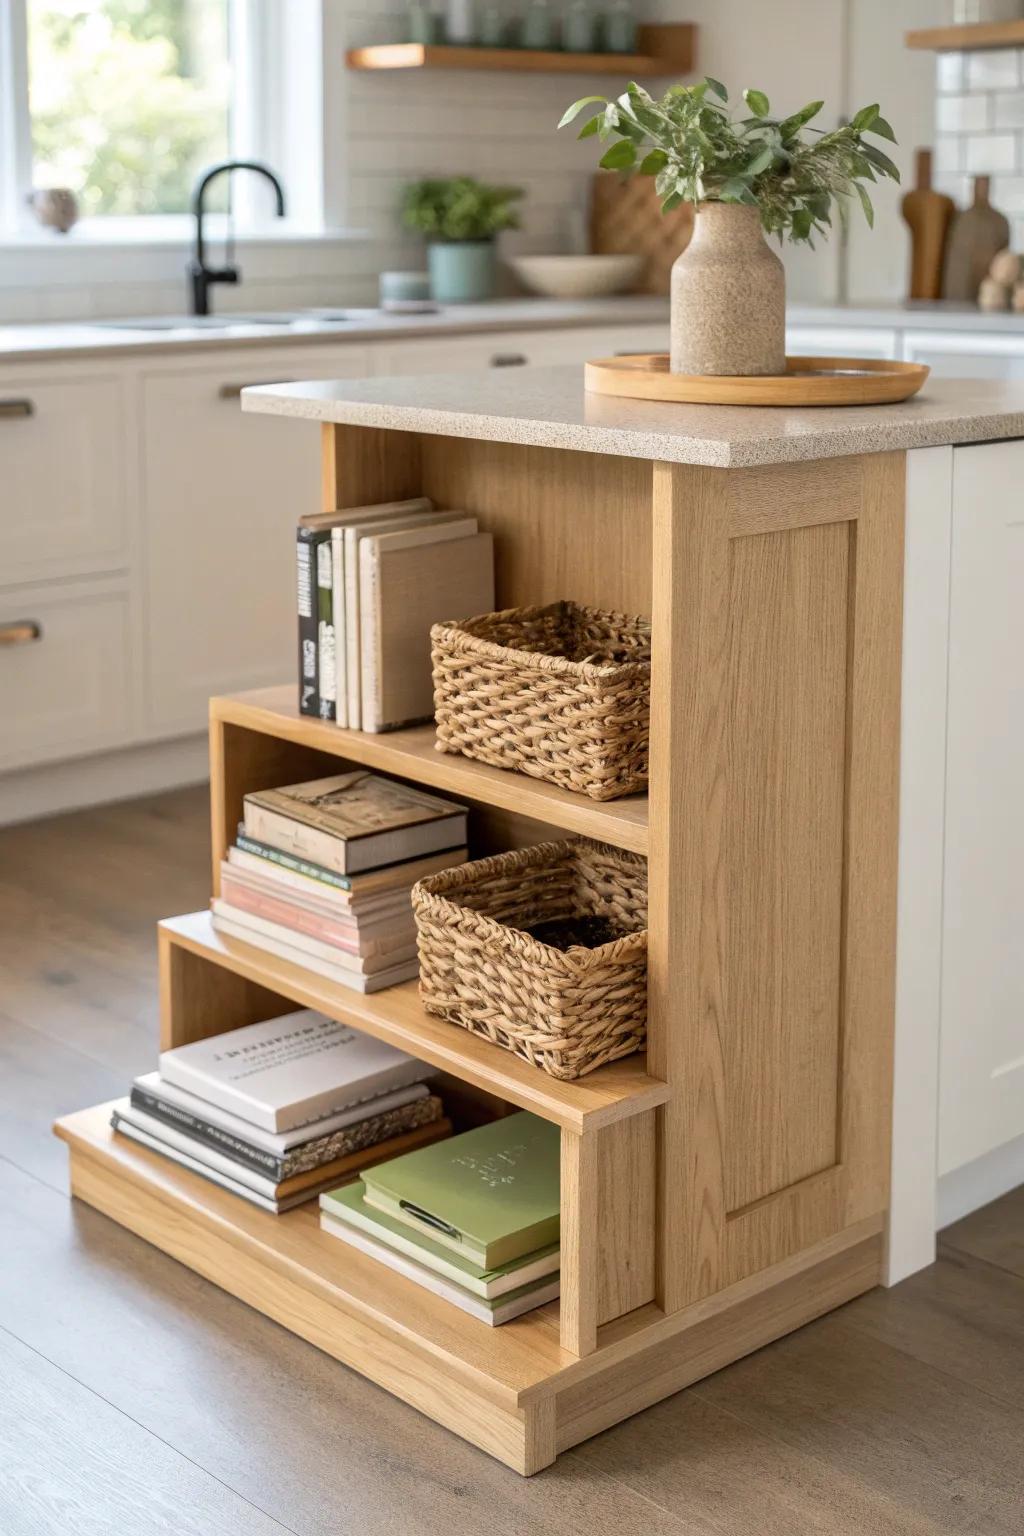
Use the vertical “step” between tiers for open cubbies—think cookbooks, baskets, or cutting boards standing upright. I added this to a two-level island once, and it kept the top surfaces way clearer day-to-day.
A few relevant products:
- Woven Seagrass Storage Baskets: Organize clutter instantly by tucking small items into these textured baskets for a clean, natural look.
- Minimalist Coffee Table Books: Style your open shelving with decorative books that add aesthetic appeal while keeping your favorite recipes handy.
- Adjustable Shelf Dividers: Keep upright cutting boards and cookbooks perfectly vertical and organized within your open cubby spaces.
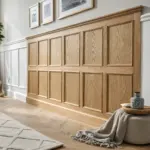
End Panels and Corbel Supports
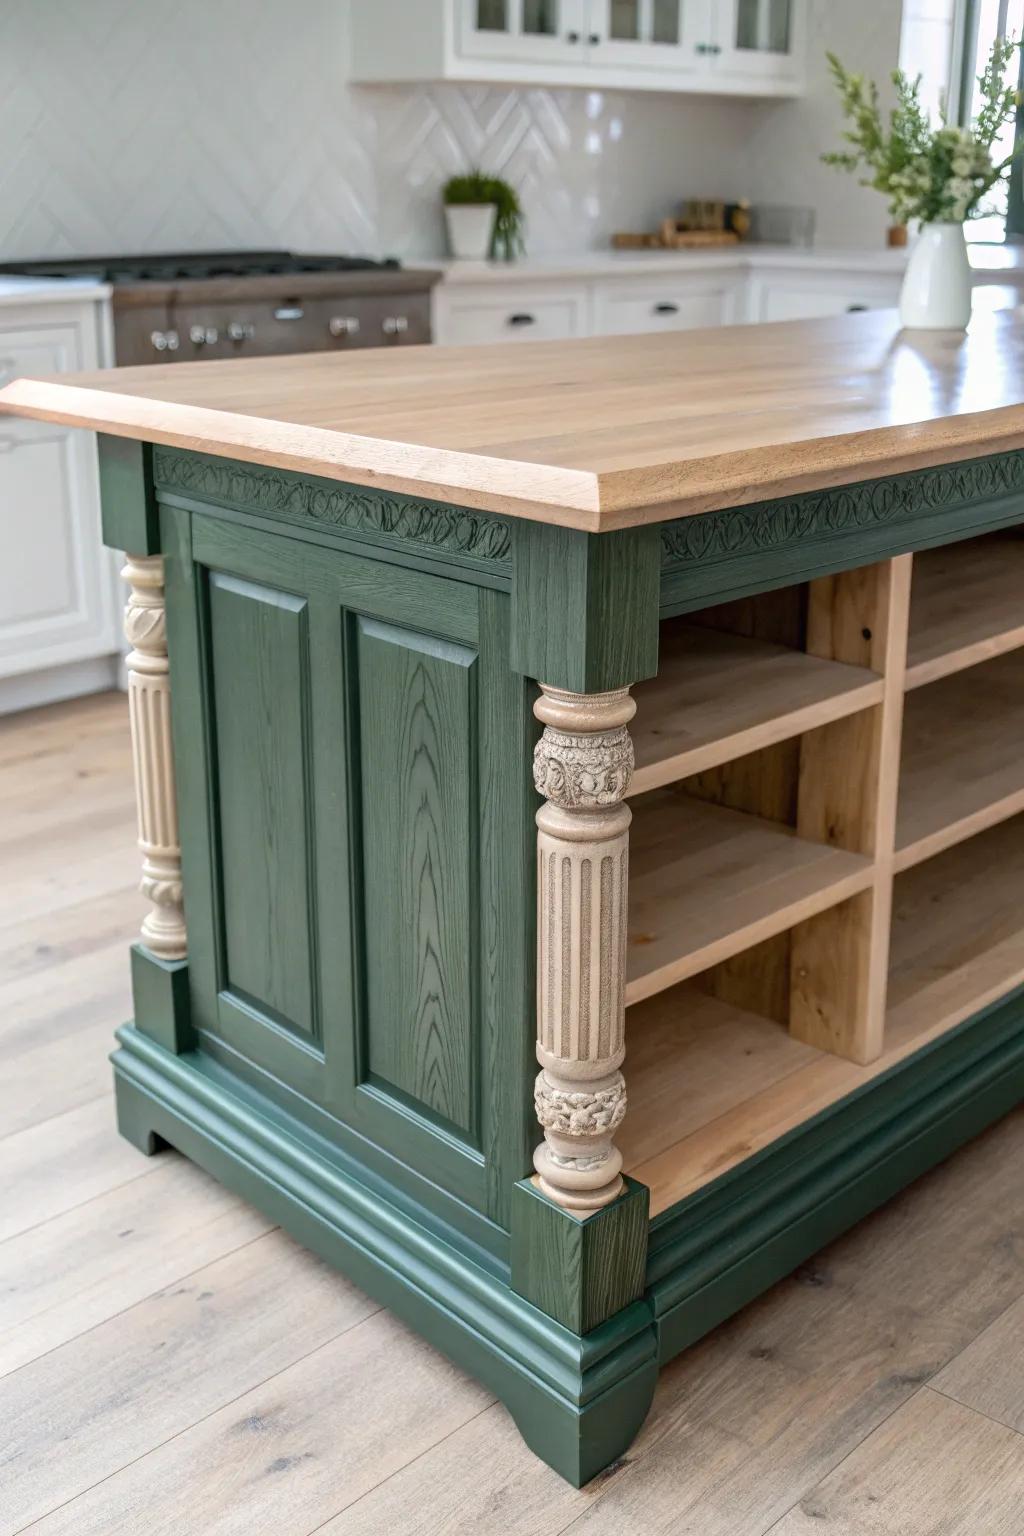
Dress up the upper tier with wood corbels or chunky side panels so the raised level looks built-in instead of tacked on. I’ve used reclaimed brackets on a farmhouse-style island, and it gave that “custom carpenter” vibe fast.
Possibly handy products:
- Unfinished Wood Island Legs/Posts: Add structural elegance to your island by installing these paintable wood legs for a custom, built-in appearance.
- Decorative Wood Corbels: Enhance your countertop overhang with ornate wooden brackets that bring vintage farmhouse charm to your cabinetry.
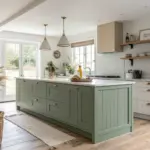
- Furniture Paint (Green/Custom Color): Unify your new panels and brackets with high-quality cabinet paint for a seamless, professional-looking durable finish.
Turned-Leg Farmhouse Base
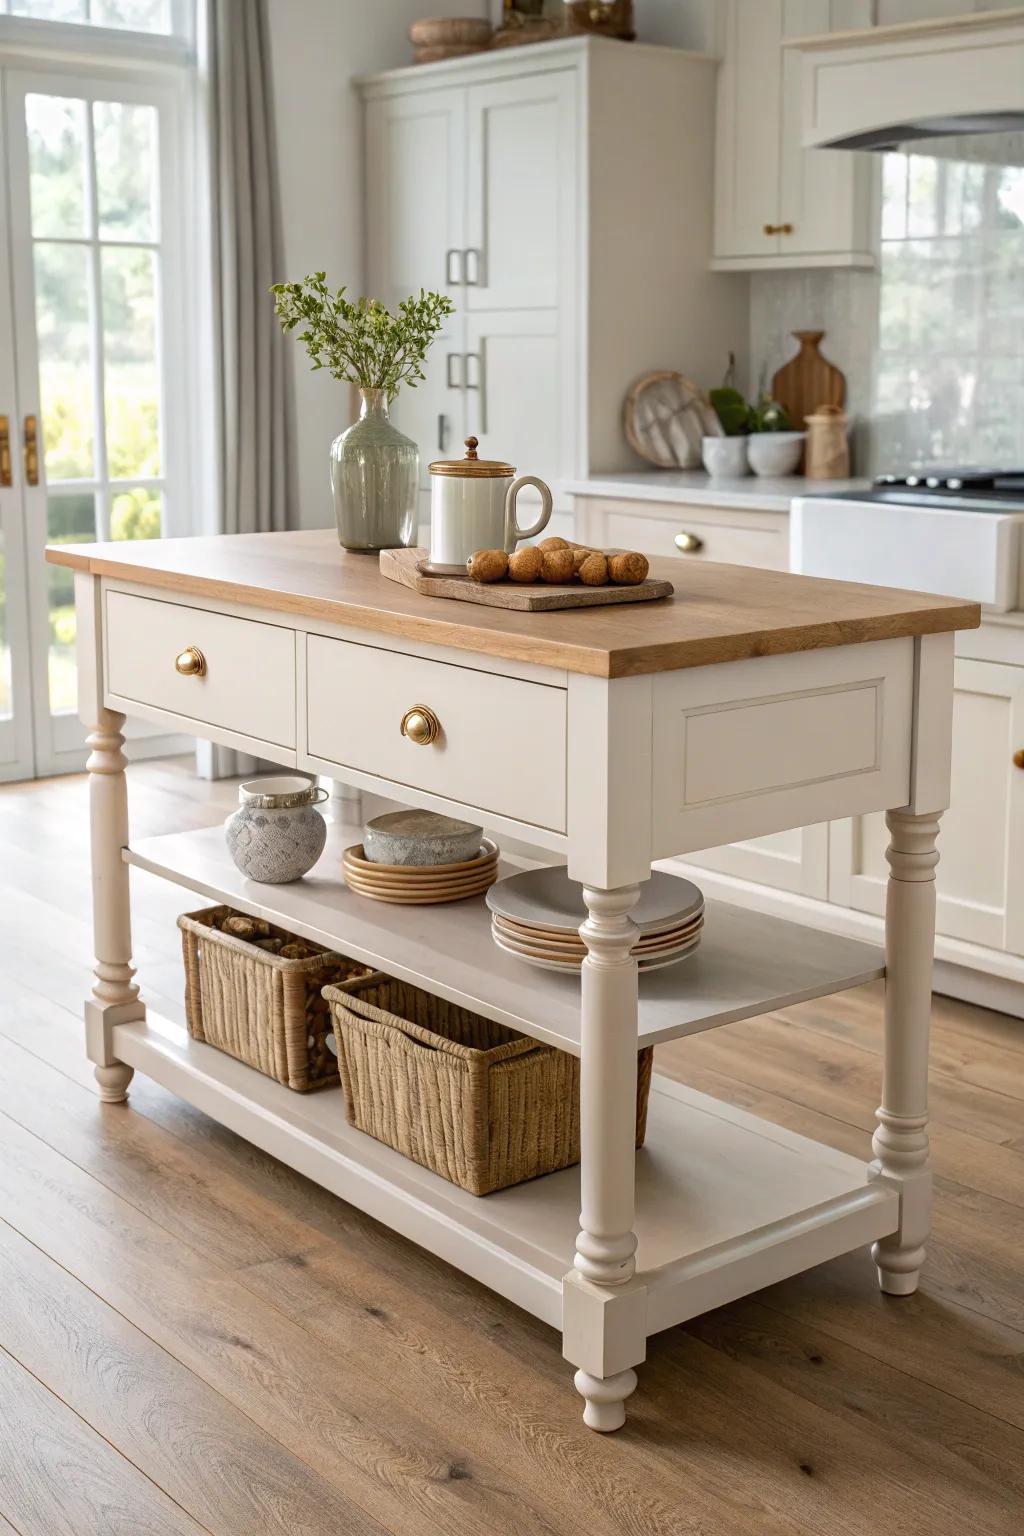
Pair a cabinet base on the lower tier with turned legs supporting the upper tier for a lighter, furniture-style look. I’ve salvaged old table legs for this, and it’s a sweet way to blend storage with charm.
A few things you might like:
- Unfinished Turned Wood Legs: Add custom charm to your island build by selecting sturdy, turned wood legs ready for your favorite finish.
- Butcher Block Countertop: Top your custom base with a solid wood surface to create a durable, warm, and functional workspace.
- Hyacinth Storage Baskets: Organize open shelving with woven baskets that add texture and keep kitchen essentials neatly tucked away.
Waterfall Edge on the Upper Tier
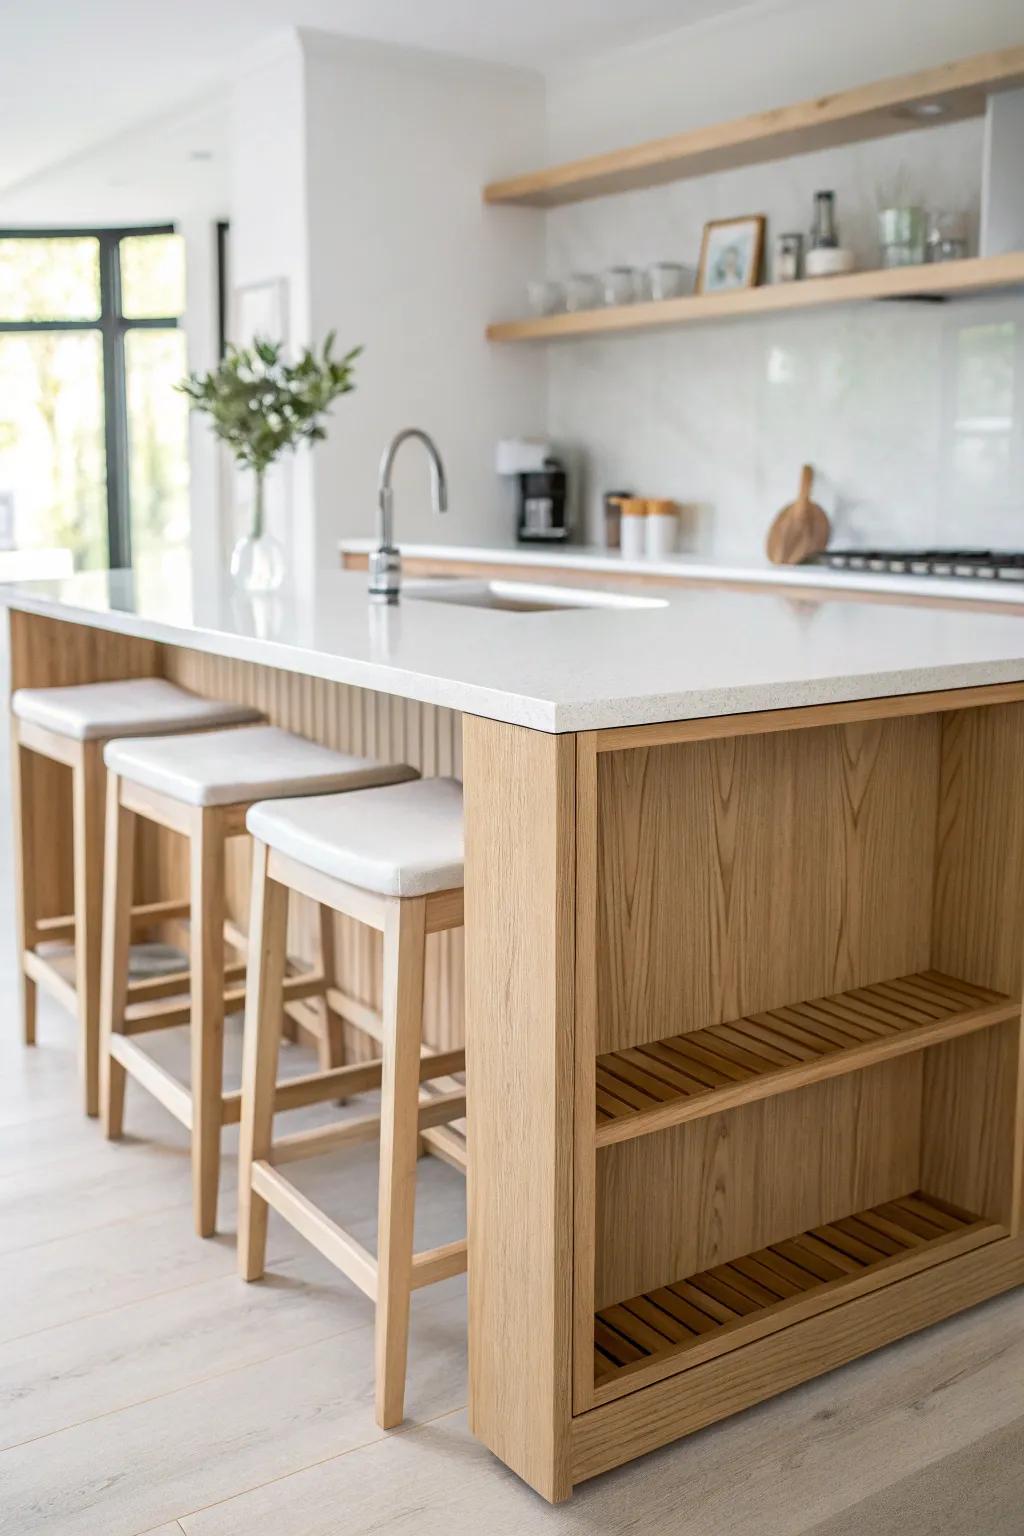
Give the raised tier a waterfall edge so it visually frames the seating side and feels polished even in a casual kitchen. I helped install one with a wood-look finish, and it made the two-tier shape look intentional from every angle.
You might give these a try:
- Wood Veneer Sheets: Apply high-quality wood veneer to your island frame to achieve a seamless, custom waterfall look affordably.
- Butcher Block Countertop: Install a solid wood slab to create the distinct upper tier that waterfalls down the side beautifully.
- Counter Height Bar Stools: Complete your new tiered island setup with stylish seating that tucks neatly under the new overhang.
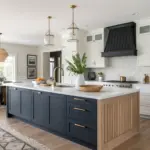
Contrasting Paint or Stain Split
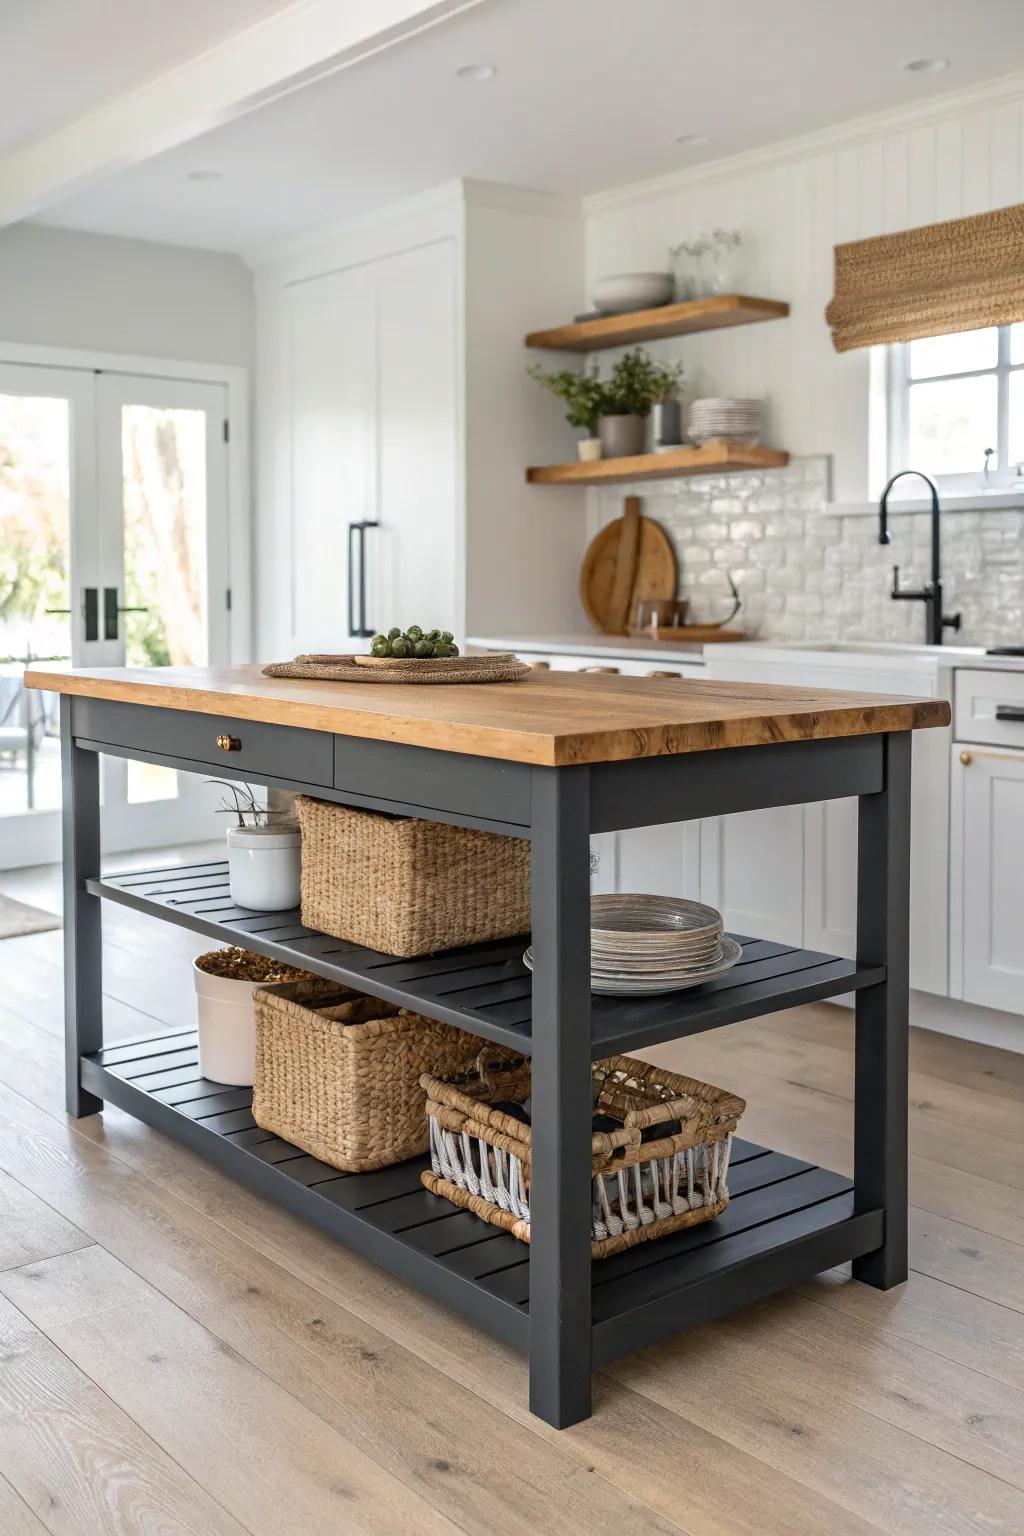
Paint or stain the upper tier support differently than the lower base to highlight the two-tier design instead of hiding it. I’ve done a dark base with a warm wood top, and the contrast made the whole island feel more “designed.”
Consider these options:
- Charcoal or Navy Furniture Paint: Transform your island’s base with a deep, matte finish to create a striking contrast against natural wood.
- Natural Wood Stain and Sealer: Enhance the wood grain of your island’s top tier while protecting it from daily kitchen wear.
- Seagrass Woven Storage Baskets: Add textured storage to your open shelves to soften the painted look and organize kitchen essentials.
Cookbook Nook Between Tiers
Build a slim cookbook ledge or mini shelf right under the raised tier so recipes live where you actually use them. I added this on a client-style build in my shop, and it was one of those small details that felt super luxe.
Items that may come in handy:
- Classic Hardcover Decorative Book Set: Fill your new ledge with elegant, neutral-toned decorative books to instantly add sophistication and character to your island.
- Wooden Cookbook Stand: Keep your current recipe visible and hands-free while cooking by placing a sturdy wooden holder on your ledge.
- Under-Cabinet LED Strip Lights: Illuminate your cookbook nook with subtle lighting strips to highlight the area and make reading recipes much easier.
Built-In Charging on the Seating Tier
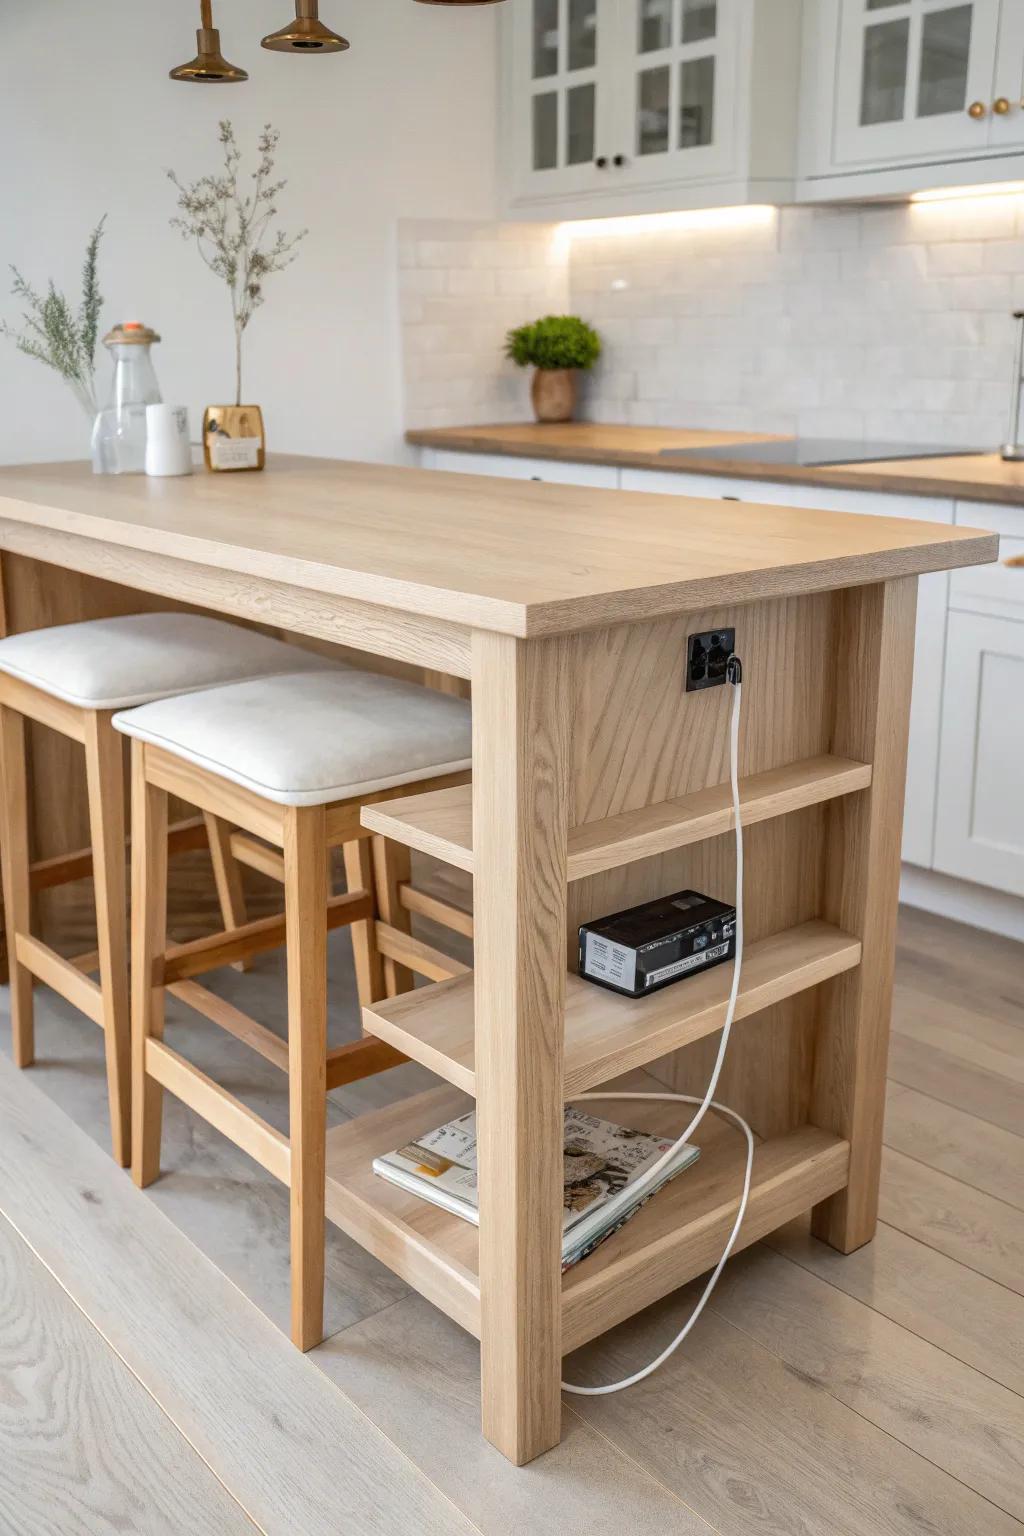
Tuck outlets and device charging into the upper tier so it doubles as a homework-and-coffee counter. I’ve routed a hidden channel under the lip before, and it kept cords from draping all over the prep area.
Some ideas to consider:
- Recessed Furniture Power Strip with USB: Install a sleek, flush-mounted outlet directly into your island to keep devices powered without bulky extension cords.
- Self-Adhesive Cable Management Clips: Keep charging cables tidy and hidden under the counter lip with these discreet, easy-to-install wire organizers.
- Wireless Surface Charging Pad: Create a seamless, cord-free charging zone for your phone by embedding a hidden wireless charger into your countertop.
Pull-Out Table Hidden in the Island
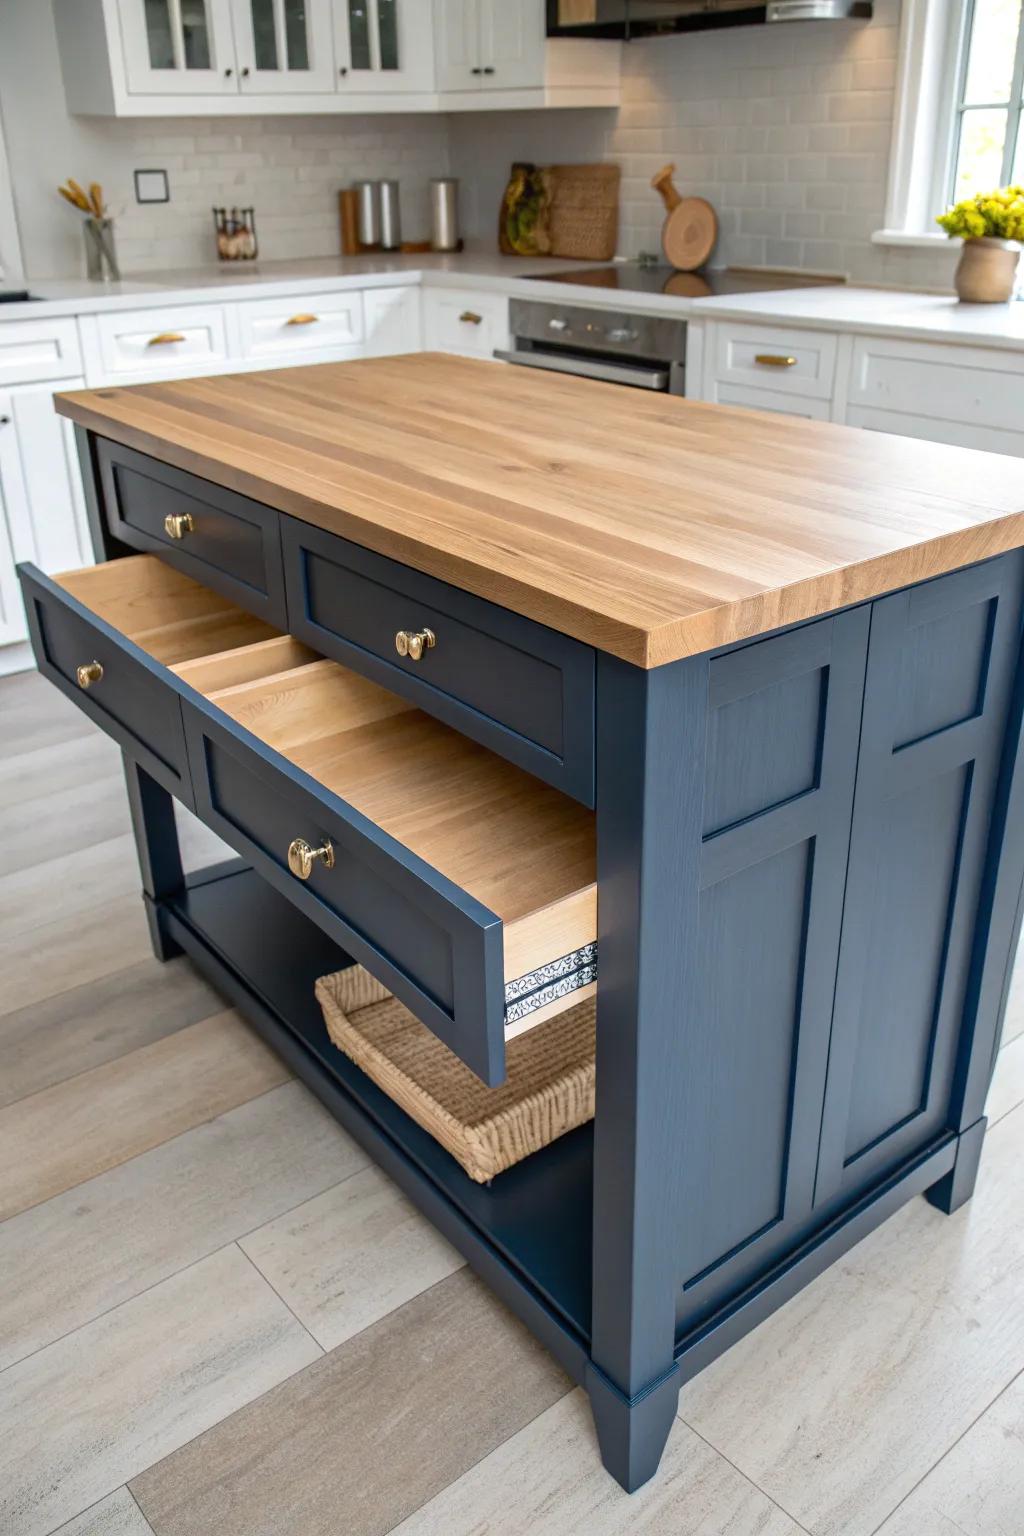
Create a lower pull-out table that slides from the island like a big drawer, giving you a true second tier only when you need it. I’ve mocked this up in the shop with heavy-duty slides, and it feels like the ultimate space-saving party trick.
These products might help:
- Heavy-Duty Drawer Slides: Choose robust slides capable of supporting heavy weight to ensure your pull-out table operates smoothly and safely.
- Butcher Block Countertop: Match your main island surface with a durable butcher block top for a cohesive and stylish dining extension.
- Brass Drawer Pulls: Add the finishing touch to your hidden table with brass hardware that perfectly matches your existing kitchen cabinetry.
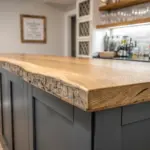
Live-Edge Wood on the Raised Tier
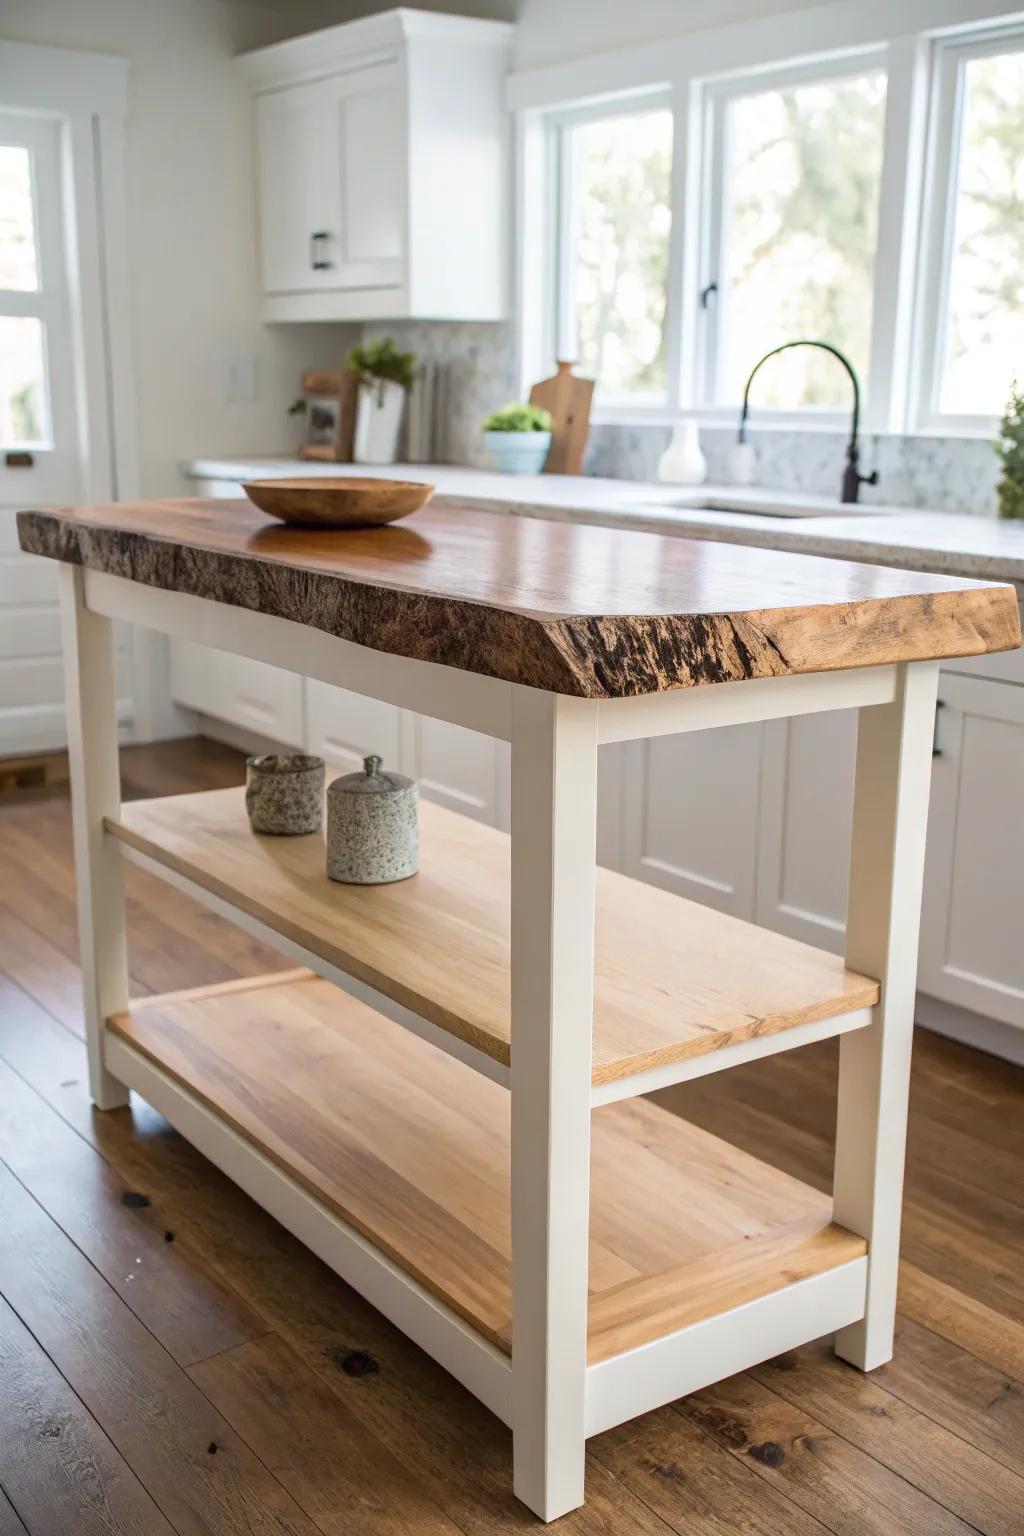
Use a live-edge slab for the upper tier so the island becomes a conversation piece, not just a work surface. I’ve finished live-edge tops with a durable clear coat, and the natural grain makes the two-level look feel warm and one-of-a-kind.
Some handy options:
- Clear Polyurethane Wood Finish: Protect your stunning live-edge slab with a durable finish that resists daily wear without yellowing over time.
- Natural Wooden Dough Bowl: Echo the island’s organic texture by displaying fresh fruit or decor in a handcrafted, rustic wooden centerpiece.
- Ceramic Kitchen Canisters with Lids: Keep your countertops organized and stylish by storing essentials in textured ceramic jars that complement natural wood tones.
Lift-Up Tier for Instant Buffet Mode
Build a mechanical-style lift-up second tier that rises for serving and drops back down when you want a cleaner sightline. I tested a simple lift hardware setup on a small island prototype, and it gave me that big “wow” factor without changing the whole footprint.
Try these:
- Pneumatic or Hydraulic Lift Mechanism: Instantly transform your island by installing sturdy lift hardware to raise a hidden shelf for serving space.
- Butcher Block Countertop Slab: Create a matching second tier for your buffet station using a durable, solid wood surface.
- Heavy-Duty Concealed Hinges: Ensure smooth movement for your drop-down tier with robust hinges designed for custom furniture projects.


