
When someone says “cane decor,” my mind goes straight to candy cane holiday decorating—bold, cozy, and instantly cheerful.
Mantel Statement Candy Cane Pair
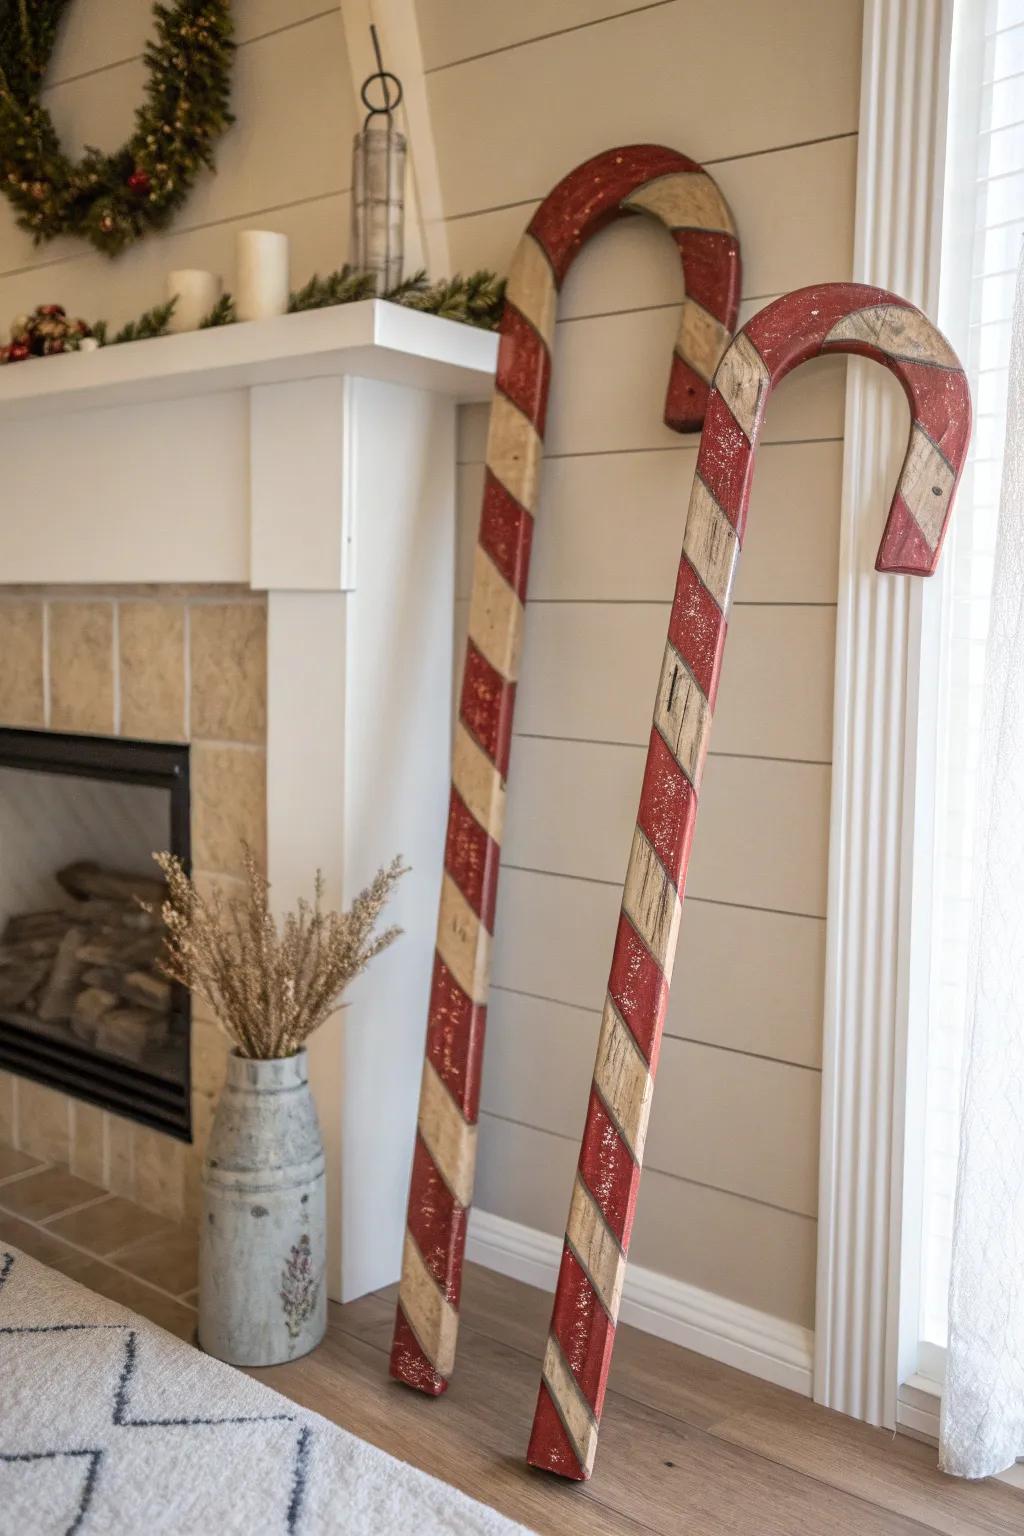
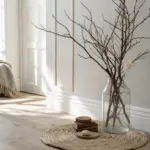
Two tall wood candy canes on the hearth instantly frame your fireplace like décor “bookends,” and I do this every year when I want quick impact. I usually distress the red paint a little so the rustic finish plays nice with wood tones.
May just do the trick:
- Large Wooden Candy Canes: Find ready-made rustic wooden candy canes to effortlessly frame your fireplace and create an instant focal point.
- Red & White Chalk Paint Set: Create that charming distressed look yourself by applying matte red and white chalk paints to plain wood.
- Tall Galvanized Metal Vase: Complete the farmhouse hearth look by pairing your candy canes with a tall, rustic metal floor vase.


Oversized Porch Leaning Candy Canes
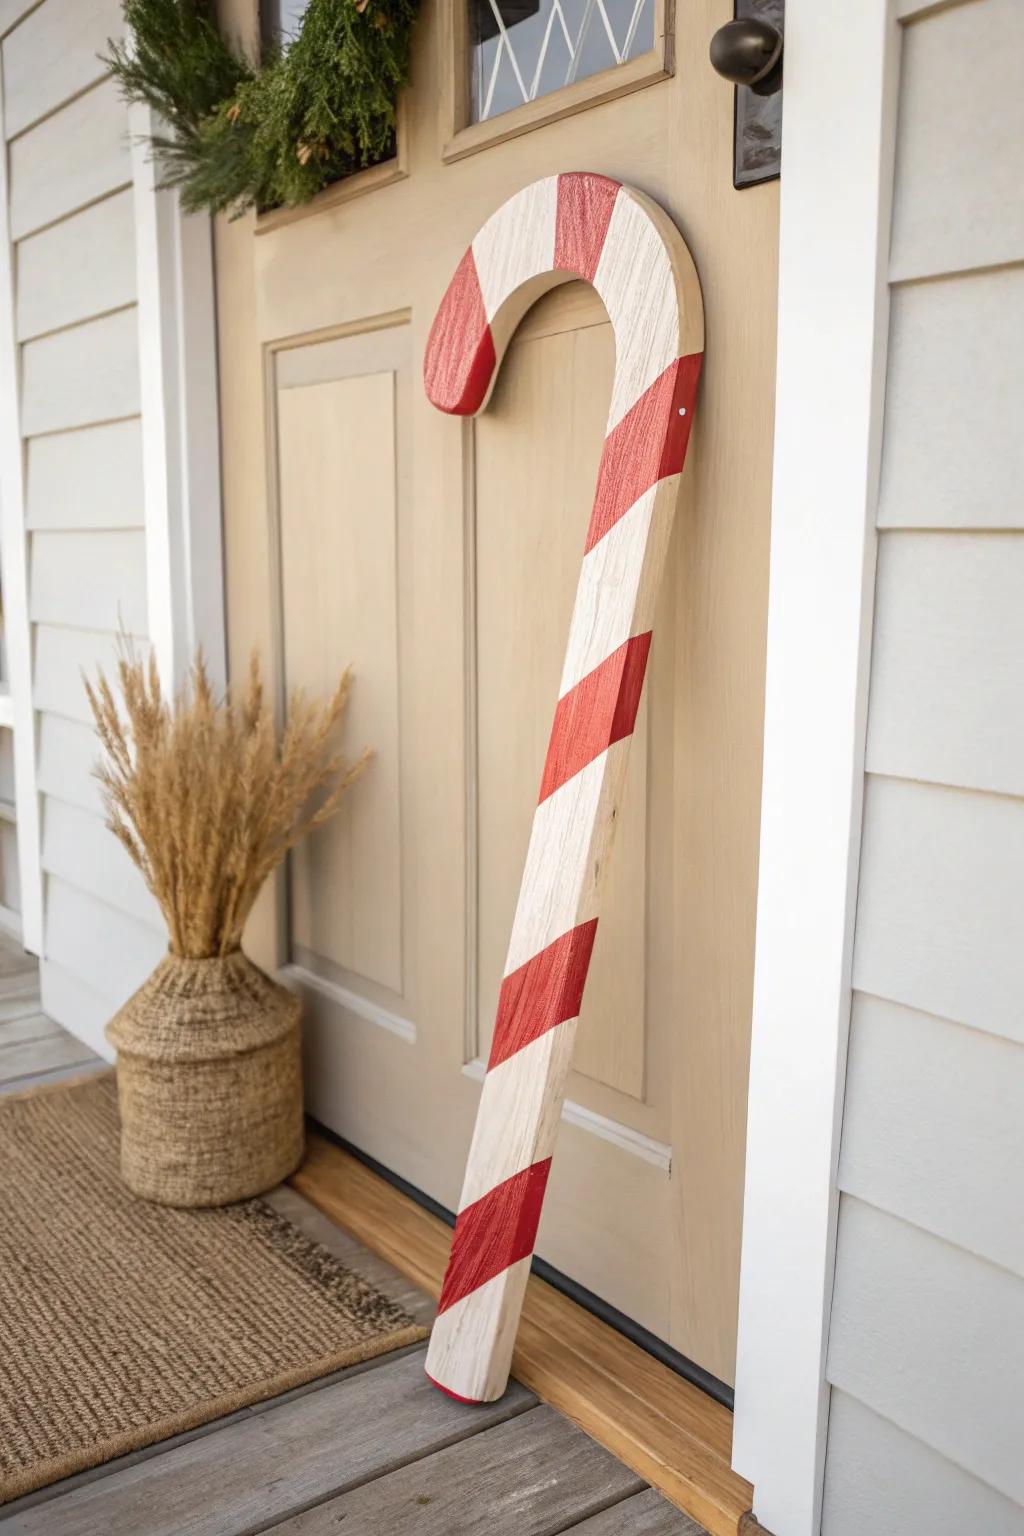
I love making giant wooden candy canes that lean by the door—just cut the shape from plywood and paint classic peppermint stripes. In my experience, a little sanding plus a matte topcoat keeps them looking crisp even after a busy season.
Give these a look:
- Cabinet Grade Plywood Sheets: Start your project here; choose a sturdy sheet of wood to cut out your custom oversized candy cane shape.
- Exterior Acrylic Paint Set: Paint those classic red and white stripes with durable outdoor paints that help resist fading during the winter season.
- Clear Matte Polyurethane Finish: Seal your finished decoration with a protective topcoat to help keep it looking crisp and fresh against the weather.


Candy Cane Door Hanger Sign
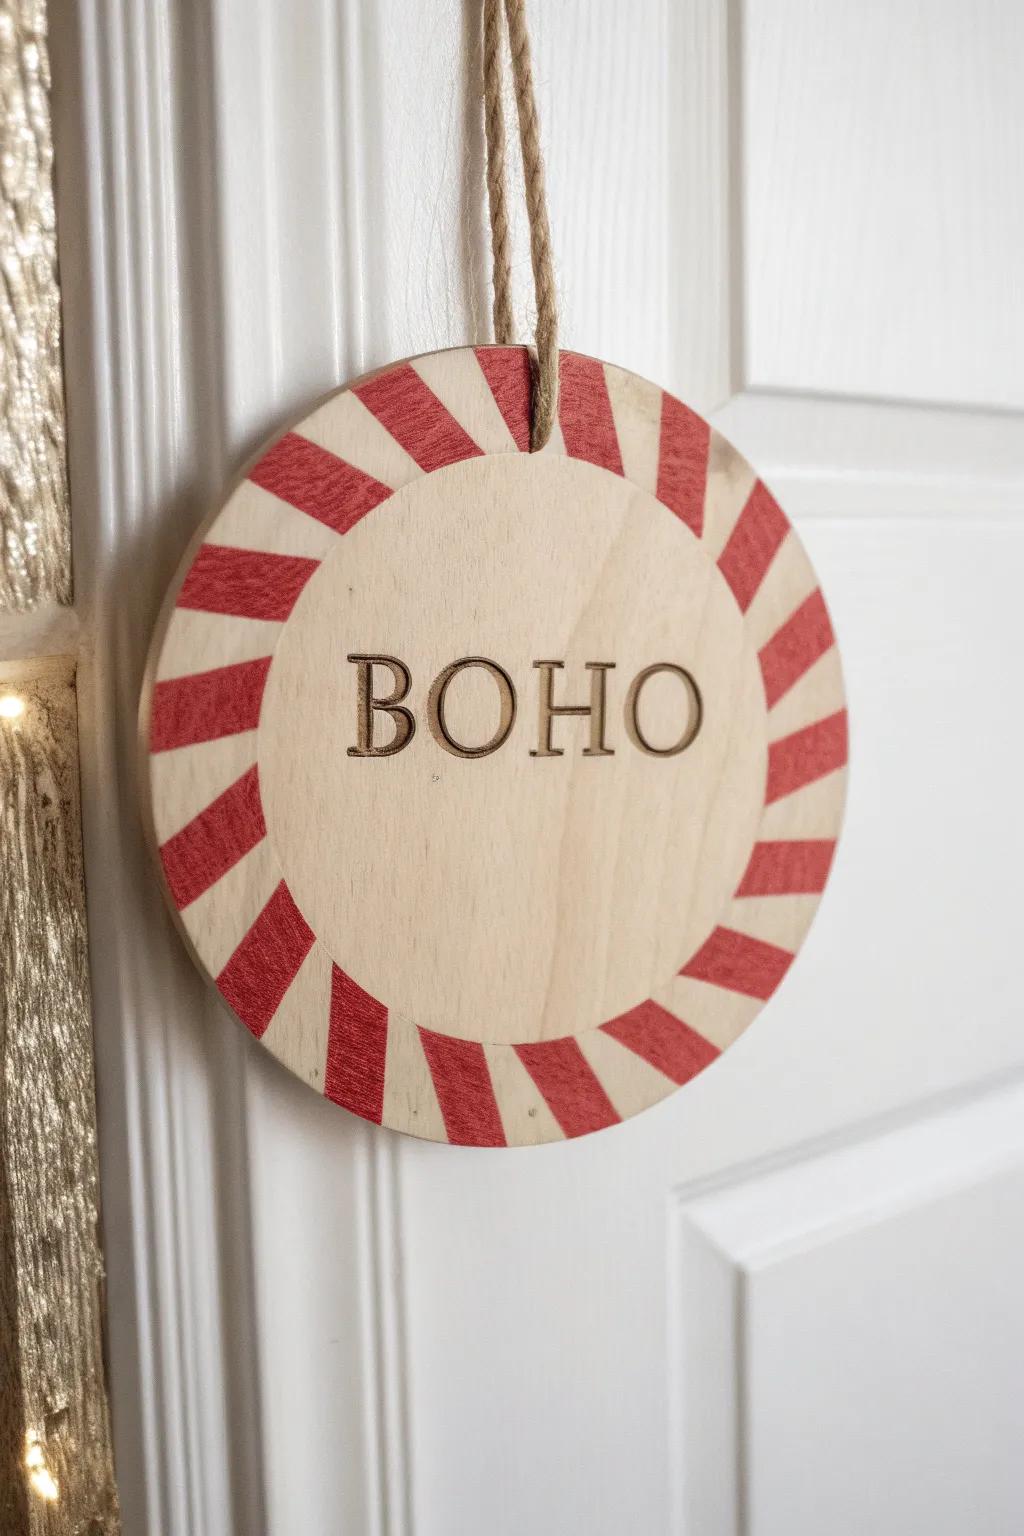
I’ve made a simple round wood sign with a painted candy cane wrapped around the edge like a border, and it reads so festive without being fussy. My trick is using a skinny strip of wood for the cane “hook” so it looks more dimensional.
Some ideas to consider:
- Unfinished Round Wood Plaques: Start your festive project with a smooth, sturdy base ready for your unique striped candy cane design.
- Red Acrylic Craft Paint: Apply vibrant, lasting red stripes to your wood sign to create that classic candy cane border effect.
- Jute Twine Rope: Finish your door hanger with natural jute twine for an easy, rustic way to display your art.


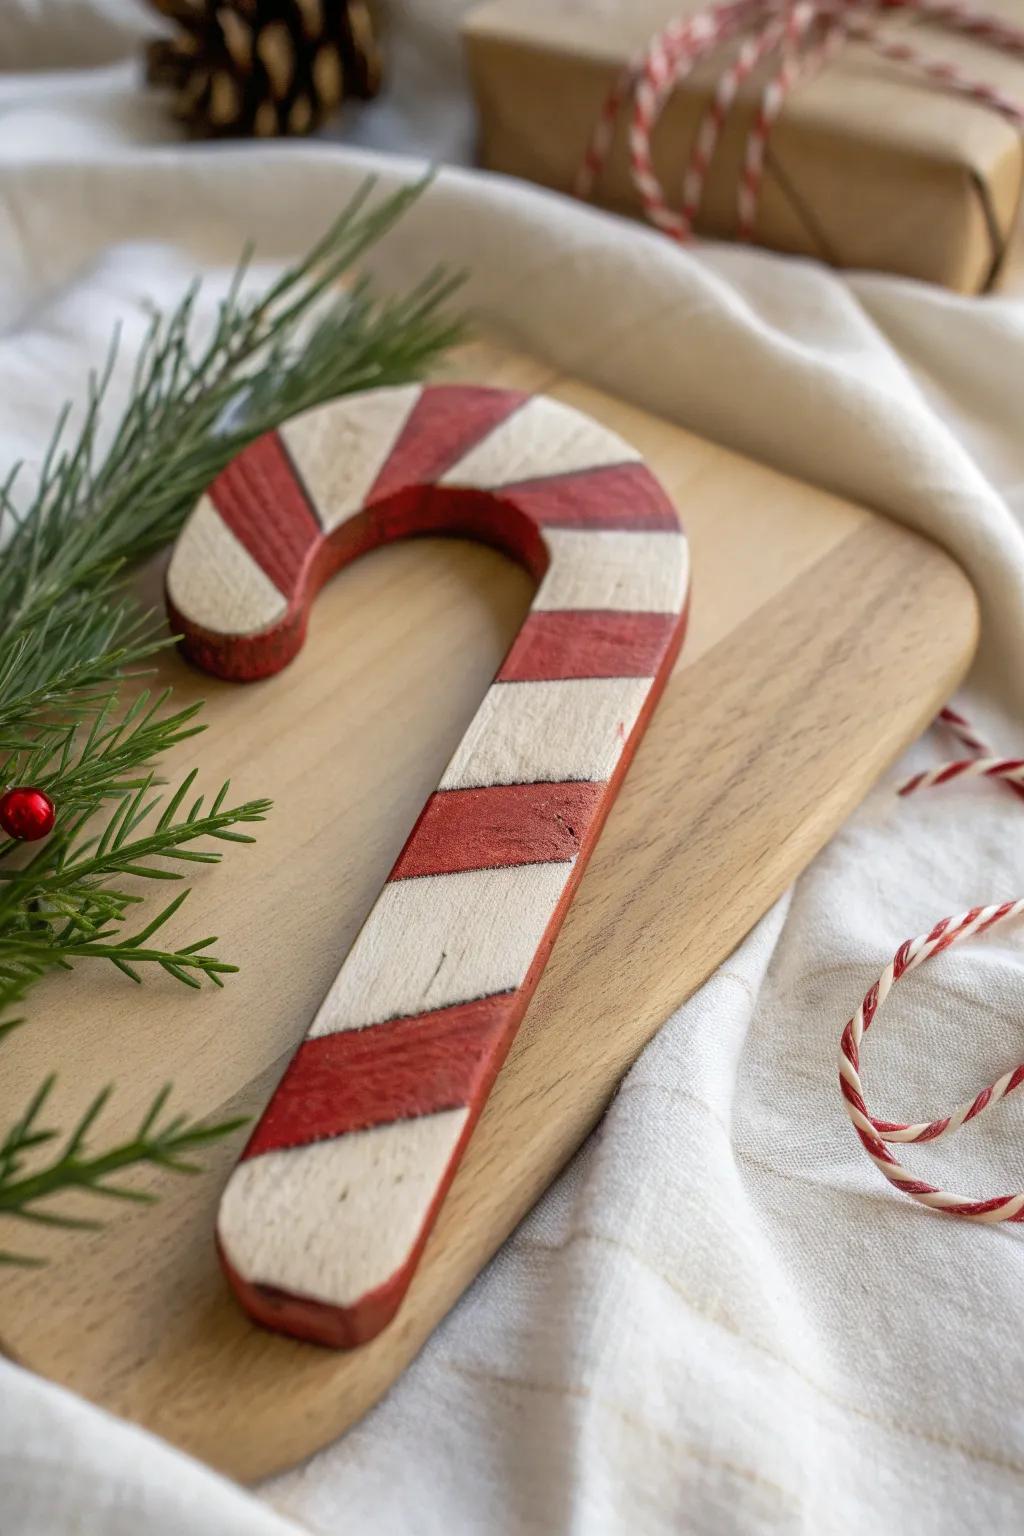
Scroll-Sawn Candy Cane Ornaments
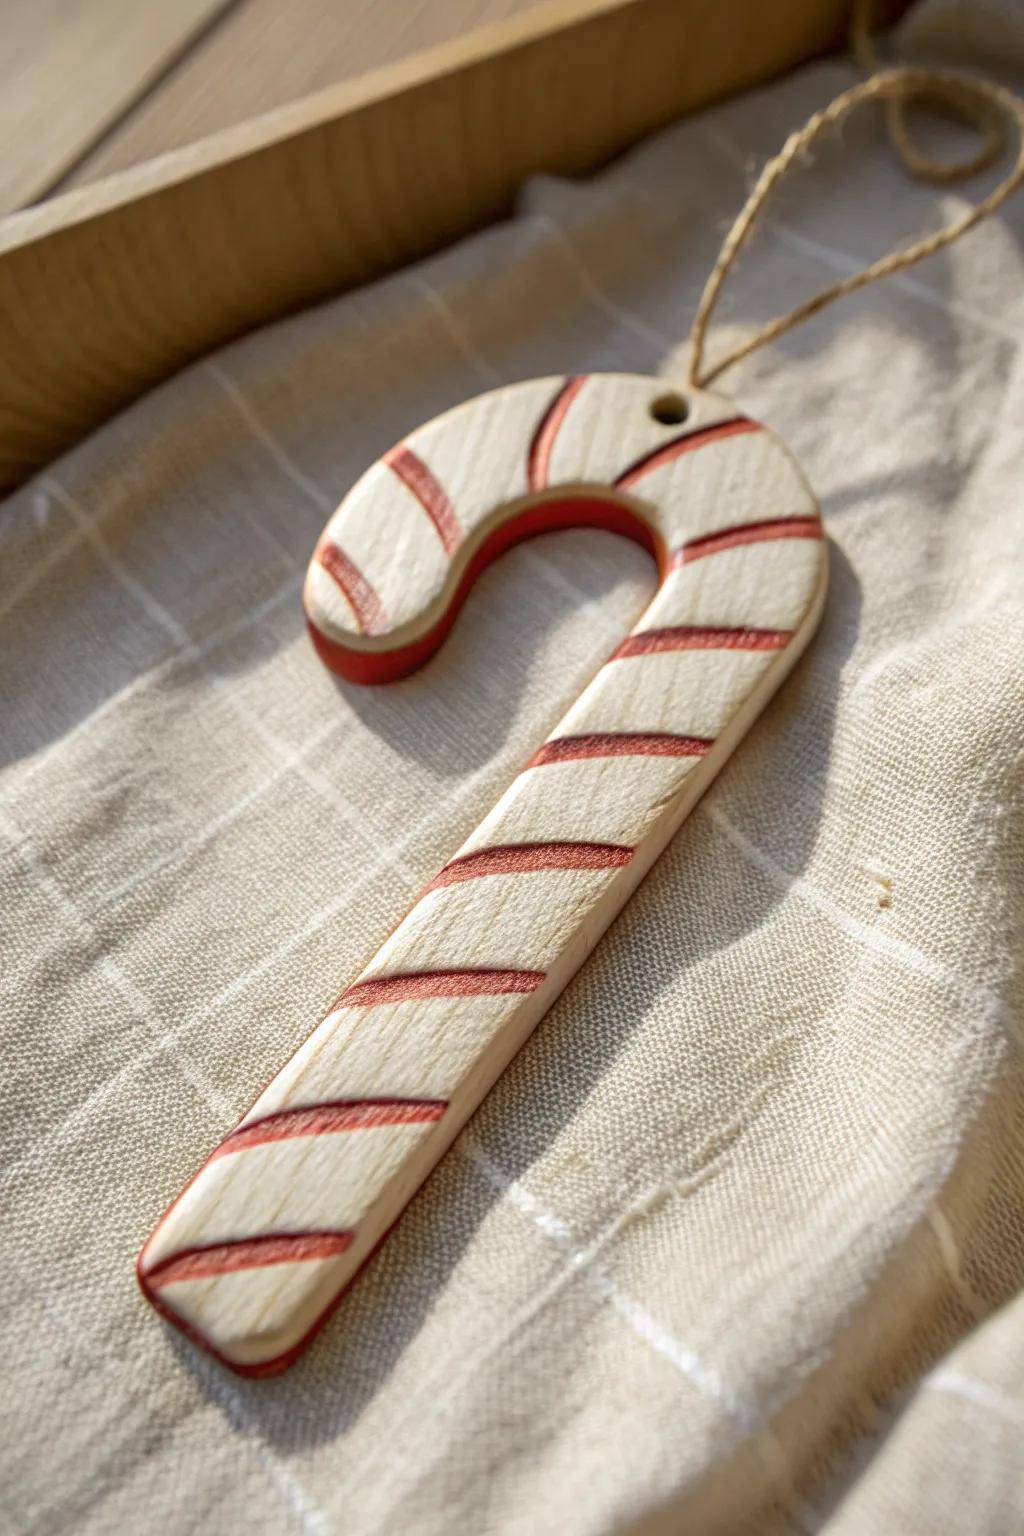
When I’m low on time, I batch out little candy cane ornaments from thin wood on the scroll saw and paint them in a few stripe patterns. In my shop, drilling the hanger hole before painting saves me from chipping the finish later.
Check these products out:
- Thin Craft Plywood or Basswood Sheets: Grab these thin wood sheets to easily batch out multiple ornaments without straining your saw blade.
- Red Acrylic Craft Paint Set: Use these vibrant paints to add the classic festive red stripes to your wooden cane creations.
- Jute Twine or Hemp Cord: Finish your project with this rustic cord, perfect for creating sturdy, natural-looking hanging loops.
Wood Candy Cane Garland

A garland of mini candy cane cutouts strung on twine looks adorable across a mirror or shelf, and I’ve used scrap plywood for the whole thing. I like to mix solid red canes with striped ones for that peppermint mix feel.
Products that could assist:
- Unfinished Wood Rounds or Cutouts: Start your garland project by grabbing these smooth wooden circles, ready for your custom peppermint paint designs.
- Red Acrylic Craft Paint: Create those classic peppermint stripes with vibrant red paint that adheres smoothly to wooden surfaces.
- Natural Jute Twine or Rope: String your finished ornaments onto this sturdy, rustic twine to complete that charming farmhouse holiday look.
Candy Cane Picks for Tree Fluffing
I’ll make a handful of flat wooden candy canes on dowels and poke them into the tree as “filler” where gaps show. It’s honestly one of my go-tos because it adds red-and-white pop without buying more ornaments.
Items that may come in handy:
- Unfinished Wooden Candy Cane Cutouts: Start your project easily with pre-cut wooden shapes ready for you to paint and customize instantly.
- Acrylic Craft Paint Set (Red & White): Create that classic festive look by applying vibrant red and white stripes to your wooden bases.
- Wooden Dowel Rods for Crafting: Transform your painted candy canes into sturdy tree picks by attaching these durable wooden sticks.

Peppermint Tabletop Tree Set
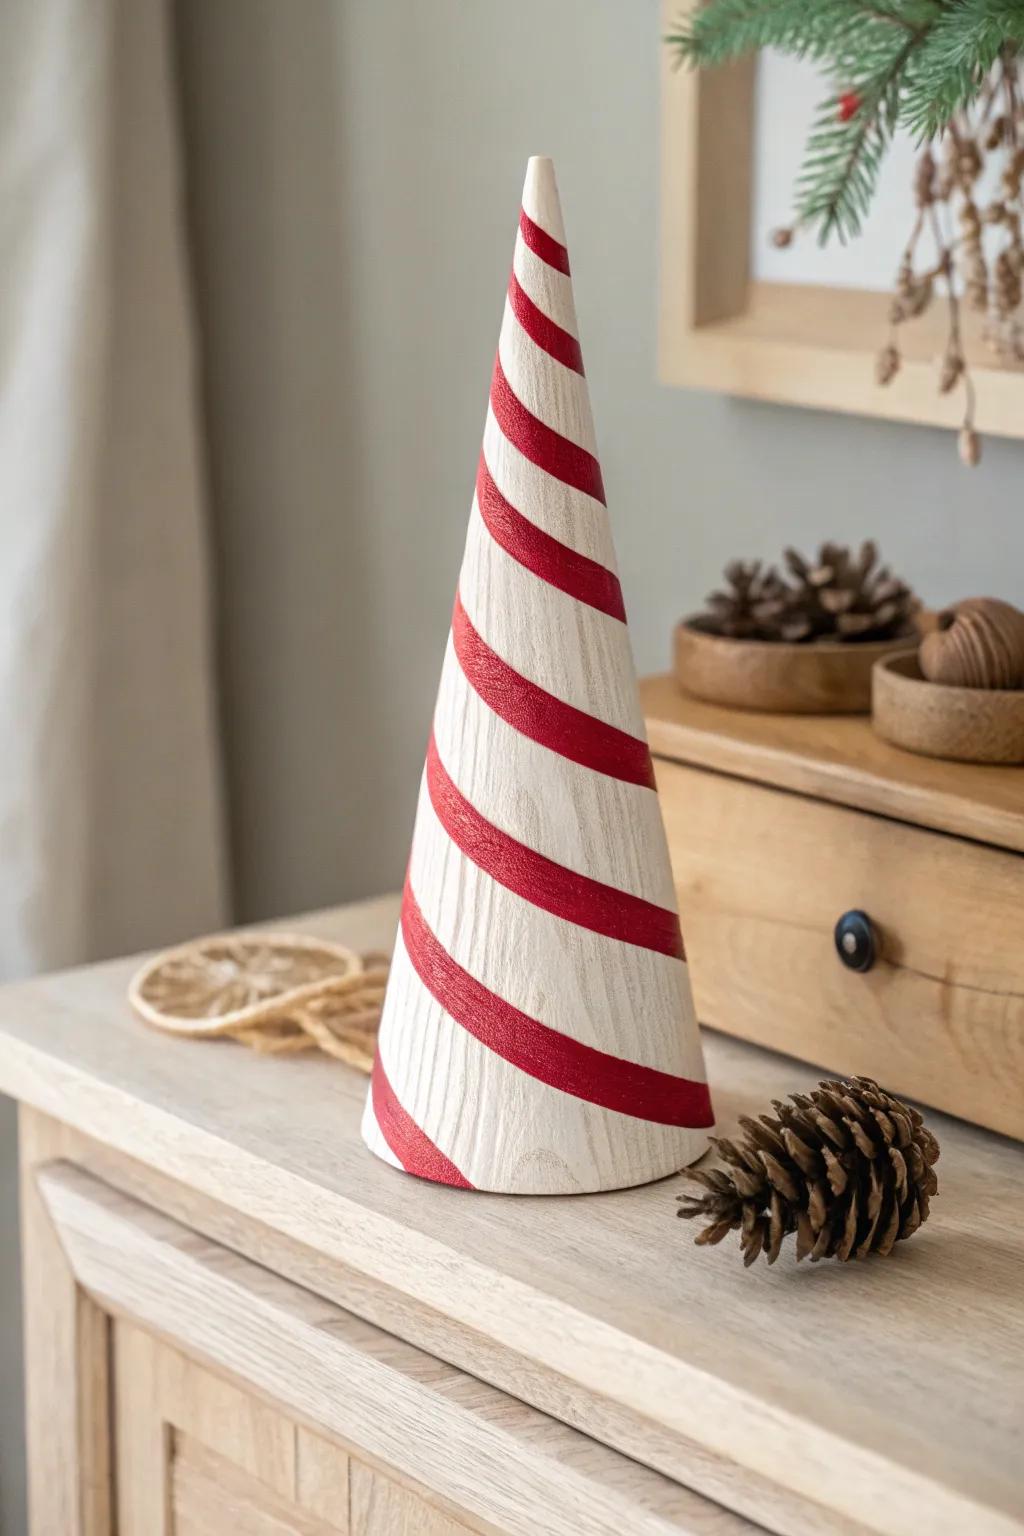
A trio of small wood tabletop trees painted with candy cane stripes makes the cutest corner vignette on a console or coffee table. I’ve learned that slightly different heights look more “collected,” even if they’re all from the same scrap board.
A few relevant products:
- Unfinished Wood cone craft forms: Grab a set of sturdy wood cones in varying heights to create the perfect base for your peppermint tree trio.
- Red acrylic craft paint: Use vivid red acrylic paint to hand-paint the classic candy cane spirals onto your solid wooden tree forms.
- Painters tape for clean lines: Achieve crisp, professional-looking candy cane stripes on your cones by masking off sections with flexible painter’s tape.
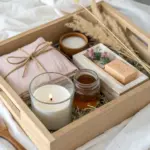
Candy Cane Centerpiece Tray

I build a simple wooden tray and fill it with greenery, candles, and one oversized candy cane shape as the main accent. In my experience, adding a bit of natural wood (like birch slices) keeps the peppermint palette from feeling too loud.
You might like:
- Round Wooden Serving Tray: Start your centerpiece with a natural wood base to organize your holiday arrangement and add rustic charm.
- White Pillar Candle Set: Add soft, cozy lighting to your display with these classic white candles that complement any festive theme.
- Faux Eucalyptus and Pine Stems: Bring lasting freshness to your tray with realistic greenery that stays vibrant throughout the entire holiday season.
Candy Cane Stocking Holders
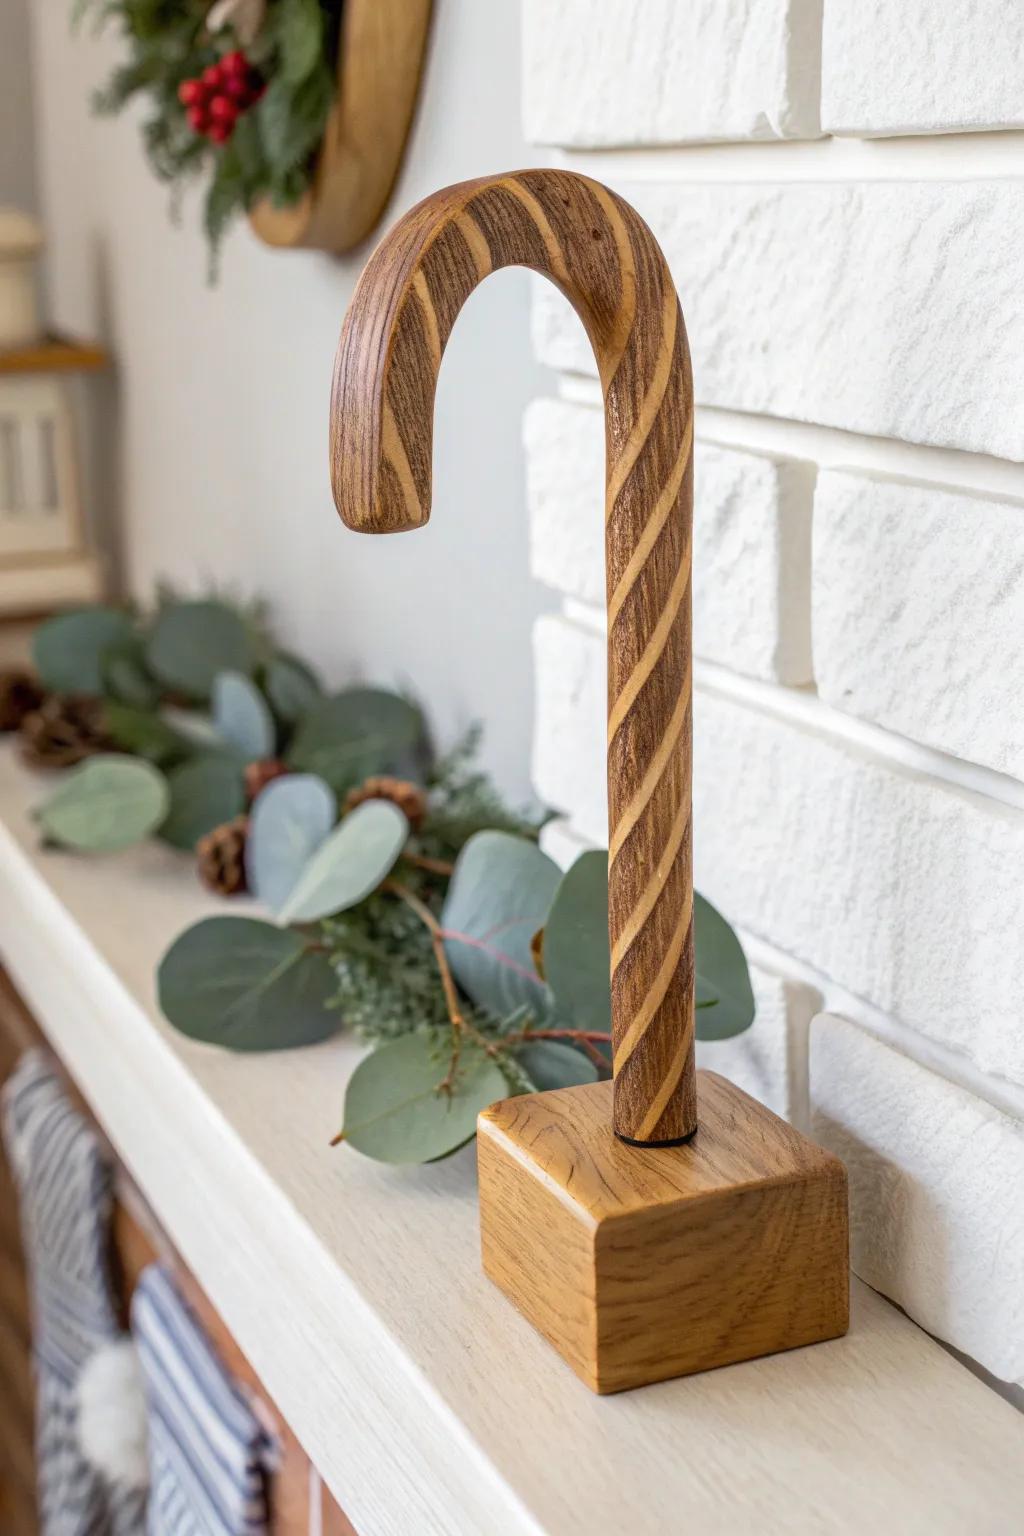
I’ve made candy cane-shaped bases from thick wood and added sturdy hooks so they work as cute stocking holders on the mantel. If you’ve got kids tugging on stockings, trust me—weighting the base with a hidden steel plate is a game-changer.
A few choices to try:
- Wooden Dowel Rods (1 Inch Thick): Start your project with sturdy wood dowels perfect for carving or shaping into classic candy cane forms.
- Dark Wood Stain: Give your wooden candy canes a rich, rustic finish that highlights the natural grain with this stain.
- Heavy Duty Steel Mending Plates: Securely weight your base by attaching these heavy steel plates underneath to prevent tipping when stockings are full.
Candy Cane Ladder Decor

I’ve leaned a blanket ladder against the wall and hung lightweight wood candy canes from ribbon like oversized ornaments. It’s such an easy win in my house because the vertical decor fills an empty corner without adding clutter.
Maybe worth checking out:
- Wooden Blanket Ladder: Use a sturdy wooden ladder to vertically display blankets and seasonal decor while saving precious floor space.
- Wooden Candy Canes: Hang these lightweight, rustic wooden ornaments from your ladder rungs to add effortless holiday charm instantly.
- Beige Throw Blanket with Tassels: Drape a textured, neutral throw over the rungs to create a cozy, layered look for winter.
Reclaimed Wood Candy Cane Wall Panel
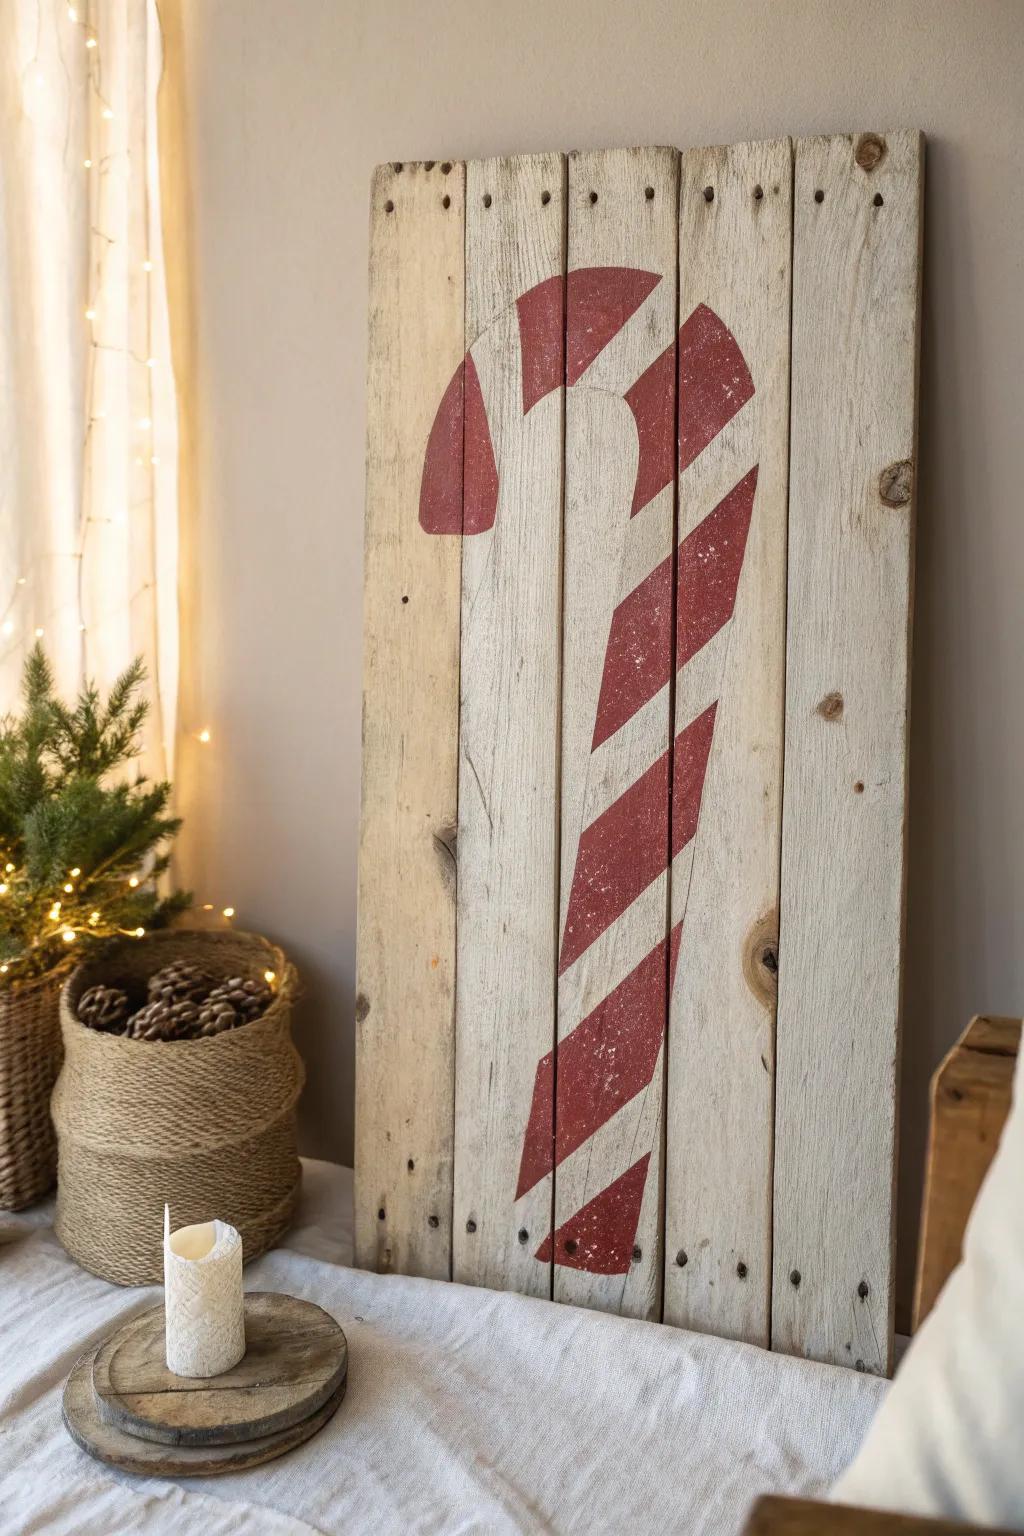
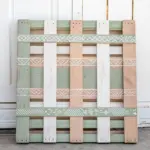
One of my favorites is a rustic panel made from reclaimed boards with a big centered candy cane in simple blocky stripes. I’ve found that imperfect boards and nail holes actually make the red-and-white paint look more charming.
Check if these fit your needs:
- Reclaimed Barn Wood Planks: Create the authentic rustic base for your sign easily by using these weathered, real wood planks.
- Candy Cane Stencil: Achieve perfect curves and crisp lines for your candy cane shape with a large, reusable stencil.
- Chalk Style Paint Set: Get that perfect vintage matte finish on your sign using high-quality red and white chalk paint.
Candy Cane Lantern Silhouettes
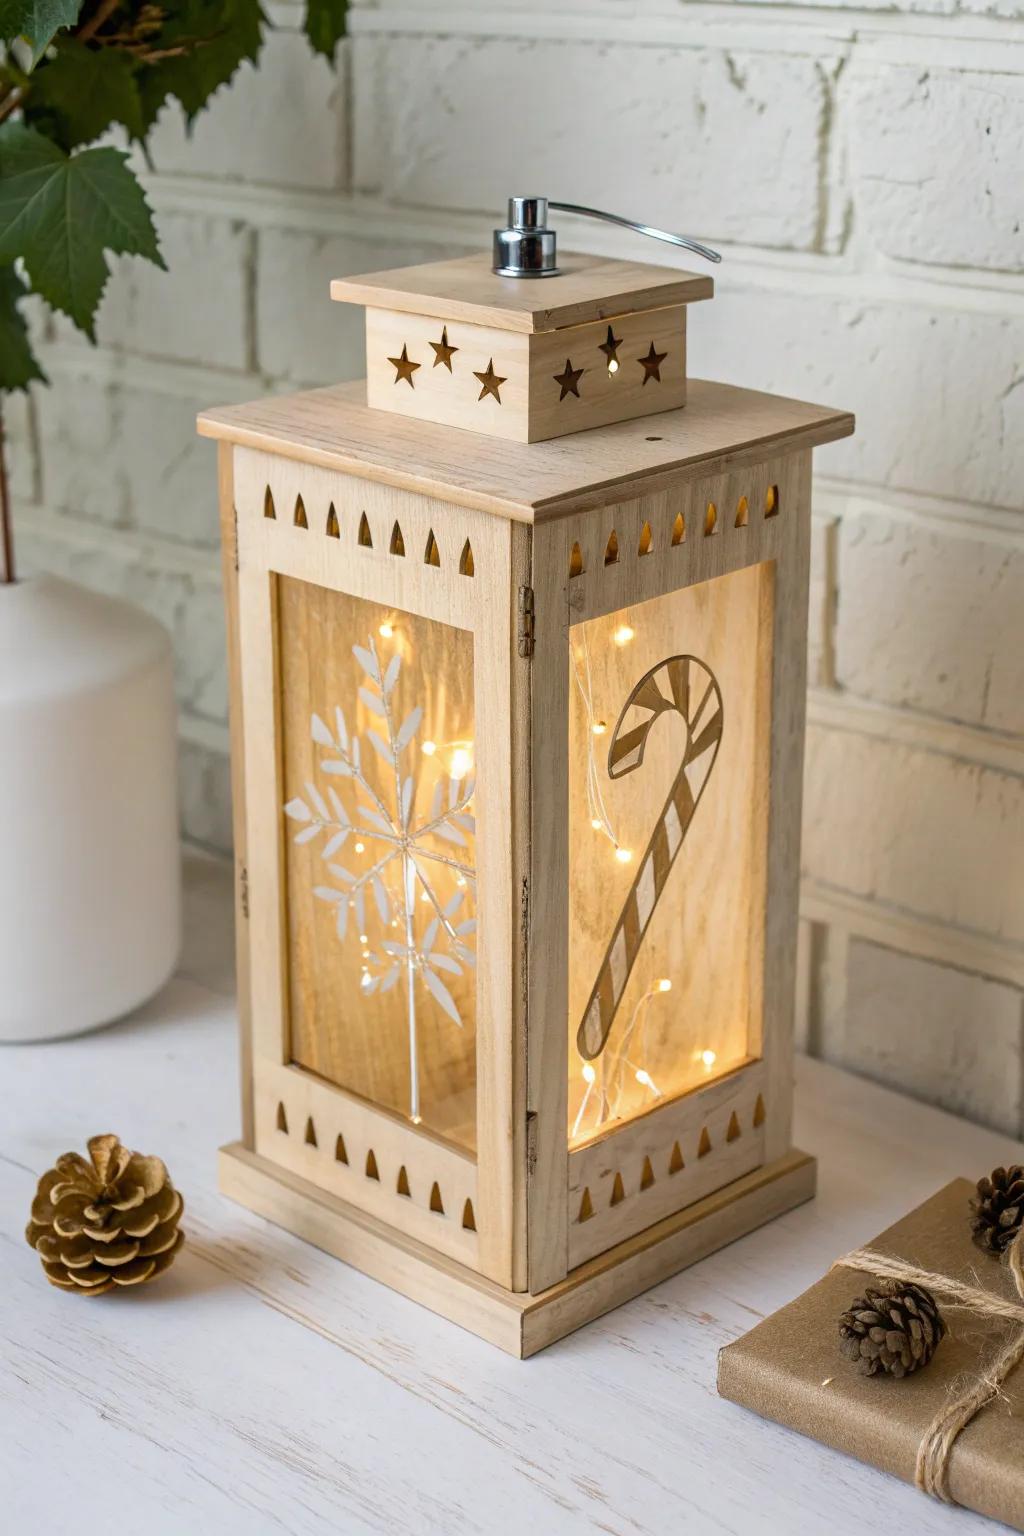
I’ve cut candy cane silhouettes into thin wood panels and backed them with warm string lights inside a lantern-style box for a cozy glow. The first time I tried it, I realized sanding the cut edges really helps the light look soft instead of harsh.
Might be a good match:
- Thin Balboa/Plywood Sheets: Create your own lantern panels easily with thin wood sheets that are perfect for intricate silhouette cutting.
- LED Fairy String Lights: Add a warm, cozy glow inside your lantern with battery-operated lights that are safe for wooden decorations.
- Craft Detail Sanding Sticks: Smooth out your cut edges to ensure the light diffuses softly and gives your project a professional finish.
Candy Cane Resin Inlay Coasters
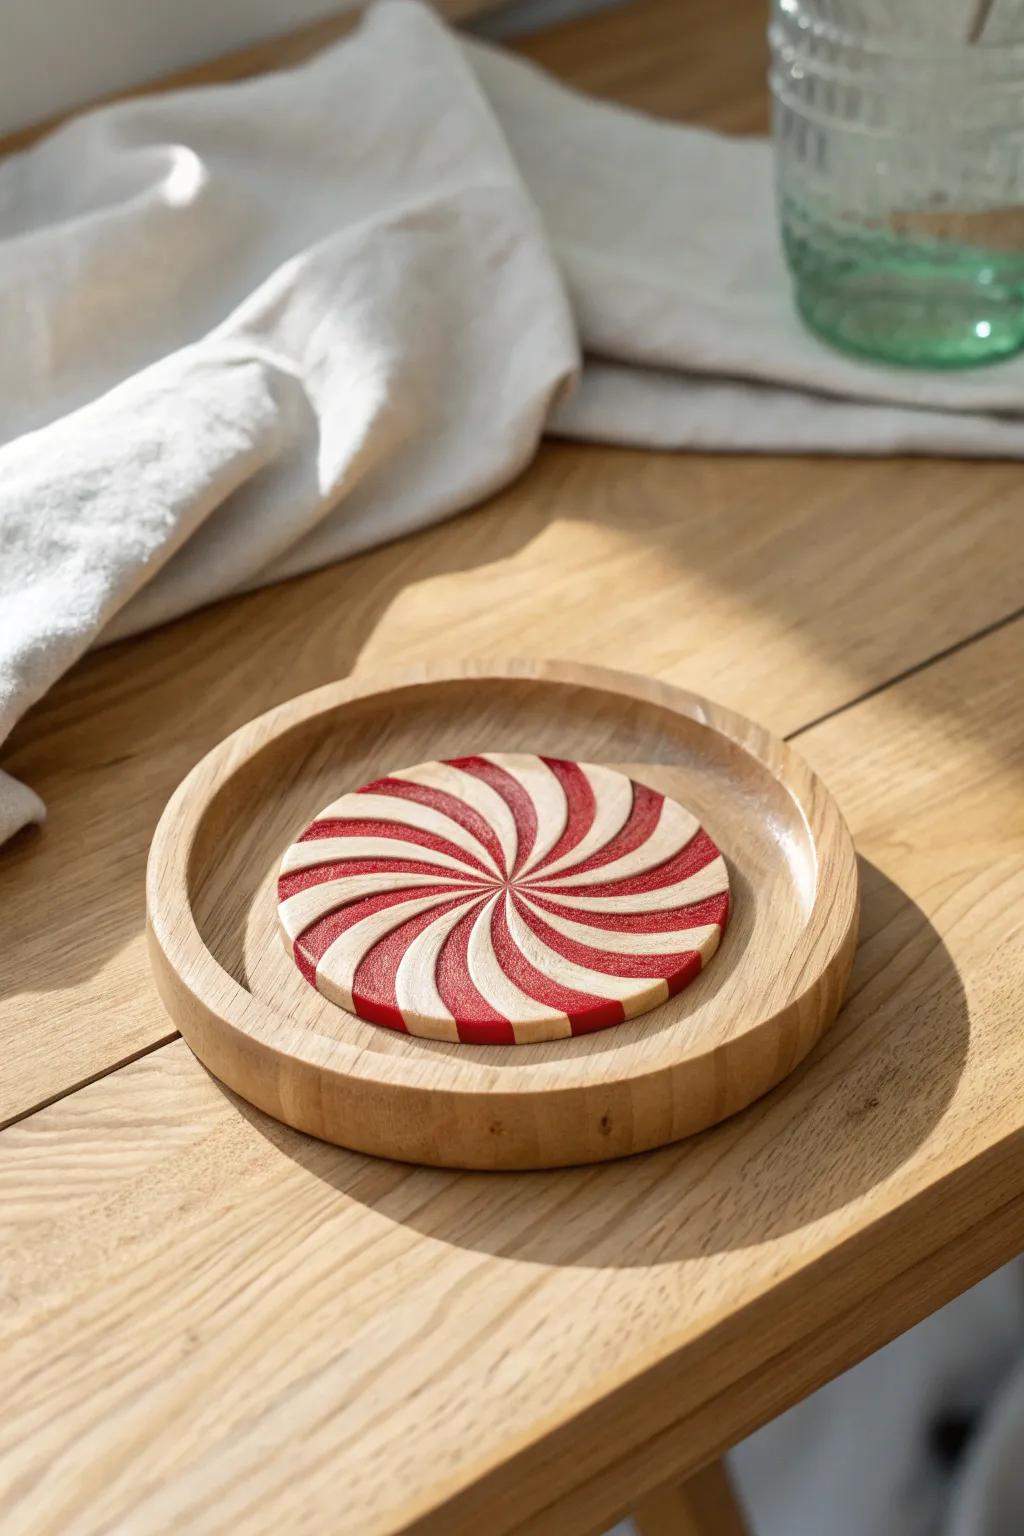
For a wow-factor project, I route a simple candy cane groove into wood and pour tinted resin for crisp peppermint stripes. I’ve learned to keep the inlay shallow and clean—those sharp lines are what make people do a double-take.
Possibly handy products:
- Epoxy Resin Kit: Use a clear casting resin to fill your routed grooves and create a durable, glossy surface finish.
- Red Resin Pigment Dye: Add vibrant color to your resin mixture to achieve that classic, eye-catching candy cane red stripe.
- Palm Router or Trim Router: Carve precise grooves into your wooden coaster blanks to create the perfect channel for your resin pour.
Giant Candy Cane Entry Arch
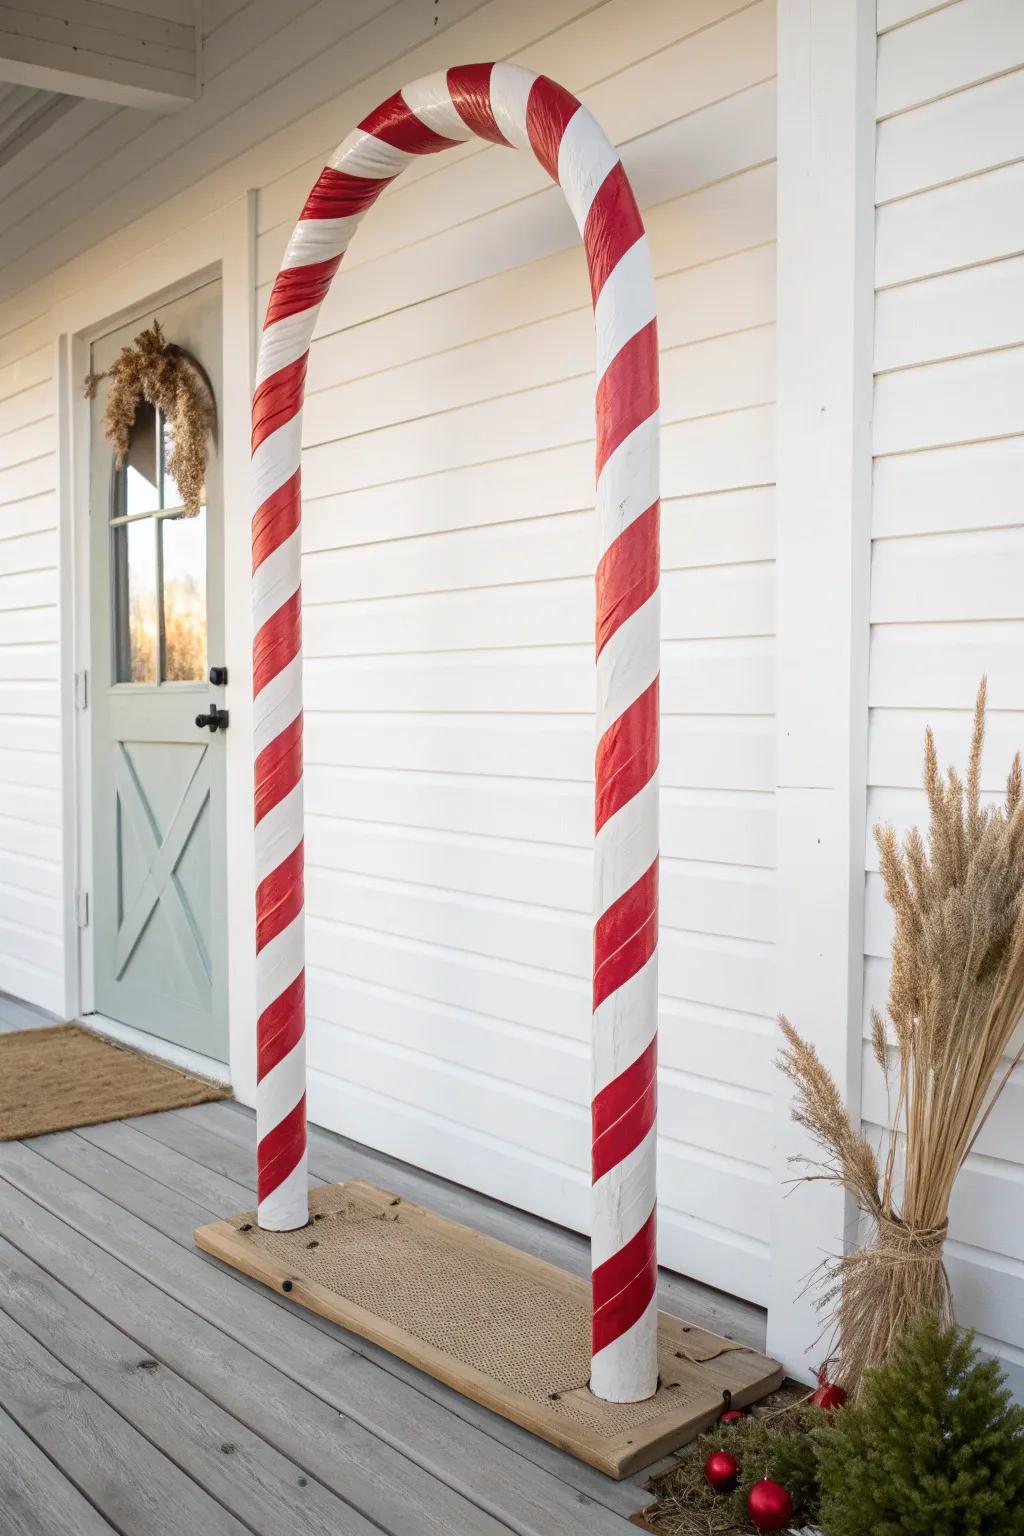
The biggest “whoa” project I’ve built is a freestanding candy cane arch for the front walk, basically two giant wood canes connected with a crossbar. It takes a little planning, but in my experience it turns your whole entry into a peppermint wonderland with just one piece.
Some handy options:
- Red Duct Tape: Create the classic peppermint stripes easily by wrapping this durable, vibrant tape around your arch structure.
- White PVC Pipe: Build the sturdy, flexible frame of your arch using durable pipe that withstands winter weather conditions.
- Artificial Pine Picks: Add a festive touch to the base of your arch with durable greenery that looks great all season.


