
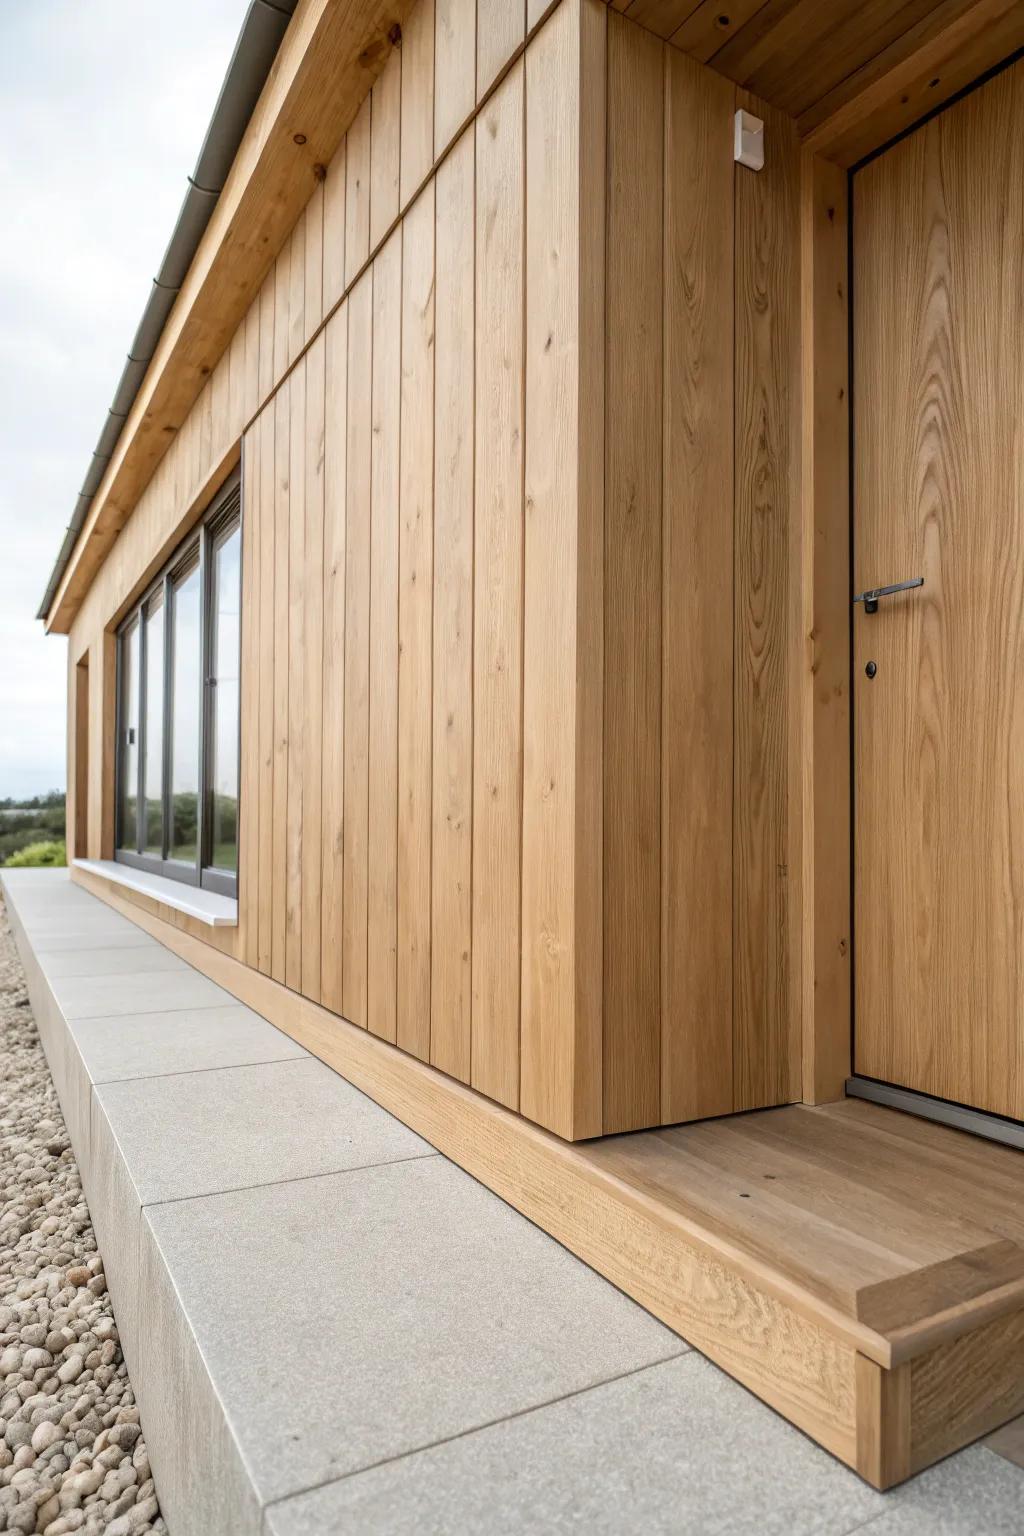
Skirting is the little detail that makes a pier and beam house look finished instead of “floating.”
Vertical Board and Batten Skirting
For a farmhouse vibe, I’ve installed board and batten skirting that matches the house siding, and it instantly makes the pier and beam setup feel intentional. I always leave a small gap and add hidden ventilation so it looks tight but doesn’t trap moisture.
A few suggestions:
- Foundation Vent Covers: Ensure proper airflow beneath your skirting to prevent moisture buildup with these easy-to-install, discreet vent covers.
- Exterior Wood Stain & Sealer: Protect your raw vertical wood boards from weathering and UV damage while enhancing their natural grain.
- Construction Adhesive: Securely attach your batten strips or backing materials with durable, heavy-duty adhesive designed for exterior use.


Framed Lattice With a Solid Base Trim
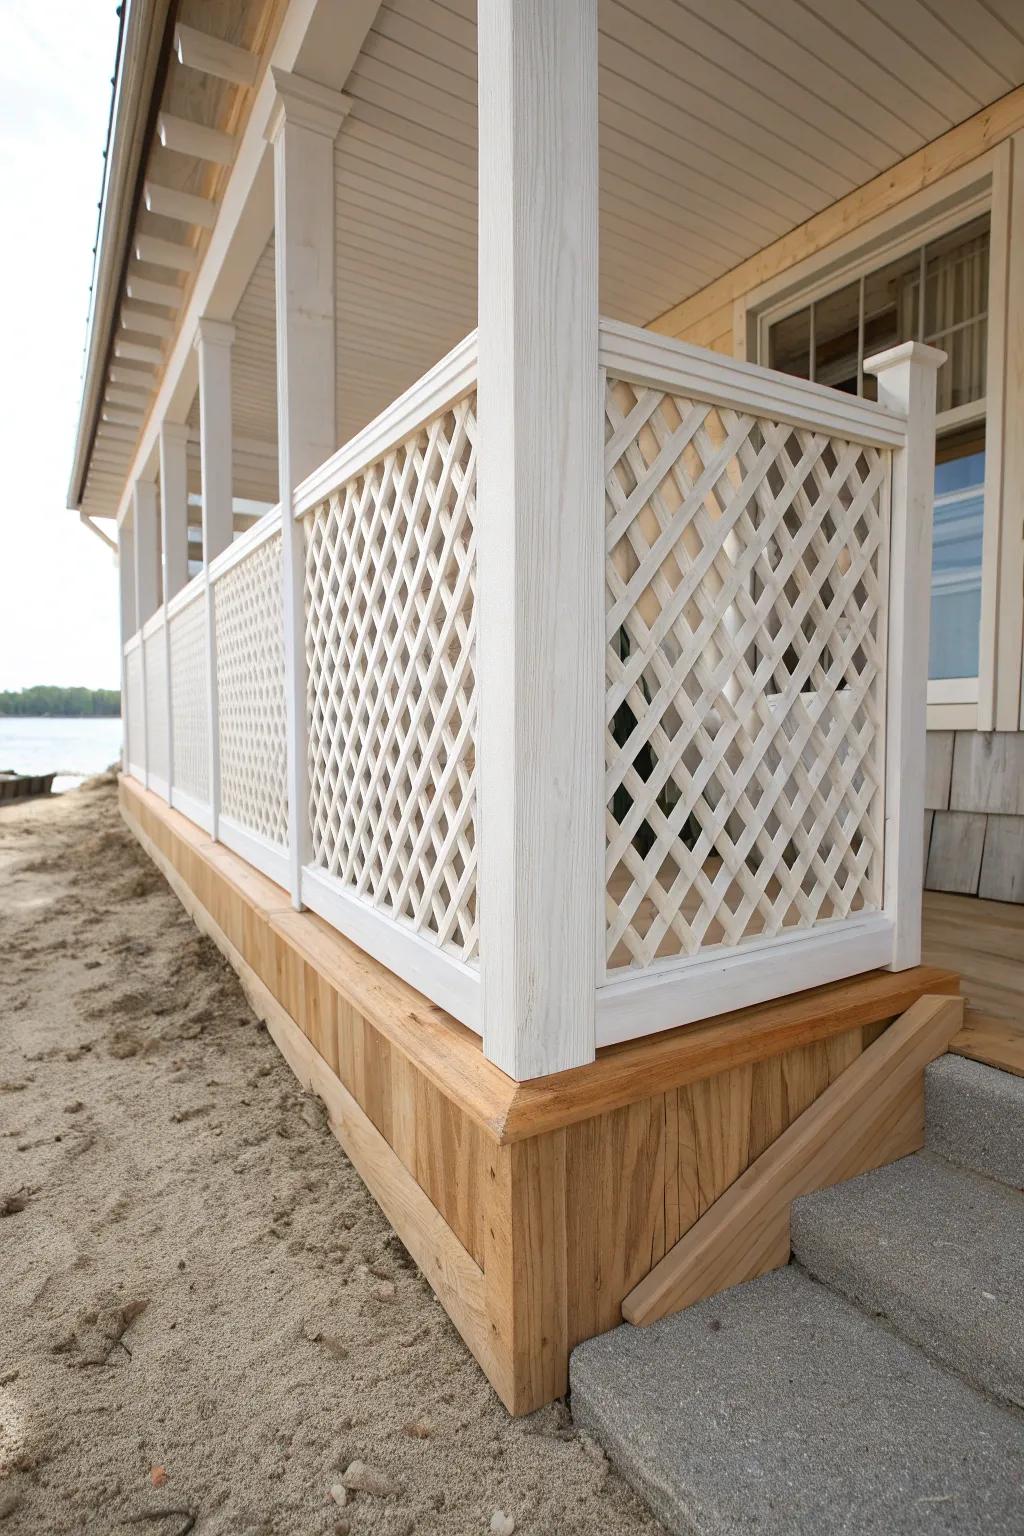
I like pairing lattice skirting with a sturdy bottom rail so string trimmers and muddy splash don’t chew it up. On my last build, that extra trim made the whole pier and beam foundation look more “architectural” with almost no extra effort.
A few choices to try:
- Vinyl or Wood Lattice Panels: Choose durable lattice panels to create your skirting barrier while allowing necessary airflow under your home.
- Rot-Resistant Baseboard Lumber: Install a sturdy bottom rail using rot-resistant boards to protect your skirting from moisture and damage.
- General Purpose Wood Screws: Secure your framing and base trim tightly with corrosion-resistant screws designed for outdoor construction projects.

Painted Picket-Style Skirting
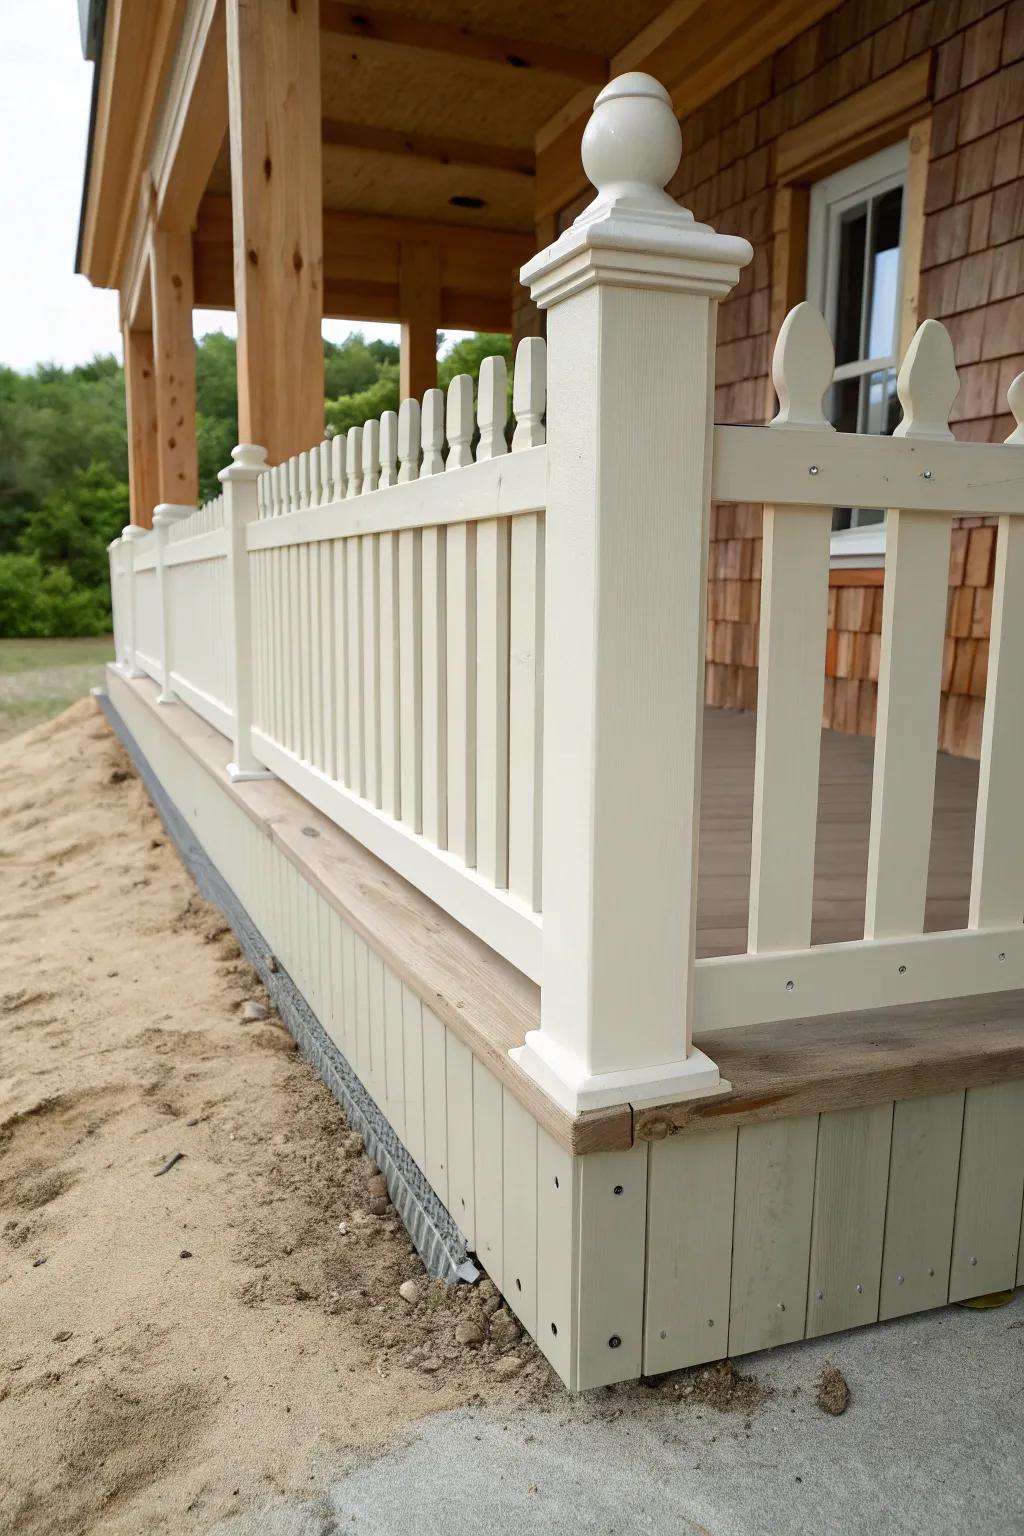
I’ve built picket skirting below porches on pier and beam cottages, and it’s the cutest way to echo railing details. I keep the pickets slightly off the ground and add hardware cloth behind them to discourage critters.
Check these products out:
- Hardware Cloth / Galvanized Mesh: Install this durable mesh behind your skirting pickets to effectively block pests while maintaining crucial airflow.
- Exterior Wood Primer & Paint: Protect your new skirting from the elements and achieve a crisp, lasting finish with high-quality paint.
- White Vinyl or Wood Pickets: Create the classic skirting look easily by using pre-cut pickets ready for installation and custom spacing.
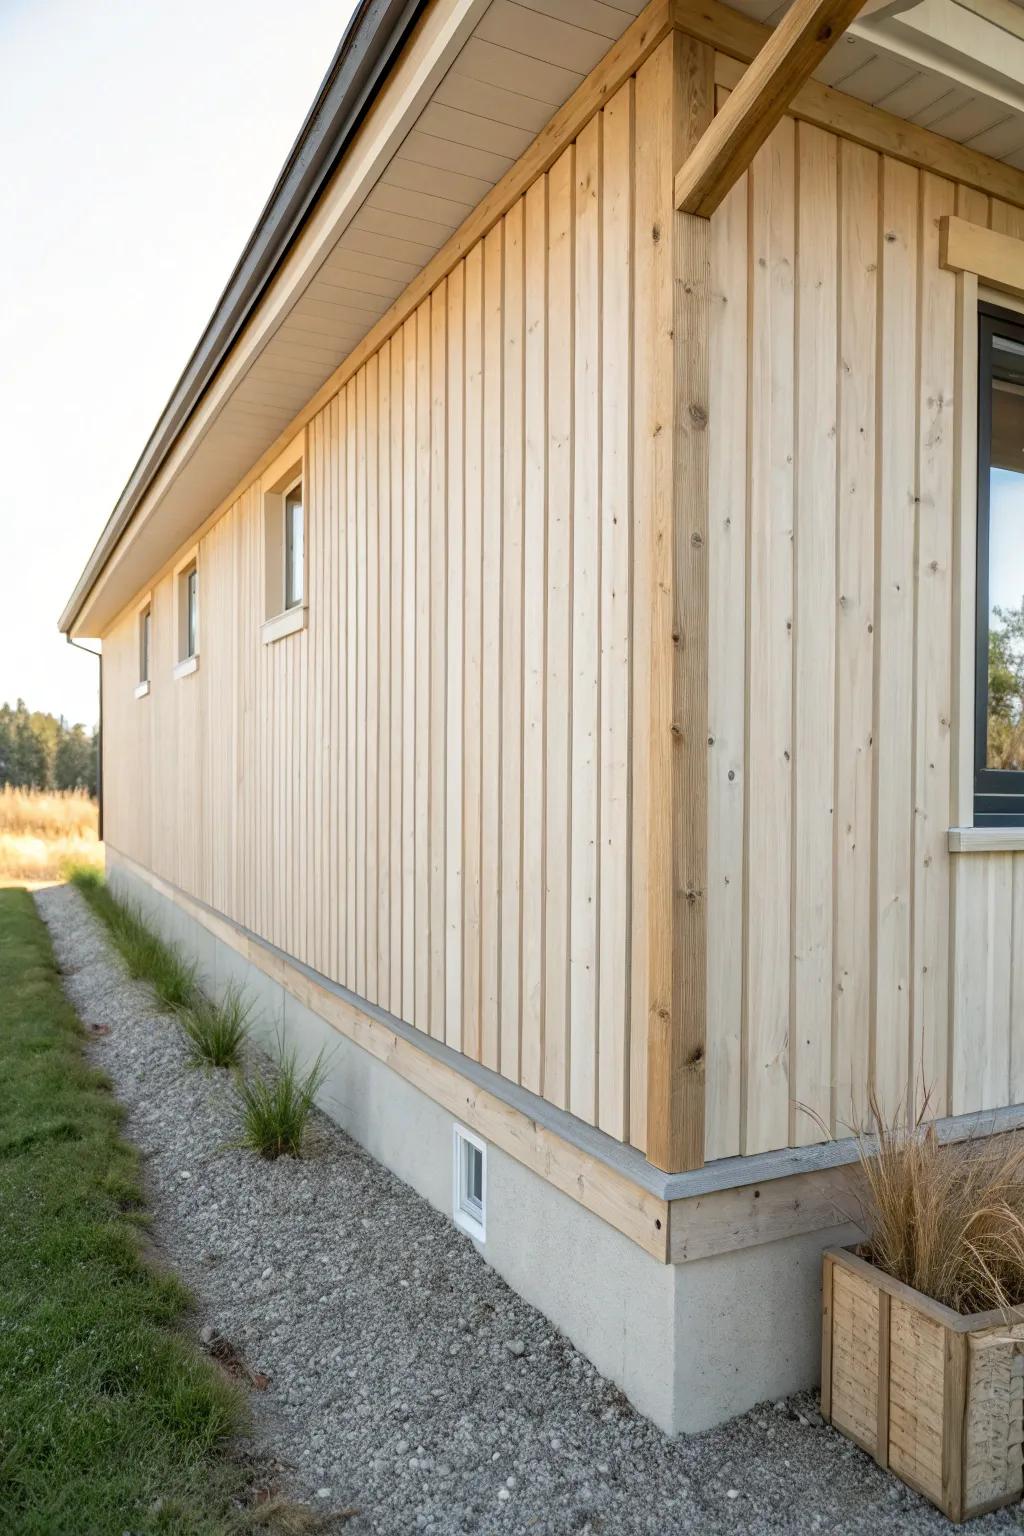
Slat Skirting With Built-In Vent Gaps
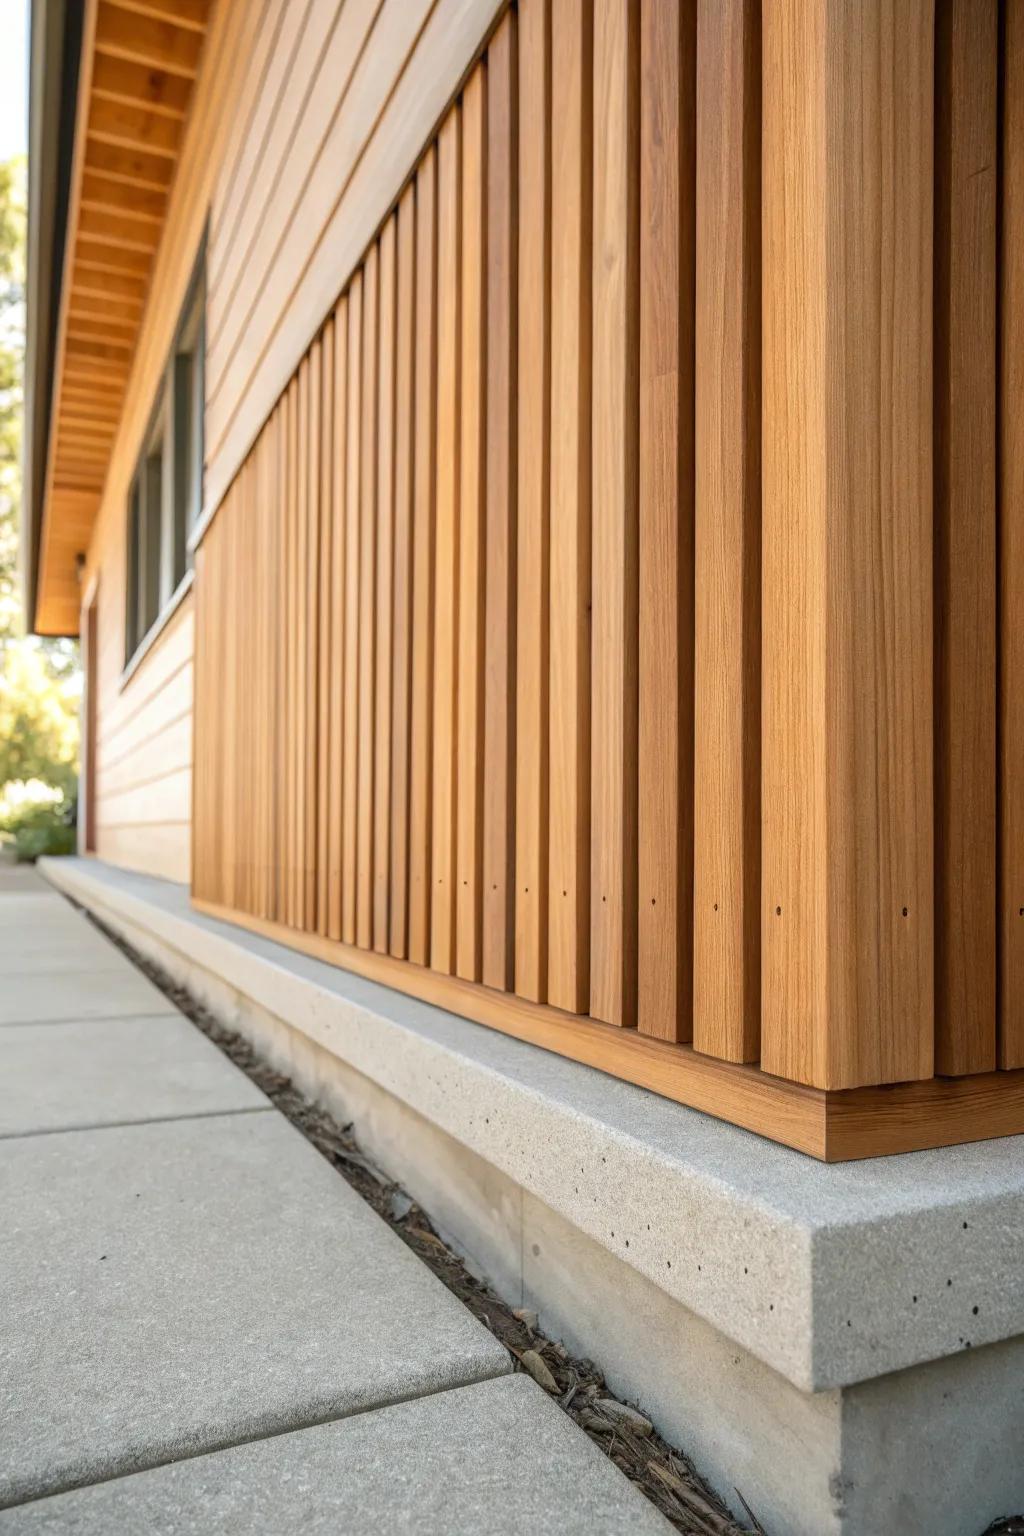
One of my go-tos is slat skirting with consistent spacing, because it’s airy and looks custom even on a basic pier and beam foundation. I’ve found that evenly spaced gaps keep crawlspace ventilation steady without needing big obvious vents.
Possibly helpful picks:
- Clear Cedar or Redwood Lumber Boards: Choose naturally rot-resistant wood boards to create vertical slats that withstand outdoor elements while looking premium.
- Deck Spacers or Shims: Ensure perfectly consistent gaps between your slats for uniform ventilation and a professional, custom-built appearance.
- Stainless Steel Trim Screws: Secure your slats with corrosion-resistant screws that offer a clean finish and longevity in exterior environments.
Solid Panels With Hidden Access Door
I’ve done solid skirting panels that look seamless, then tucked a camouflaged crawlspace door into a corner where landscaping hides it. It’s such a relief when you can reach plumbing under a pier and beam house without ripping anything apart.
Some handy options:
- Exterior Wood Siding Panels: Achieve that seamless, modern look by covering your foundation with durable, weather-resistant wood or composite siding materials.
- Heavy-Duty Invisible Door Hinges: Create a truly hidden access point by installing concealed hinges that keep your crawlspace door flush and discreet.
- Push-to-Open Magnetic Latches: Eliminate visible handles entirely with robust push latches, allowing you to open your hidden access panel effortlessly.
Vented Panels for Low Maintenance
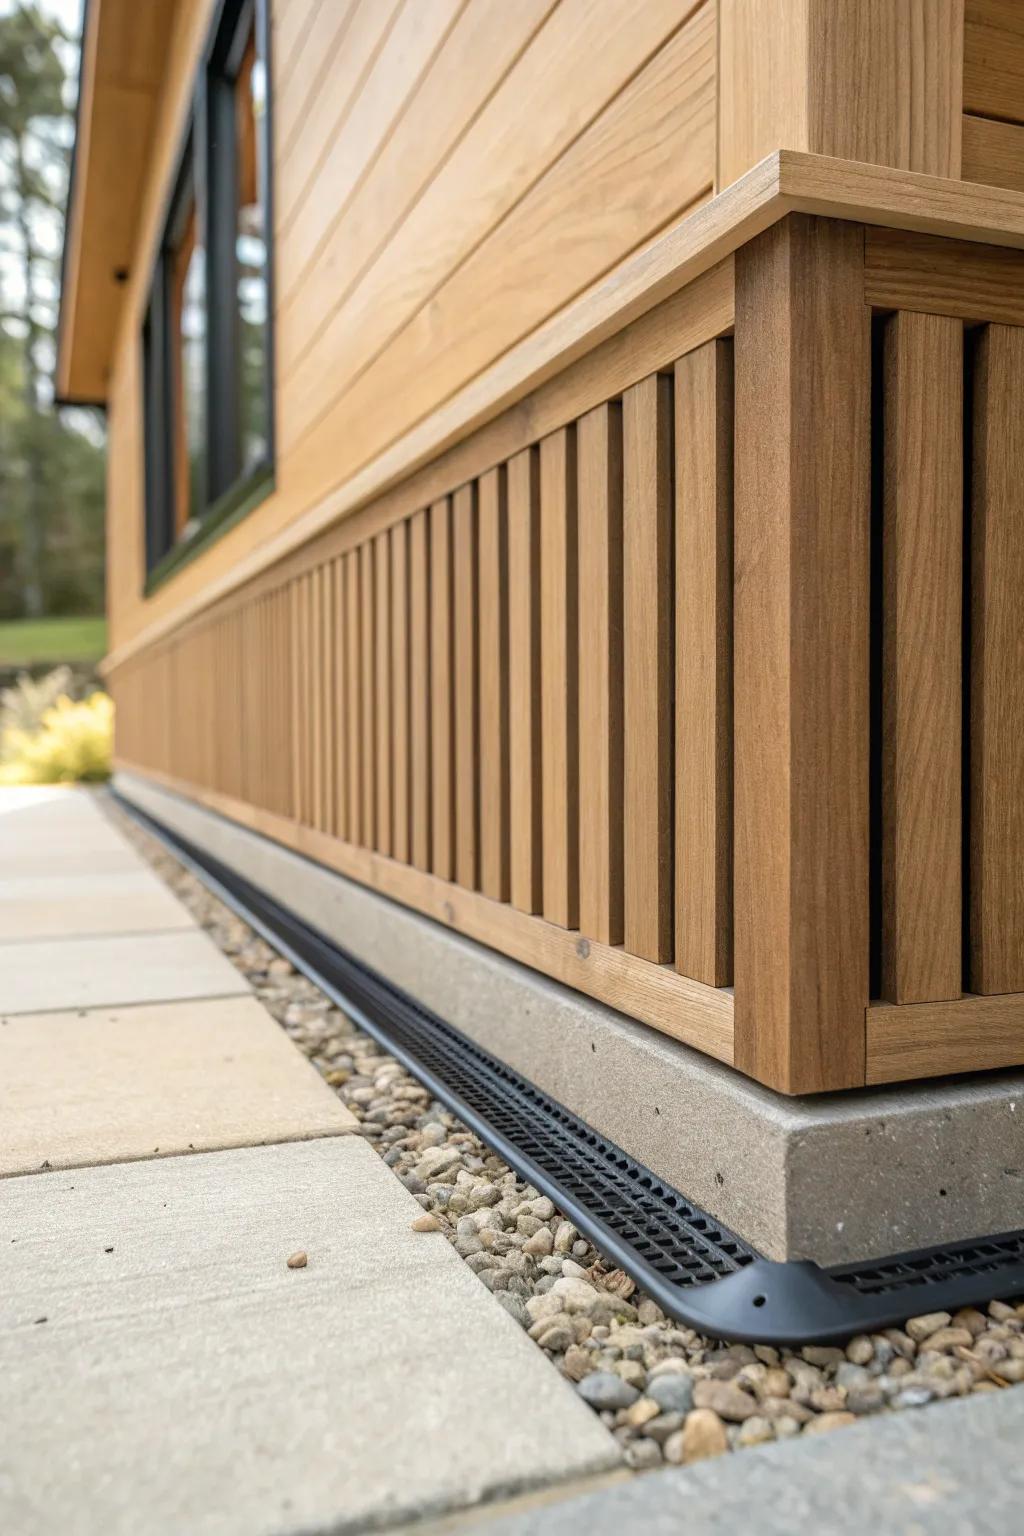
When clients want “install it and forget it,” I’ve used vented skirting panels that handle weather and still let the crawlspace breathe. I always check the bottom edge detail so water can’t wick up and stain the pier and beam skirt line.
Some ideas to consider:
- Composite Decking Boards: Create a durable, vented vertical slat look similar to the photo using low-maintenance composite boards.
- Crawl Space Vents: Ensure proper airflow behind your custom skirting to reduce moisture buildup and protect your foundation.
- Channel Drain with Grate: Install a drainage system along the skirting base to manage runoff and detailed finish like the image.


Standing-Seam-Look Metal Panels
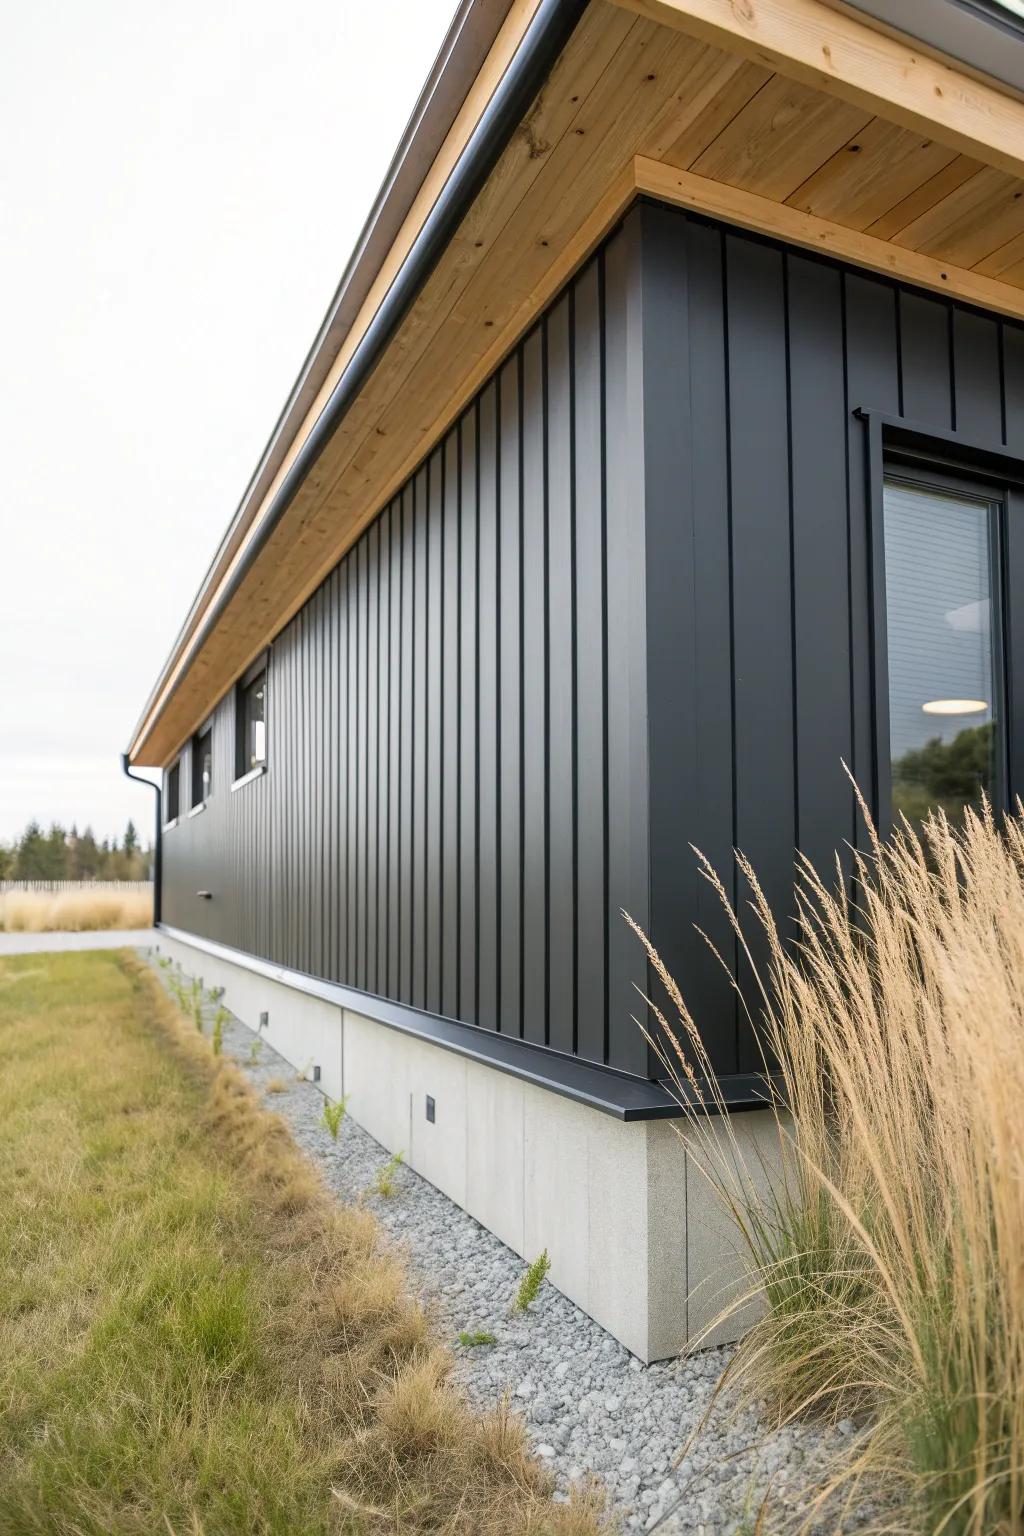
I’ve mimicked a clean “panel” look using metal skirting in long vertical runs, and it makes the pier and beam foundation feel really intentional. I like adding a wood cap trim so the top line looks finished and hides fasteners.
Useful items to consider:
- Dark Corrugated Metal Roofing Panels: Create modern, durable vertical siding for your foundation skirting using these protective, weather-resistant metal panels.
- L-Shaped Aluminum Flashing Trim: Use this metal edging to create crisp corners and a polished transition between siding and foundation.
- Self-Tapping Exterior Sheet Metal Screws: Secure your metal skirting firmly with these color-matched fasteners designed for outdoor durability and clean aesthetics.
Faux Stone Skirting for Instant Weight
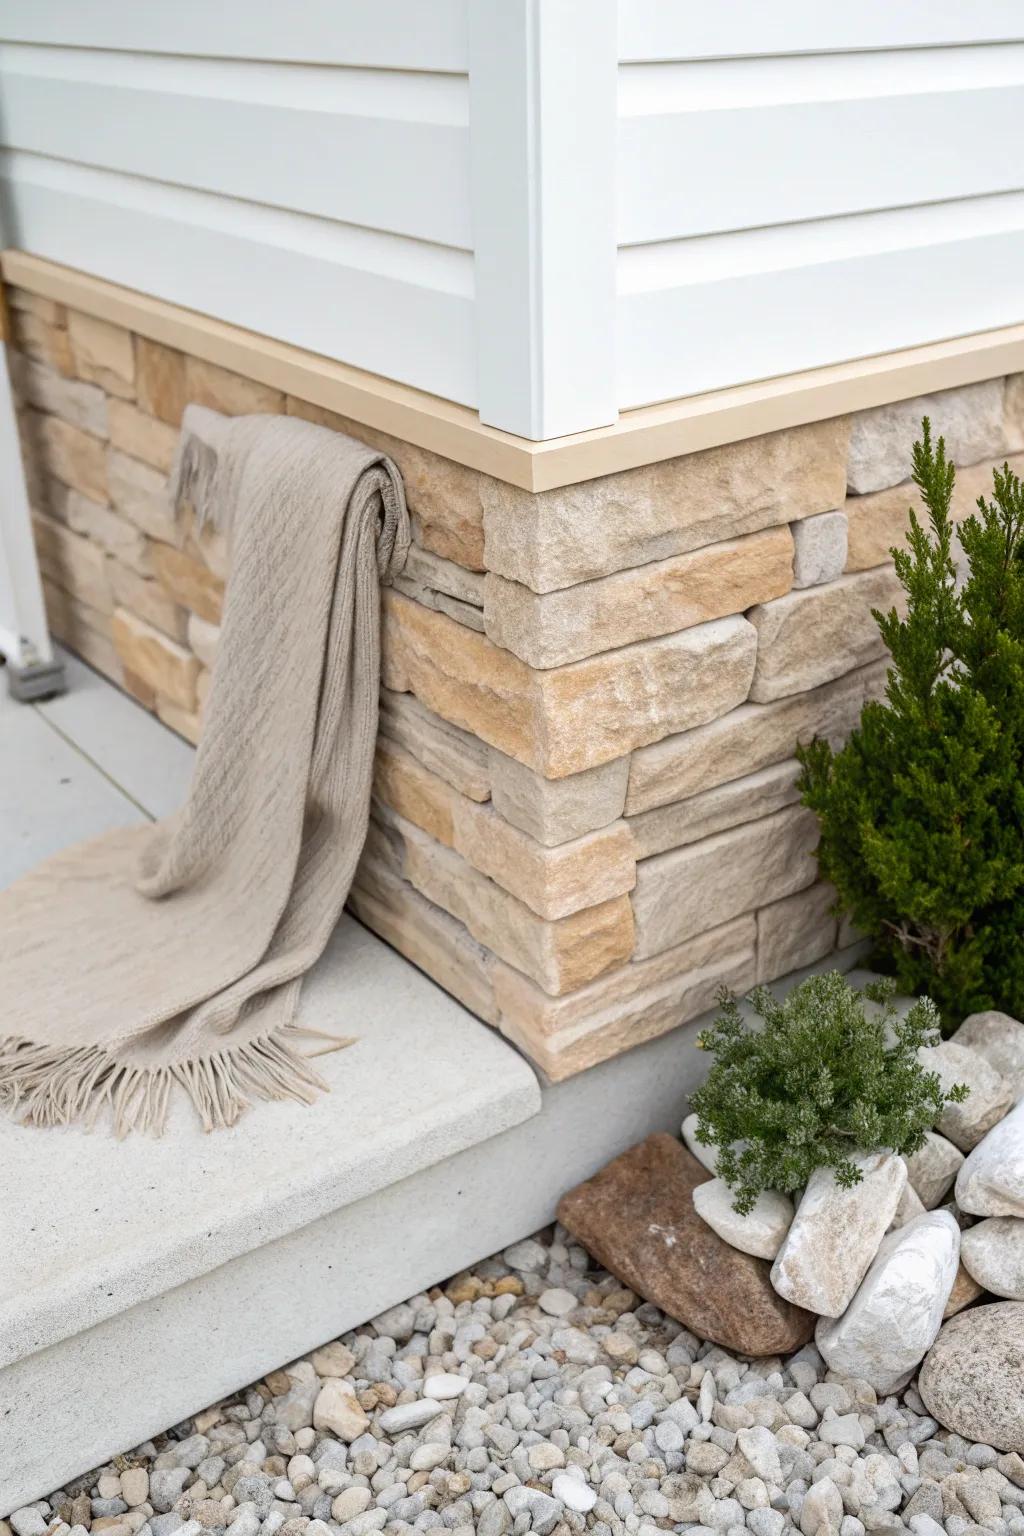
When a raised house needs to feel grounded, faux stone skirting gives that solid-foundation look without hauling real masonry. I’ve mounted it over a simple frame on a pier and beam build, then softened the edges with gravel and shrubs.
Maybe worth checking out:
- Faux Stone Siding Panels: Transform your home’s exterior quickly; install these durable, lightweight panels to create a solid, grounded foundation look.
- Decorative Landscape Gravel: Soften the transition between skirting and ground; spread these stones for a polished, professional landscaping finish.
- Small Evergreen Shrubs (Live or Faux): Add life to your foundation skirting; plant these compact greens to create natural texture and curb appeal.
Concrete-Board Skirting With Stucco Finish
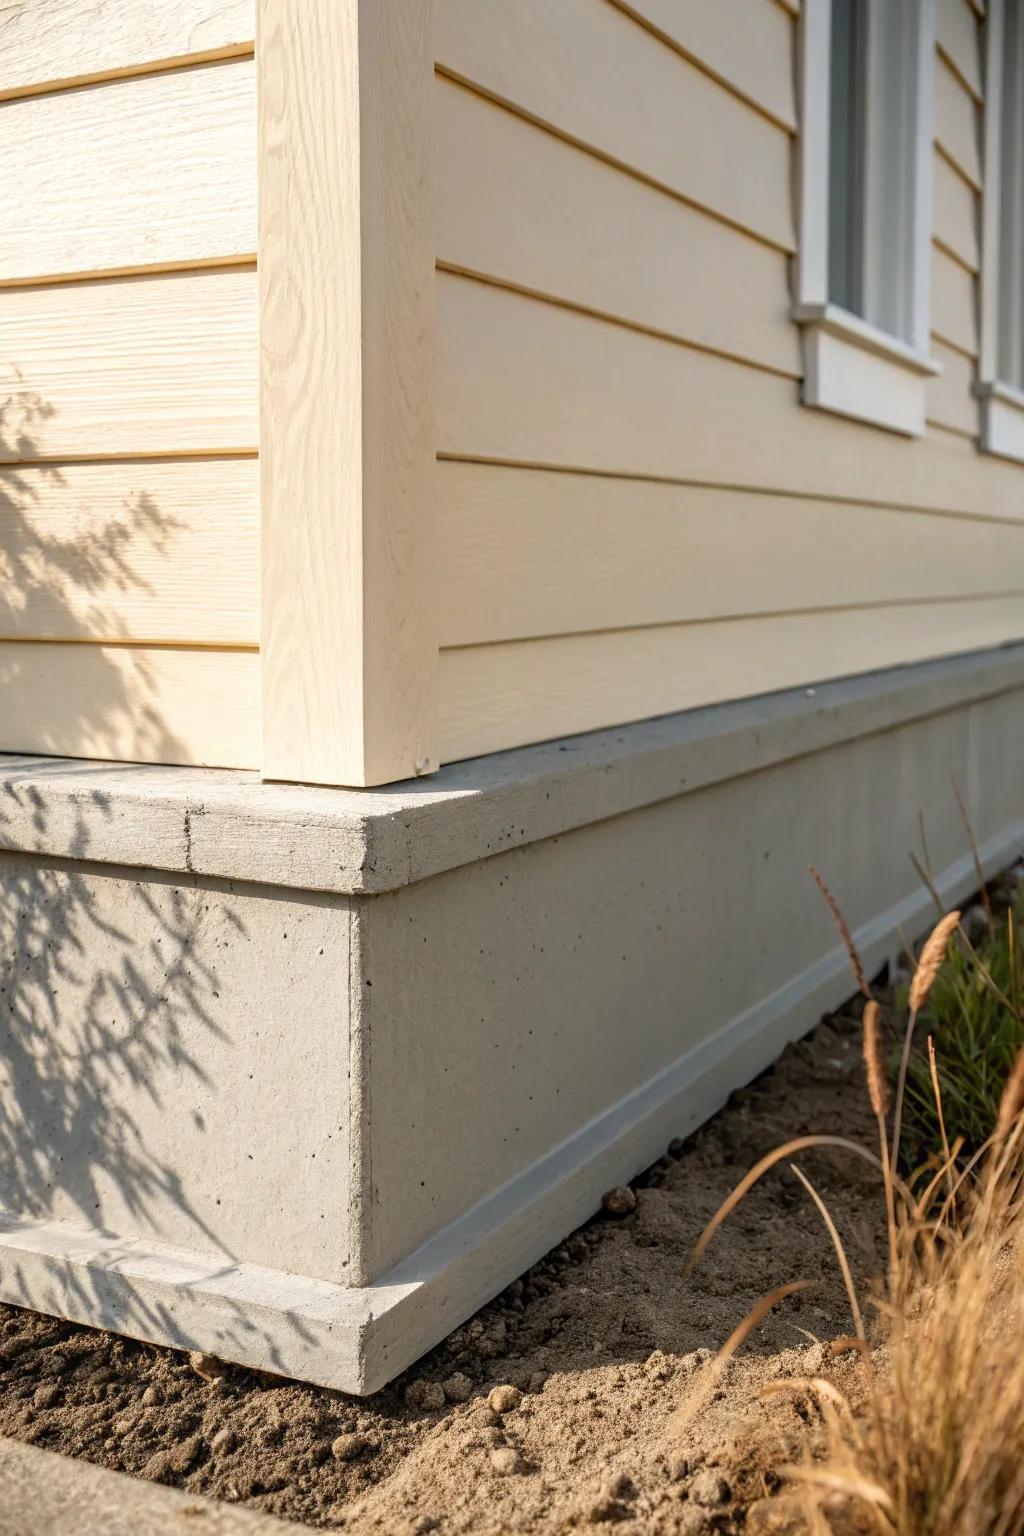
For wet climates, I’ve had great luck with cement-board skirting coated in a simple stucco-like finish because it shrugs off splashback around a pier and beam foundation. I still keep it slightly elevated from soil and plan weep gaps so moisture has a way out.
Give these a look:
- Fiber Cement Board Sheathing: Create a durable, moisture-resistant base for your skirting project by installing sturdy cement backer boards.
- Pre-Mixed Stucco Patch/Finish: Apply a textured, stucco-like finish over your boards to achieve a seamless, modern concrete aesthetic.
- Plastic Weep Screeds: Install these along the bottom edge to ensure proper drainage and prevent moisture trapped behind skirting.
Paintable Concrete Panel Skirting
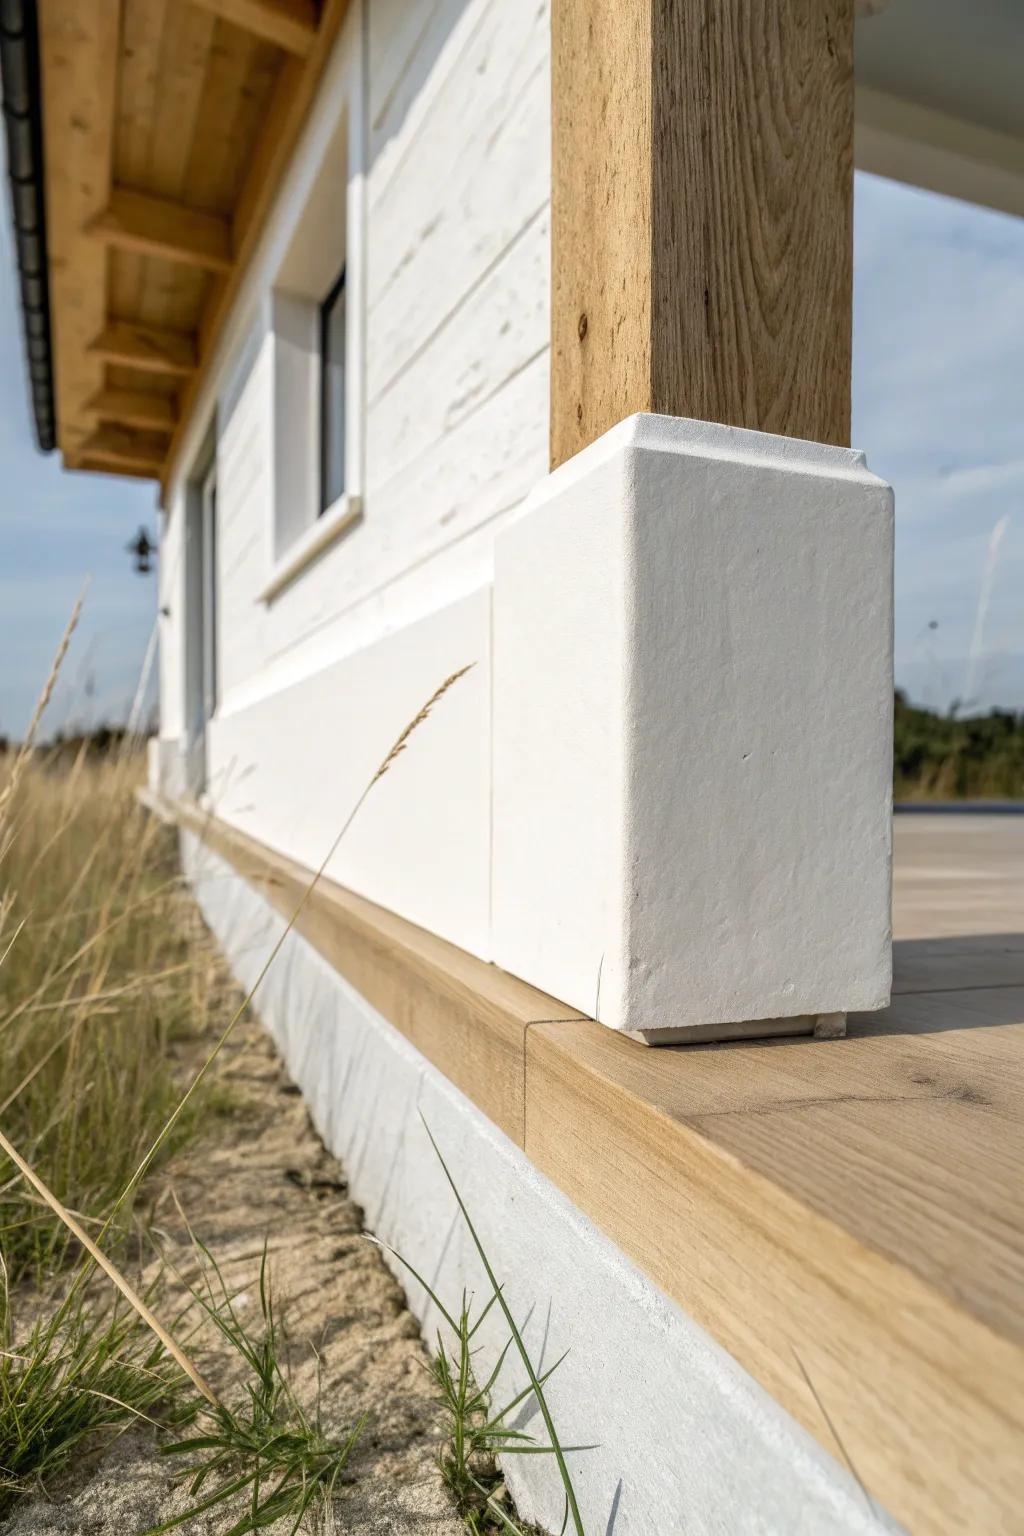
On one drafty pier and beam project, switching to concrete skirting panels made the whole place feel tighter and quieter. I loved being able to paint them to match the trim so it looked like the house always had a solid base.
You might give these a try:
- Exterior Masonry Paint: Protect your skirting and match your home’s trim with durable, weather-resistant masonry paint formulated for concrete surfaces.
- Concrete Patch and Repair Compound: Ensure a smooth, seamless finish on your panels by filling in any cracks or gaps before painting.
- Cement Board Screws: Securely fasten your concrete skirting panels to the framing with corrosion-resistant screws designed specifically for cement board.
Charred-Wood Skirting for Bold Contrast
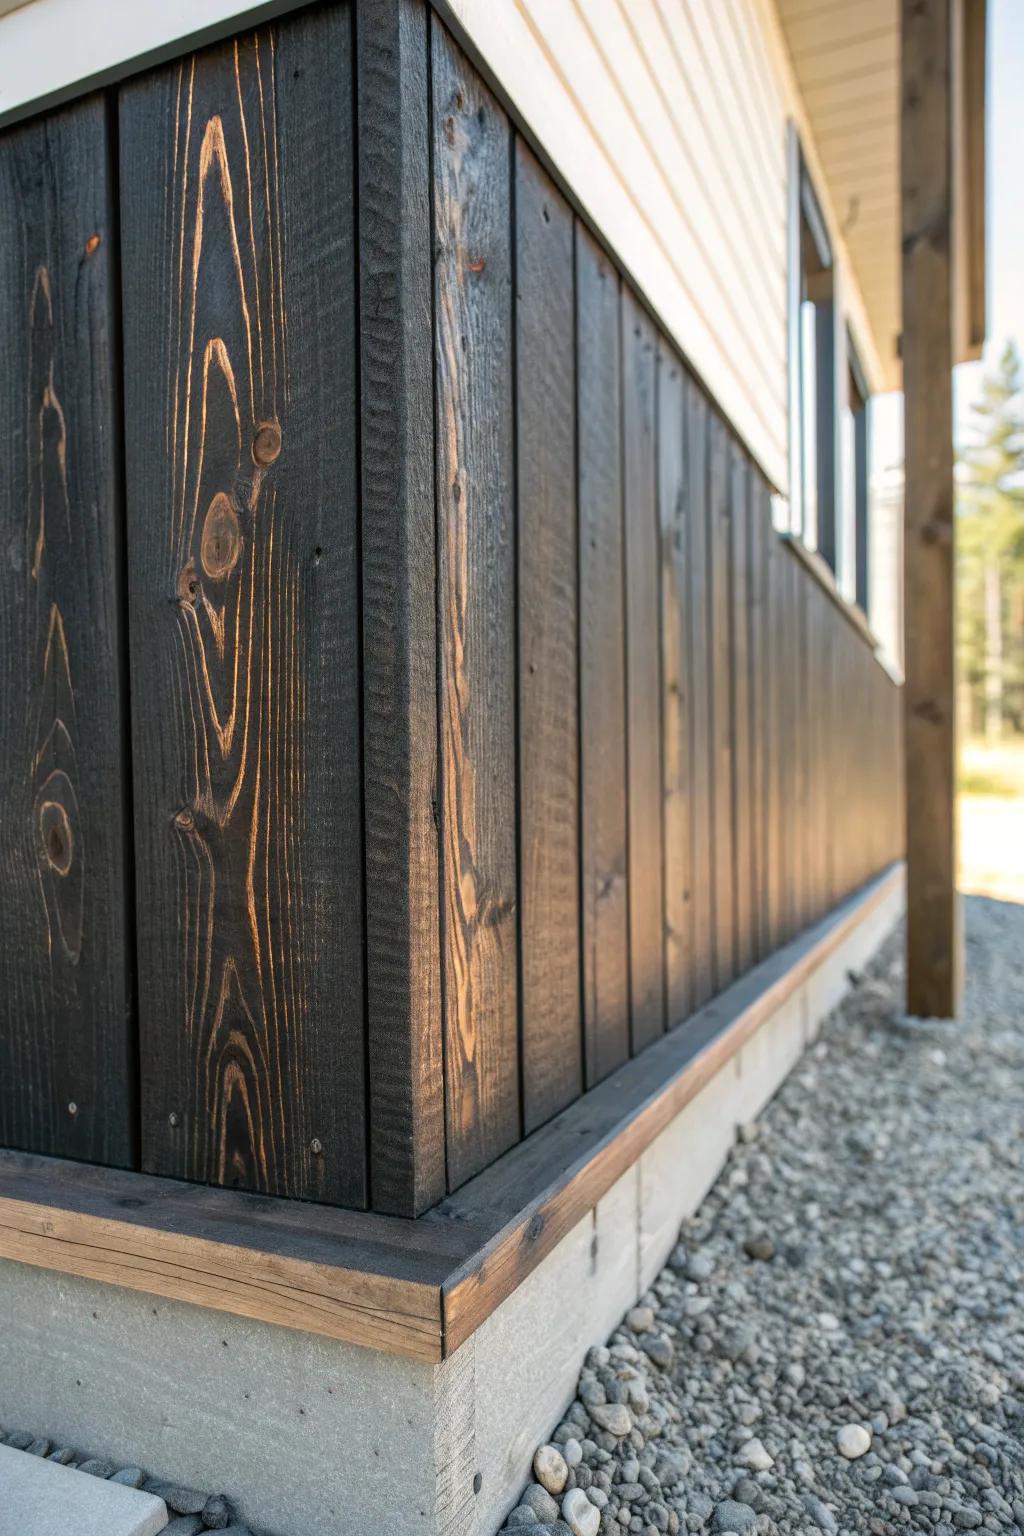
When I want drama, I use a charred-wood finish on wood skirting so the grain pops and the base looks extra intentional on a pier and beam home. I’ve sealed it well and paired it with simple gravel, and the contrast still stops people in their tracks.
A few things you might like:
- Exterior Wood Stain & Sealer: Protect your skirting and enhance natural grain patterns with a durable, weather-resistant wood stain or sealer.
- Propane Torch Weeder / Burner: Create the authentic Shou Sugi Ban charred effect safely and efficiently with this high-powered propane torch tool.
- Landscaping Gravel / River Rock: Finish the perimeter base cleanly with decorative gravel to provide drainage and visual contrast against dark wood.


