
Modern wall molding is my favorite way to make a plain room feel finished without adding visual clutter. With a few smart lines and some simple trim, you can get that crisp, contemporary depth that still feels warm and homey.
Frame Within a Frame
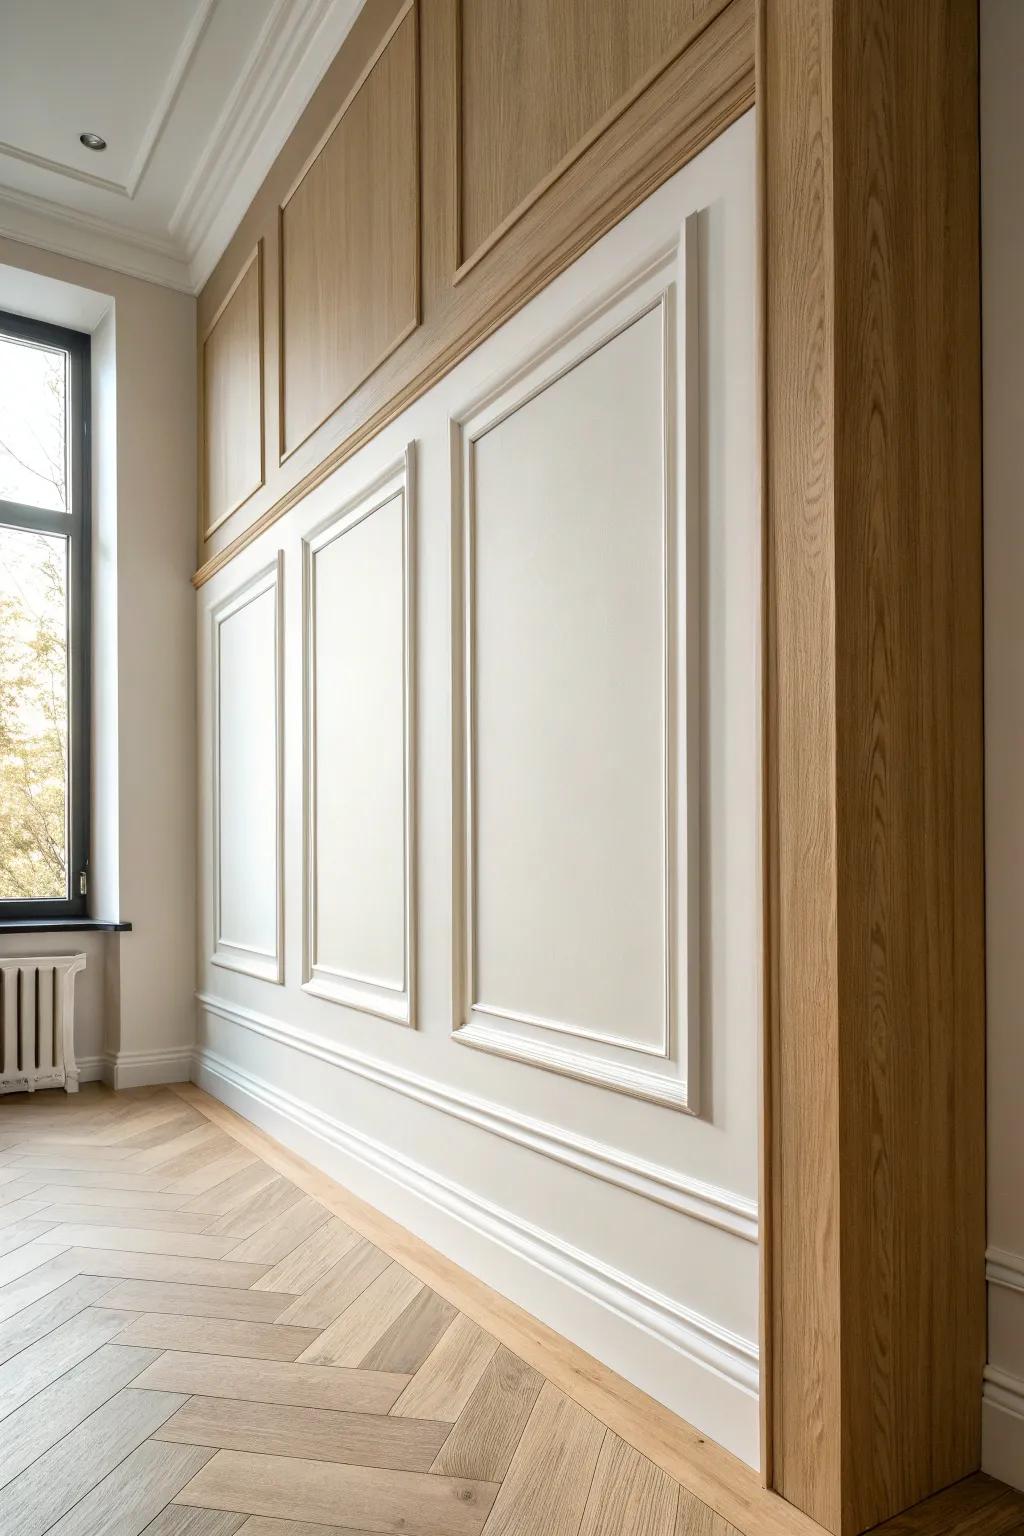
A nested frame detail (one rectangle inside another) gives you depth without adding extra decor. I tried this behind my reading chair, and it made that wall feel styled even before I hung art.
Some ideas to consider:
- Pre-Primed Panel Molding Kit: Create elegant nested layers effortlessly; these ready-to-paint trim pieces help you achieve a professional, structured wall design.
- Self-Adhesive Wall Trim: Instantly add dimension to plain walls without power tools; peel and stick for an easy, renter-friendly upgrade.
- Mitre Shears for Molding: Ensure crisp, perfect corners for your frames; this tool cuts precise angles quickly without a bulky saw.


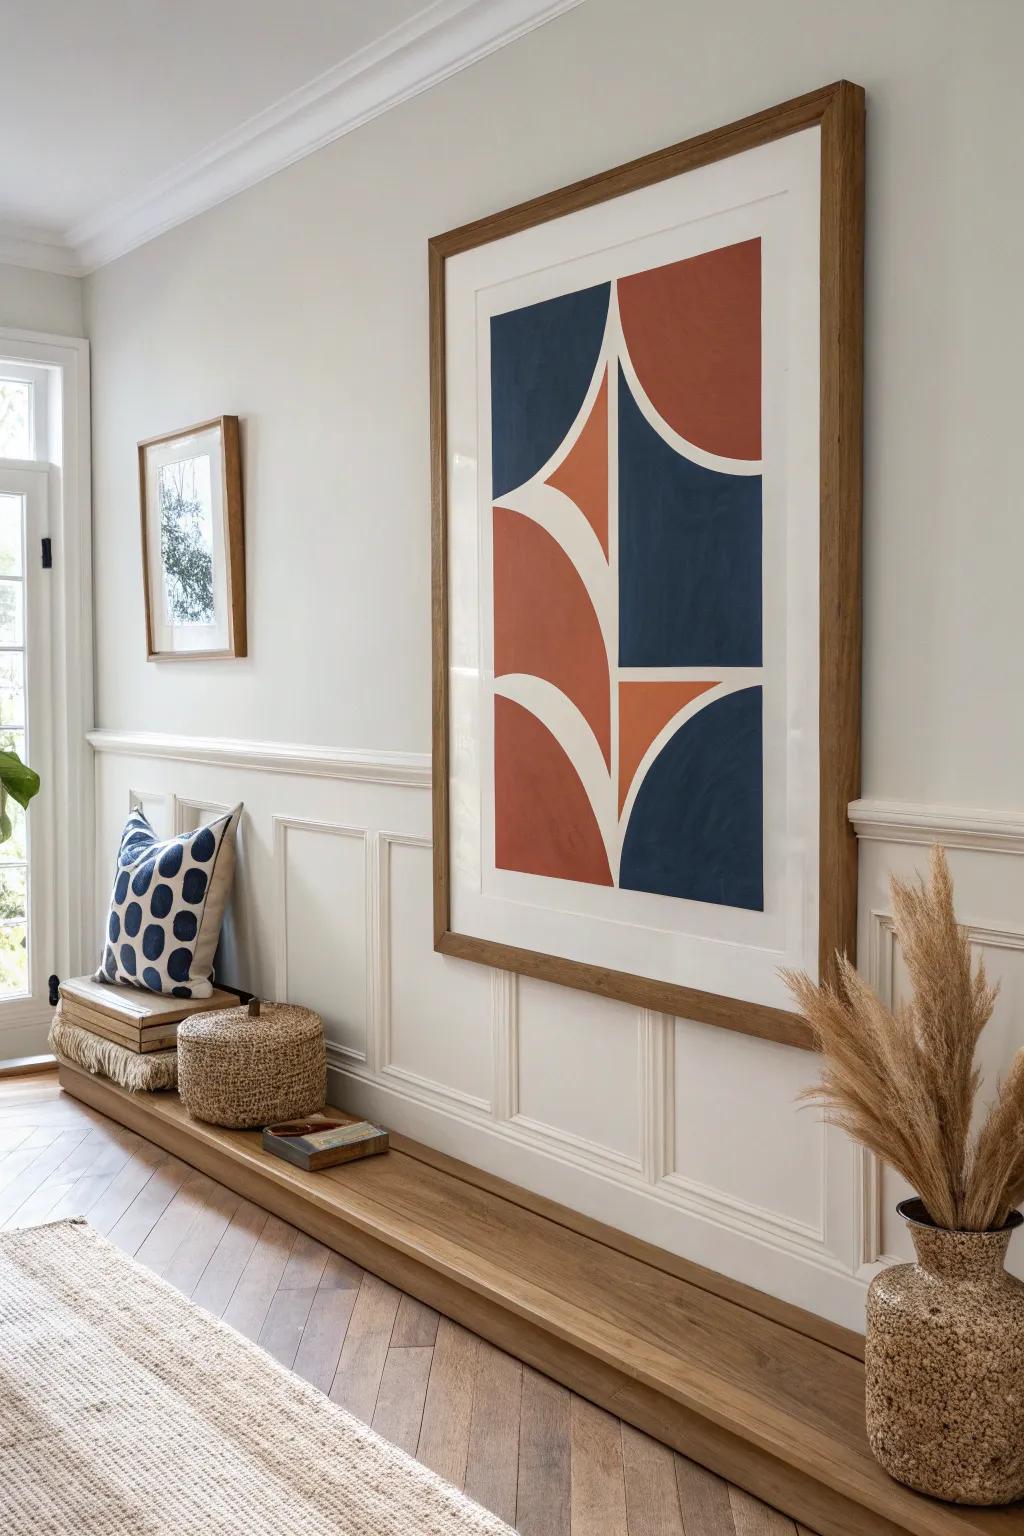
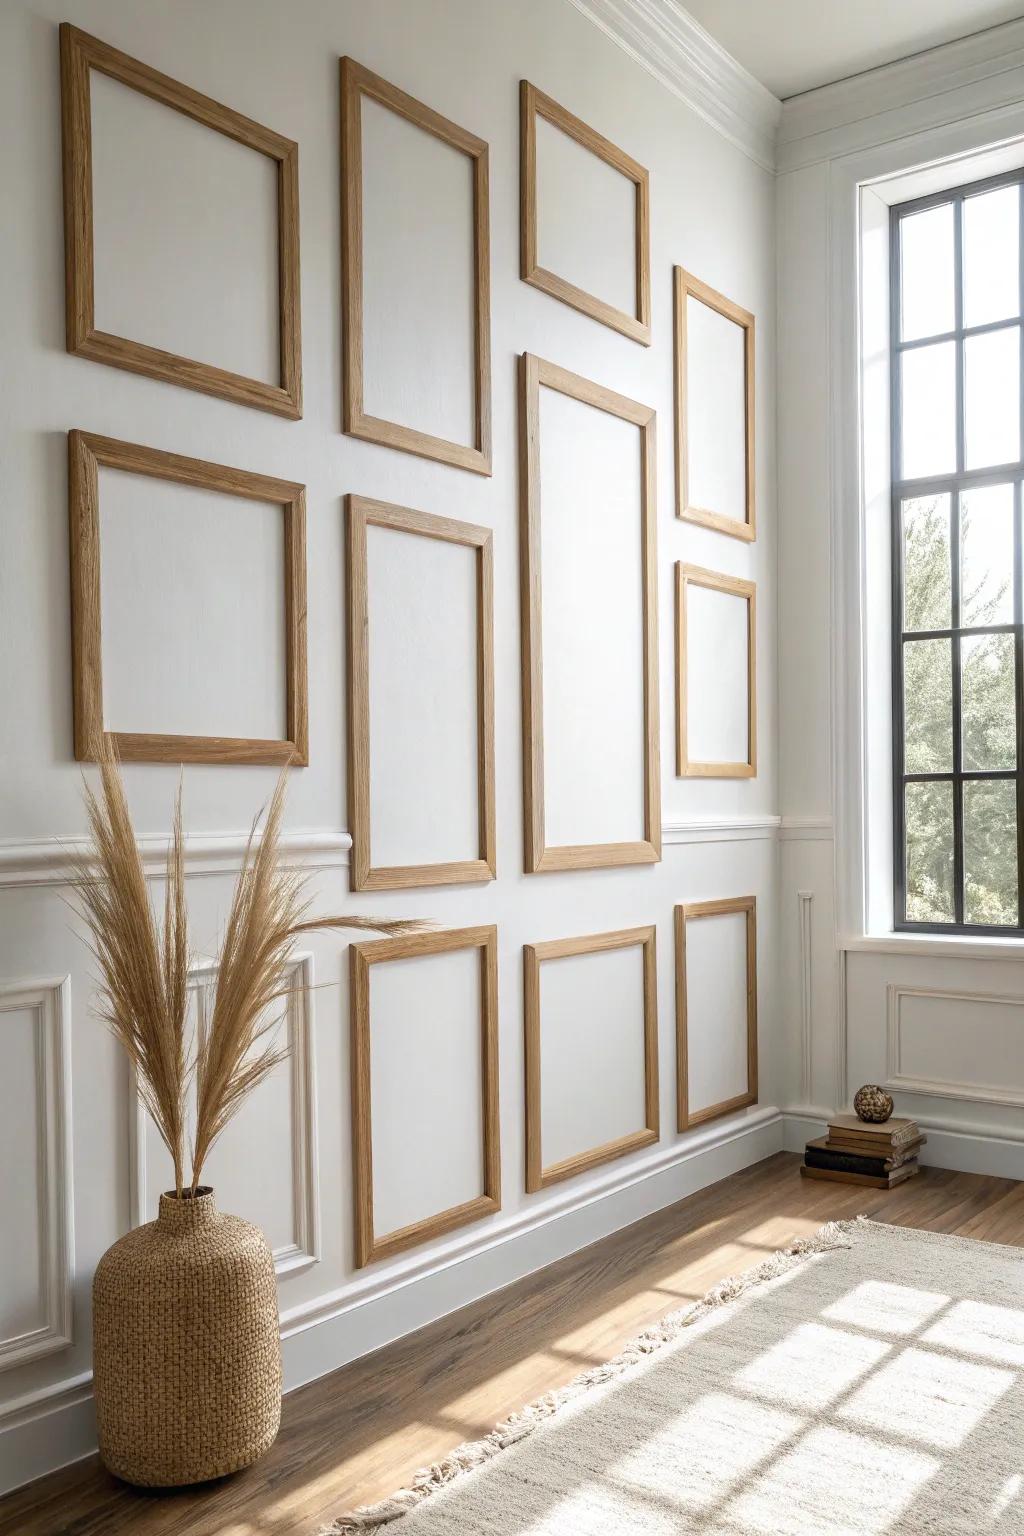
Classic Picture Frame Grid
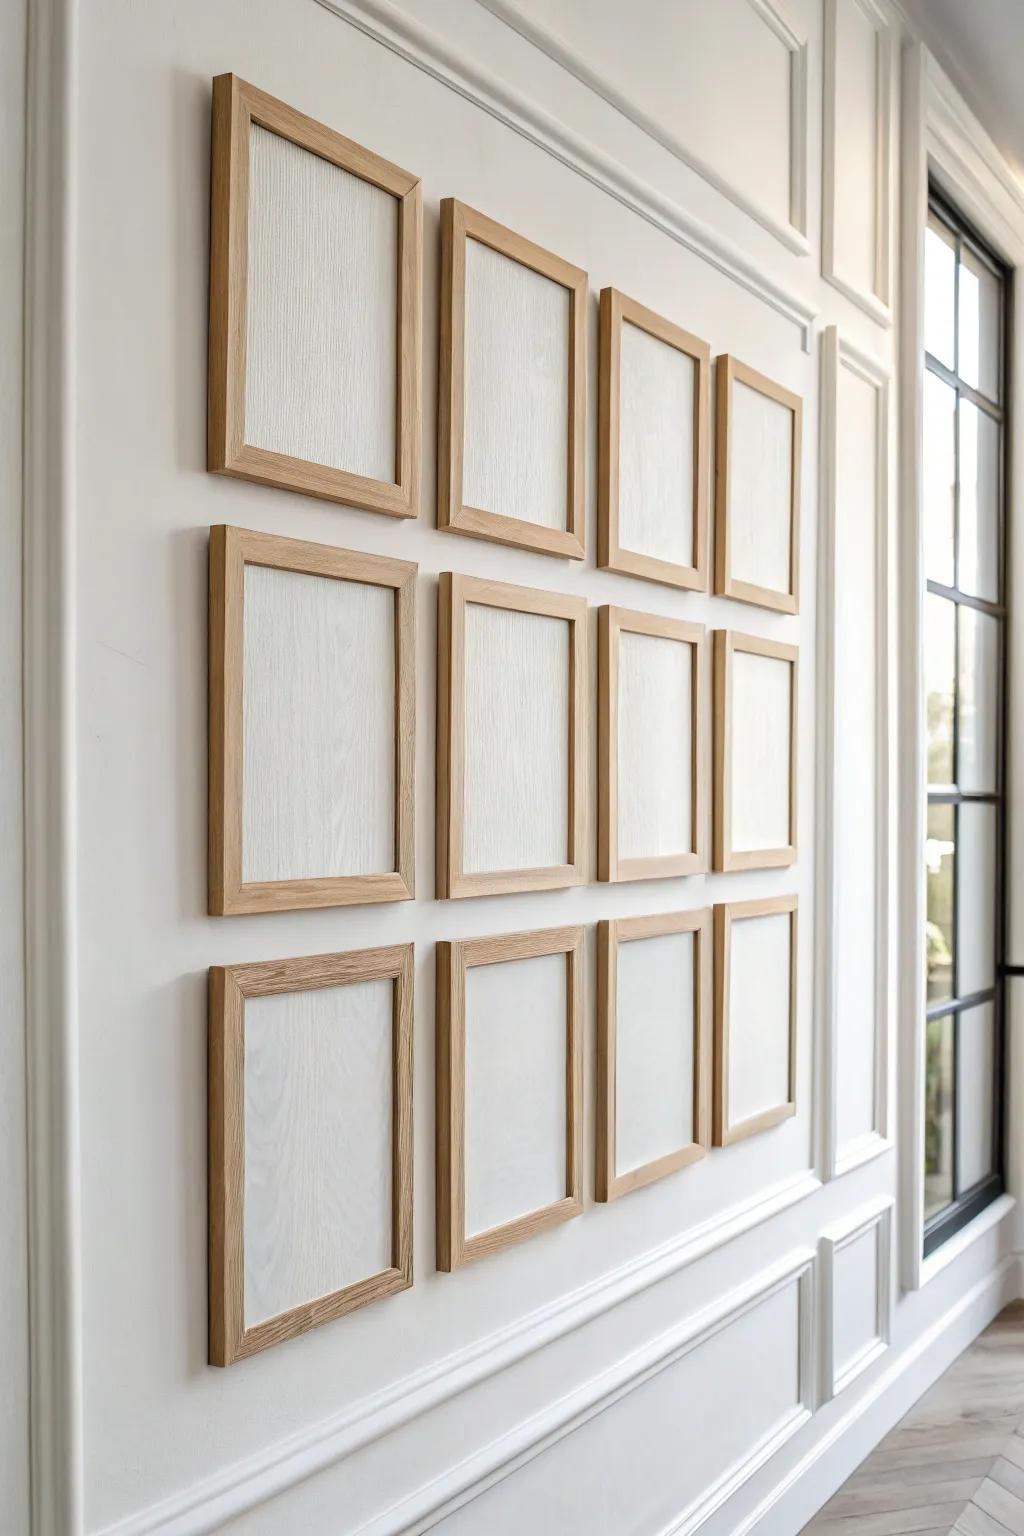
When I want an instant upgrade, I lay out a picture frame molding grid—clean rectangles that read modern but still feel timeless. I’ve done this behind my sofa, and the subtle shadow lines made the whole wall look custom-built.
A few choices to try:
- Pre-Cut Picture Frame Molding Kits: Achieve professional results quickly with ready-to-assemble molding kits designed to create perfect rectangular accent boxes.
- Laser Level & Measuring Tool: Ensure your grid is perfectly straight and evenly spaced with a reliable self-leveling laser tool.
- Gallery Wall 12-Piece Frame Set: Instantly create a cohesive grid display with a bulk set of matching frames for a unified look.
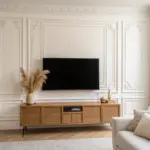
Full-Height Box Paneling
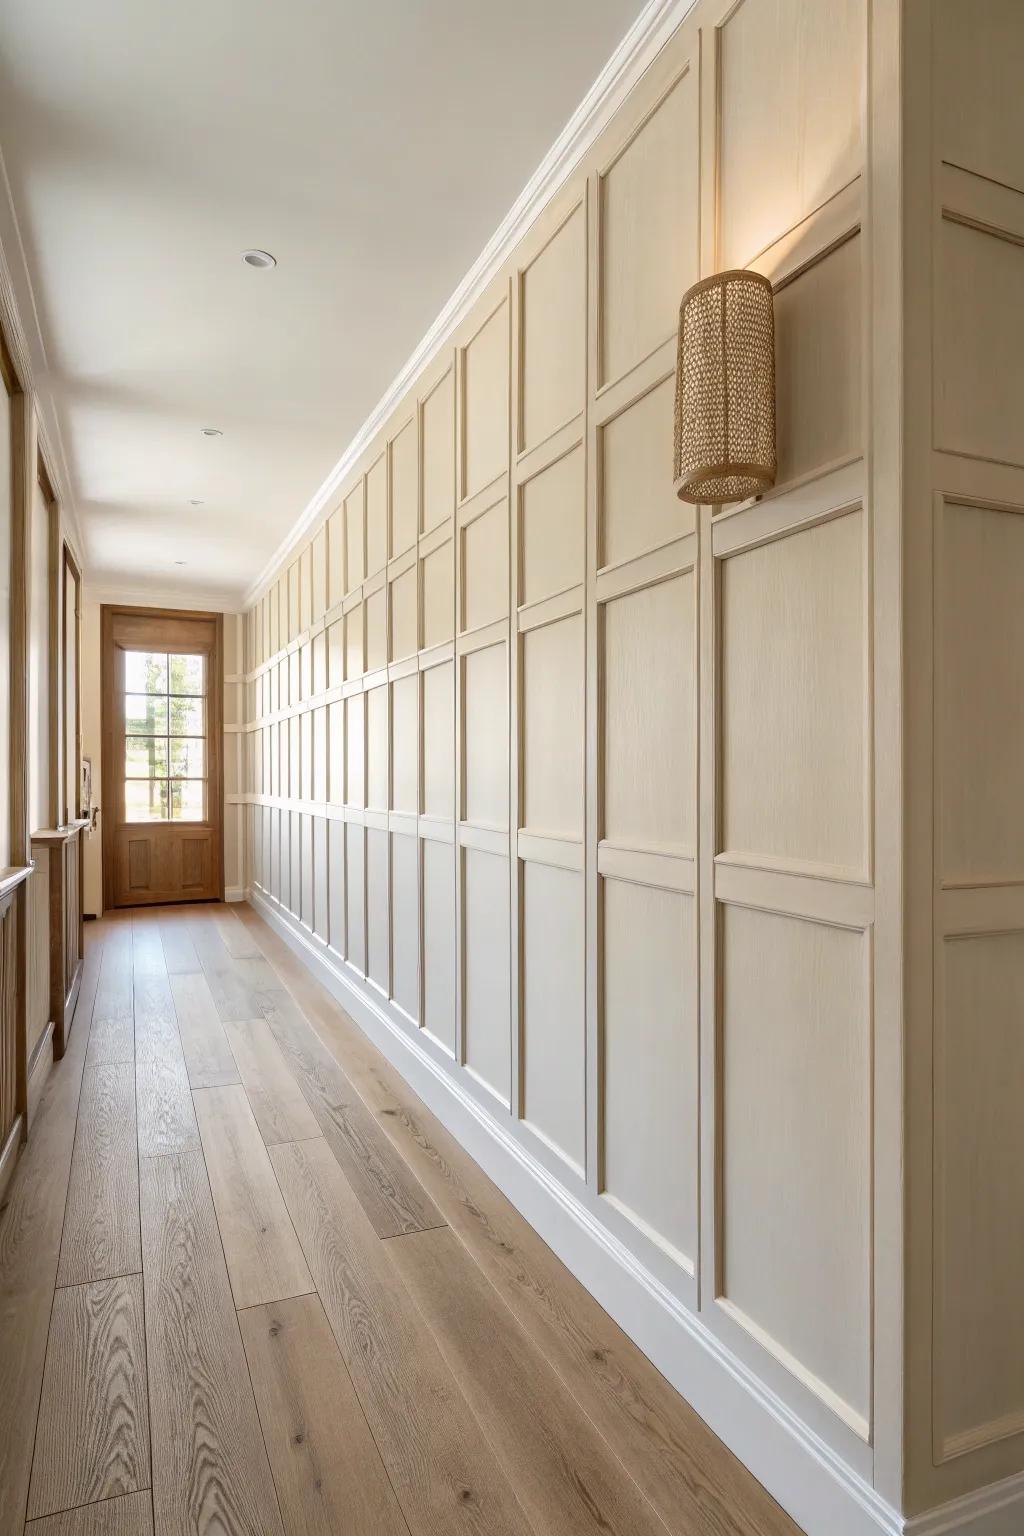
A full-height panel look (floor to ceiling) is such an easy modern win, especially when the pattern stays simple and evenly spaced. I installed this in a hallway once, and it made that long “nothing wall” feel intentionally designed.
These products might help:
- Pre-Primed Wood Molding Trim Kit: Create your geometric grid quickly with these ready-to-paint molding strips designed for easy wall application.
- Laser Level Self-Leveling Tool: Ensure your vertical and horizontal lines are perfectly straight for professional-looking, evenly spaced box panels.
- Paintable Caulk and Gun Set: Seal gaps seamlessly between your molding and wall to achieve that built-in, high-end finished appearance.

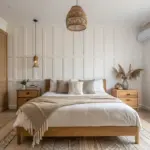
Board and Batten, Simplified
A pared-down board and batten with wider spacing feels fresh and modern, not fussy or cottage-y. I like it in entryways because I’ve personally watched it take hits from bags and boots without the wall looking beat up.
Maybe worth checking out:
- Unfinished Wood Batten Moulding: Use these simple, flat wood strips to easily create the vertical lines needed for your modern wall texture.
- Matte White Wood Protection Oil: Apply a clear or white-tinted matte oil to seal the wood while maintaining that raw, natural scandi look.
- Construction Adhesive & Caulk Gun: Secure your molding strips firmly to the wall without excessive nailing using a high-strength, quick-grab construction adhesive.
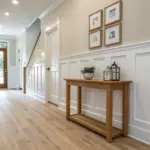
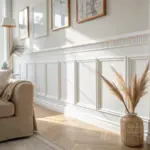
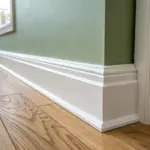
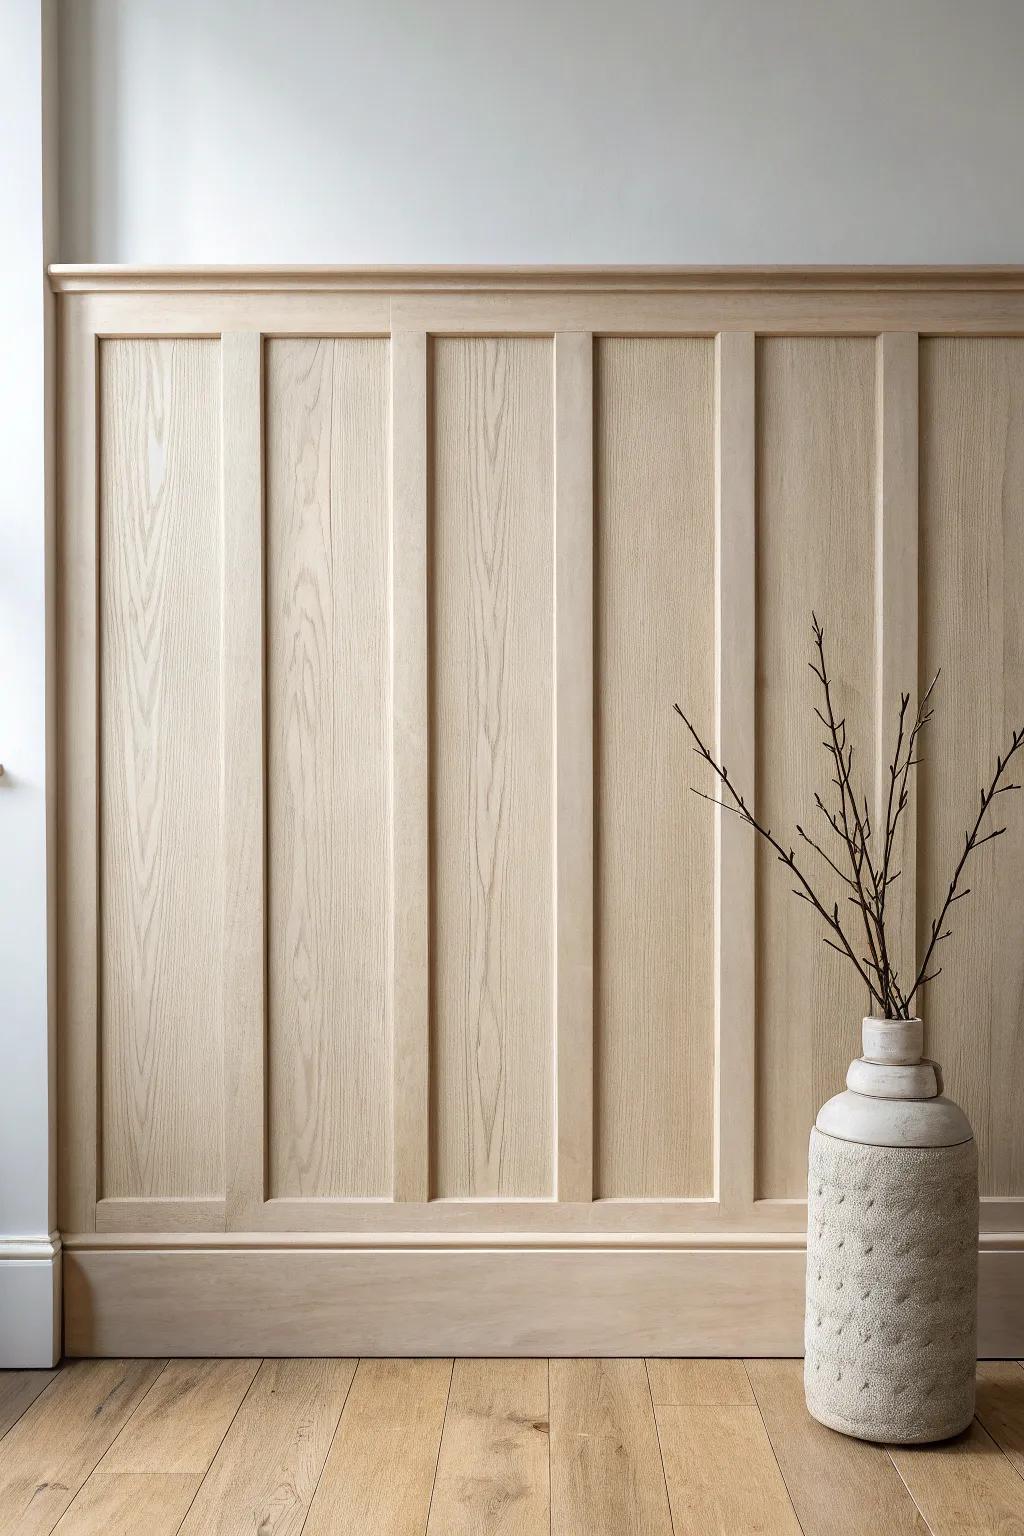
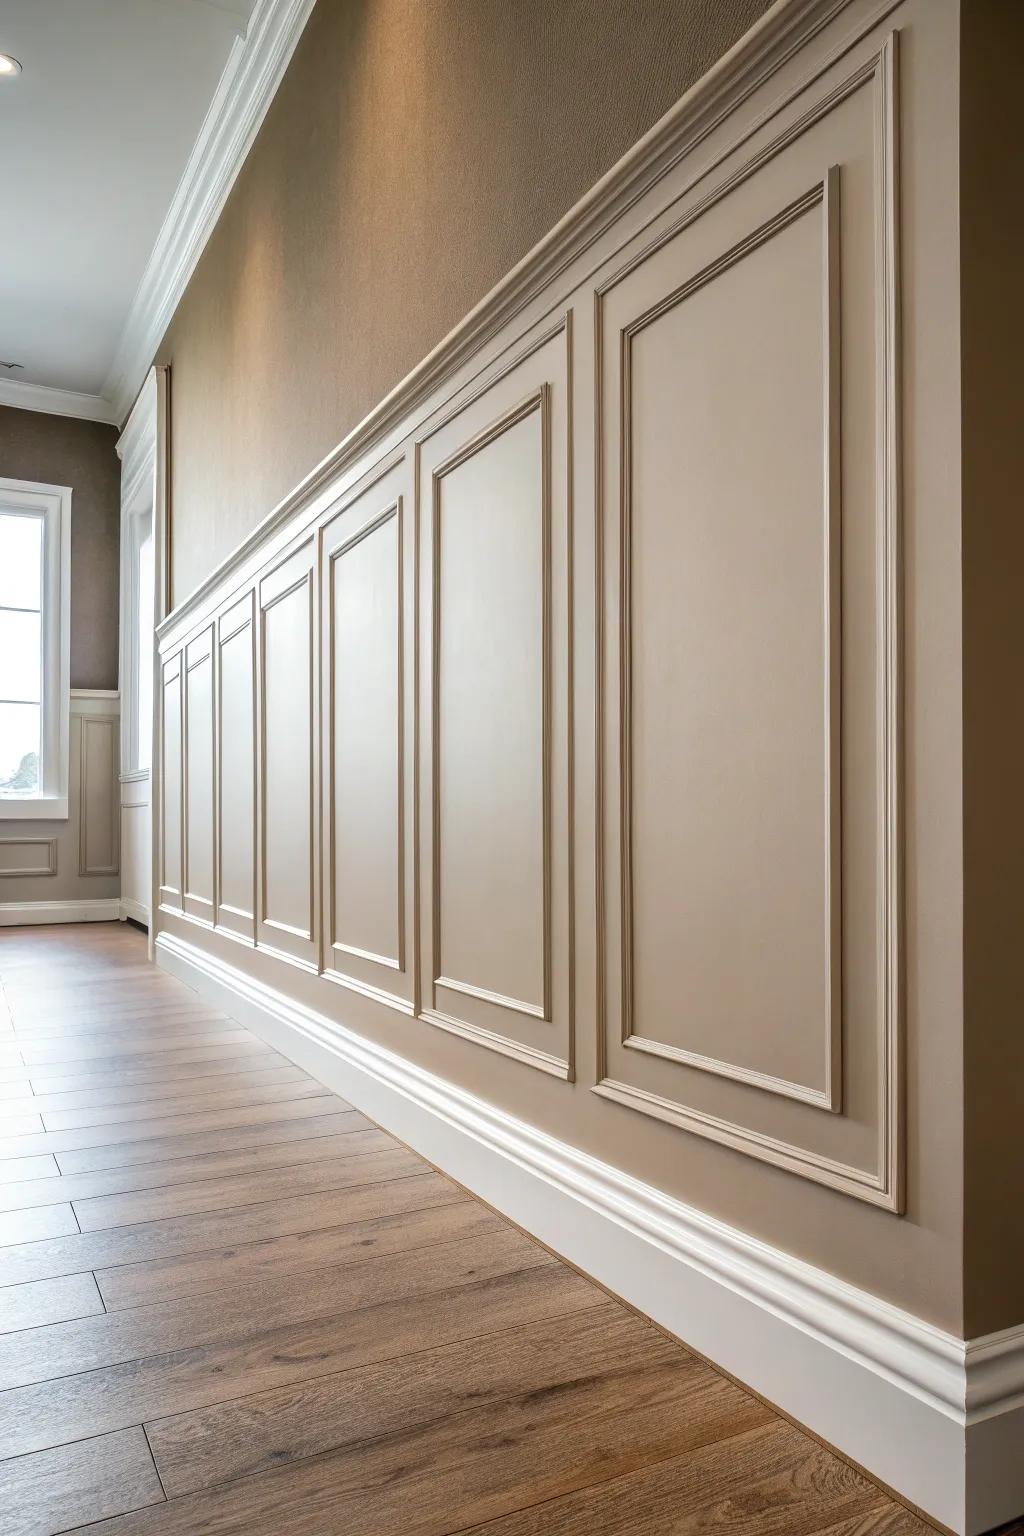
Modern Half-Wall Wainscoting
Keeping wainscoting at a clean half-wall height adds structure while still leaving breathing room up top. I used this in a small dining area, and it instantly made the space feel more “built-in” and less like a rental box.
A few relevant products:
- Pre-Primed Wainscoting Panel Kits: Simplify your renovation process by choosing ready-to-paint panels that create immediate architectural structure and classic elegance.
- Natural Oak Board Lumber: Add warmth and contrast with natural wood boards, perfect for creating a custom top cap ledge.
- Heavy-Duty Construction Adhesive: Ensure your new molding stays securely in place on the wall with a strong, reliable bonding agent.
Skinny Vertical Slat Molding
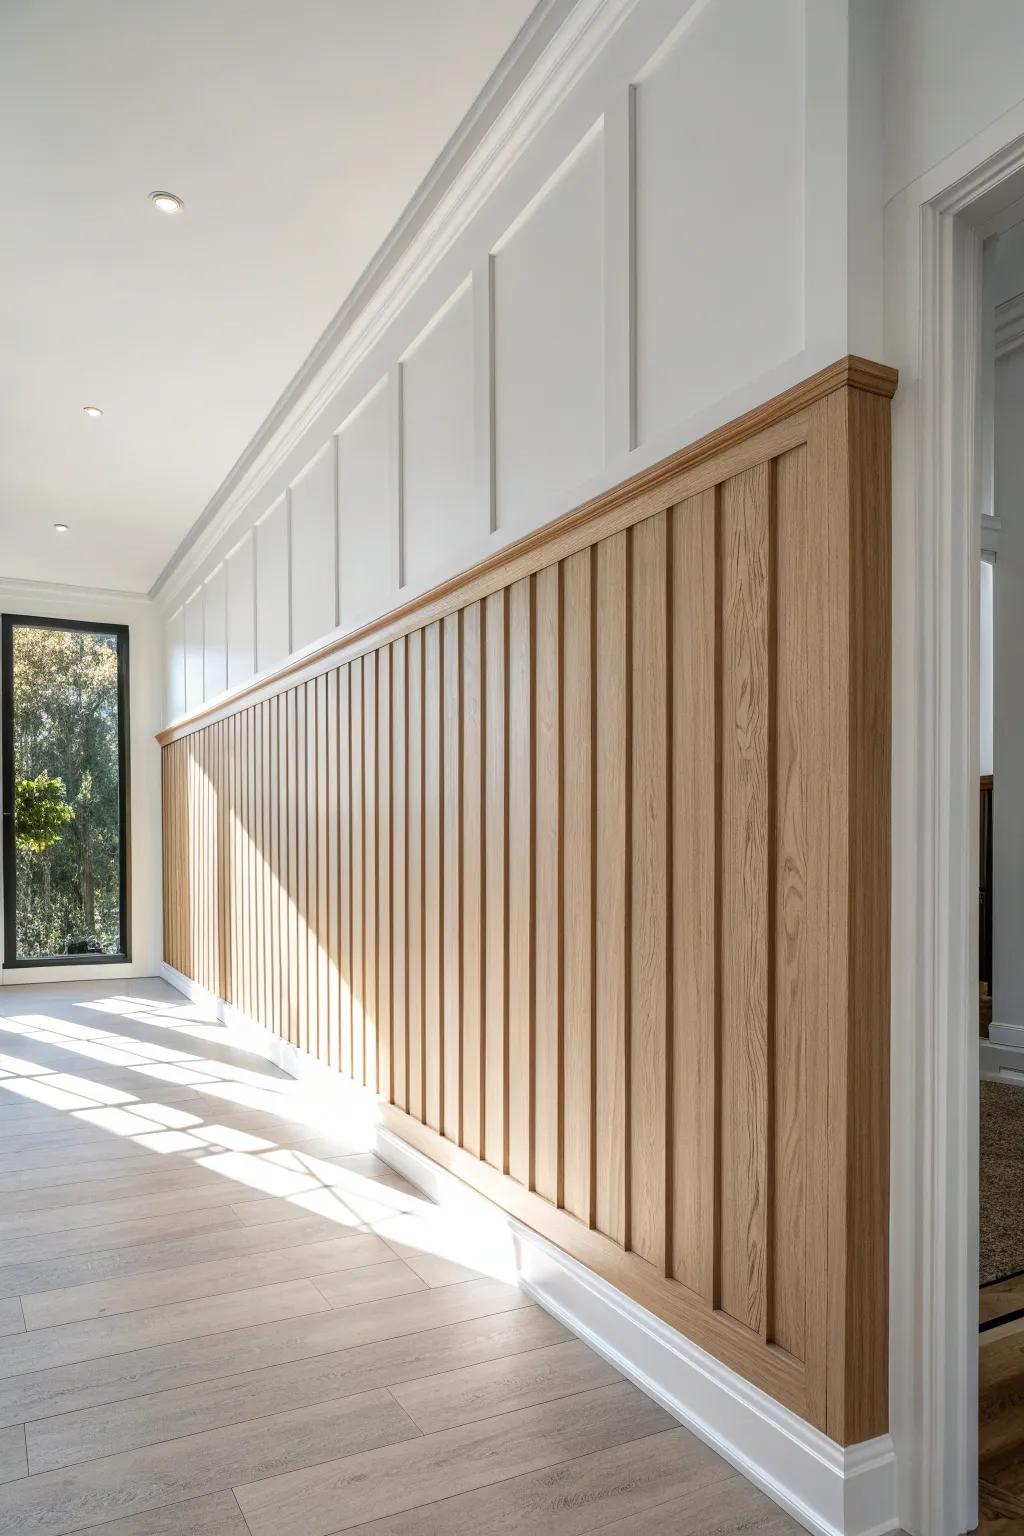
Thin vertical battens read sleek and modern, and they’re awesome for making ceilings feel taller. I’ve used this trick behind a desk setup, and it gave the whole corner that calm, architectural vibe.
May just do the trick:
- Wood Slat Wall Panels: Transform your space with these pre-made slat panels; simply mount them for an instant architectural upgrade.
- Unfinished Oak Moulding Strip: Create a custom batten look by attaching these individual thin wood strips directly to your existing wall.
- Construction Adhesive: Ensure a durable hold for your new molding without visible nails using this heavy-duty installation adhesive.

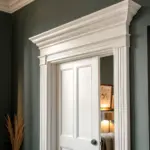

Oversized Single Wall Frame
One big, centered molding frame can look super modern, especially when you keep the trim profile simple. I did an oversized frame once and just leaned art inside it, and it looked intentional in the best low-effort way.
Check if these fit your needs:
- DIY Molding & Trim Kit: Create your own oversized frame easily by cutting these simple molding strips to your exact desired dimensions.
- Large Framed Abstract Art: Fill your new molding frame with a large, modern art piece to create an instant, striking focal point.
- Laser Level Tool: Ensure your custom wall frame is perfectly straight and centered with this essential tool for precise installation.
Asymmetrical Geometric Panels
Asymmetrical rectangles feel bold and current—like modern art made from trim—while still staying clean-lined. I’ve mocked this up with painter’s tape first, and that little test run saved me from spacing mistakes.
You might like:
- Unfinished Wood Molding Trim: Create your own custom geometric shapes by cutting and arranging these versatile wood trim pieces on your walls.
- Painter’s Tape: Visualize your asymmetrical layout safely before applying glue or nails using this essential low-adhesion masking tape.
- Laser Level Tool: Ensure perfectly straight lines and crisp angles for your modern geometric panels with a self-leveling laser guide.
Modern “Maze” Pattern Molding
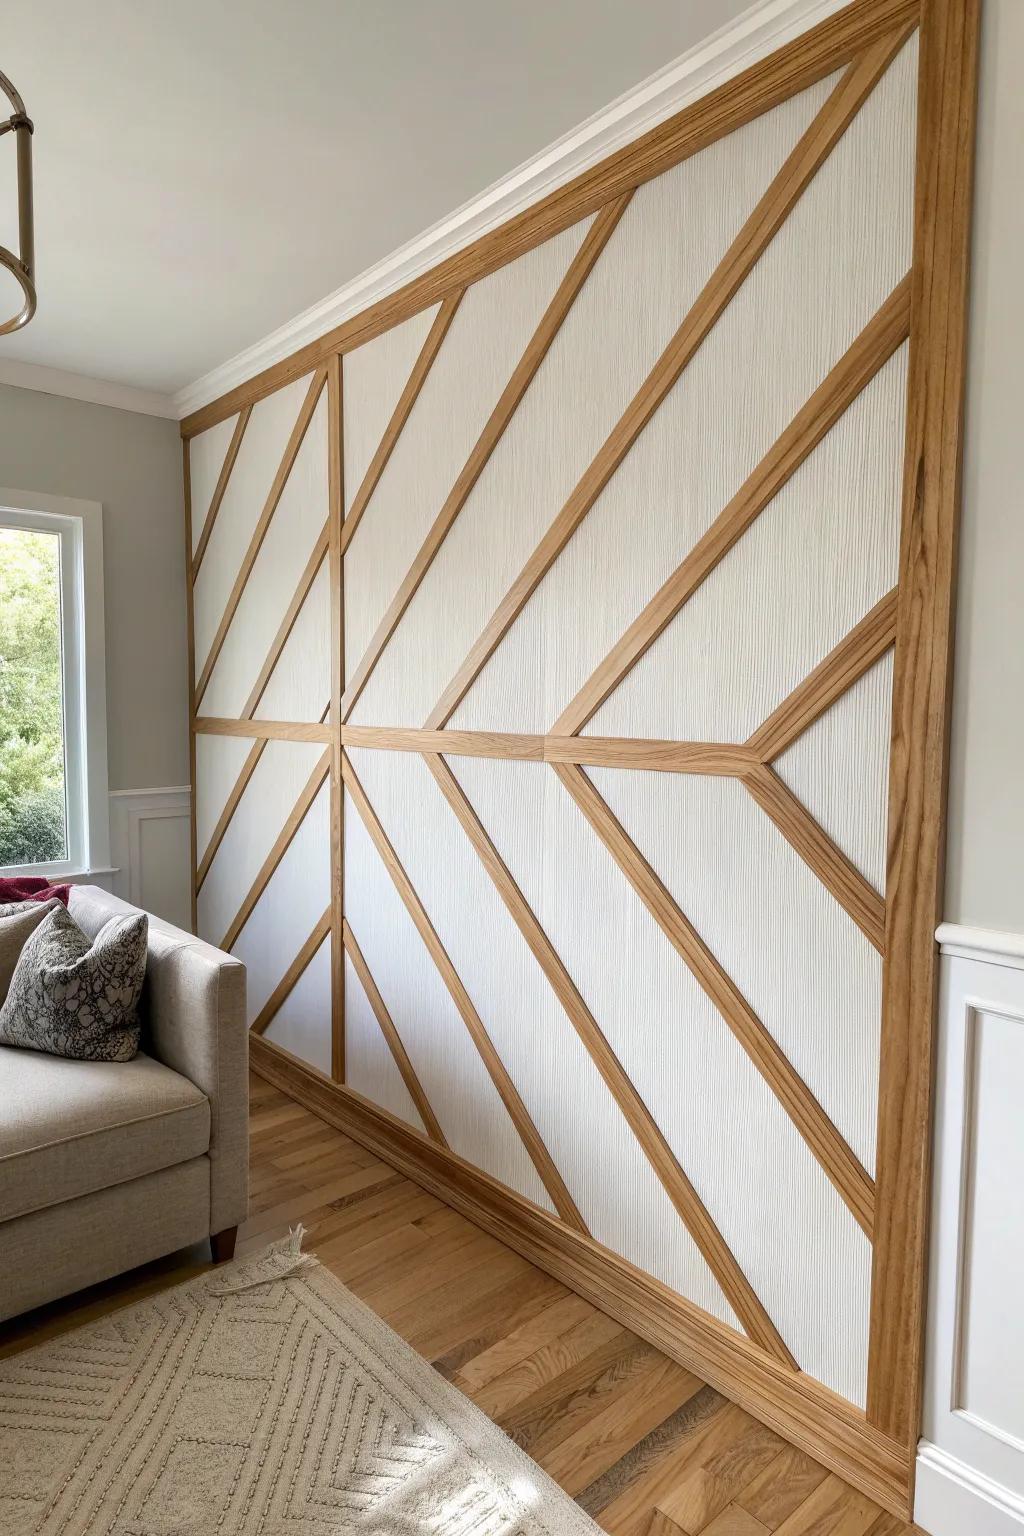
A simple maze-like geometric pattern is a total statement wall, especially in an office or living room. I built one from straight cuts only, and it looked way more complex than it actually was.
These products might be useful:
- Unfinished Oak Wood Slat Trim: Use these versatile hardwood slats to create your custom geometric grid pattern with clean, modern lines.
- Construction Adhesive for Wood: Secure your molding strips firmly to the wall surface with a strong, quick-grabbing construction adhesive.
- Paintable Textured Wallpaper: Apply a subtle textured wallpaper background before adding slats to enhance depth and visual interest.
Diagonal Box Molding Twist
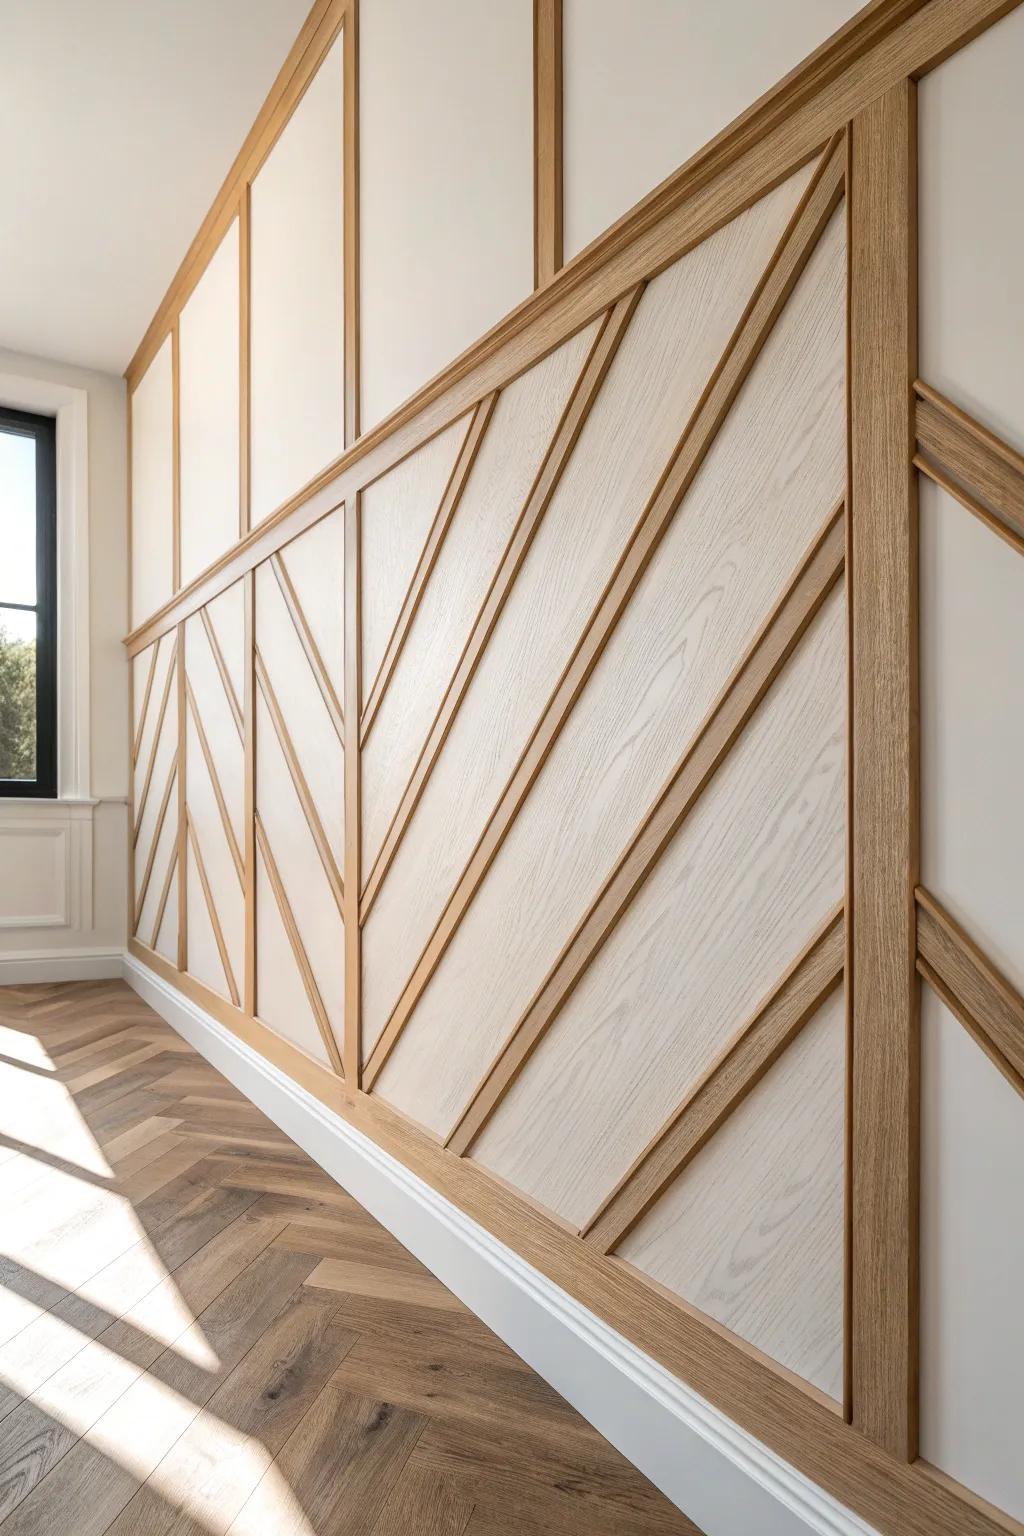
If you want modern energy, tilt your rectangles into a diagonal molding layout instead of keeping everything square. I tried this on a small accent wall, and it made the room feel instantly more dynamic.
Possibly handy products:
- Unfinished Wood Molding Slats: Use these versatile slats to create your custom diagonal pattern, adding instant modern texture to plain walls.
- Brad Nailer Kit: Secure your molding strips efficiently with a reliable nailer, ensuring a clean and professional-looking installation finish.
- Miter Box and Saw Set: Achieve precise angled cuts essential for diagonal layouts with a simple, effective manual cutting tool set.
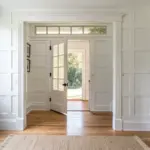
Chair Rail With Crisp Upper Frames
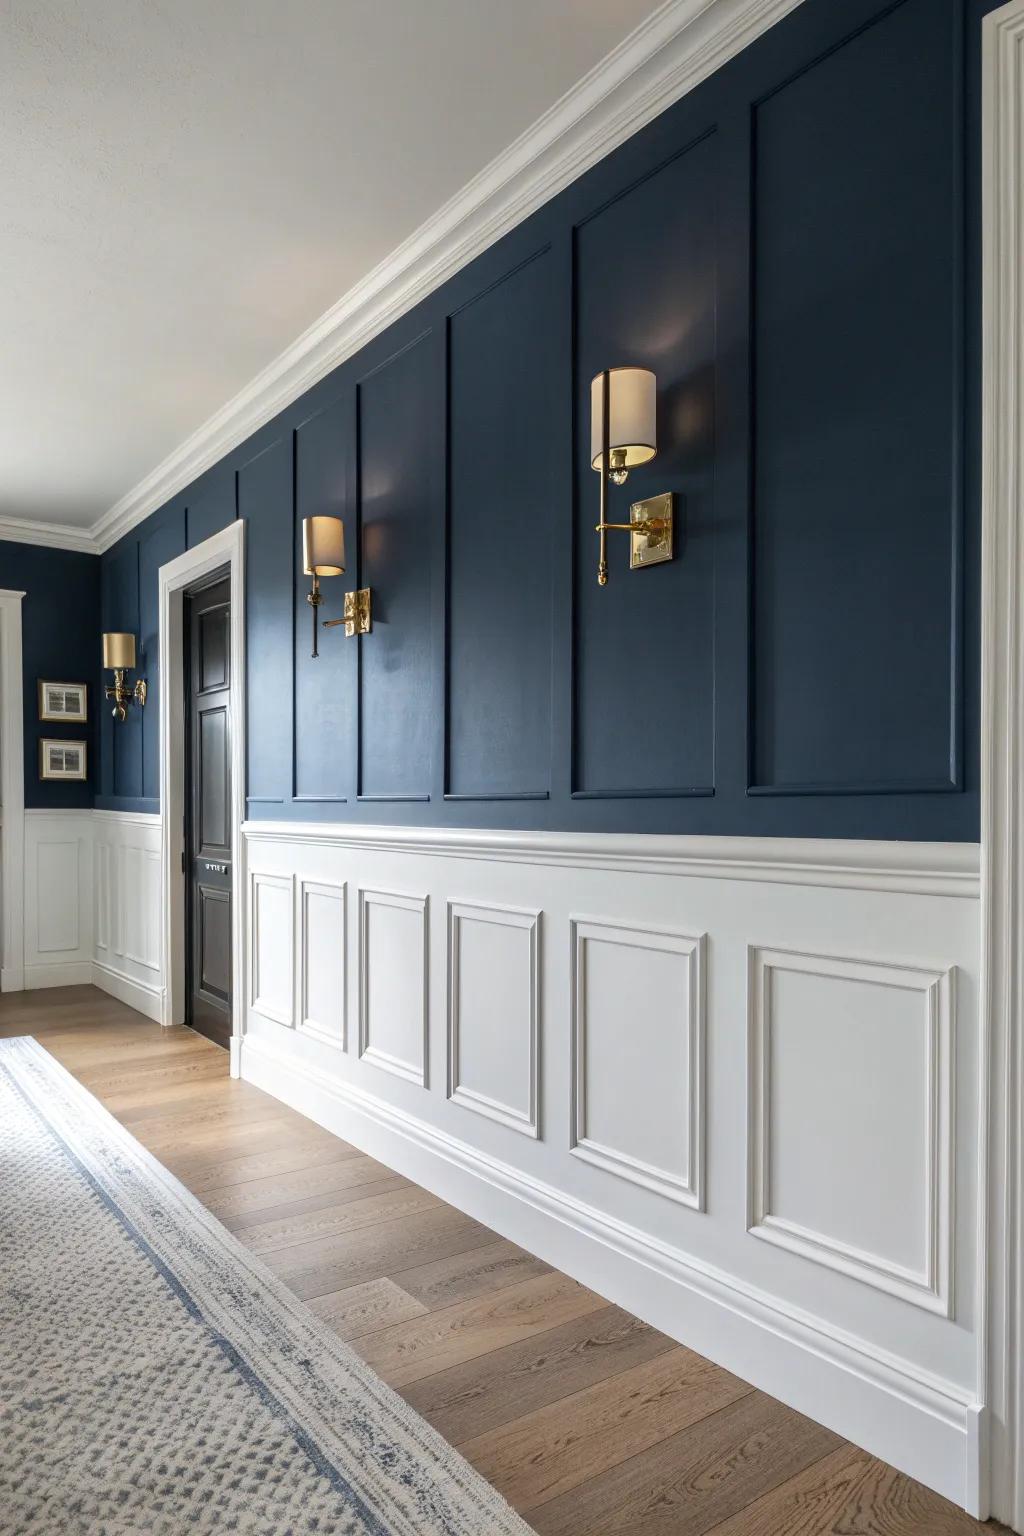
A chair rail paired with clean upper frames is such a polished look for stairways and corridors. I’ve used it to break up tall walls, and it makes lighting shadows look extra pretty at night.
A few helpful options:
- Primed Wall Molding Trim Kit: Create elegant box frames easily with these pre-primed trim pieces, ready for your paint choice.
- Brass Wall Sconce Lighting: Add warmth and highlight your new molding work with these classic, sophisticated brass light fixtures.
- Navy Blue Interior Paint: Achieve that dramatic, deep contrast on your upper walls with a rich navy blue finish.
Accent Wall Behind a Desk

A home office molding wall behind your desk is an easy way to look pulled-together without adding shelves everywhere. I’ve done this with tight, simple rectangles, and it instantly made my workspace feel more focused and finished.
Some handy options:
- Primed Paneling Molding Kit: Create a sophisticated grid layout effortlessly with pre-primed molding strips that are ready for your custom paint.
- Construction Adhesive: Ensure your new molding panels stay securely in place with a heavy-duty adhesive designed for wall installations.
- Laser Level Tool: Achieve perfectly straight lines and symmetrical spacing for your accent wall grid with a self-leveling laser tool.
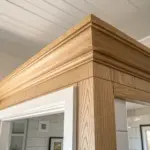
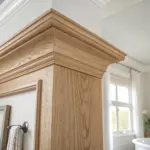
Fireplace Wall With Framed Surround
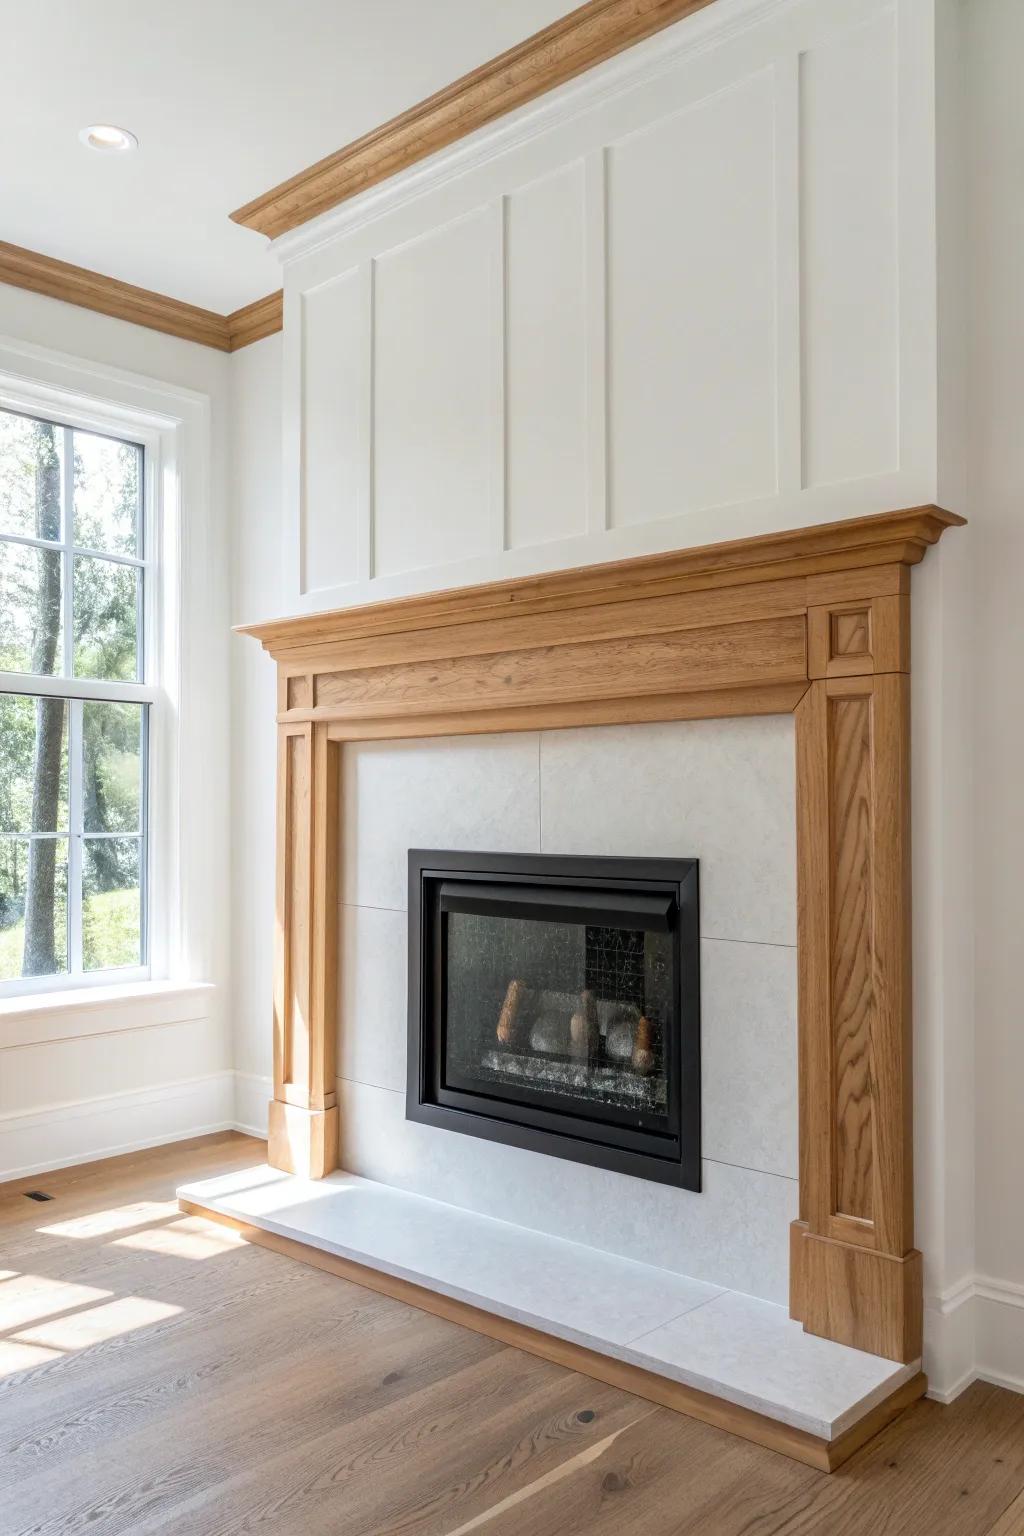
Use molding to create a clean framed fireplace surround that feels architectural, not ornate. I’ve outlined the area above a mantel with simple trim, and it made the whole focal wall feel taller and more modern.
Useful items to consider:
- Primed Wall Panel Molding Kit: Create that architectural framed look quickly with pre-cut molding pieces ready for paint and installation.
- Wood Beam Mantel Shelf: Install a floating mantel to separate your fireplace surround from the upper molding for defined visual structure.
- Caulk and Gun Set: Ensure seamless gaps and professional edges on your new trim work with high-quality sealant tools.
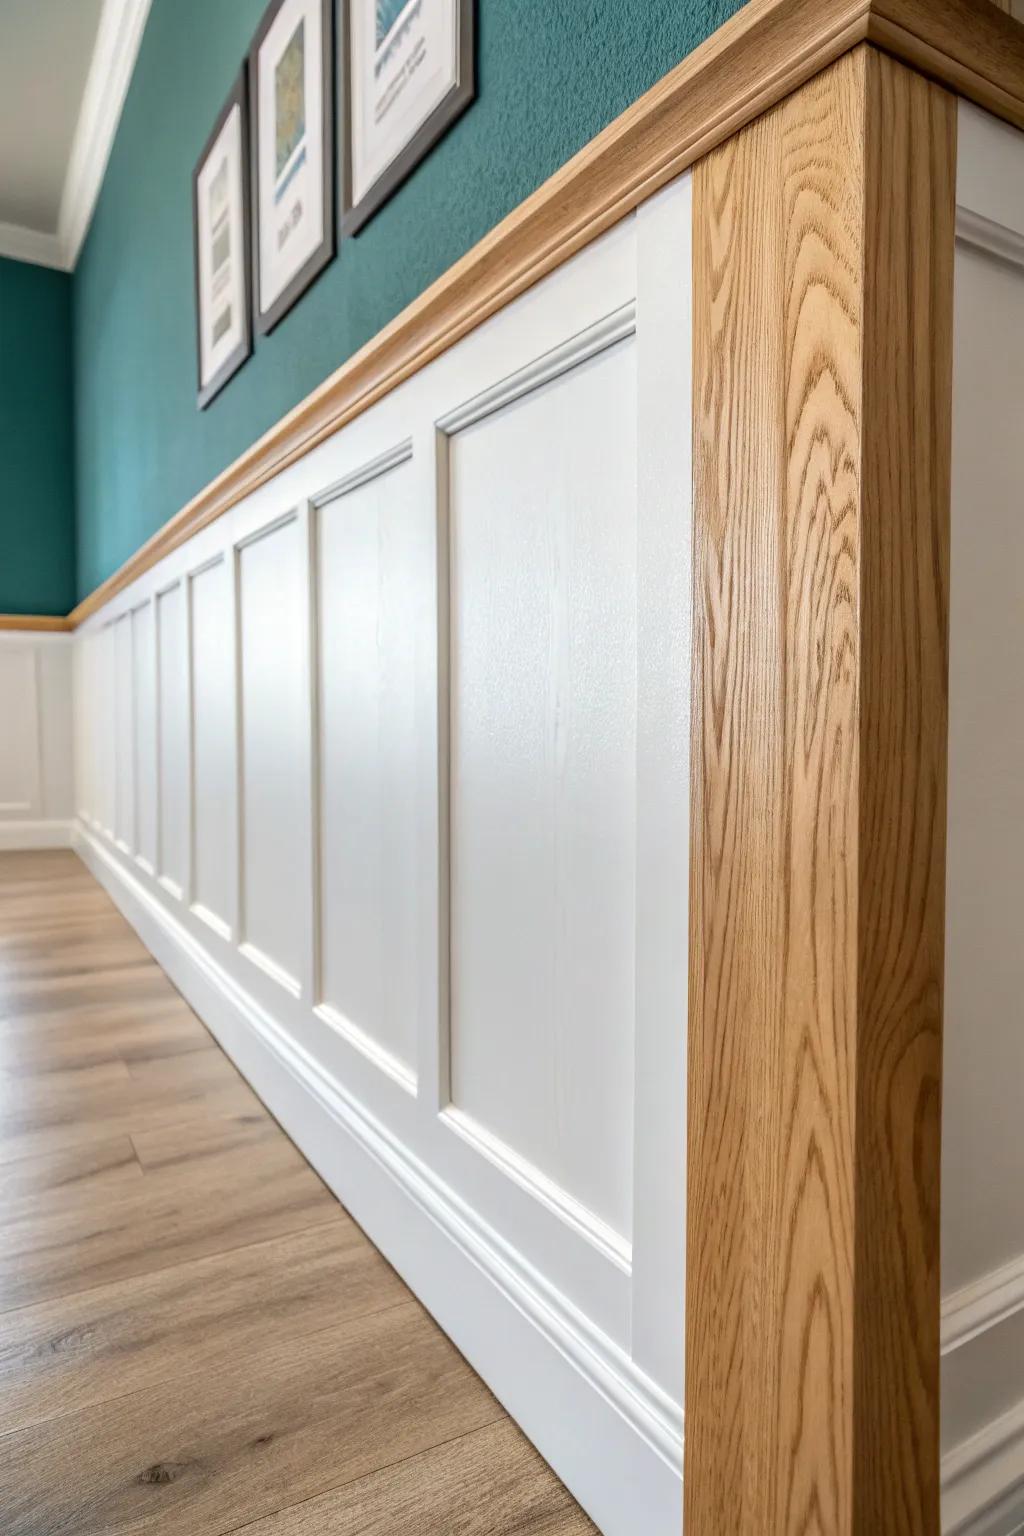
Two-Tone Molding With a Soft Contrast
Painting the wall and trim in slightly different tones gives you that modern depth without loud contrast—think tone-on-tone molding. I’ve used this when I wanted texture more than color, and it photographs beautifully in natural light.
Items that may come in handy:
- Pre-Primed Wall Panel Molding Kit: Create elegant framed sections instantly; easily paintable to achieve that perfect subtle, two-tone textured look.
- Paint Sprayer for Interior Walls: Achieve a smooth, professional finish on your molding projects, eliminating brush marks for a flawless modern aesthetic.
- Laser Level Self-Leveling Tool: Ensure your panel boxes are perfectly aligned and straight, making your DIY installation process much faster and easier.
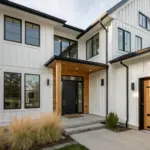
Reclaimed Wood Trim for Modern Rustic
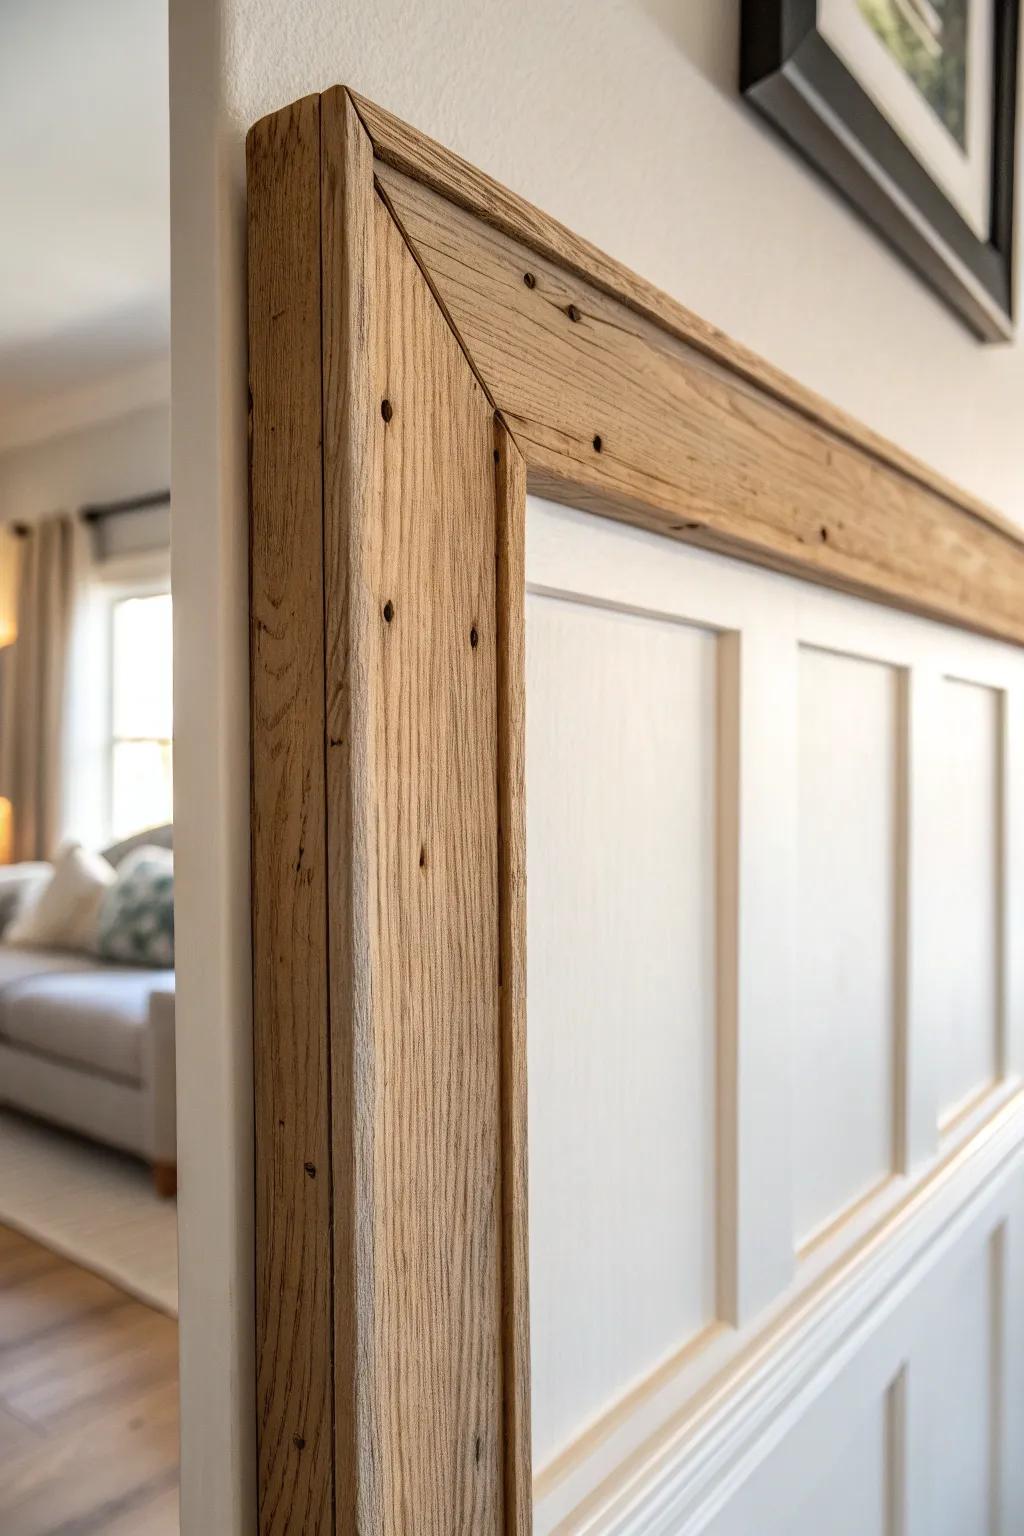
For a modern farmhouse edge, I’ll use straight, clean reclaimed wood molding with minimal profiles so the grain does the talking. I’ve milled old boards into slim trim strips, and the tiny imperfections made the wall feel soulful but still modern.
A few suggestions:
- Reclaimed Wood Planks or Peel-and-Stick Boards: Create that authentic farmhouse look instantly; perfect for crafting custom trim accents without complicated milling tools.
- Brad Nailer Kit: Secure your wooden trim pieces neatly and efficiently to ensure a professional, flush finish on your wall.
- Matte Polyurethane Finish: Protect the raw wood while maintaining its natural, rustic appearance without adding an unwanted glossy shine.
Backlit Molding Shadow-Line Wall
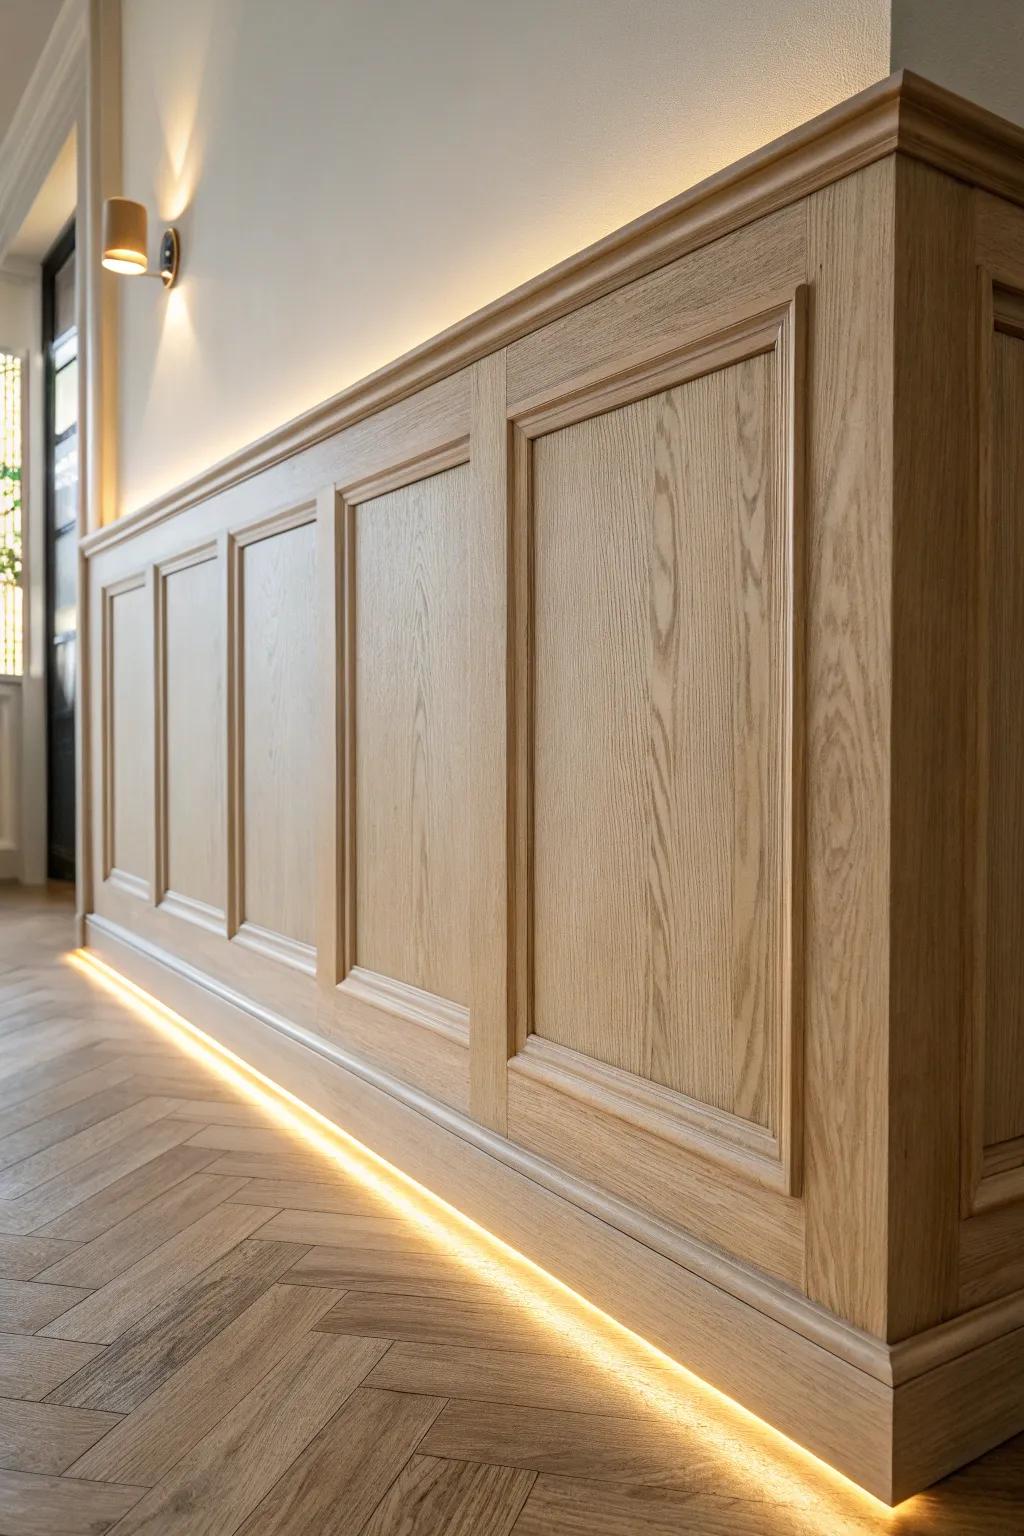
This one’s a true wow: add a slim gap or spacer behind molding edges so you can tuck in subtle backlit molding and let the pattern glow. I experimented with this on a small panel, and the nighttime shadow lines made it feel like a high-end architectural feature.
You might give these a try:
- Flexible LED Strip Lights Warm White: Instantly create that high-end glow by tucking these flexible, cuttable lights behind your molding panels.
- Aluminum LED Channel Diffuser System: Ensure a smooth, professional light distribution without hotspots by housing your strips in these sleek channels.
- Wood Spacer Shims for Installation: Create the perfect gap for your lighting features with these essential spacers for precise panel alignment.


