
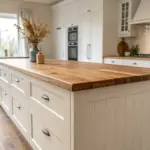
A wooden backsplash is one of my favorite ways to make a kitchen feel instantly warmer and more lived-in.
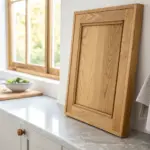
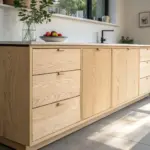
Simple Horizontal Planks
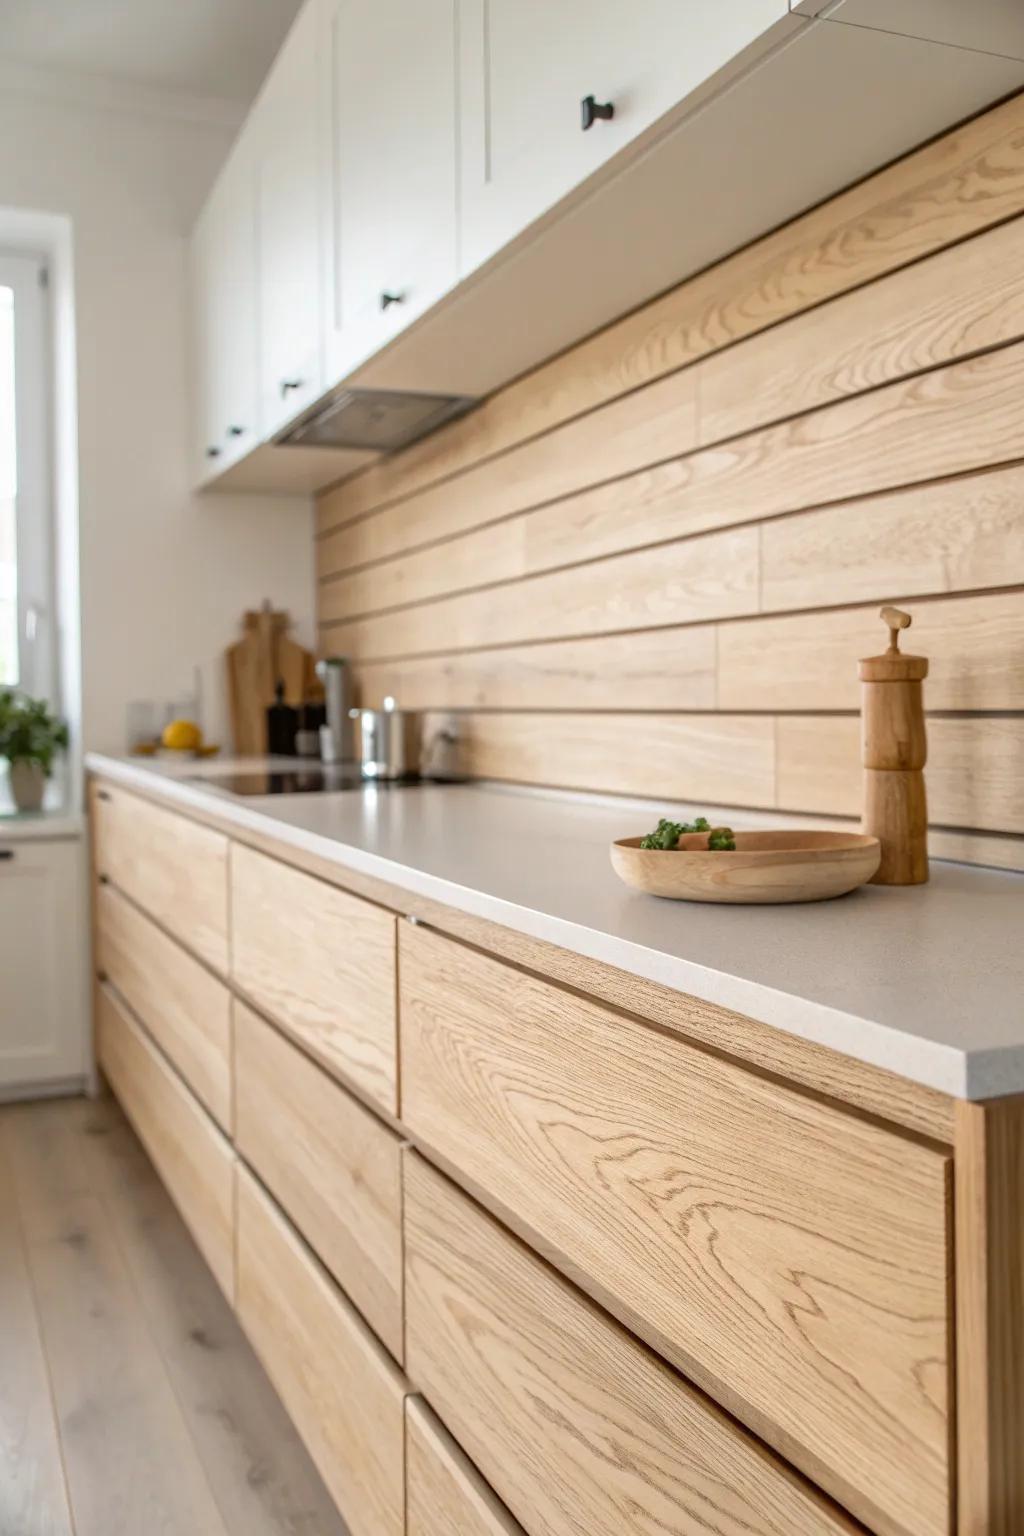
If you’re new to DIY, straight wood plank backsplash rows are such a confidence booster—I’ve taught this in workshops and it clicks fast. A tiny, consistent gap between boards looks intentional and helps with seasonal movement.
A few things you might like:
- Self-Adhesive Wall Wood Planking: Transform your kitchen quickly with peel-and-stick planks that mimic the look of solid wood without complex tools.
- Tile Spacers for Gaps: Ensure those critical gaps between planks are perfectly even for a professional finish that allows for wood movement.
- Clear Matte Wood Sealer: Protect your new backsplash from kitchen splashes and grease while keeping that beautiful, natural matte timber appearance.
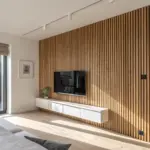
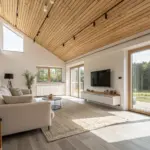
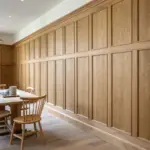
Full-Height Wood Wall

When I ran the wood backsplash all the way up to the uppers in my own place, it made the kitchen feel taller overnight. It’s especially pretty behind open shelving where the grain becomes the “art.”
Might be a good match:
- Wood Slat Wall Paneling: Transform your kitchen instantly with easy-to-install wood slat panels that add texture and modern warmth to any wall.
- Matte Clear Wood Finish: Protect your beautiful wood backsplash from moisture and splashes while maintaining a natural, low-sheen look.
- Track Lighting Kit: Highlight the beautiful vertical grain of your new wood wall with adjustable, modern ceiling track lighting fixtures.

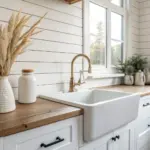
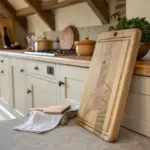
White Painted Beadboard
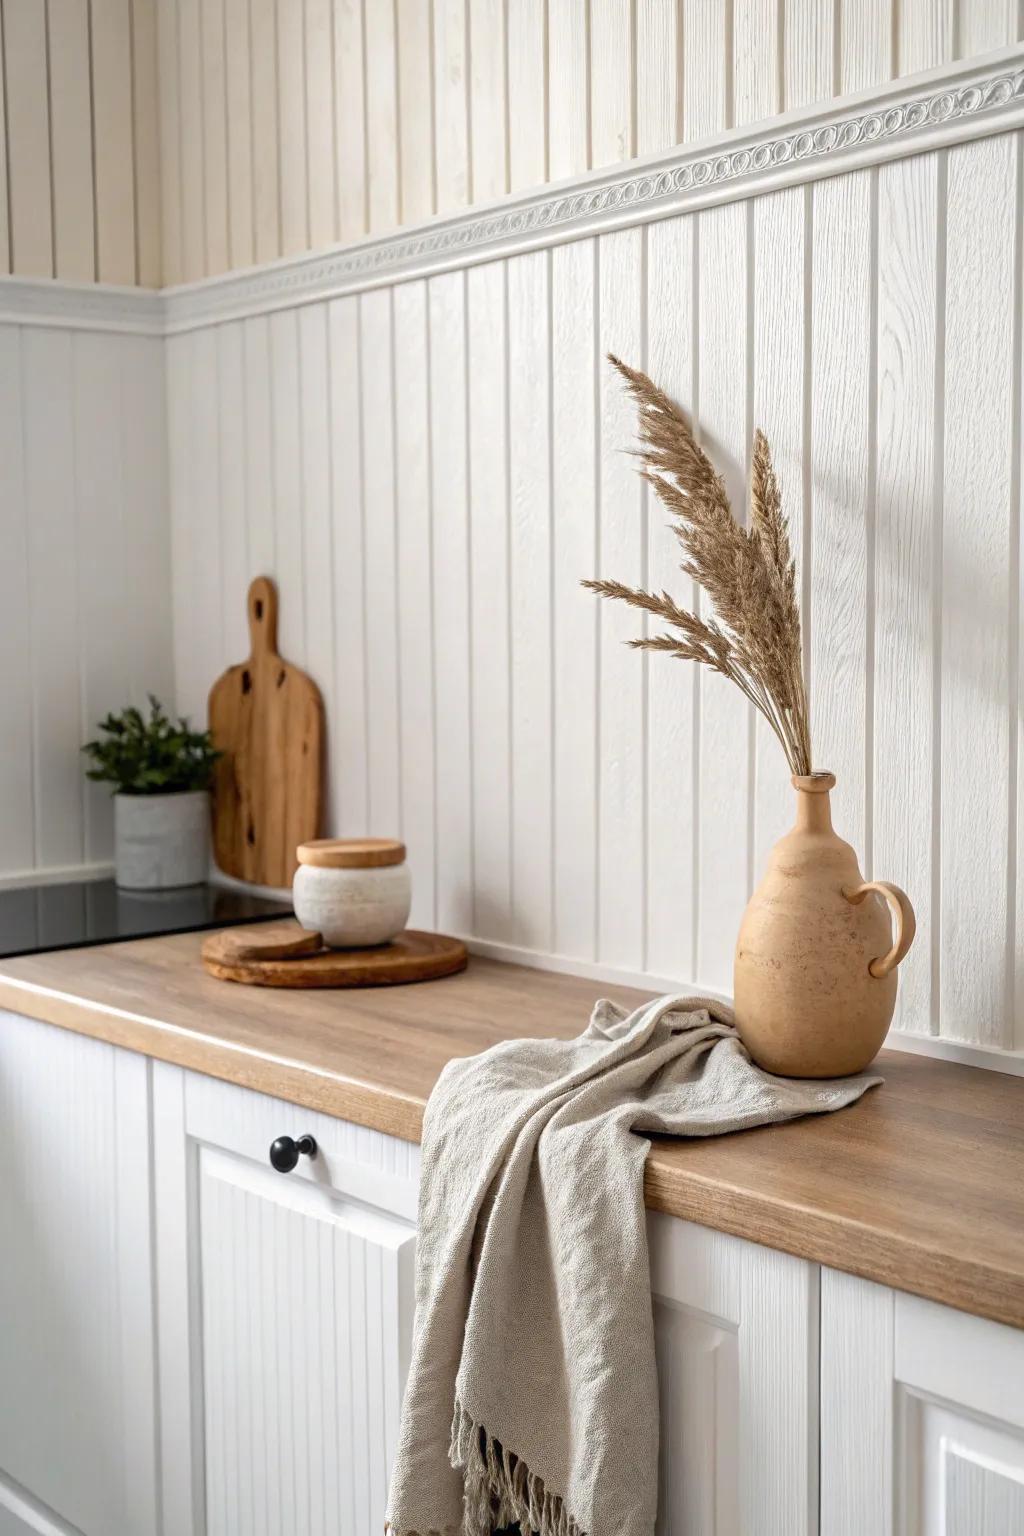
I love a painted wood backsplash for that bright, clean farmhouse look, and beadboard gives you texture without feeling busy. I’ve had the best luck using a tough wipeable topcoat so spaghetti night isn’t a tragedy.
These products might be useful:
- Beadboard Paneling Kit or Wallpaper: Instantly add that classic farmhouse texture to your kitchen walls with easy-to-install paneling or textured wallpaper.
- Kitchen & Bath Semi-Gloss Paint: Protect your wood backsplash from moisture and splashes with a durable, scrubbable paint designed for humid areas.
- Polyurethane Protective Topcoat: Seal your painted backsplash with a clear, water-based finish to make cleaning spills and splatters effortless.
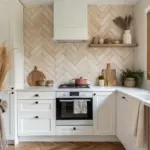
Herringbone Statement Panel
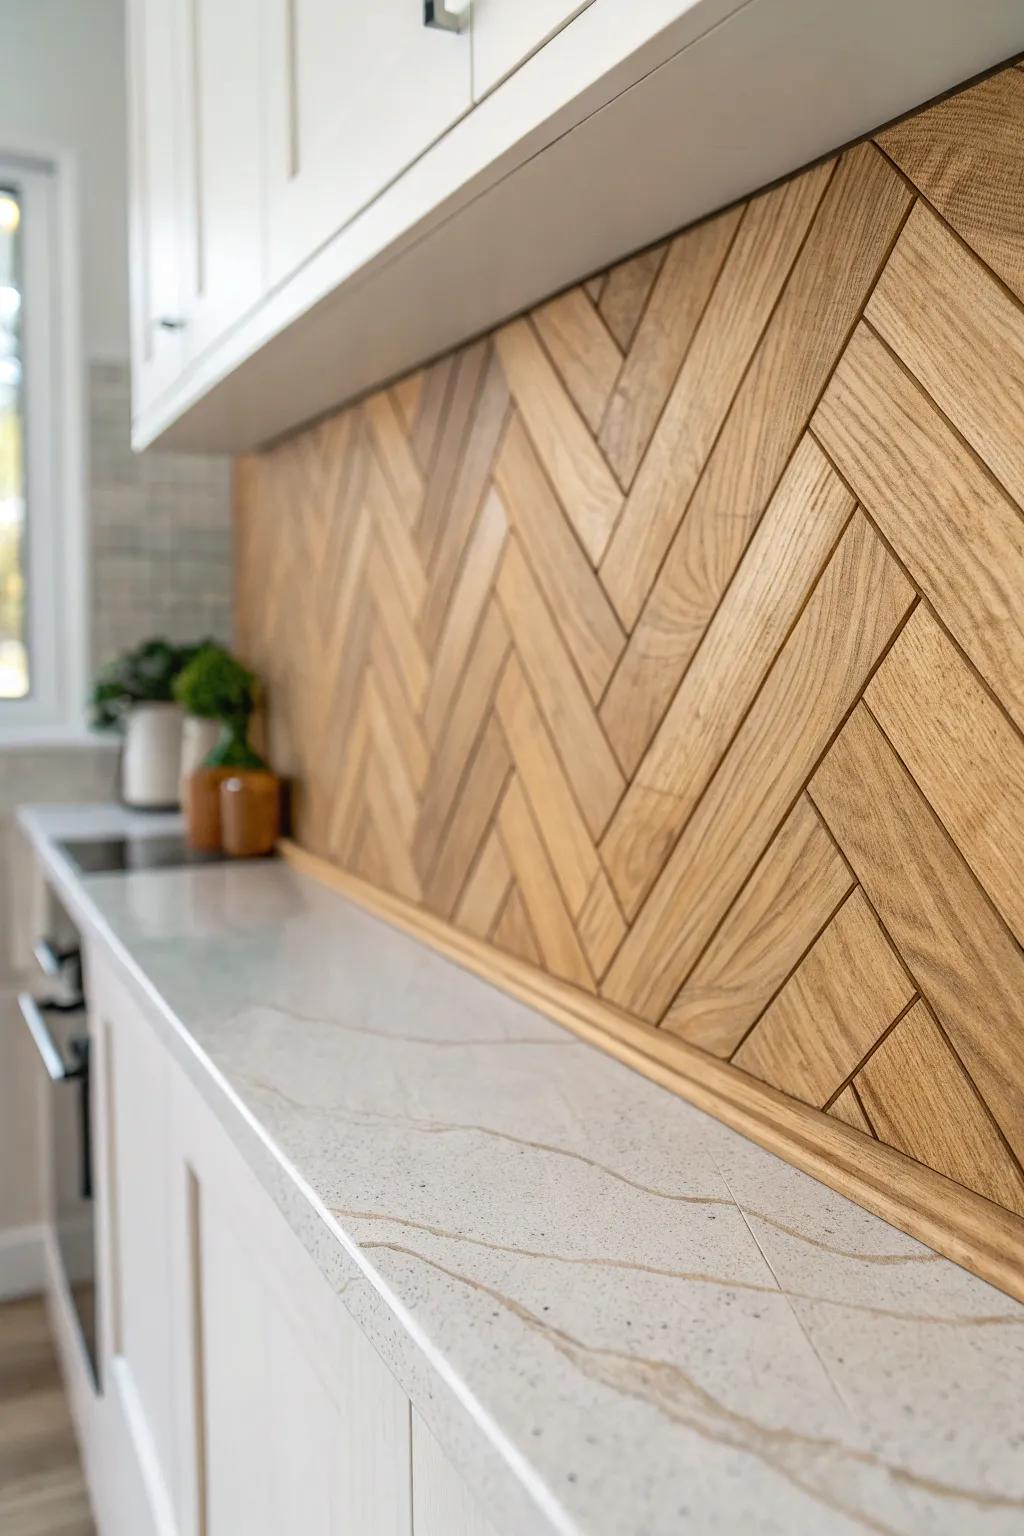
A herringbone wood backsplash is my “small area, big impact” trick, especially behind a sink. The first time I made one, I was shocked how a simple zig-zag pattern made the whole kitchen feel custom.
Possibly handy products:
- Peel and Stick Wood Planks: Transform your kitchen walls quickly with adhesive wood panels that simplify the herringbone installation process.
- Clear Waterproof Wood Sealer: Protect your new wooden backsplash from kitchen splashes and moisture with a durable, clear finish.
- Laser Level Tool: Ensure perfectly straight lines for your zig-zag pattern with a precise self-leveling laser guide.
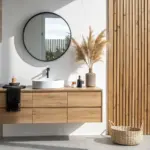
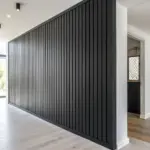
Vertical Slat Modern Look
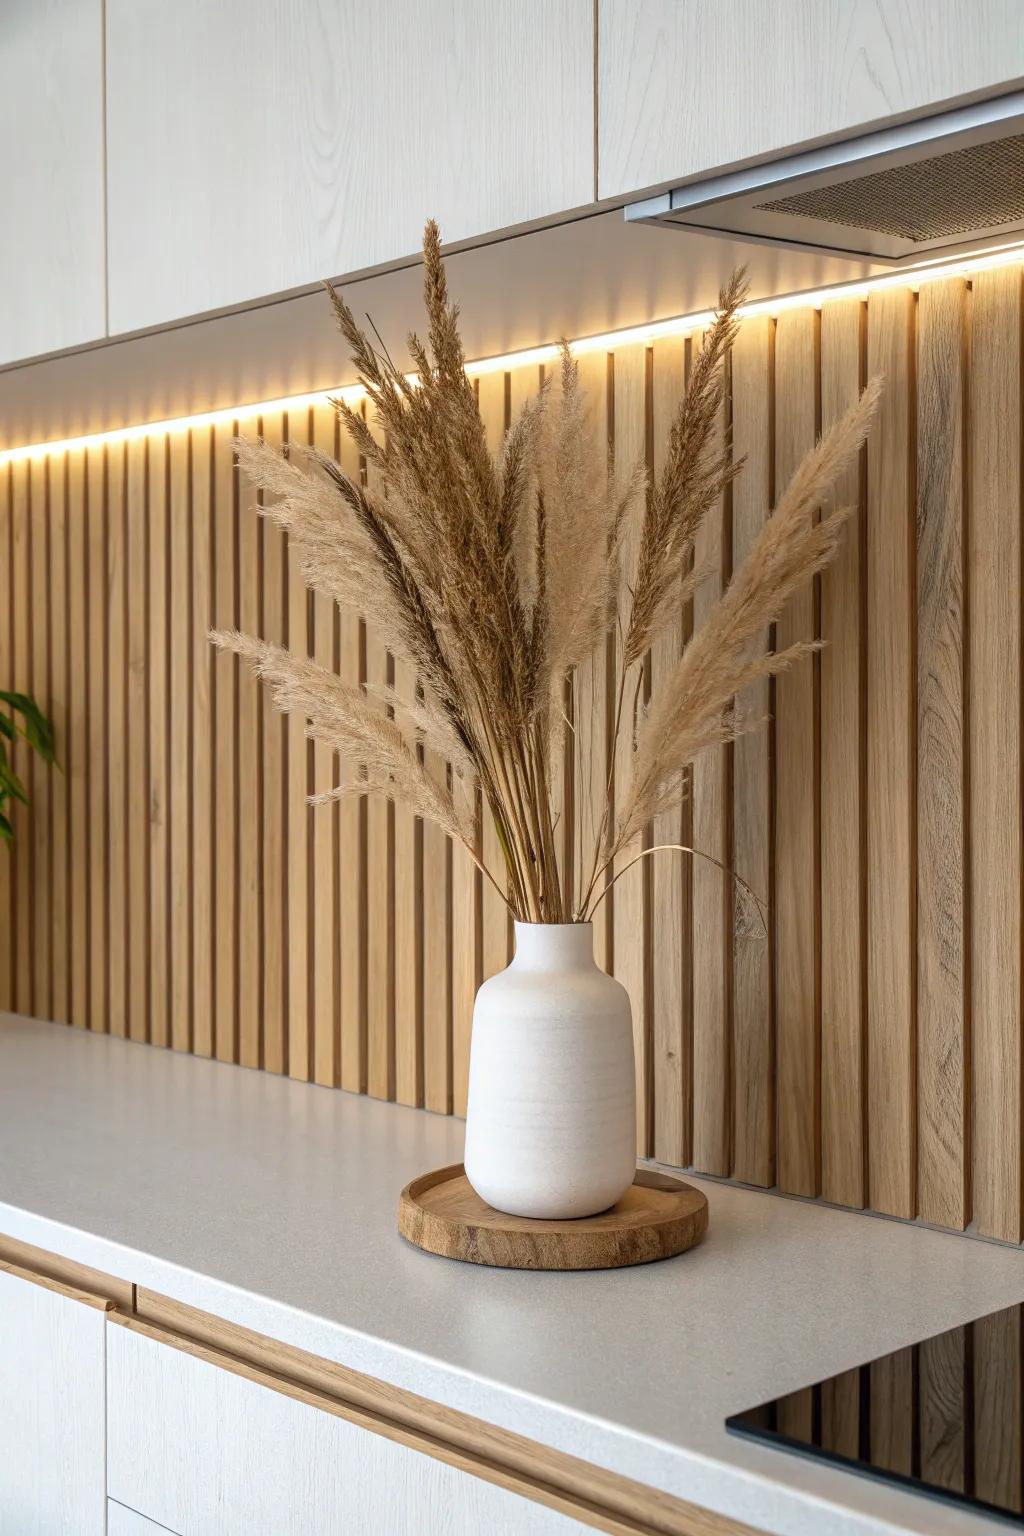
A vertical slat wood backsplash feels surprisingly modern, especially with simple cabinets. I’ve used thin, evenly spaced slats and tucked lighting above to make the texture glow at night.
Products that could assist:
- Acoustic Wood Paneling: Transform your walls easily with pre-made slat panels that add instant modern texture and warmth to your space.
- LED Strip Light Channel: Create that glowing ambiance by installing diffusers that protect your LED strips and provide smooth, professional lighting.
- Ceramic Vase Decor: Complete the minimalist look with a matte ceramic vase that perfectly complements the natural wood tones.
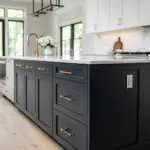
Floating Shelves Built In
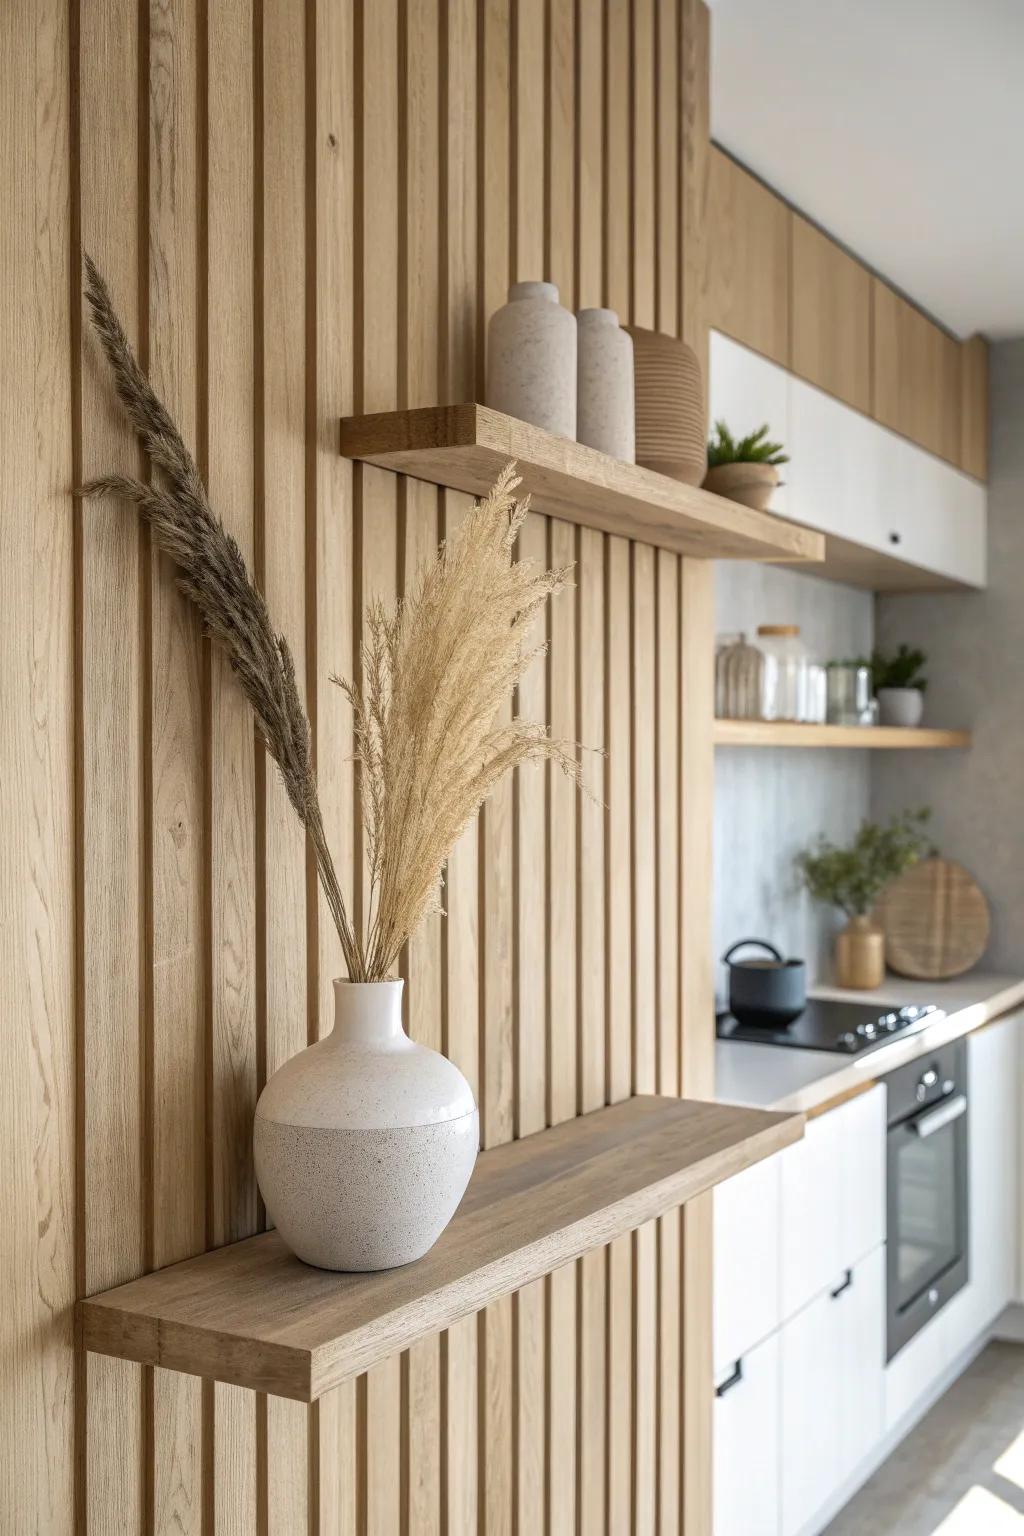
Mounting floating shelves right over a wooden backsplash makes the whole wall feel intentional instead of “added later.” I always hit studs and pre-finish the boards—learned the hard way that finishing around brackets is a headache.
A few relevant products:
- Heavy Duty Floating Shelf Brackets: Secure your shelves invisibly for that clean, built-in look by installing these hidden supports directly into studs.
- Matte White Ceramic Vase: Add texture and contrast to your wood slats with a minimalist vase perfect for styling dried botanicals.
- Dried Pampas Grass Decor: Soften the linear look of wood slats by arranging fluffy, natural pampas grass for an organic touch.

Lightly Charred Wood Finish
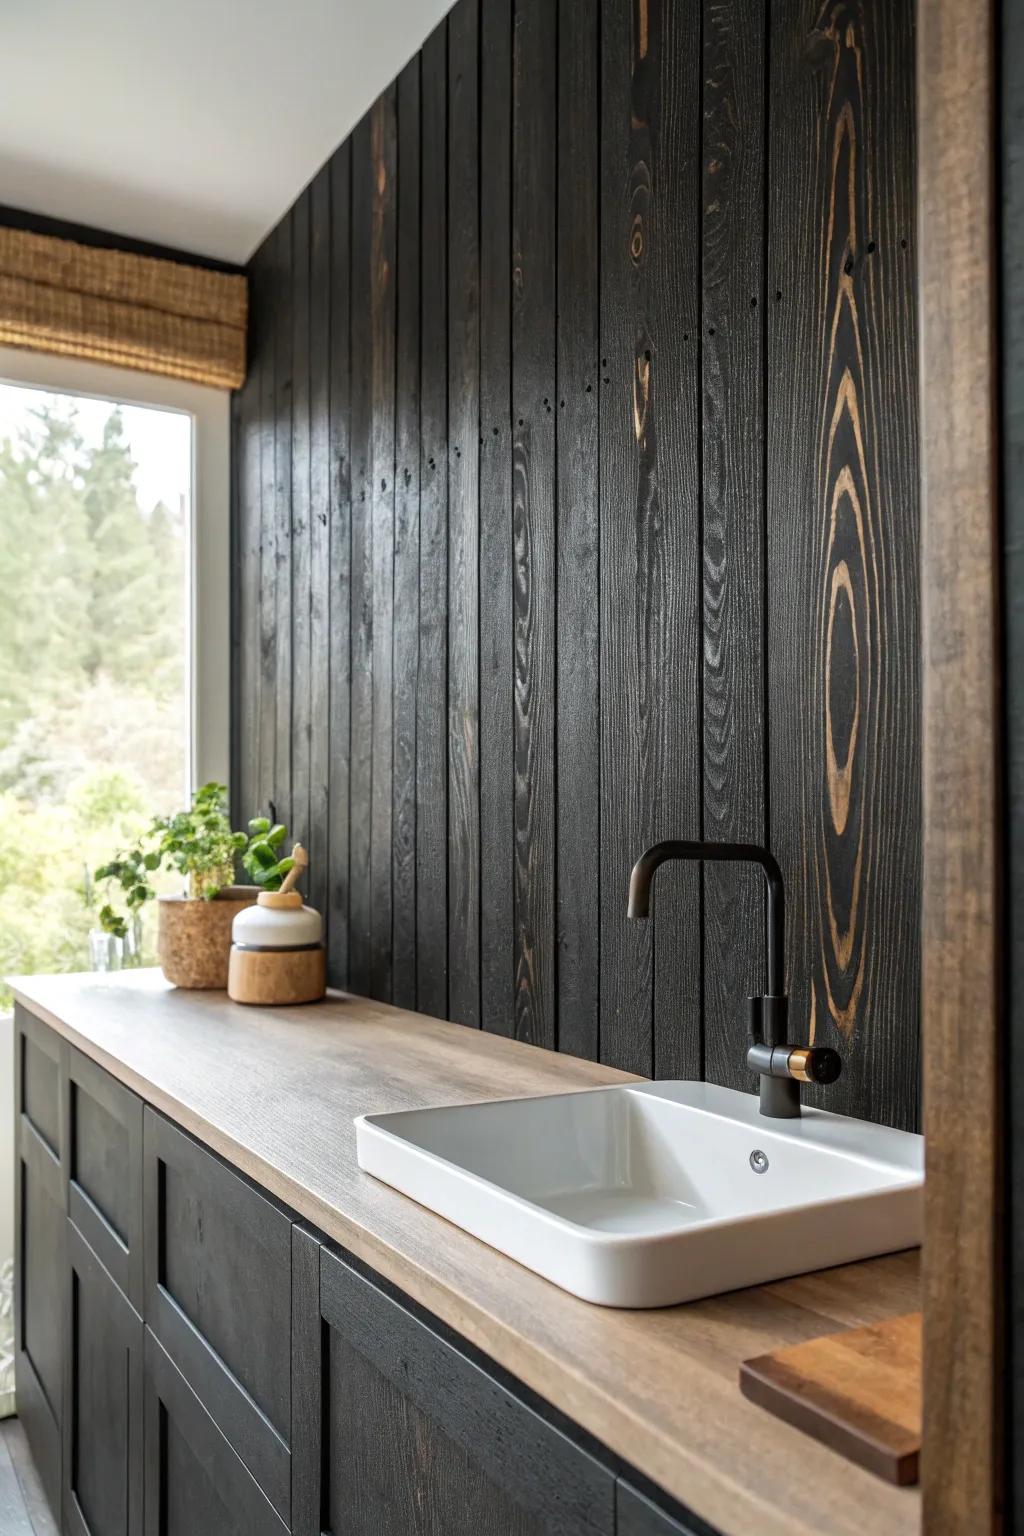
A gently charred wood backsplash has this moody, velvety depth that photos don’t even fully capture. I tried it on a small wet bar wall first, then sealed it like crazy so it stayed dramatic but easy to wipe down.
Explore these options:
- Peel and Stick Reclaimed Wood Paneling: Instantly create a dramatic accent wall with adhesive real wood planks that mimic charred textures effortlessly.
- Clear Matte Polyurethane Sealer: Protect your wood backsplash from moisture and splashes while maintaining that natural, non-glossy, velvety finish.
- Propane Torch for Wood Burning: Achieve the authentic Shou Sugi Ban look DIY-style by lightly charring raw pine boards yourself.


