
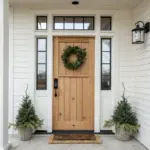
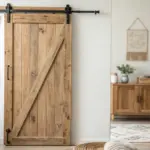
Rustic door trim is one of my favorite ways to make a plain doorway feel warm, grounded, and intentionally designed. If you’re craving that cozy farmhouse or cabin vibe, these ideas will help you frame your doors with natural wood character and plenty of personality.
Rustic Trim for Bathrooms
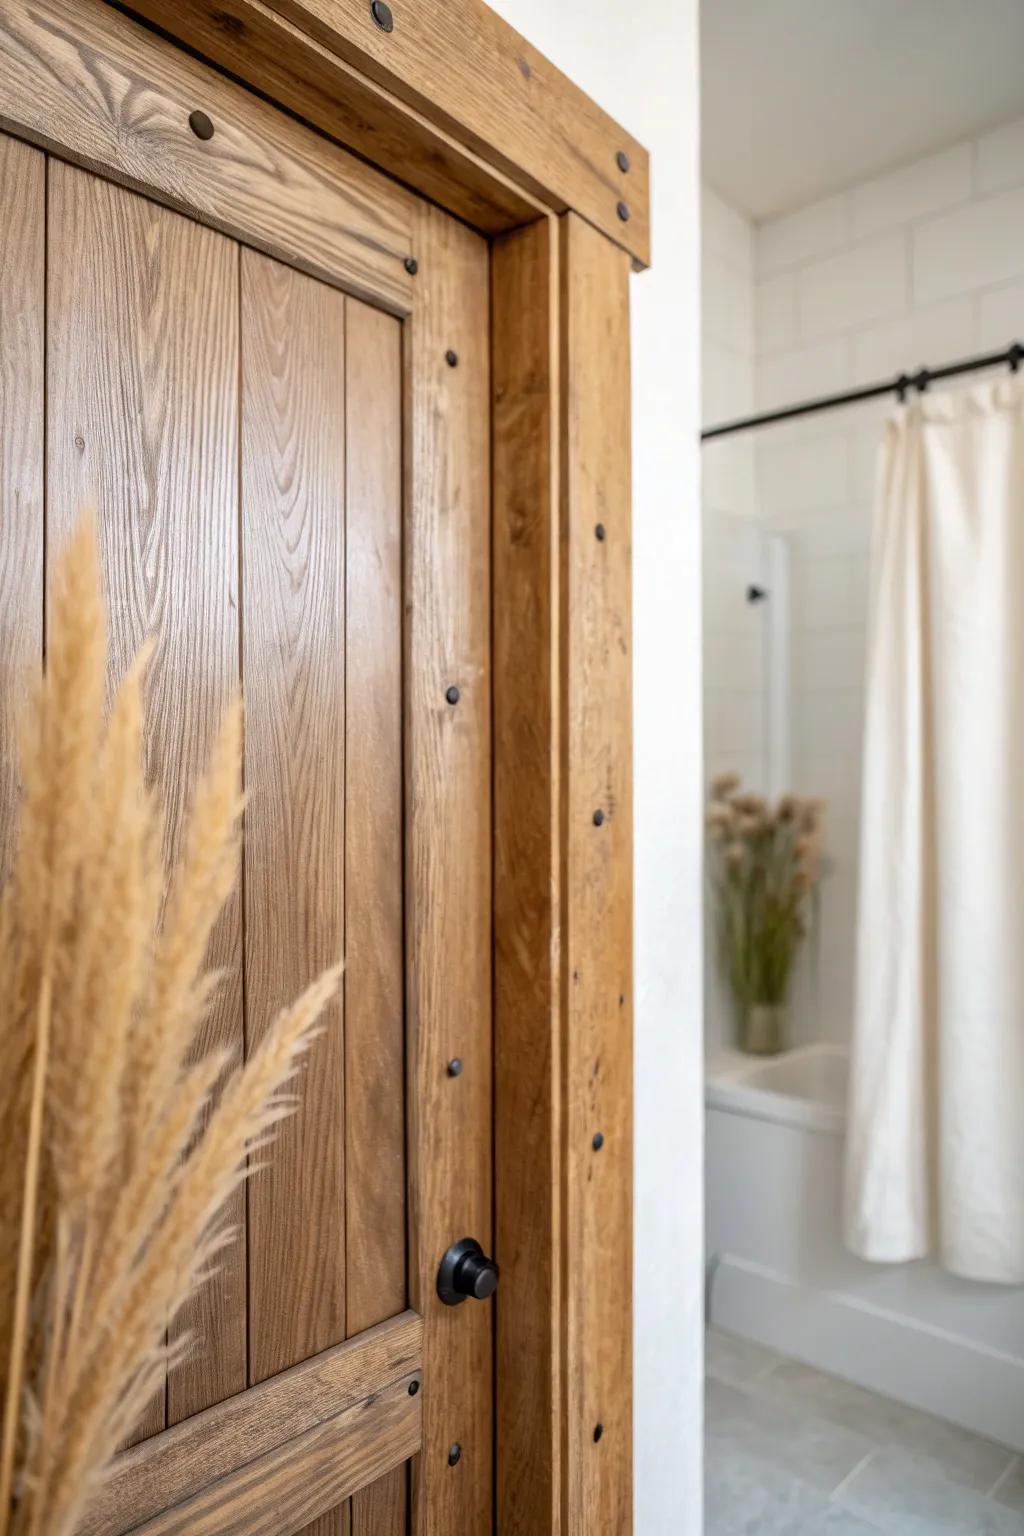
I’ve used rustic door trim at bathroom entries to warm up all the hard surfaces, and it’s such an easy upgrade. You’ll want a durable clear coat here, because steamy rooms are no joke.
Try these:
- Matte Polyurethane Clear Coat: Protect your beautiful wood trim from bathroom humidity and moisture with a durable, water-resistant matte finish.
- Decorative Black Clavos Nails: Add authentic farmhouse charm to your door trim by hammering in these rustic black iron accents.
- Rough Sawn Lumber Boards: Build your own chunky, custom door casing using durable lumber boards ready for staining and sealing.
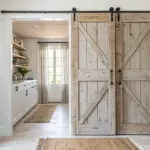
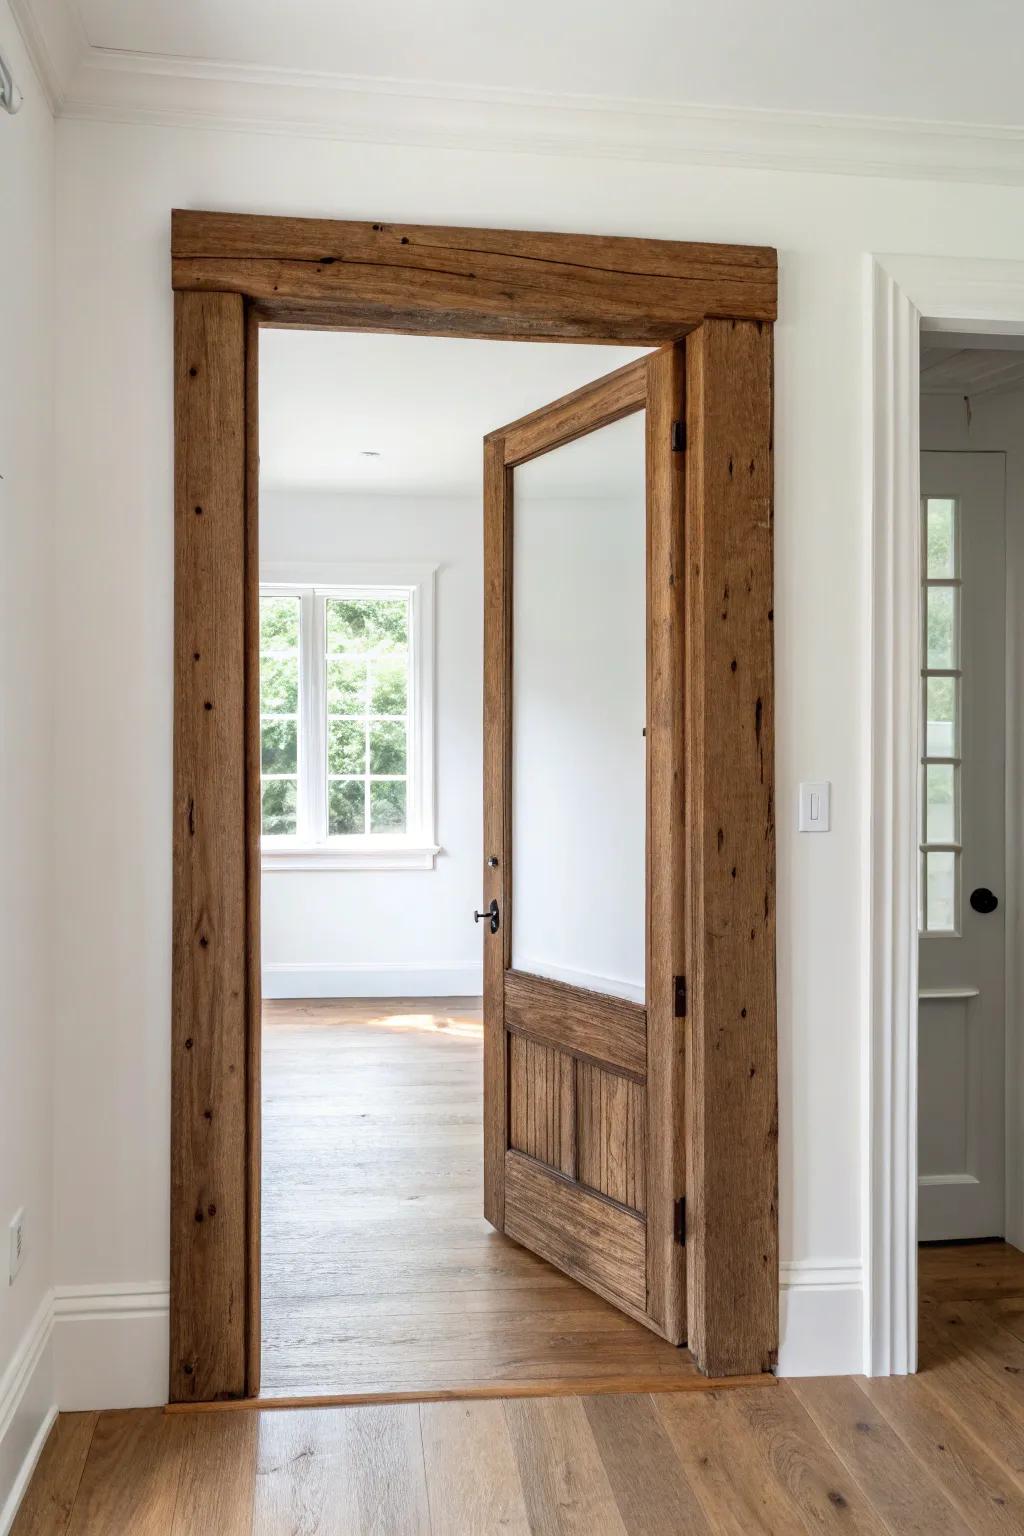
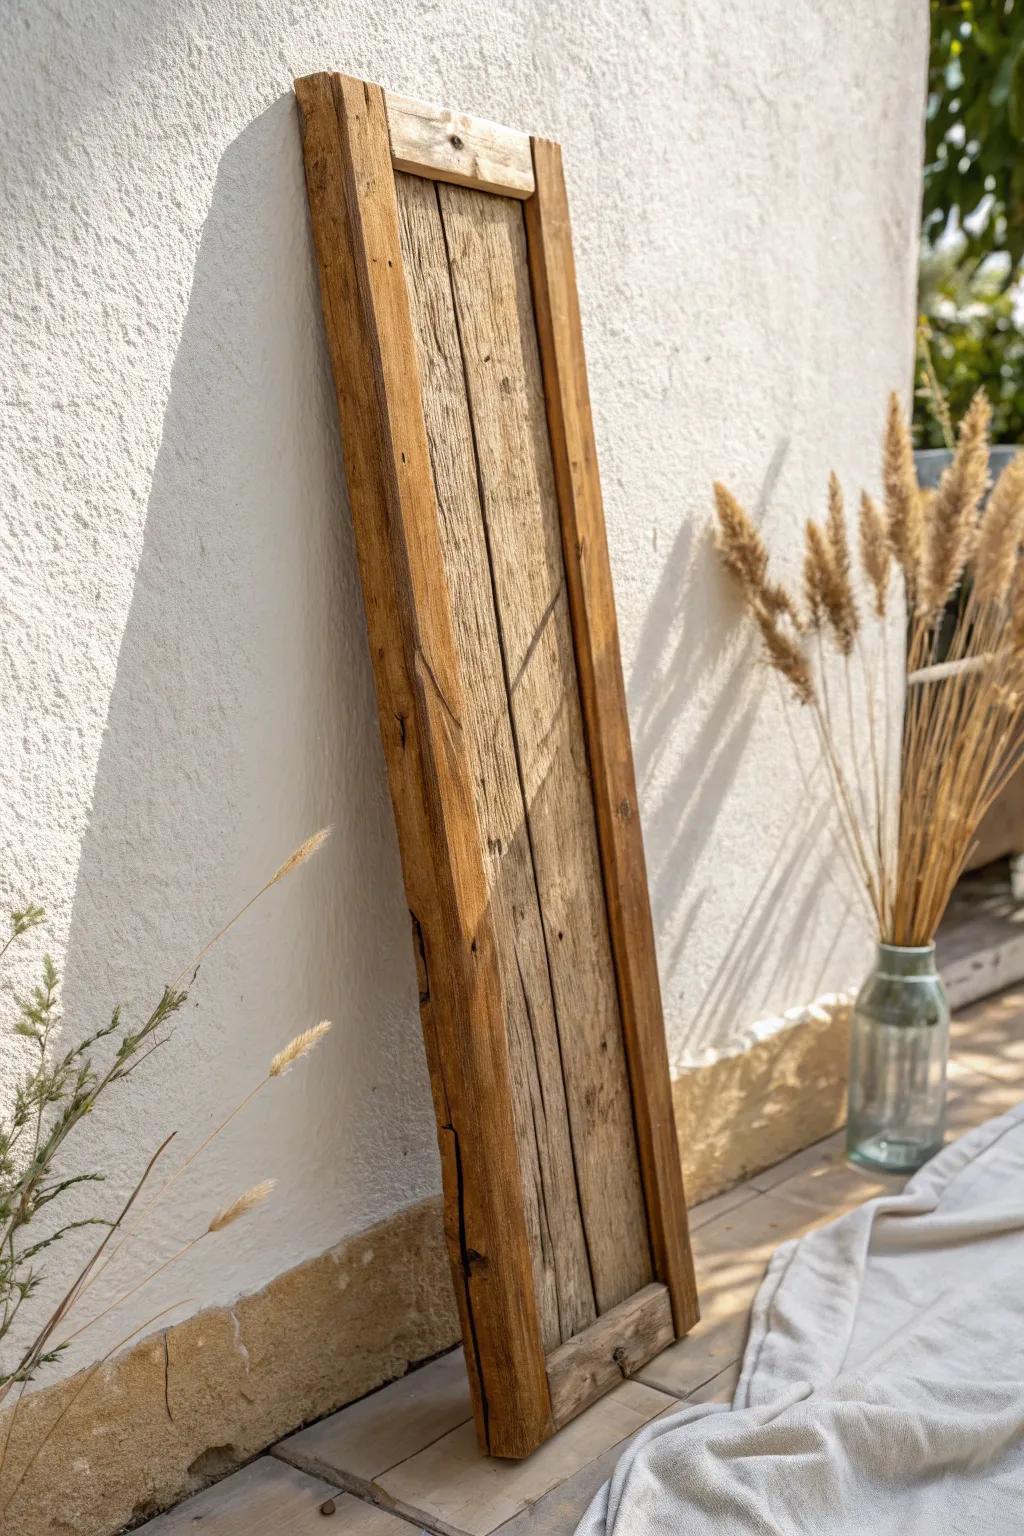
Reclaimed Barn Wood Casing
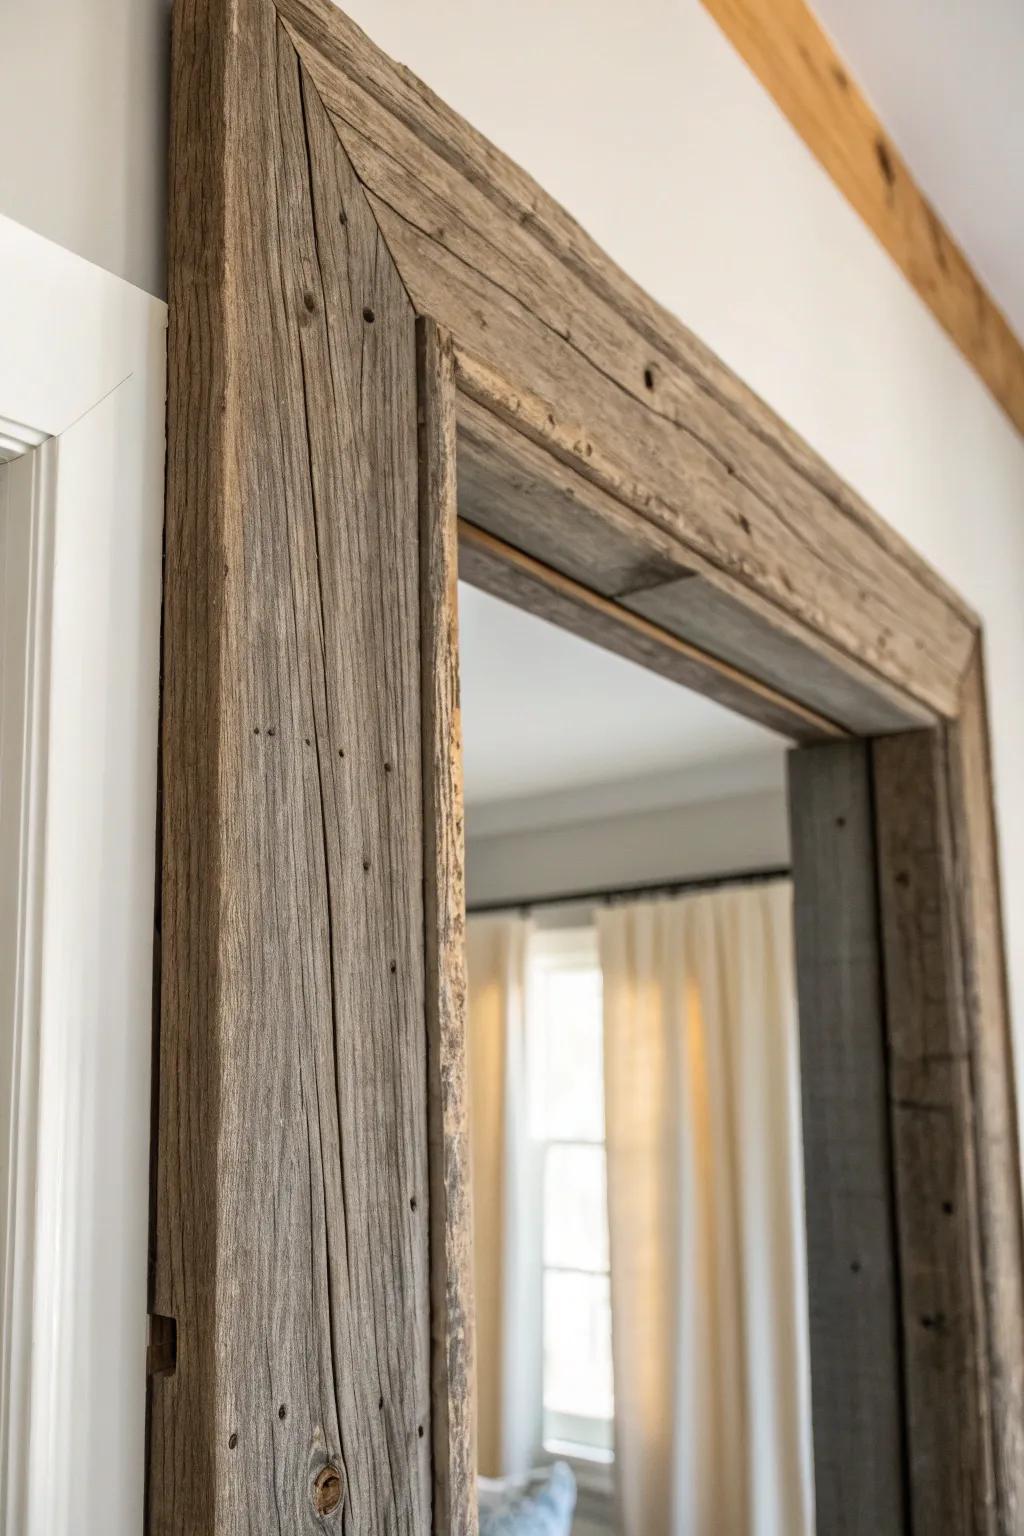
I’ve wrapped interior doors with reclaimed barn wood and the instant patina makes even new walls feel lived-in. You’ll love how the weathered grain hides little dings and scuffs that would normally drive you crazy.
May just do the trick:
- Reclaimed Wood Planks: Achieve that authentic farmhouse look instantly by applying these weathered boards directly to your existing door frames.
- Matte Wood Sealer: Protect your rustic trim without adding unwanted shine, keeping the wood’s natural, weathered appearance fully intact.
- Finish Nails & Nailer Kit: Secure your new casing firmly and discreetly, ensuring a professional installation that holds up over time.


Classic Craftsman Header Trim
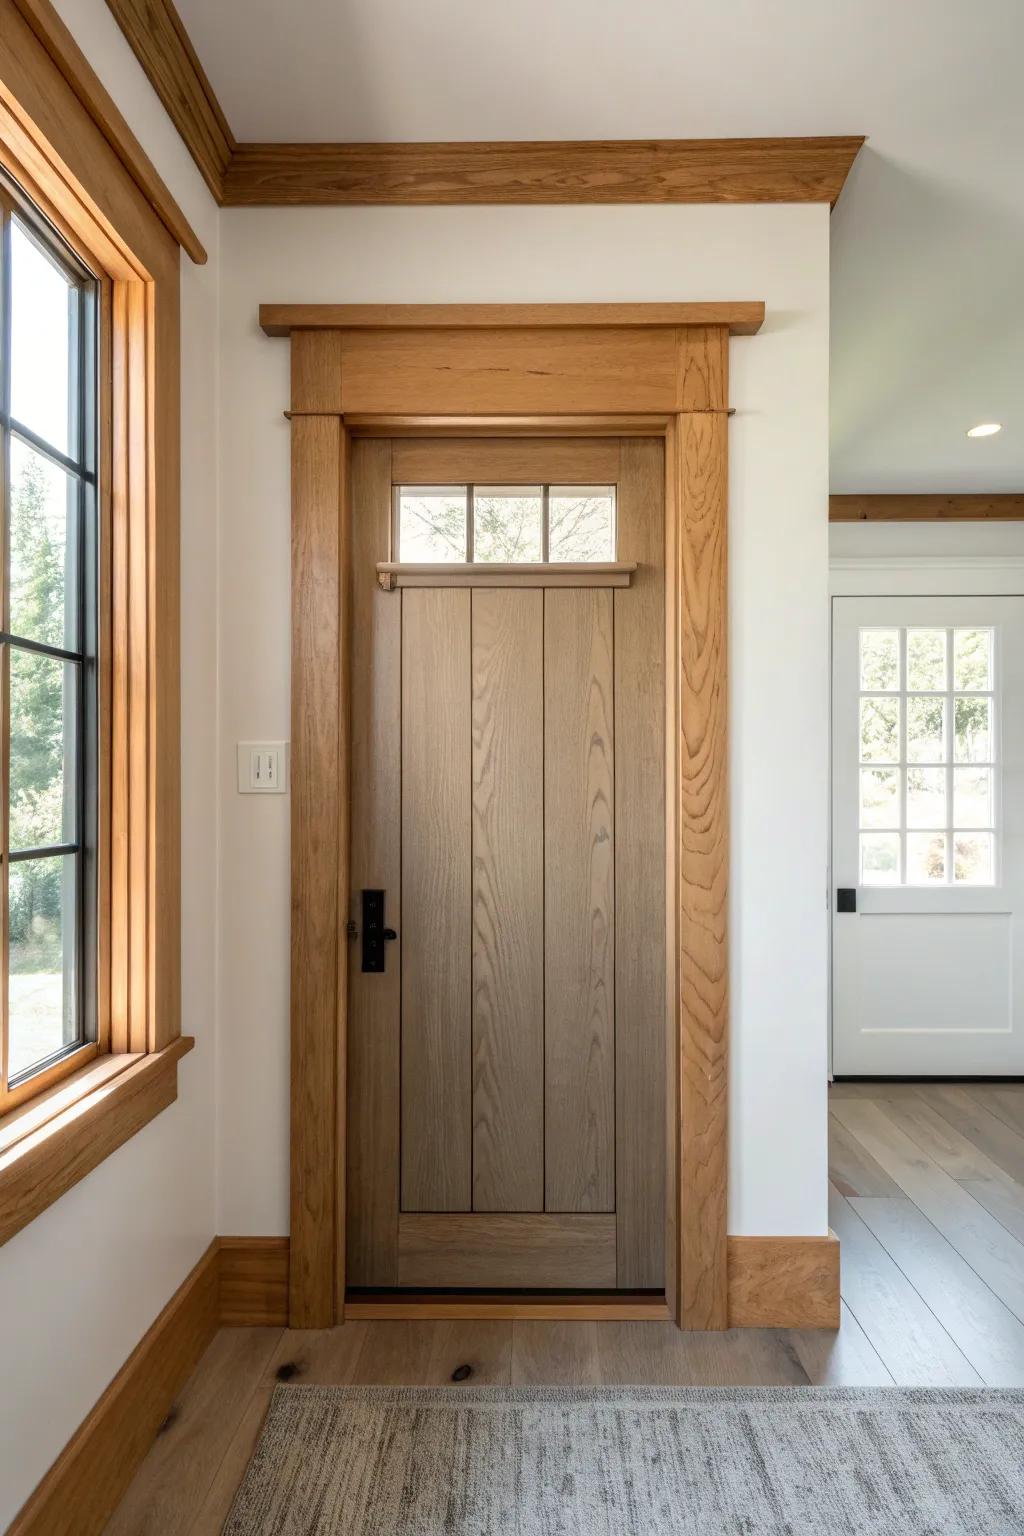
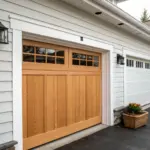
When I add a chunky craftsman-style header (with simple square cuts), the whole doorway looks more substantial. If you want a timeless rustic look, this is the trim style I reach for first.
Check if these fit your needs:
- Solid Oak Lumber Boards: Build your own chunky craftsman header with solid lumber for an authentic, substantial look in your entryway.
- Matte Black Door Levers: Complete the rustic modern aesthetic by upgrading your hardware to sleek, square-profile matte black handles.
- Wood Stain and Sealer: Protect your new trim and enhance the natural grain pattern with a quality stain and clear coat.
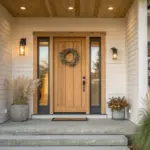
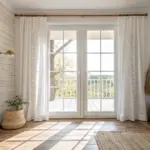
Extra-Wide Plank Door Trim
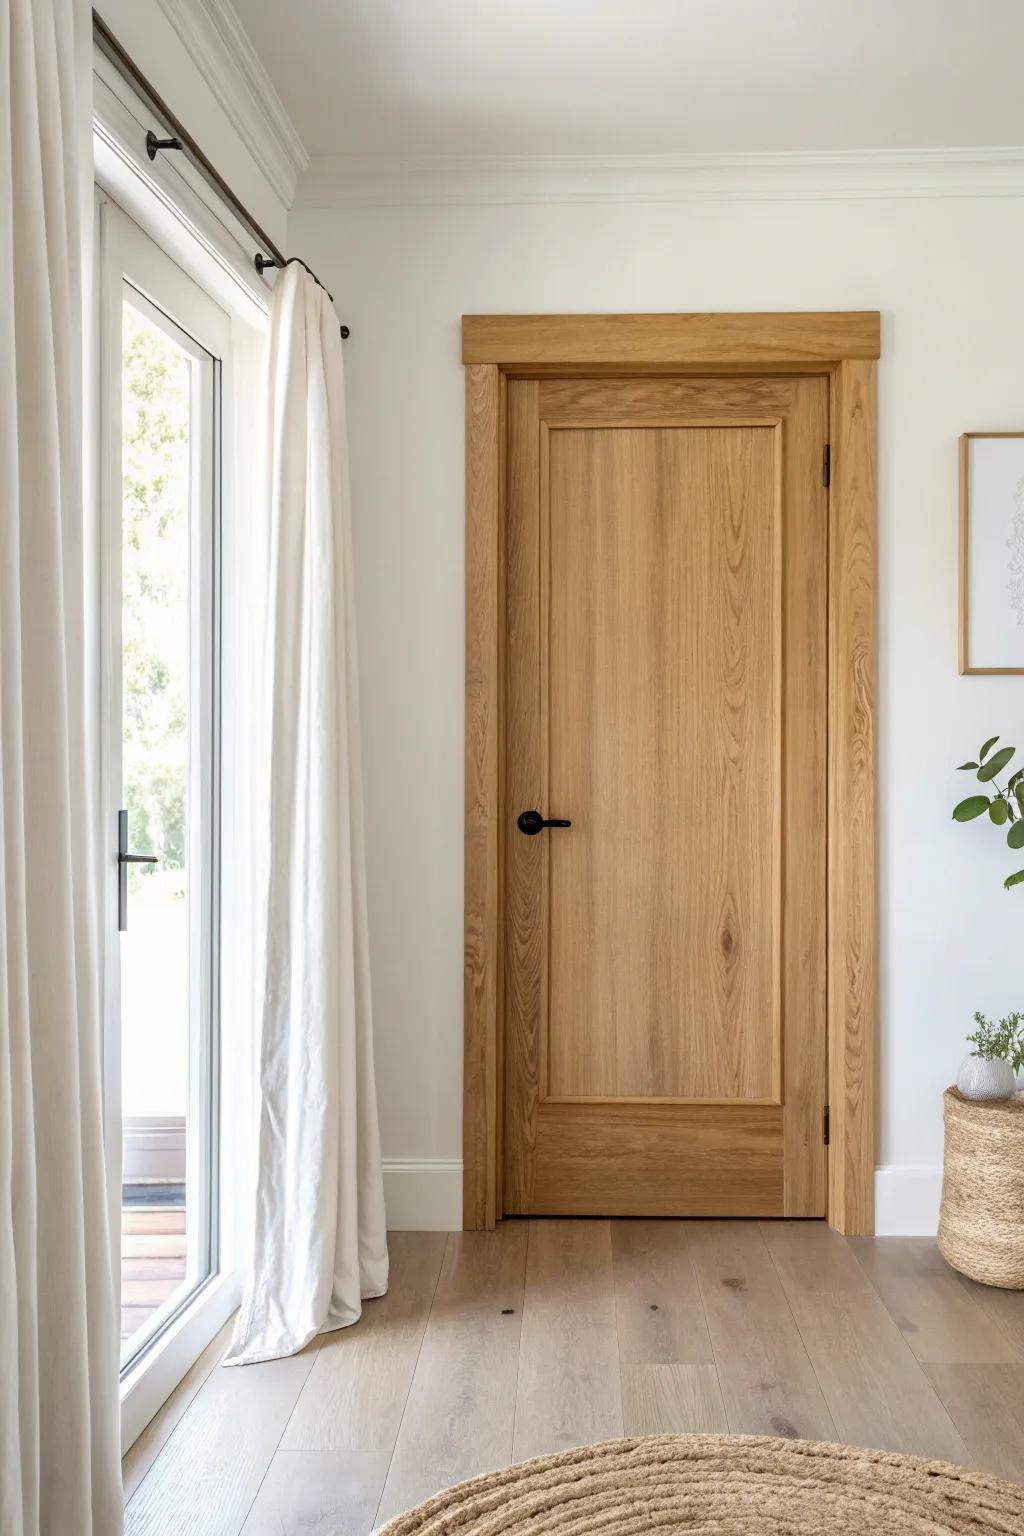
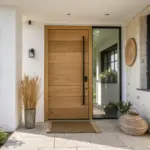
I’ve used wide plank casing to make builder-basic doors feel custom, especially against light walls. You’ll be surprised how a few extra inches of wood can make a doorway look “architectural” without any fancy profiles.
Check these products out:
- Solid White Oak Lumber Boards: Build your own custom extra-wide trim by selecting high-quality hardwood planks that match your home’s aesthetic.
- Matte Black Door Levers: Complete your modern rustic look by swapping outdated hardware for clean, matte black levers that pop against wood.
- Wood Stain and Sealer: Protect your new natural wood trim while enhancing its grain with a quality matte or satin finish sealer.
Plinth Blocks at the Base
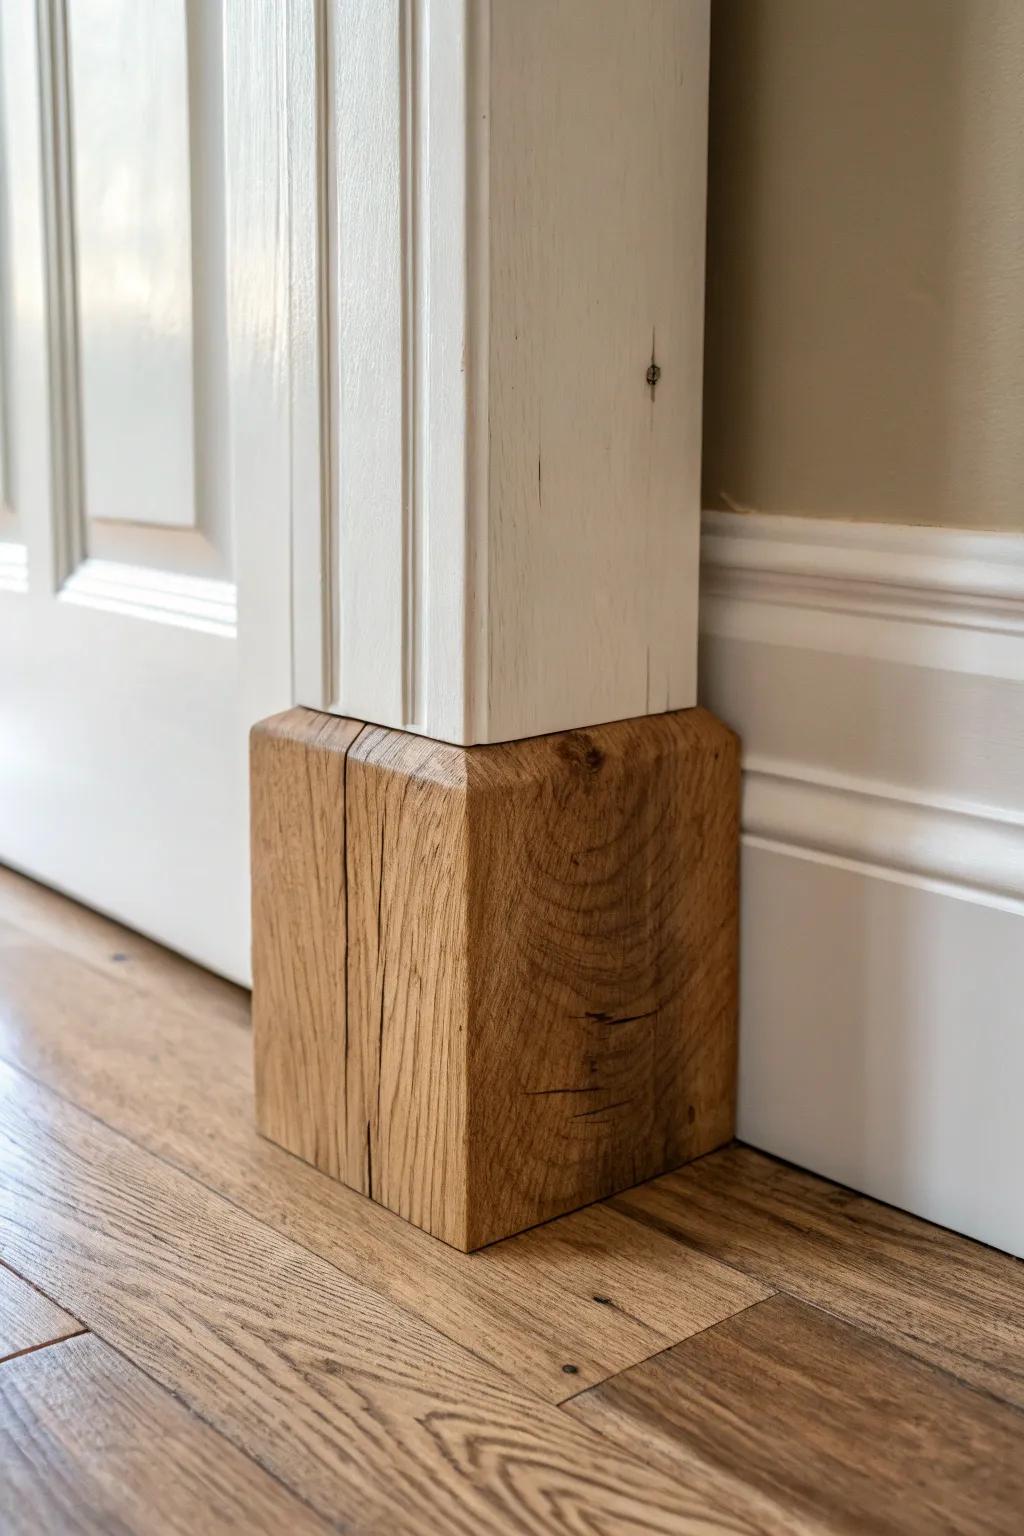
I started adding plinth blocks when my baseboards didn’t quite line up, and now I use them even when everything’s perfect. You’ll get that sturdy, old-house look while making the bottom of the trim way easier to finish neatly.
Items that may come in handy:
- Solid Wood Plinth Blocks: Add a classic architectural detail to your doorways while simplifying trim connections; creates a substantial, finished look.
- Brad Nailer Kit: Secure your new trim pieces effortlessly with a reliable nail gun designed for precision finish carpentry work.
- Natural Wood Stain: Highlight the natural grain of your wooden plinth blocks and match them perfectly to your existing flooring.
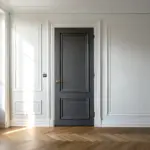
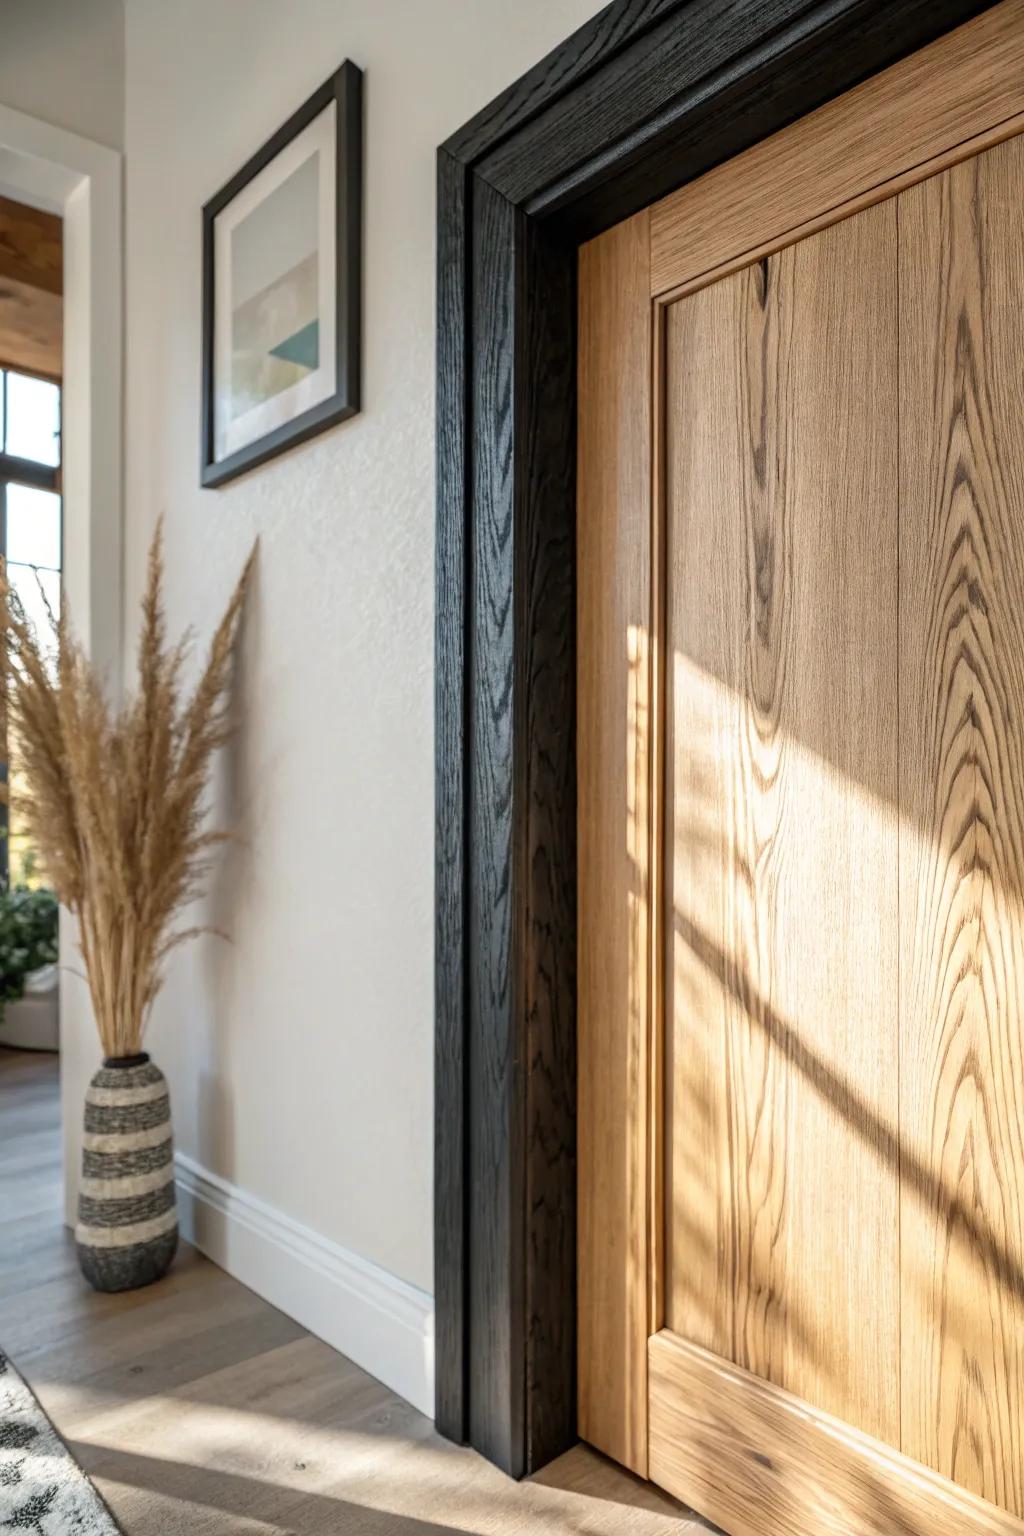
Dark Stain on Light Walls
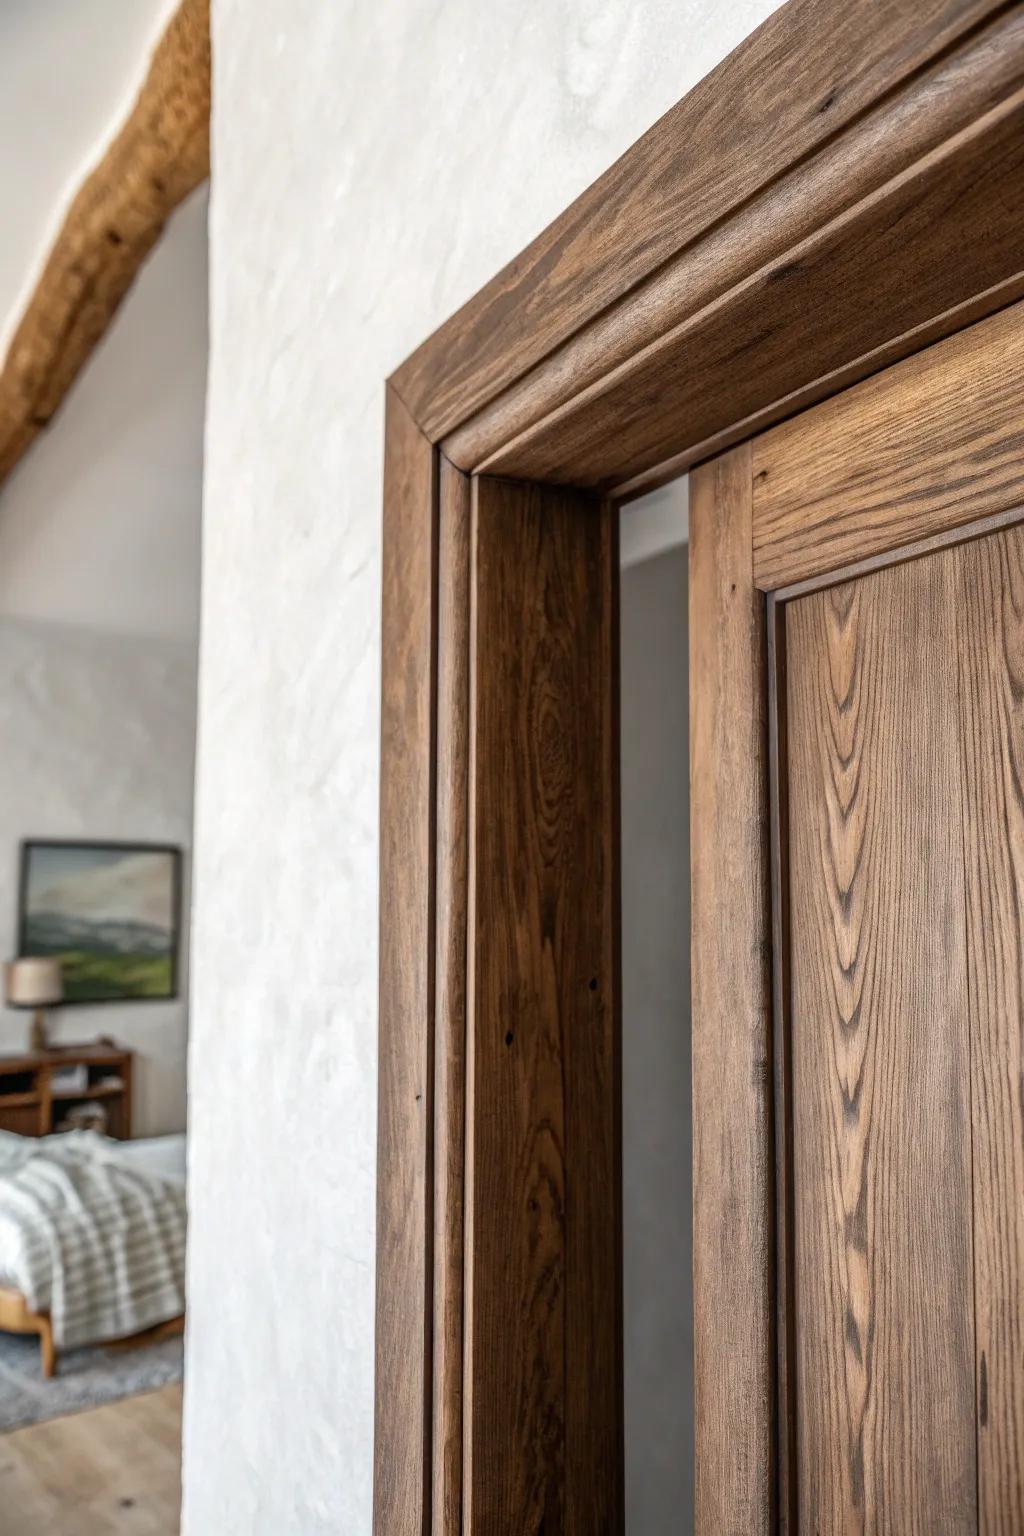
One of my go-to makeovers is dark-stained wood trim against soft white or gray walls, because the contrast is just so satisfying. You’ll see the doorway become a focal point without changing anything else in the room.
These products might help:
- Dark Wood Stain: Achieve that rich, custom finish by applying a penetrating dark stain that enhances natural wood grain patterns beautifully.
- Natural Bristle Paint Brush: Ensure a smooth, professional application of your chosen stain or finish with high-quality natural bristle brushes.
- Satin Clear Coat Varnish: Protect your newly stained trim with a clear satin topcoat that adds durability without too much gloss.
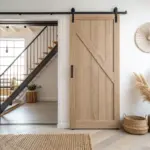
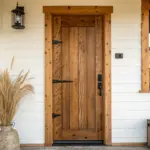
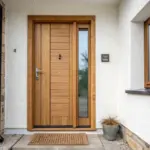
Knotty Pine for Cabin Vibes
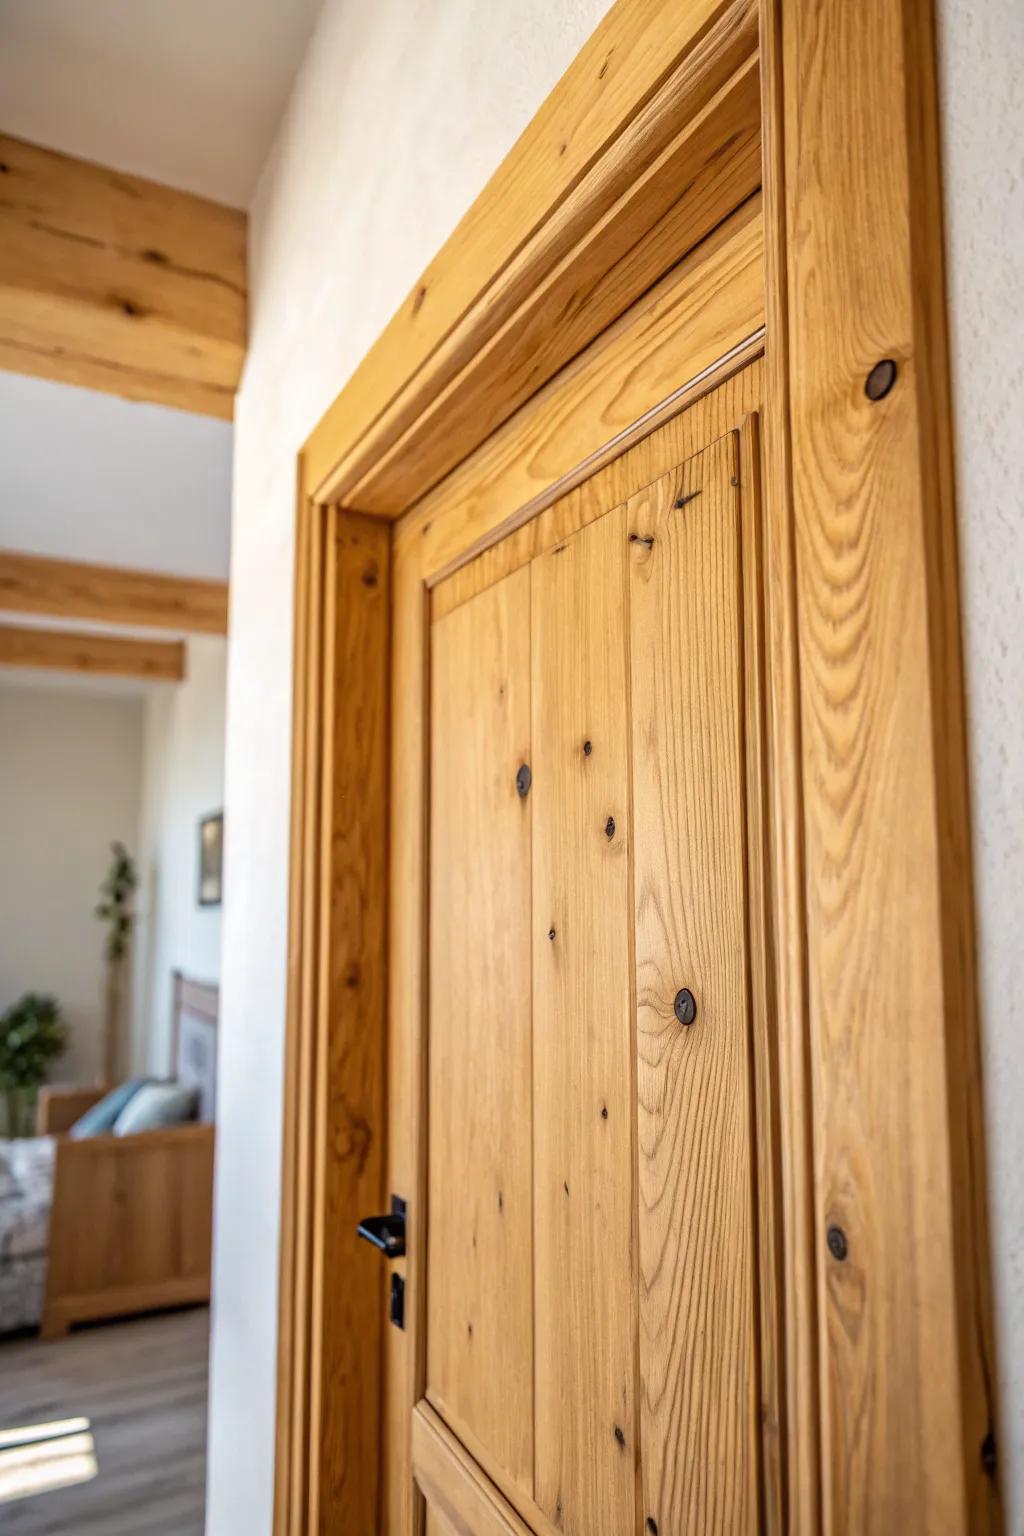
Whenever I use knotty pine trim, the knots and color shifts do all the decorating for me. You’ll love how it makes hallways and bedrooms feel cozy without adding clutter.
Consider these options:
- Knotty Pine Board Trim: Upgrade your door frames with natural wood boards that add instant rustic charm and warmth to any room.
- Clear Matte Wood Finish: Protect your pine trim while enhancing its natural grain and knots without altering the wood’s beautiful color.
- Black Iron Door Hardware: Complete the cabin aesthetic by pairing your pine trim with contrasting, rustic black iron handles or hinges.
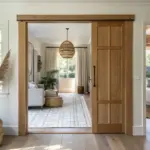
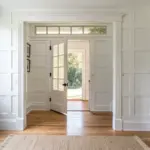
Open Doorway Trim to Define Spaces
I’ve trimmed out doorless openings with rustic wood to make an open layout feel intentional, like each area has its own frame. You’ll keep the flow of the space but still get that defined doorway moment.
Explore these options:
- Reclaimed Wood Planks: Create a custom, textured frame around your doorway to instantly add warmth and rustic character to any room.
- Matte Black Door Hardware: Complement your rustic wood trim with simple, sturdy hardware that enhances the farmhouse aesthetic effectively.
- Wood Stain and Sealer: Protect your new wood trim while enriching the grain and achieving the perfect aged look for your home.
Live Edge Side Casings
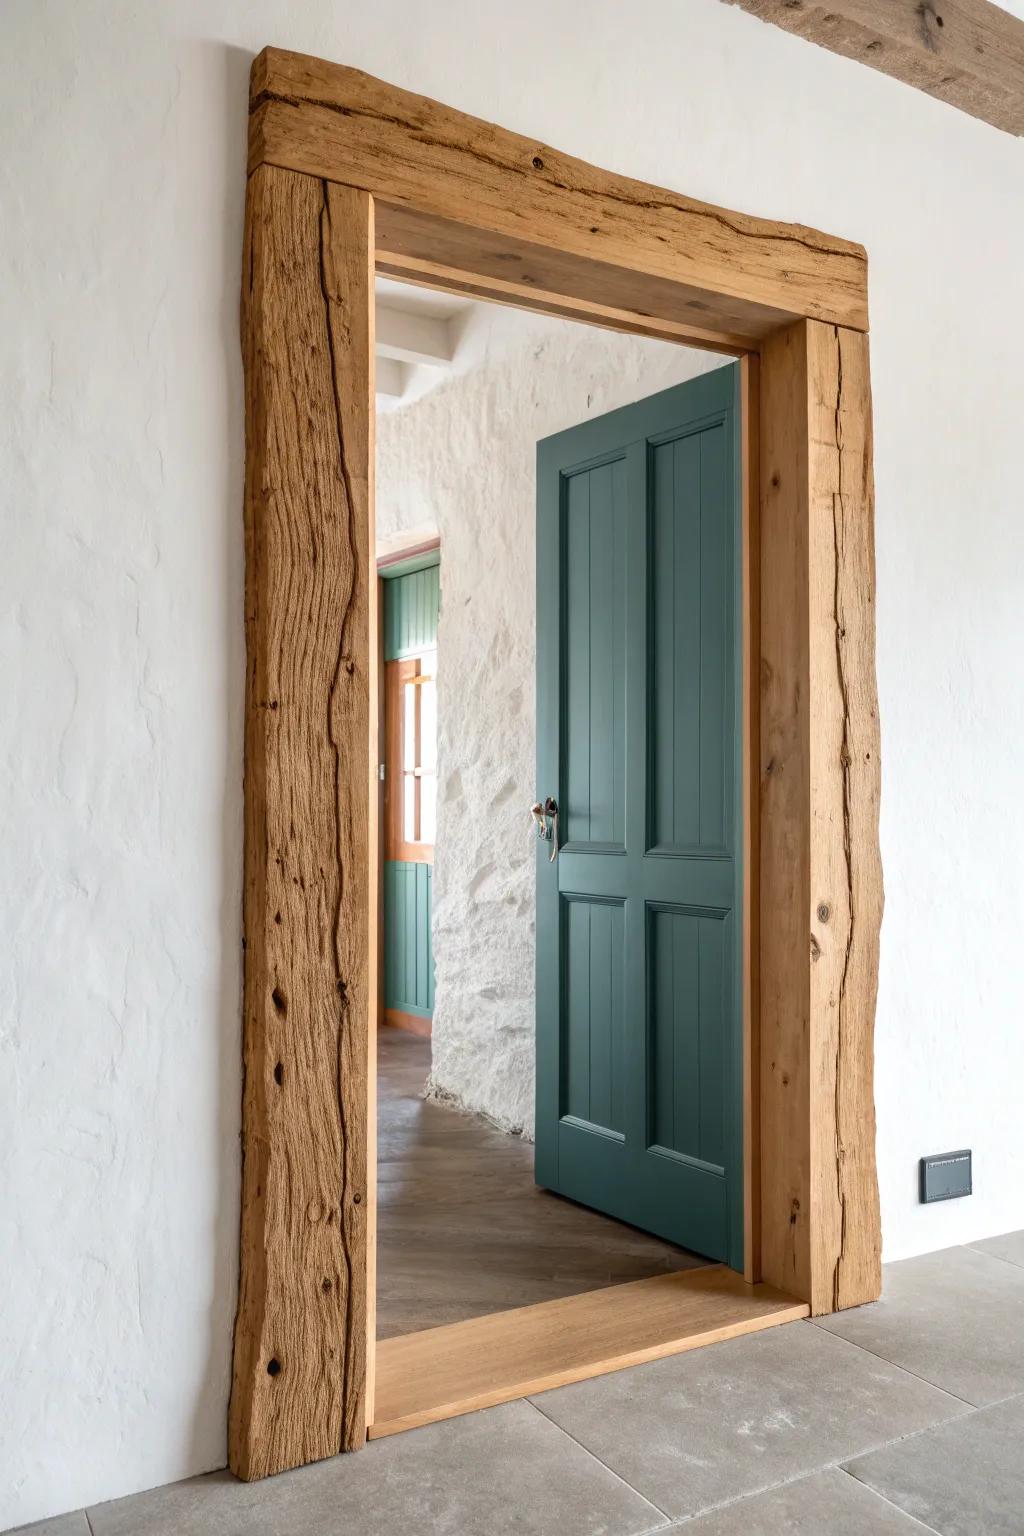
I once kept the natural edge on two boards for live edge trim, and that doorway turned into everyone’s favorite detail. You’ll get a one-of-a-kind frame—just plan your reveal so the wavy edge looks intentional, not crooked.
You might give these a try:
- Live Edge Slab Board: Source unique, natural wood pieces for your trim project to create a truly one-of-a-kind rustic doorway.
- Draw Knife Tool: Use this traditional woodworking tool to easily remove bark and shape the edges for a clean yet rugged look.
- Matte Wood Polyurethane: Protect your custom trim while maintaining a natural, low-sheen appearance that highlights the wood’s rustic character.
Charred Wood Finish Trim
When I lightly torch and brush the surface for a charred wood finish, the grain pops in a seriously dramatic way. You’ll get rustic texture with a modern edge, especially around simple slab doors.
Might be a good match:
- Propane Torch Kit: Use a high-intensity torch to carefully char your wood trim, bringing out the dramatic grain patterns.
- Wire Brush Set: Scrub away the soft, charred wood fibers after burning to reveal the durable, textured grain beneath.
- Polycrylic Protective Finish: Seal your newly charred trim with a clear protective coat to prevent soot transfer and enhance durability.
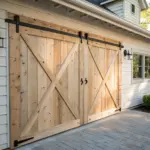
Black Metal Corner Brackets

I’ve added metal corner brackets on the header like a faux beam strap, and it instantly reads “farmhouse hardware” without changing the door. You’ll love this if your trim feels a little too plain and needs a tough detail.
A few choices to try:
- Iron L-Bracket or T-Bracket Hardware: Add instant rustic character to your plain door frames with these bold, easy-to-install metal hardware accents.
- Decorative Faux Beam Straps: Replicate the farmhouse look in the photo by mounting these black metal straps directly onto wood trim.
- Rustic Barn Door Handle or Pull: Complement your new metal trim accents with a matching chunky iron handle for a cohesive design.
Rope or Jute Inlay Groove
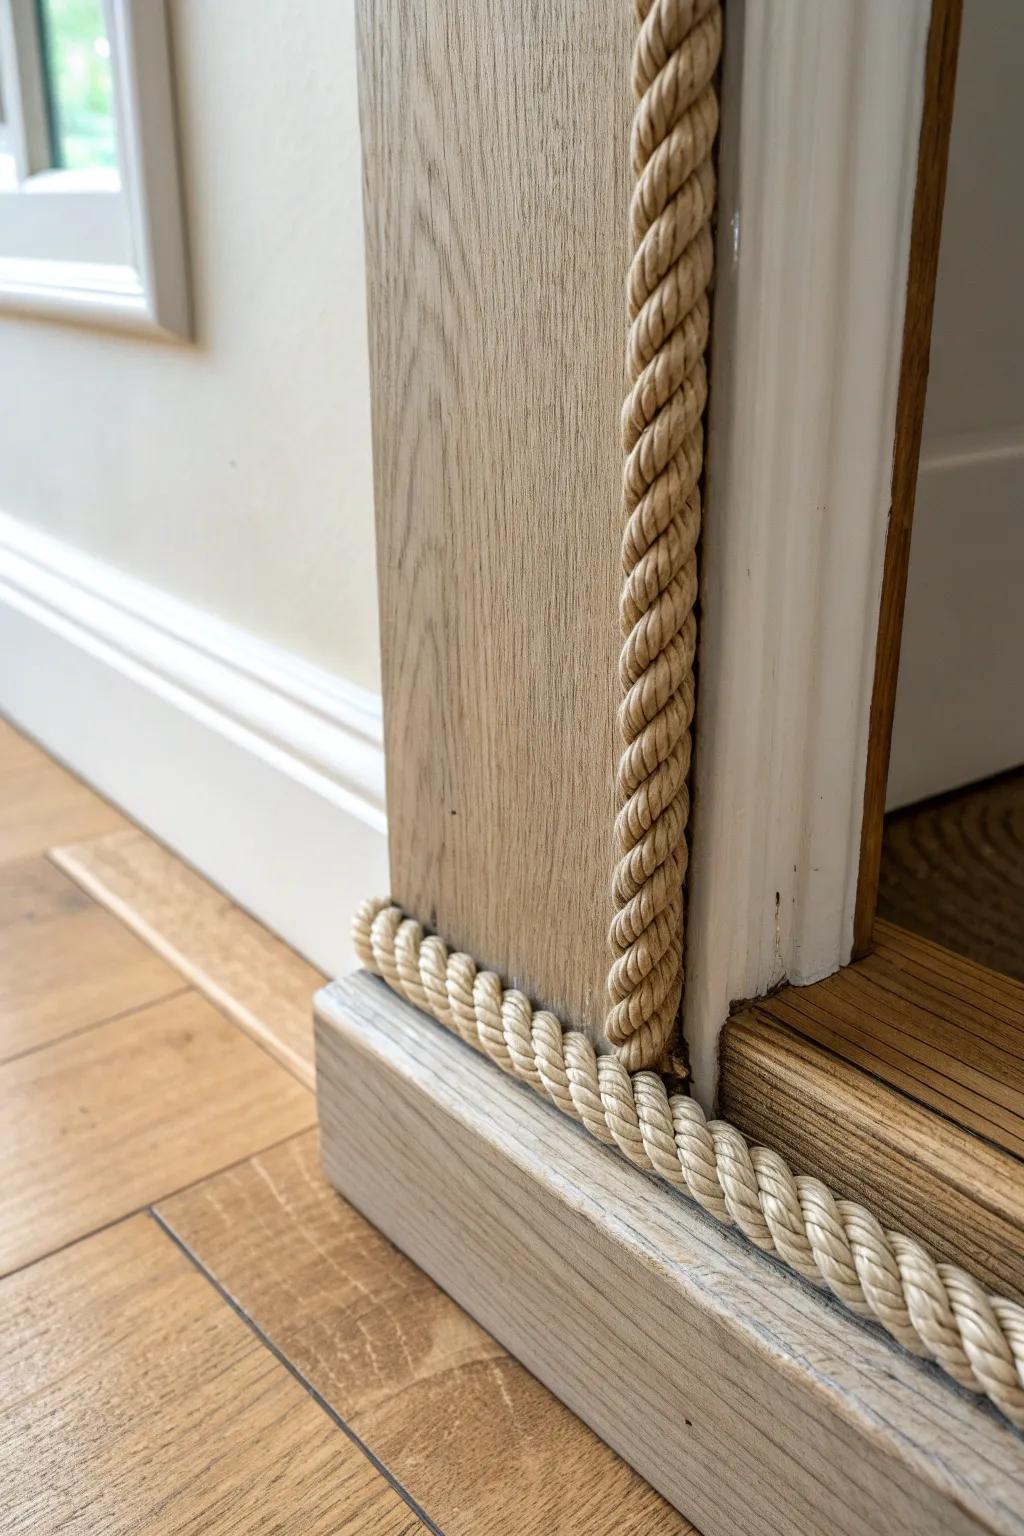
I routed a shallow channel and glued in jute rope inlay along the inner edge of rustic trim, and it looked like an old nautical cabin detail. You’ll get major texture with minimal woodworking, which is my kind of win.
You might like:
- Twisted Organic Jute Rope: Add instant coastal charm to your trim work by selecting a durable, natural-fiber rope for clean inlay lines.
- Heavy-Duty Construction Adhesive: Ensure your rope inlay stays perfectly in place for years with a strong, clear-drying adhesive suitable for wood.
- Handheld Router or Rotary Tool: Carve the perfect channel for your rope detail using a versatile tool designed for precision woodworking grooves.
Reclaimed Tin Accent in the Header
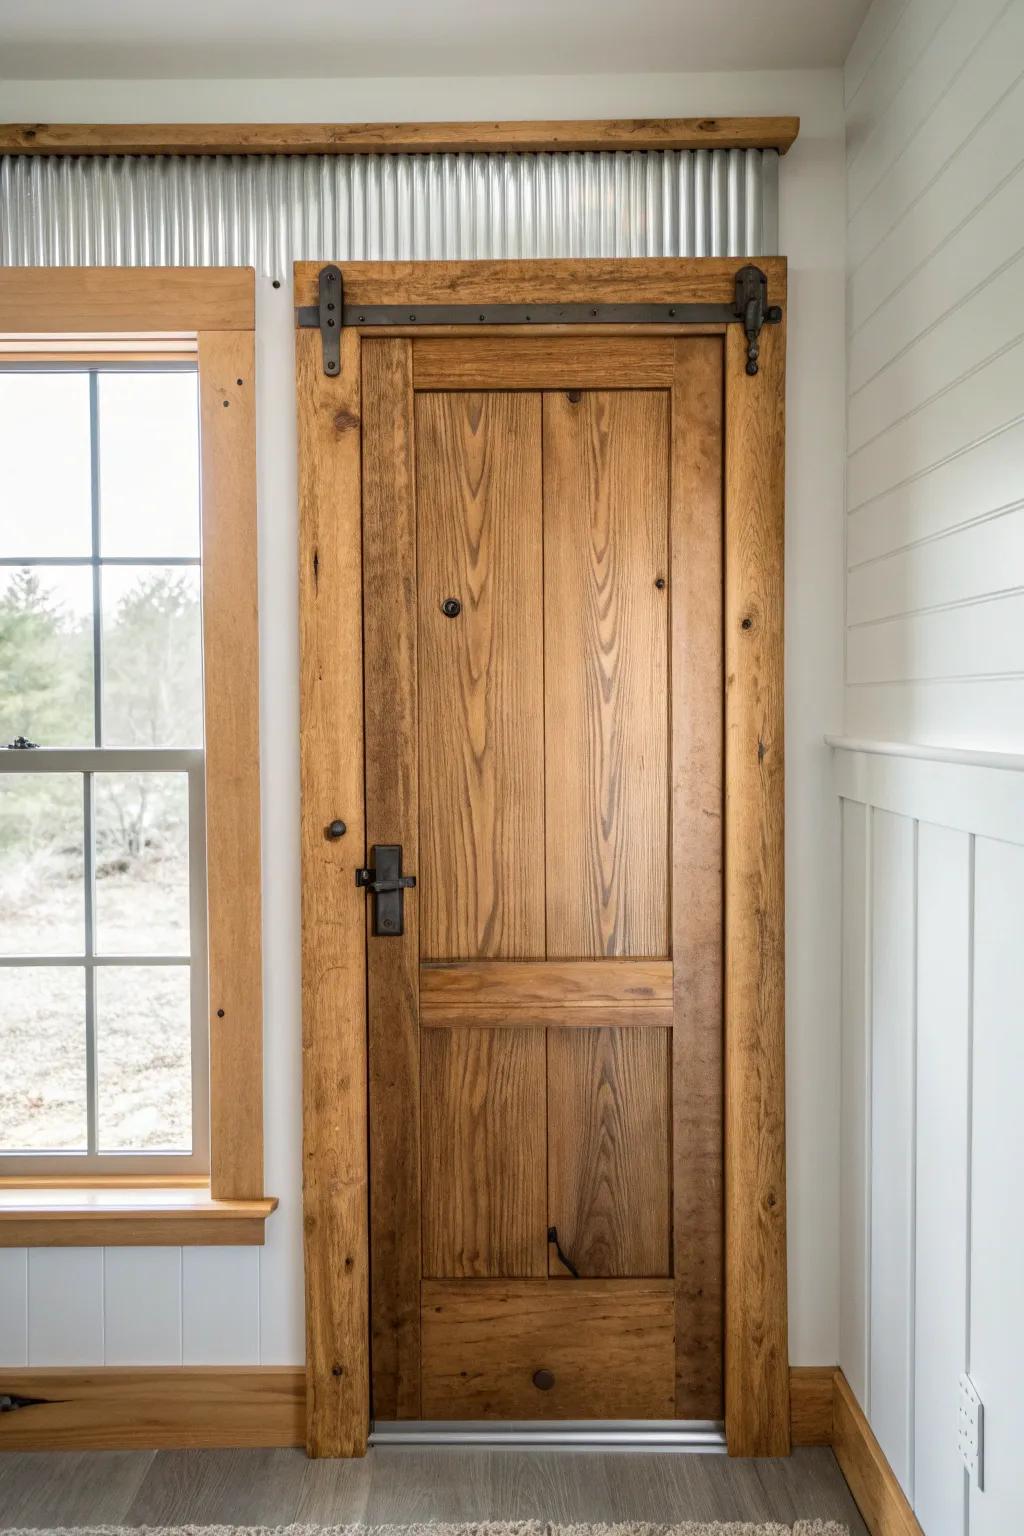
I’ve inlaid a strip of reclaimed tin panel into the top header so it catches the light when you walk by. You’ll get a surprise “wow” moment that still feels totally rustic and salvaged.
Possibly helpful picks:
- Corrugated Galvanized Metal Sheets: Create that industrial farmhouse look by cutting these sturdy metal sheets to fit perfectly within your custom header.
- Wood Framing Lumber: Build the robust frame needed to securely hold your tin accent using dimensional lumber suited for finishing work.
- Tin Snips / Aviation Snips: Safely cut your metal sheets to size with precision using these essential tools for handling tough gauge metal.
Resin Inlay for a Rustic-Modern Twist
One time I poured a thin clear resin inlay into cracks in reclaimed trim, and it kept the rugged look while making it feel finished and special. You’ll get that perfect mix of farmhouse and modern—like the doorway has its own little story.
Useful items to consider:
- Crystal Clear Epoxy Resin Kit: Use a clear resin kit to fill deep cracks and knot holes for a smooth, durable finish.
- Resin Tape or Tyvek Tape: Seal the back and edges of your trim securely to prevent sticky leaks during the pouring process.
- Wooden Stir Sticks and Mixing Cups: Ensure your resin is mixed thoroughly and cleanly with disposable measuring cups and sturdy wooden stirrers.


