
Painting butterflies on wood is one of those projects that looks fancy but feels totally doable once you start.
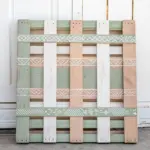
Farmhouse Distressed Butterfly Sign
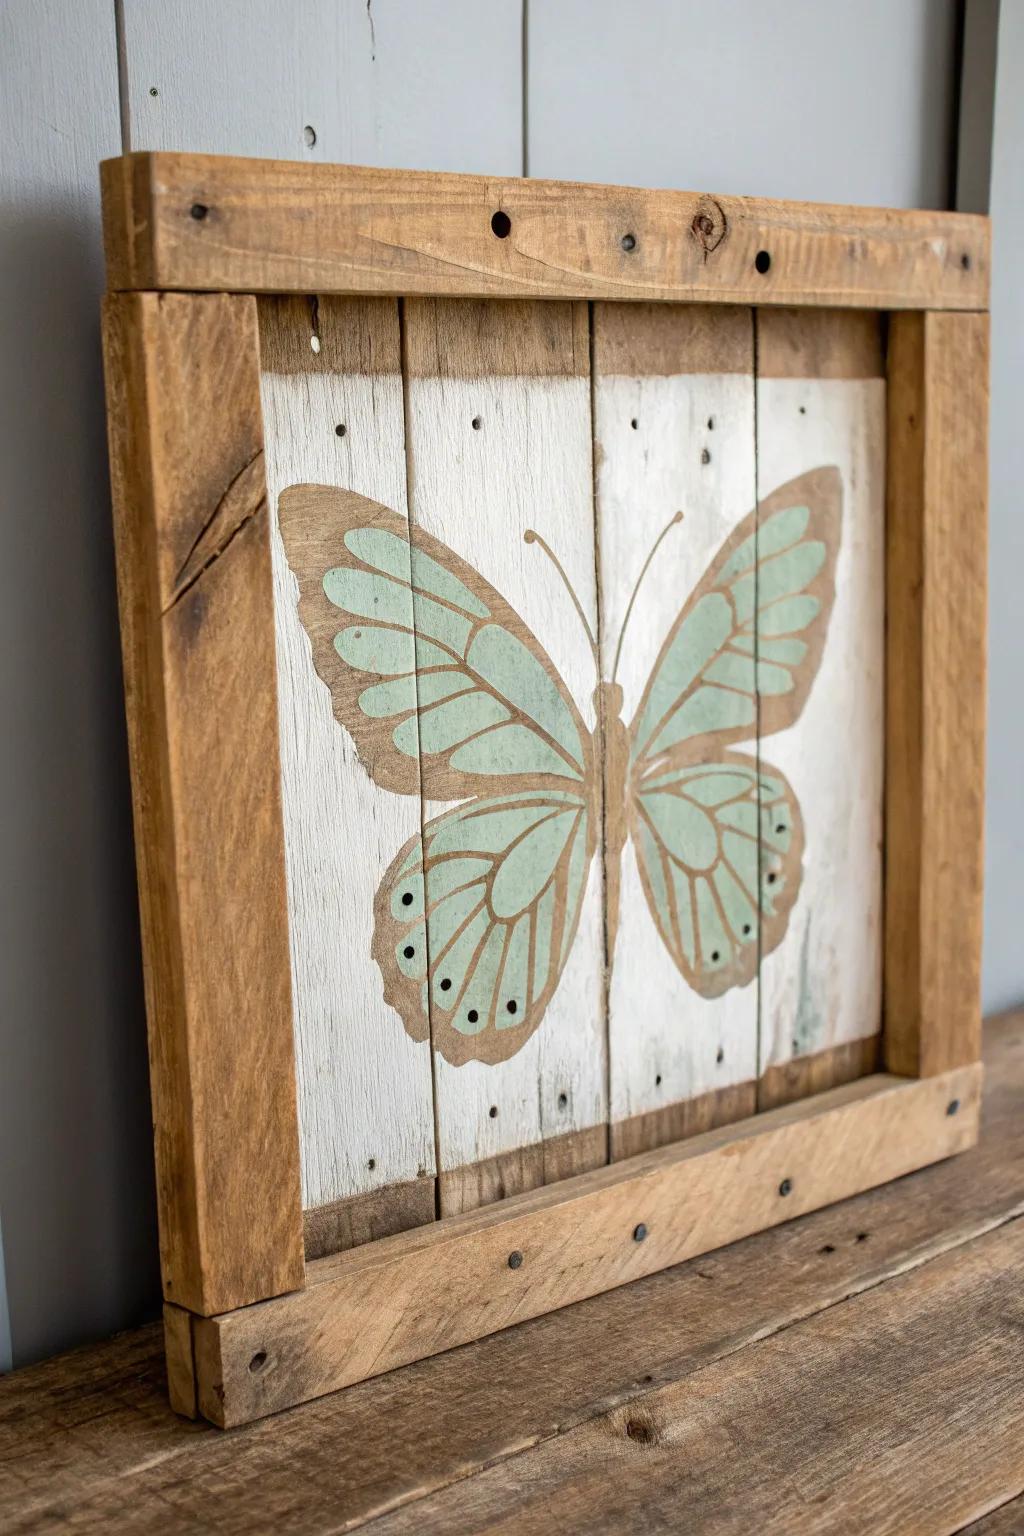
I paint a butterfly in a muted color, then sand the edges (and a few random spots) to let the wood peek through for a distressed finish. I’ve done this on an old cabinet side panel, and it instantly turned “junk wood” into decor.
These products might help:
- Acrylic Paint Set (Muted/Vintage Colors): Achieve that soft, farmhouse aesthetic by choosing a paint set featuring muted greens, creams, and vintage earth tones.
- Assorted Grit Sanding Blocks: Create the perfect distressed look by sanding away layers of paint to reveal the natural wood grain underneath.
- Butterfly Stencil Template: Ensure clean, symmetrical lines for your central design by using a reusable stencil suitable for larger wood projects.
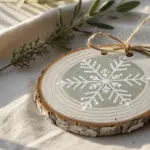
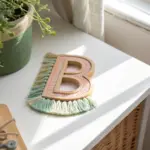
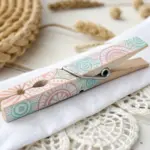
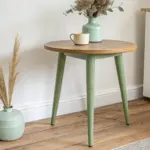
Simple Pastel Butterfly On Raw Wood
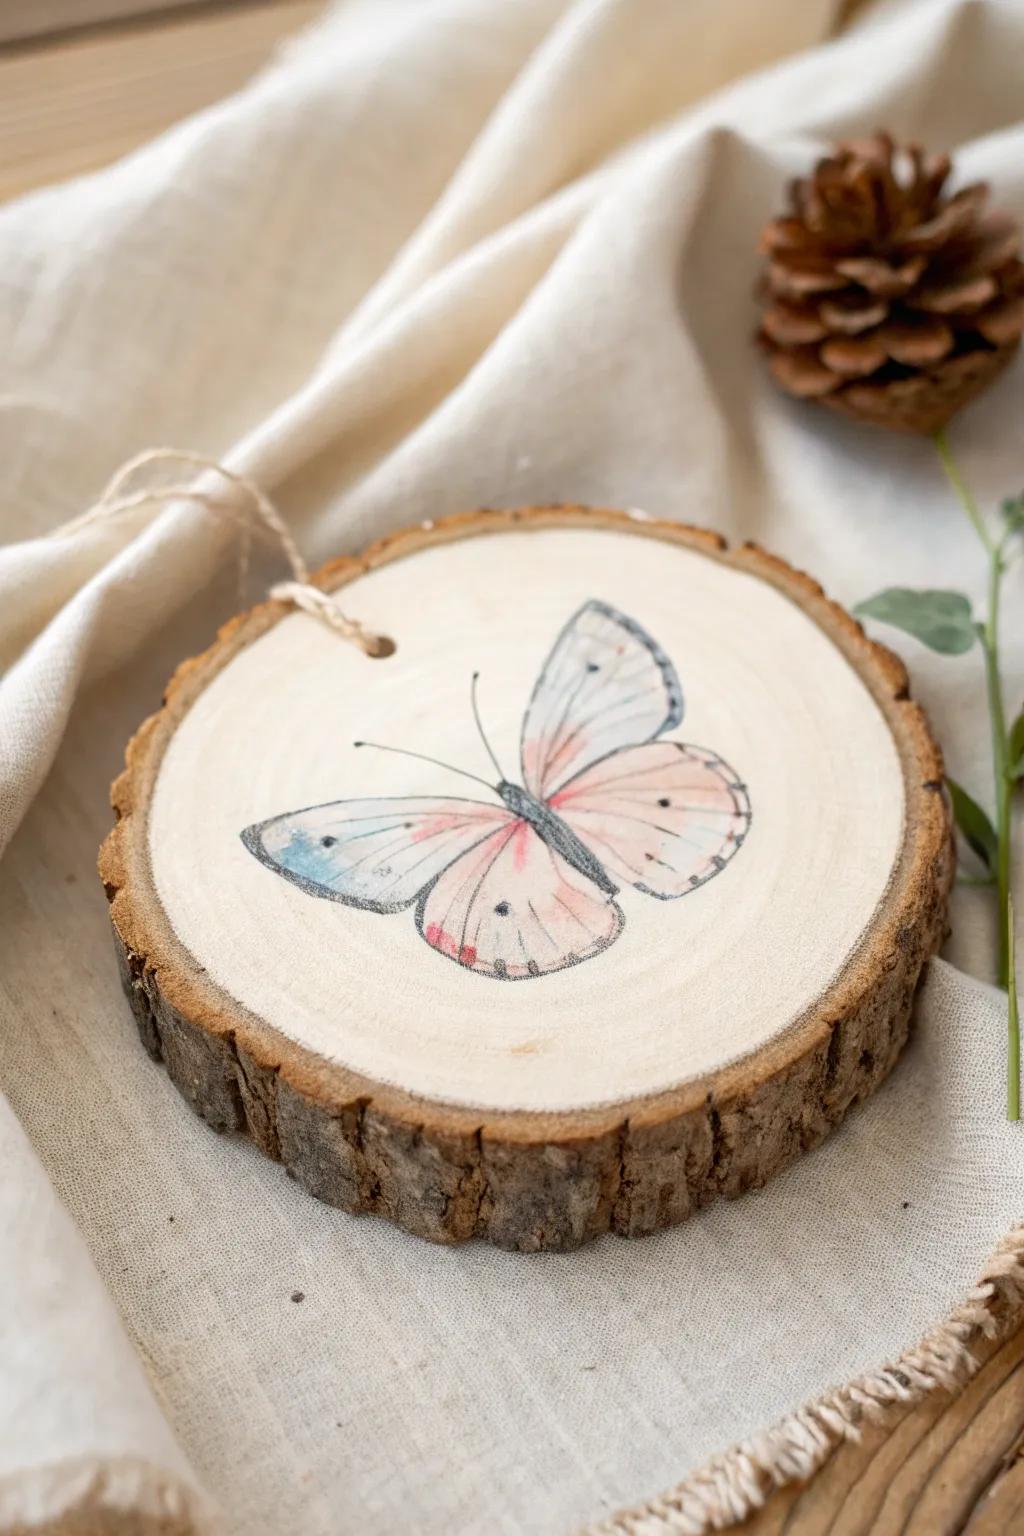
On days I want soft and sweet, I paint a butterfly in dusty pinks and pale blues and leave lots of natural wood showing. I’ve done this on little hanging rounds, and the gentle palette looks so good with farmhouse neutrals.
Check if these fit your needs:
- Natural Wood Slices with Bark (Pre-Drilled): Start your project with these rustic, natural canvases, perfect for creating charming hanging ornaments or coasters.
- Pastel Acrylic Paint Set: Capture the soft, dreamy look using these gentle hues that blend beautifully on natural wood surfaces.
- Fine Detail Paint Brushes: Achieve delicate wing patterns and fine lines effortlessly with these precision brushes designed for miniature painting.


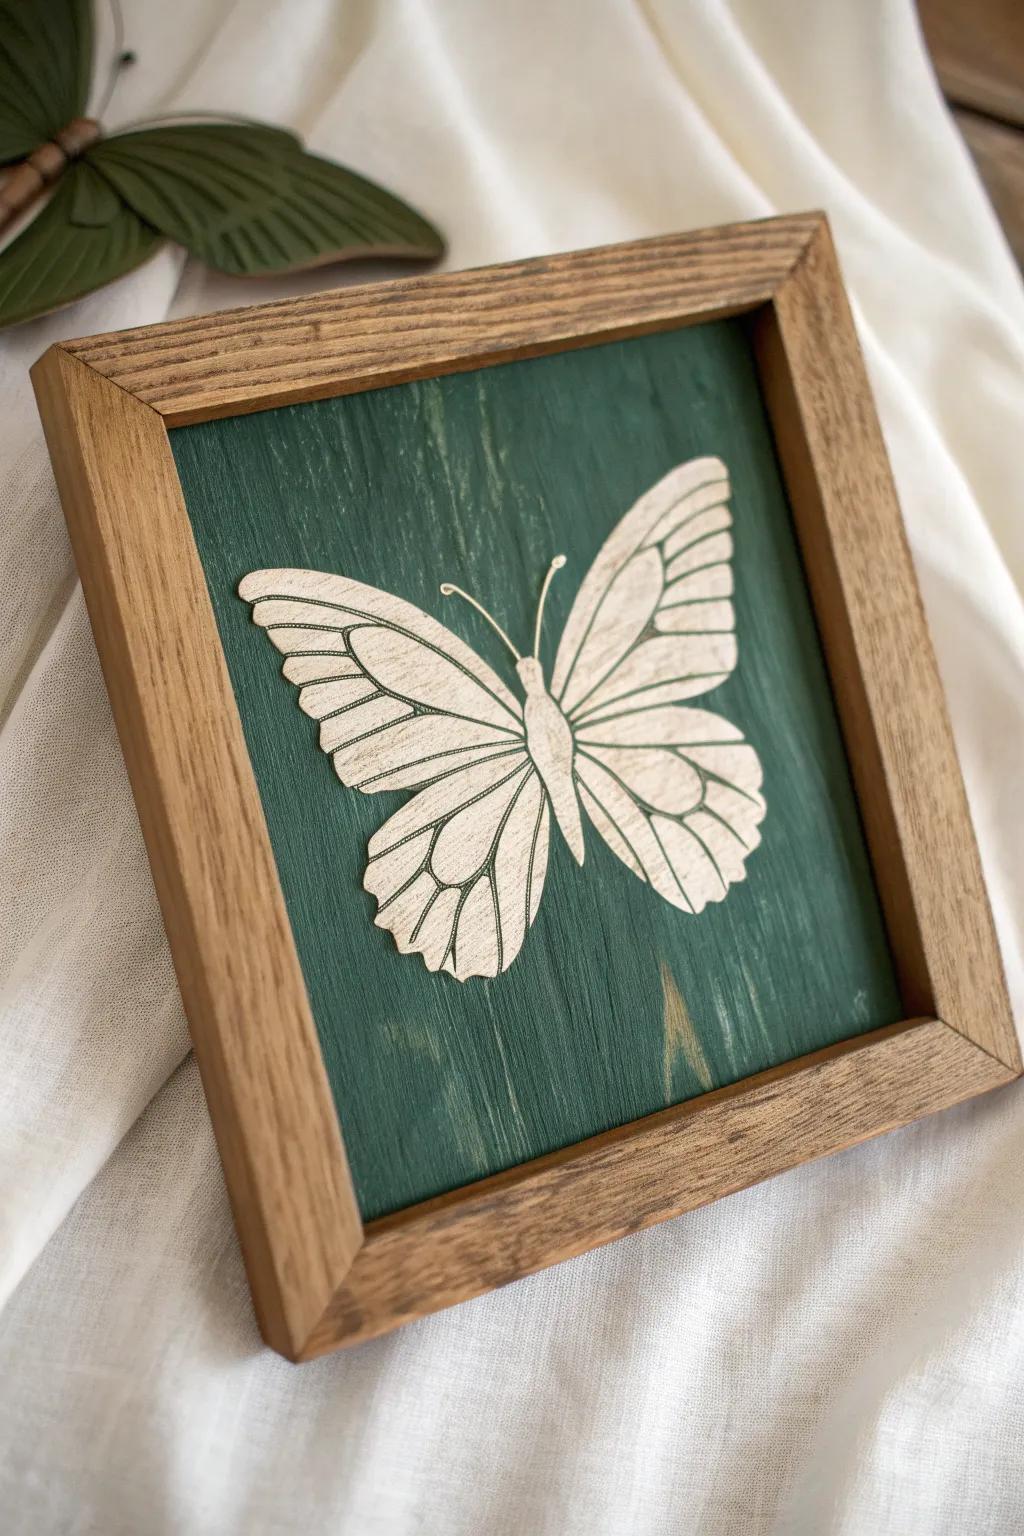
Black-and-White Butterfly Over a Bold Background
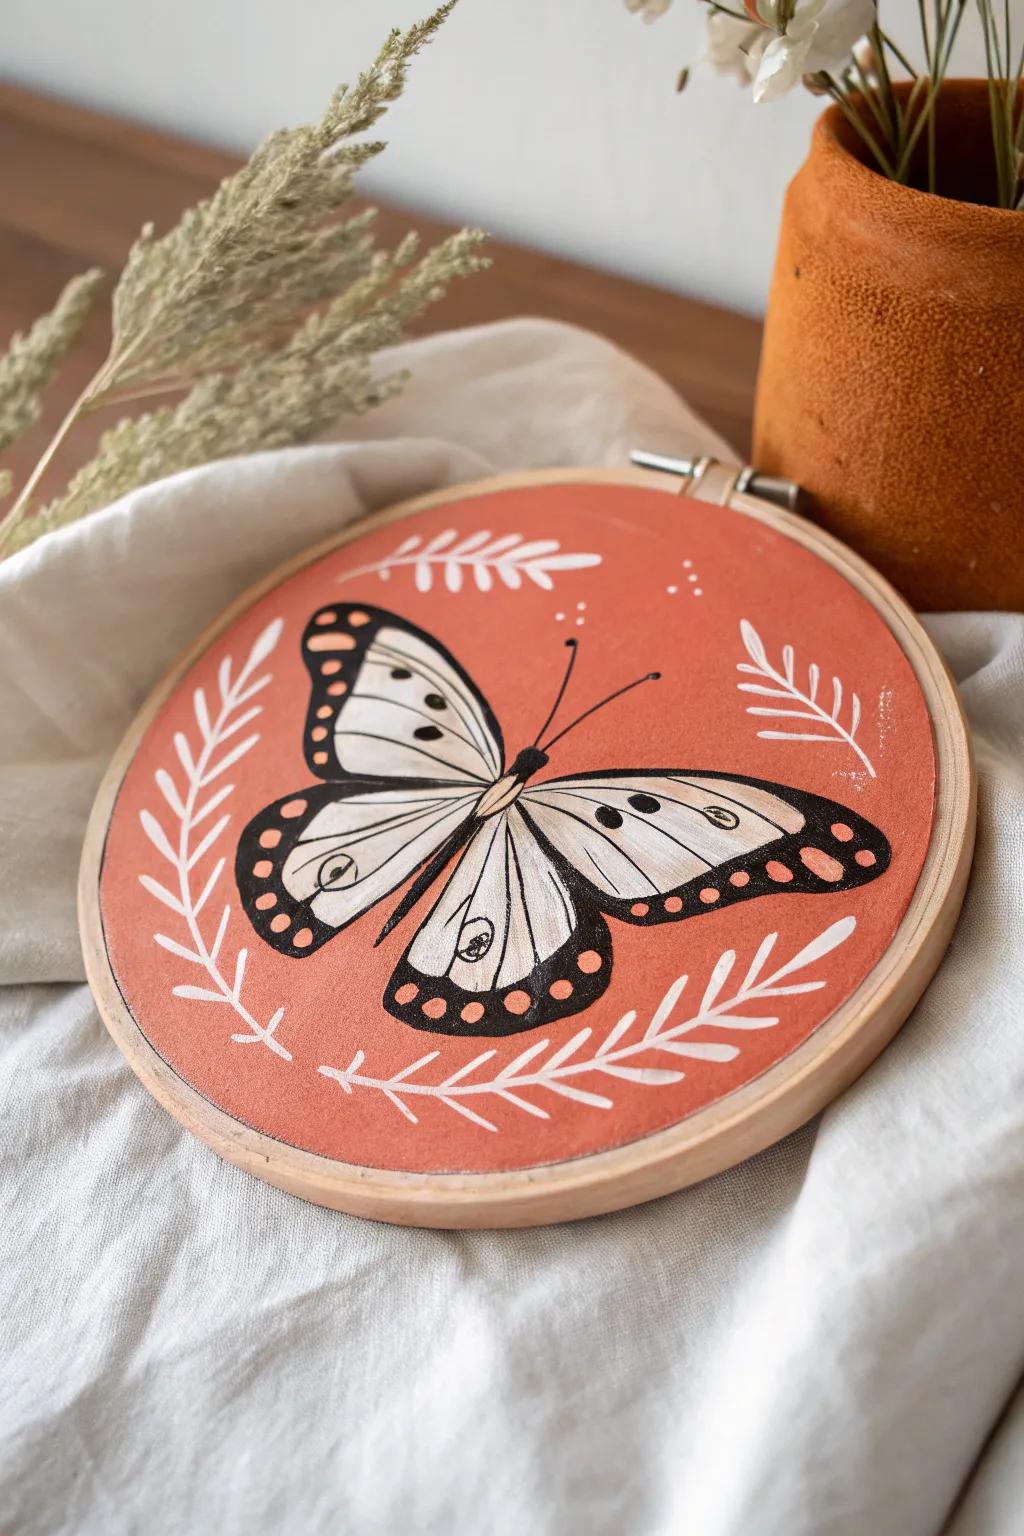
I’ll paint the entire wood circle a solid color first, then add a crisp black-and-white butterfly on top for instant contrast. This trick has saved me more than once when a wood surface had uneven grain and I wanted a clean, graphic finish.
Some handy options:
- Round Wood Canvas Panels: Choose a smooth, sturdy round wood panel as your base to ensure your background color applies evenly.
- Burnt Orange Acrylic Paint: Apply this warm, earthy shade to create the perfect bold, contrasting backdrop for your graphic butterfly design.
- Fine Detail Paint Brush Set: Use these precision brushes to paint crisp black lines and delicate white details on your butterfly wings.
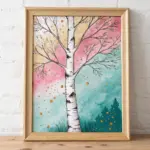
Watercolor-Style Wash Butterfly
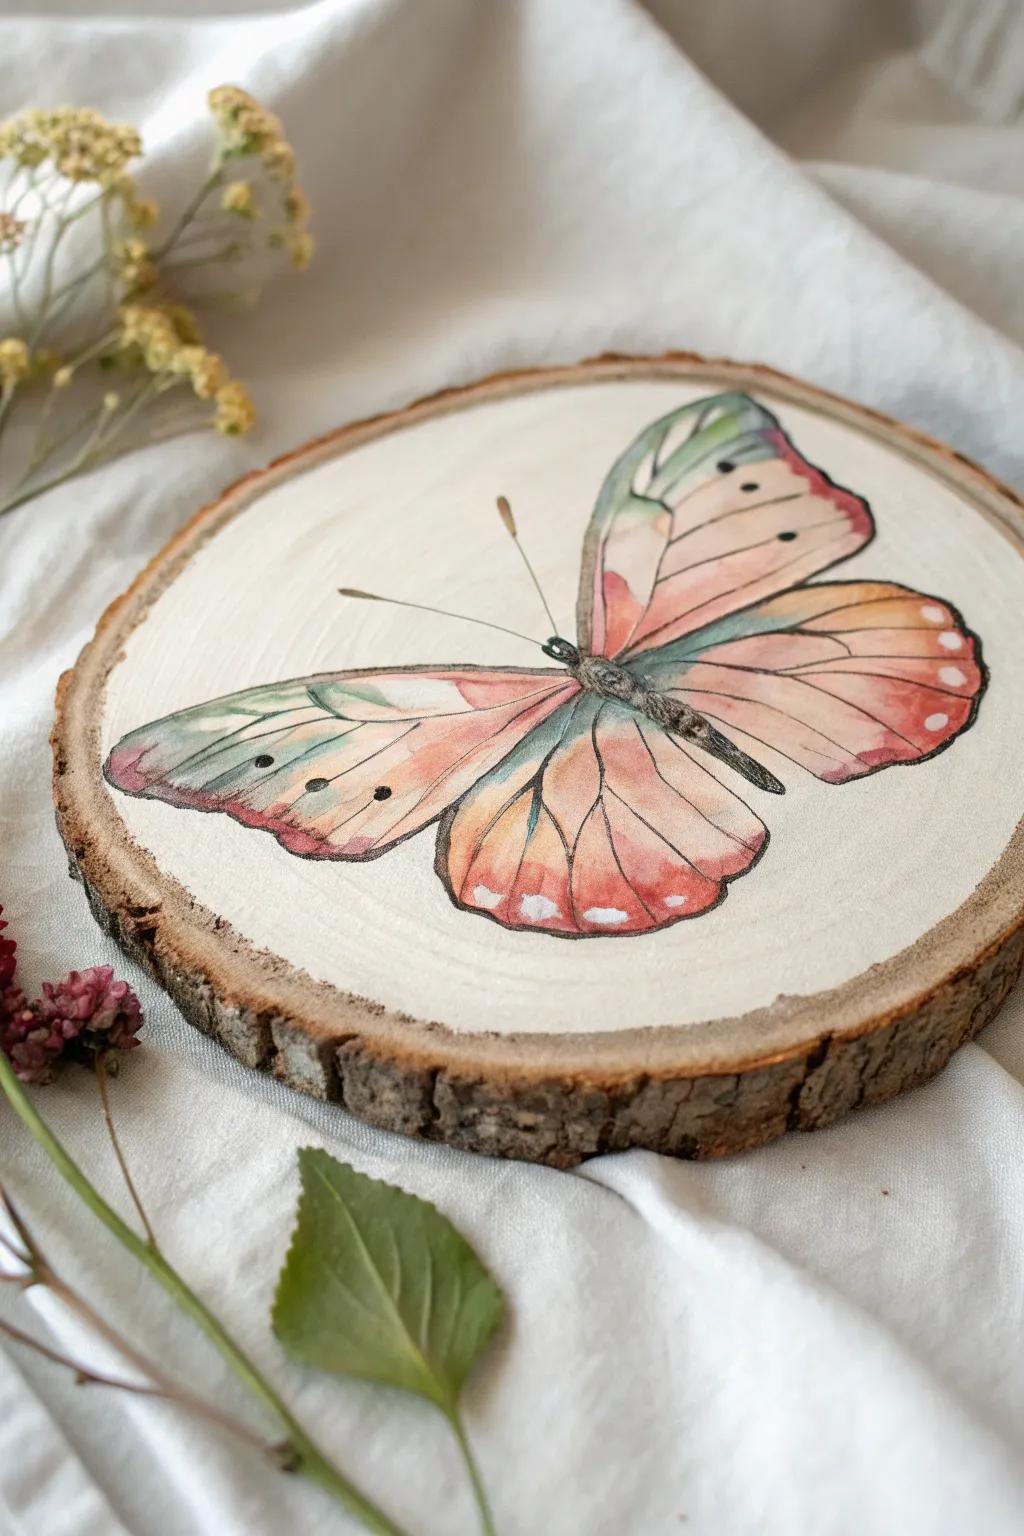
For that airy look, I thin down acrylic paint into a wash and build transparent layers inside the butterfly wings. I’ve painted these on pale birch slices, and the soft bleeding edges make the butterfly feel like it’s in motion.
Items that may come in handy:
- Natural Birch Wood Slices: Choose these smooth, pre-sanded birch slices to create the perfect pale canvas for your delicate butterfly paintings.
- High-Flow Acrylic Paints: Use these fluid acrylics to effortlessly create transparent, watercolor-like washes that mimic fragile butterfly wings.
- Soft Synthetic Paintbrushes: Achieve soft blends and precise details with brushes designed to hold plenty of water for wash techniques.
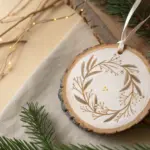
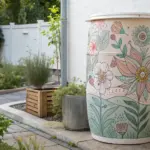
Floral Wing Pattern Butterfly
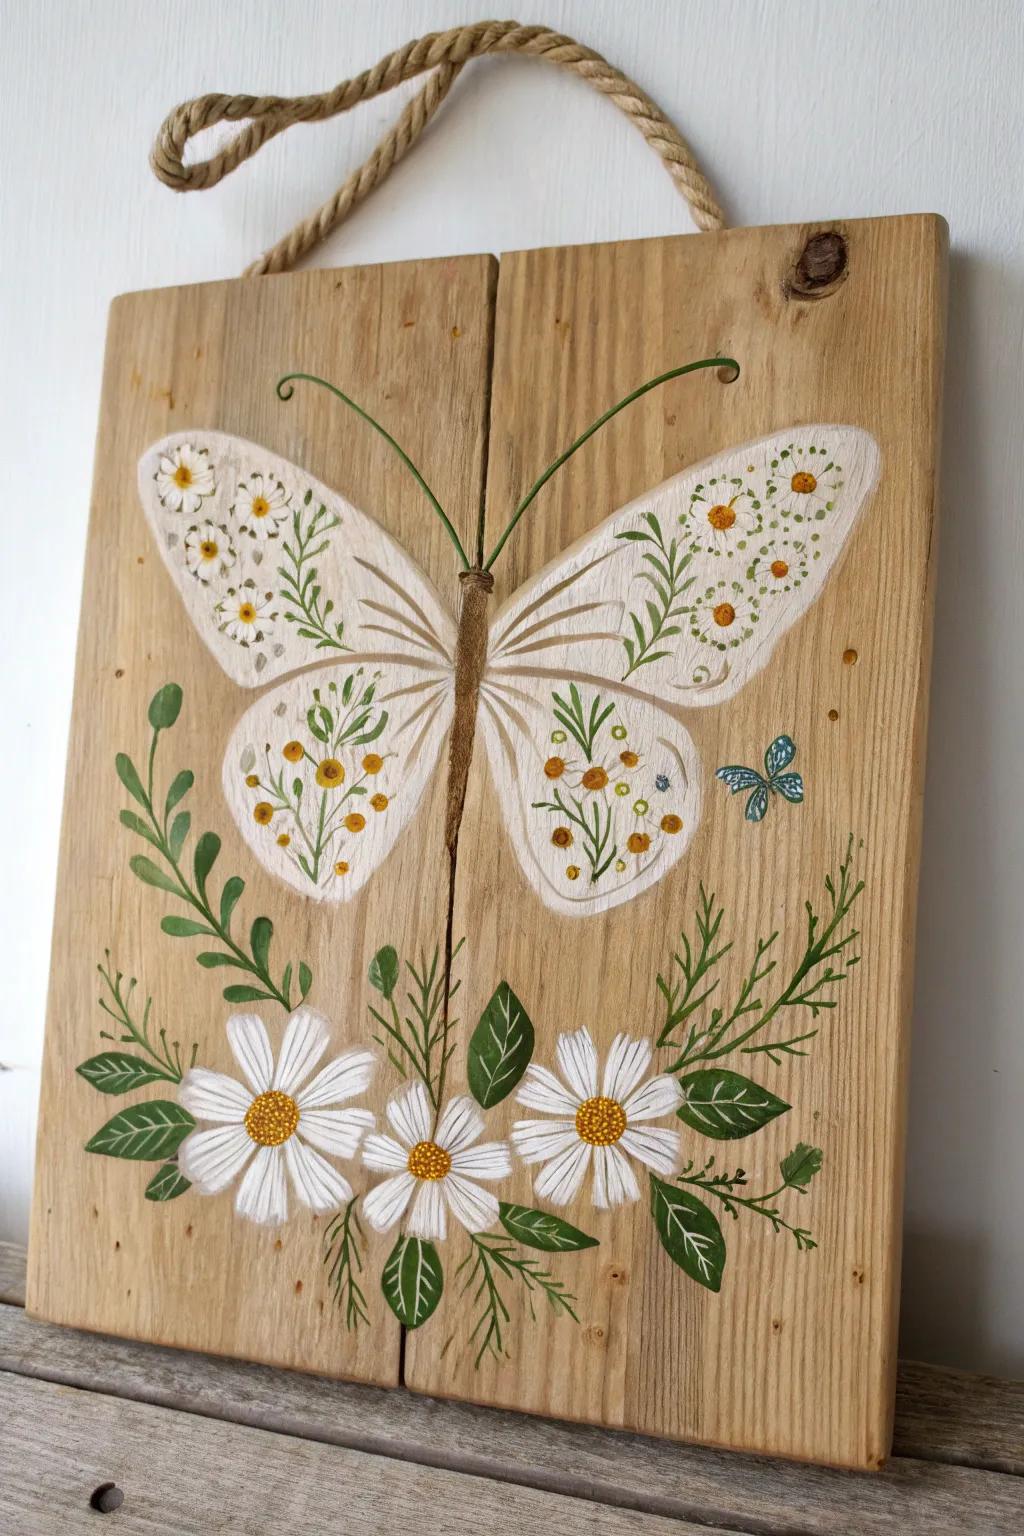
I sketch a butterfly shape, then fill the wings with little painted daisies, vines, and buds like a tiny garden. I’ve used this on reclaimed wood plaques, and the mix of botanical details and wood grain feels perfectly cottage-y.
A few suggestions:
- Acrylic Paint Set: Bring your tiny garden to life with vibrant, quick-drying colors perfect for detailed floral designs on wood.
- Detailed Miniature Paintbrushes: Achieve precise lines for delicate vines and tiny petals with these fine-point brushes designed for intricate work.
- Unfinished Wood Plaques: Start your project right with a smooth, sturdy wooden canvas ready for your custom botanical butterfly art.
Negative-Space Butterfly With Painter’s Tape
I tape a butterfly shape down first, paint the background, then peel to reveal a clean negative-space butterfly in natural wood. I’ve used this trick on scrap boards, and it’s one of my fastest “looks-like-a-pro” finishes.
Some ideas to consider:
- Unfinished Wood Panel Frames: Start your project with a sturdy, smooth wooden surface perfect for creating crisp negative-space designs.
- Precision Masking Tape: Achieve sharp, clean paint lines and prevent bleeding under your stencil shape with high-quality tape.
- Matte Acrylic Craft Paint: Apply smooth, opaque color over your taped design to create a vibrant contrast against natural wood.

Night Sky Galaxy Butterfly
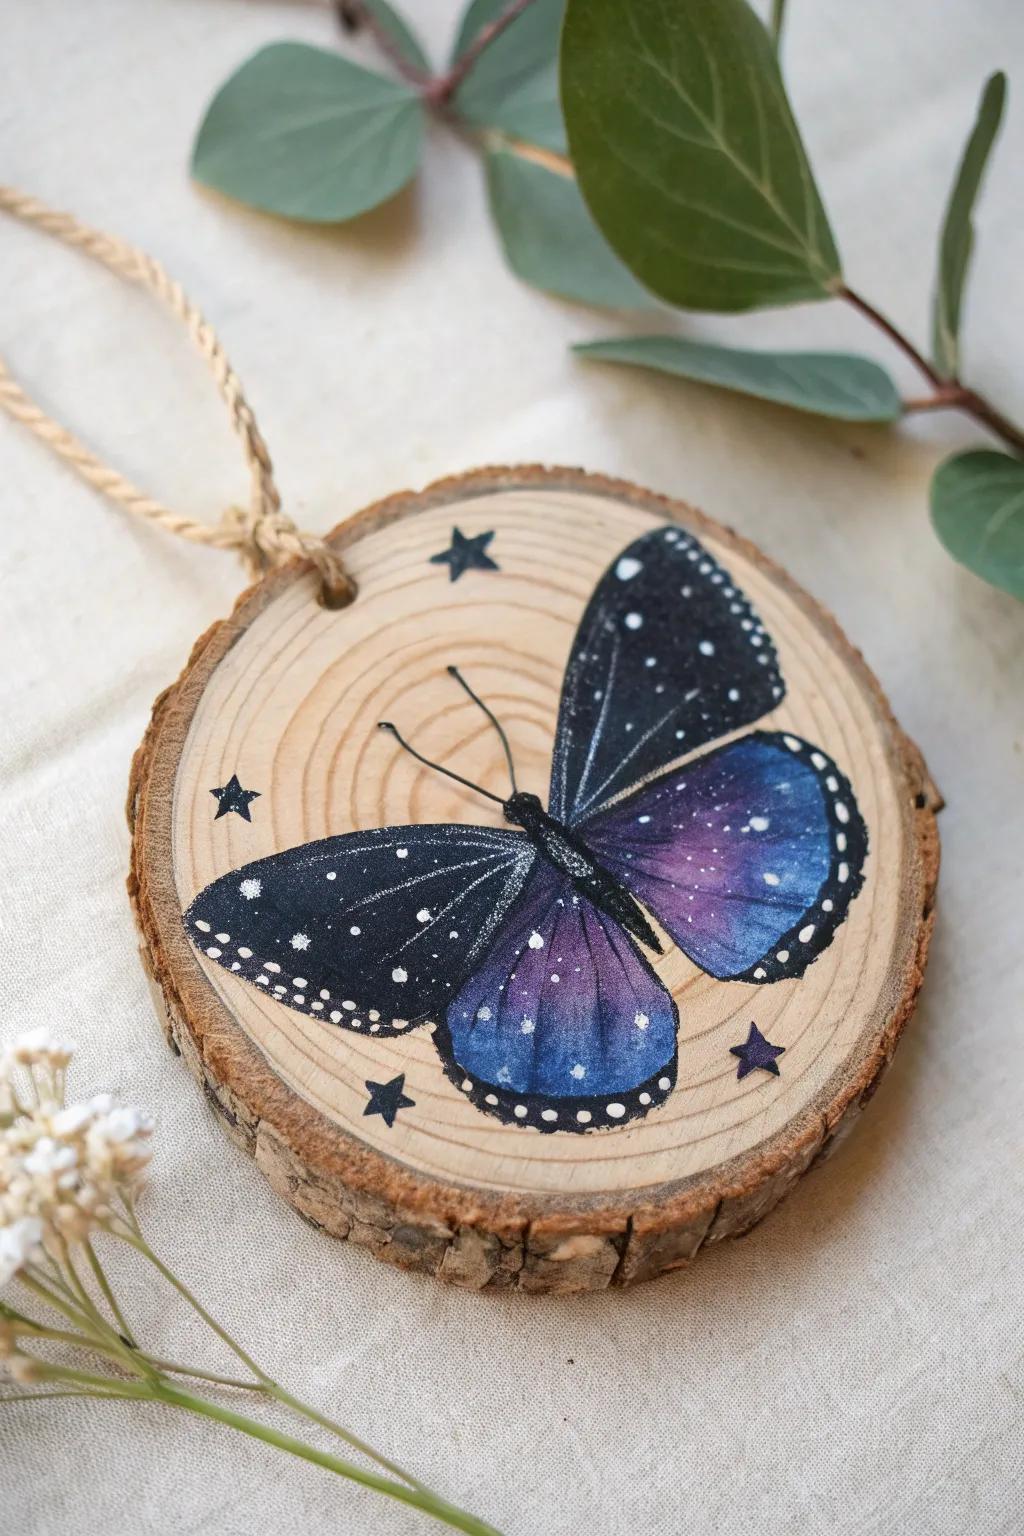
I paint the wings like a mini galaxy—deep black, purples, and blues—then flick tiny white stars across the butterfly. The first time I tried it on a wood slice ornament, it looked so dramatic I made a whole matching set.
A few things you might like:
- Natural Wood Slices with Bark: Use these pre-drilled rustic wood slices as the perfect canvas for your celestial butterfly painting projects.
- Detailed Miniature Paint Brush Set: Achieve precise lines for antennae and delicate stars with these fine-tip brushes designed for intricate detailing.
- White Fine-Point Paint Markers: Easily add the finishing touch of bright white stars and constellations without messy paint splatters.
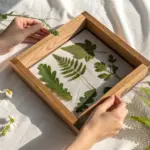
Bark-Edge Butterfly “In the Woods” Scene

On live-edge rounds, I paint a butterfly hovering near a few quick wildflowers so the bark edge feels like a forest frame. I’ve found this is perfect when the wood slice has knots, because the natural imperfections add to the outdoorsy story.
Explore these options:
- Natural Wood Slices with Bark Edge: Provide the perfect rustic canvas for your butterfly art by grabbing these natural kiln-dried wood slices.
- Fine Detail Acrylic Paint Pens: Easily create delicate butterfly wings and wildflower stems on wood surfaces with these precision paint markers.
- Satin Clear Wood Varnish: Protect your finished painting and enhance the natural wood grain by applying a durable clear coat.


