An open truss ceiling can make a room feel taller, brighter, and way more “architectural” without adding a single square foot.
Shiplap Infill Between Trusses

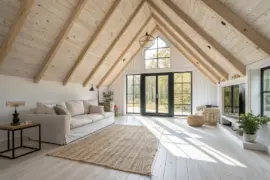
For a classic farmhouse finish, add shiplap infill between the trusses while keeping the truss members exposed; I’ve done this with painted boards and it looks clean but still dimensional. I like running the boards along the roofline because it emphasizes the pitch in the prettiest way.
Products that could assist:
- Pre-Primed Shiplap Planks: Instantly achieve that classic farmhouse look with ready-to-paint planks designed for easy installation between truss beams.
- Brad Nailer Kit: Secure your shiplap boards efficiently overhead with a reliable nailer that ensures a clean, professional finish.
- White Ceiling Paint: Brighten the space between your trusses using high-quality paint that provides excellent coverage and a crisp finish.
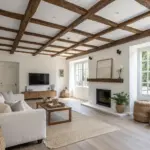

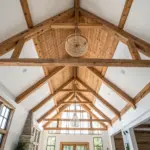
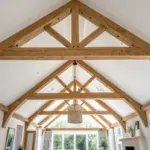
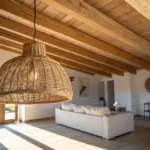
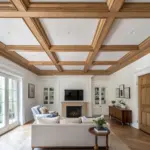
Classic Natural Timber Trusses

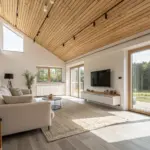
If you want that timeless, cozy vibe, go with natural wood trusses and a clear finish so the grain does all the talking—I’ve done this in a great room and it instantly warmed up the whole space. I usually pick a matte topcoat because it hides everyday dust way better than glossy.
You might like:
- Matte Water-Based Wood Sealer: Protect your timber trusses without adding shine by using a matte finish sealer that preserves the natural wood look.
- Industrial Cage Pendant Light: Hang rustic industrial pendant lights from the beams to draw the eye upward and complement the heavy timber aesthetic.
- Microfiber High Dusting Kit: Keep those high, hard-to-reach beams dust-free easily with an extendable duster designed for vaulted ceilings and trusses.
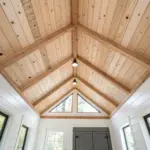
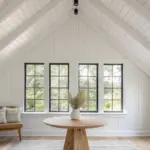
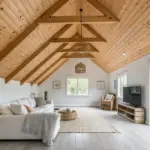
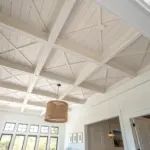
All-White Painted Truss Look

A fully white-painted open truss ceiling gives you texture without visual clutter, and I’ve used it when clients want “airy farmhouse” but still crave character. I like a soft, low-sheen paint so the trusses read crisp in daylight and cozy at night.
Explore these options:
- Matte White Interior Paint: Refresh your ceiling beams with a low-sheen finish to create a crisp, airy farmhouse aesthetic.
- Woven Pendant Light Fixture: Add warmth and texture against bright white trusses with natural, woven hanging light fixtures.
- White Wood Plank Paneling: Enhance your ceiling’s character by installing white tongue-and-groove planks between the exposed trusses.
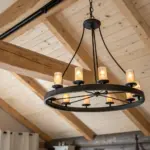
Scissor Trusses for Extra Height

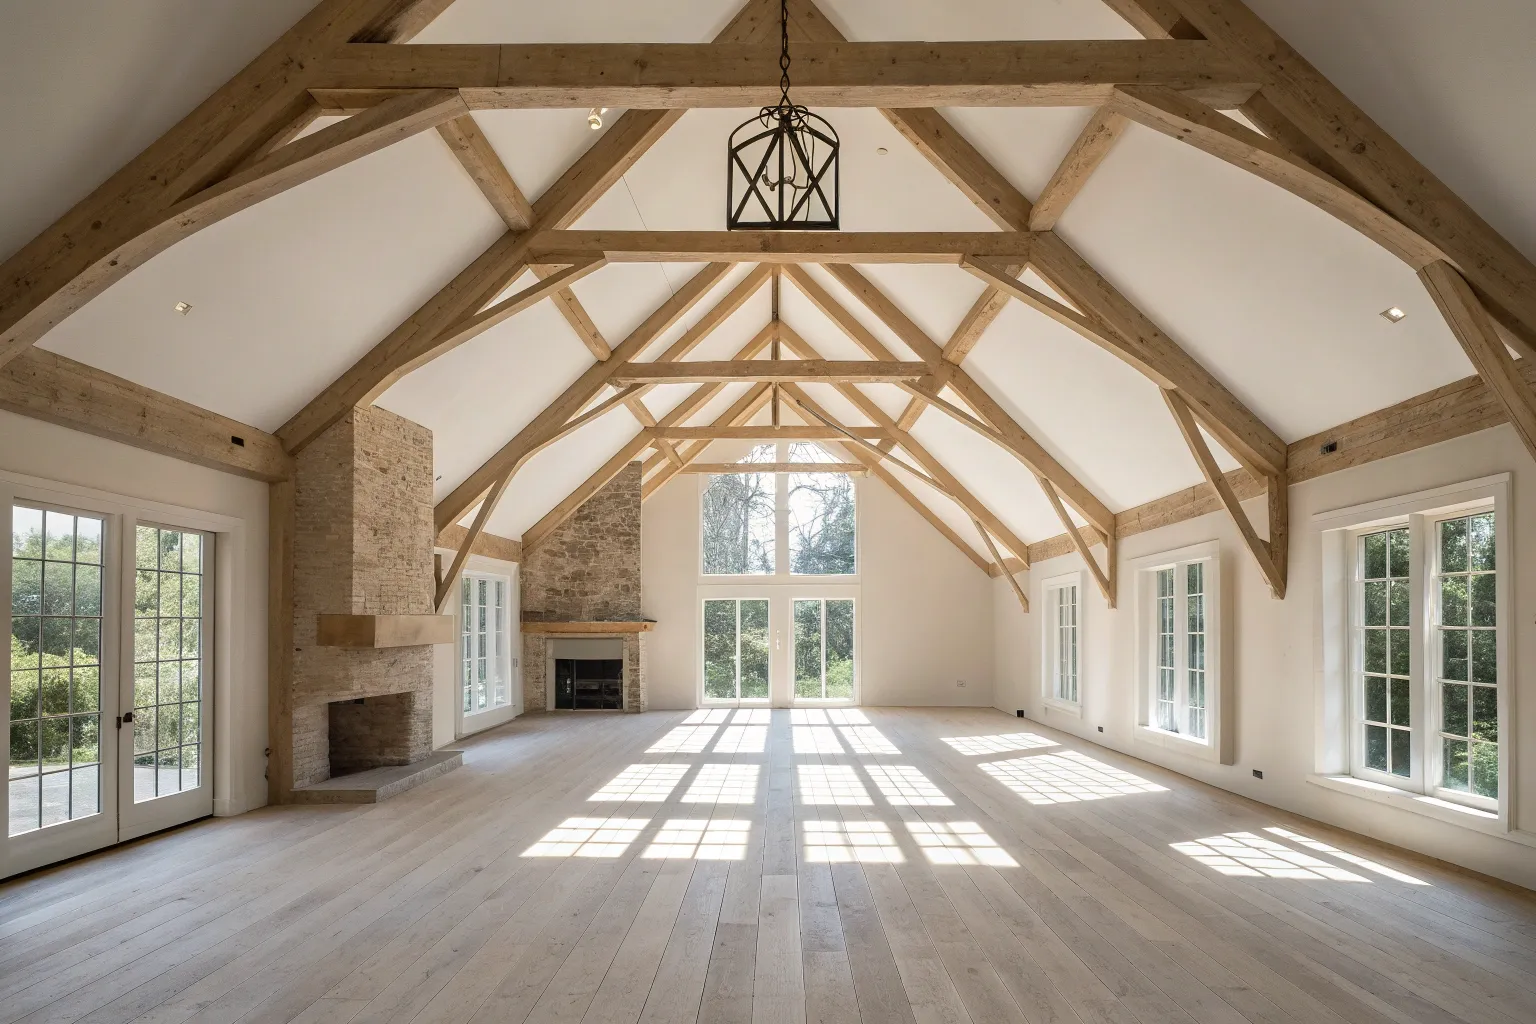
Scissor trusses are my go-to when you want that soaring “cathedral” feel, because the crossing lines naturally pull your eye upward. The first time I worked under them, I realized lighting needs to drop lower than you think or it’ll get lost in the peak.
Some ideas to consider:
- Industrial Pendant Light Fixtures: Drop lighting lower from high peaks to create focused illumination and complement the rustic timber aesthetic effectively.
- Matte Black Spray Paint for Hardware: Refresh existing metal brackets or bolts easily to achieve that bold, contrasting industrial look seen here.
- Wood Conditioner and Stain: Enhance the natural grain of your wooden beams while protecting them to maintain clarity and warmth.
Steel Tie Rods With Wood Trusses

Mixing wood trusses with steel tie rods gives a cool barn-meets-industrial edge, and I’ve installed them to make a space feel a little more modern without losing warmth. I usually keep the metal finish simple so the wood still wins the spotlight.
Items that may come in handy:
- Industrial Black Steel Rod Kit: Add structural flair to your ceiling beams with durable steel rods that enhance the industrial farmhouse aesthetic.
- Decorative Structural Truss Plates: Connect timber beams securely while adding a bold, rustic black metal accent to your custom truss design.
- Heavy-Duty Carriage Bolts: Complete the authentic timber-frame look using robust black fasteners that offer both style and essential joint support.
Chandelier Centered on the Truss Bay

Center a chandelier between trusses and it instantly looks “designed,” and I’ve used the truss spacing as my cheat-sheet for perfect placement. I always plan the junction box early because retrofitting wiring around an open truss ceiling is not the fun kind of DIY.
Useful items to consider:
- Boho Beaded Chandelier: Capture the airy, natural aesthetic of this room with a large, statement-making beaded light fixture.
- Ceiling Medallion or Canopy Kit: Ensure a polished, professional finish where your new fixture meets the ceiling planking or truss work.
- Adjustable Chain Extension Kit: Perfectly position your chandelier at the exact right height within your vaulted ceiling space effortlessly.
Clerestory Windows to Show Off Trusses

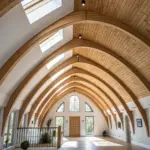
If you can add clerestory windows, do it—sunlight raking across an open truss ceiling makes every beam shadow look like art. I’ve worked in rooms where that high light made even simple trusses feel custom.
These products might help:
- Fixed Picture Windows: Install non-operable geometric windows high on your wall to effectively flood your ceiling trusses with natural light.
- Motorized Window Openers: Easily ventilate high clerestory spaces using remote-controlled operators designed for hard-to-reach windows near your ceiling.
- Remote Controlled Motorized Blinds: Control light and glare on your architectural elements instantly with custom-fit motorized shades for high windows.
Skylights Between Truss Lines

A skylight placed neatly between truss bays feels intentional, and I’ve seen it make a dark vaulted space finally sparkle. I always recommend planning the layout around the truss rhythm so the openings look “meant to be there,” not squeezed in.
Try these:
- Roof Window / Skylight: Illuminate your vaulted ceiling naturally by installing a sleek roof window designed for sloped installations.
- Motorized Skylight Blinds: Control light levels and reduce glare easily with remote-controlled blinds tailored for overhead windows.
- Telescoping Window Pole: Reach high windows effortlessly to open latches or adjust manual shades without needing a ladder.
Whitewashed Trusses for Soft Rustic Texture

Whitewashed trusses are my sweet spot when someone wants rustic character without the heaviness of dark wood, and I’ve brushed this finish on reclaimed pieces to keep the grain visible. I like doing a test board first because the same wash can look totally different depending on species.
Possibly helpful picks:
- Whitewash Wood Treatment: Apply a specialized whitewash formula to your beams to gently brighten the wood while preserving its natural grain.
- Matte Clear Coat Sealer: Protect your newly whitewashed finish with a non-yellowing matte sealer designed to keep the look soft and natural.
- Natural Bristle Paint Brush: Use a quality natural bristle brush to work the wash deep into rough timber grooves for even coverage.
Color-Washed Trusses for a Subtle Twist

Try a muted color wash on trusses (think dusty clay or soft sage) while keeping the ceiling neutral—I’ve done this once and it felt shockingly fresh without being loud. The truss shapes stay classic, but the tint gives the whole room a “designer” wink.
Check if these fit your needs:
- Matte Interior Wood Stain: Add a soft, semi-transparent tint to exposed beams to achieve that understated, dusty aesthetic effortlessly.
- White Wash Pickling Stain: Use this to soften natural wood tones before adding color or alone for a bleached, airy effect.
- High-Quality Angle Sash Paint Brush: Ensure clean application of your color wash into the tight corners and angles of truss joinery.
Resin-Inlaid Truss Accents for Wow Factor

If you want a jaw-drop moment, I’ve inlaid a slim resin “river” into the bottom chord of a faux truss so it catches light like glass while still reading as wood. Keeping the resin accent narrow is the trick I learned—your open truss ceiling stays timeless, but the detail feels totally unexpected.
A few choices to try:
- Clear Epoxy Resin Kit: Create your translucent river accent using this durable casting resin, perfect for filling carved wood channels.
- Handheld Wood Router: Carve precise, clean channels into your truss beams to prepare them for the custom resin pour.
- Mica Powder Pigment Set: Add a subtle shimmer or tint to your resin inlay to catch the light beautifully overhead.