
That awkward seam where the tub apron meets the bathroom floor can make an otherwise pretty space look unfinished.
Caulk-First Micro Trim Line

If the seam is tiny, I’ll tape a razor-straight line and lay a neat bead of silicone caulk before adding any small trim, so water can’t sneak behind it. I learned this the hard way after fixing one tub where trim looked fine but the unsealed gap kept collecting grime.
Useful items to consider:
- Waitertight Silicone Sealant: Create a flexible, waterproof barrier against moisture and mildew specifically designed for bathroom environments.
- Self-Adhesive Vinyl Trim Strip: Apply a clean, paintable edging along your tub base for a finished look without complex tools.
- Precision Caulking Tool Kit: Achieve professional-looking, straight sealant lines and smooth finishes effortlessly, even if you are a beginner.


Classic Shoe Molding
When I need a fast, timeless fix for a small gap, I reach for shoe molding and run it tight along the tub apron and floor. I’ve found it’s just enough profile to hide wavy cuts without looking bulky.
Maybe worth checking out:
- Primed White Shoe Molding: Choose pre-primed wood molding to quickly conceal gaps between your flooring and bathtub apron for a clean finish.
- Siliconized Acrylic Latex Caulk: Use flexible white caulk to seal the edges of your molding, preventing water damage while ensuring a seamless look.
- Waterproof Grab Adhesive: Secure your trim without nails using strong waterproof adhesive, perfect for wet environments like bathroom floors and tubs.


Cove Molding for a Softer Shadow
For a slightly dressier look, I use cove molding at the tub-to-floor joint so it creates a gentle shadow instead of a hard edge. I tried this in a cozy cottage-style bath, and it made the whole tub front feel more custom.
Check if these fit your needs:
- Flexible White Molding Trim: Easily curve this flexible material around freestanding tubs to create a clean, finished bottom edge quickly.
- Waterproof Wood Quarter Round: Match your wooden floors with waterproof trim to seal gaps while adding a classic carpentry detail.
- Silicone Caulk and Gun Kit: Ensure a watertight seal behind your new molding to prevent floor damage from splashes or spills.

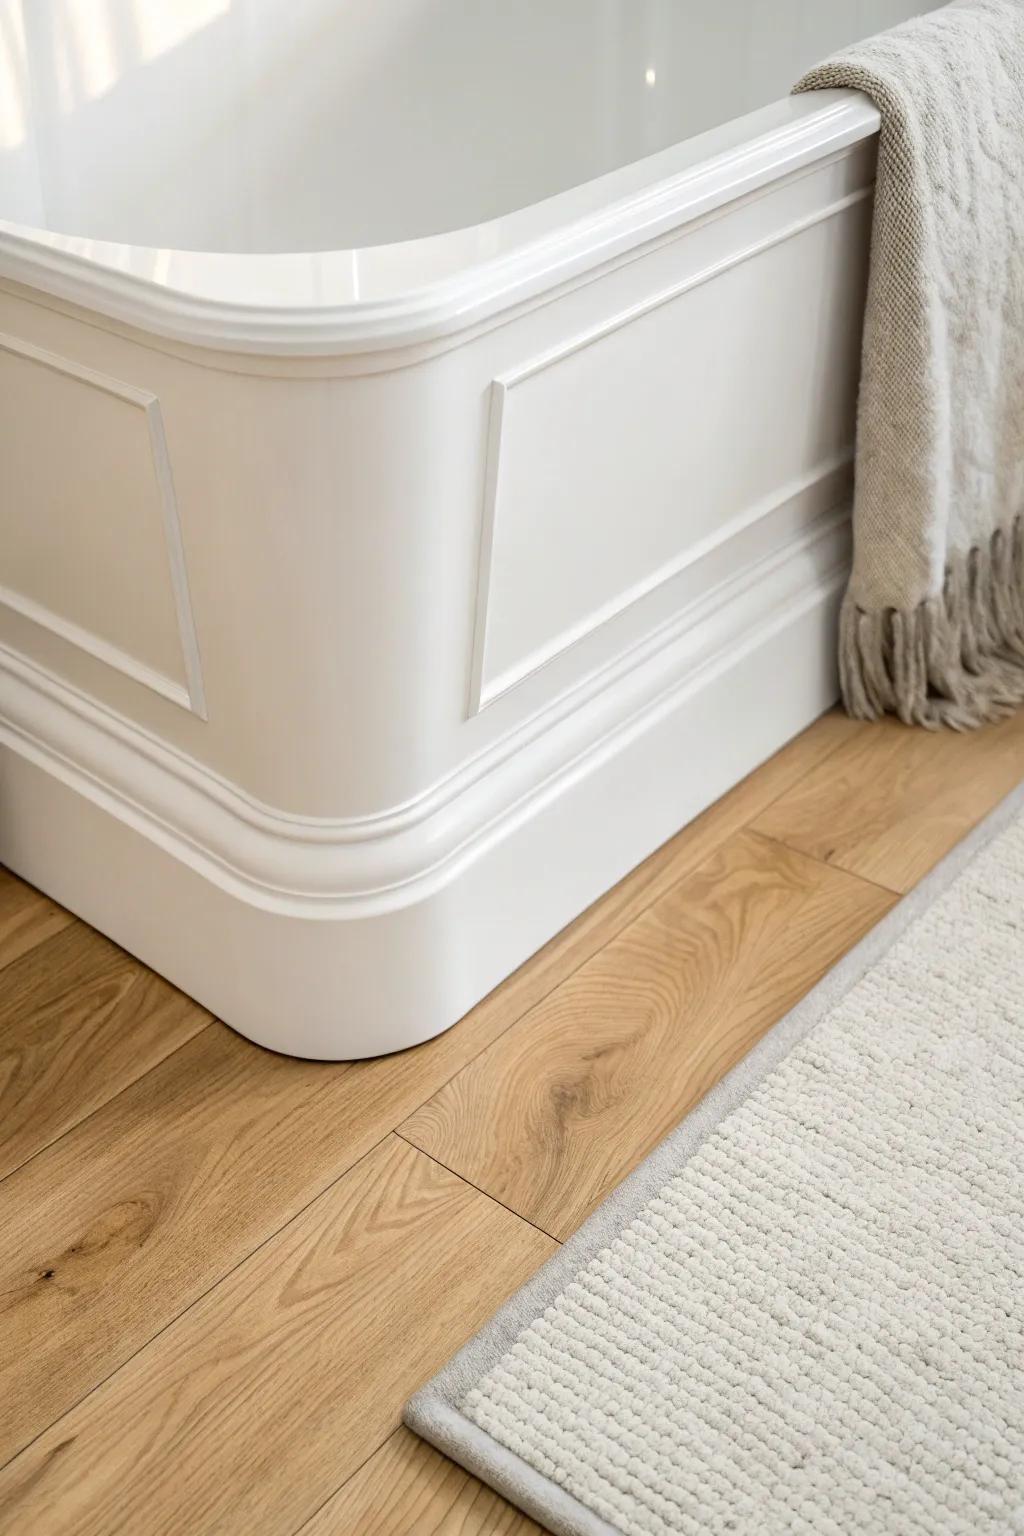
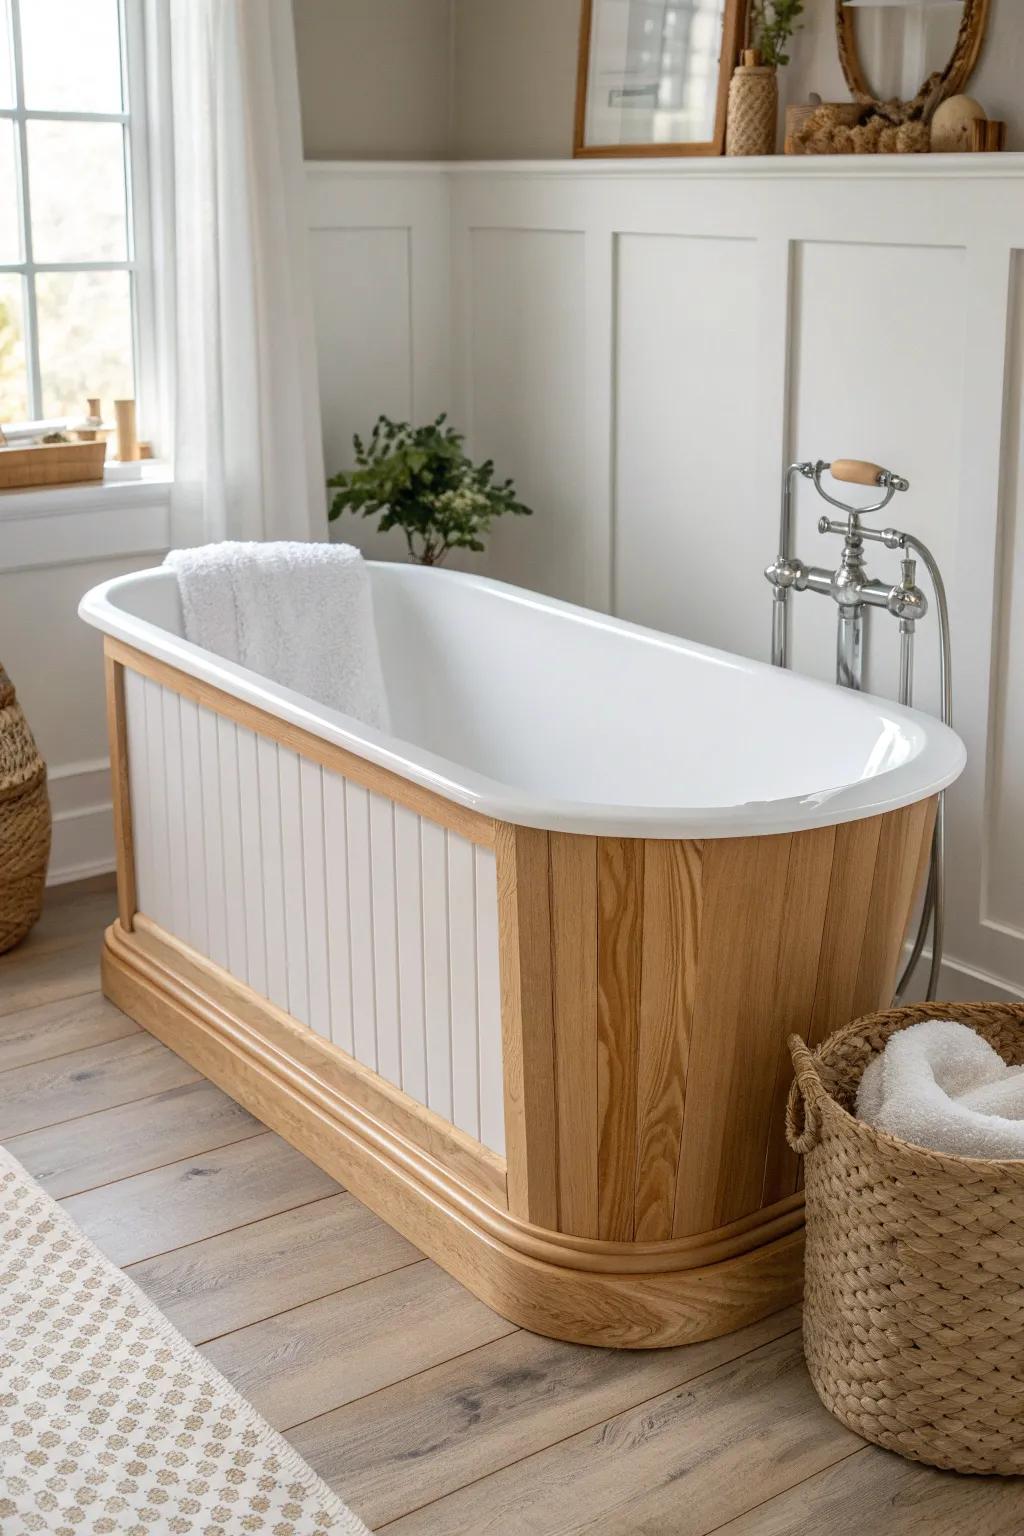
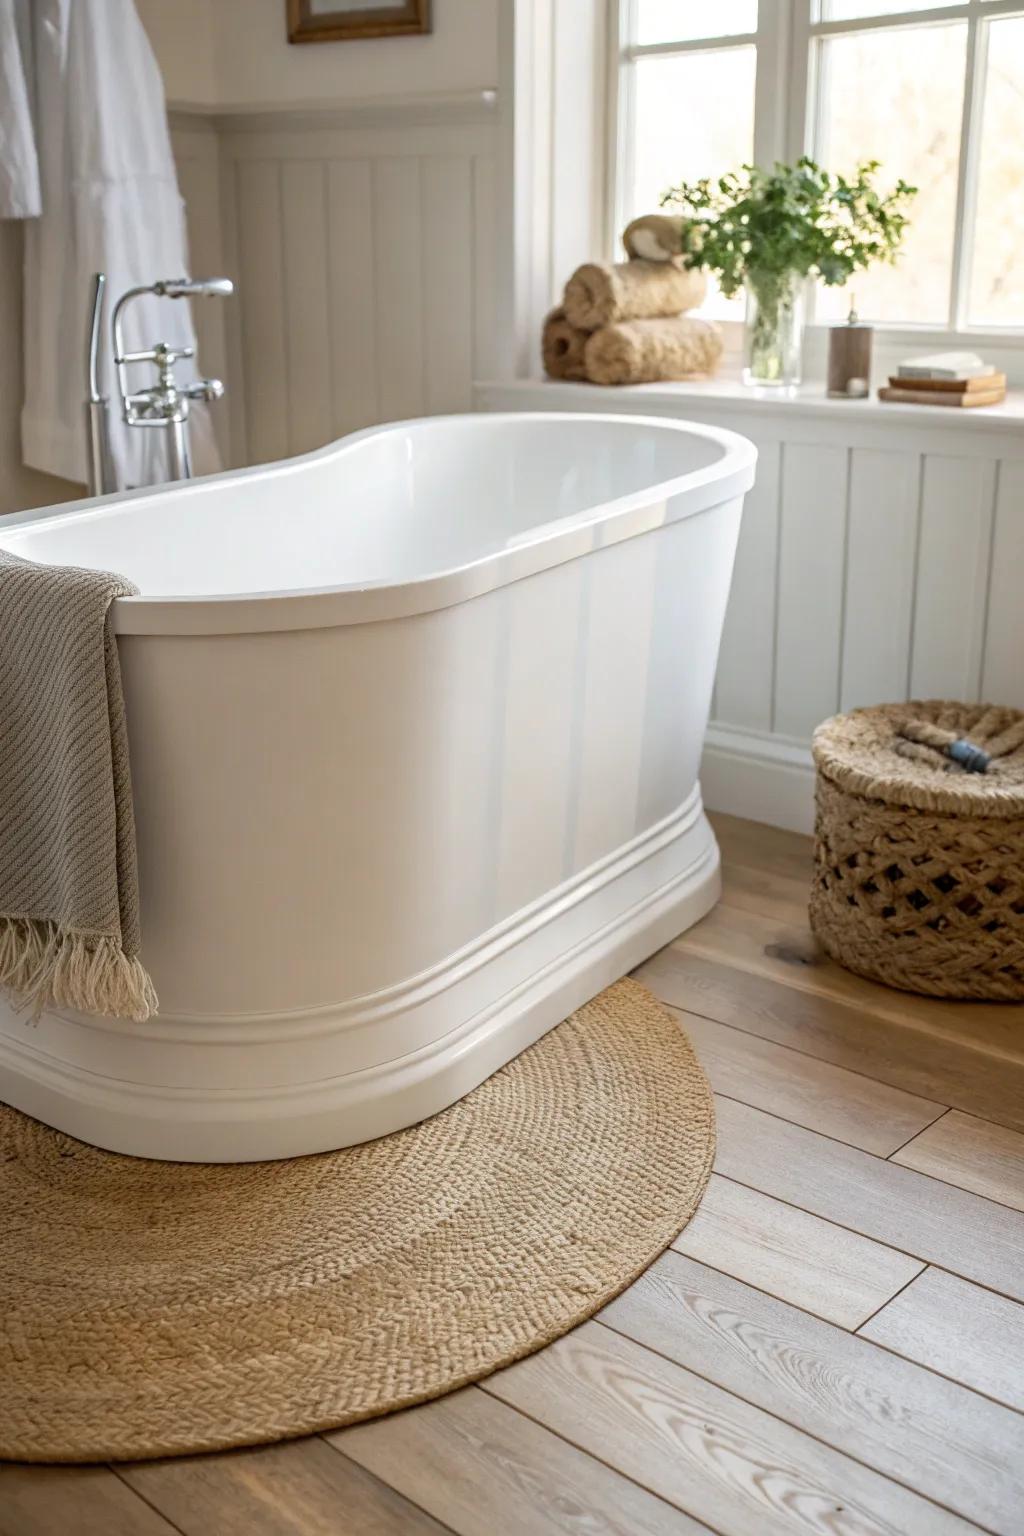
Beadboard Skirt With Bottom Trim

I love pairing a beadboard tub skirt with a simple floor trim piece at the bottom to hide the seam and tie everything together. I’ve built beadboard faces on plain tubs, and that little trim strip is what makes it look finished instead of “stuck on.”
Some handy options:
- Moisture-Resistant PVC Baseboard Molding: Choose moisture-resistant baseboards to create a seamless floor transition that withstands bathroom humidity without warping.
- Waterproof White Caulk & Gun: Seal gaps between your trim and the floor efficiently to prevent water damage and ensure a clean look.
- Paintable Beadboard Paneling Kit: Transform your plain bathtub quickly with easy-to-install beadboard panels that provide the perfect foundation for your new trim.
Board-and-Batten Apron Base Trim
If you’re doing modern farmhouse, a board-and-batten tub front looks amazing with a clean base molding along the floor edge. I’ve used this combo to distract from a messy flooring cut, and it turns the tub into a focal point.
May just do the trick:
- Flexible Baseboard Molding: Use flexible trim to easily navigate around tub curves, creating a polished and custom floor transition.
- Shiplap Wall Paneling (or Wainscoting Kit): Create that classic farmhouse style on your tub front with easy-to-install paneling or wainscoting kits.
- Waterproof Construction Adhesive: Ensure your trim and panels stay securely attached in humid bathroom environments with heavy-duty adhesive.
Water-Resistant Painted Wood Trim
I’ve painted wood trim around tubs with a good primer and durable topcoat, then sealed the bottom with bathroom-grade caulk. It’s a solid option when you want a custom profile but still need that water protection right at the floor.
Try these:
- Waterproof Silicone Bathtub Caulk: Seal gaps between your trim and the floor effectively to prevent water damage and ensure a clean finish.
- High-Adhesion Bonding Primer: Prep your wood trim surfaces properly to ensure paint adheres strongly and resists peeling in humid bathroom environments.
- Moisture-Resistant Semi-Gloss Enamel: Protect your wood trim with a durable, washable finish that stands up to splashes and daily bathroom moisture.

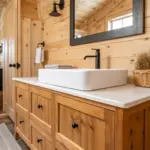
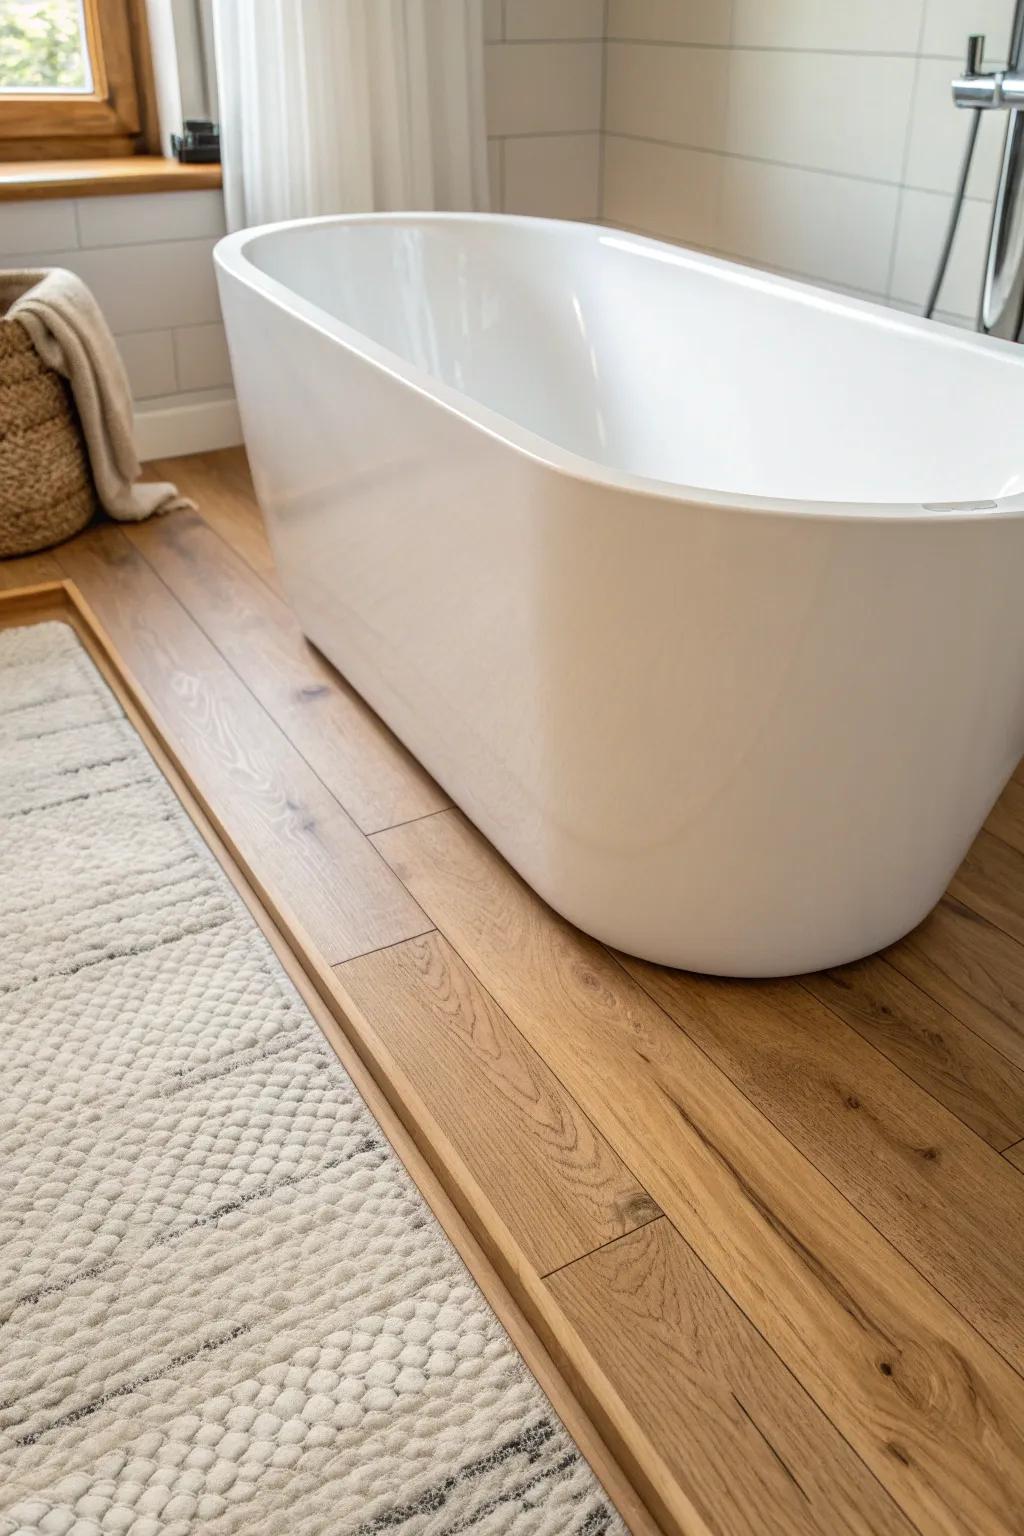
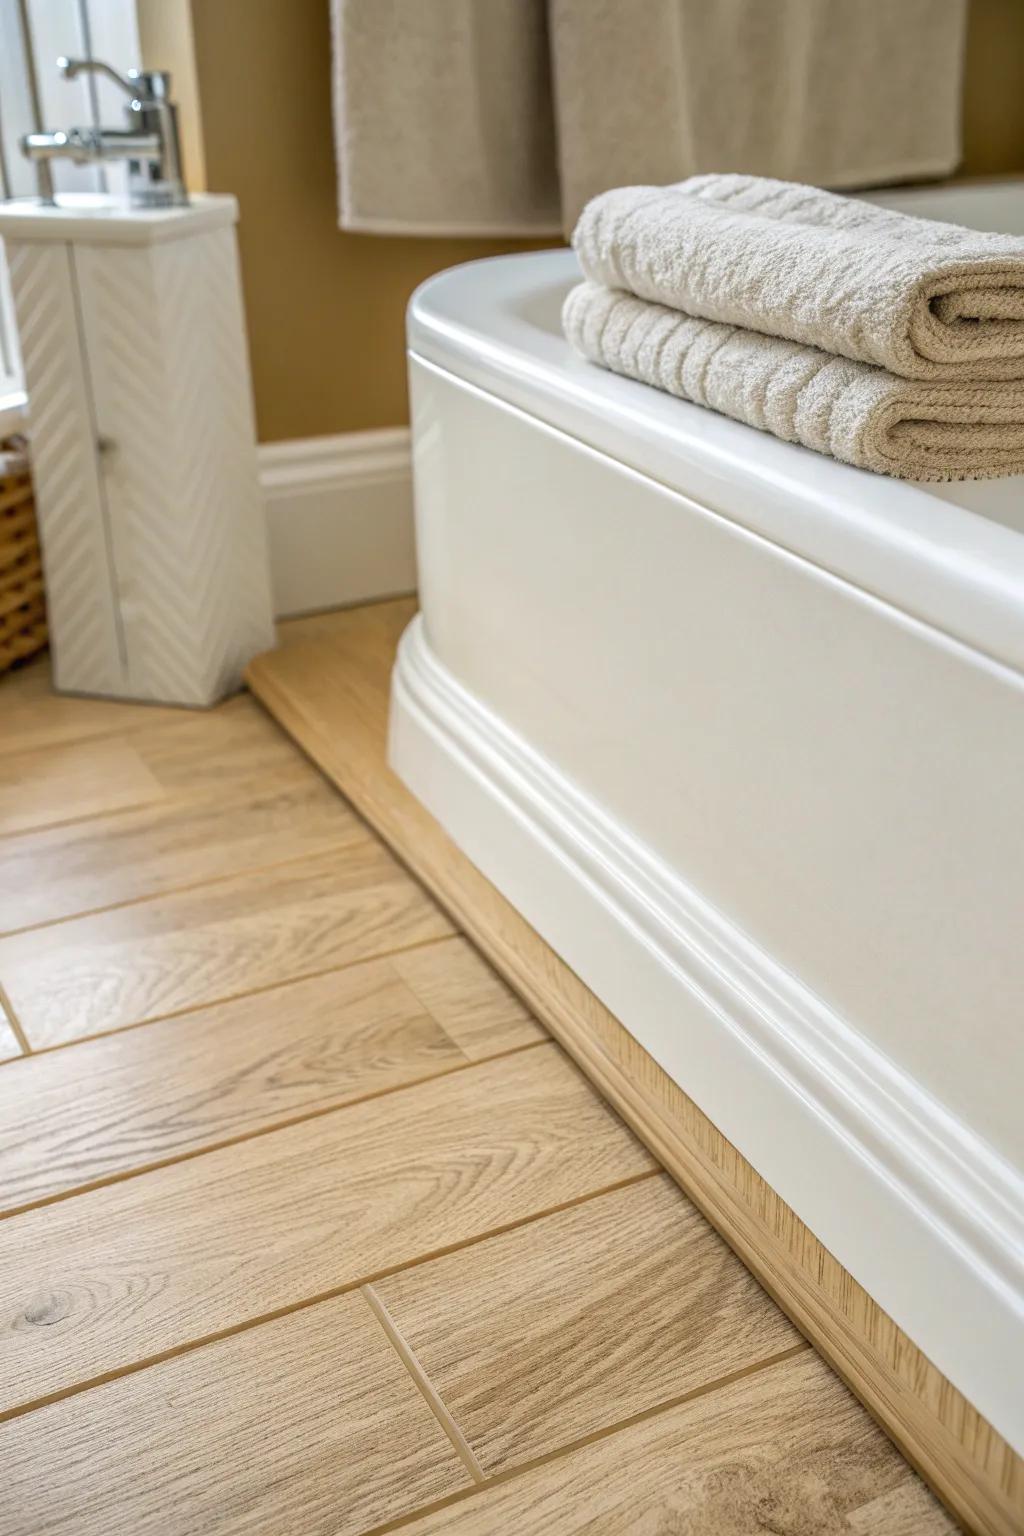
Stained Hardwood for Warm Contrast
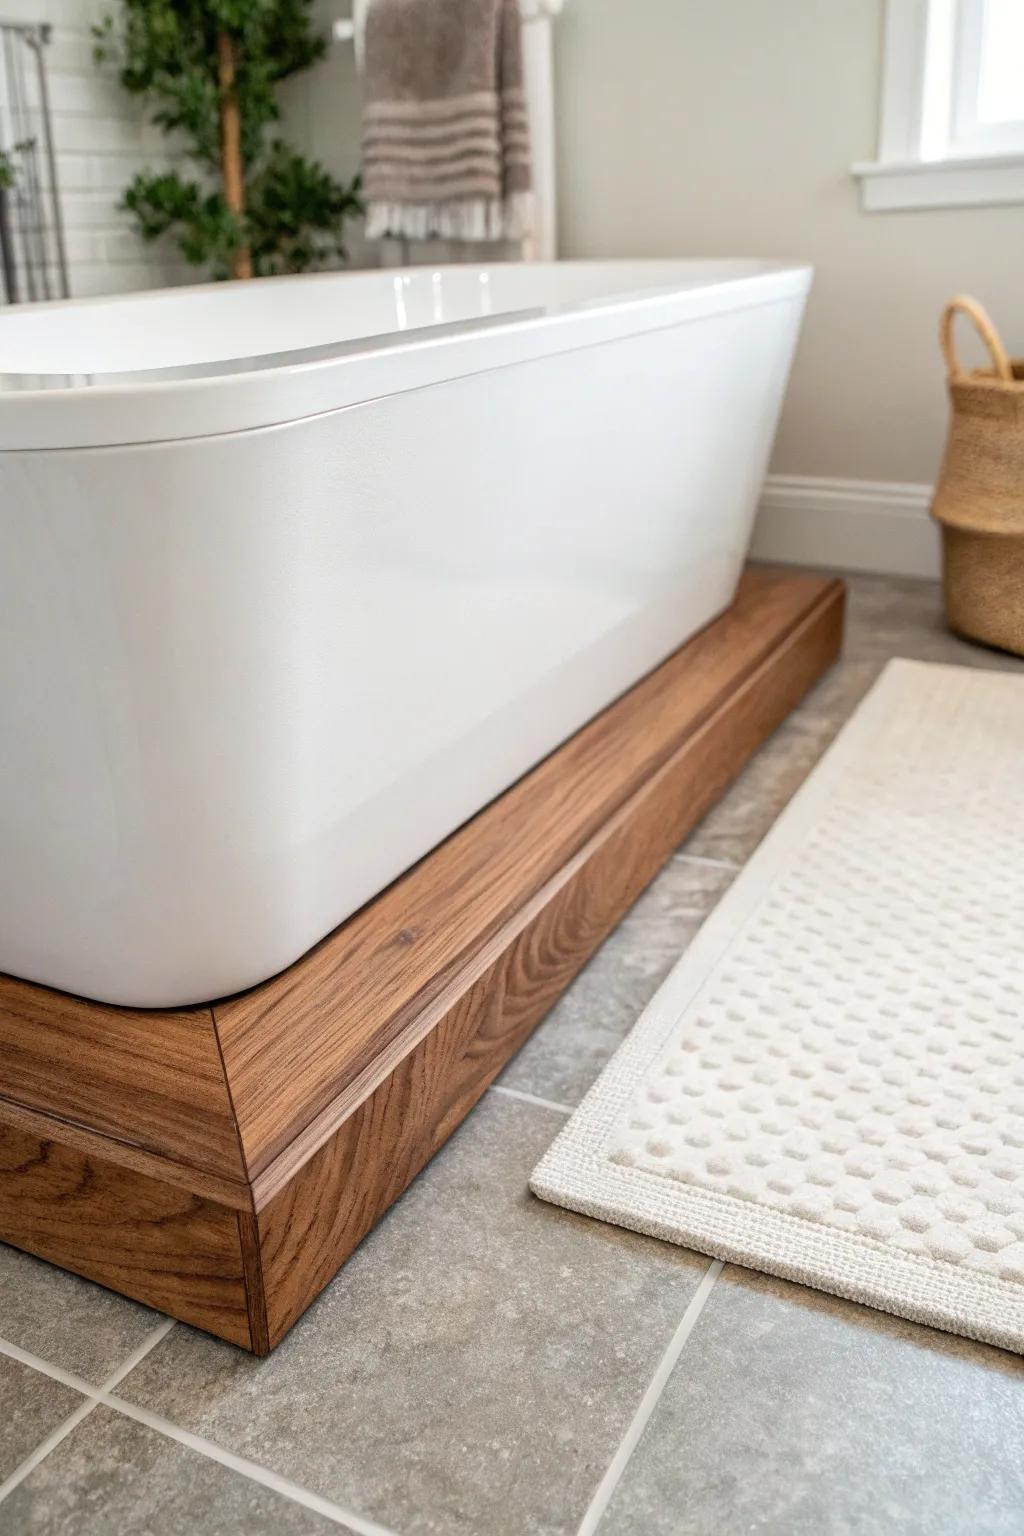
For a richer look, I’ll stain a hardwood strip and use it as bathtub floor trim so the tub edge pops against light tile. I’ve done this with reclaimed wood, and the grain makes the whole bath feel warmer and more crafted.
A few helpful options:
- Hardwood Lumber Boards: Select high-quality hardwood planks to build a custom, durable base that adds natural warmth to your bathroom.
- Waterproof Wood Sealant: Protect your new wooden trim from moisture and splashes to ensure the finish stays rich and damage-free.
- Wood Stain: Apply a deep, rich stain to achieve that perfect contrast against lighter tiles and enhance the natural grain.
Tile Pencil Liner at the Floor Edge
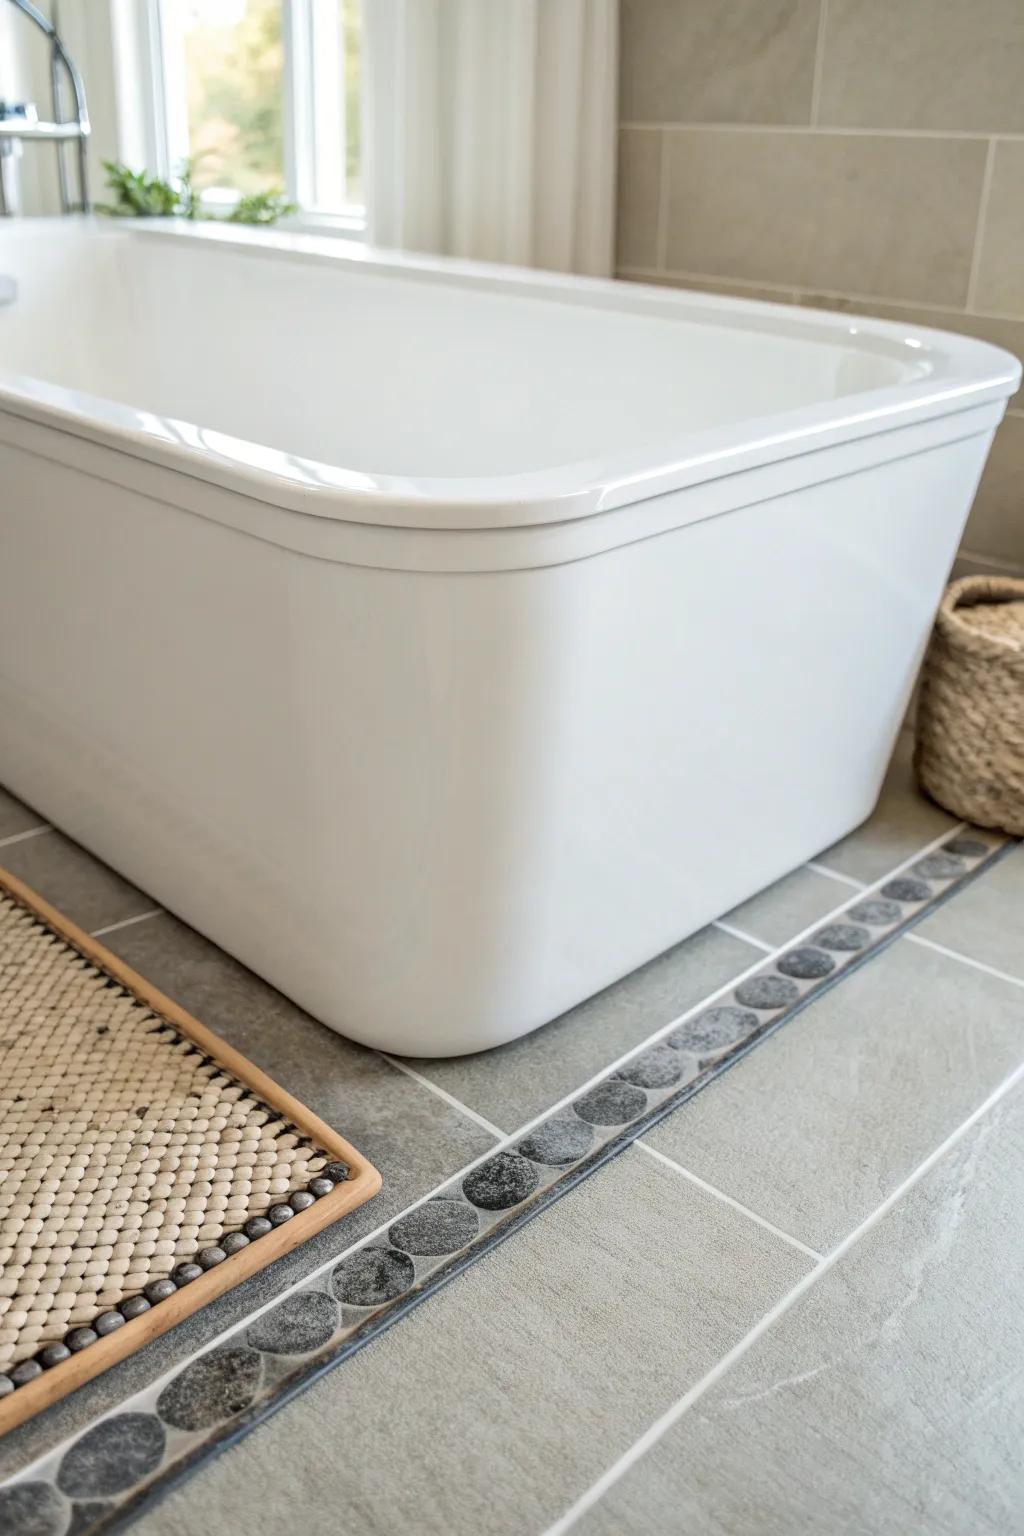
If you want the trim to feel seamless, a tile trim pencil liner along the tub base blends beautifully with the floor. I’ve used this when the tub sits near a tiled wainscot, and it makes the whole perimeter look super intentional.
Consider these options:
- Marble or Stone Pencil Liner Tile: Create a seamless transition by framing your bathtub with this trim to add a polished, finished look.
- Pebble Mosaic Border Tile: Recreate the textured, spa-like aesthetic shown in the photo by installing these natural stone sheets as accents.
- Flexible Silicone Caulk Strip: Seal the gap cleanly between the tub and floor for a waterproof, maintenance-free edge that looks neat.
Stone Threshold Strip as a Kick
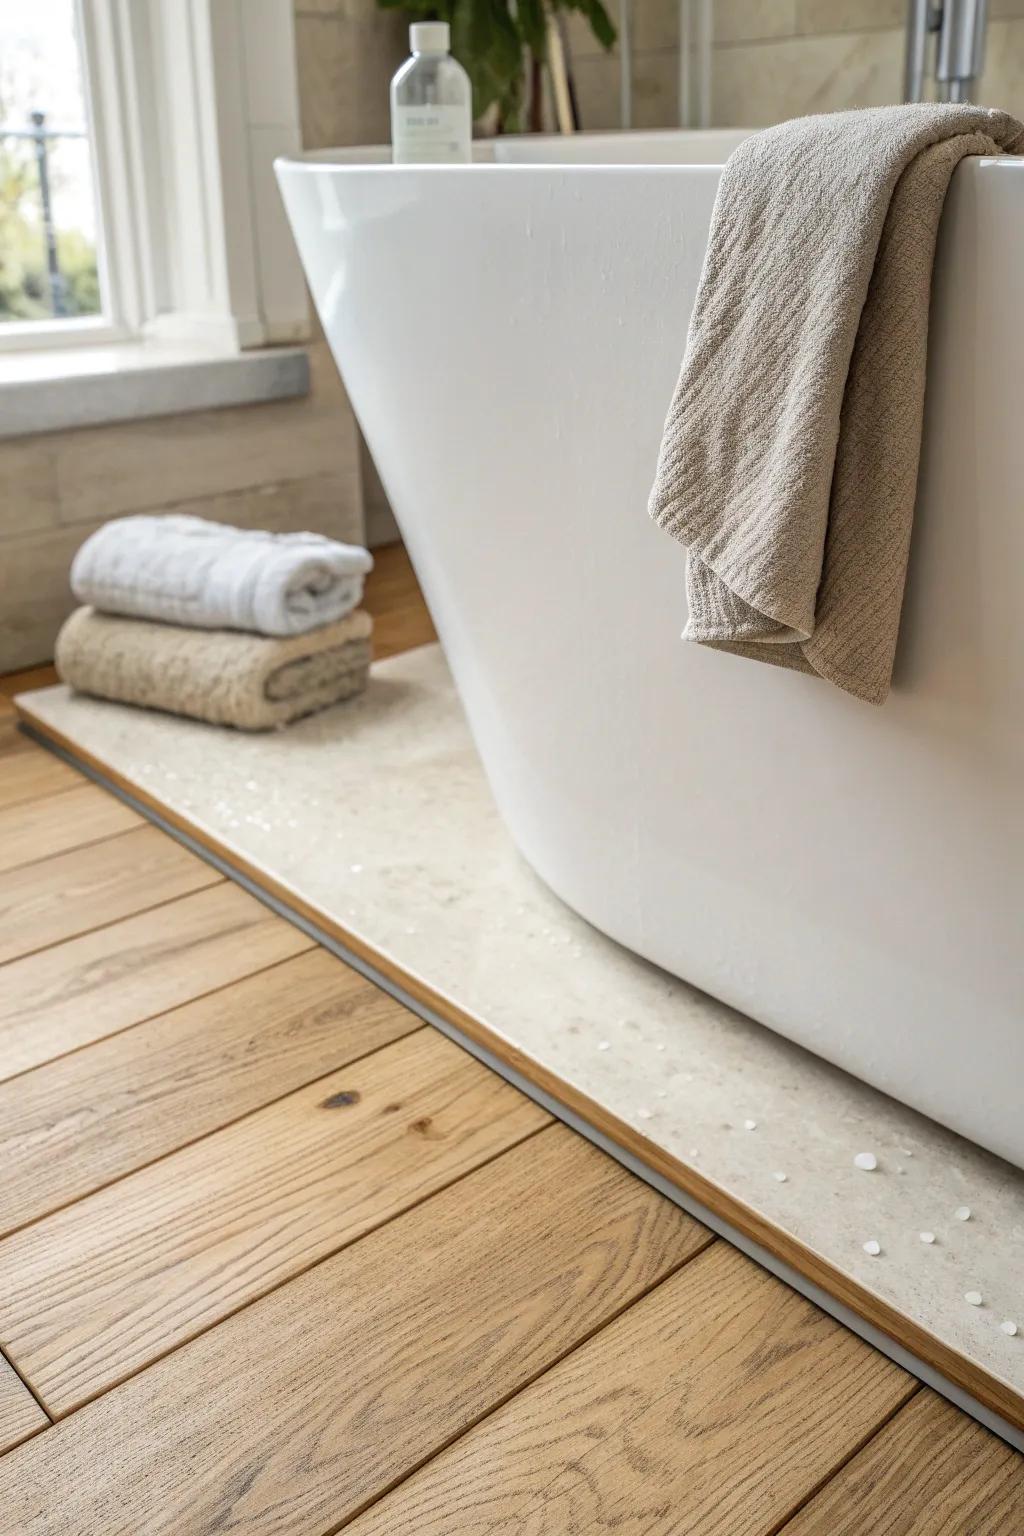
A slim stone strip set at the tub edge can act like a durable little “kick” and cover that tricky tub-to-floor gap. I’ve used this idea in baths where wet feet are a given, and it holds up like a champ while still looking elegant.
Explore these options:
- Marble Threshold Saddle: Create a solid finish between surfaces; install this durable stone strip to elegantly bridge flooring gaps.
- Travertine Trim Tile: Add a natural, textured border around your tub with these stone trims for a cohesive look.
- Engineered Stone Curb: Use a sleek, water-resistant stone curb to protect the base of your tub from moisture.
Flexible Trim for Curved Tub Fronts
Curved tub aprons can be a pain, so I’ve had success using flexible molding to follow the curve without a million tiny cuts. Once it’s caulked and painted, the seam at the floor looks smooth and professional.
Possibly helpful picks:
- Flexible Peel-and-Stick Molding Trim: Easily adhere this pliable trim around curves for a quick, mess-free finish that covers gaps seamlessly.
- Paintable Flexible Quarter Round: Choose this bendable profile to mimic traditional wood trim while perfectly hugging the radius of your tub.
- Waterproof Silicone Caulk and Gun: Ensure a watertight, professional seal along your new trim to prevent moisture damage and mold growth.
Removable Access-Friendly Base Trim
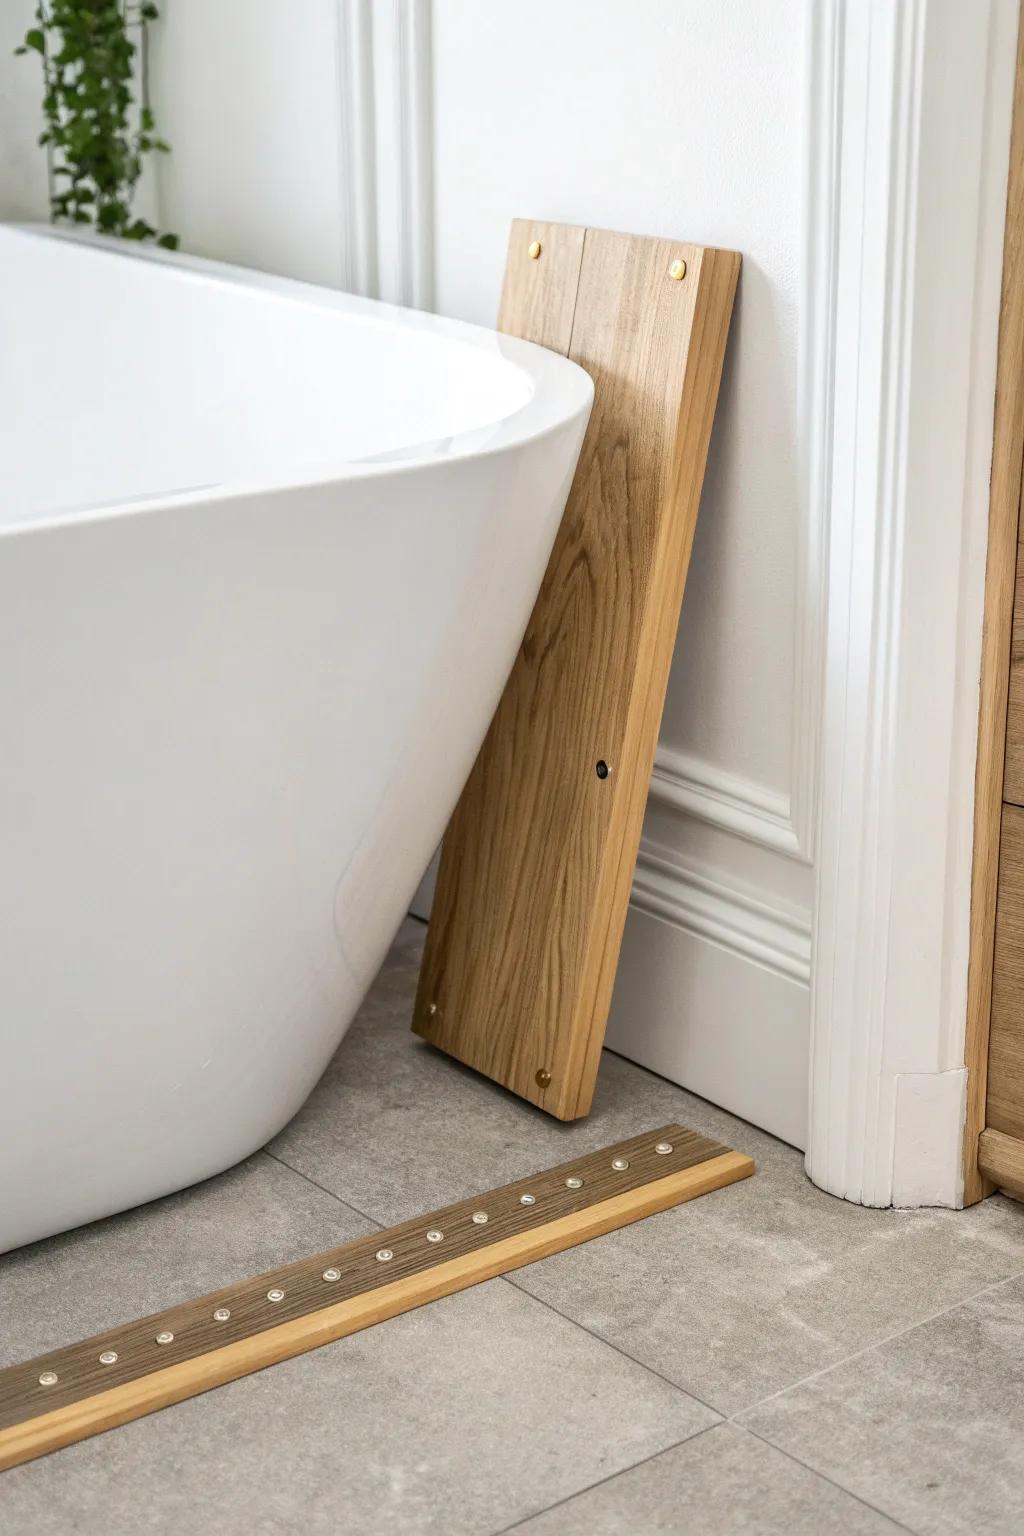
If you ever need to reach plumbing, I like building the tub skirt and floor trim so it can be removed with minimal drama. I’ve done this by fastening discreetly and sealing only the visible seam, and it saved me during one repair.
A few things you might like:
- Decorative Brass Screws with Washers: Secure your removable trim with decorative screws that add style while allowing for easy plumbing access later.
- Clear Silicone Sealant: Apply a thin bead of clear silicone to seal visible seams, keeping water out while remaining removable.
- Unfinished Oak Lumber Board: Craft custom base trim using durable oak boards that can be stained or sealed to match your bathroom.
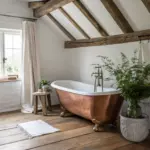
Copper Strip Accent at the Seam
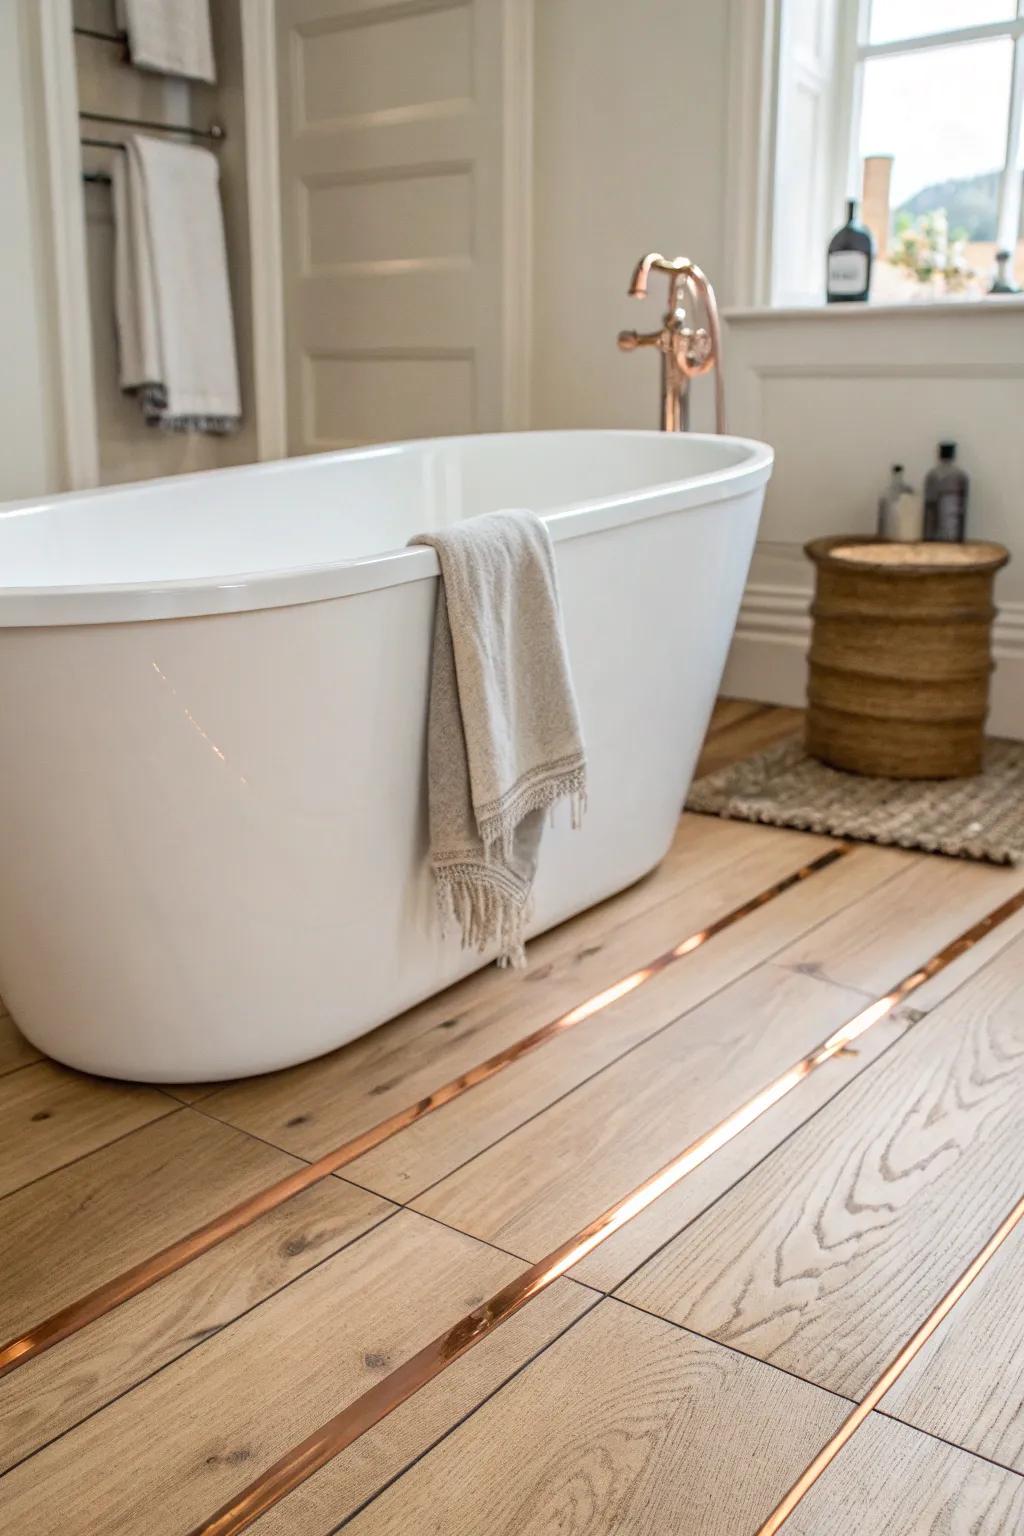
For a wow detail, I’ve inlaid a thin metal accent strip right where the tub meets the floor, like jewelry for the base. It catches light in a subtle way and still hides that annoying gap better than you’d think.
Products that could assist:
- Copper Metal Floor Transition Strip: Add a touch of elegance to your floors by installing this durable trim between tile or wood planks.
- Self-Adhesive Metallic Decor Tape: Apply this easy-to-use tape for a quick, metallic accent upgrade to baseboards or existing floor gaps.
- T-Shape Metal Tile Edging Trim: Create a seamless, professional look by inserting this classic T-shaped profile into gaps between your flooring materials.
Clear Resin Toe Strip Splash Guard
When I want something totally different, I’ll cast a slim clear resin strip as the tub-to-floor trim to act like a tiny splash guard. I’ve done this with a clean, glassy edge, and it makes the seam look almost invisible while still being wipeable.
These products might help:
- Clear Epoxy Casting Resin Kit: Create a seamless, waterproof barrier by mixing and pouring our durable clear epoxy resin directly along your bathtub base.
- Silicon Caulk Dam Mold Tape: Use flexible silicone tape to form a temporary mold, ensuring your liquid resin cures into a perfectly straight edge.
- Adhesive Silicone Splash Guard Strip: Alternatively, apply a pre-made clear silicone water blocking strip for an easier, instant splash guard solution without mixing.


