
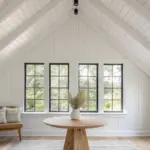
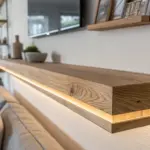
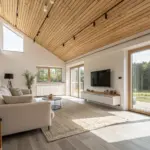
A campervan ceiling is the one surface you’ll stare at the most, so it deserves a little love beyond “cover the metal and call it done.”
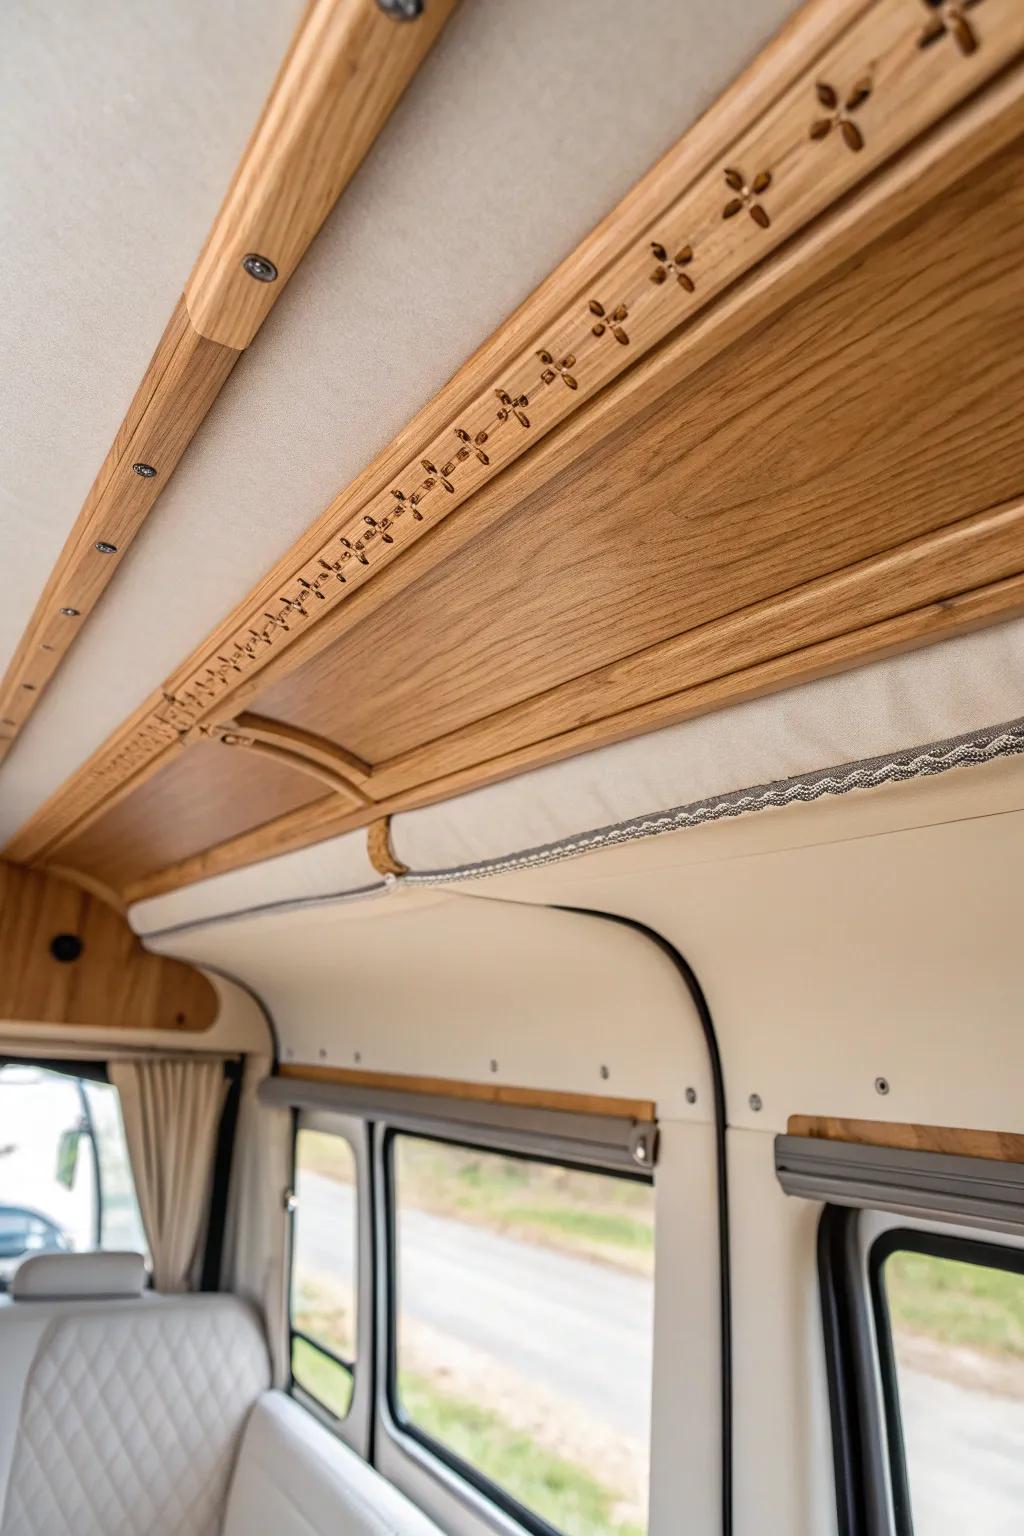
Curved Wood Slat Ceiling
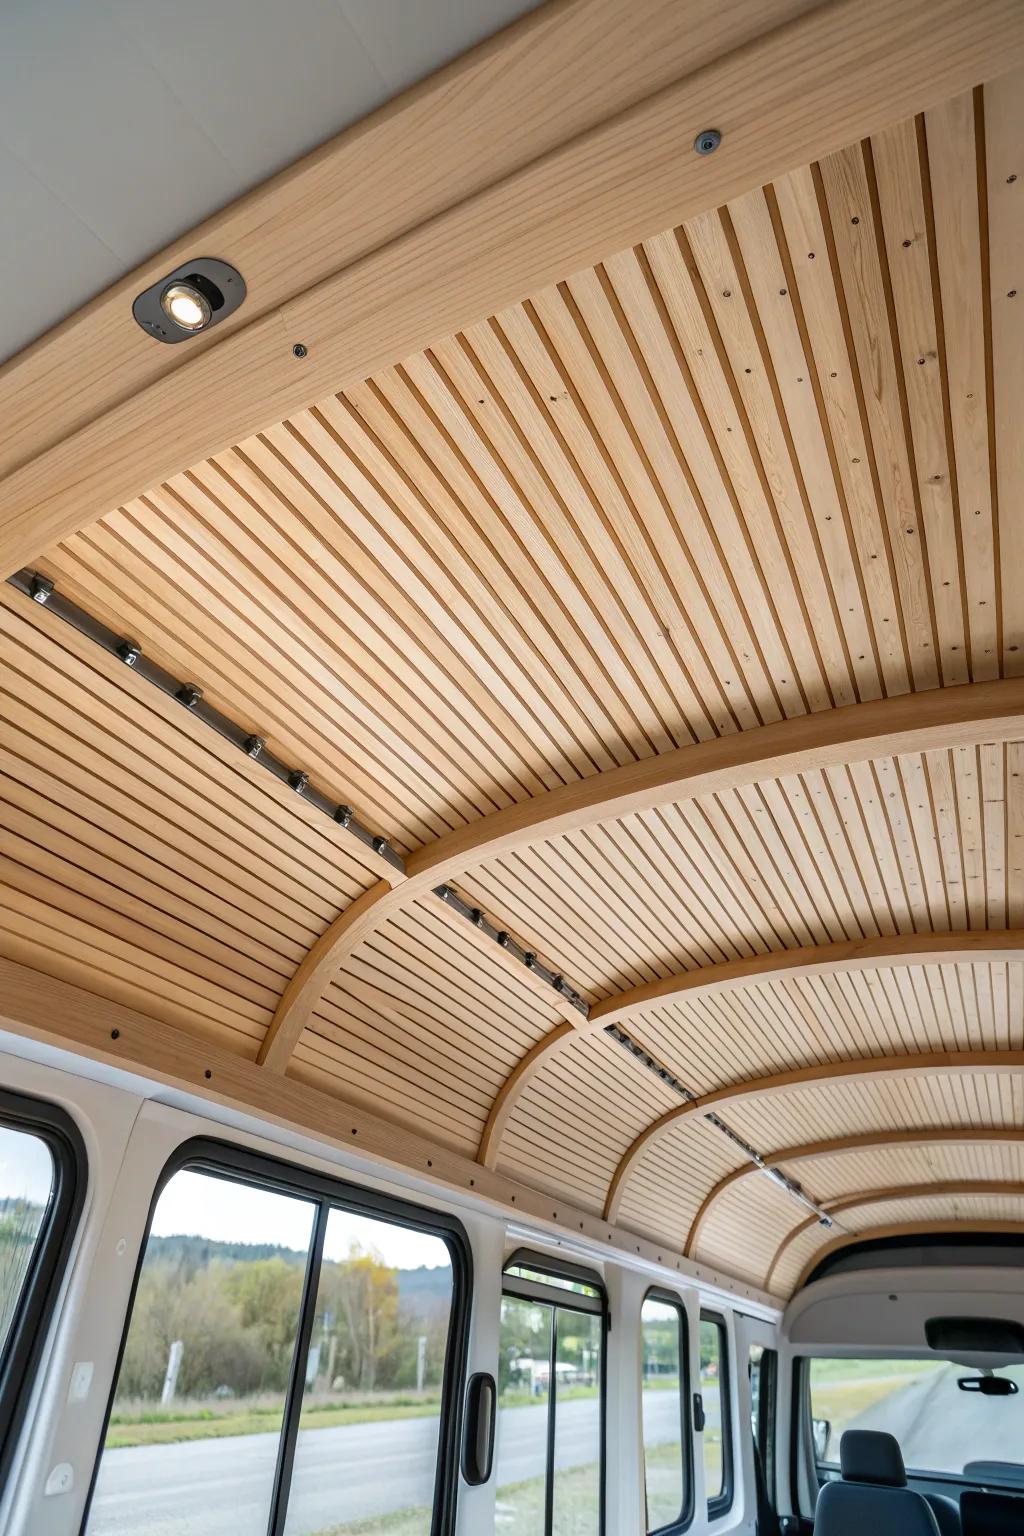
I’m obsessed with a slatted wood ceiling in a campervan because the thin strips naturally follow the roof curve and make the space feel taller. I’ve had the best luck using furring strips first, then spacing slats with a simple scrap-wood spacer so the gaps stay perfectly even.
Check if these fit your needs:
- Self-Drilling Wood Screws: Secure your wooden slats firmly to the furring strips with reliable, easy-to-drive screws for a lasting hold.
- Recessed 12V Puck Lights: Illuminate your van interior seamlessly by installing these low-profile lights directly into your new slat ceiling.
- Natural Tung Oil Finish: Protect your wood ceiling and enhance the natural grain pattern with a durable, water-resistant oil finish.
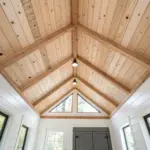
Tongue and Groove Cabin Look
My go-to campervan ceiling finish is lightweight tongue and groove because it instantly gives that cozy cabin vibe without a fussy install. I always seal every board (front, back, and ends) and leave tiny expansion gaps so it stays happy through hot days and cold nights.
You might like:
- Pine Tongue and Groove Planks: Instantly create that cozy, warm cabin aesthetic by installing these lightweight wooden planks on your van ceiling.
- Self-Drilling Wood Screws: Ensure your ceiling stays secure on bumpy roads with reliable screws designed specifically for easy wood installation.
- Polyurethane Wood Sealer: Protect your wood from moisture and condensation by applying a durable sealant to guard against warping.


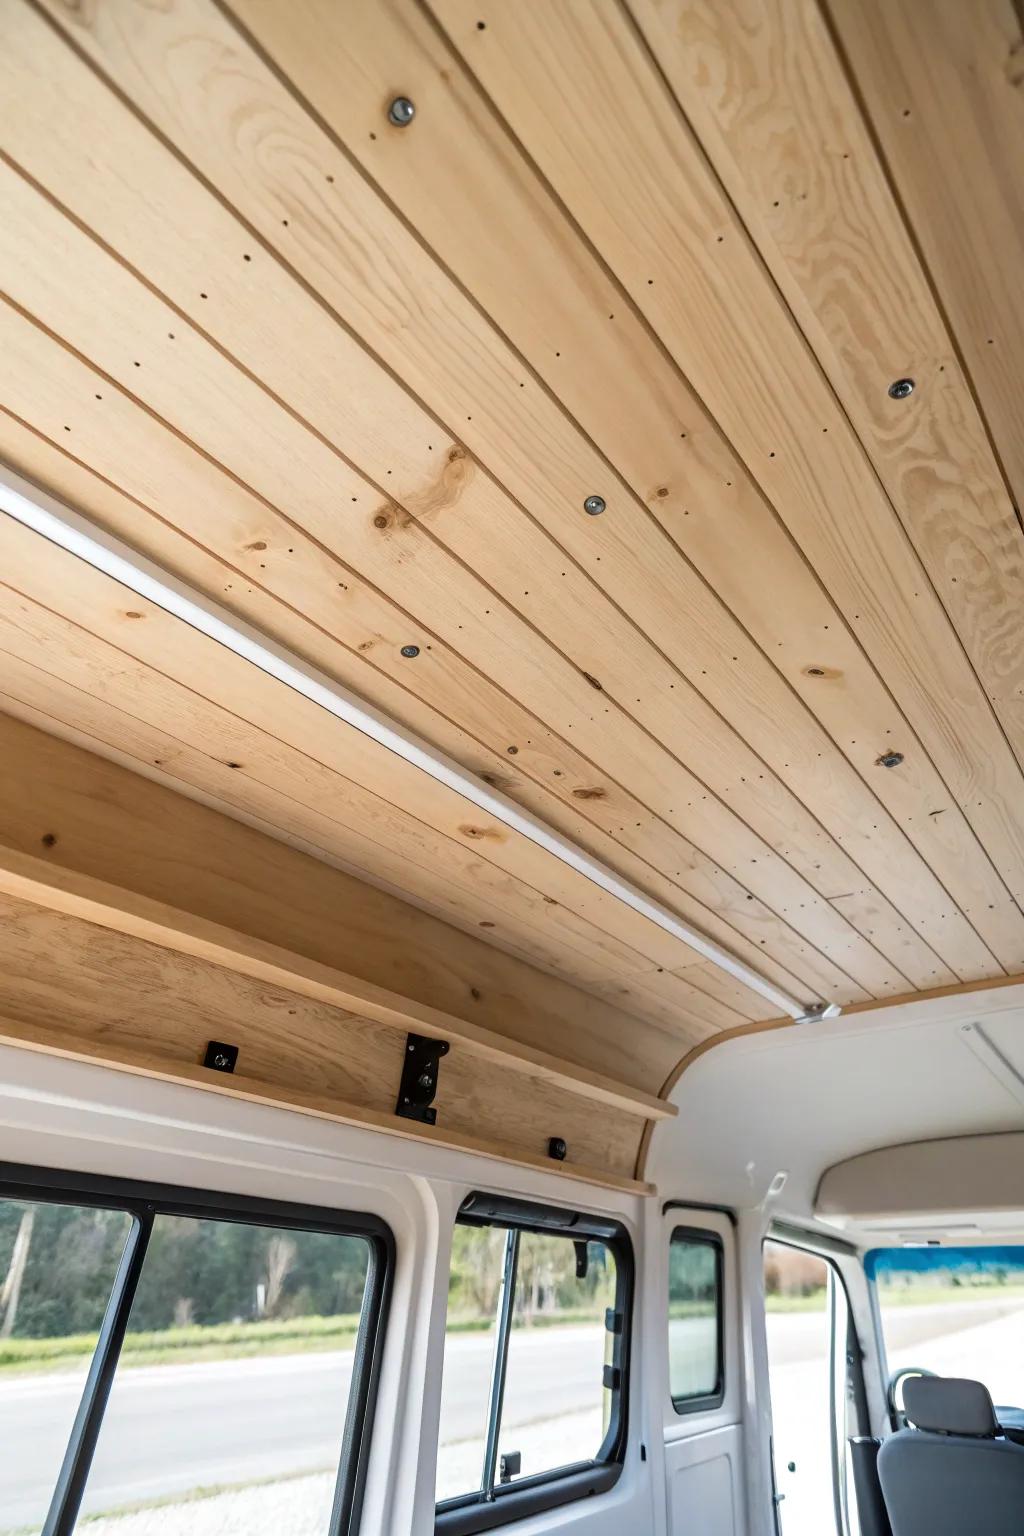
One-Piece Thin Plywood Ceiling
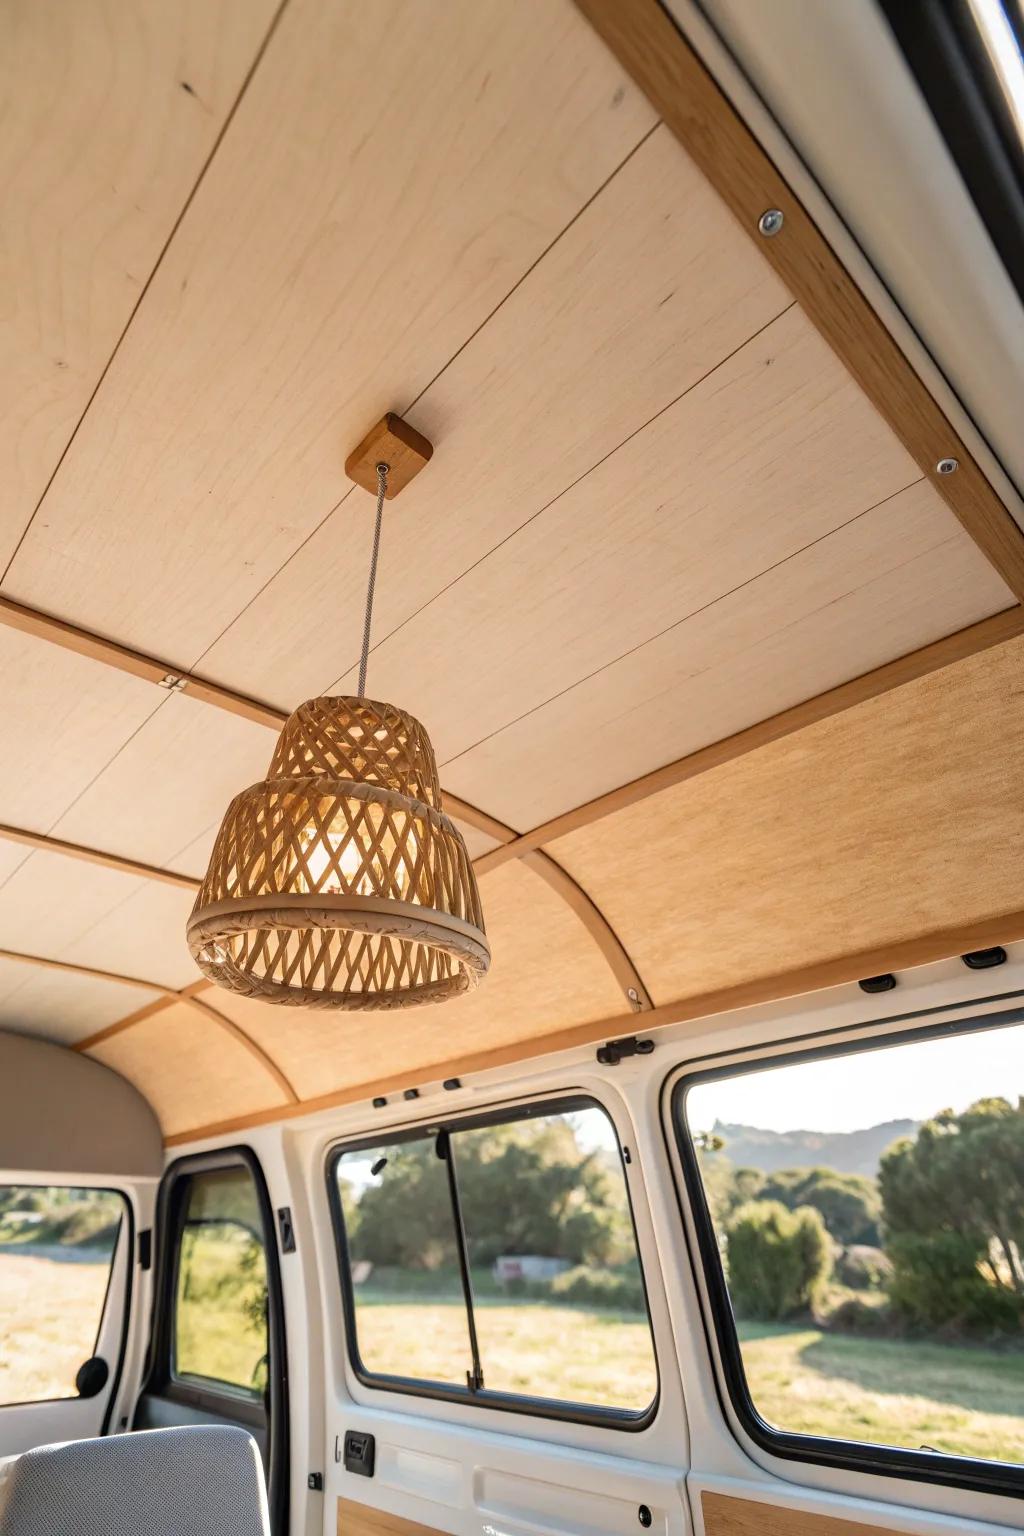
When I need speed and simplicity, I skin the campervan ceiling with thin plywood panels that bend just enough to match the roof shape. I like doing fewer seams and then trimming the edges with slim wood battens so it looks intentional, not rushed.
Might be a good match:
- Flexible Baltic Birch Plywood Sheets: Use flexible plywood sheets to easily conform to your van’s ceiling curves for a seamless, smooth finish.
- Hardwood Trim Batten Strips: Cover seams neatly and add structure to your ceiling installation with these durable, decorative wood finishing strips.
- Woven Rattan Pendant Light Shade: Complete your cozy camper aesthetic by installing a natural woven pendant shade that adds warmth and texture.
Painted Plank Ceiling
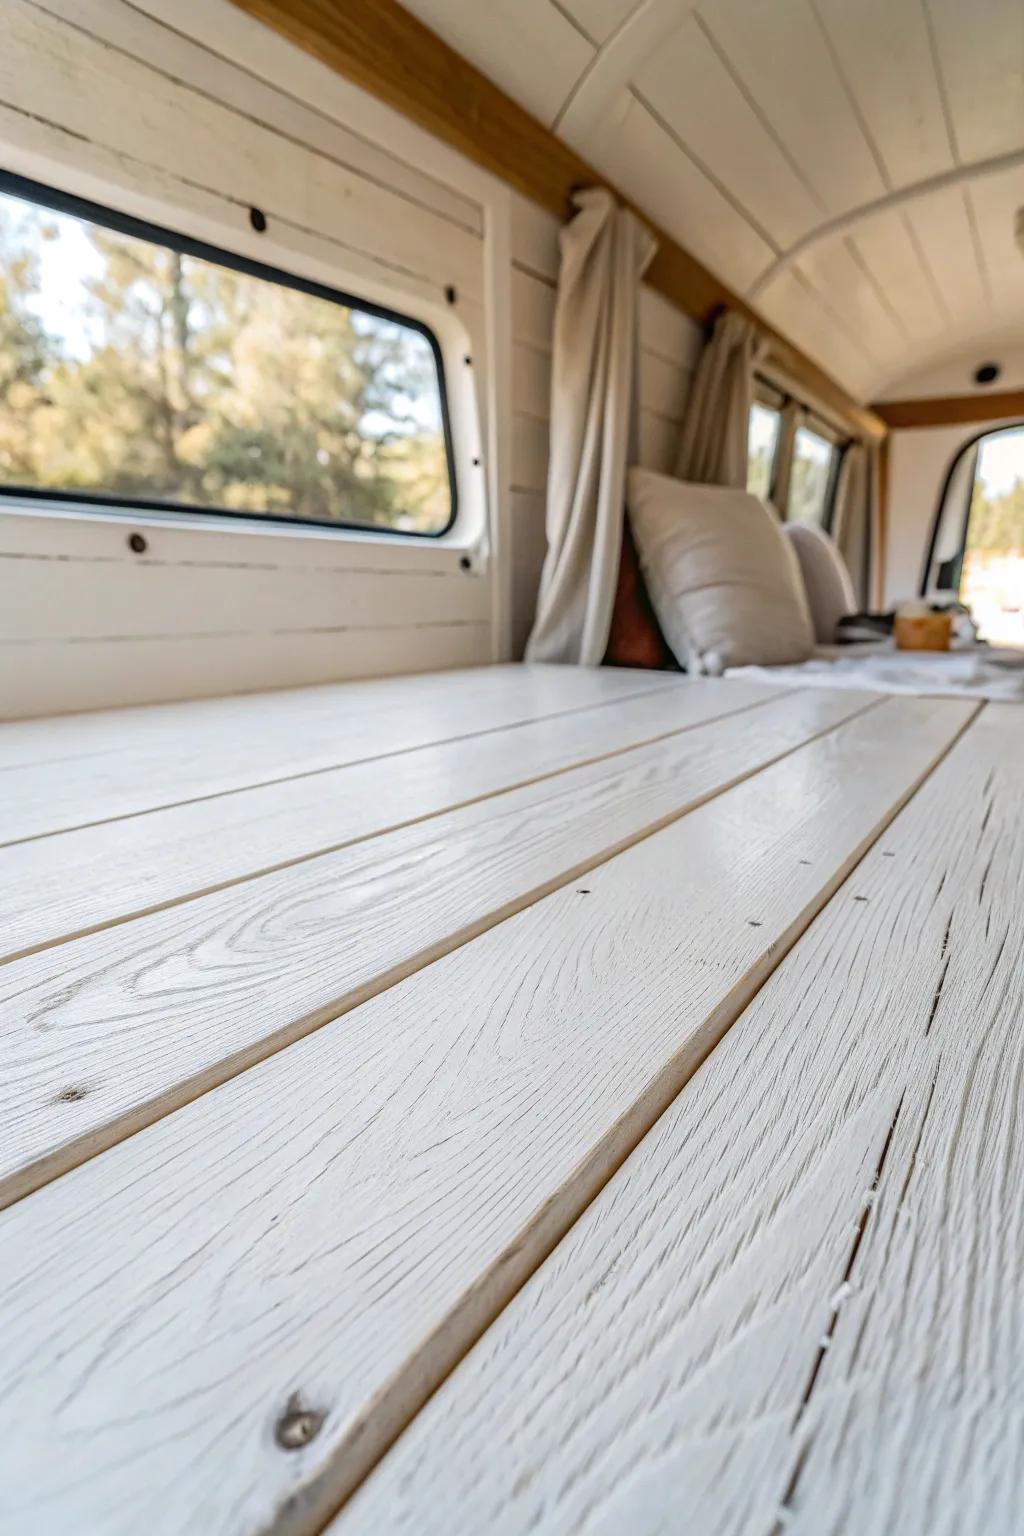
I’ve painted plenty of wood plank ceilings in campervans when the goal is airy and modern without losing texture. My best tip is to prime first and then do multiple thin coats so you don’t fill the grooves and lose that crisp plank detail.
Products that could assist:
- Stain-Blocking Primer: Apply a quality primer first to prevent knots from bleeding through your fresh white paint job.
- High-Density Foam Roller Kit: Use smooth foam rollers to achieve that crisp, even finish without leaving heavy brush strokes behind.
- Interior Wood Paneling: Install lightweight, unfinished tongue and groove planks to create this classic textured ceiling foundation.
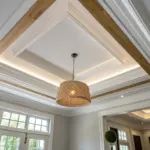
Recessed Puck Light Layout
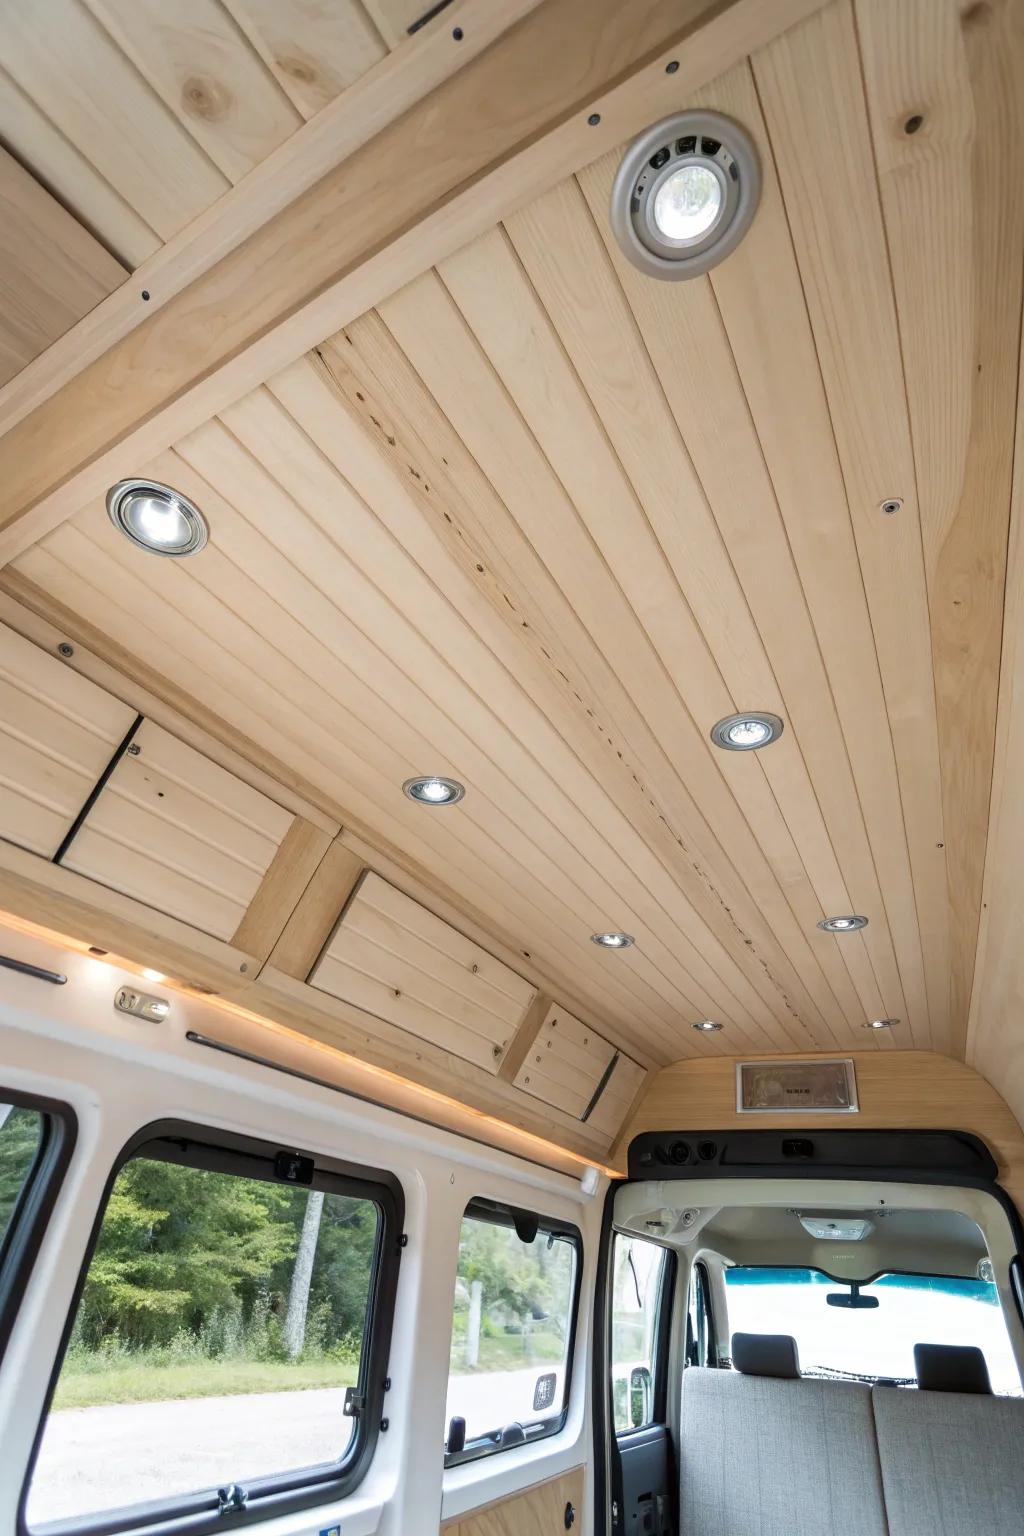
Any time I install a wood campervan ceiling, I plan recessed puck lights before the first board goes up, because retrofitting is a headache I’ve lived through once. I keep lights aligned with ribs or battens so the spacing looks tidy and the wiring has an easy path.
A few helpful options:
- 12V Recessed Puck Light Kit: Brighten your van conversion with sleek, energy-efficient LED lights that fit flush against wood paneling for a clean look.
- Adjustable Hole Saw Drill Bit: Ensure perfect cutouts for your lights quickly and cleanly with a tool designed for precise circular drilling.
- 12V Dimmer Switch: Create the perfect ambiance in your tiny home by easily adjusting brightness levels with a compatible dimmer controller.
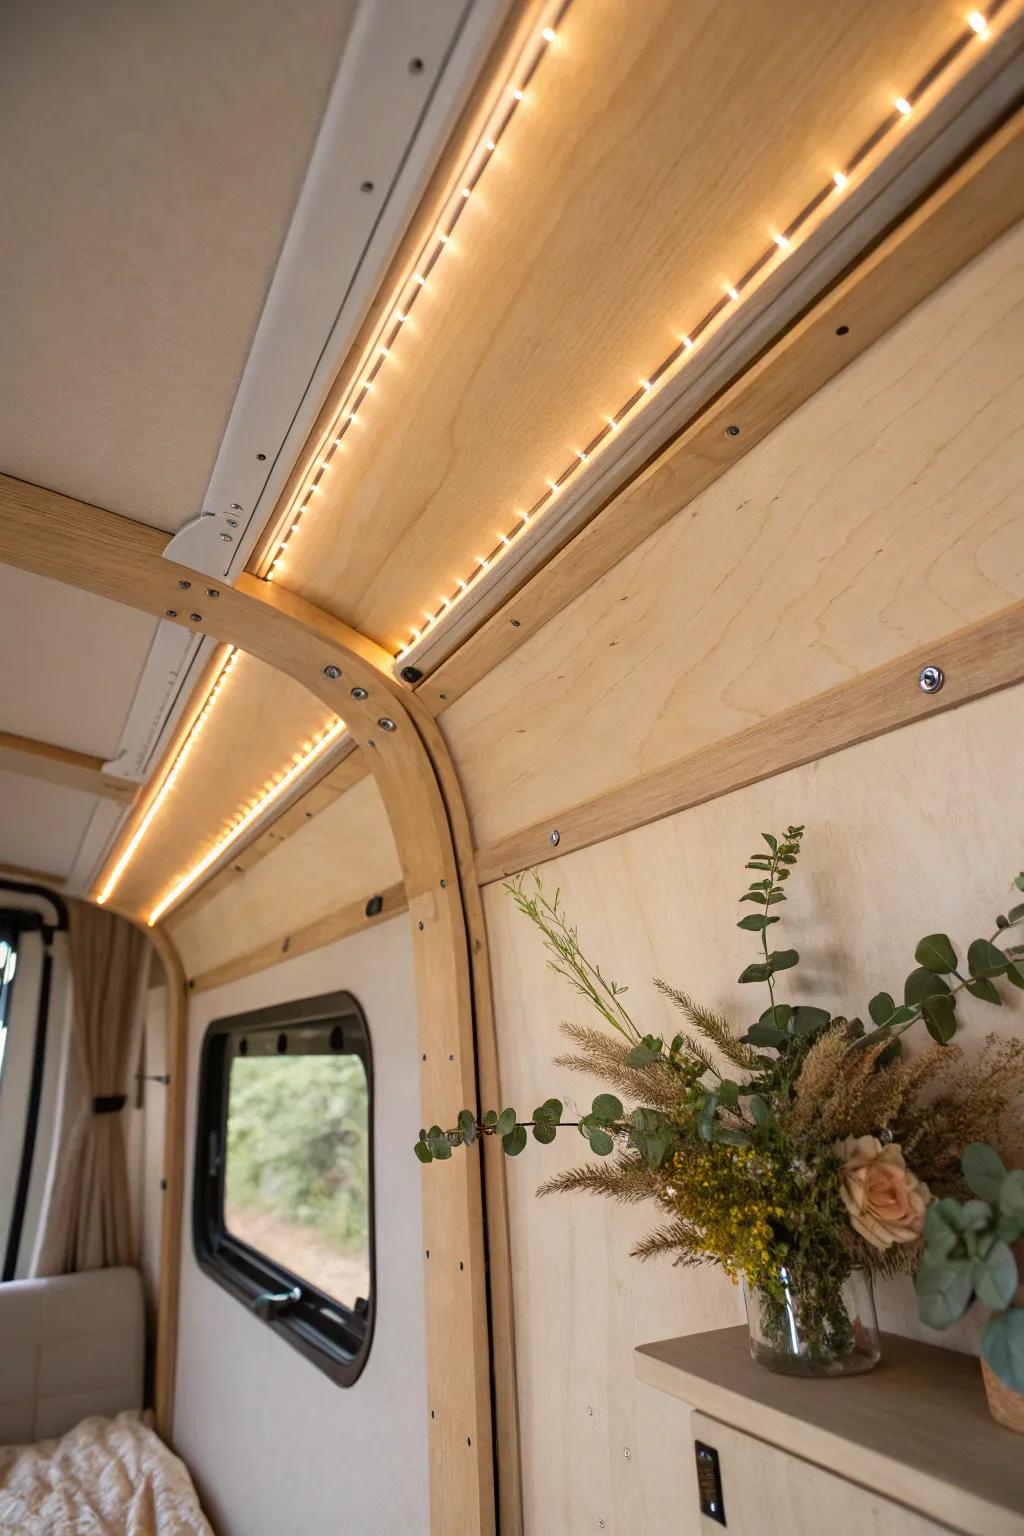
Hidden LED Strip Channels

One of my favorite upgrades is routing a shallow groove for LED strip lighting along the campervan ceiling so the glow feels built-in, not stuck on. I’ve had the cleanest look by adding a thin wood lip as a diffuser ledge to soften the dots.
A few relevant products:
- Warm White LED Light Strip: Create a cozy ambiance in your van with a flexible, warm-toned light strip for custom installations.
- Aluminum LED Channel with Diffuser: Achieve a professional finish by encasing your lights in channels that obscure individual LED dots effectively.
- Handheld Compact Wood Router: Carve precise grooves into your ceiling panels easily to recess your lighting for a seamless look.

Cable-Hiding Wood Crown Strip
I’ve hidden plenty of messy runs by adding a slim wood trim strip along the edges of the campervan ceiling like a mini crown detail. It’s such a sanity-saver because you can tuck wires behind it and still keep everything serviceable.
Consider these options:
- Flexible Wood Veneer Trim: Cover your wiring runs seamlessly by installing this flexible trim that easily contours to your van’s curves.
- Decorative Wood Carved Molding: Add a touch of craftsmanship to your ceiling edges while cleverly concealing messy electrical wires behind it.
- Brass Finishing Screws & Washers: Secure your new wooden trim pieces firmly with these classic fasteners that add a professional, finished look.
Removable Access Panel Ceiling
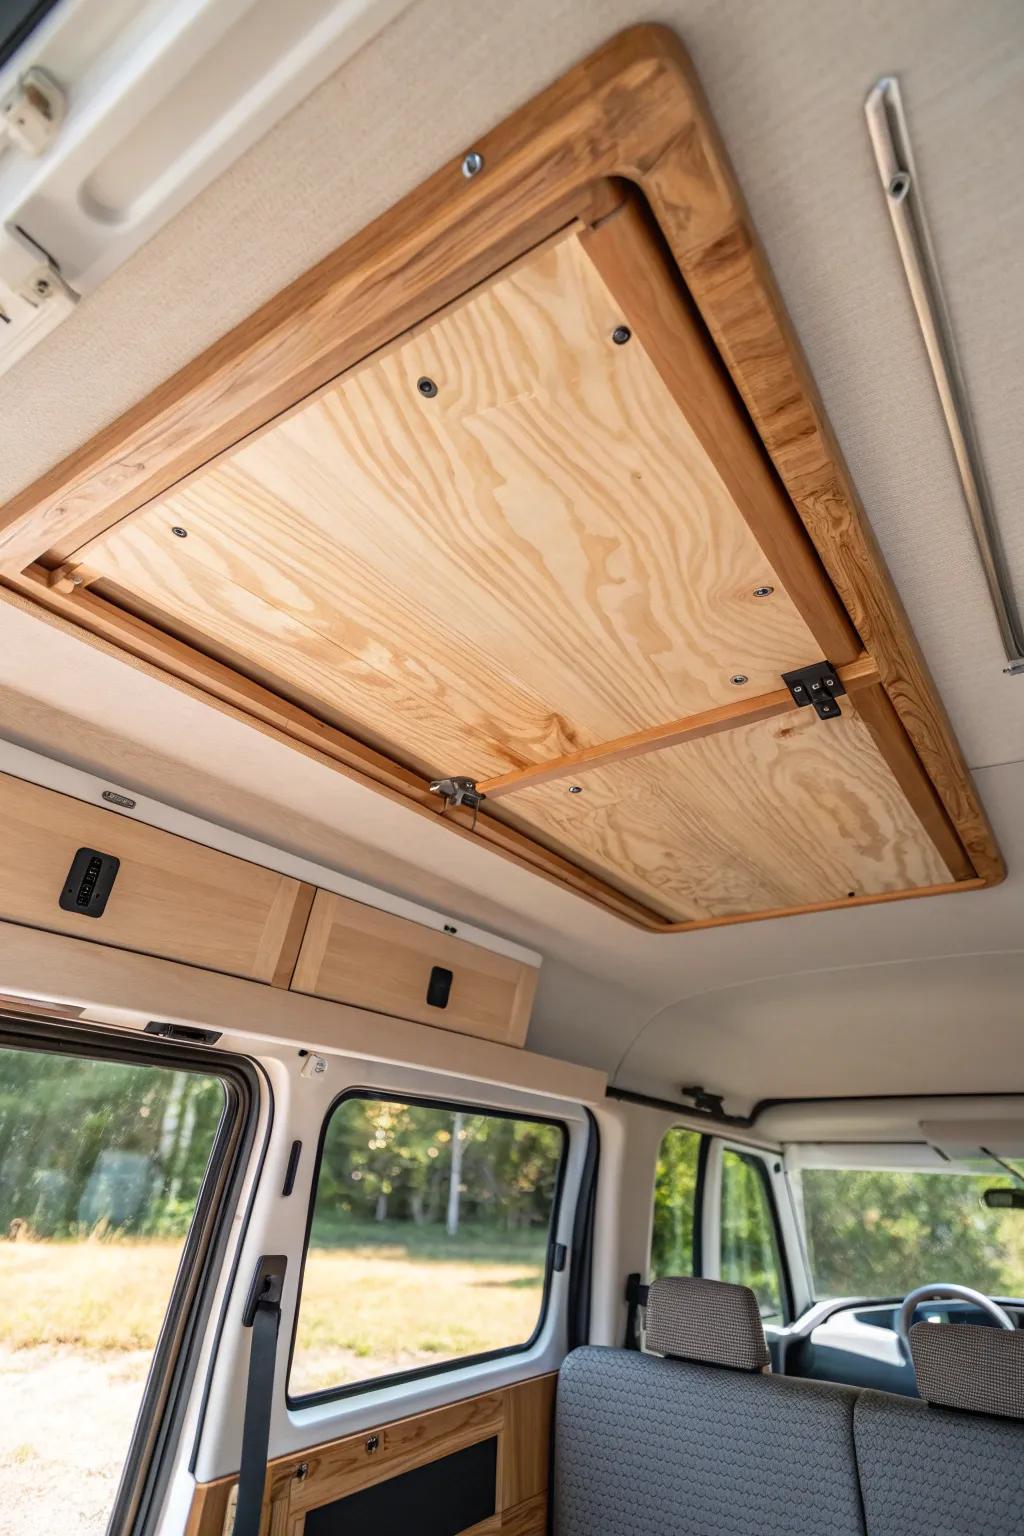
In one campervan, I built the ceiling panels to be removable so I could reach wiring and insulation without tearing things apart. A simple wood frame with hidden fasteners made it feel seamless, and I was grateful the first time I needed to troubleshoot a light.
You might give these a try:
- Decorative Threaded Insert Hardware: Secure your removable ceiling panels firmly while allowing easy access later with durable threaded inserts.
- Cabinet Latch and Hinge Hardware: Install sturdy latches and hinges to create a functional access door for hidden ceiling storage compartments.
- Baltic Birch Plywood Sheet: Create a smooth, lightweight ceiling panel that looks great plain or stained for your custom build.
Cork Tile Warmth Ceiling

A cork ceiling in a campervan surprised me—in a good way—because it’s warm, quiet, and lightweight. I sealed it well and paired it with wood trim, and it felt like the perfect mix of natural material and practical comfort.
Maybe worth checking out:
- Self-Adhesive Cork Tiles: Create a warm, insulating base for your ceiling with these easy-to-install, lightweight cork squares suitable for vans.
- Wooden Trim Moulding Strips: Replicate the grid look in the photo by framing your cork tiles with these stainable wood trim pieces.
- Water-Based Polyurethane Sealer: Protect your natural cork ceiling from humidity and moisture damage with a durable, clear matte or satin finish.
Soft Fabric-Lined Cozy Ceiling
I’ve helped line a campervan ceiling with tight, clean fabric when the goal was cozy and less echo-y. The trick I learned is to build a smooth backing first, then stretch the fabric evenly so it looks tailored instead of saggy.
Give these a look:
- Upholstery Fabric: Choose your perfect texture and color to create a warm, non-echoey atmosphere inside your van.
- Spray Adhesive: Secure your fabric smoothly to the backing panels without sagging by using a reliable heavy-duty adhesive.
- Bamboo Wood Strips: Add structural support and a beautiful finished look by installing these strips over your fabric ceiling seams.
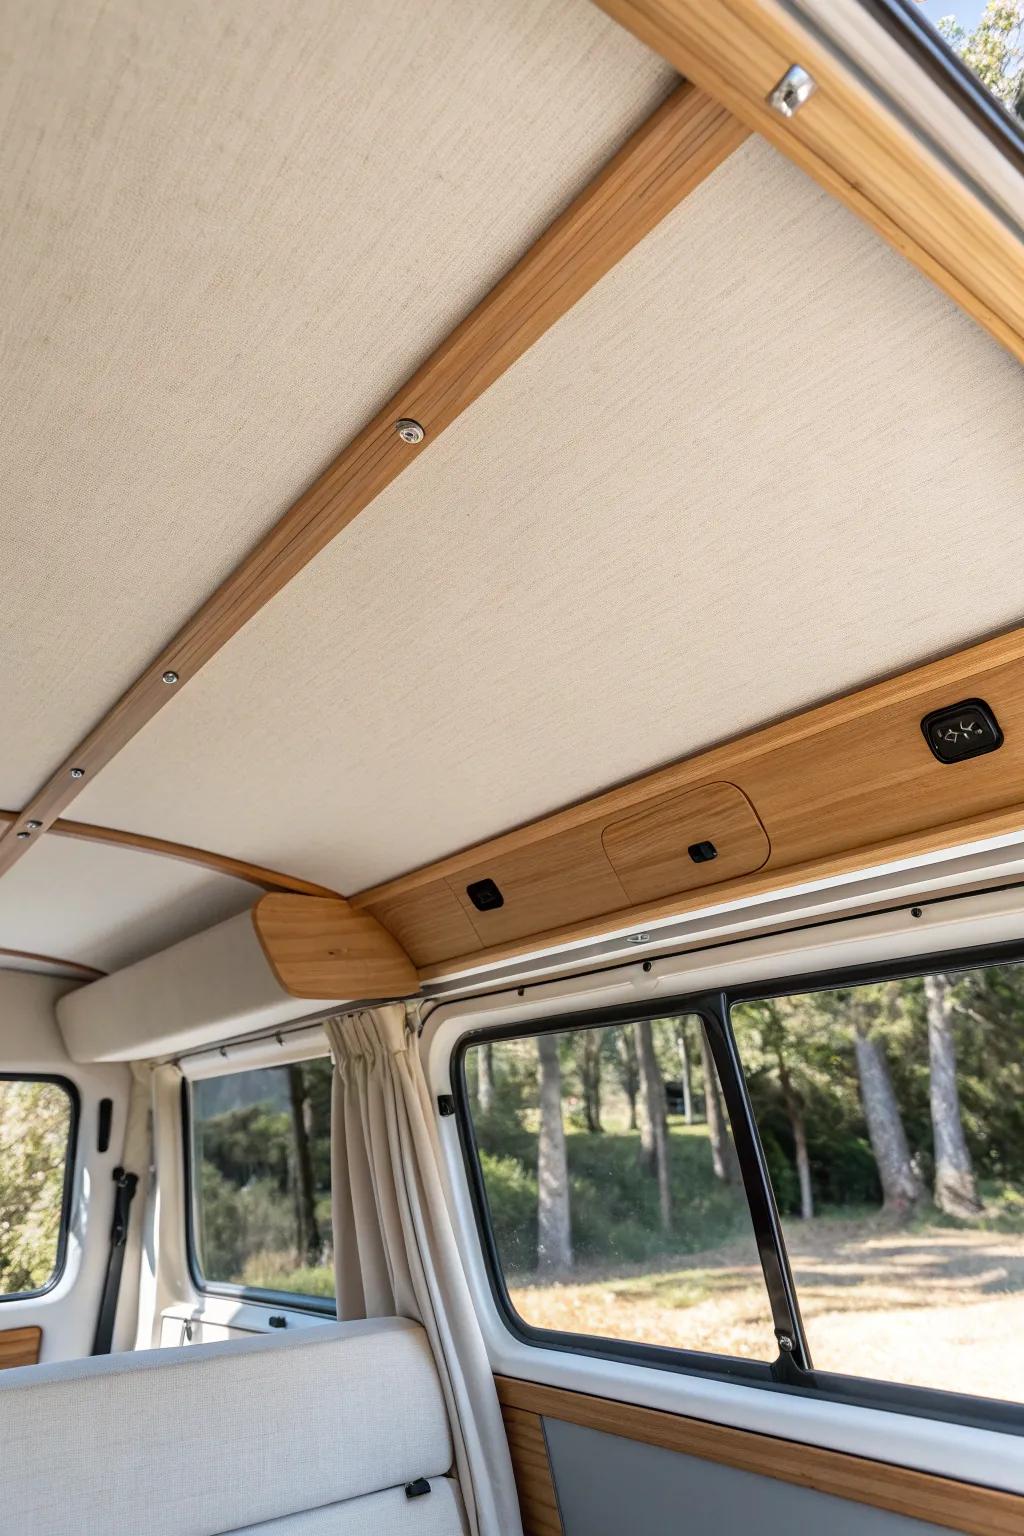
Acoustic Panel Ceiling With Wood Trim
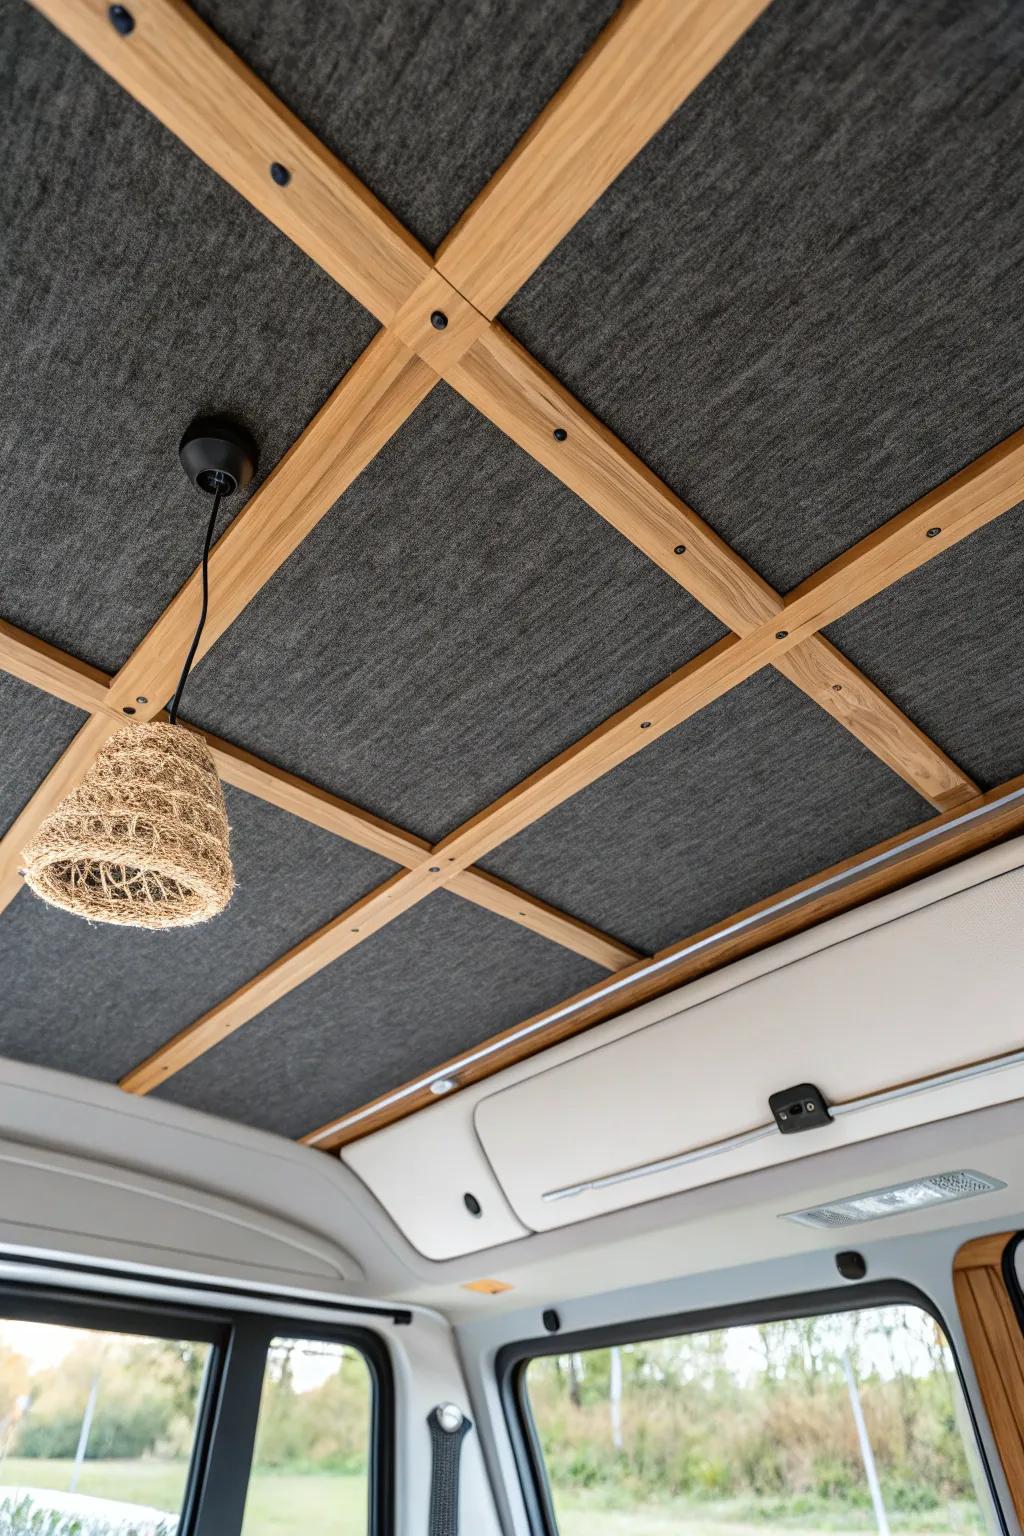
For a modern look, I’ve used acoustic panels on a campervan ceiling and framed them with thin wood battens for that workshop-meets-cabin vibe. It seriously cut down on road noise, and the grid layout made the whole roof feel more finished.
Some ideas to consider:
- Self-Adhesive Slat Wood & Felt Panels: Transform your van’s interior acoustics and style quickly with these easy-to-install felt panels designed for sound dampening.
- Lightweight Wood Lattice Strips: Create that custom grid look by framing your ceiling panels with these thin, paintable, or stainable wood strips.
- Woven Rattan Pendant Light Shade: Add warmth and texture to your modern ceiling design with a natural woven light fixture that hangs beautifully.
Reclaimed Wood Patchwork Ceiling
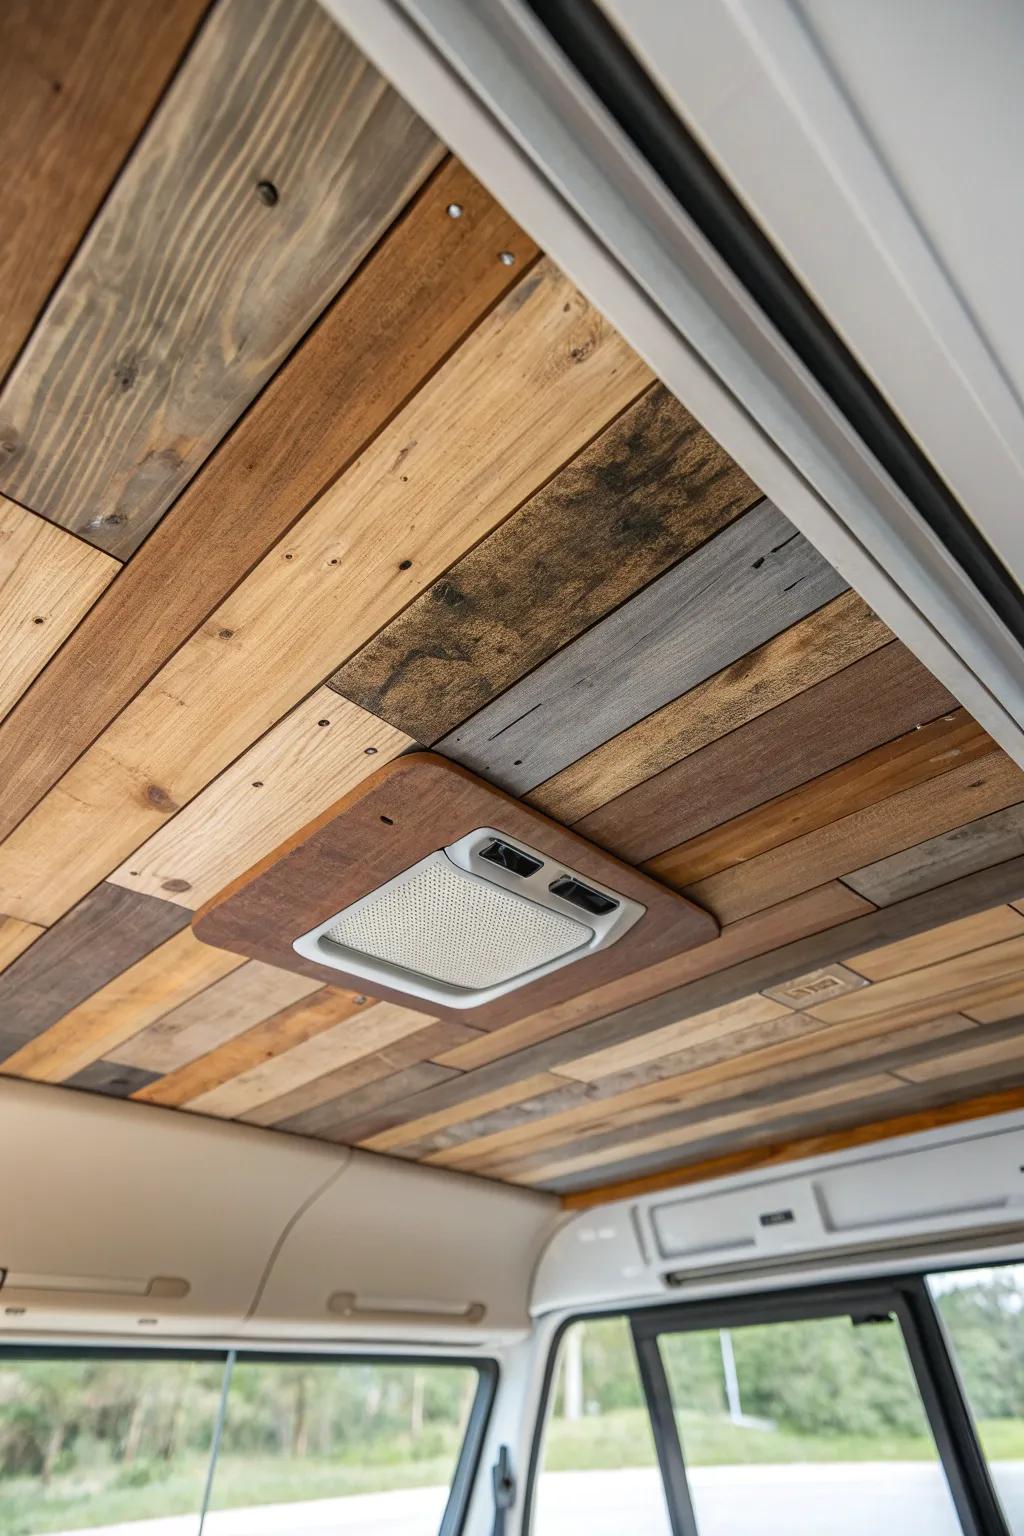
A reclaimed wood campervan ceiling can look incredible if you treat it like a curated patchwork instead of a random pile of boards—ask me how I learned that. I keep thickness consistent, sand splinters down, and seal everything so the patina stays beautiful but not dusty.
These products might be useful:
- Thin Reclaimed Wood Planks: Create an authentic rustic look easily by applying these pre-cut, lightweight wood panels to your ceiling.
- Clear Matte Wood Sealer: Protect your ceiling from dust and moisture while maintaining the natural, non-glossy appearance of the wood.
- Brad Nailer Kit: Secure your patchwork planks firmly in place overhead without struggling with hammers or large, visible screws.
Resin Inlay Light Panel Ceiling
For the most unexpected campervan ceiling idea I’ve tried, I made a thin wood panel with a glowing resin inlay line that acts like ambient lighting at night. It’s a little extra, but if you keep the panel lightweight and plan the wiring channel early, it turns the ceiling into art.
Items that may come in handy:
- Clear Epoxy Casting Resin Kit: Create durable, crystal-clear inlays for your ceiling panels by pouring this high-quality resin into your routed channels.
- Flexible COB LED Light Strip: Embed these seamless, dot-free flexible lights under your resin pour to achieve a smooth, continuous ambient glow.
- Mica Powder Pigments: Mix these shimmering powders into your resin to diffuse the light and add distinctive color to your ceiling art.


