
A dated china cabinet can feel heavy and old-school, but it’s honestly one of my favorite pieces to redo because the transformation is always dramatic.
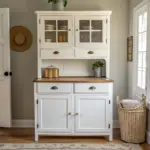
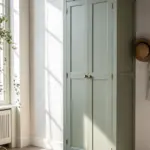
Paint It a Warm White
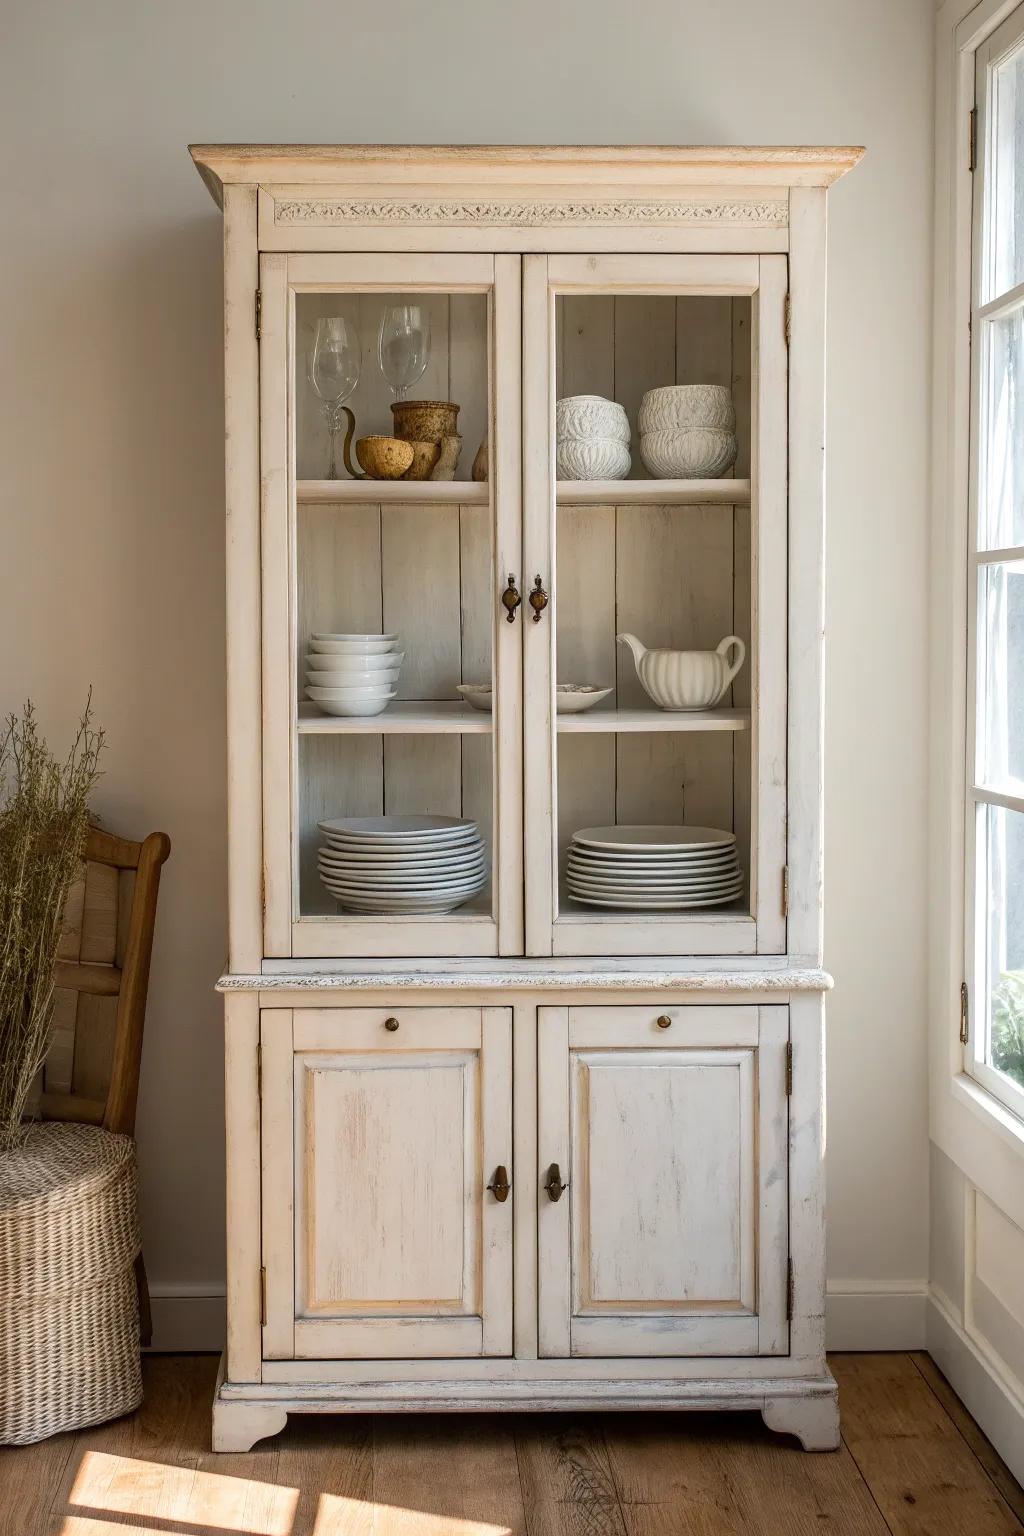
My most-requested redo is painting a china cabinet a soft warm white because it instantly lightens up the whole room. I usually give the edges a tiny bit of hand-sanded wear so it feels cozy, not stark.
Check these products out:
- Warm White Chalk Style Paint: Transform your cabinet with this matte finish paint that adheres easily to furniture without extensive priming.
- Assorted Grit Sanding Blocks: Create that cozy, distressed look by gently sanding down the edges and corners of your painted piece.
- Clear Furniture Wax: Protect your new paint job and add a subtle, professional sheen to the finish with clear wax.
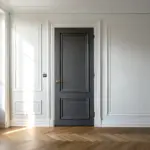
Go Matte Black and Moody
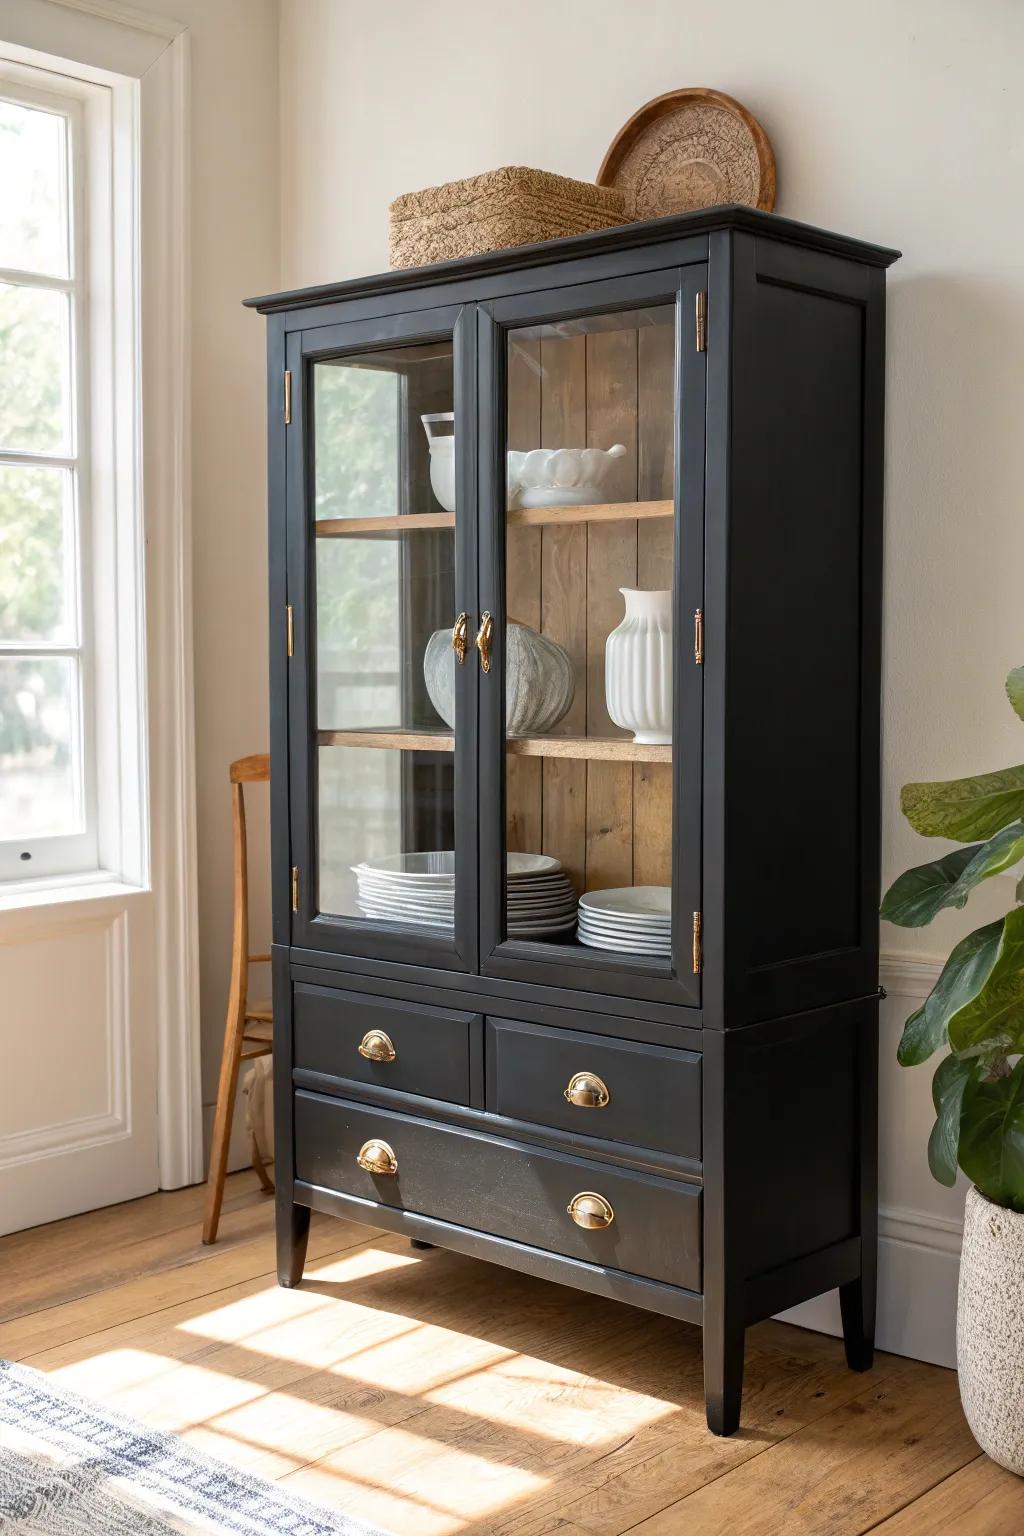
When I want a china cabinet to look modern and high-end fast, I reach for matte black with a clean, no-distress finish. I’ve done this on orange-toned wood, and it turns that “dated” vibe into instant drama.
These products might be useful:
- Matte Black Furniture Paint: Transform your cabinet instantly with a rich, ultra-matte finish that provides excellent coverage and durability.
- Brass Furniture Hardware: Swap out old handles for sleek brass pulls to create a stunning, high-contrast modern look.
- Natural Wood Stain: Refresh the interior shelving to create a warm, visible contrast against the dramatic dark exterior.
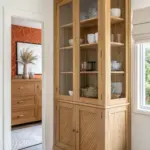
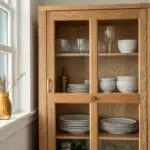
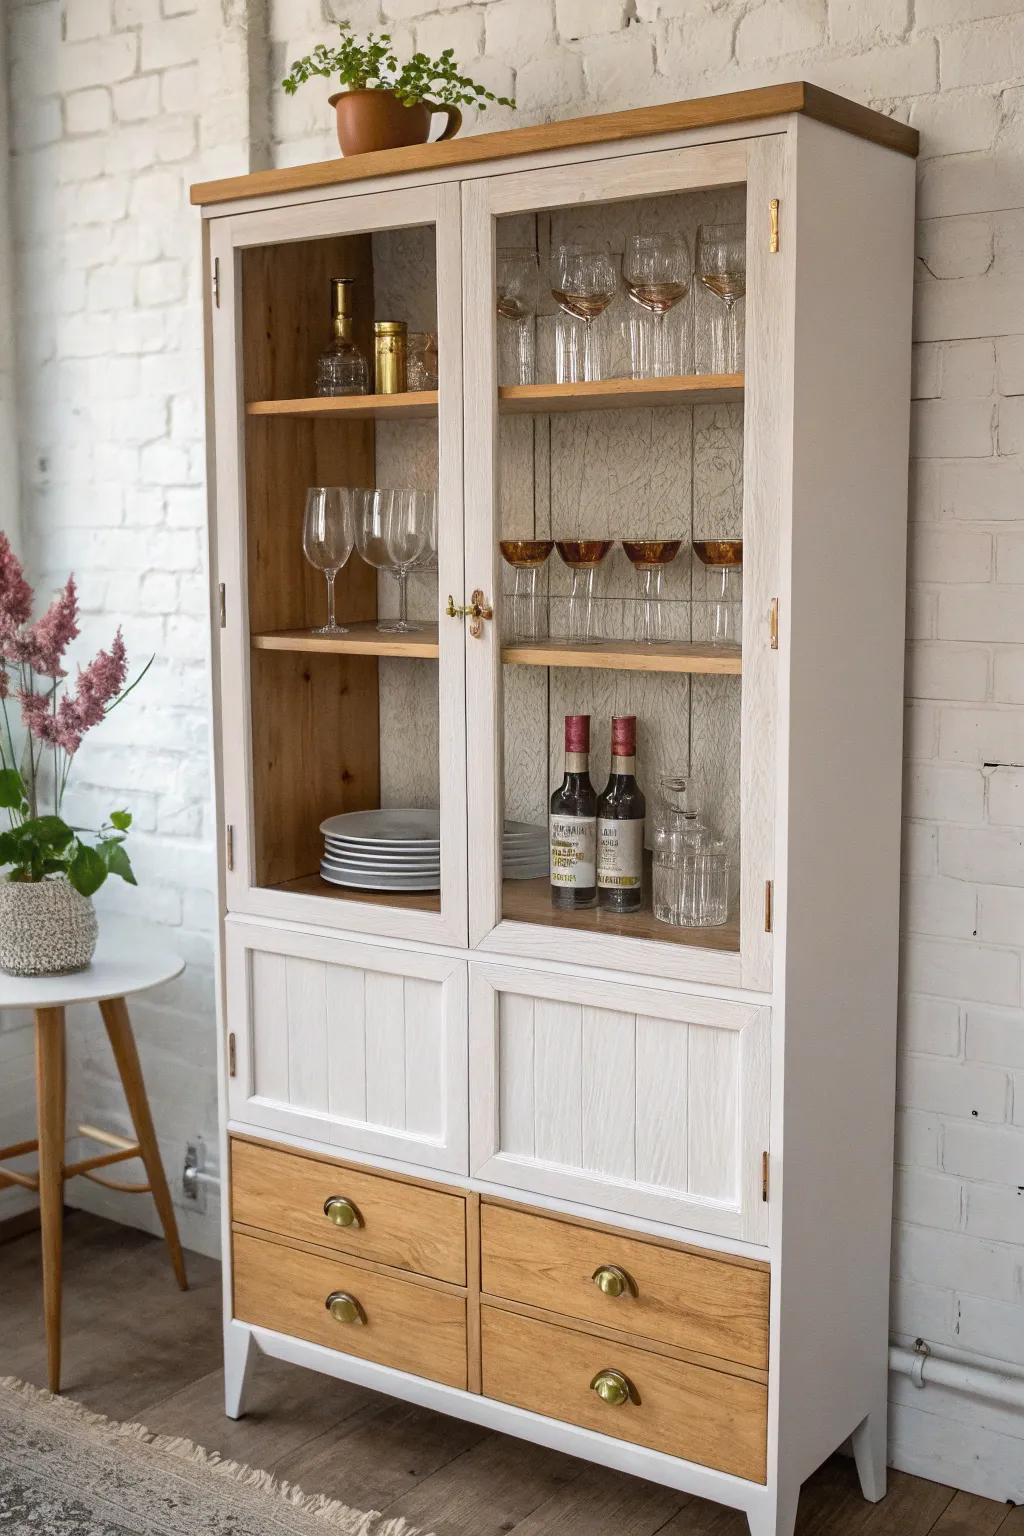
Try a Two-Tone Finish
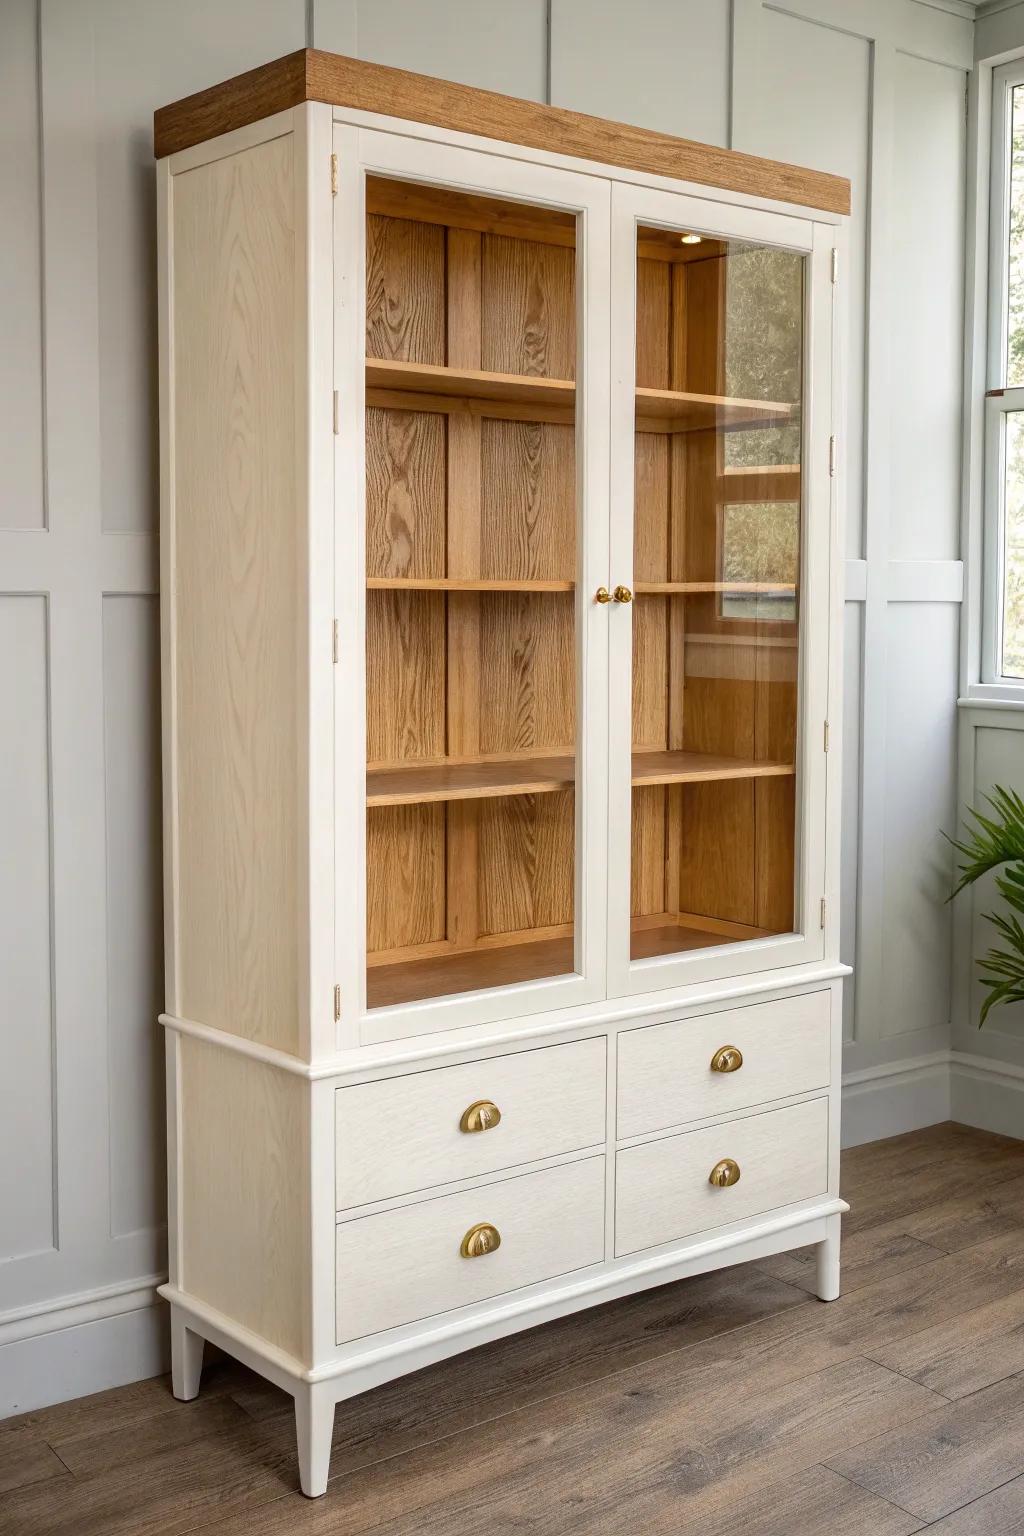
A two-tone redo on a china cabinet is the sweet spot between painted and natural—think painted exterior with a natural wood interior. I’ve pulled this off by stripping just the shelves and backing, and it makes dishes and decor pop like crazy.
Give these a look:
- Furniture Paint (Cream/White): Refresh the exterior of your cabinet with a durable furniture paint that offers smooth coverage for wood surfaces.
- Wood Stripper & Scraper: Reveal the natural wood grain inside by safely removing old varnish or paint from shelves and backing.
- Brass Cup Pulls & Knobs: Upgrade existing hardware with classic brass pulls to perfectly complement the natural wood tones and painted finish.
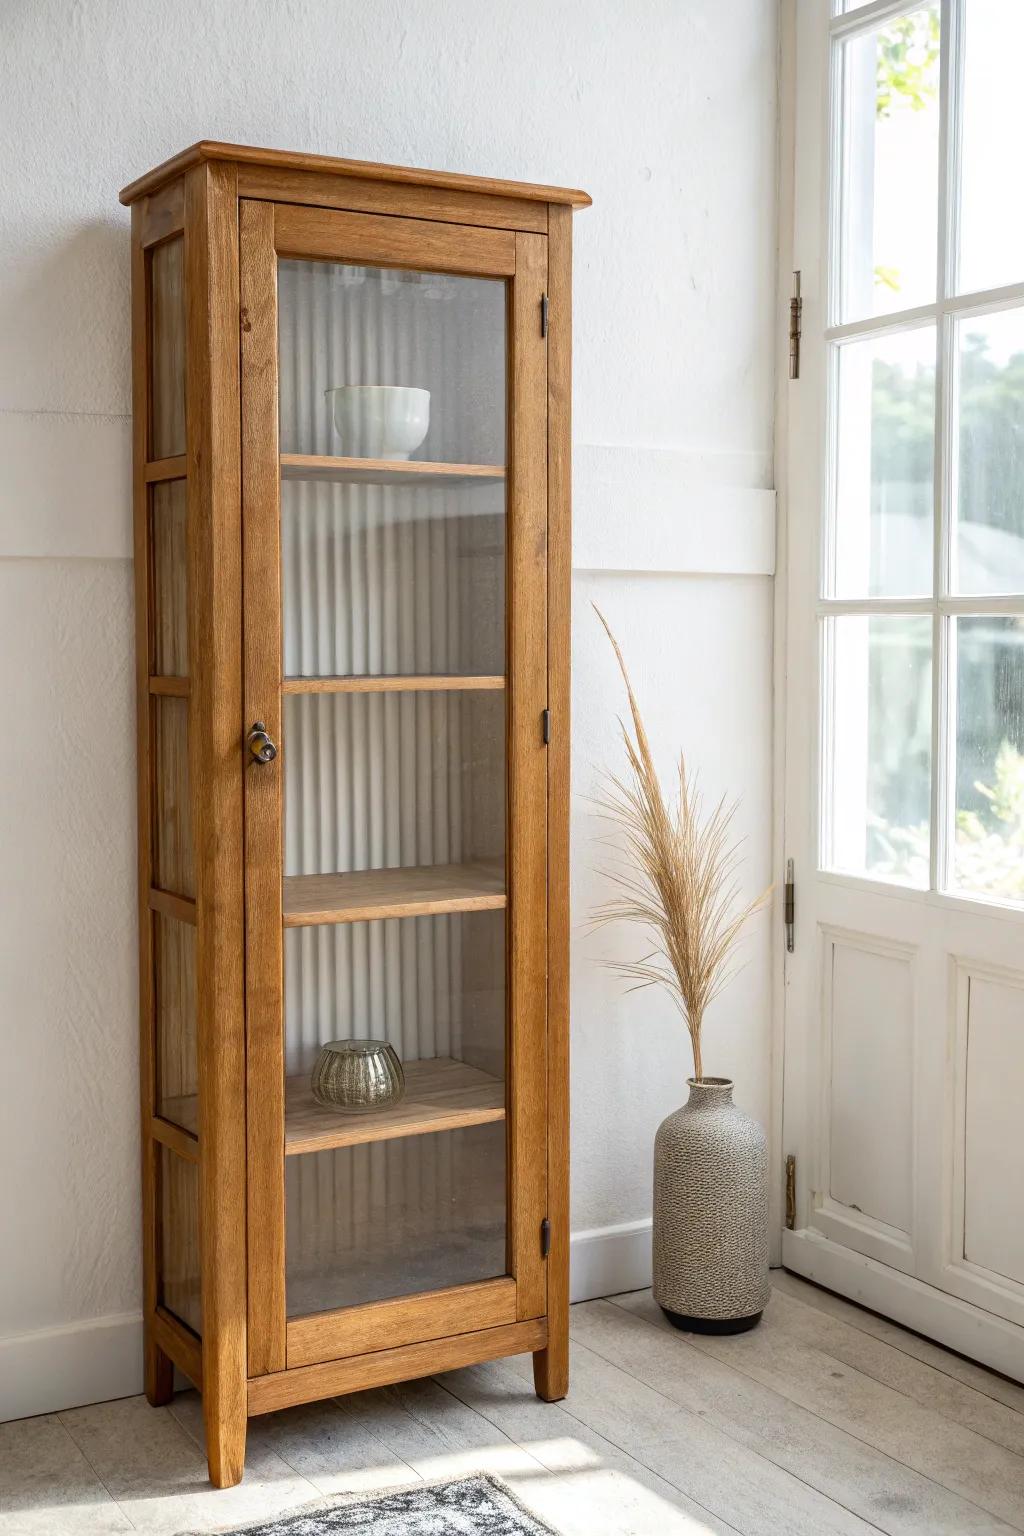
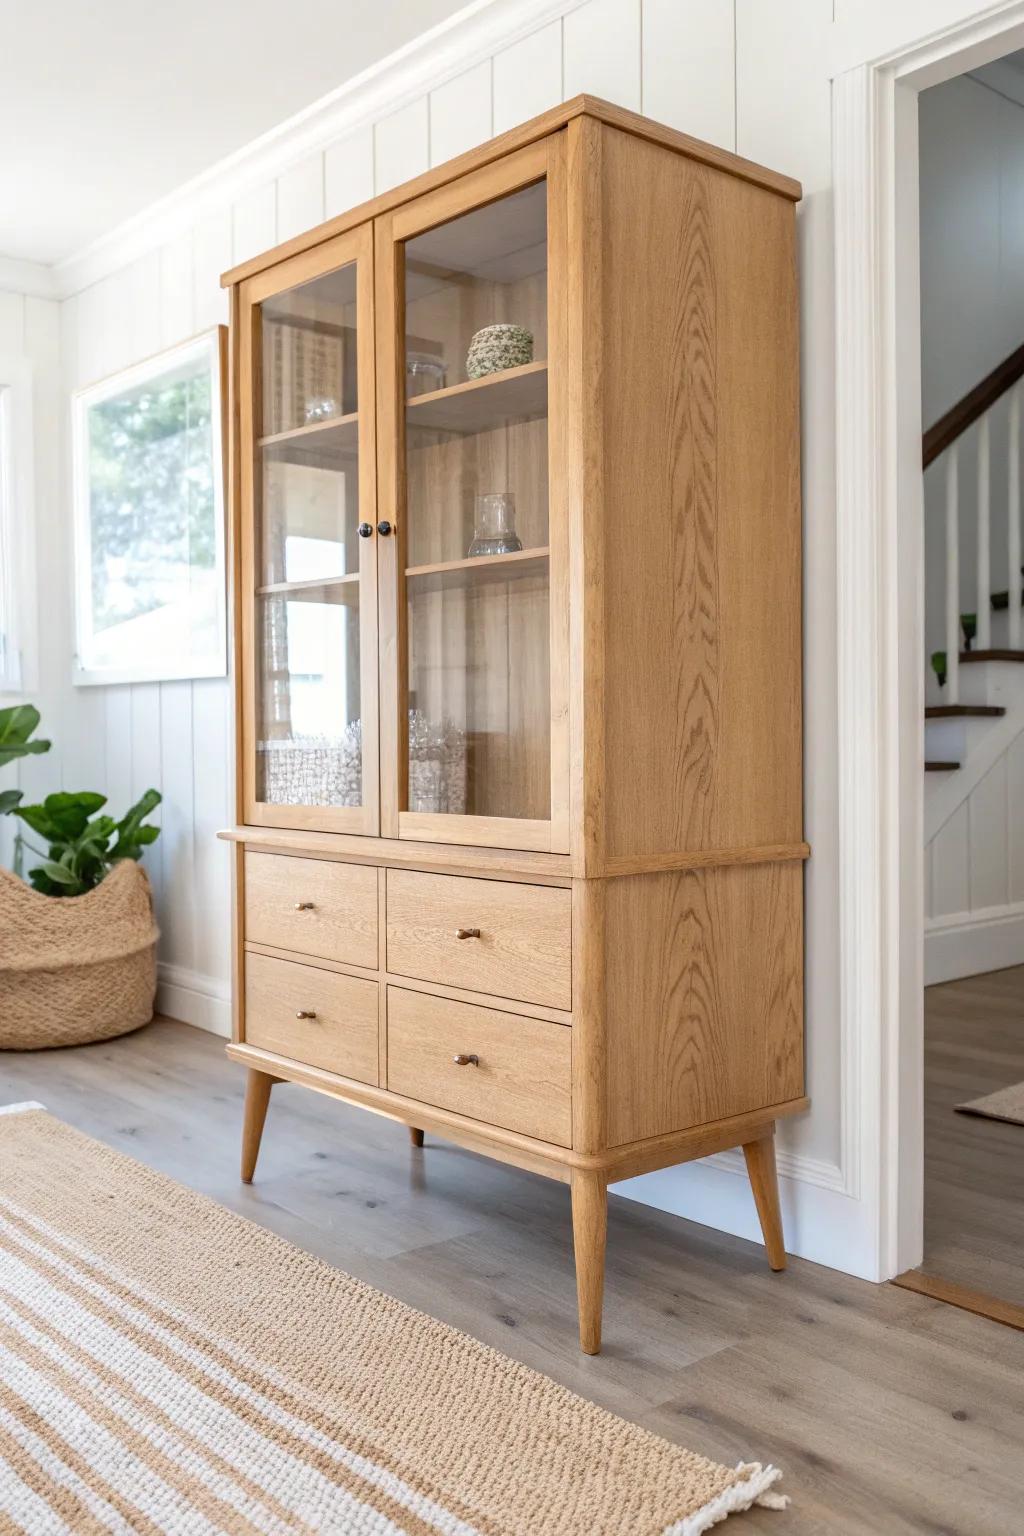
Strip It Back to Natural Wood
If your china cabinet has gorgeous grain hiding under old stain, a full strip-and-refinish redo is so worth the mess. I’ve finished mine with a clear, low-sheen topcoat so the wood looks rich but still relaxed.
A few helpful options:
- Paint and Varnish Stripper: Safely remove old layers of stain and varnish to reveal the natural grain underneath your cabinet’s finish.
- Random Orbital Sander: Use an orbital sander to smooth out the stripped wood surface efficiently, preparing it for a clean, new look.
- Clear Matte Polyurethane Finish: Protect your newly exposed wood with a clear, low-sheen finish that keeps the look natural and relaxed.
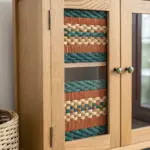
Add a Wallpaper Backing
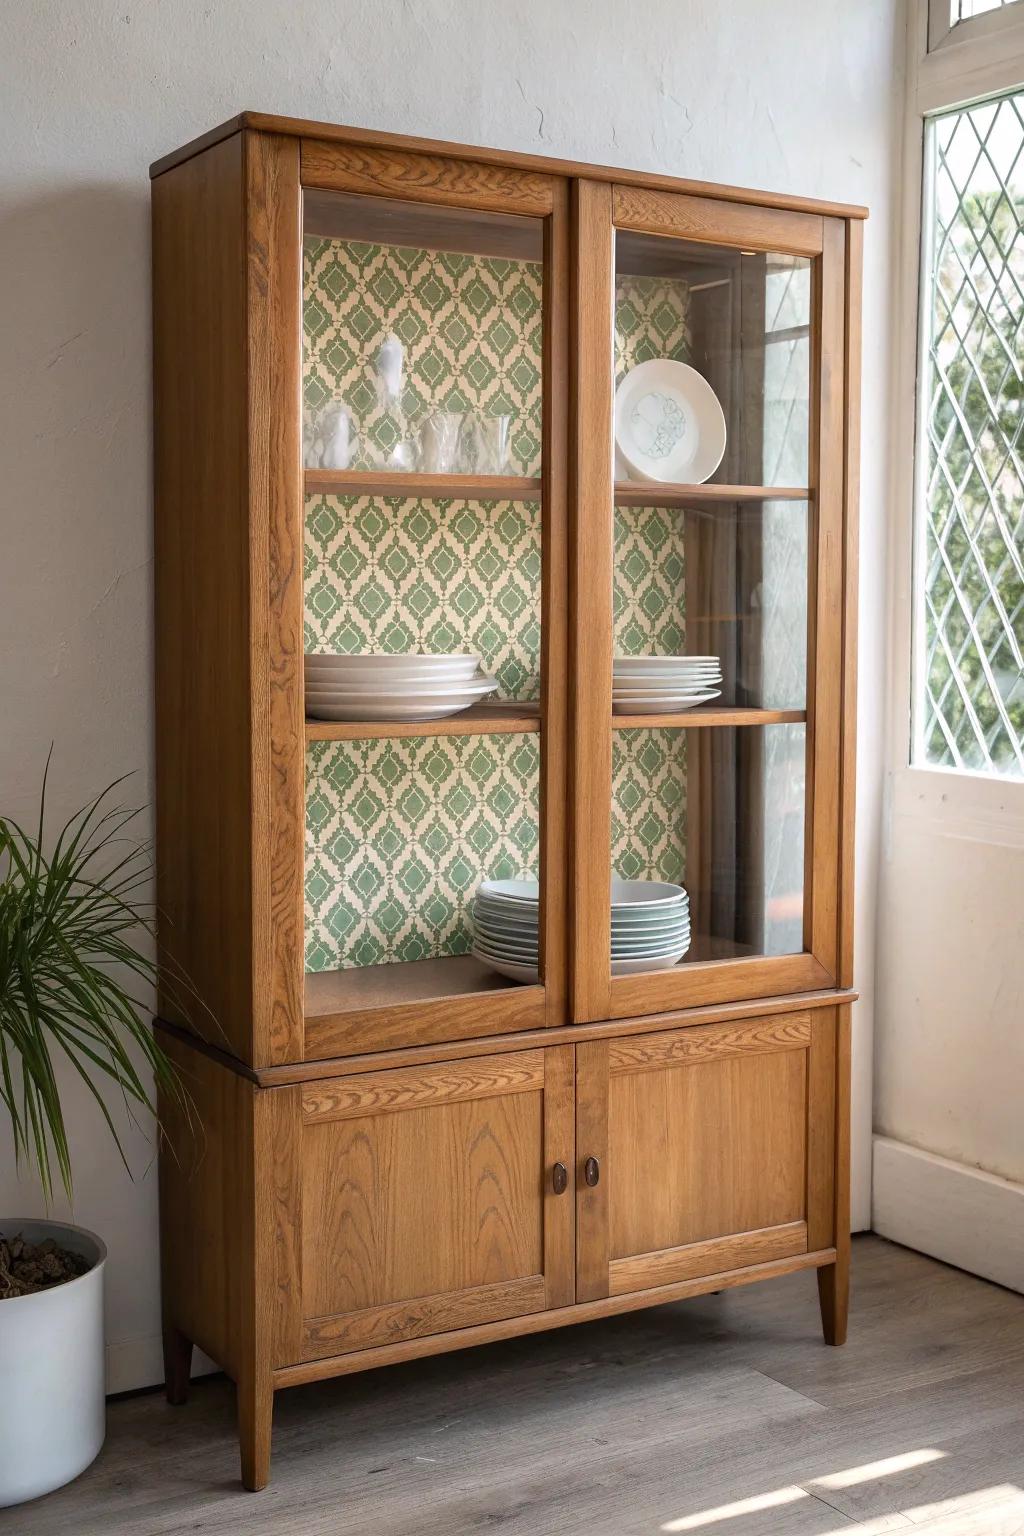
One of my favorite quick redo tricks is a wallpaper backing inside the china cabinet—it’s basically instant style with very little effort. I’ve done subtle patterns and bold ones, and both make glassware look like it’s on display in a boutique.
Maybe worth checking out:
- Peel and Stick Geometric Wallpaper: Transform your cabinet instantly; choose a removable geometric design to create a stylish, boutique-inspired backdrop for dishes.
- Wallpaper Smoothing Tool Kit: Ensure a professional finish and remove air bubbles effortlessly when applying your new backing with these essential tools.
- LED Cabinet Lighting Strip: Highlight your new wallpaper pattern and glassware by installing simple, battery-operated lights for a warm, inviting glow.
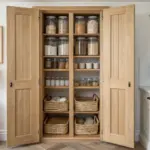
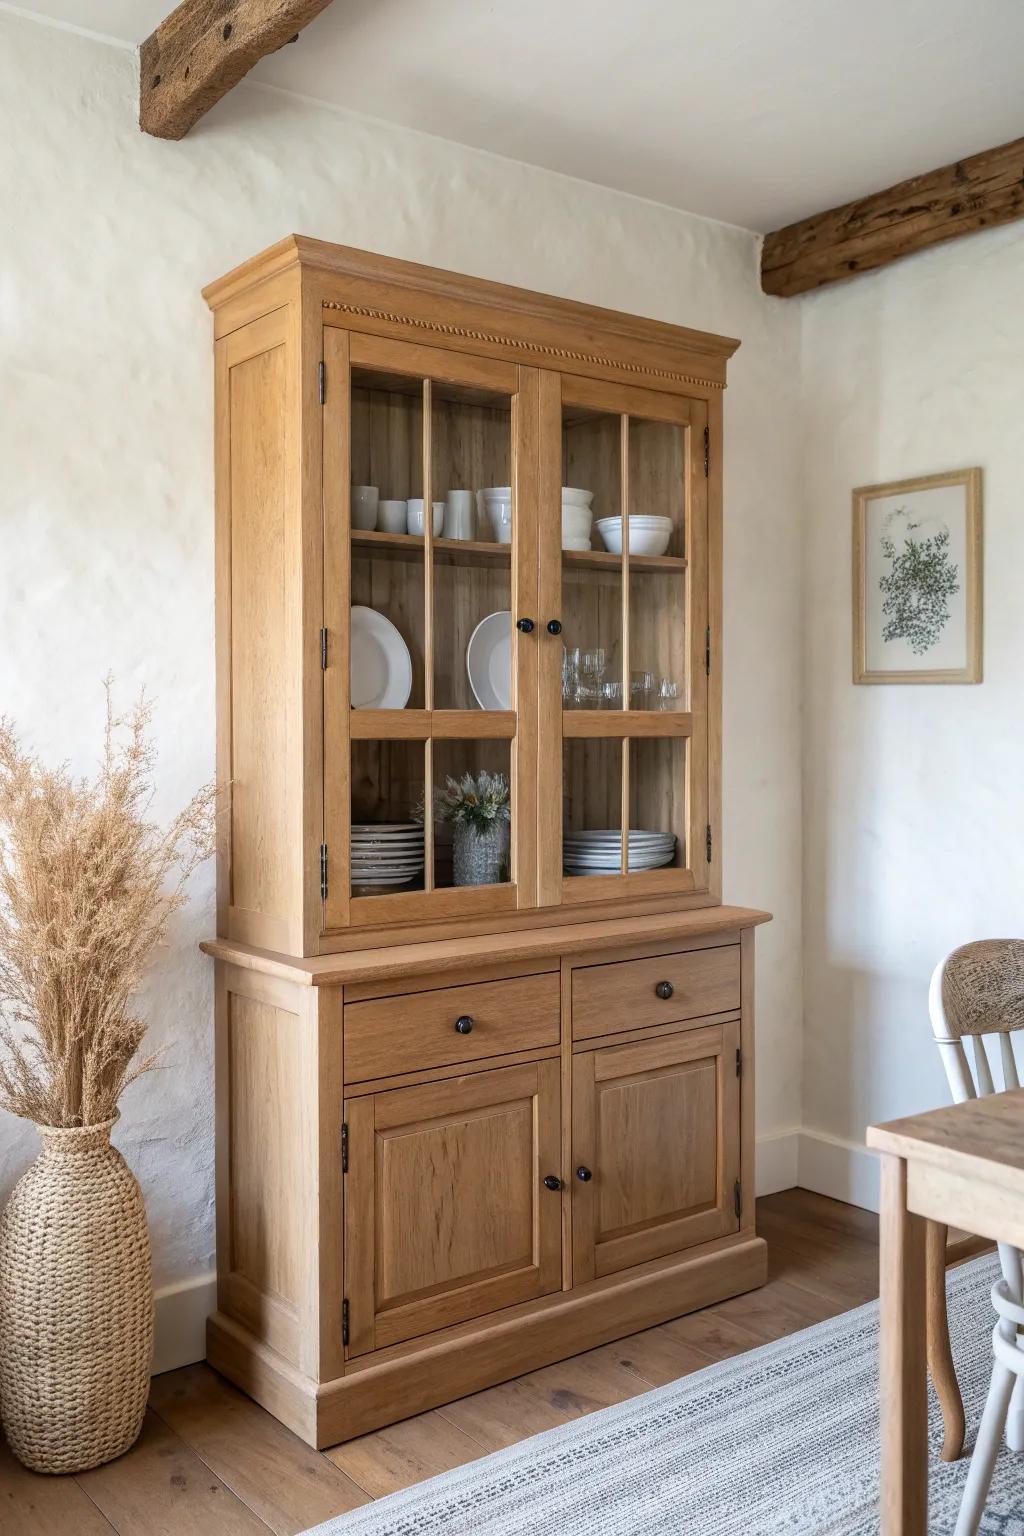
Install Beadboard or Shiplap
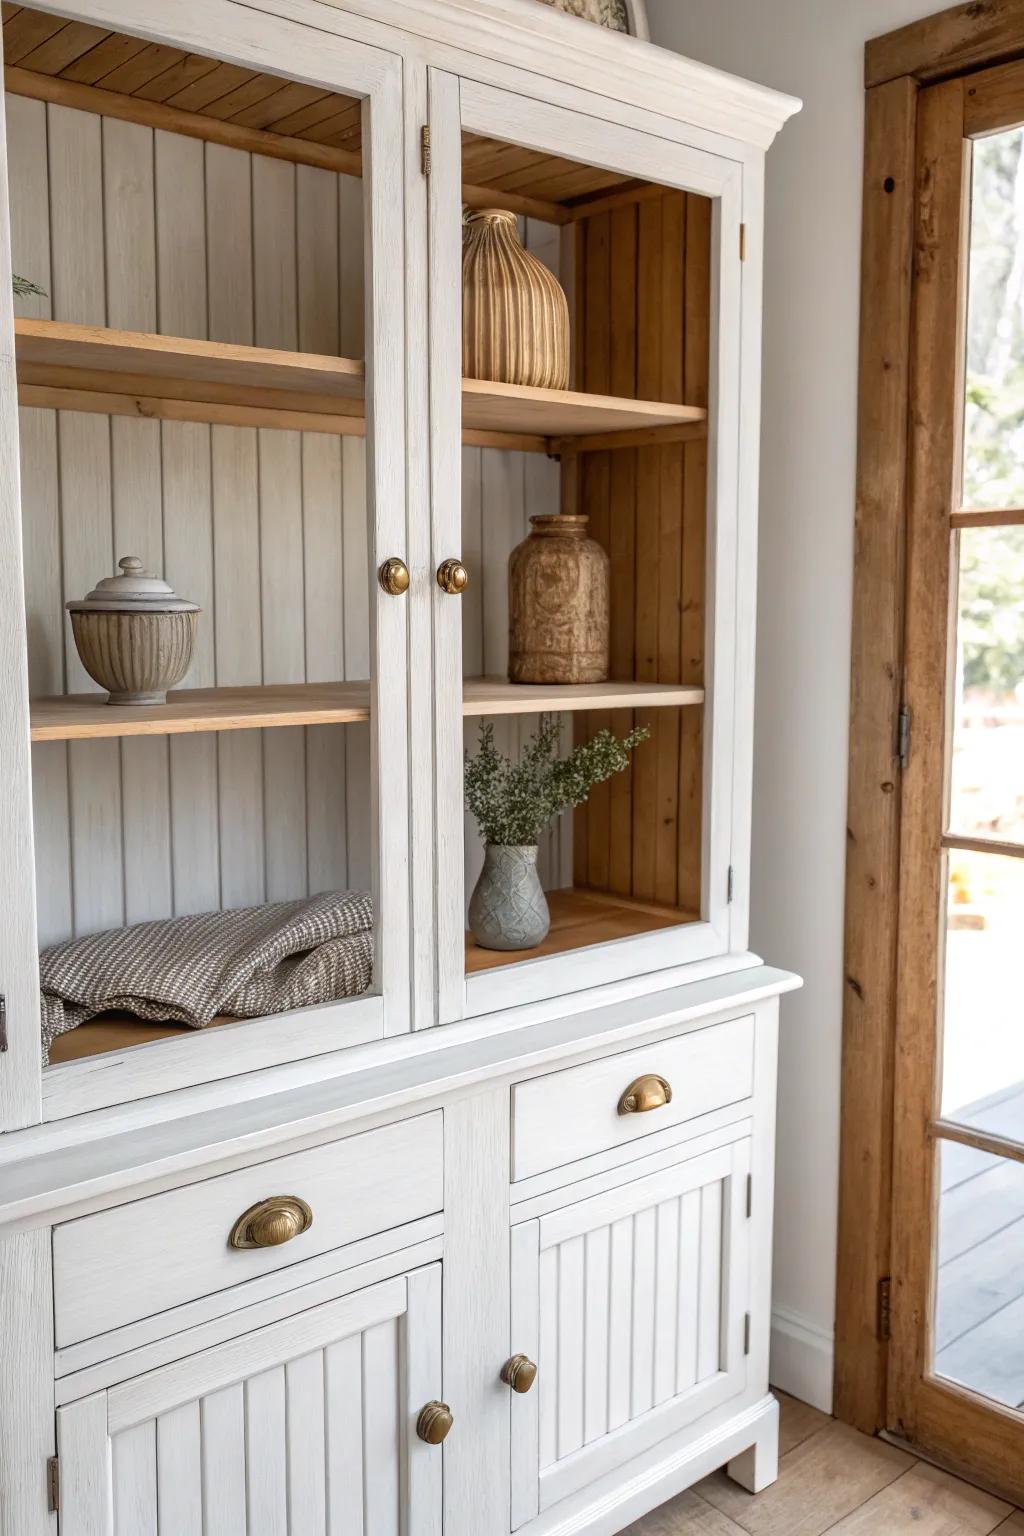
For a classic farmhouse redo, I add beadboard (or shiplap-style planks) to the back of a china cabinet. I’ve used leftover scrap boards for this, and it gives the interior depth even before you decorate it.
Might be a good match:
- Paintable Beadboard Wallpaper: Achieve the classic paneled look instantly without heavy power tools by applying this textured, paintable wallpaper.
- Chalk Style Furniture Paint: Give your cabinet that matte, farmhouse finish with easy-to-apply paint that requires minimal surface prep.
- Vintage Brass Cabinet Knobs: Upgrade existing hardware with these antique-style knobs to perfectly complement your new farmhouse beadboard backdrop.
Upgrade the Glass Panels
If your china cabinet doors feel too formal, swapping in textured or fluted-style glass gives you a softer, updated redo without losing that display look. I’ve done this for clients who wanted privacy for clutter but still loved the glow of glass fronts.
A few things you might like:
- Fluted Window Film: Create a high-end reeded glass look instantly with this peel-and-stick film that adds stylish privacy to plain doors.
- Glass Cutting Tool: Safely cut replacement acrylic or glass panels to result in the perfect custom fit for your specific cabinet dimensions.
- Clear Acrylic Sheets: Replace broken panels or update old inserts with durable, clear sheets that can serve as a base for textured films.
Add Interior Lighting
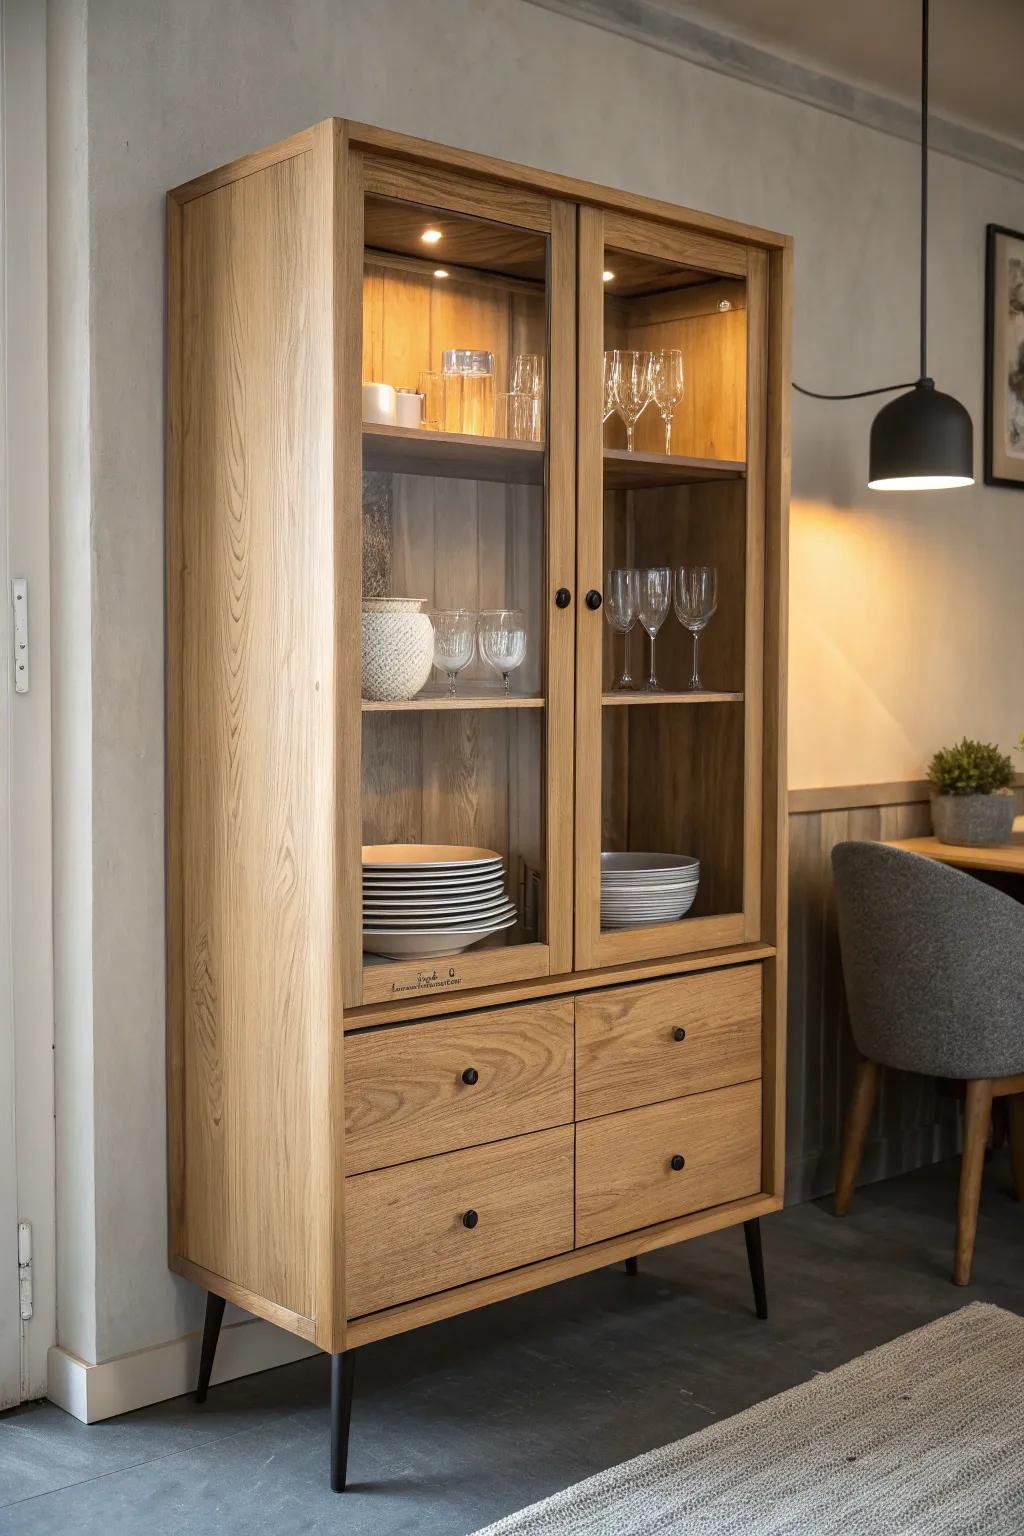
A little interior lighting is the secret sauce in a china cabinet redo, especially if you display white dishes or clear glassware. I’ve added hidden lights to older hutches, and the cabinet suddenly looks custom and intentional at night.
Check if these fit your needs:
- Wireless LED Puck Lights with Remote: Easily attach these battery-operated lights under shelves to highlight your favorite pieces without complicated wiring.
- Motion Sensor Cabinet Light Bars: Install these slim, rechargeable bars for automatic illumination that brightens your display whenever you open the doors.
- Warm White LED Strip Light Kit: Run these flexible strips along inner edges for a continuous, seamless glow that mimics custom built-in lighting.
Raise It With New Feet
When a china cabinet sits too low and feels chunky, I redo the base by adding wood legs or a taller plinth. I’ve had to reinforce the underside on hollow bases, but the “floating” look is so worth it.
Possibly helpful picks:
- Tapered Wooden Furniture Legs: Elevate your cabinet effortlessly with these classic legs that add height and a sleek, mid-century modern aesthetic.
- Furniture Mounting Plates: Ensure a secure, wobble-free installation for your new legs with these essential, heavy-duty angled attachment plates.
- Wood Stain & Finish: Match your new raw wood legs perfectly to your existing cabinet’s finish for a seamless, custom look.
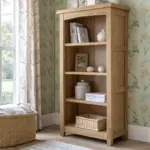
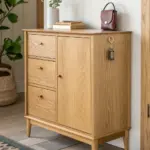
Split It Into Two Pieces
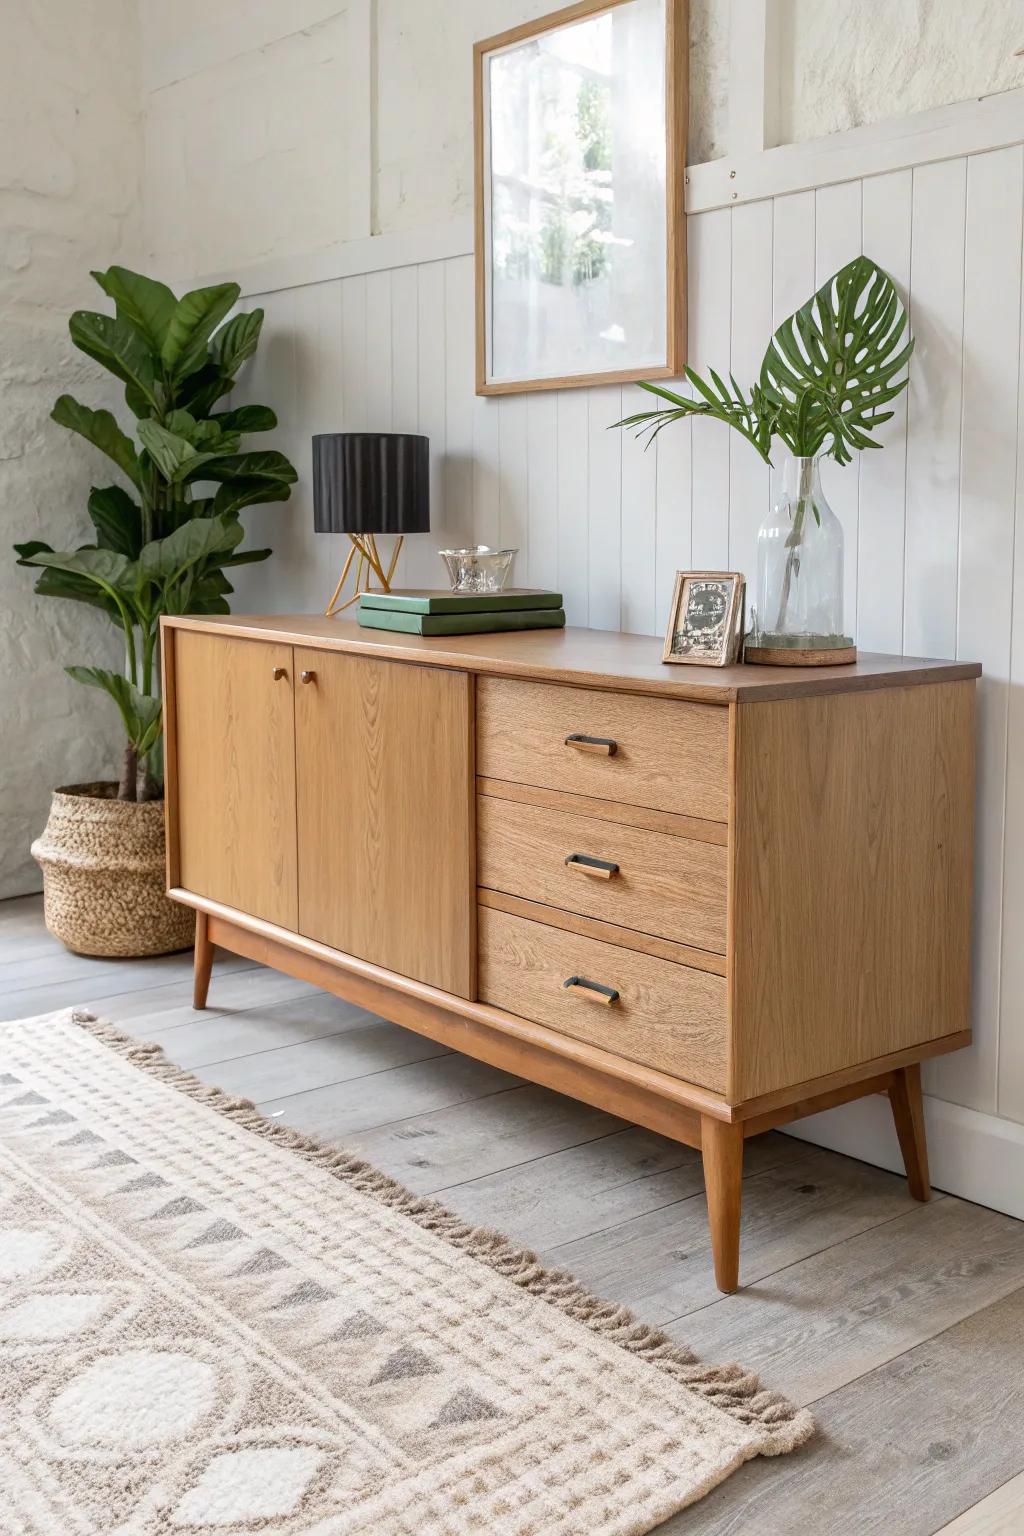
One of my favorite big-win redo ideas is separating a two-part china cabinet into a lower buffet and an upper display piece. I’ve done this with thrifted hutches, and it’s like getting two custom furniture pieces out of one.
Items that may come in handy:
- Mid-Century Modern Furniture Legs: Elevate your separated buffet base by adding stylish tapered wooden legs for that authentic vintage look.
- Matte Black Cabinet Hardware: Update the drawers on your refurbished piece with sleek, modern pulls to instantly refresh the style.
- Wood Stain and Finish Kit: refinish the newly exposed top surface of your base cabinet to match beautifully with the existing wood.
Fake a Built-In Look
To redo a freestanding china cabinet into a built-in vibe, I add simple side fillers and crown trim so it looks like it was always meant for that wall. I’ve done this in tight dining spaces, and it instantly feels more high-end and architectural.
Products that could assist:
- Crown Molding: Install decorative crown molding along the top edge to bridge the gap between your cabinet and ceiling.
- Paintable Wood Filler Strips: Use these wood strips to close the awkward gaps between your cabinet sides and the adjacent walls.
- Wood Putty and Filler: Apply smooth wood putty to hide seams and screw holes for a seamless, professional-looking final finish.
Turn It Into a Coffee Station
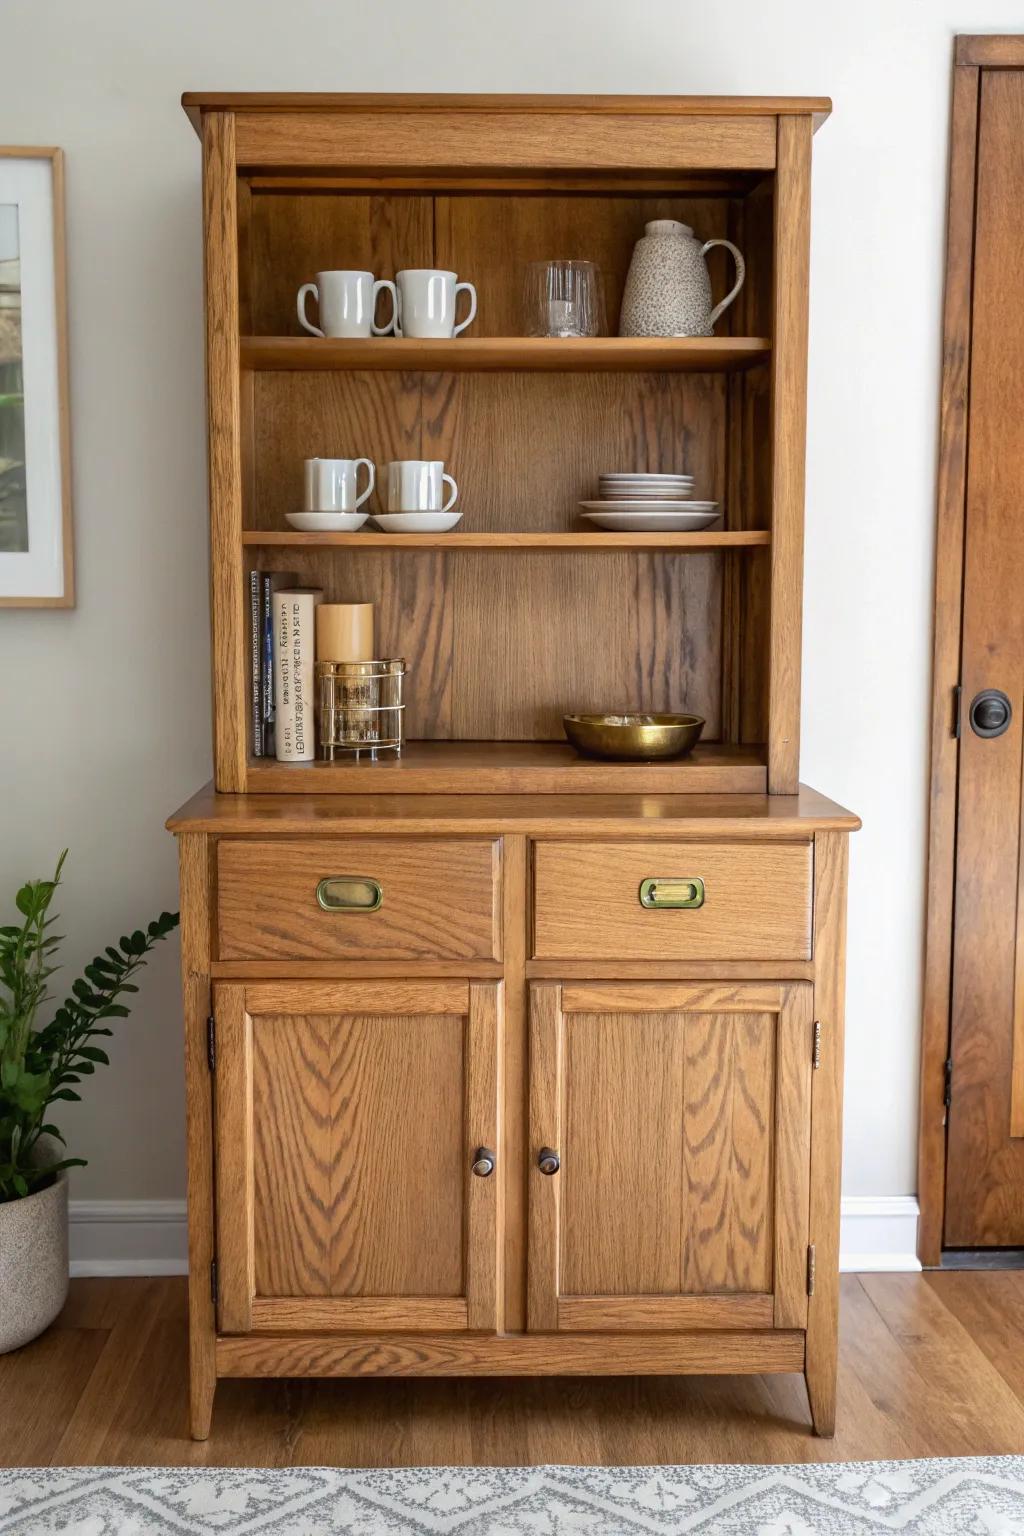
A china cabinet redo into a coffee station is my go-to for making it feel useful again—mugs up top, supplies below, and you’re set. I’ve added a tough clear topcoat on the serving surface because spills are basically guaranteed.
Try these:
- Clear Polyurethane Topcoat: Protect your wood surface from inevitable coffee spills and stains with a durable, easy-to-apply clear finish.
- Under-Shelf Mug Hooks: Maximize vertical storage space by hanging your favorite coffee mugs neatly underneath the upper shelves.
- Wire Basket Storage: Organize coffee beans, filters, and sugar packets inside the lower cabinets to keep countertops clutter-free.
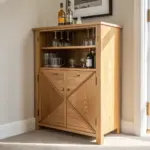
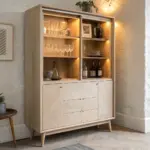
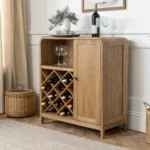
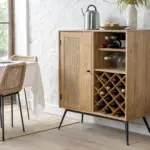
Convert It Into a Bar Cabinet
Redoing a china cabinet into a bar cabinet is such a fun switch-up, especially if you keep the glass doors for bottle sparkle. I’ve built simple stemware racks under the shelves, and it makes the whole piece feel tailored.
You might give these a try:
- Under-Shelf Stemware Rack: Install these holders underneath your shelves to hang wine glasses securely and create a professional bar look.
- Decorative Shelf Liner: Add a fresh, stylish backdrop to your cabinet interior with an easy-to-apply textured or patterned liner.
- Vintage-Style Cabinet Hardware: Swap out old handles for brass or gold pulls to instantly elevate the cabinet’s exterior aesthetic.
Make It an Entryway Drop Zone
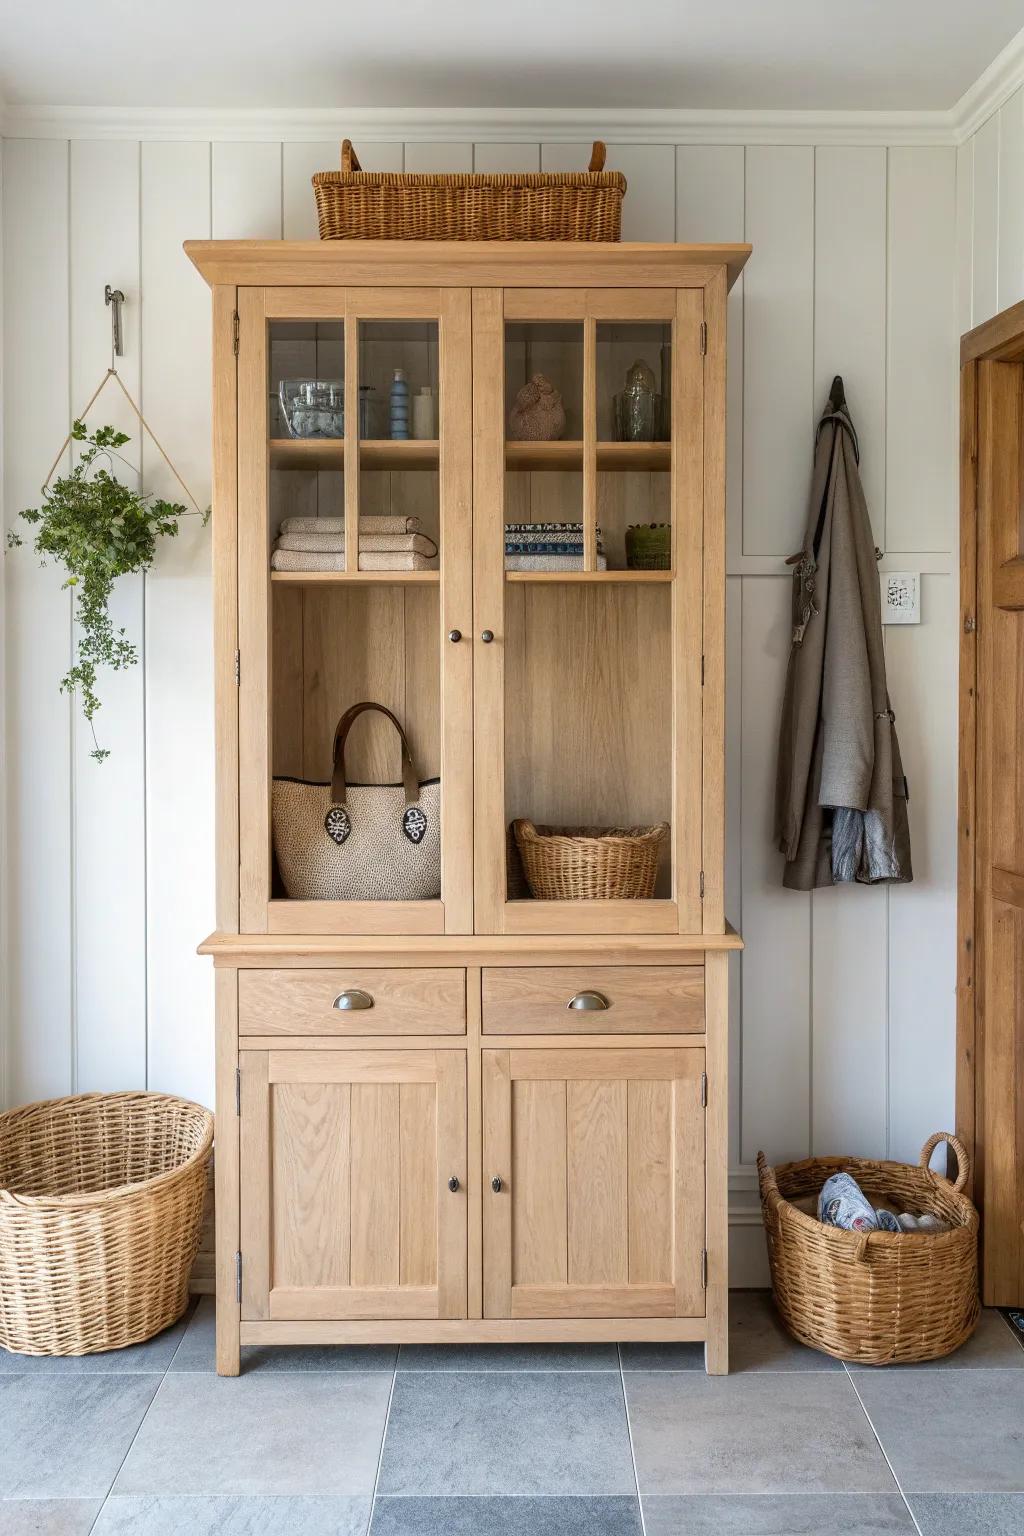
If you’re short on storage, a china cabinet redo for the entryway is surprisingly perfect—shoes and baskets below, everyday grab-and-go stuff above. I’ve added hooks inside the lower doors before, and it turns chaos into an actual system.
A few suggestions:
- Woven Storage Baskets: Use natural woven baskets on open shelves or the floor to hide clutter and organize entryway essentials stylishly.
- Adhesive Command Hooks: Install simple adhesive hooks inside cabinet doors or walls to hang keys, light bags, and coats easily.
- Decorative Shoe Tray or Mat: Protect your floors and cabinet base by placing a durable tray designated for wet or muddy footwear.
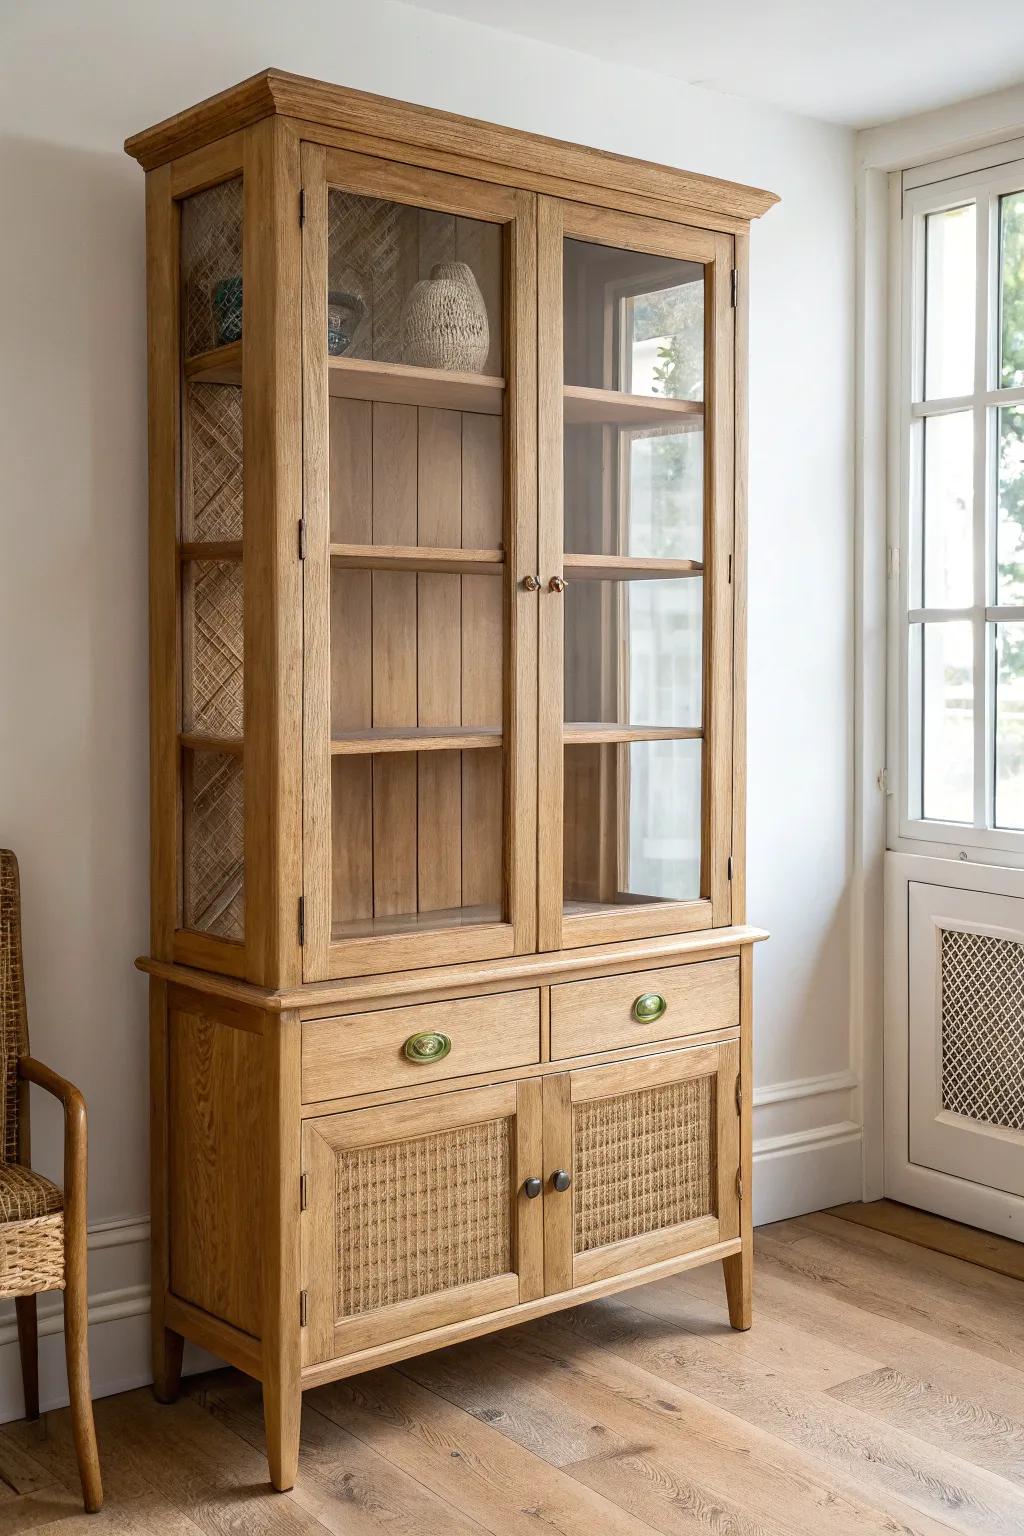
Replace Panels With Cane or Fabric
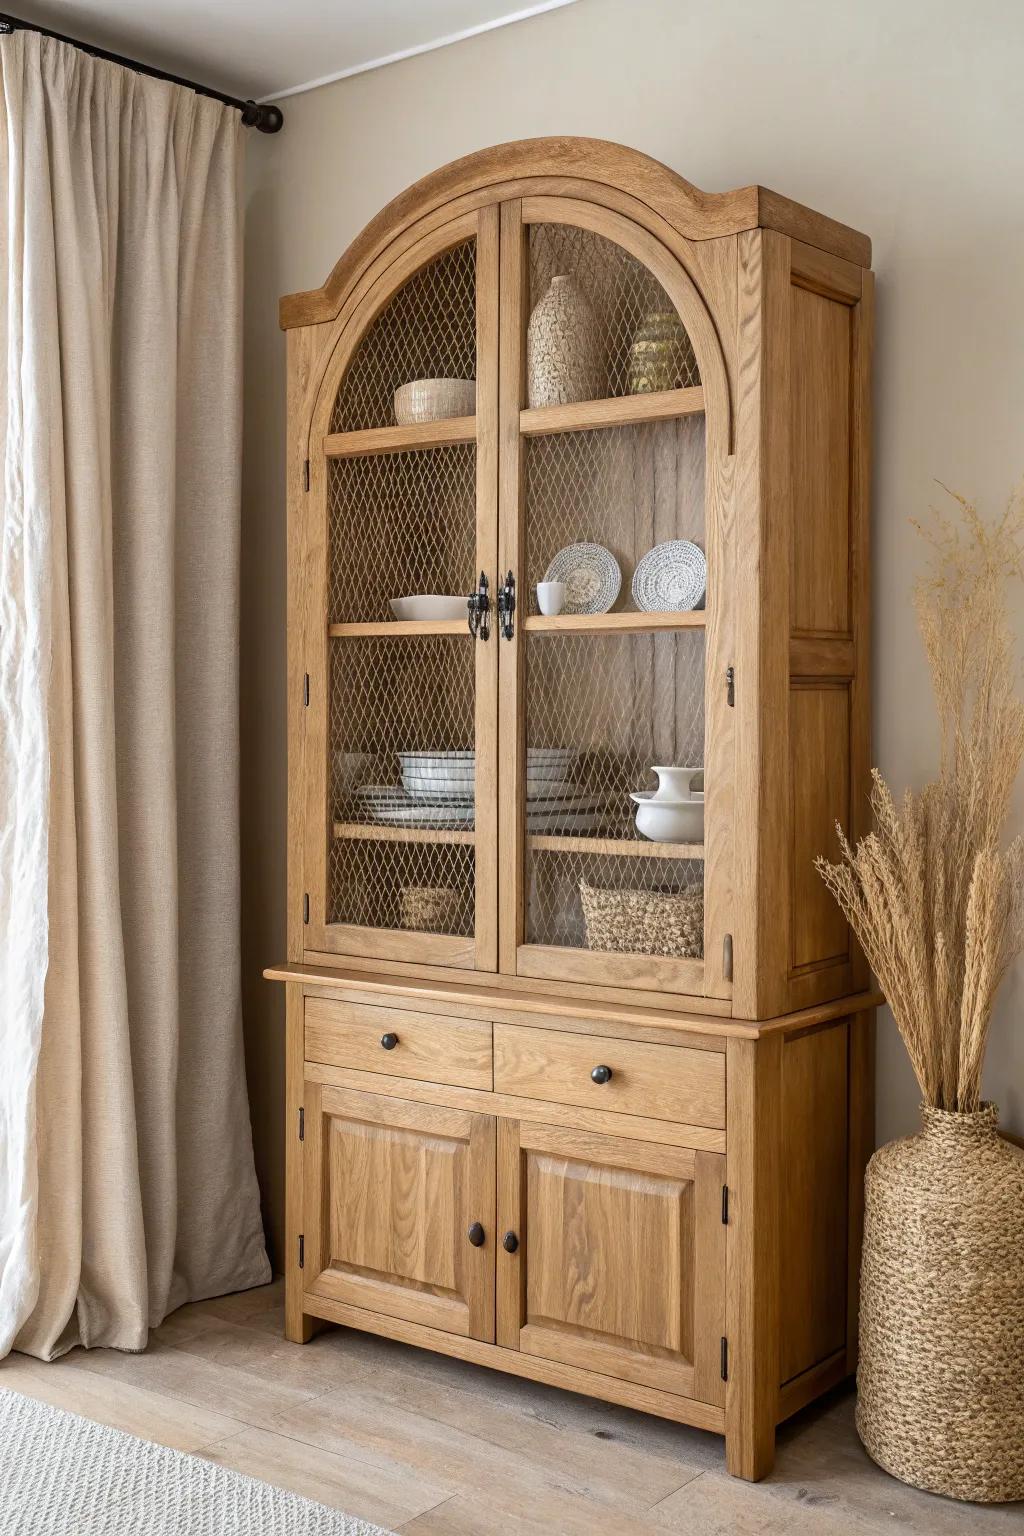
For a softer, trend-forward china cabinet redo, I swap the door inserts for cane webbing or a tight, neutral fabric. I’ve used this trick to hide mismatched dishes while still keeping that airy, textured look.
These products might help:
- Natural Rattan Cane Webbing Roll: Instantly add texture and warmth to your cabinet doors by stapling this classic woven material behind the frames.
- Textured Linen Fabric by the Yard: Use strong fabric adhesive or staples to attach this neutral linen behind glass for a soft, hidden-storage look.
- Heavy-Duty Staple Gun Kit: Secure your new cane or fabric inserts firmly to the wooden frame with this essential, easy-to-use upholstery tool.
Build a Plant-Display Greenhouse Hutch
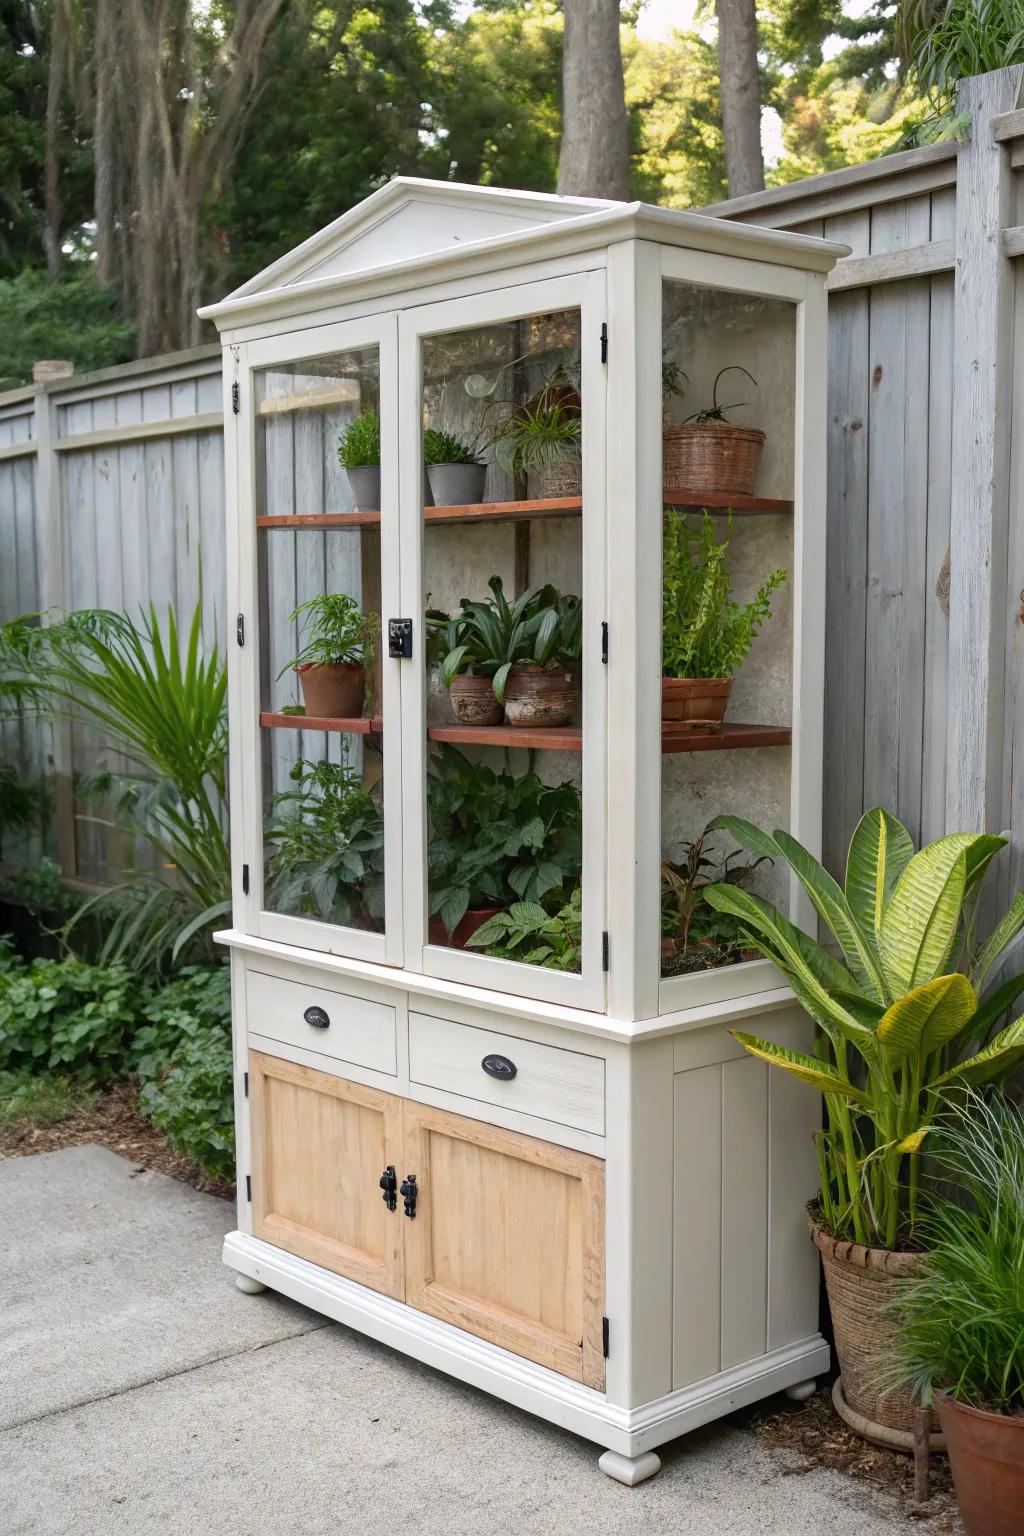
My biggest wow redo is turning a china cabinet into an indoor plant hutch by sealing the interior and adding moisture-tolerant shelves for a mini “greenhouse” feel. I’ve done this with reclaimed wood accents, and it becomes the kind of piece people walk over to immediately.
Explore these options:
- Full-Spectrum LED Grow Light Strips: Transform dark cabinets into lush greenhouses by attaching these discreet lights to your shelves for healthier indoor foliage.
- Waterproof Clear Sealant: Protect your vintage wood furniture from humidity and mold damage by applying a durable, clear waterproofing layer inside.
- Hygrometer and Thermometer Gauge: Monitor humidity levels effortlessly to ensure your mini greenhouse maintains the perfect environment for tropical plant growth.


