
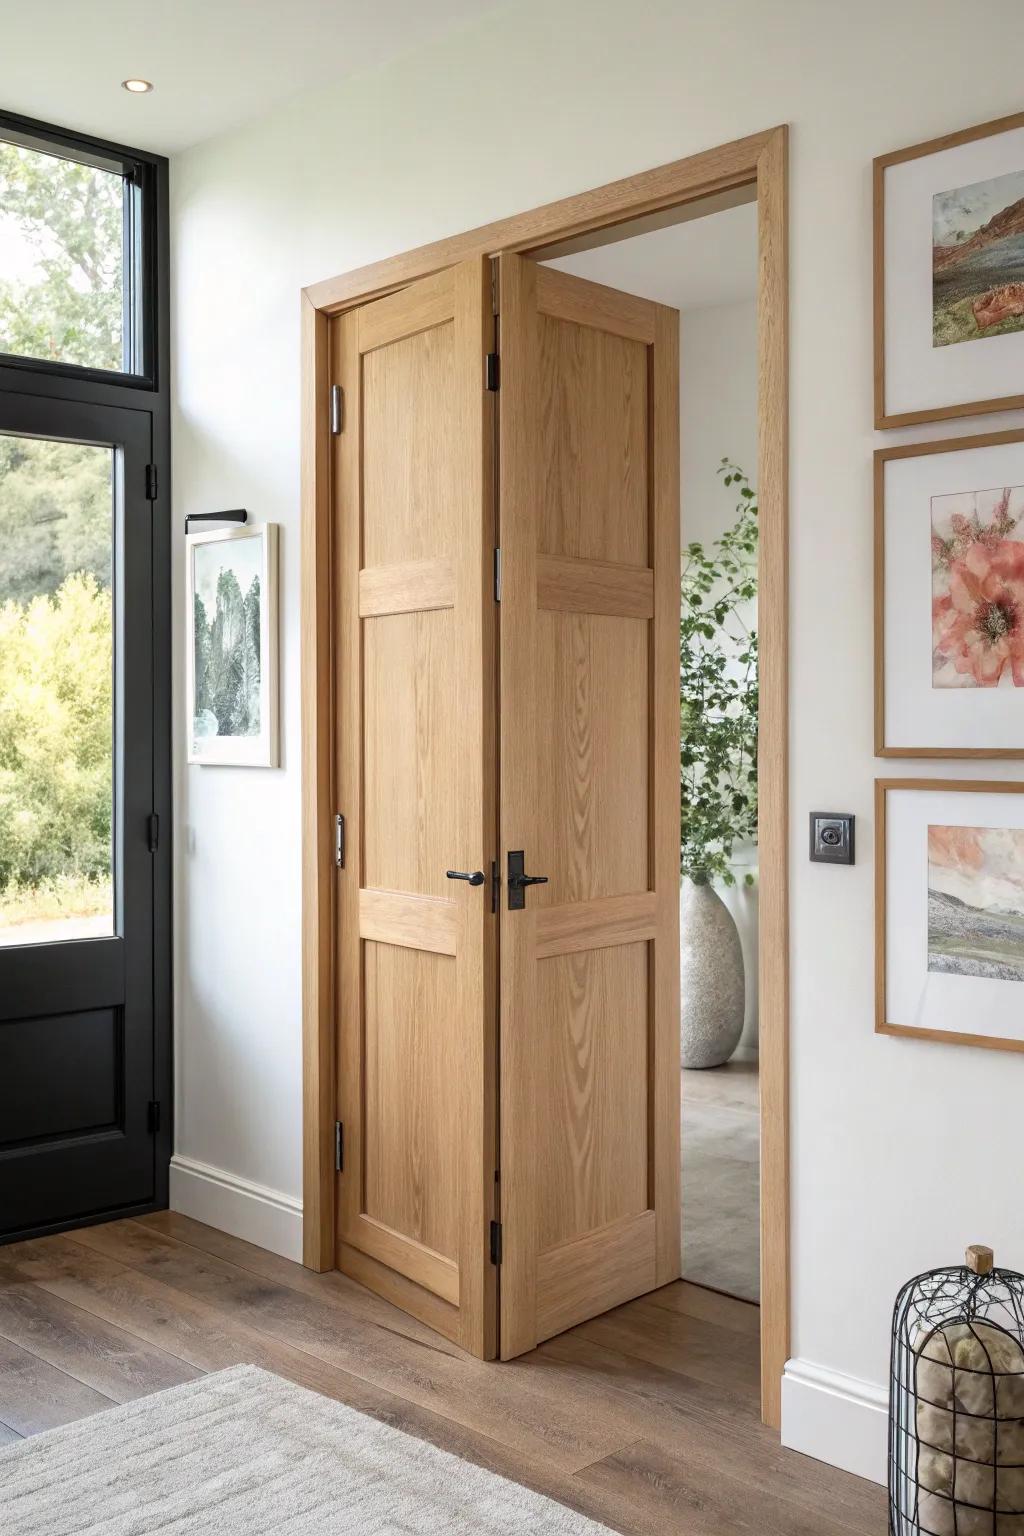
A good art room door should feel like a little spark of creativity before you even turn the handle.
Geometric Tape-to-Wood Blocks
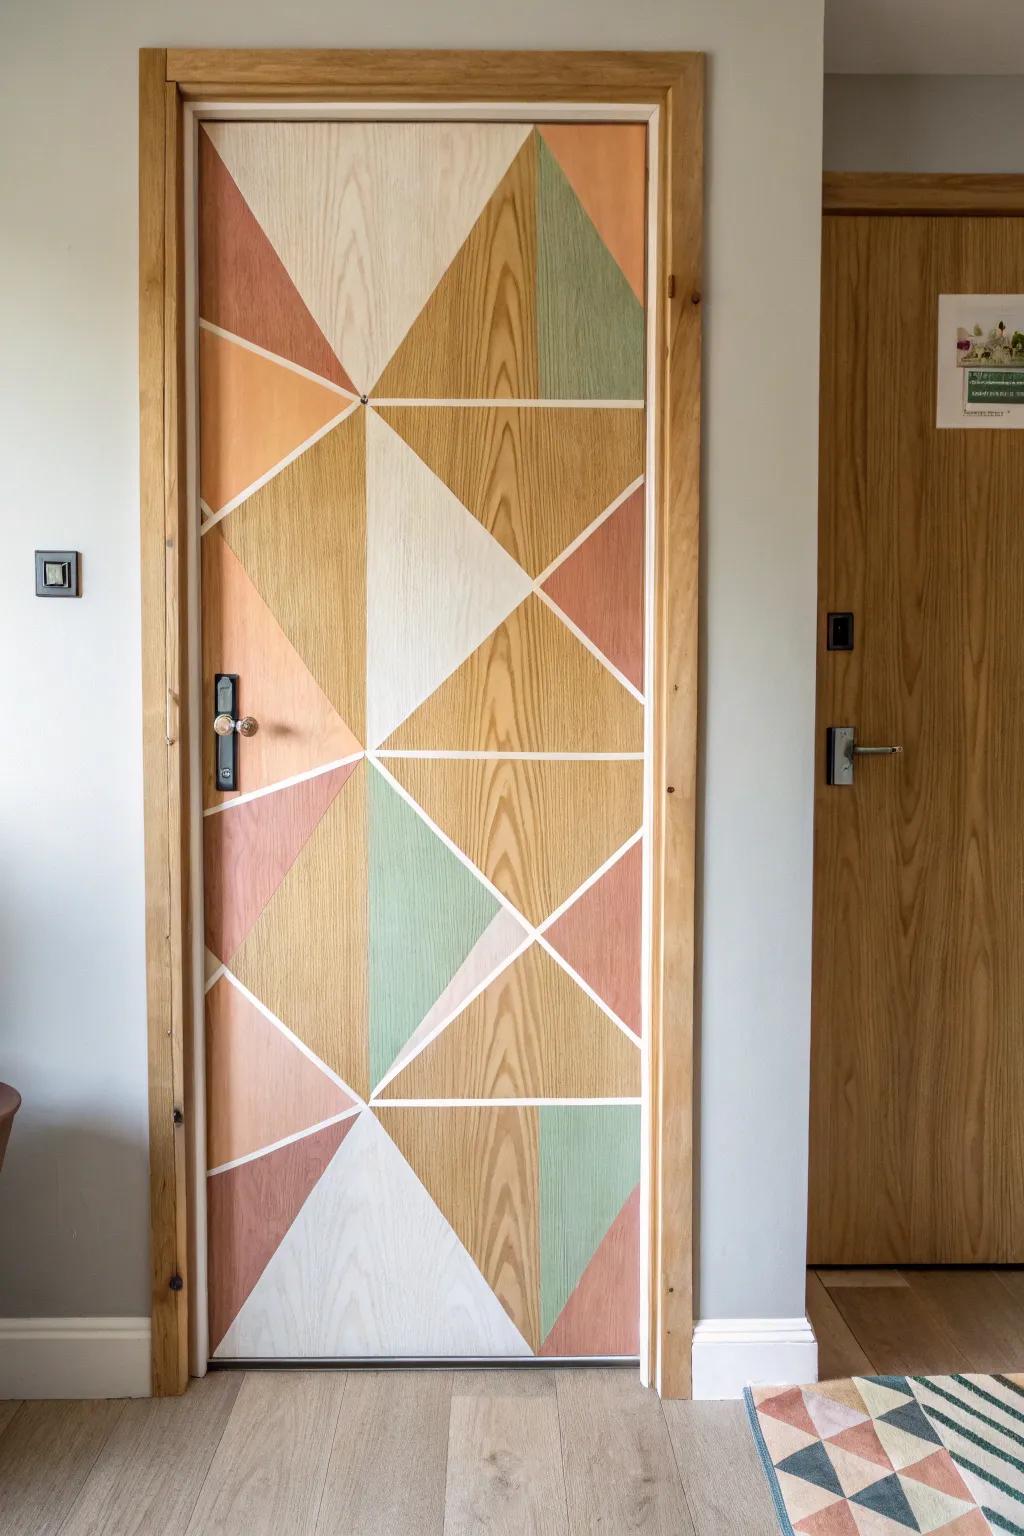
I love doing crisp geometric shapes across an art room door, then echoing the pattern with little painted wood blocks around the frame. I tried this on a client’s studio door, and the clean lines made all the bright colors feel modern, not chaotic.
A few things you might like:
- Painter’s Tape: Create crisp, clean lines and define your geometric shapes easily by using high-quality painter’s tape.
- Acrylic Paint Set: Bring your geometric design to life with vibrant, durable colors suitable for painting on wood surfaces.
- Small Wooden Blocks: Echo your door’s unique pattern around the frame with these small, paintable wooden craft blocks.
Color Wheel Centerpiece
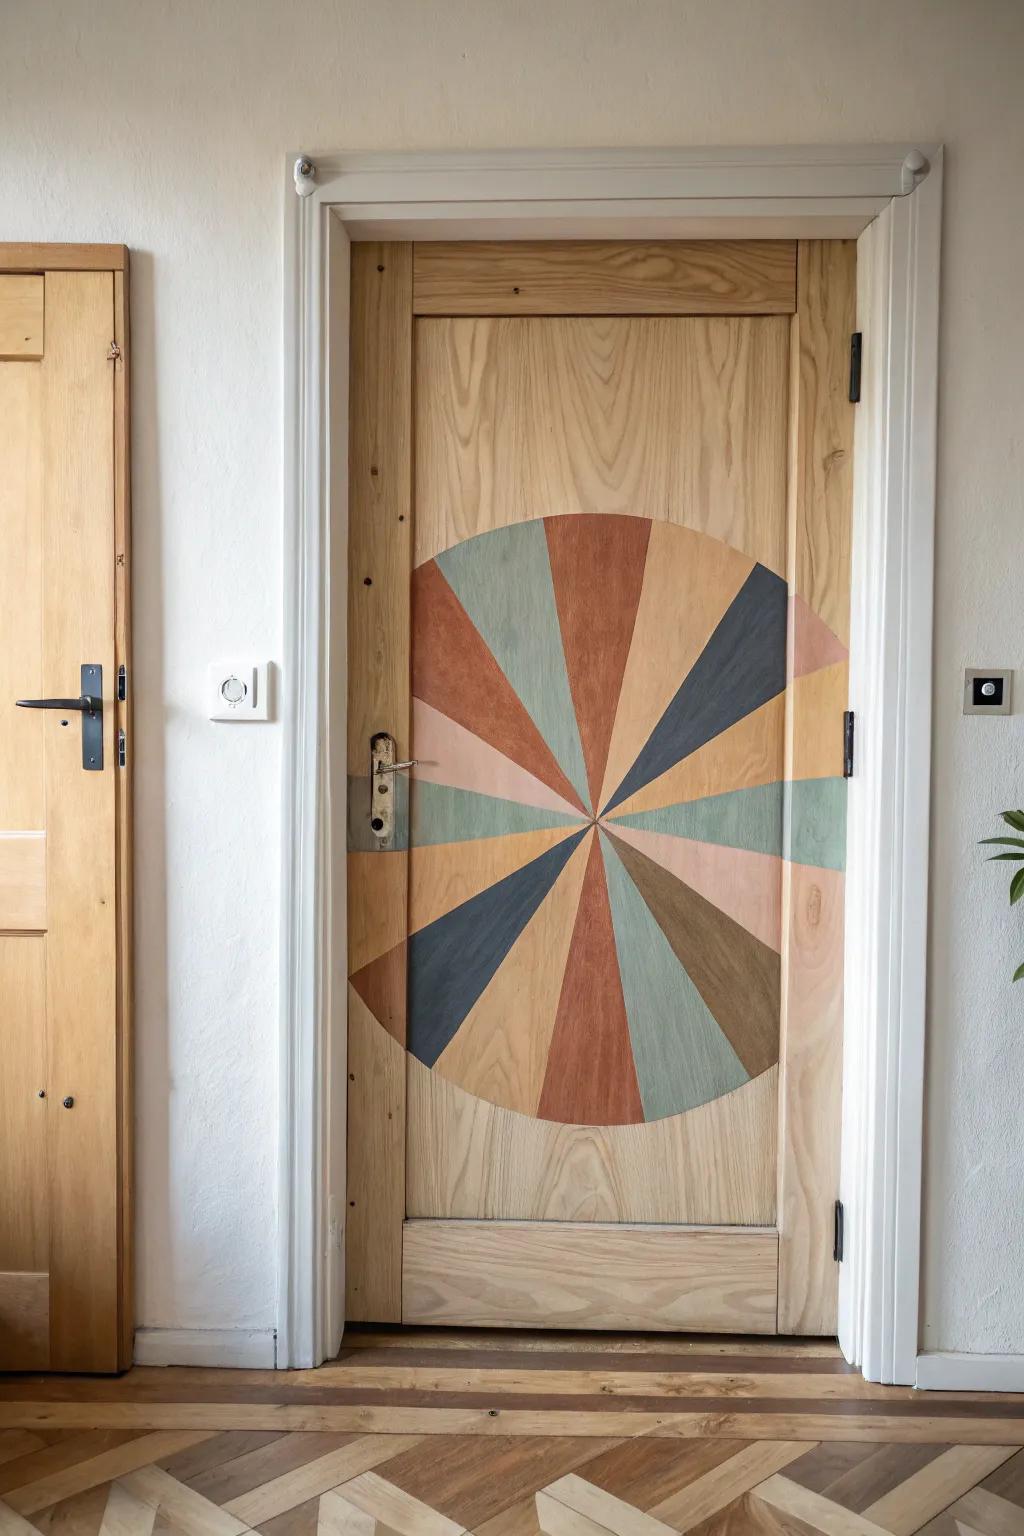
I’ve painted a big color wheel right on an art room door, and it doubles as decor and a quick reference when you’re mixing. The trick I learned is penciling the slices first so the wheel looks crisp even from far away.
Items that may come in handy:
- Acrylic Paint Set: Choose high-coverage acrylic paints to create vibrant, lasting colors for your door’s unique centerpiece design.
- Painter’s Tape: Use precision masking tape to ensure clean, crisp lines between each colored slice of your wheel.
- Large Circular Stencil or Compass: Draw perfect circles easily with a large drafting compass or stencil to establish your base shape.
Big Brush and Palette Accents
I cut oversized wood paintbrush and palette shapes for an art room door, and the 3D effect is such a crowd-pleaser. I’ve found thin plywood is light enough to hang securely but still looks substantial after painting.
Try these:
- Thin Plywood Sheets for Crafting: Use these lightweight wood sheets to easily cut out your oversized paint palette and brush shapes.
- Acrylic Craft Paint Set: Bring your wooden shapes to life with vibrant, quick-drying colors that pop against natural wood doors.
- Heavy Duty Double-Sided Mounting Tape: Secure your new 3D art decorations firmly to the door surface without needing nails or screws.

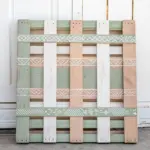
Rainbow Slat Door Makeover
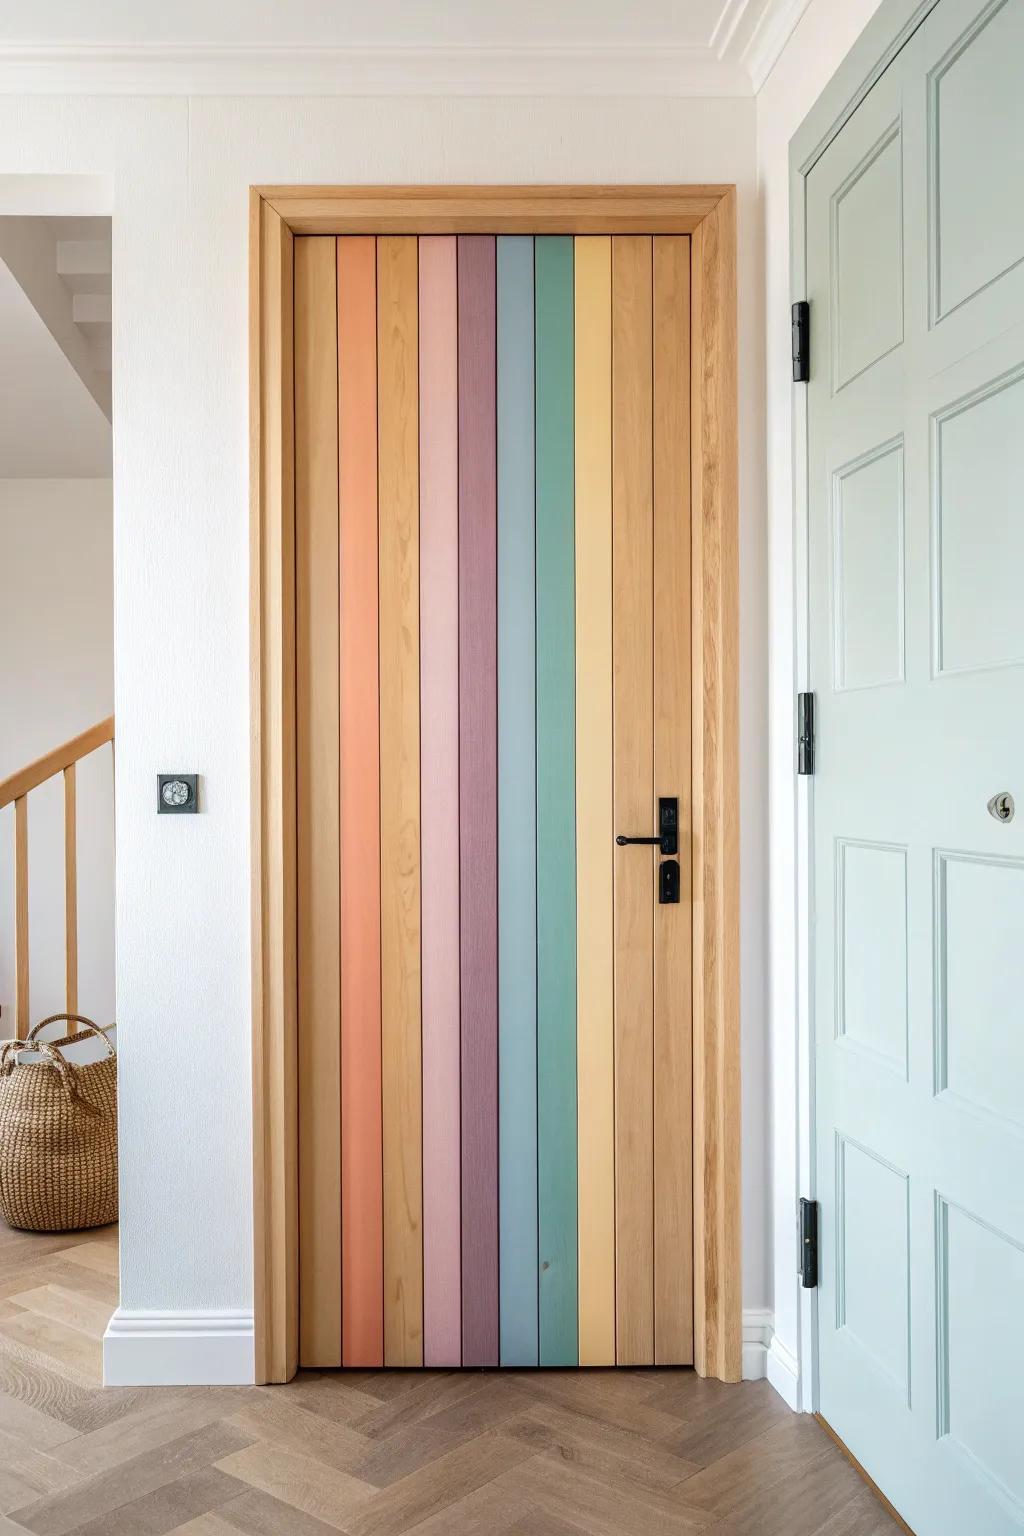
I’ve glued narrow wood slats right onto an art room door and painted them in a soft-to-bold rainbow for instant texture. The subtle ridges catch the light, and it’s honestly one of the easiest “wow” upgrades I’ve done.
You might like:
- Unfinished Wood Slats: Create the textured base for your door by adhering these paintable, lightweight wooden strips vertically.
- Heavy Duty Construction Adhesive: Secure your wood slats permanently to the door surface with a strong, reliable bonding agent.
- Multi-Surface Acrylic Paint Set: Achieve the custom rainbow gradient by choosing a set featuring a wide variety of soft, mixable colors.
Shadowbox Door Handle Gallery
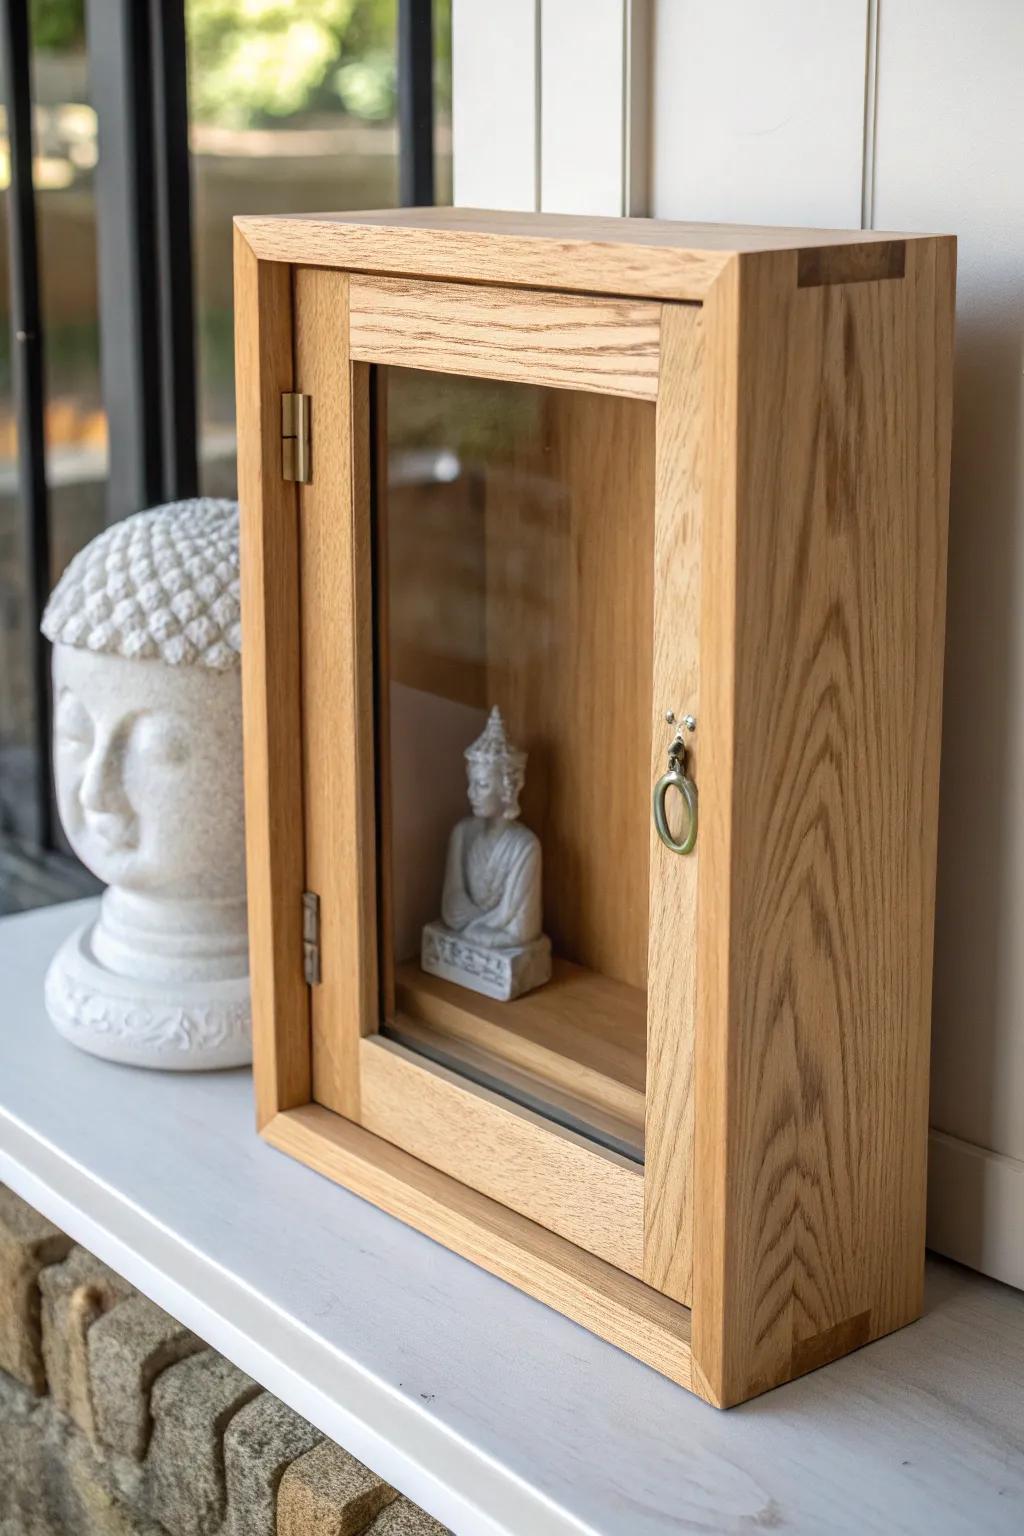
I built a shallow wood shadowbox that wraps around the handle area of an art room door, like a tiny gallery niche. It’s a perfect spot for a miniature sculpture or found-object art, and I love how unexpected it feels right at hand-level.
These products might help:
- Small Wooden Wall Display Cabinet: Showcase your miniature treasures securely with a glass-front wooden display case like this one for your door.
- Miniature Buddha Figurine: Add a touch of serenity to your entryway by placing a calming small statue inside your shadowbox.
- Brass Ring Pull Hardware: Give your custom cabinet a finished, antique look by installing a classic brass ring pull for easy access.
Flip-Panel “Before/After” Door
I’ve installed three hinged wood flip panels on an art room door so you can reveal “process” steps—sketch, underpainting, finished piece. It’s insanely satisfying to flip them like pages, and it quietly teaches that art is built in layers.
Check if these fit your needs:
- Unfinished Wood Panels or Plaques: Select sturdy rectangular wood pieces to serve as your flip panels; paint your process steps directly on them.
- Matte Black Interior Hinges: Install your panels with durable hardware that matches standard door finishes for a cohesive, built-in look.
- Removable Mounting Tape or Strips: Securely attach lightweight panels to your door without nails or screws, allowing for flexible positioning.
Resin-Inlay Color River Door
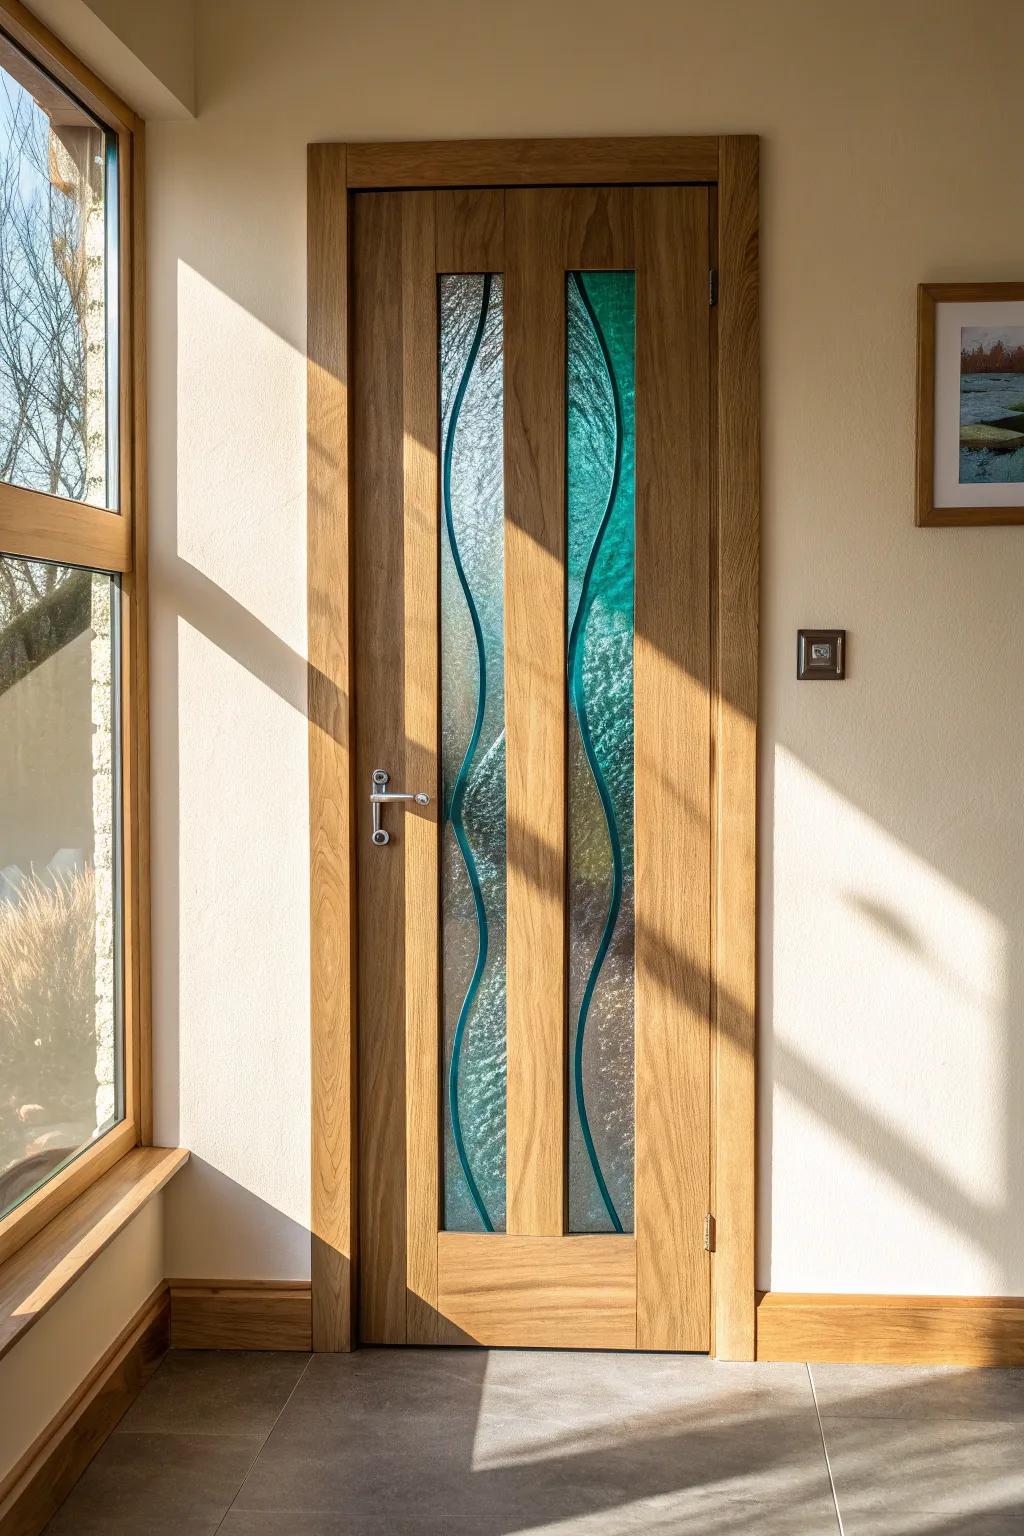
For a serious statement, I routed a wavy channel into an art room door panel and poured a colored resin “river” through the wood. I’ll be honest, it took patience, but the glossy stripe against natural grain looks like modern art you can walk through.
A few choices to try:
- Deep Pour Epoxy Resin Kit: Create the stunning river effect yourself; use this clear, deep-pour epoxy formula for durable results.
- Resin Pigment Dye Set: Achieve that vibrant blue or teal tone by mixing these concentrated liquid pigments into your resin base.
- Wood Router Tool: Carve accurate, smooth channels into your wooden door panel to prepare the perfect mold for pouring.
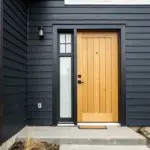
Secret Door With Hidden Mural
My biggest wow project was a “plain” art room door that looks like stained wood from the outside, but opens to reveal a full-color mural painted on the inside face. I love that little surprise—like the door itself is telling you creativity lives just beyond it.
Some ideas to consider:
- Acrylic Paint Set: Start your hidden masterpiece with versatile acrylics that offer vibrant colors for painting directly on wood surfaces.
- Matte Black Door Handles: Upgrade your door’s exterior look with sleek black levers that contrast beautifully against natural wood finishes.
- Painter’s Tape: Ensure crisp lines and protect your door frame while creating your custom mural design with precision.


