
Picture frame wainscoting is one of my favorite ways to make a plain wall feel finished and intentional without tearing the whole room apart.
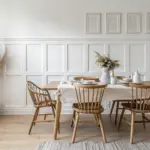
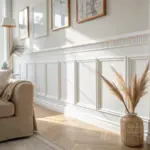
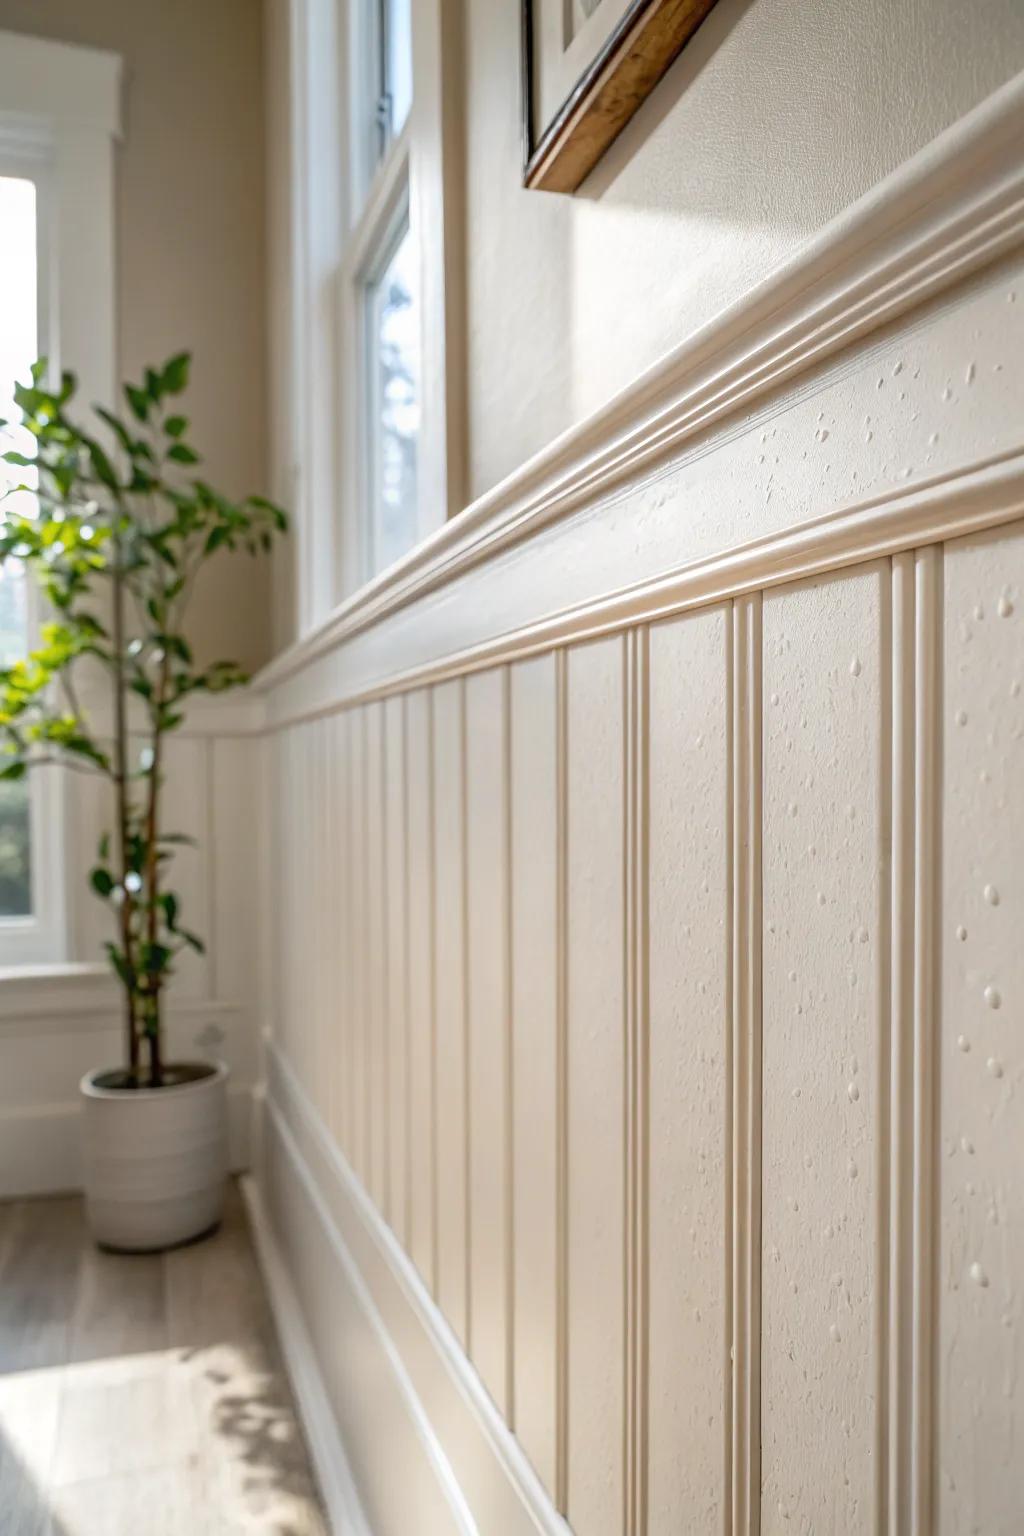
Monochrome Paint for Subtle Texture
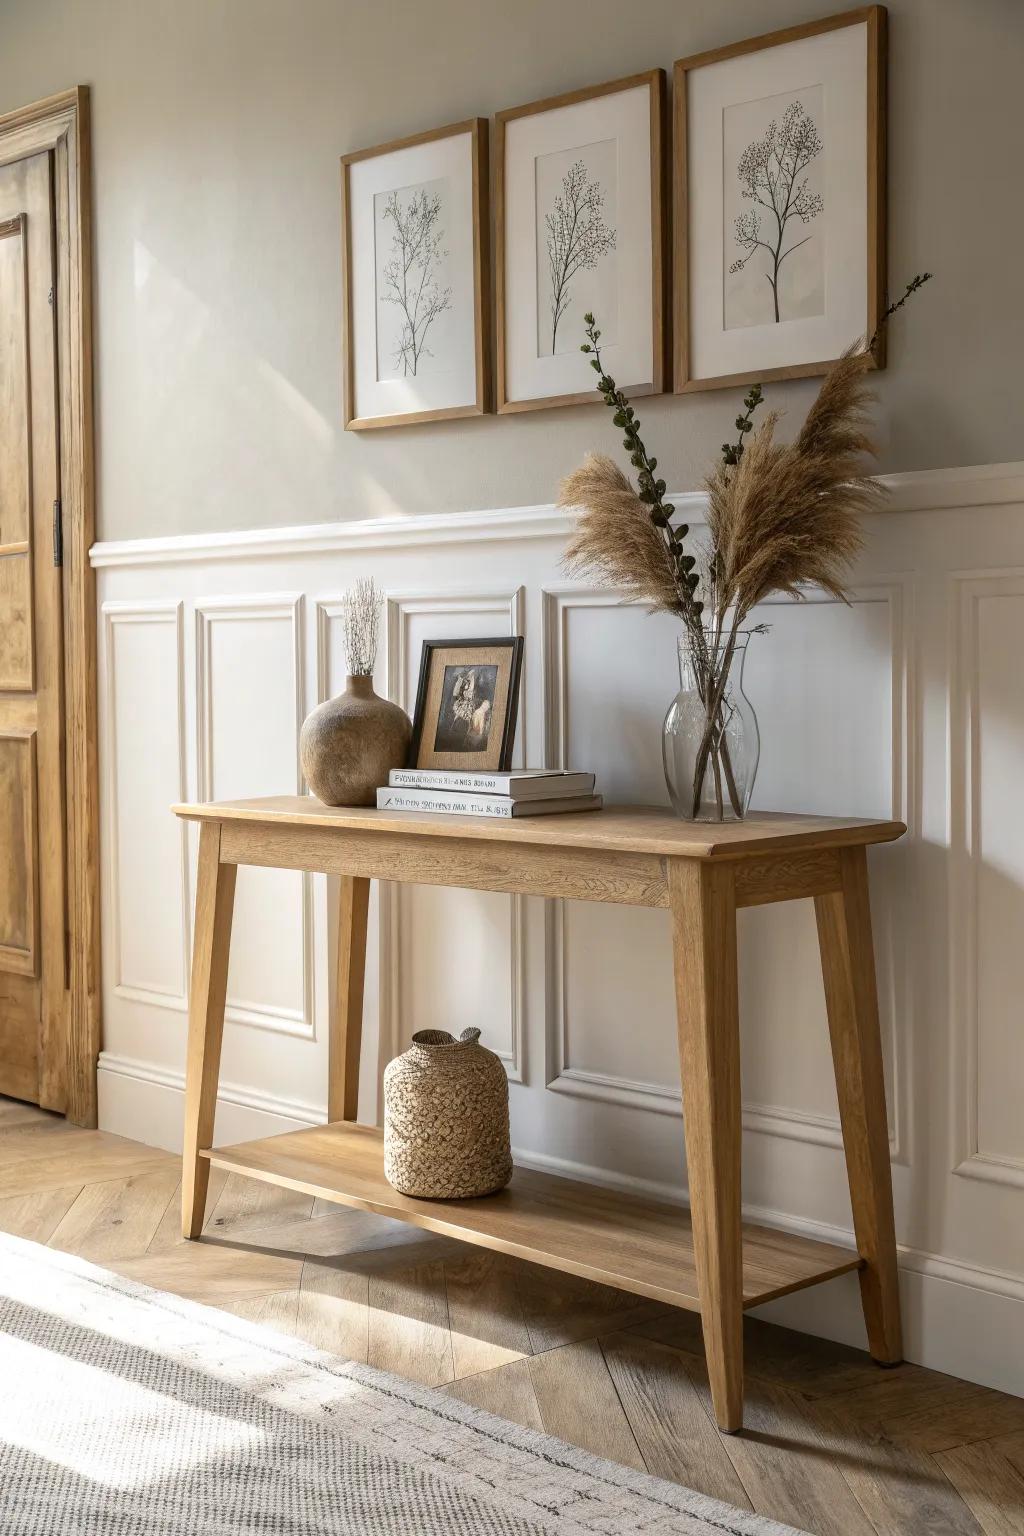
I’ve painted the trim and wall the same color to make the picture frame molding read like a soft shadow instead of a loud statement. It’s my go-to when you want elegance but still want your furniture and art to do the talking.
These products might be useful:
- DIY Picture Frame Molding Kit: Create elegant wainscoting easily with pre-cut molding strips, perfect for painting over in your chosen monochrome shade.
- Matte Interior Paint (Neutral): Choose a high-quality matte paint in a warm neutral tone to achieve that seamless, soft-shadow effect.
- Laser Level for Wall Installation: Ensure your molding boxes are perfectly straight and evenly spaced for a professional-looking DIY wall revamp.
Classic Half-Wall With Chair Rail
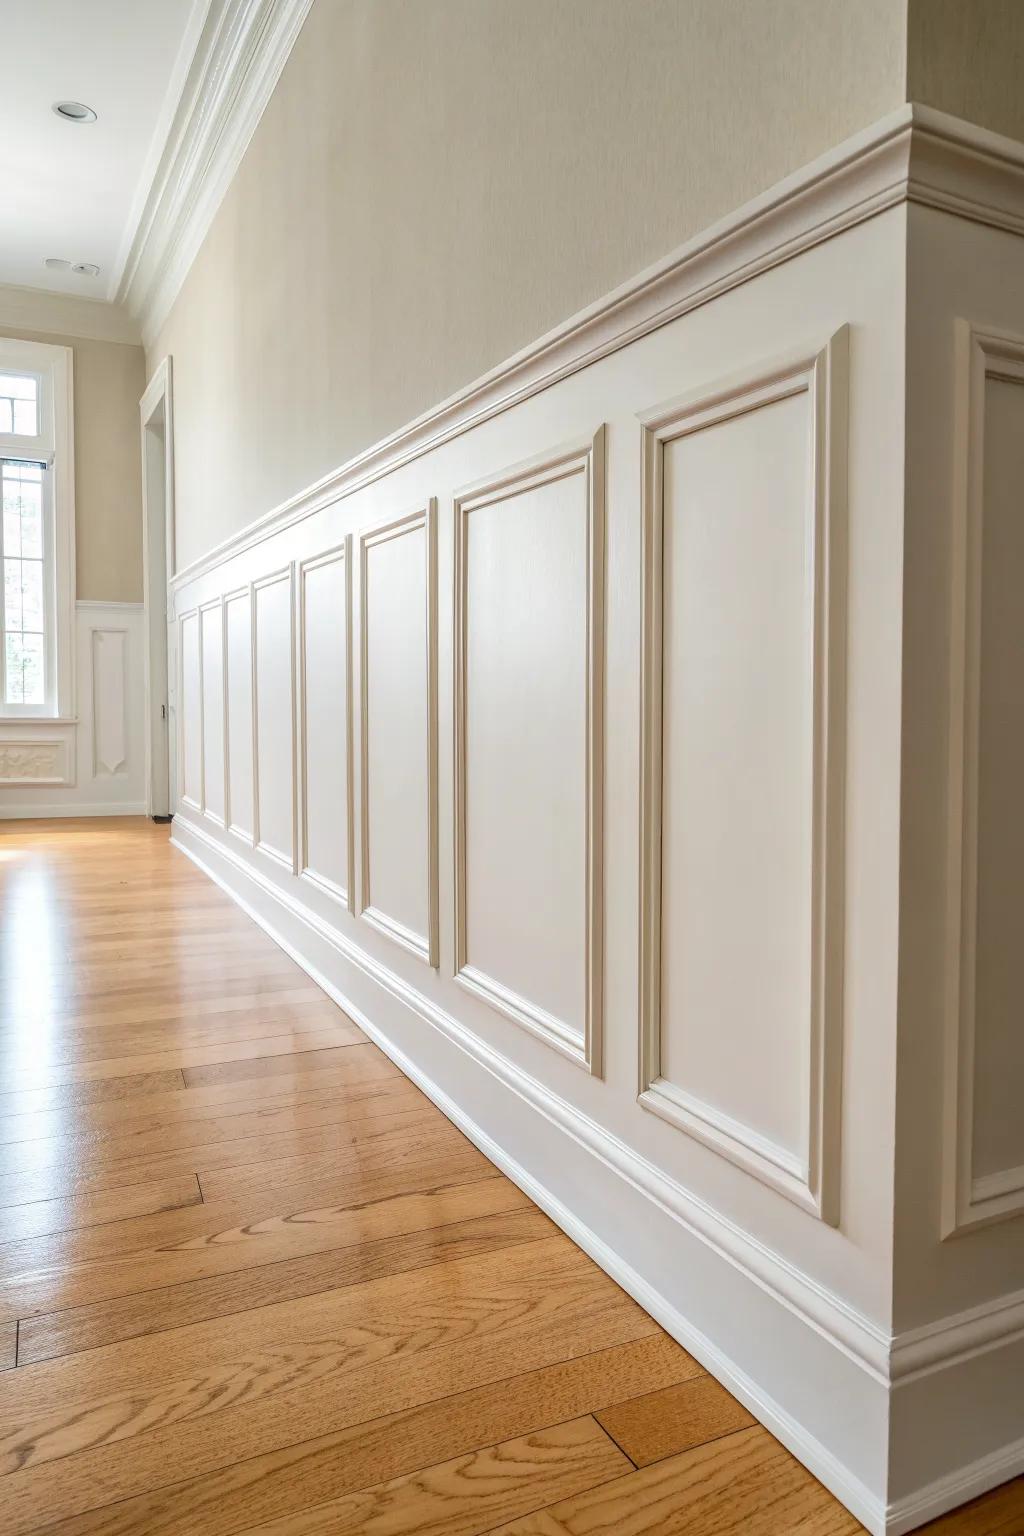
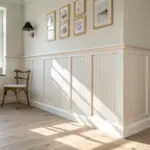
When I want that timeless look, I install picture frame wainscoting on the lower half and cap it with a clean chair rail for instant architecture. I’ve found keeping the boxes evenly spaced makes even a builder-basic dining area feel custom.
You might give these a try:
- Chair Rail Moulding: Define your wainscoting height with an elegant top cap that creates a clean, architectural transition along your walls.
- Pre-Cut Wainscoting Panels: Save installation time by using these ready-to-assemble molding kits to create perfectly symmetrical picture frame boxes easily.
- Laser Level Tool: Ensure your spacing is flawless and your frames are perfectly straight with this essential tool for precision alignment.


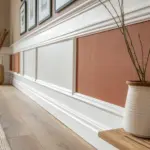
Two-Tone Split Above and Below
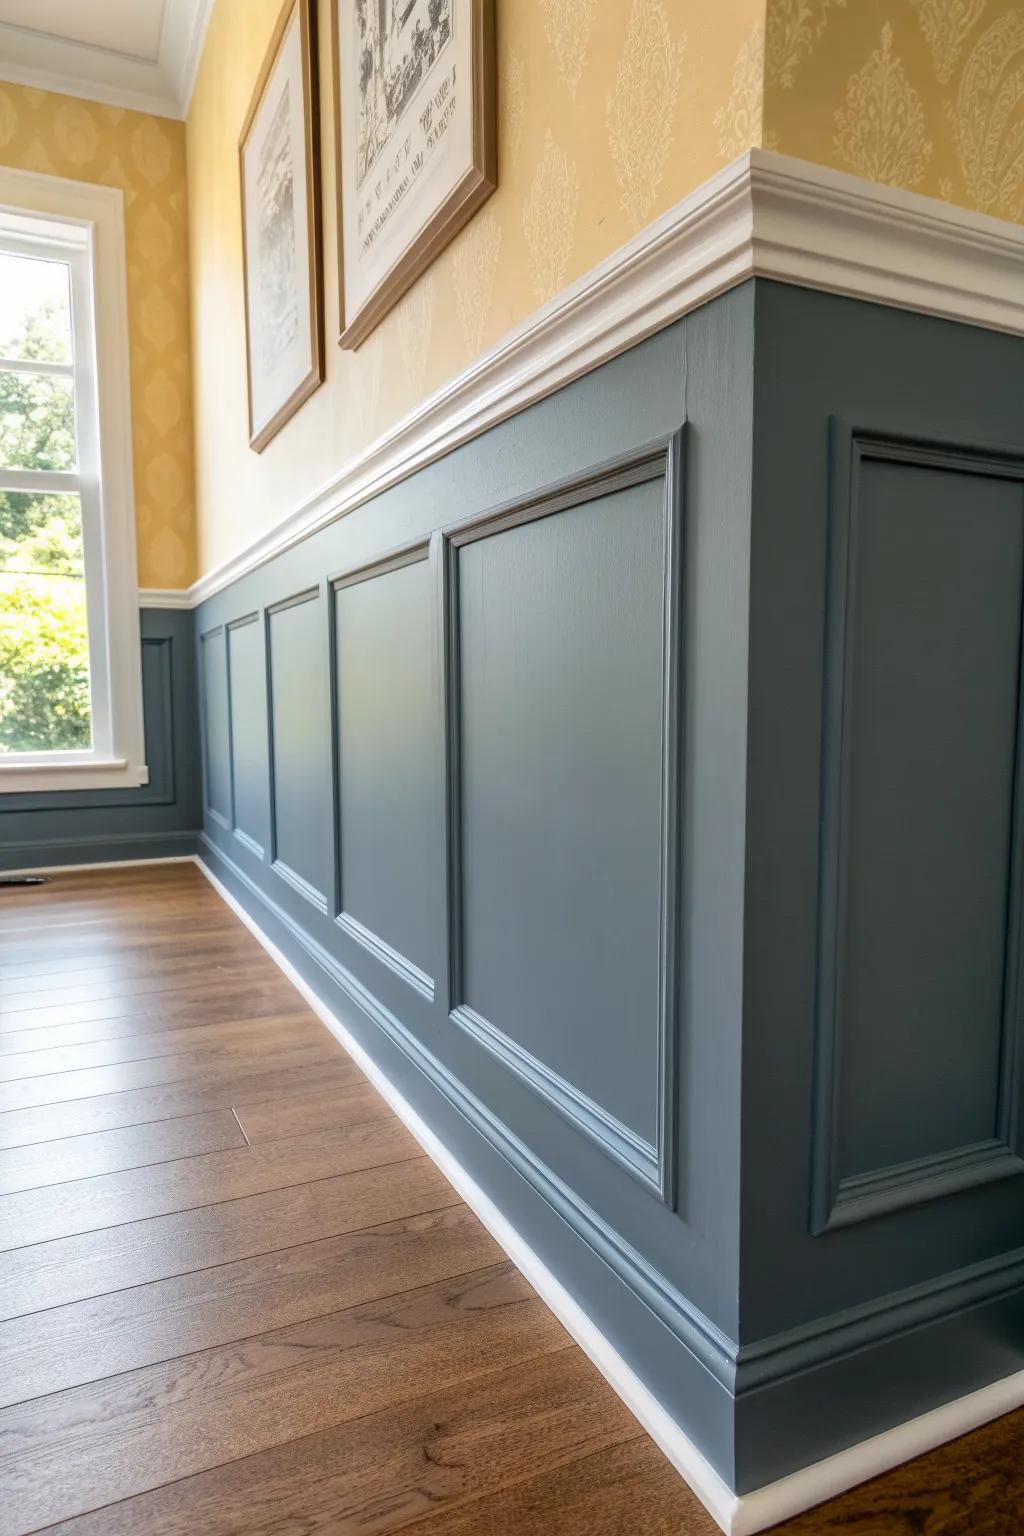
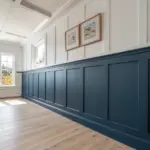
One of my most-requested looks is two-tone paint with the frames below in a deeper shade and the wall above kept lighter. I’ve used this to make low ceilings feel taller because your eye naturally follows that crisp line around the room.
A few things you might like:
- Ready-to-Assemble Wainscoting Kits: Instantly add architectural charm to your walls; choose a kit that simplifies creating elegant picture frame molding.
- Chair Rail Molding: Create the essential crisp divider between your two paint colors with sturdy, easy-to-install chair rail trim.
- Painter’s Tape for Crisp Lines: Ensure your two-tone split looks professional by achieving perfectly sharp, bleed-free lines between your colors.
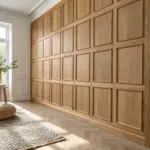
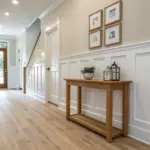
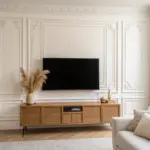
Floor-to-Ceiling Statement Panels
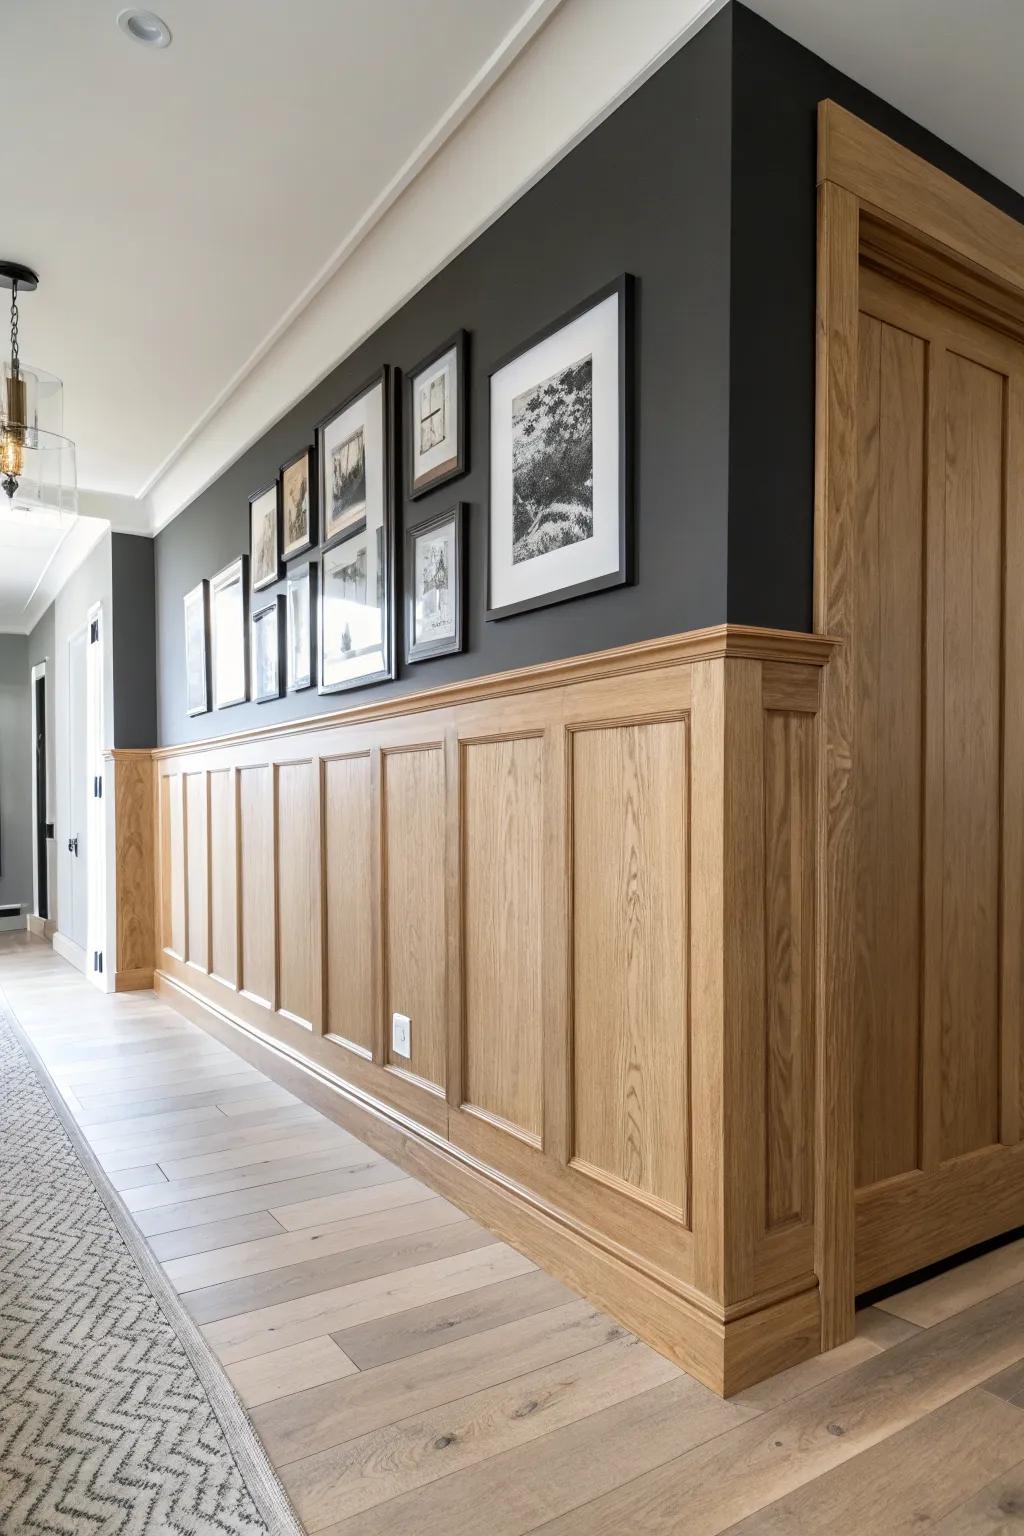
I’ve run picture frame wainscoting all the way up to the ceiling in an entry and it made the space feel grand without adding clutter. Keeping the frames tall and simple is what stops it from looking too busy.
A few choices to try:
- Pre-Primed Wall Moulding Kits: Instantly add dimension to your walls; choose these ready-to-install kits to create elegant, professional-looking frame layouts easily.
- Matte Black Gallery Frames: Replicate the sophisticated contrast in the photo by organizing your art with this cohesive set of sleek frames.
- Laser Level Line Tool: Ensure your wainscoting panels and picture frames hang perfectly straight with this essential tool for precise alignment.
Nested Rectangles for Extra Detail
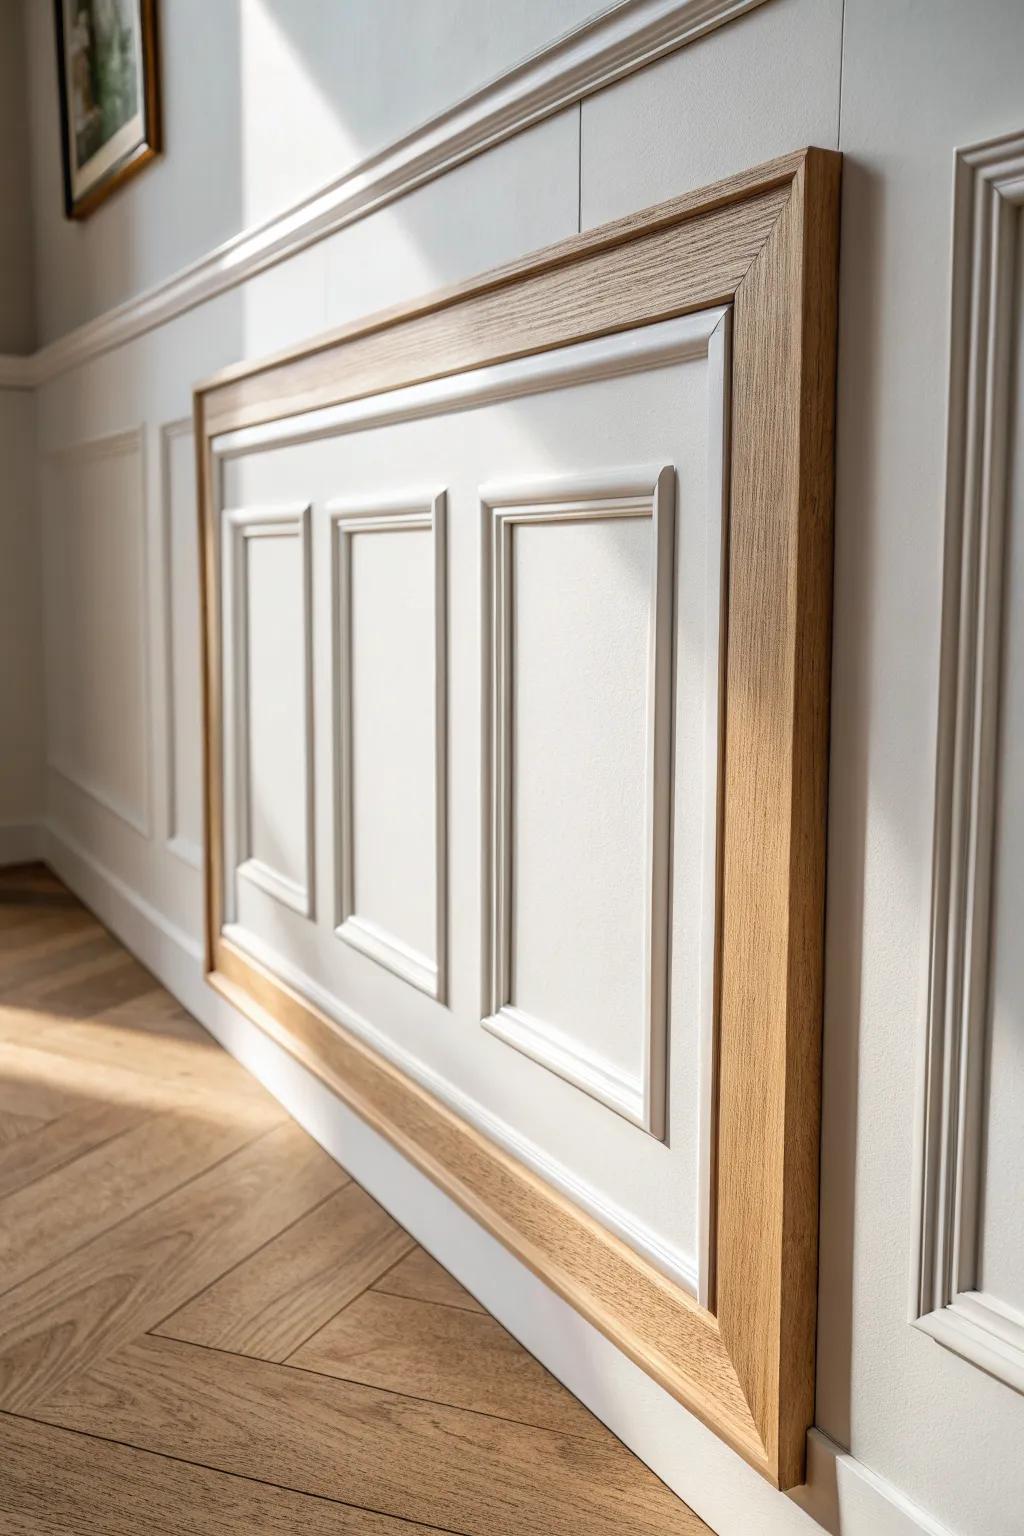
Adding nested rectangles (a smaller frame inside a larger one) is my favorite “old home” trick when the room needs more polish. The first time I tried it, the wall went from flat to fancy in a way that looked way pricier than it was.
A few suggestions:
- Self-Adhesive Molding Trim Kit: Create instant nested frames without power tools; simply peel and stick to add dimension to your walls.
- Primed Pine Panel Molding: Use these paint-ready, thin profile strips to construct the delicate inner rectangles for a custom, professional finish.
- Laser Level Line Tool: Ensure your nested rectangles are perfectly centered and straight to achieve that polished, high-end look effortlessly.
Delicate Frames for Small Bathrooms
In tight bathrooms, I keep the picture frame molding slimmer and the boxes a bit smaller so it doesn’t overwhelm the space. I always finish it with a tougher, wipeable sheen because bathroom splashes are real life.
Might be a good match:
- Primed Beadboard Wainscoting Kit: Transform your small bathroom walls instantly; these kits offer an easy way to achieve classic texture.
- Semi-Gloss Interior Paint: Protect your woodwork from moisture and splashes while creating a durable, easy-to-clean bathroom surface.
- Chair Rail Molding: Finish the top edge of your wainscoting cleanly to create a sophisticated, polished transition on your walls.

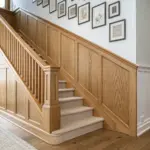
Stair Wall Frames That Follow the Slope
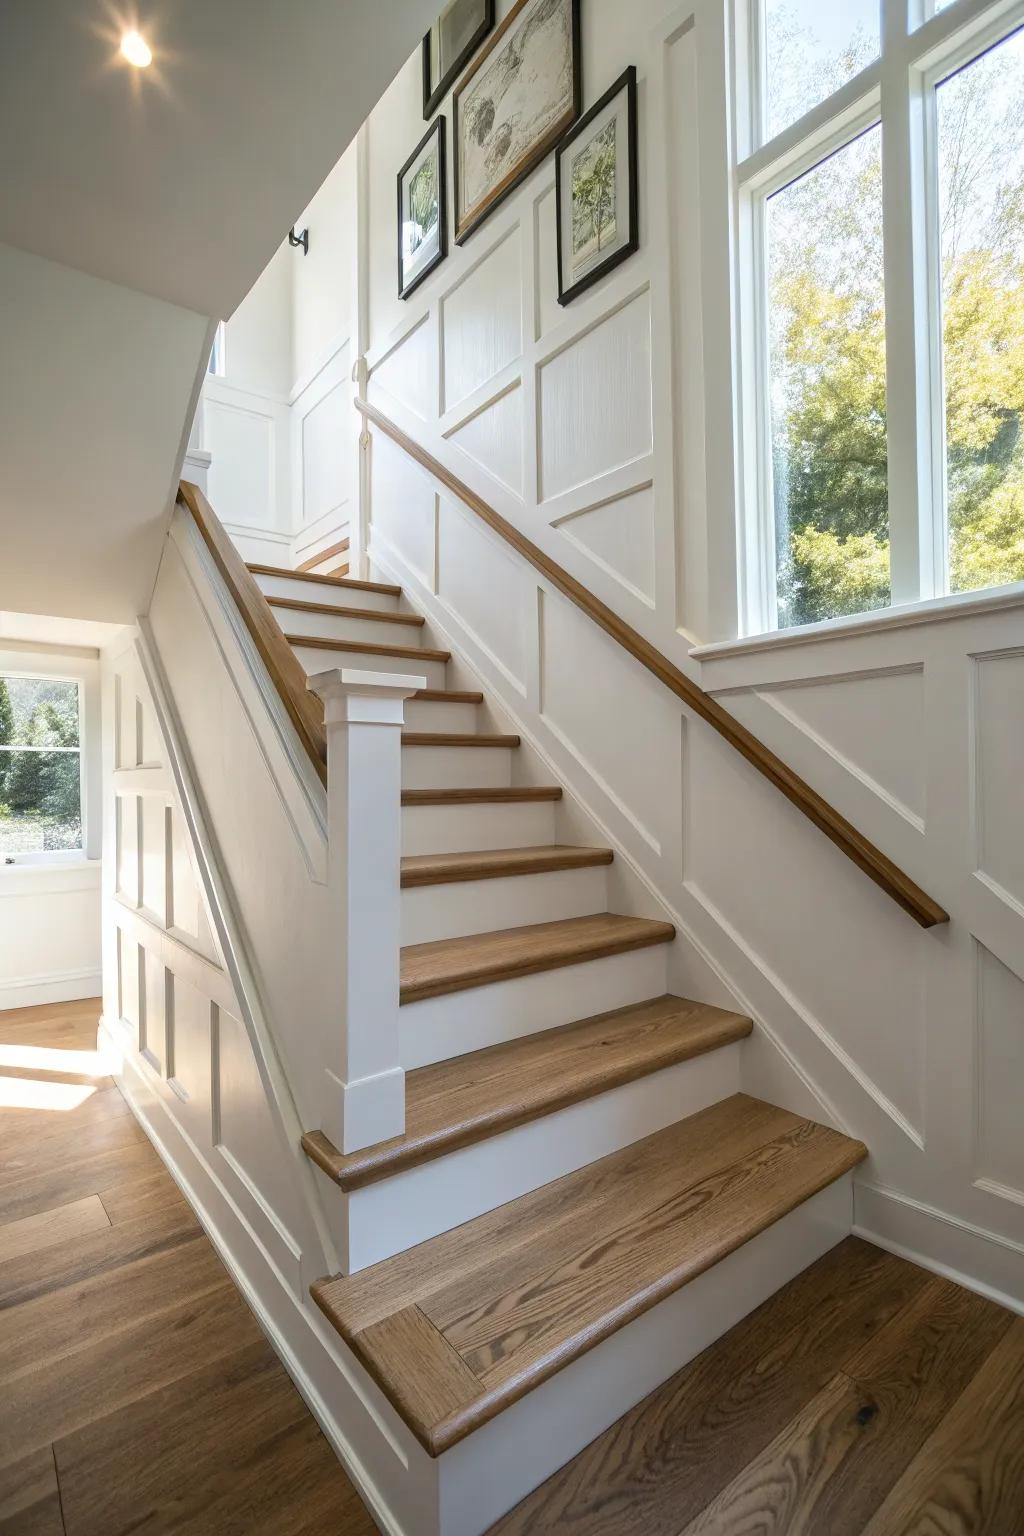
I’ve done picture frame wainscoting on a stair wall by stepping the layout to match the incline, and it turns that awkward angle into a feature. It’s a little puzzle the first time, but the payoff is so worth it.
Consider these options:
- Digital Angle Finder: Calculate precise miter cuts for sloped stair angles easily to ensure your frames align perfectly with the incline.
- Pre-Primed Flex Molding: Use flexible trim to easily navigate awkward wall imperfections or slight curves without worrying about snapping rigid wood.
- Paintable Wall Molding Kit: Simplify your project with ready-to-cut molding strips that create the classic picture frame look on any wall surface.
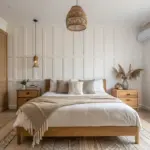
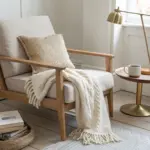
Accent Wall Behind a Sofa or Bed
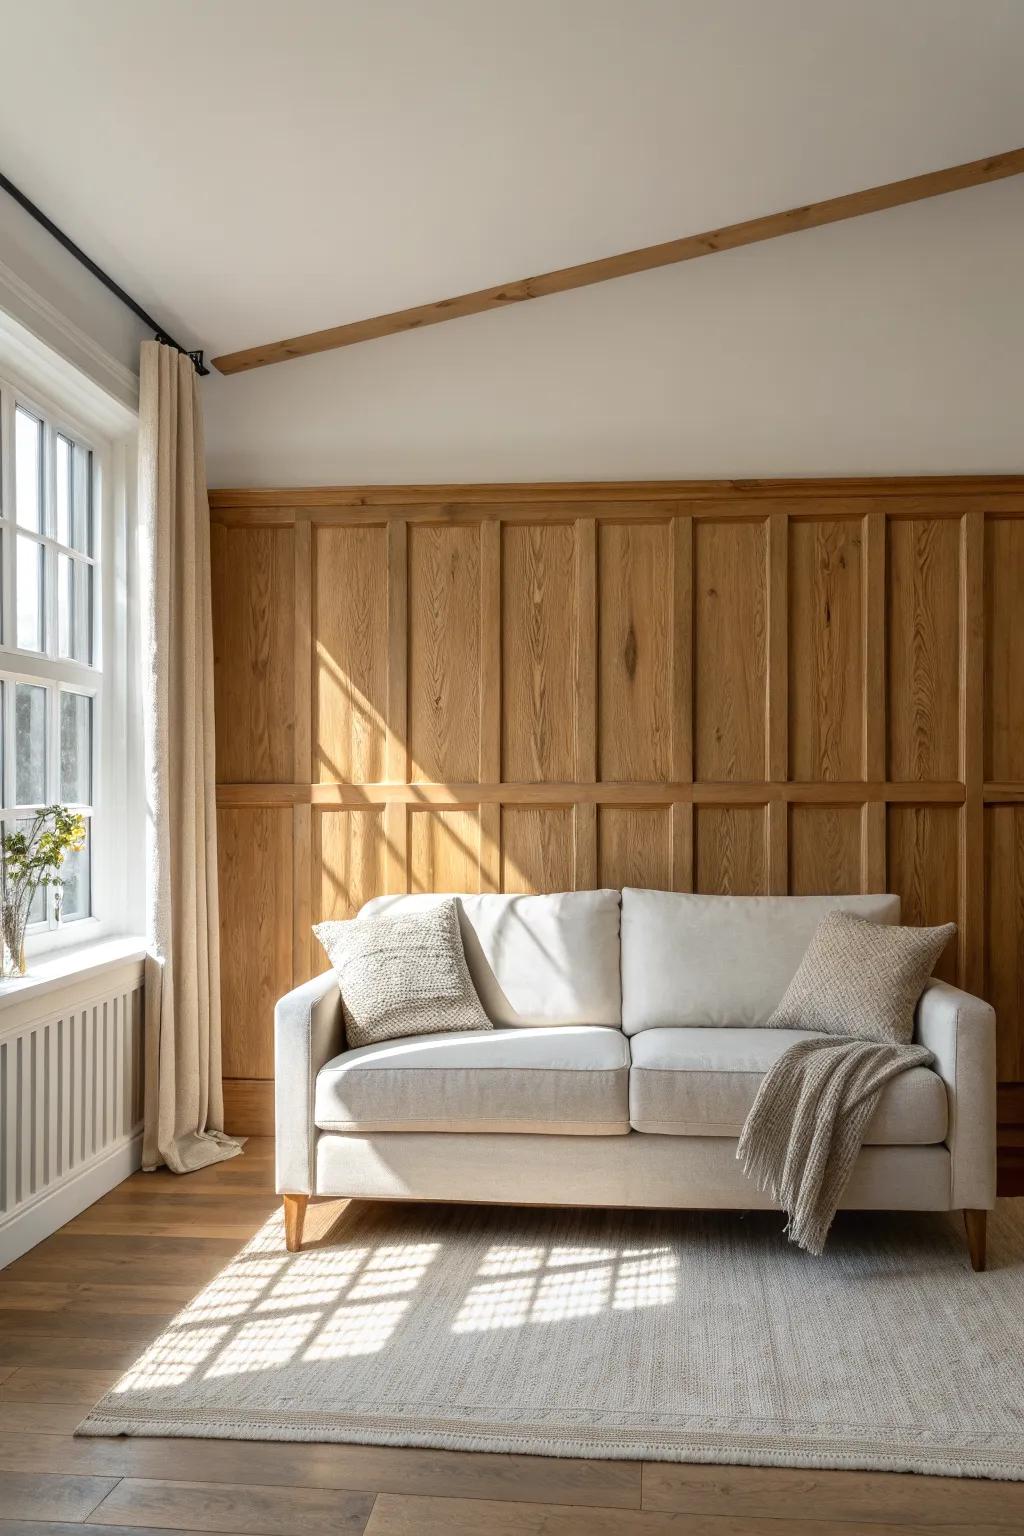
If you want a big impact fast, I’ve had great results doing picture frame wainscoting on just one wall behind a sofa or headboard. I like keeping the rest of the room simple so that paneling gets its moment.
May just do the trick:
- Pre-cut Wall Paneling Kits: Save time on your accent wall by choosing pre-cut molding kits designed for easy installation and symmetry.
- Laser Level Tool: Ensure your picture frame wainscoting is perfectly straight and spaced evenly for that professional, high-end look.
- Brad Nailer Kit: Secure your wooden panels or molding quickly and firmly with an efficient brad nailer for clean results.
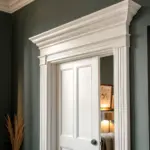
Frames That Wrap Doors and Windows
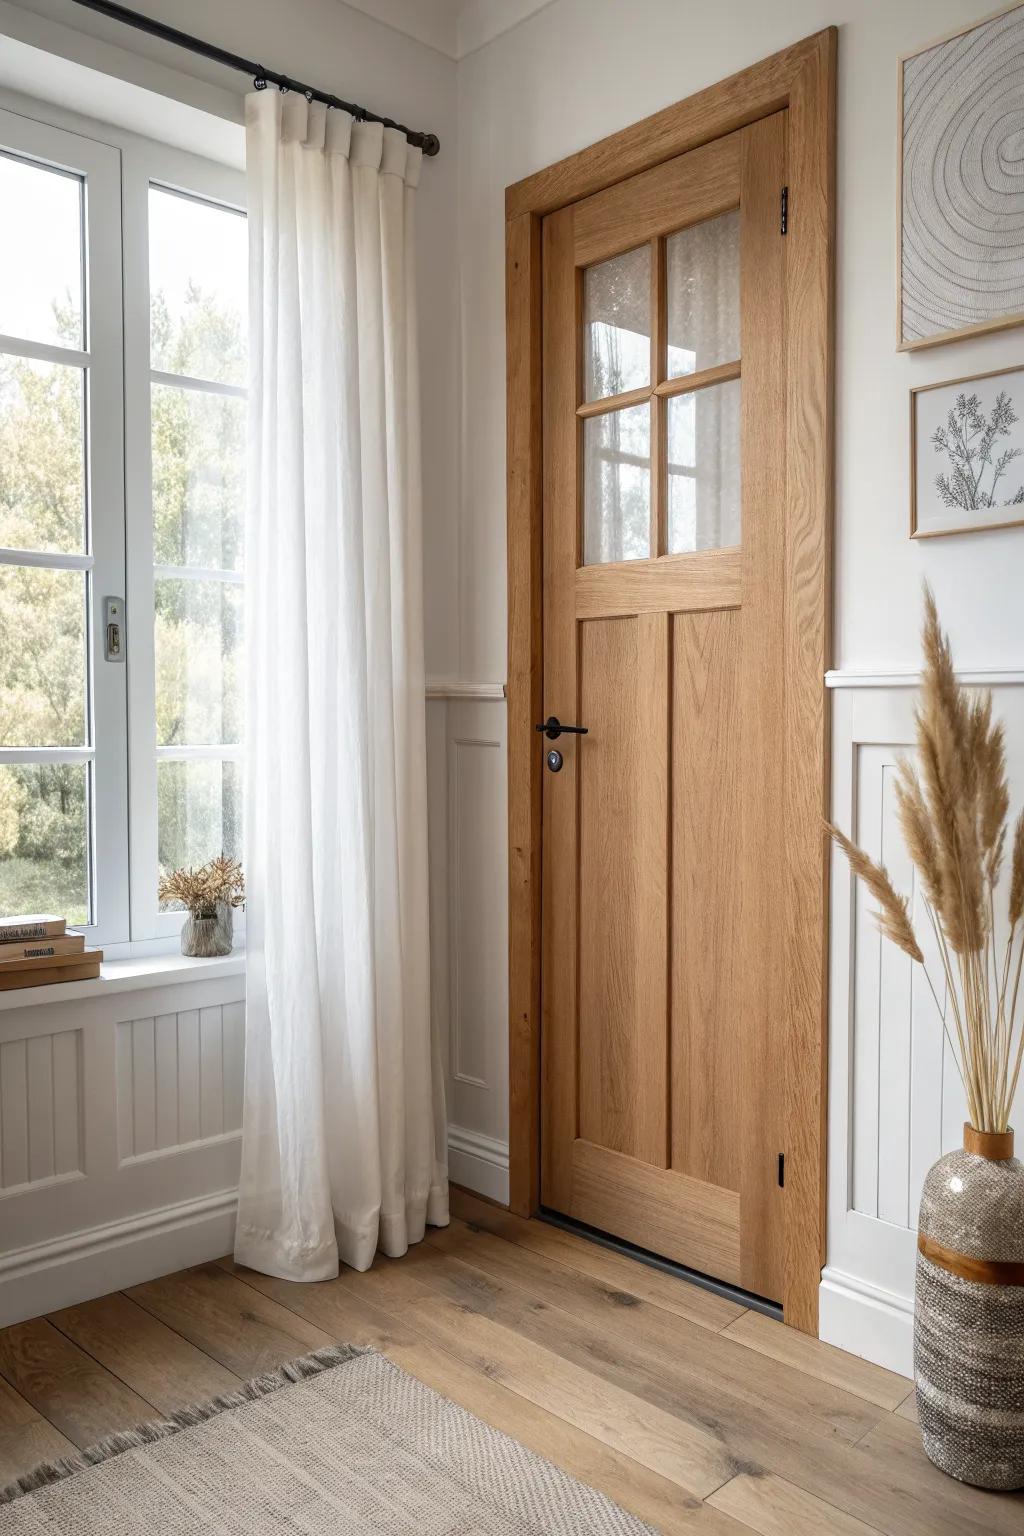
One detail that always looks custom is extending picture frame wainscoting so it visually “wraps” around door and window casings. I’ve used this in older homes to make everything feel cohesive, like it was always meant to be there.
Some handy options:
- Primed Pine or MDF Trim Molding: Create elegant frames around your doors and windows by cutting and installing this versatile, paint-ready molding.
- Construction Adhesive: Ensure your wainscoting and trim stay perfectly in place for years with this strong, reliable adhesive.
- Caulk Gun and Paintable Caulk: Achieve a seamless, professional finish by filling gaps between your trim and the wall before painting.
Built-In Ledge for Rotating Decor
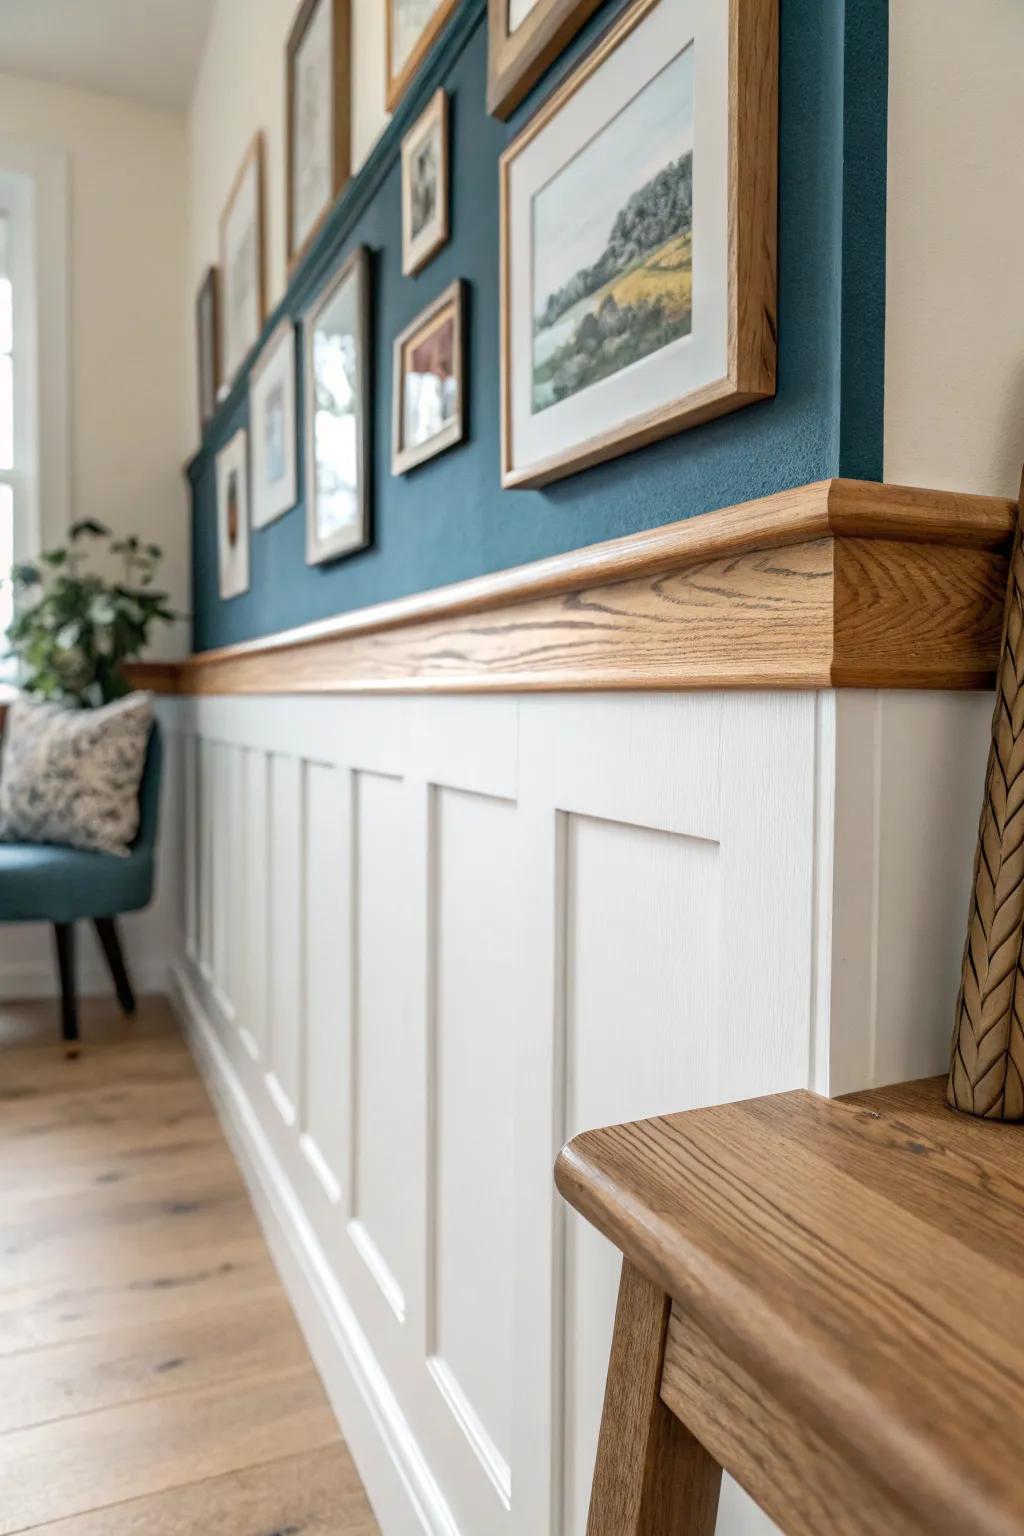
I love adding a shallow ledge on top of the chair rail so the picture frame wainscoting doubles as a display spot. I’ve styled mine with cutting boards, little framed prints, and seasonal stems without putting more holes in the wall.
Possibly helpful picks:
- Oak Floating Picture Ledge Shelves: Add a dedicated display surface atop your wainscoting to showcase frames and decor without drilling extra holes.
- Classic Wood Picture Frames (Various Sizes): Style your new ledge with cohesive wooden frames to create a gallery wall effect that is easily changeable.
- Decorative Wooden Molding Trim: Finish the top of your wainscoting project with detailed molding to create that essential decorative cap ledge.
Wallpaper or Fabric Inside Each Box
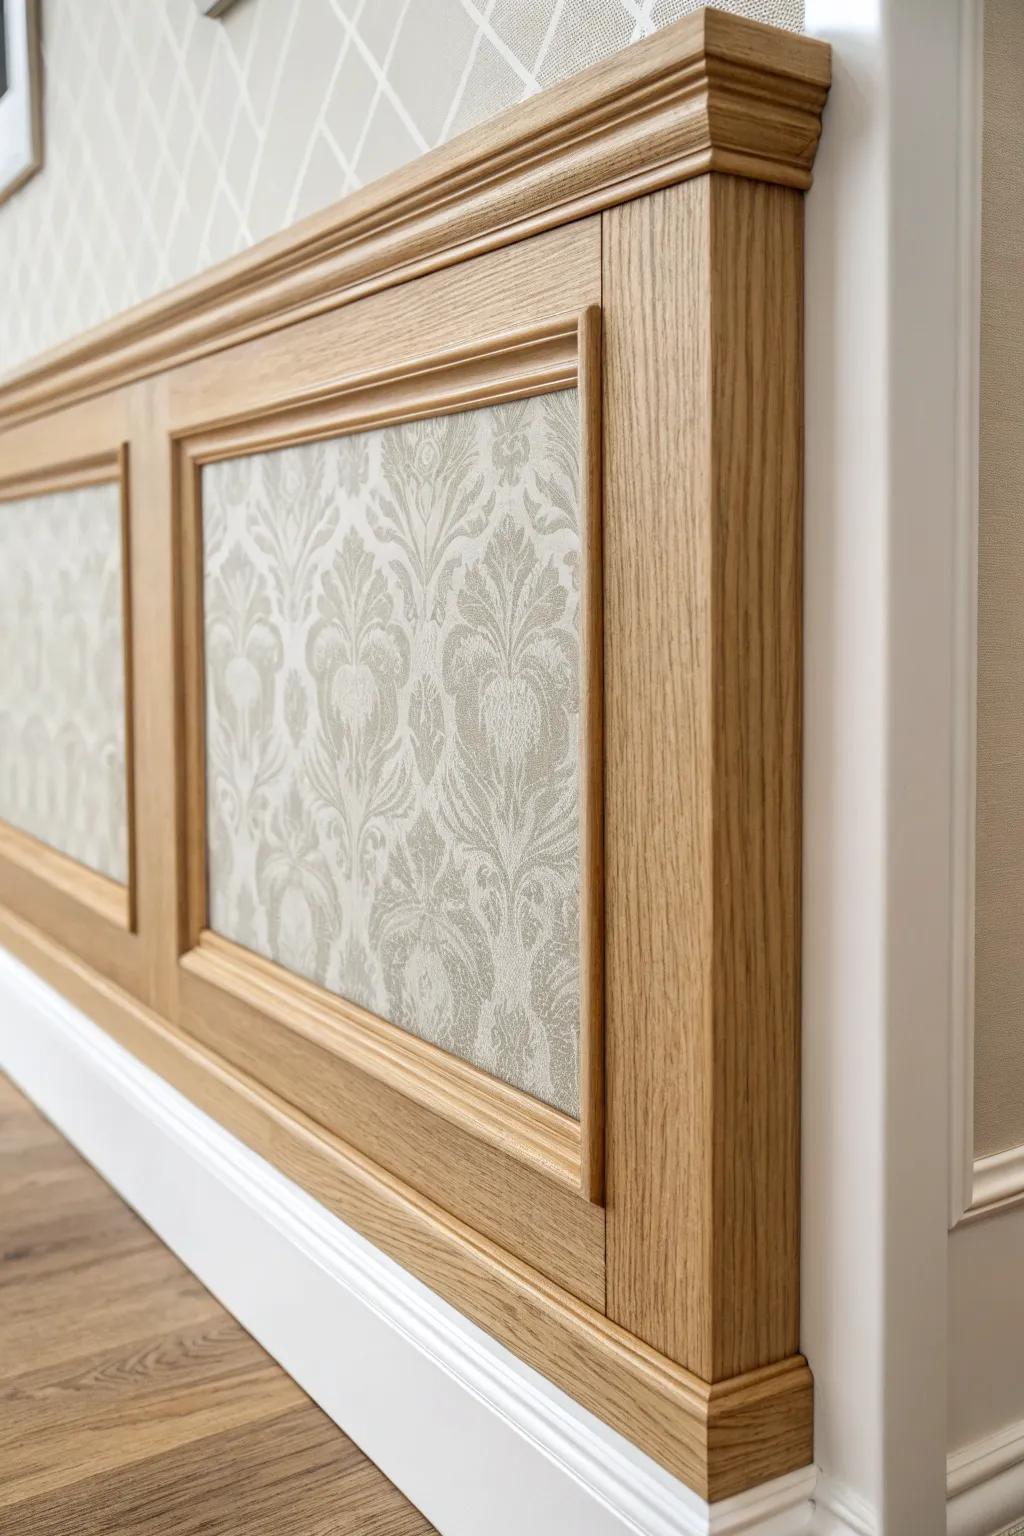
For a real wow moment, I’ve lined the inside of picture frame wainscoting boxes with wallpaper-like patterns or tightly stretched fabric, then sealed it so it holds up. It reads like art panels built into the wall, and it’s ridiculously photogenic.
You might like:
- Peel-and-Stick Tole or Damask Wallpaper: Transform your wainscoting panels instantly with elegant peel-and-stick wallpaper featuring classic damask patterns for a sophisticated look.
- Unfinished Oak Wood Moulding Trim: Create the perfect picture frame borders using unfinished oak moulding that you can stain to match your existing decor.
- Matte Polycrylic Protective Finish: Seal your wallpaper or fabric inserts with a clear matte finish to ensure durability and protection against wear.
Reclaimed Wood Frames for Rustic Character
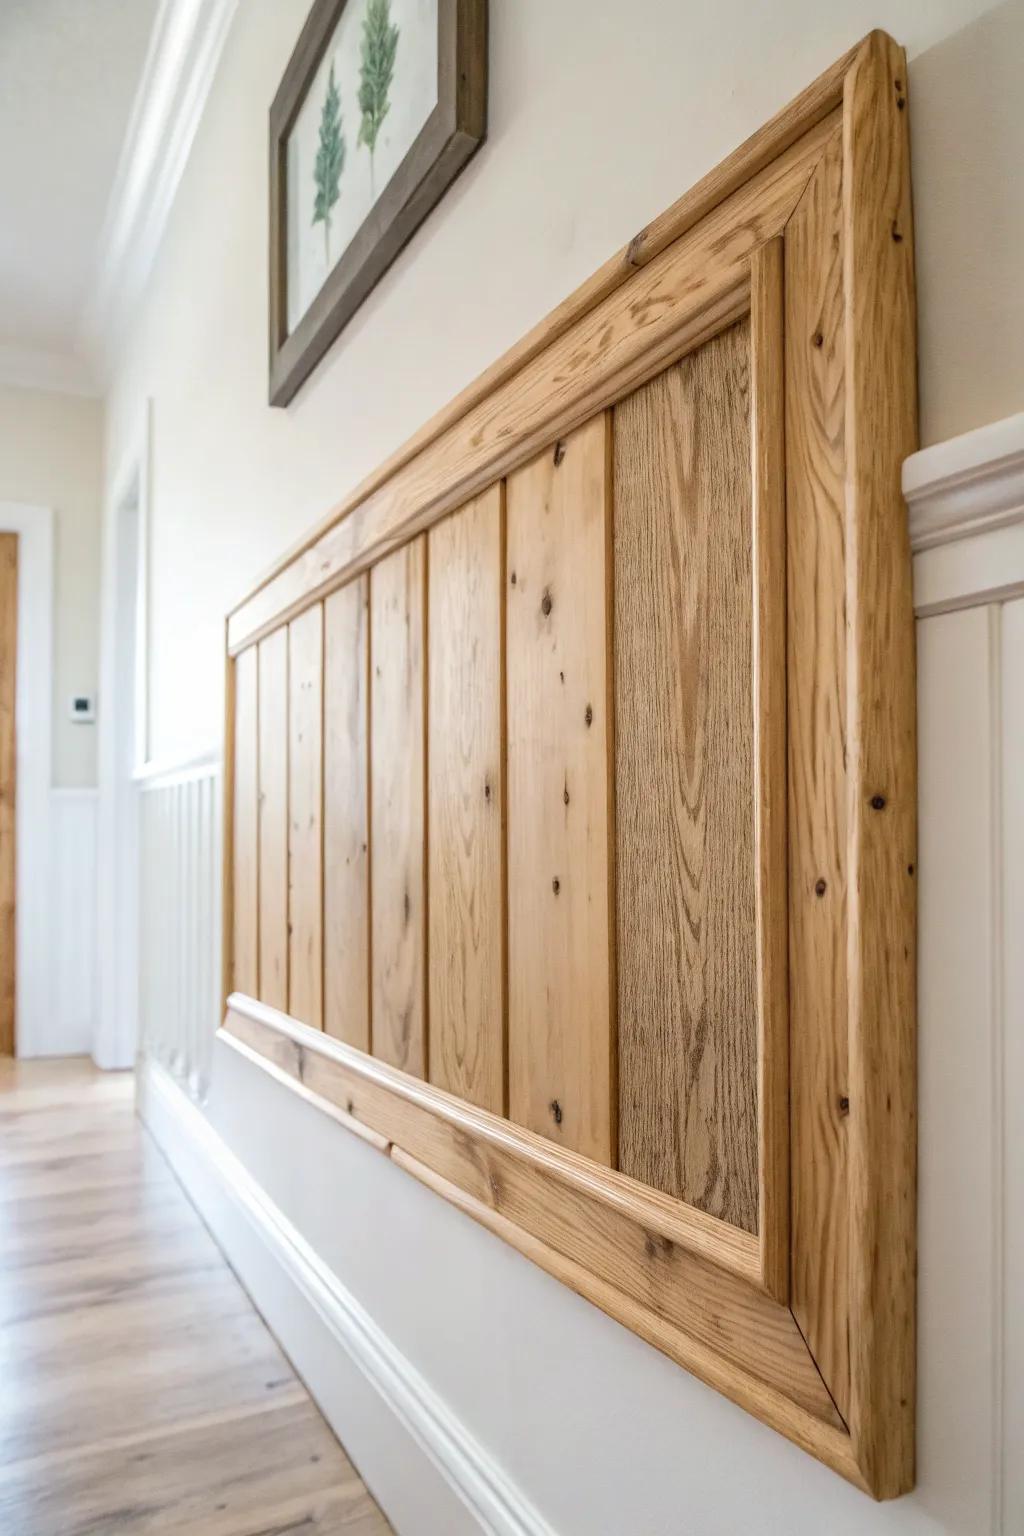
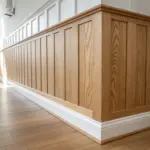
Using reclaimed wood as the trim for picture frame wainscoting brings in grain, knots, and little saw marks that feel warm and lived-in. I’ve done this with a light clear finish so the wood stays the star without darkening the whole room.
Possibly handy products:
- Clear Satin Water-Based Polyurethane: Protect your reclaimed wood without yellowing it; apply this clear coat to preserve the natural grain and color.
- Reclaimed Barn Wood Planks: Achieve that authentic rustic look instantly by installing these weathered planks within your wainscoting frames.
- Brad Nailer Kit: Secure your rustic trim pieces neatly and efficiently with this essential tool for professional-looking woodwork installation.
Backlit Shadow-Box Picture Frames
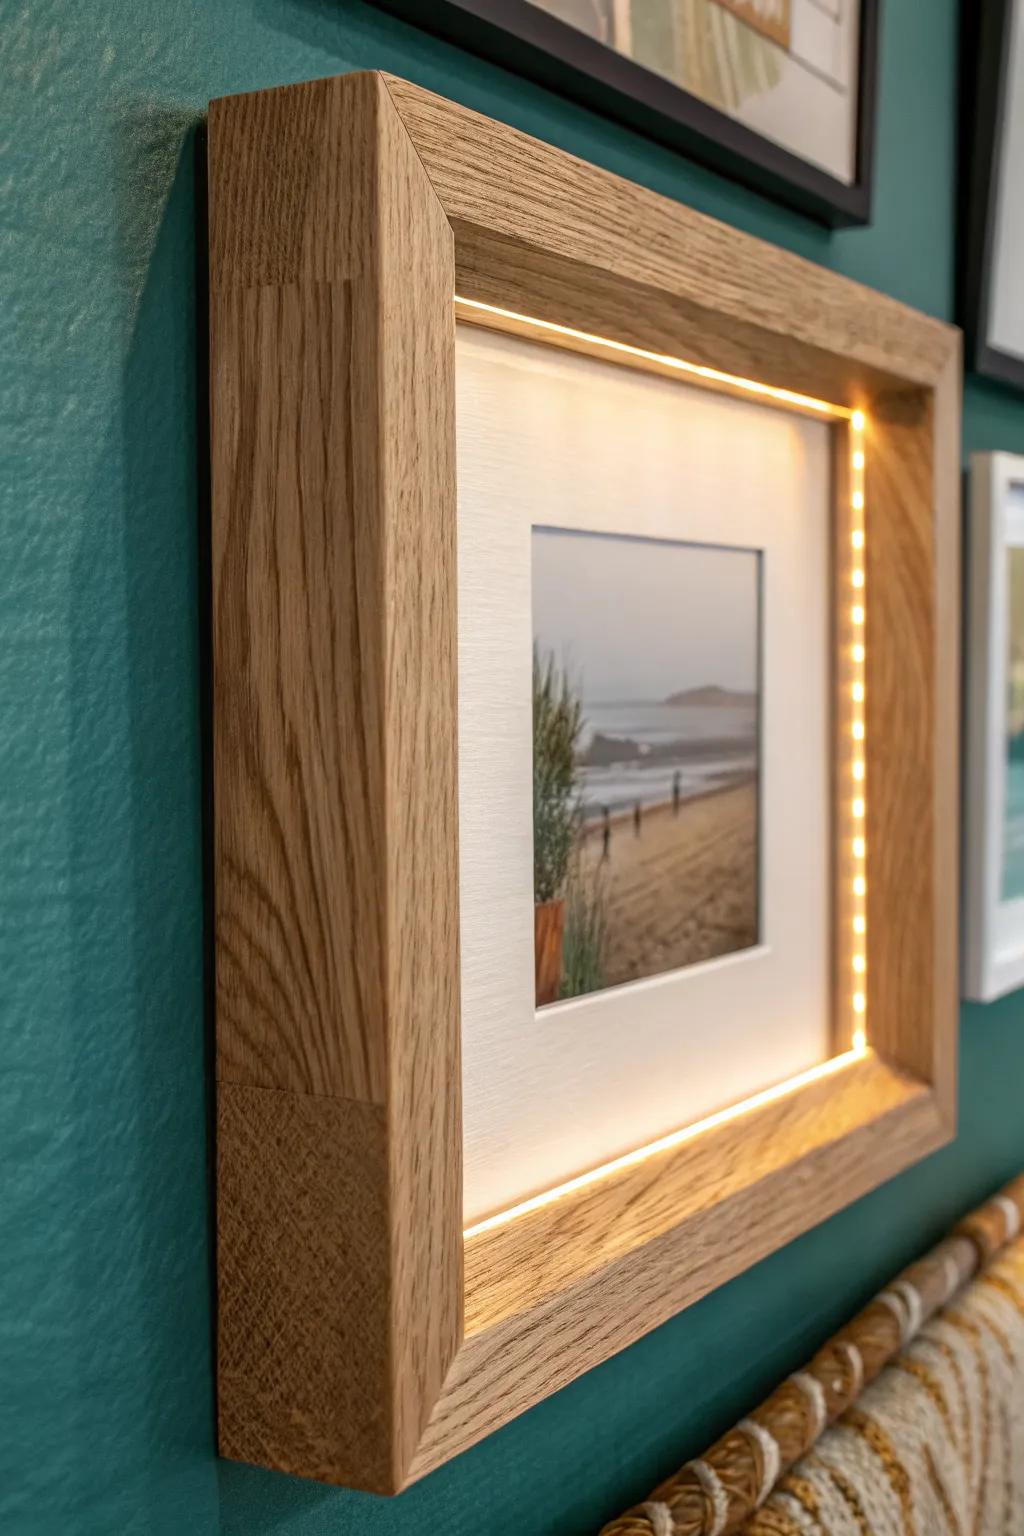
My most dramatic build so far was picture frame wainscoting with a tiny recessed “shadow gap” and soft backlighting tucked behind the inner edge. At night it looks like the wall is glowing from within, and every guest asks how it’s done.
Check if these fit your needs:
- Deep Shadow Box Frames: Create the perfect housing for lights and art by choosing frames with enough depth for hidden components.
- Narrow LED Strip Lights: Add that signature glow to your frames with thin, flexible lighting strips designed for tight spaces.
- Beveled Picture Mats: Elevate your artwork and conceal wiring using professional-grade mats that create necessary internal spacing.


