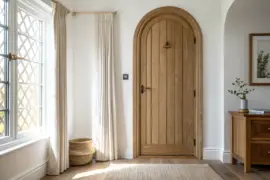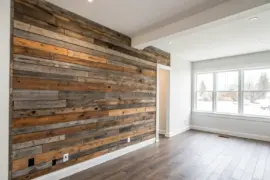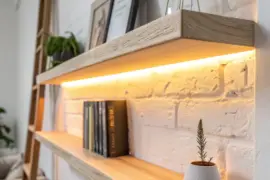
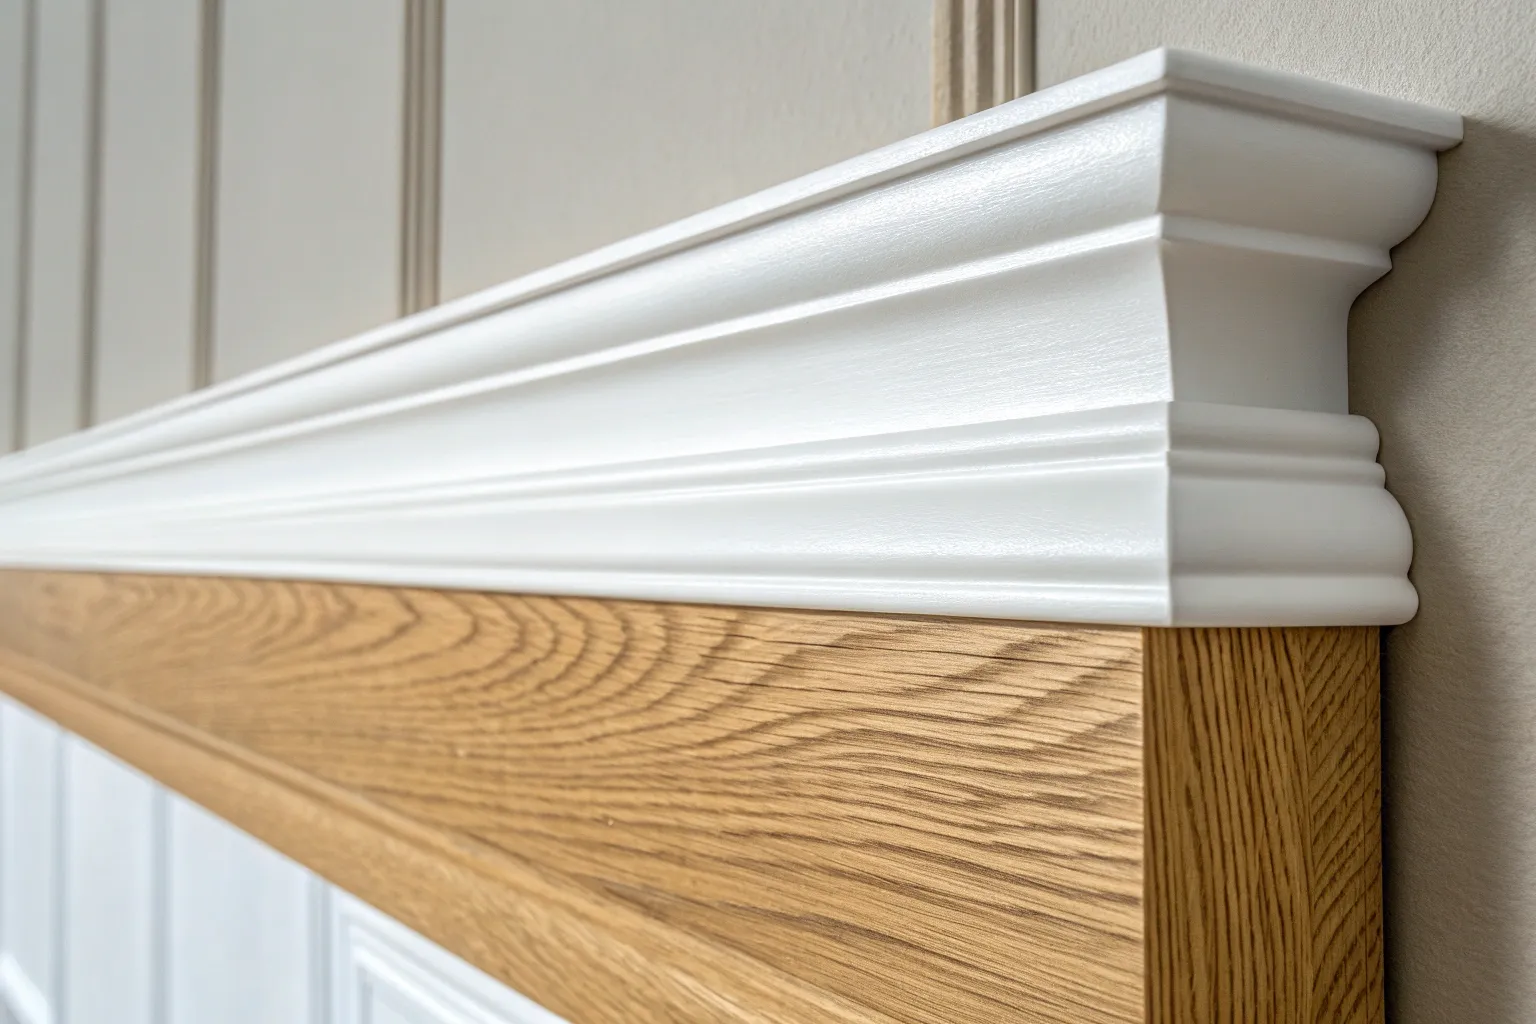
A 3 piece crown molding build-up is my favorite way to get that chunky, custom-millwork look without paying for one massive profile. You’re basically stacking simple trim like a little puzzle, and the finished “wow” factor is way bigger than the effort.
High-Contrast Outline for Drama

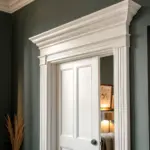
If you want the molding to pop, I’ll paint the 3 piece crown molding stack a crisp trim color and keep the walls darker for a sharp outline. I tried this in a living area once, and the room instantly felt more “finished” and intentional.
Some handy options:
- Architectural Crown Molding Kit: Instantly elevate your room’s character with detailed molding profiles that create a sophisticated, high-end finished look.
- Interior Semi-Gloss Trim Paint: Achieve that crisp, professional contrast against dark walls with durable, bright white paint designed specifically for trim.
- Professional Caulk & Gun Set: Ensure seamless joints and perfectly filled gaps for a flawless, custom-built appearance on your molding installation.

Classic Board-Plus-Crown Build-Up

The most reliable 3 piece crown molding combo I use is a flat frieze board, a small crown, and a thin cap molding to cleanly meet the ceiling. I’ve installed this in multiple rooms, and it always reads “custom” even with basic materials.
Might be a good match:
- Primed MDF or Finger-Jointed S4S Boards: Create your base layer perfectly with these smooth, primed boards that are ready for paint and install easily.
- Traditional White Crown Molding Profile: Add the main architectural curve to your build-up using this classic, lightweight profile for a sophisticated finish.
- Small Decorative Cap or Bed Molding: Finish the transition to the ceiling cleanly with this subtle trim piece that hides uneven gaps effectively.



Tall Frieze for Instant Height

When ceilings feel short, I stack a taller frieze board with a mid-size crown and a slim ceiling trim so the eye travels upward. I tried this in a snug hallway and it made the whole space feel surprisingly taller.
May just do the trick:
- Wide Flat Boards for Frieze: Create a dramatic vertical base by installing these wide, smooth boards directly beneath your decorative crown.
- Mid-Size Wood Crown Molding: Add classic elegance to your stack with this versatile mid-size molding that bridges the frieze and ceiling.
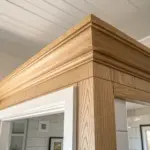
- Dentil Molding Accent Trim: Replicate the specific detail in the photo by adding a strip of intricate dentil molding to your stack.

Kitchen Cabinet Top “Built-In” Look

For cabinet runs, I love a 3 piece crown molding stack that bridges that awkward gap: a straight filler board, a decorative crown, and a small scribe/cap at the ceiling. I’ve done this over open shelving too, and it instantly looks like the cabinets were made for the room.
Useful items to consider:
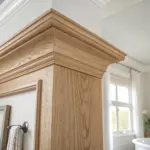
- Oak Wood Crown Molding: Add elegance to your cabinetry with wood molding that can be stained or painted to match perfectly.
- Decorative Wood Rope Moulding: Enhance your trim stack with detailed rope accents that bring texture and a custom feel to any room.
- Brad Nailer Kit: Secure your molding stack professionally and efficiently with a reliable nailer designed for detailed finish work.
Stepped Traditional Profile

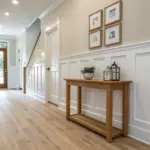
A clean way to fake pricey millwork is a step build-up: flat stock, a narrow square trim, then the crown molding on top. I’ve built this profile in my workshop as a mock-up, and it’s the one students pick because it cuts and installs so predictably.
Products that could assist:
- Oak Flat Stock Baseboard Molding: Use this flat board as your sturdy base layer to create height and substantial depth for your buildup.
- Square Edge Wood Tim: Add this narrow strip above the flat stock to create the distinctive stepped shadow line effect shown here.
- Decorative Cap or Shoe Molding: Finish the top or bottom edges with this curved profile to soften the transition and add elegance.
Dentil-Style Layering Without the Cost

You can get that formal vibe using three parts: a frieze board, a dentil-look detail strip, and a simple crown to finish it off. I’ve used this trick in a dining nook, and once it’s painted, everyone assumes it’s expensive architectural trim.
Maybe worth checking out:
- Primed MDF Frieze Board: Build your molding foundation with this sturdy board, creating the necessary height and flat surface for layering.
- Decorative Detail Molding Strip: Add this intricate molding strip to the middle layer to mimic the classic dentil or egg-and-dart architectural style.
- Classic Ogee Crown Molding: Top off your assembly with this curved profile to soften the edges and connect the layers to the ceiling.

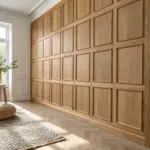

Same-Color Seamless Crown Stack

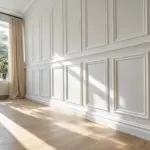
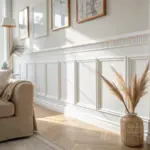
Painting all three pieces the same color (wall or ceiling) makes a 3 piece crown molding build-up look like one big carved profile. I’ve done this in a bedroom, and it adds depth without screaming for attention.
Consider these options:
- Primed Polyurethane Dentil Crown Molding: Achieve the classic look featured in the image with this detailed molding, ready for your custom paint choice.
- Paintable Caulk & Gun Kit: Ensure your three-piece stack looks like one seamless unit by filling gaps before painting for a flawless finish.
- Matte White Ceiling Paint: Unify your molding stack with a smooth, non-reflective finish that hides imperfections and softens the overall look.
Inside and Outside Corner-Friendly Stack

For tricky corners, I stick with a forgiving 3 piece crown molding recipe: flat stock, crown, then a small cap that hides tiny alignment sins. I learned the hard way on an out-of-square room, and that top cap saved me from re-cutting everything.
Possibly handy products:
- Oak Flat Stock Lumber: Use sturdy hardwood flat stock as your base layer to build depth and provide a solid mounting surface.
- Solid Wood Crown Molding: Instantly add elegance by layering this classic profile over your flat stock for a timeless, built-up look.
- Small Decorative Cove or Cap Molding: Finish the top edge with a small profile to hide gaps and create a seamless ceiling transition.
Light Rail Glow With Three Pieces

One of my go-to upgrades is a 3 piece crown molding build that creates a little shelf for indirect light: a backer board, a “rail” strip, and the crown as the face. I’ve installed this in a cozy room and the soft perimeter glow makes the ceiling feel higher at night.
Check these products out:
- Flexible LED Strip Lights Warm White: Instantly create that warm, hidden glow by tucking these adhesive strips behind your new molding shelf.
- Brad Nailer Kit: Secure your multi-piece molding layers cleanly and efficiently without damaging the delicate wood surfaces.
- Unfinished Oak Crown Molding: Select stain-grade wood molding to serve as the beautiful face of your custom three-piece assembly.
Modern Minimal “Shadow Line” Crown

For a modern farmhouse vibe, I’ll do a 3 piece crown molding stack with clean edges: a flat frieze, a thin spacer strip, and a simple crown to create a subtle shadow line. I used this in a workspace and it felt updated without losing that warm wood-house character.
A few things you might like:
- Primed MDF or Wood Crown Molding: Choose a clean, simple crown profile to act as the top cap of your modern three-piece stack.
- Flat 1×4 or 1×6 Transition Boards: Use flat frieze boards to extend the molding height and create that substantial, custom cabinetry appearance.
- Small Cove or Bed Moulding: Install this crucial detail piece between the frieze and crown to create the distinctive shadow line effect.
Crown Wrapped Around Faux Beams

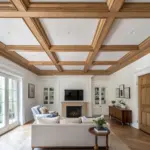
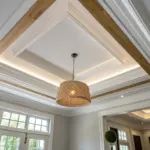
You can make beams look more “built-in” by running a 3 piece crown molding stack around the beam perimeter where it meets the ceiling. I’ve done this on a beam box-out, and that layered trim hides seams while making the whole beam look beefier.
Check if these fit your needs:
- Unfinished Oak Crown Molding: Choose unfinished oak crown molding to perfectly match your natural wood beams for a seamless, custom built-in look.
- Pneumatic Brad Nailer Kit: Secure your layered trim effortlessly with a reliable brad nailer, ensuring clean holes and professional-looking attachments.
- Wood Filler Stainable: Hide nail holes and corner gaps effectively with stainable filler to ensure a smooth finish on your woodwork.
Mixed-Material Reveal Line

A fun twist is slipping a thin metal reveal strip between two of the three layers (frieze, reveal, crown) so your 3 piece crown molding has a modern edge. I tested this detail on a sample wall, and that tiny line makes the whole profile look designer-level.
These products might help:
- Brass Flat Bar/Strip Stock: Buy solid brass flat bars to create that elegant, metallic reveal line between your molding layers.
- Self-Adhesive Gold Molding Trim: Apply peel-and-stick metallic trim for a simpler, faster way to achieve a designer mixed-material look.
- Construction Adhesive for Metal & Wood: Secure your metal reveal strips firmly to the wood molding with strong, reliable construction adhesive.