
Archways already feel special, but the right trim is what makes them look finished and intentional. I’ve trimmed a lot of curves in my shop, and these ideas range from classic casing upgrades to a few unexpected details that make people stop and stare.
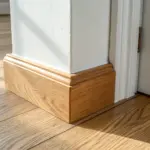
Bullnose-Hiding Trim Build-Out
If your arch has rounded drywall edges, a slightly thicker archway trim build-out can hide that bullnose and give you crisp lines again. I’ve tackled a few like this, and it’s such a relief to stop seeing that “melted” edge.
Maybe worth checking out:
- Flexible Arch Molding Kit: Transform your archway easily with flexible trim designed to curve smoothly over existing bullnose edges.
- Oak Wood Veneer Sheets: Create a custom, high-end finish by lining the inner arch surface with real wood veneer.
- Construction Adhesive and Caulk Gun: Secure your new trim firmly to the wall and fill any gaps for a seamless, professional look.


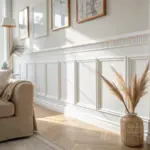
Clean Square-Edge Casing
When I want a timeless look fast, I install simple square-edge archway trim with crisp reveals so the curve feels clean instead of fussy. I’ve done this in multiple rooms, and it always makes the opening look instantly more “built-in.”
Consider these options:
- Flexible Archway Molding Kit: Create smooth, perfectly curved arches easily with pliable molding designed to bend without cracking or breaking.
- Square-Edge Wood Boards: Build crisp, modern vertical casing with straightforward, unfinished dimensional lumber ready for your custom stain.
- Brad Nailer Kit: Secure your trim pieces precisely with a reliable nail gun that leaves minimal holes to fill.

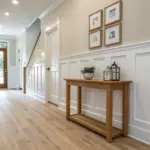
Wider Casing for Instant Drama
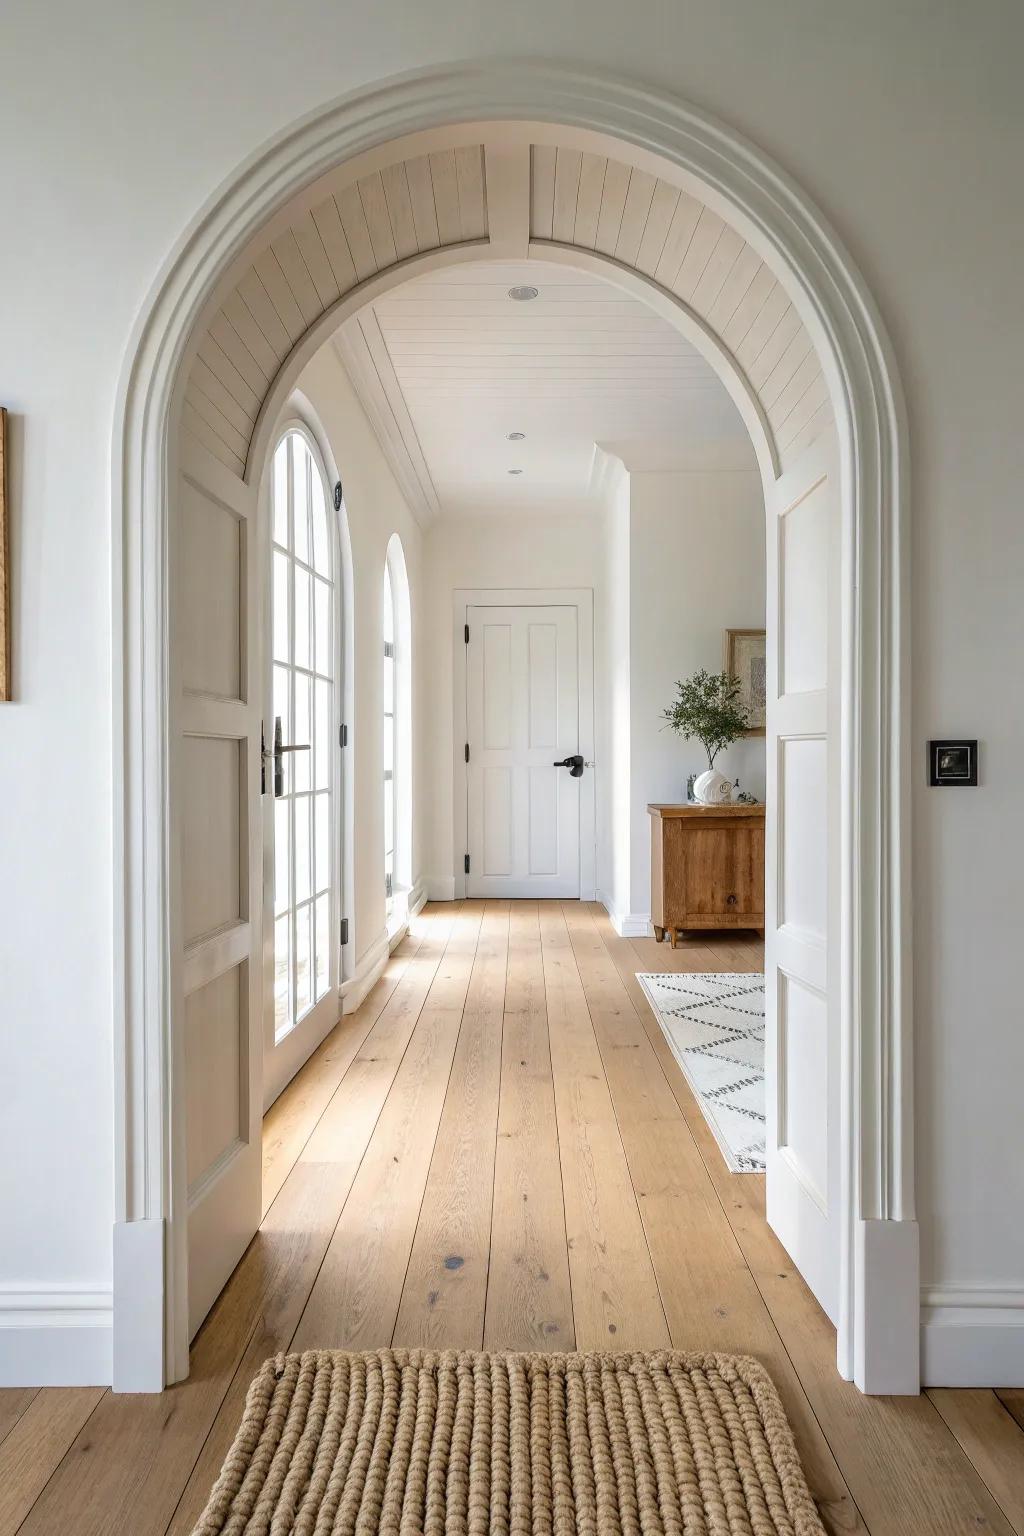
If your arch feels a little skimpy, bumping up to wide archway casing is the quickest way to add presence. I tried this on a plain hallway arch, and the whole transition suddenly felt like real architecture.
These products might be useful:
- Flexible Arch Molding: Create smooth curves effortlessly by using flexible molding designed specifically to wrap around arched doorways.
- Wide MDF Casing Boards: Build substantial side columns for your archway using pre-primed, wide boards for a modern look.
- Architectural Rosette Blocks: Add classic detail to corners or transition points on your trim work with decorative corner blocks.

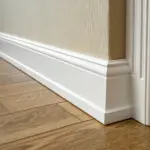
Backband Molding Outline
Adding a slim backband molding around your archway trim gives you that extra shadow line without going full ornate. I love how it hides tiny wall imperfections too—my own plaster patches basically disappeared.
These products might help:
- Flexible Arch Molding: Easily curve this flexible trim around your archway to create clean lines without complex angled cuts.
- Construction Adhesive: Secure your new molding firmly to the wall and arch frame for a gap-free, professional finish.
- Wood Filler & Putty: Fill nail holes or small gaps seamlessly to ensure your new backband looks perfectly integrated.
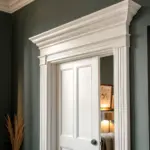
Traditional Built-Up Profiles
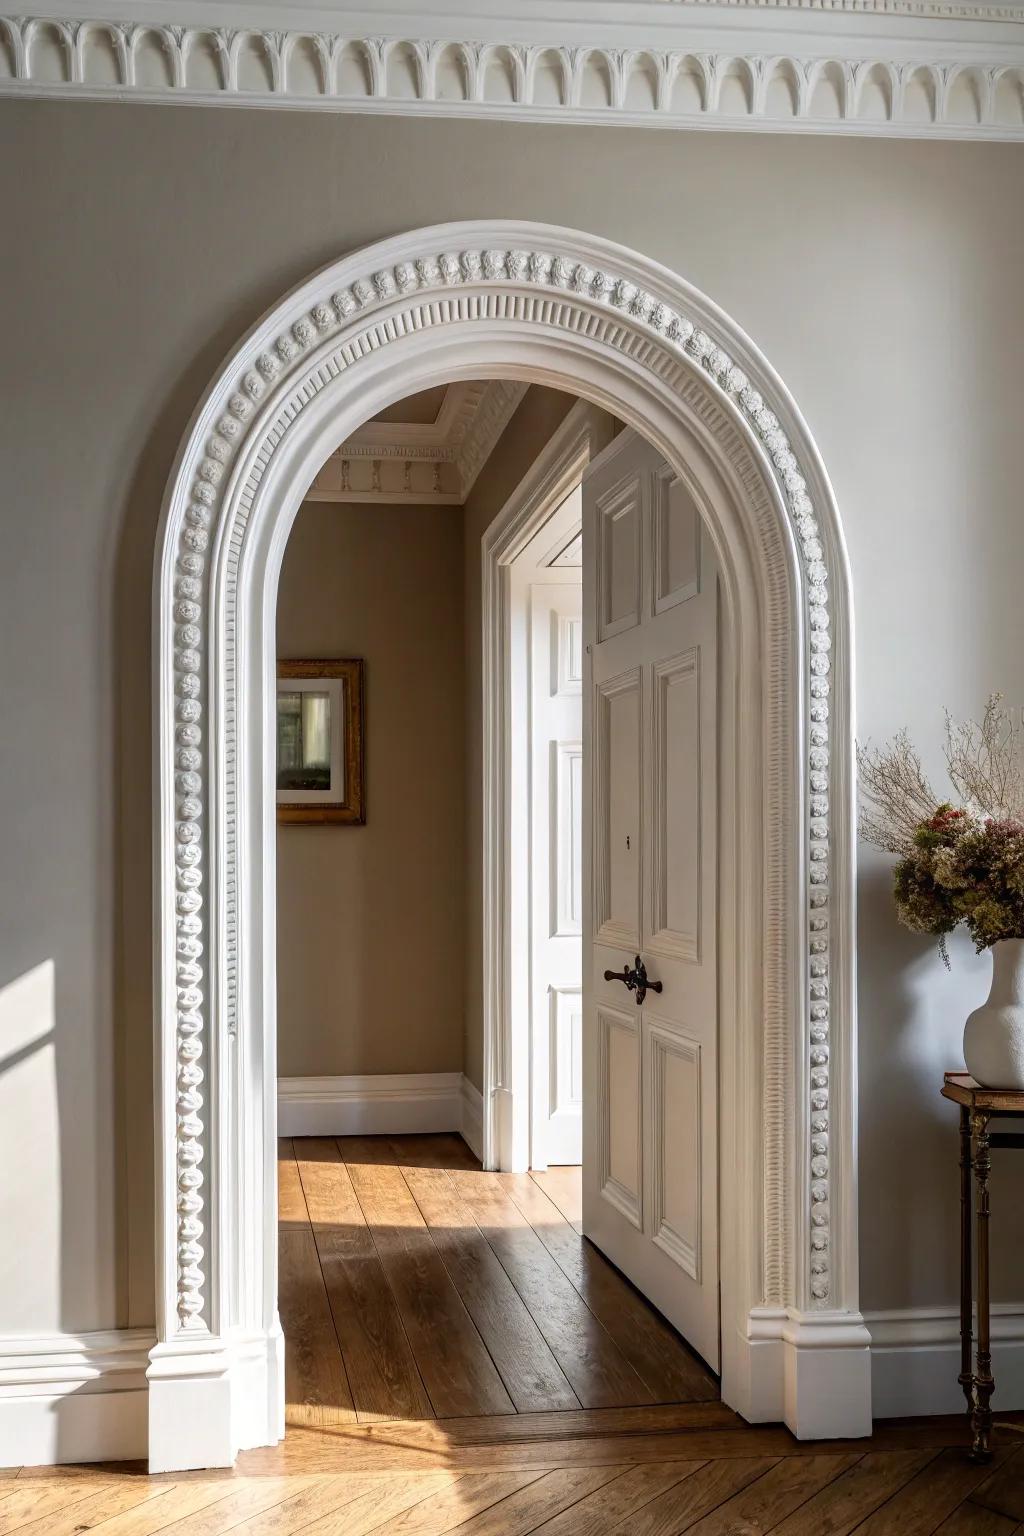
If you love that old-house richness, try built-up archway trim by stacking a few molding profiles to create depth. I’ve done this in my own projects when an opening needed “status,” and it instantly reads custom.
Try these:
- Flexible Archway Molding Kits or Trim: Create elegant curves easily with paintable flexible molding designed to conform perfectly to your unique archway shape.
- Decorative Rosette and Plinth Blocks: Anchor your vertical trim pieces with solid corner blocks and base plinths for an authentic, traditional architectural finish.
- Ornate Chair Rail or Casing Molding: Layer detailed profiles like egg-and-dart or dentil patterns to build up depth and visual interest on flat surfaces.
Fluted Pilasters on the Sides
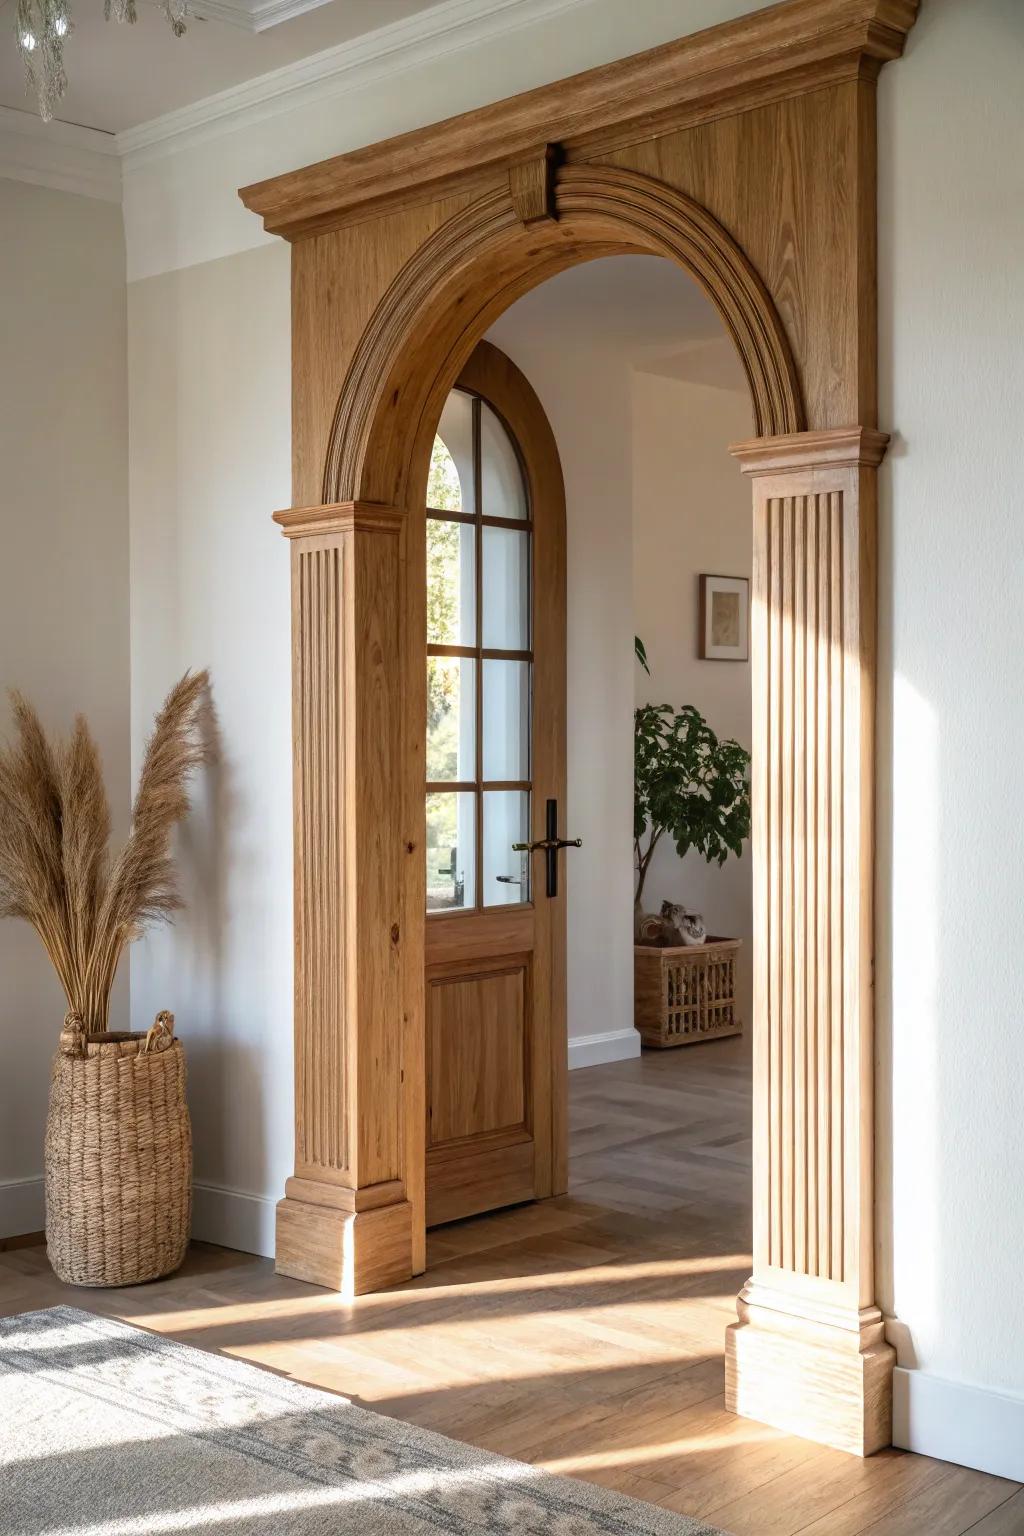
Adding fluted pilasters beside your archway trim makes the opening feel taller and more formal, even in a casual space. I’ve routed flutes in my shop for this, and the vertical lines make the curve look extra graceful.
May just do the trick:
- Wood Fluted Pilaster Molding: Add vertical detail and classic elegance to your archway with these ready-to-install decorative wooden pilaster strips.
- Plunge Router: Carve your own custom flutes into existing wood trim to match specific dimensions using this versatile tool.
- Fluting Router Bit: Create perfectly rounded grooves in your woodwork to achieve that sophisticated, textured column look effortlessly.

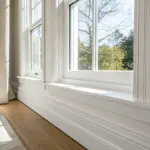
Paneled Jamb Depth Wrap
Don’t forget the inside of the opening—wrapping the depth with paneled jambs makes the archway trim feel substantial from every angle. I used this trick on a thick wall, and it turned a plain pass-through into a feature.
Products that could assist:
- Flexible Archway Moulding Kit: Easily curve trim around your archway to create a seamless, custom-built look without complicated carpentry cuts.
- Oak Wood Veneer Sheets: Cover plain drywall jambs with real wood veneer to match your trim and add instant warmth and texture.
- Contour Gauge Duplicator Tools: Ensure your paneling fits perfectly against curved surfaces by precisely copying the unique shape of your arch profile.
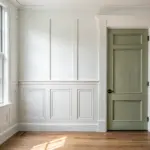
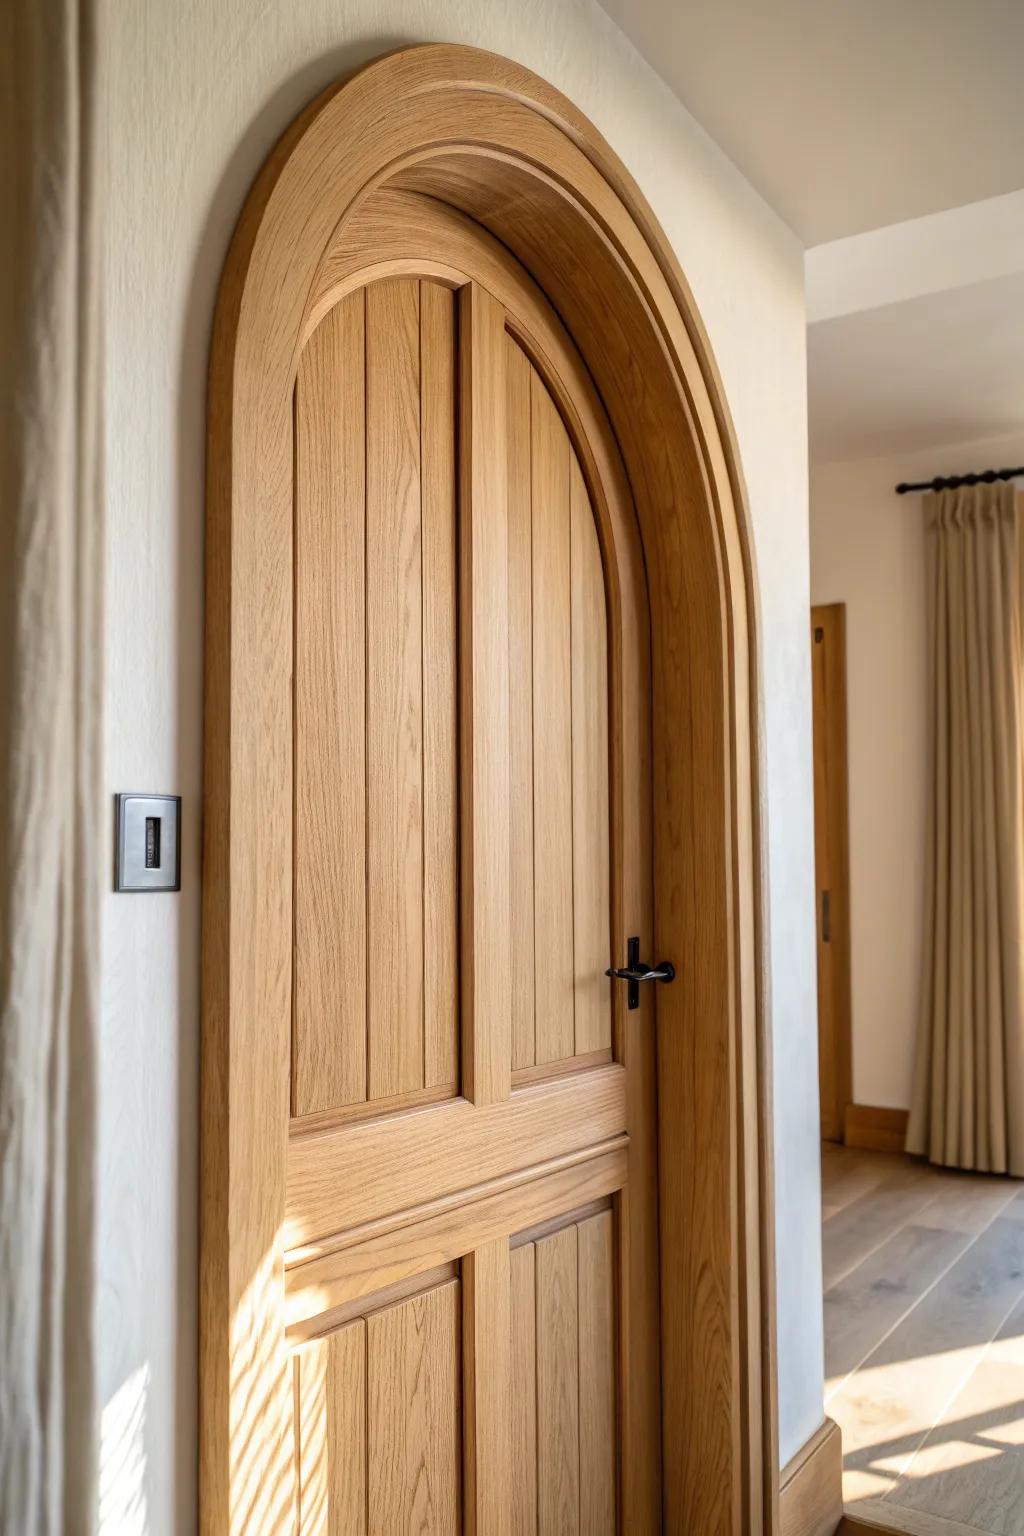
Painted Trim With Wall Contrast
Classic but always good: bright painted archway trim against a deeper wall color makes the curve pop in a really satisfying way. I’ve done this with moody neutrals, and the arch instantly became the “frame” for the next room.
You might like:
- Flexible Arch Molding for Doorways: Achieve a perfectly curved archway finish easily with flexible molding designed to bend around rounded architectural frames.
- High-Quality Semi-Gloss Interior Trim Paint: Create a sharp, durable contrast against your walls using premium trim paint that highlights architectural details beautifully.
- Professional Angle Sash Paint Brush: Ensure crisp, clean lines between your trim and wall color with an angled brush designed for precision work.
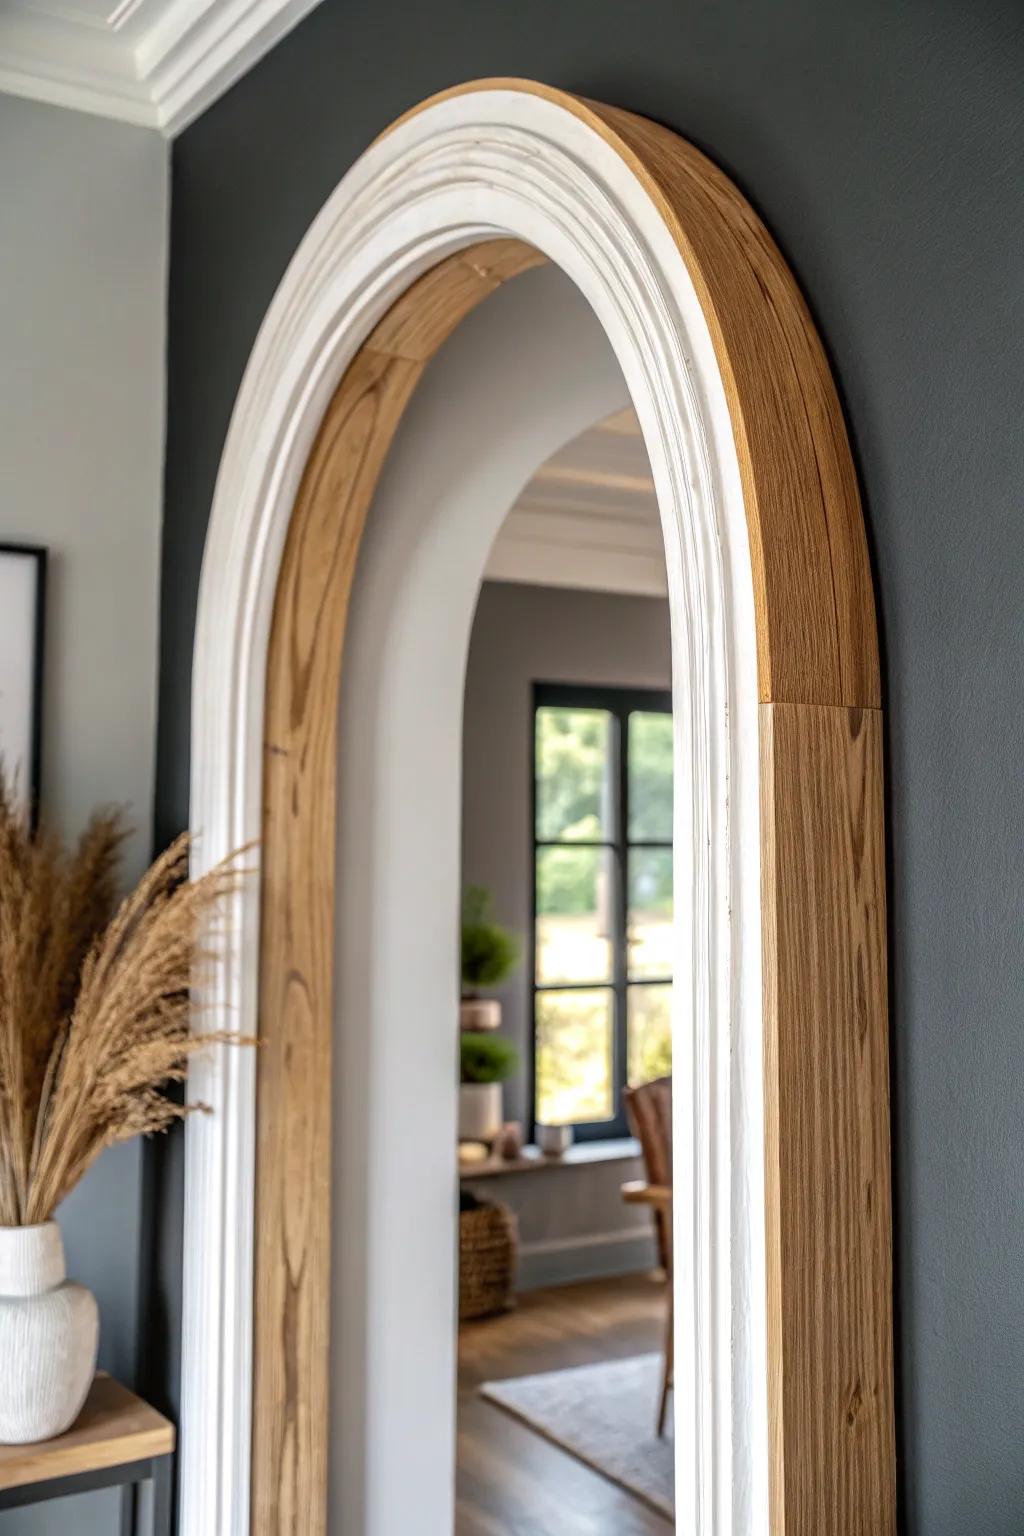
Color-Drenched Trim for a Soft Arch
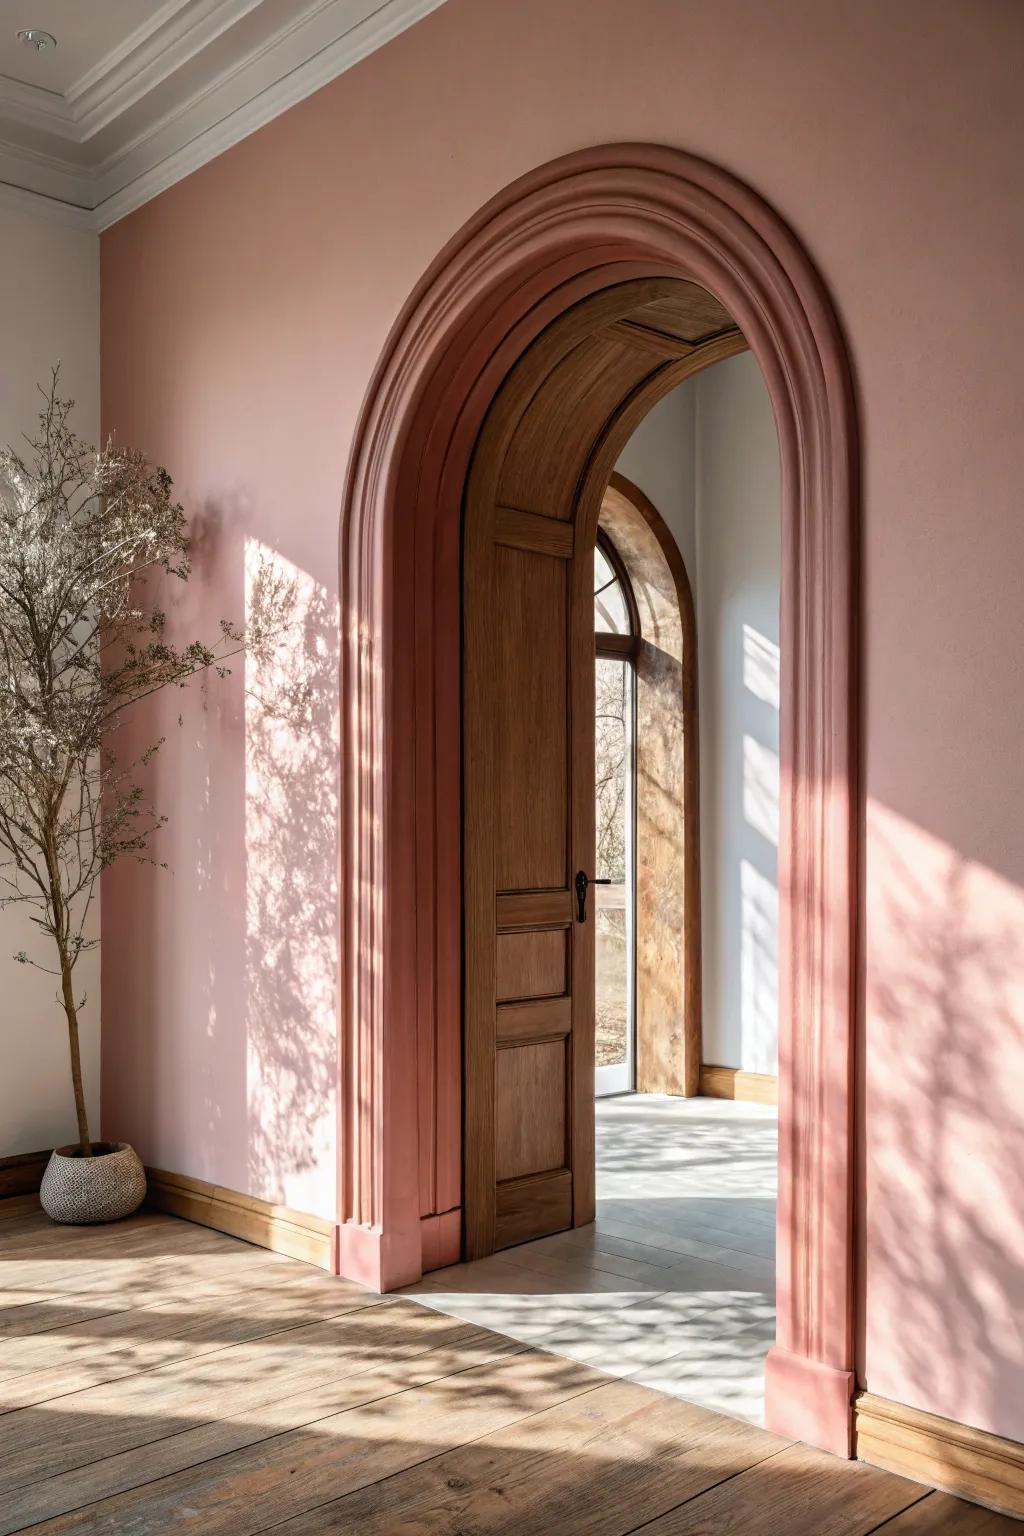
If you want the arch to feel gentle and modern, paint the archway trim the same color as the wall so the curve reads as shape, not outline. I tried this in a small space, and it made the opening feel bigger and calmer.
Useful items to consider:
- Blush Pink Interior Paint: Transform your space by painting walls and trim in matching, soft pink hues for a cohesive, color-drenched effect.
- Premium Paint Rollers and Brushes: Ensure a seamless finish on both flat walls and curved trim molding with high-quality application tools.
- Flexible Molding Trim: Create the perfect arch shape easily with bendable molding that adheres smoothly to curved doorways before painting.
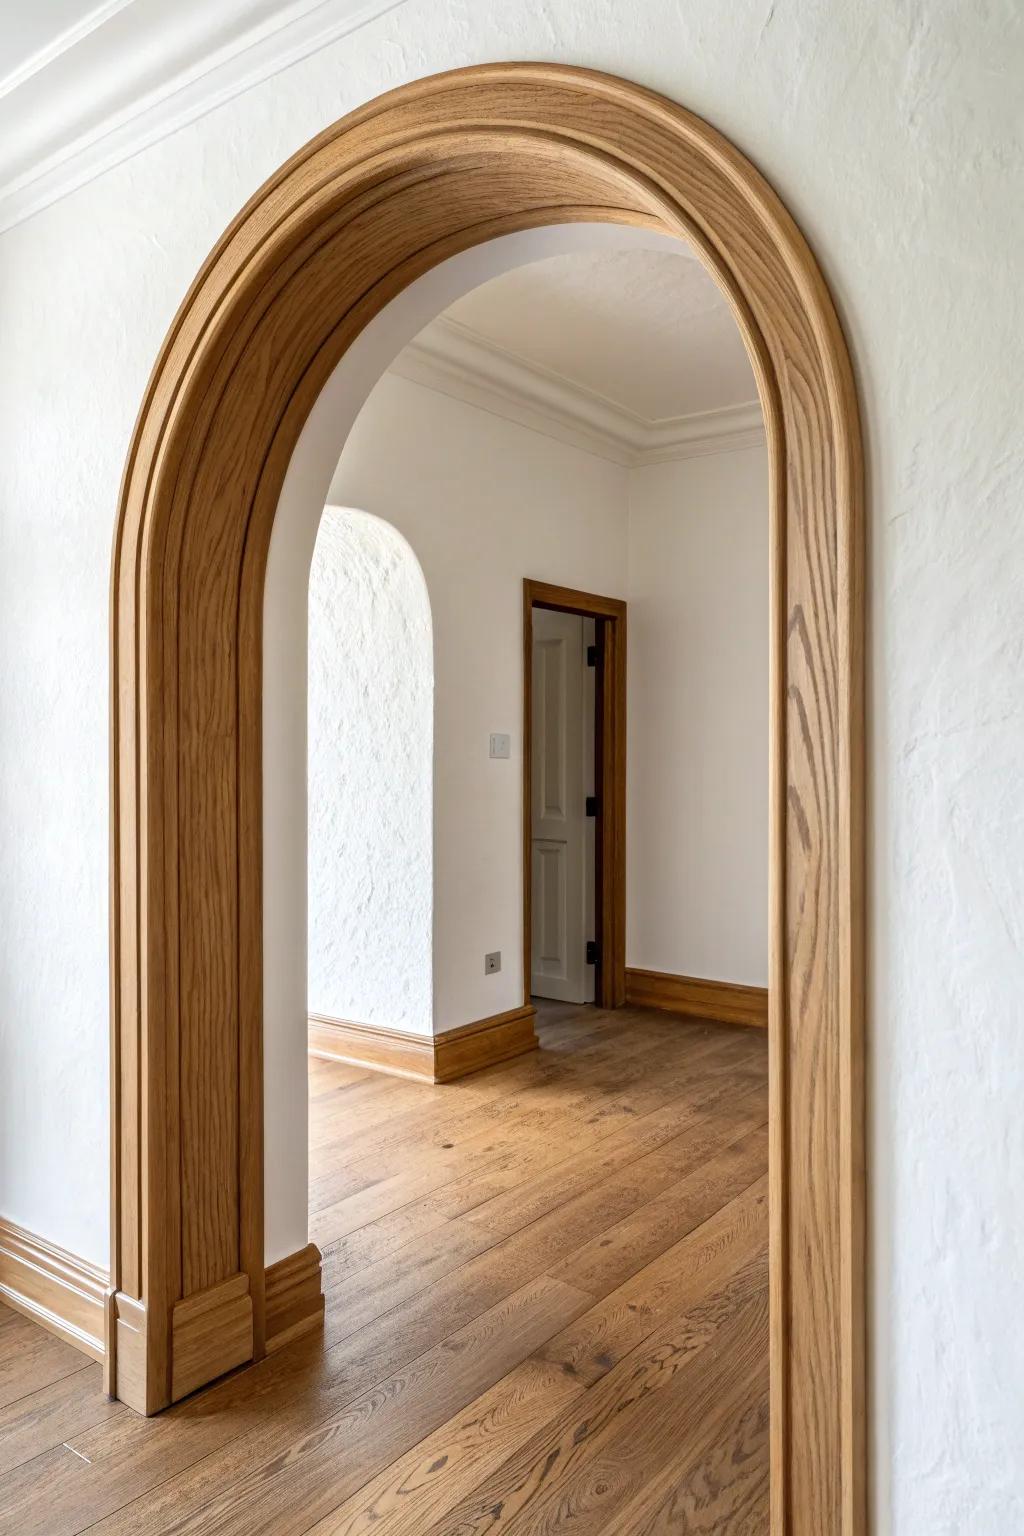
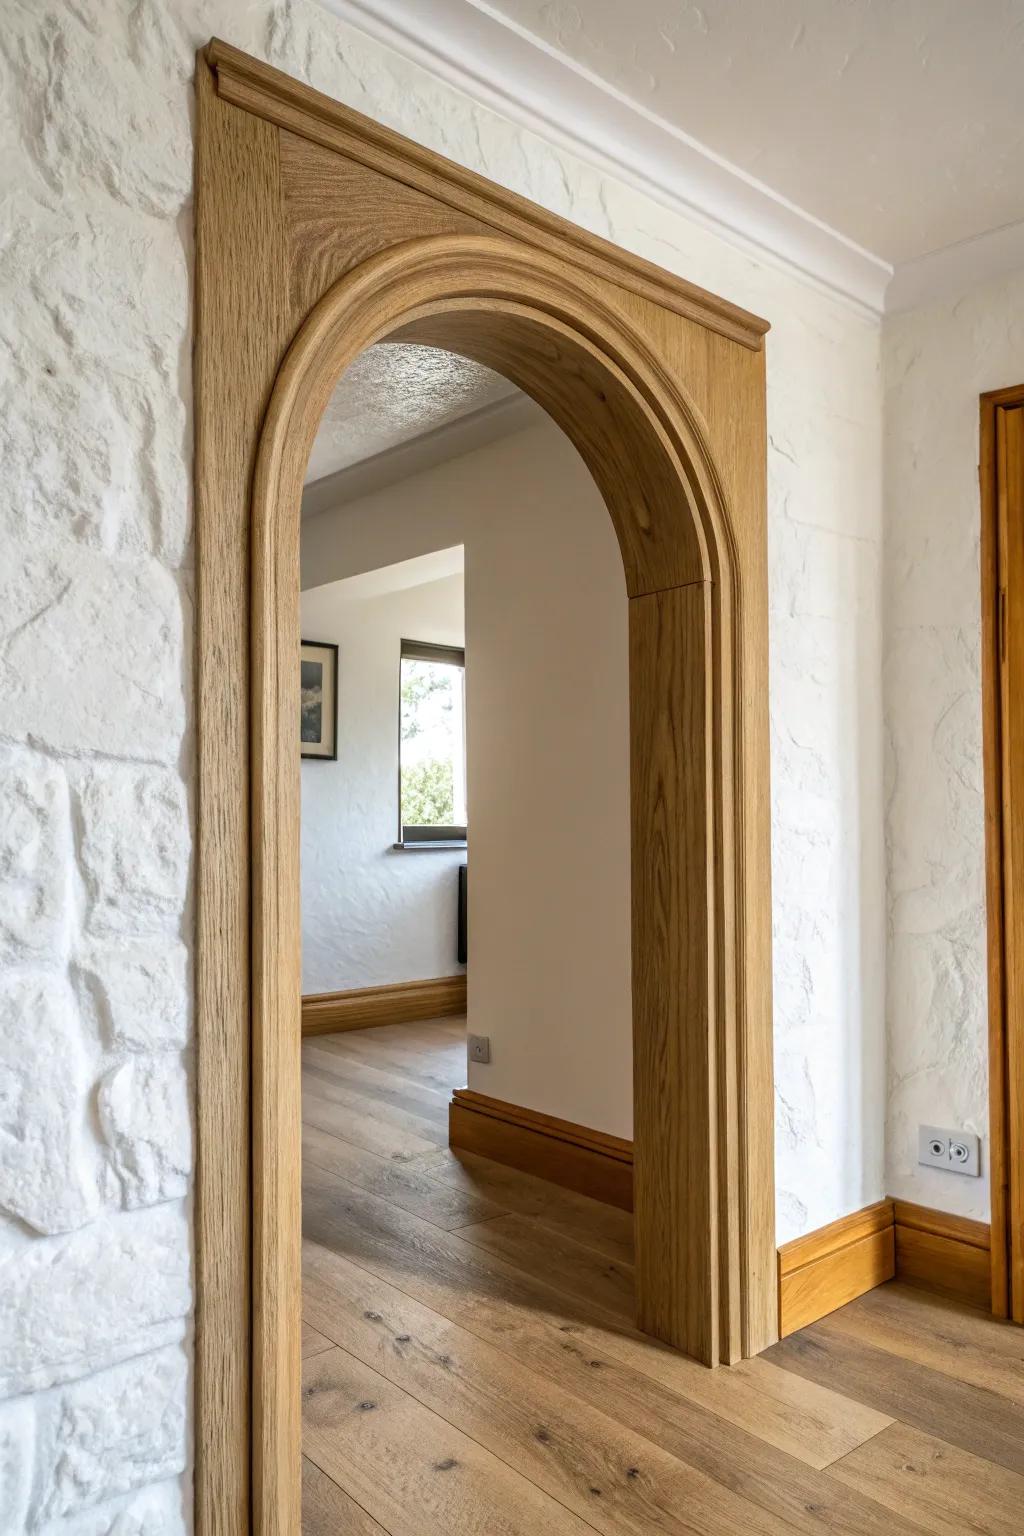
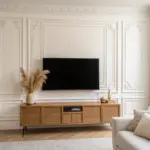
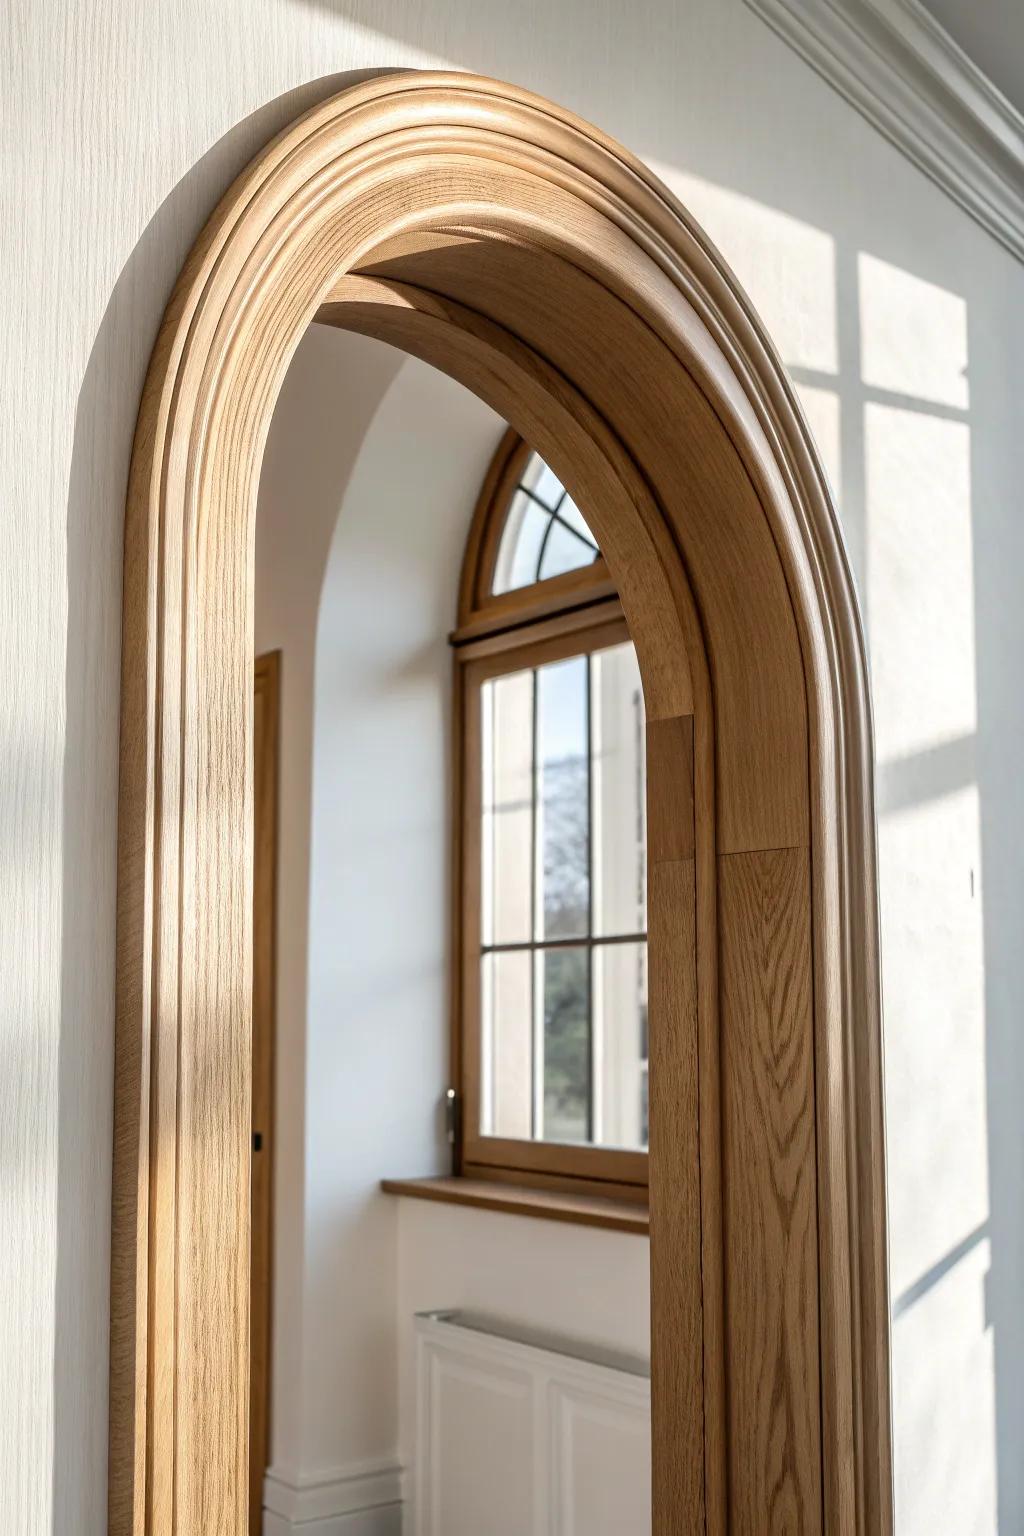
Natural Wood Stain Statement
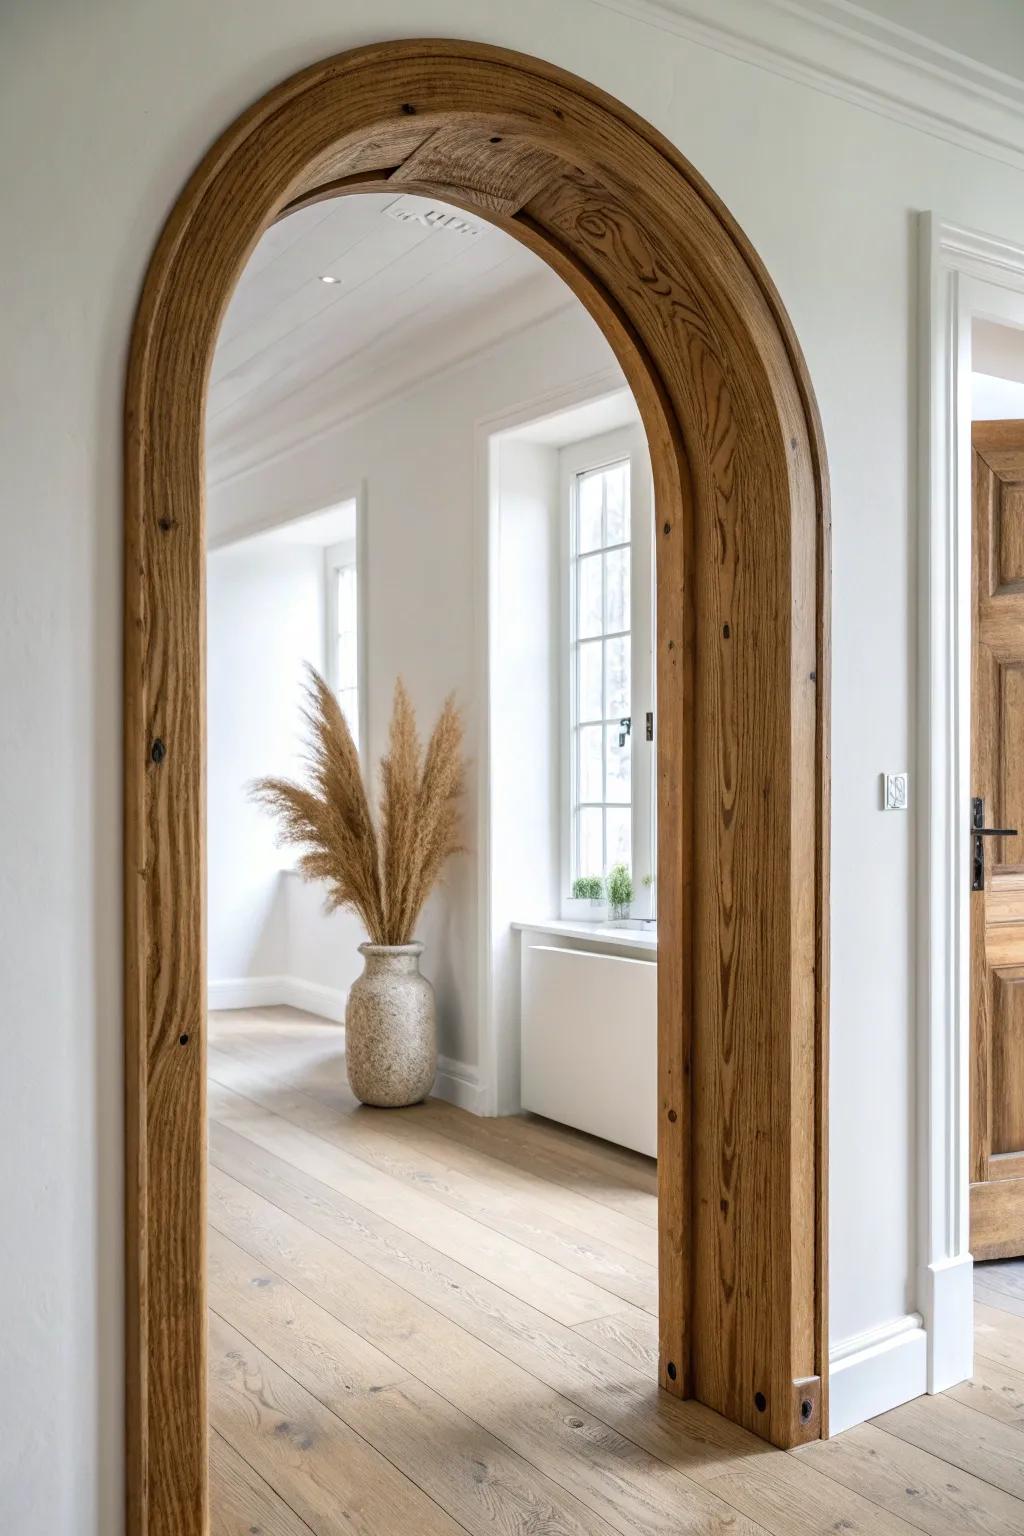
Staining your wood archway trim instead of painting it lets the grain do the talking and adds warmth between rooms. I’ve used reclaimed boards for this, and the little imperfections make the arch feel collected over time.
Items that may come in handy:
- Wood Stain in Natural Oak Shades: Enhance the natural grain of your archway trim with a stain that provides deep, rich color and lasting protection.
- Flexible Wood Veneer Sheets: Easily wrap curved arch surfaces with real wood veneer to create a custom, seamless look without professional carpentry skills.
- Large Ceramic Floor Vase: Complete the natural aesthetic by placing dried botanicals in a textured floor vase, mirroring the rustic wooden tones.
Charred Wood Finish Around the Arch
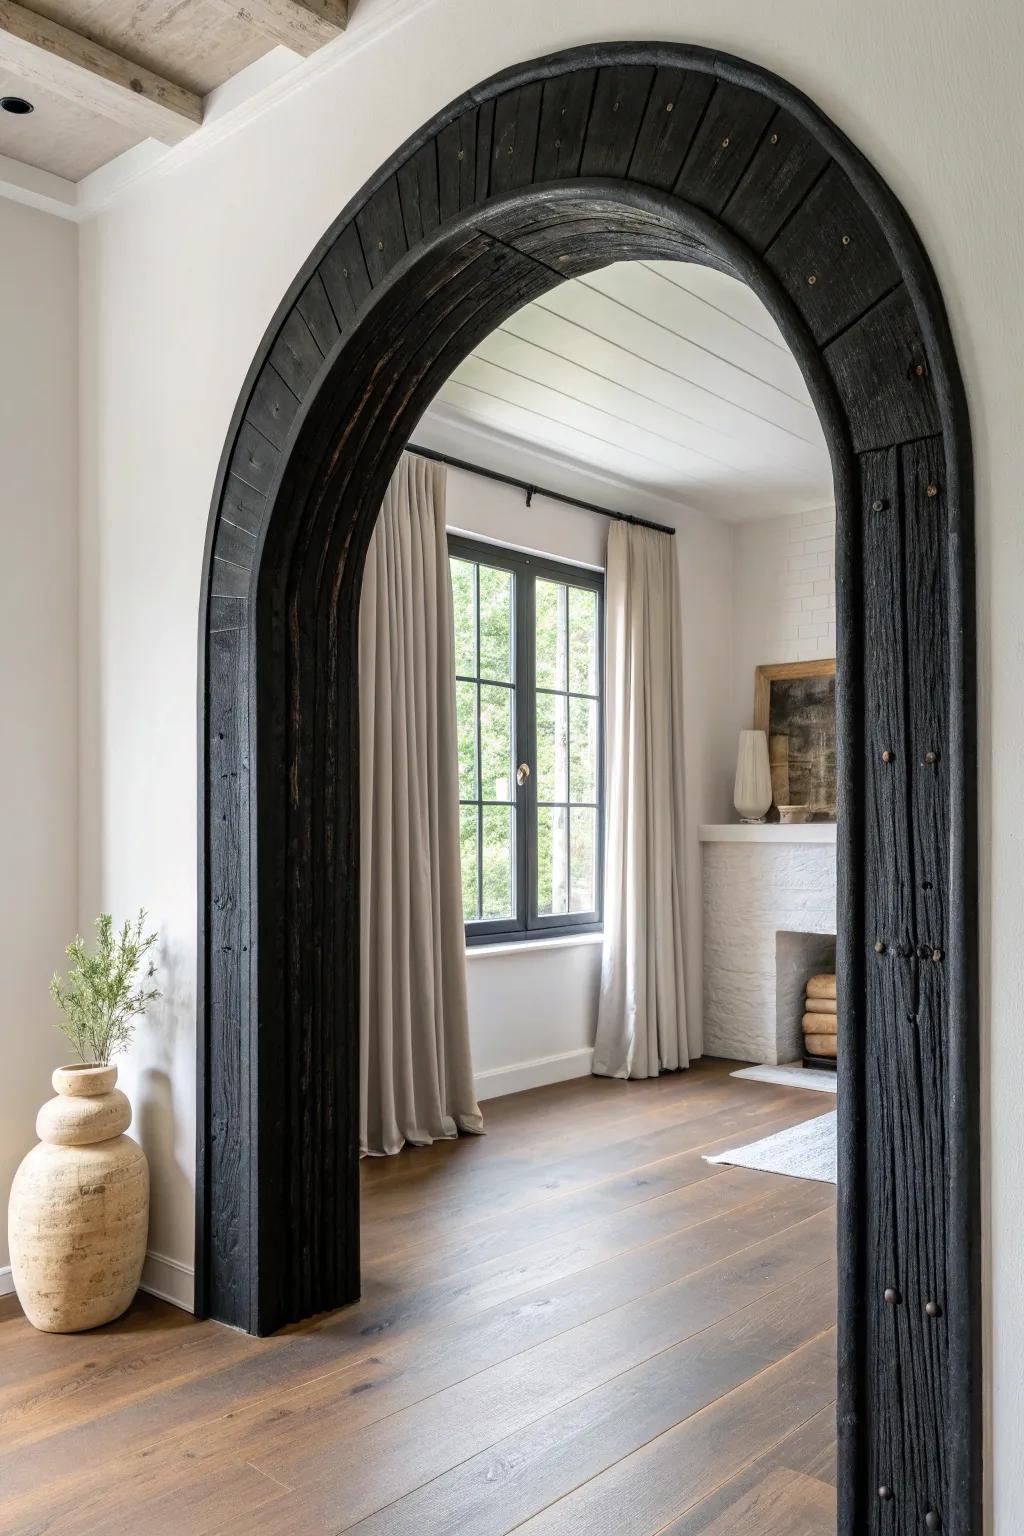
A charred wood treatment on archway trim is a bold move that looks stunning against light walls and natural floors. I tested it on a small arch first, and that dramatic black grain turned the opening into instant art.
Explore these options:
- Propane Torch Weed Burner: Achieve that authentic charred Shou Sugi Ban finish on your wood trim safely and efficiently with this tool.
- Black Wood Stain: Mimic the dramatic charred look without fire by applying a deep, penetrating black stain to your existing trim.
- Matte Polyurethane Sealer: Protect your charred or stained wood finish while preserving the natural, non-glossy aesthetic of the textured grain.
Metal Inlay Stripe in the Casing

For a subtle wow factor, I’ve routed a shallow groove into archway trim and set in a thin metal inlay line that catches the light. It’s one of those details you don’t notice right away—then suddenly you can’t stop looking at it.
Check these products out:
- Self-Adhesive Metal Trim Strip: Add a sophisticated touch easily with peel-and-stick metal strips designed for recessed or flat surface application.
- Brass or Aluminum Flat Bar Stock: Achieve a flush, professional inlay by setting solid metal bars into your routed wood grooves securely.
- Router Bit for Inlays: Create precise, clean channels in your archway trim to perfectly accommodate your chosen metal inlay strip.
Resin-Filled Knot and Crack Highlights
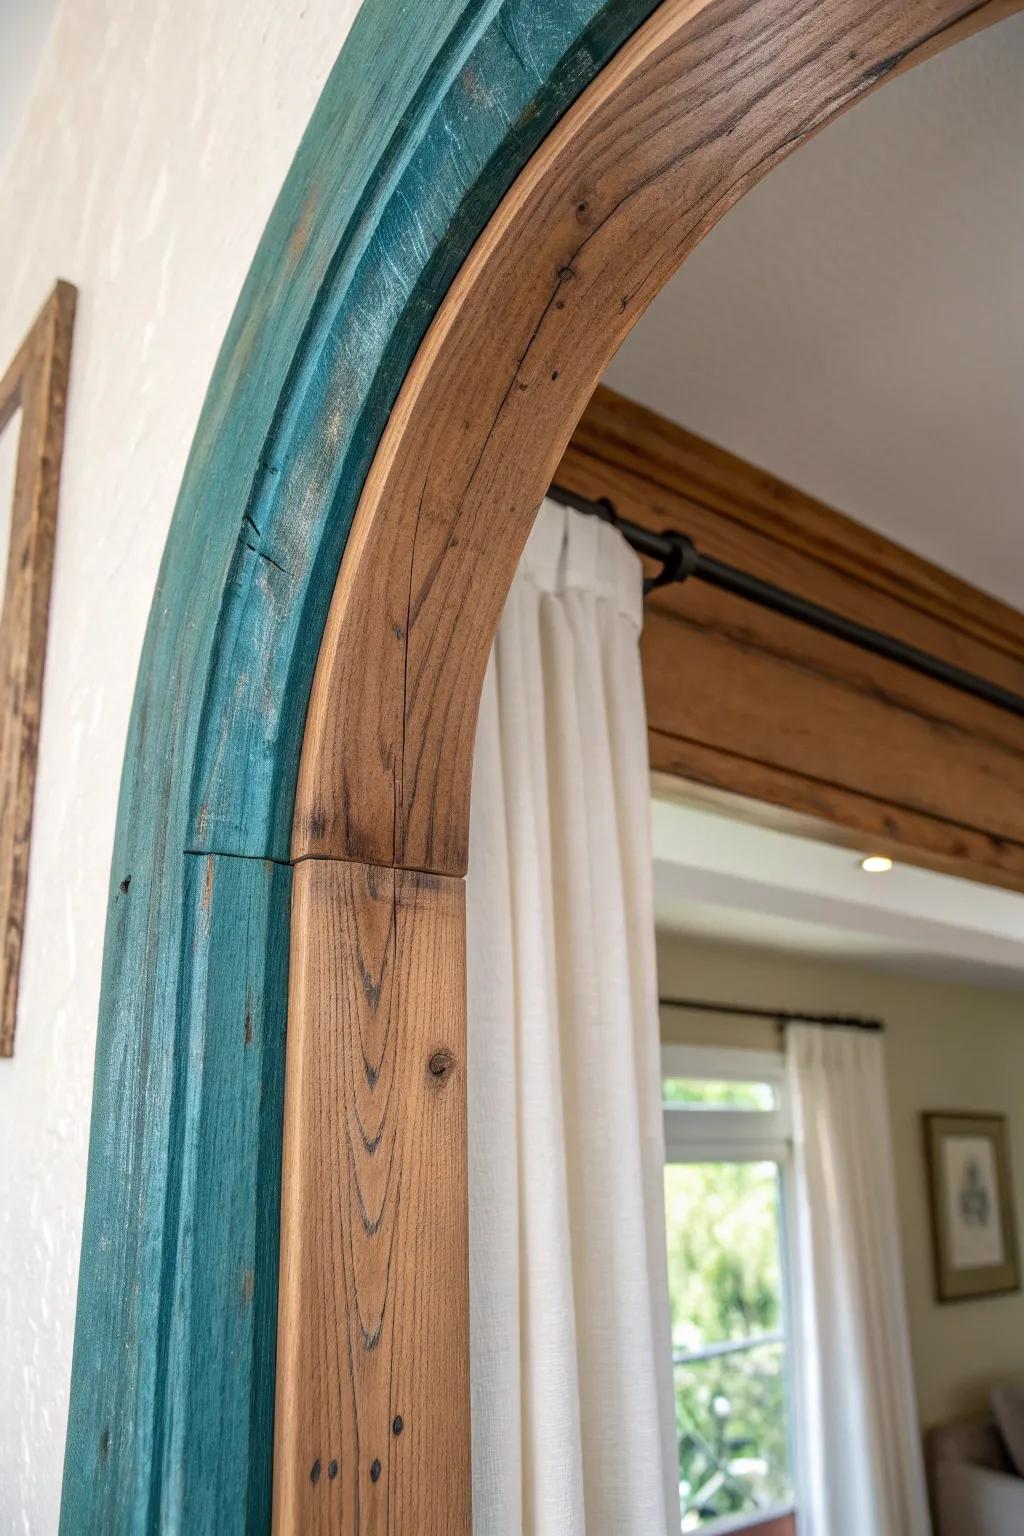
If you’re using reclaimed wood, filling knots or cracks in your archway trim with tinted resin turns “flaws” into a feature. I’ve done this with salvaged boards, and the arch ends up feeling like a one-of-one piece.
Might be a good match:
- Clear Epoxy Resin Kit: Fill deep cracks and knots securely by mixing this durable resin base with your choice of color pigments.
- Mica Powder Pigment Set: Add vibrant color or metallic shimmer to your resin mixture to create eye-catching highlights in wood grain.
- Precision Syringes and Needles: Inject resin cleanly into tiny hairline cracks or deep knots without creating a mess on the surrounding trim.


