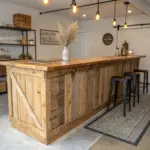
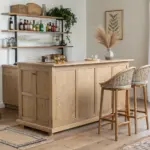
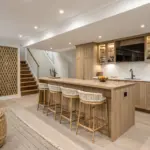
A bar top takes a beating from sweaty glasses, sticky mixers, and the occasional dropped bottle opener, so a good covering has to be tough and good-looking.
Hammered Metal Skin With Clear Finish
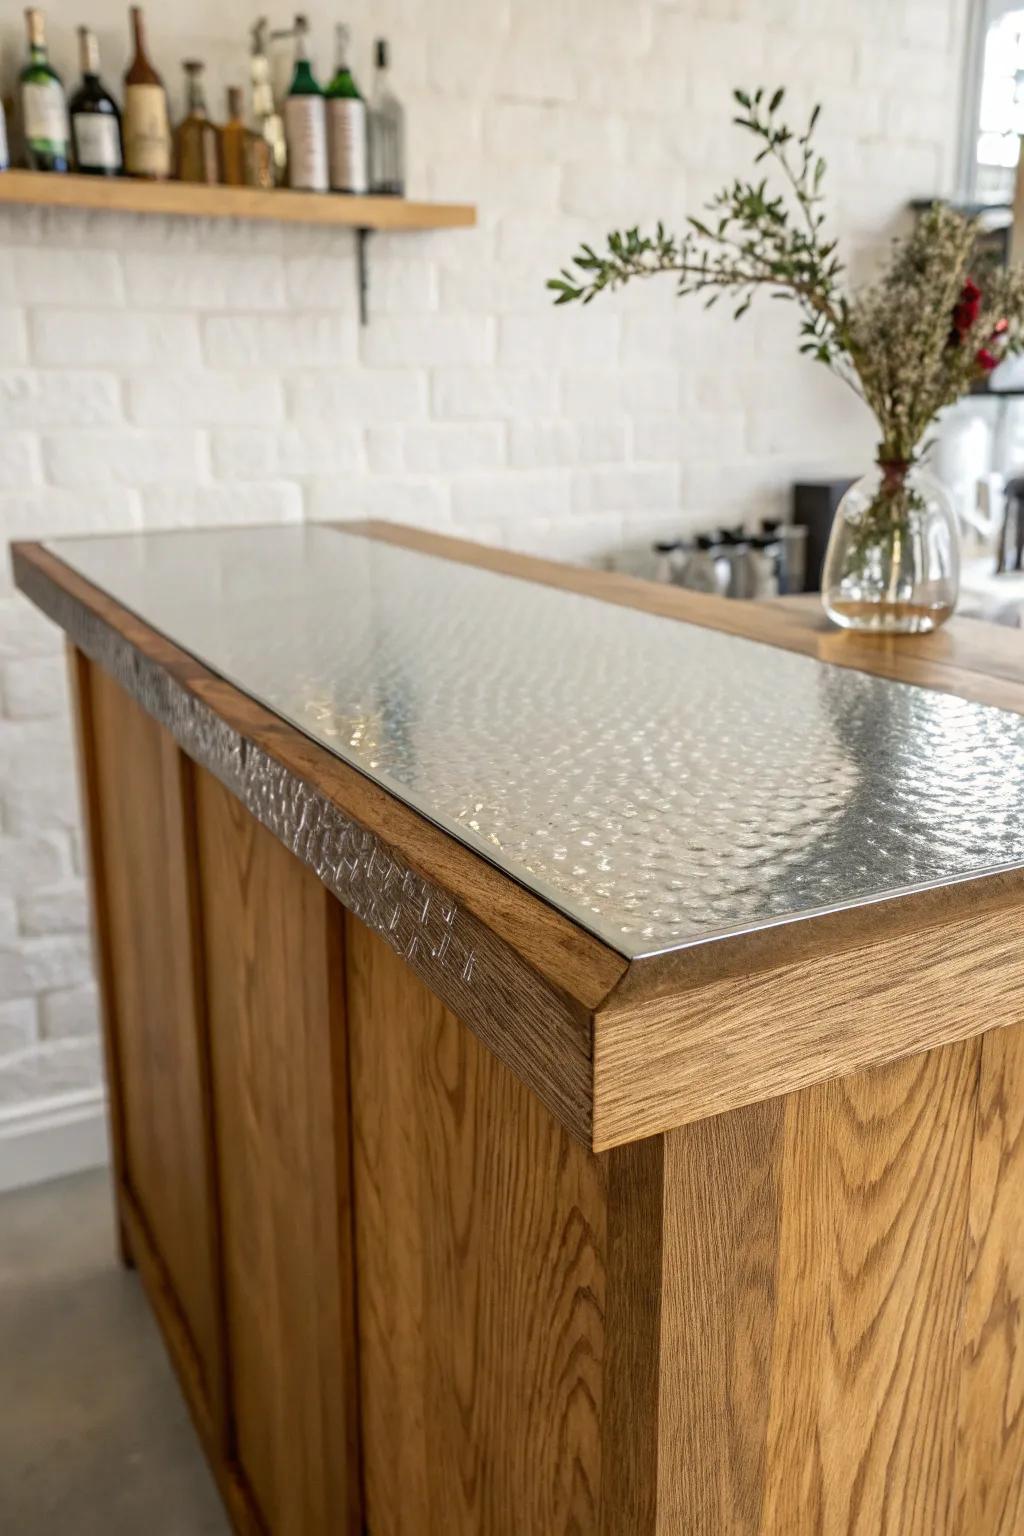
I’ve skinned a bar top with thin hammered metal for a moody, old-saloon vibe, then sealed it so it wouldn’t spot or tarnish from drinks. If you like a little industrial edge with your woodwork, this one hits the sweet spot.
Try these:
- Hammered Metal Sheets: Transform your surface instantly by applying these textured metal sheets for that authentic, industrial saloon appearance.
- Clear Polyurethane Sealer: Protect that new metal finish from rings and spills with a durable, clear coat designed for longevity.
- Heavy-Duty Construction Adhesive: Ensure your metal skin stays permanently bonded to the wooden base with a professional-grade gripping adhesive.
Satin Epoxy for a Soft Glow
If you love the durability of epoxy resin but don’t want mirror-shine, I’ve had great results scuffing and topcoating for a satin finish on a bar top. It hides smudges way better, which I learned after hosting one too many cocktail nights.
Check if these fit your needs:
- Table Top Epoxy Resin Kit: Create a durable, protective base layer for your bar top project with a reliable epoxy resin kit.
- Satin Urethane Topcoat: Apply a satin urethane finish over your epoxy to achieve that soft, low-gloss glow that hides scratches.
- Fine Grit Sanding Pads: Use fine-grit abrasive pads to gently scuff the shiny epoxy surface before applying your satin topcoat.
Classic Clear Poly Topcoat
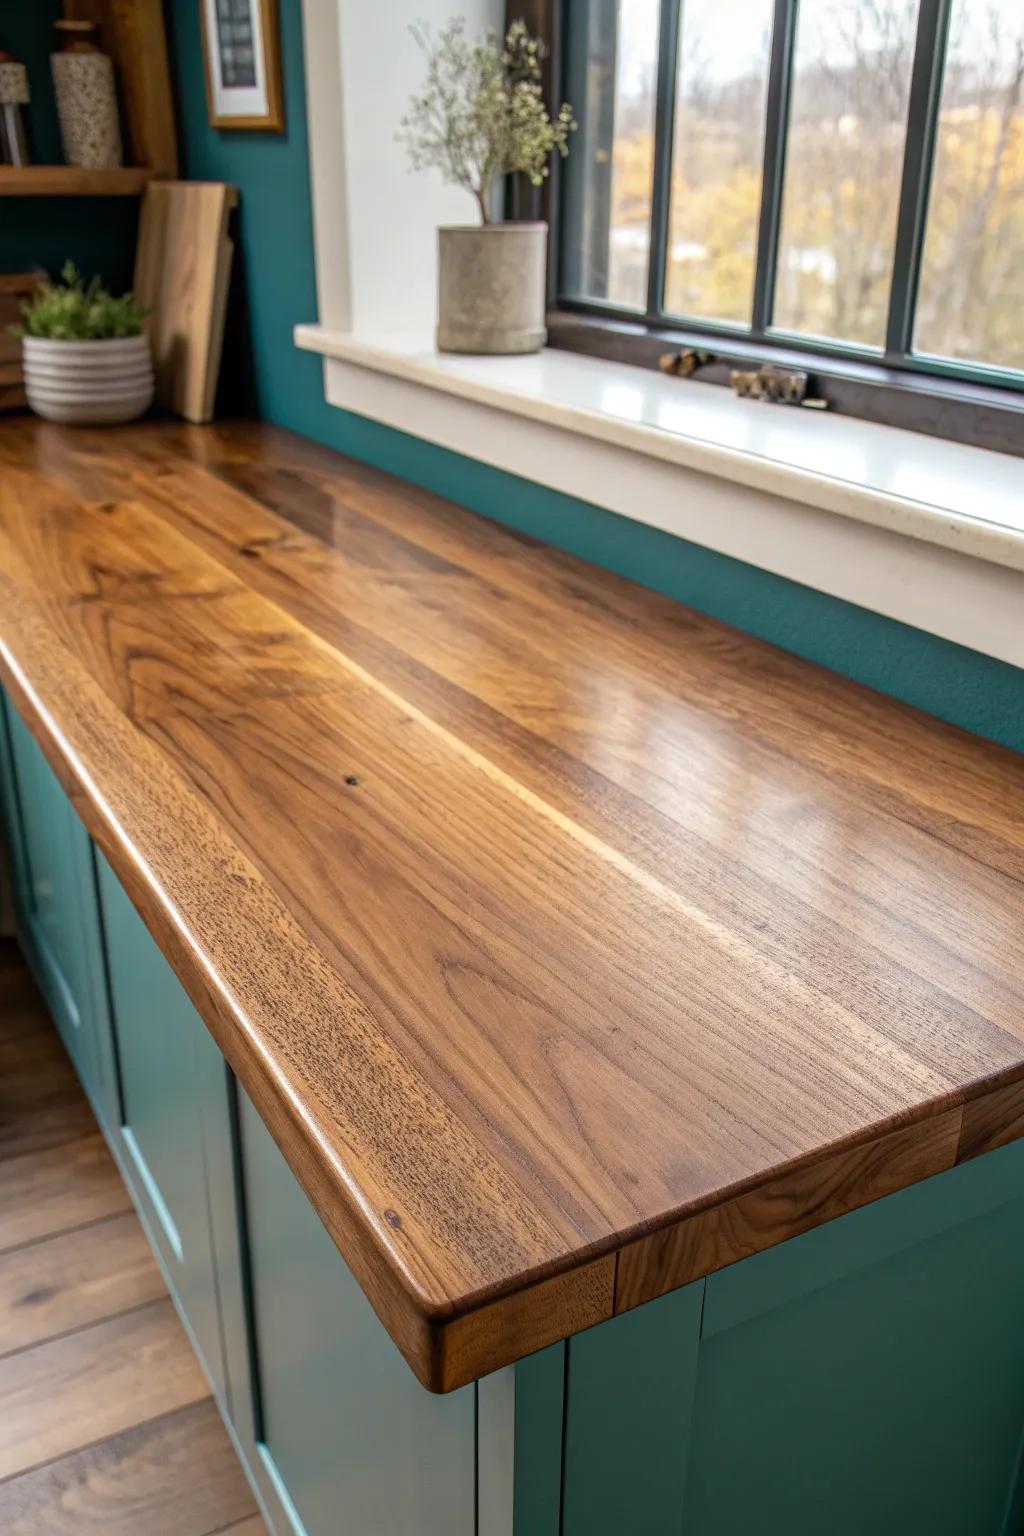
For a more traditional bar top coating, I’ve brushed on clear polyurethane in multiple thin layers and it’s held up nicely to everyday use. It’s a cozy, warm look on wood—especially when you don’t want the thickness of epoxy.
Consider these options:
- Clear Oil-Based Polyurethane: Protect your bar top with a durable finish that enhances the natural warmth and grain of the wood.
- High-Density Foam Brushes: Apply smooth, even coats of finish without brush marks for a professional-looking result on your DIY project.
- Fine Grit Sanding Sponges: Ensure perfect adhesion between coats by lightly scuffing the surface for an ultra-smooth final texture.
High-Pressure Laminate Sheet Overlay
For a quick, wipeable bar top covering, I’ve applied a laminate overlay and trimmed it clean with woodworking tools for a crisp edge. It’s honestly hard to beat when you need durability on a budget and want a specific color or pattern.
Items that may come in handy:
- Marble Effect Laminate Sheet: Transform your bar top instantly with a durable marble-look sheet that resists daily spills and wipes clean easily.
- Contact Cement for Laminate: Secure your laminate overlay permanently to the surface using this strong adhesive designed specifically for countertop projects.
- Palm Router with Flush Trim Bit: Achieve professional, crisp edges on your new bar top by trimming the excess laminate material precisely and smoothly.
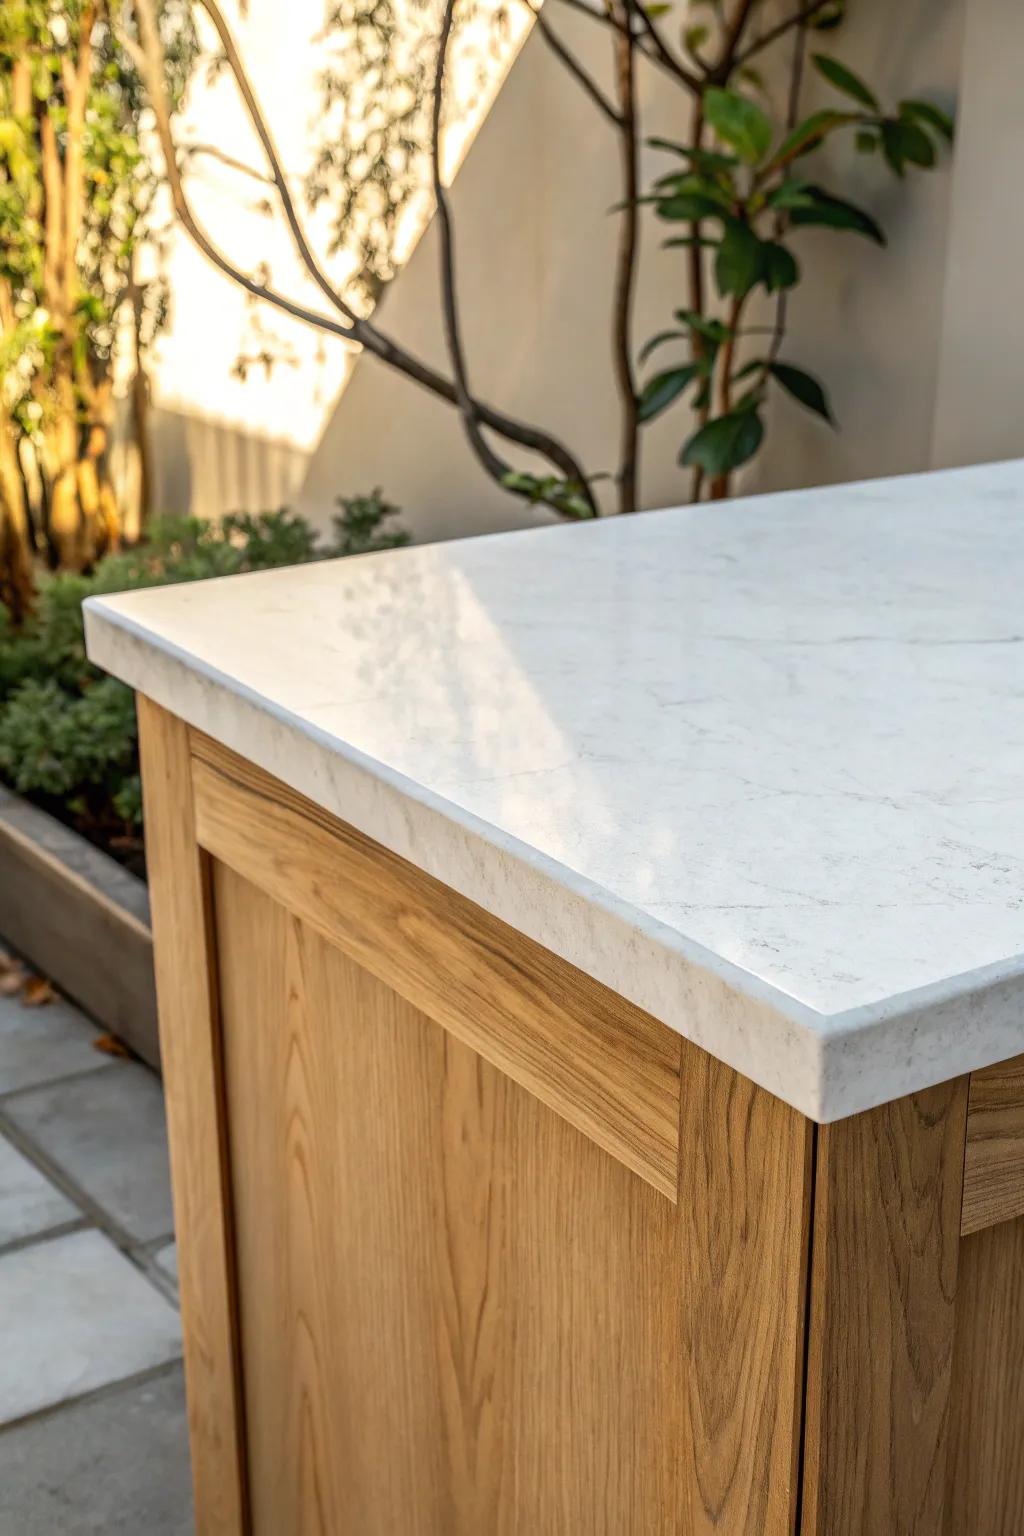
Stone Slab Countertop Look
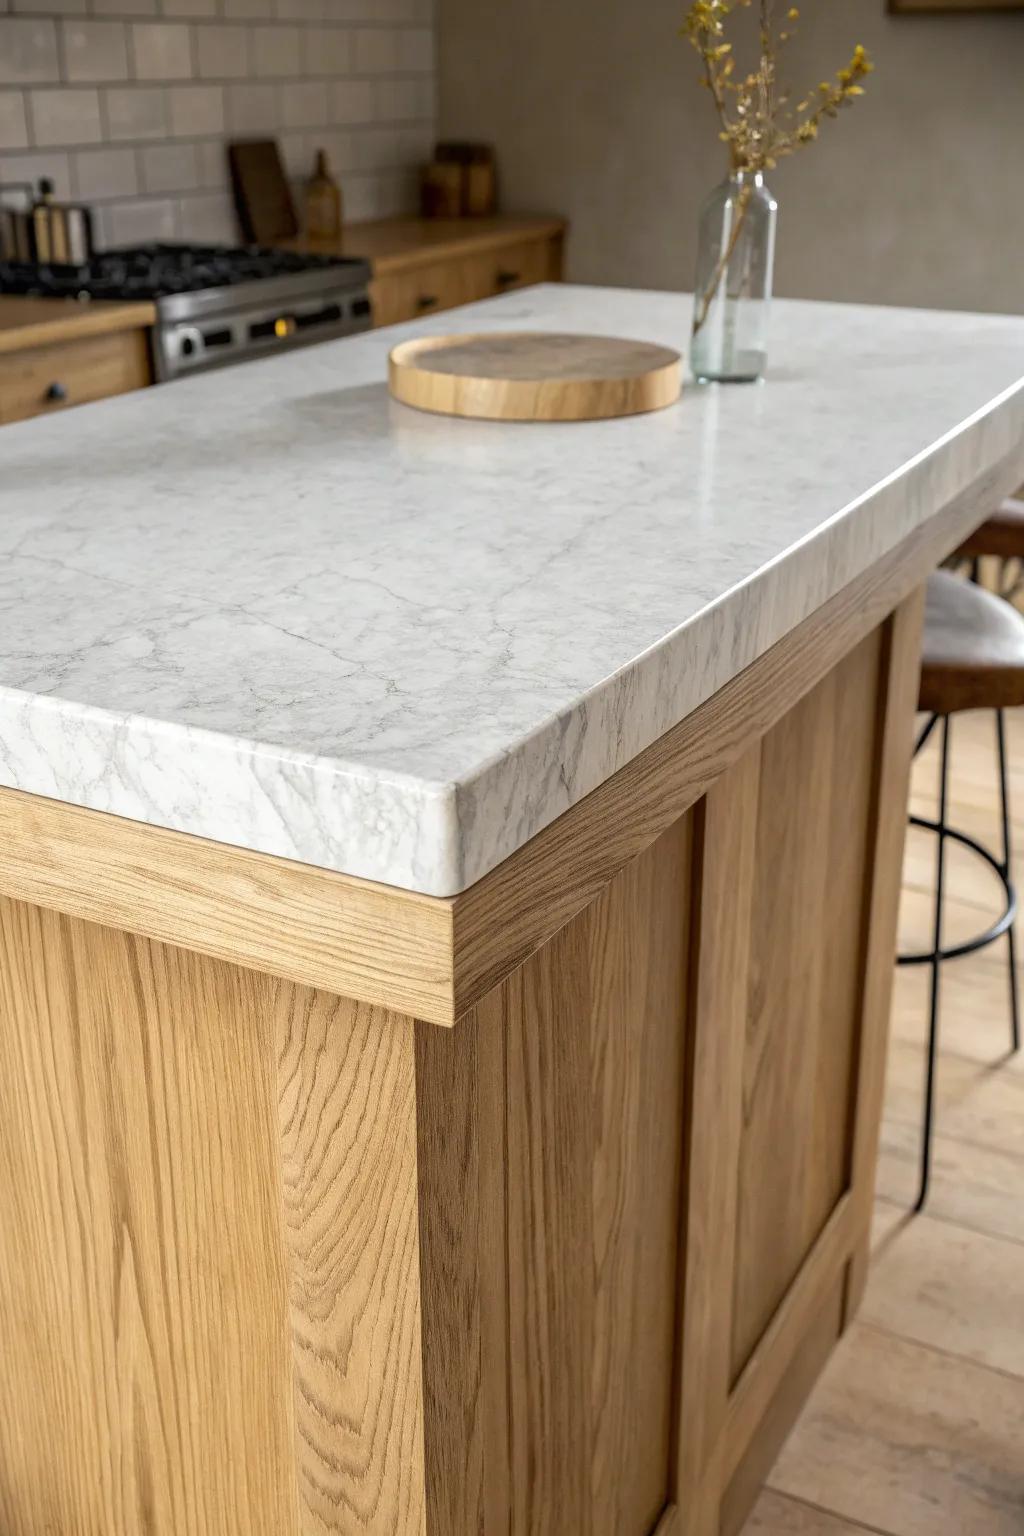
If you want a more upscale vibe, a stone slab covering on a bar top brings that cool-to-the-touch feel that screams “cocktail lounge.” I’ve helped install stone on a wood base before, and the key was planning the support so it never flexes.
These products might help:
- Self-Adhesive Marble Contact Paper: Transform your existing surface instantly with peel-and-stick vinyl that mimics the elegant veining of real marble.
- Epoxy Resin Countertop Kit: Create a seamless, durable, and glossy stone-like finish over wood or laminate with a pourable epoxy kit.
- Heavy-Duty L-Brackets for Overhangs: Ensure your heavy stone or faux-stone slab is safe and stable by installing robust support brackets underneath.
Concrete Skim Coat Overlay
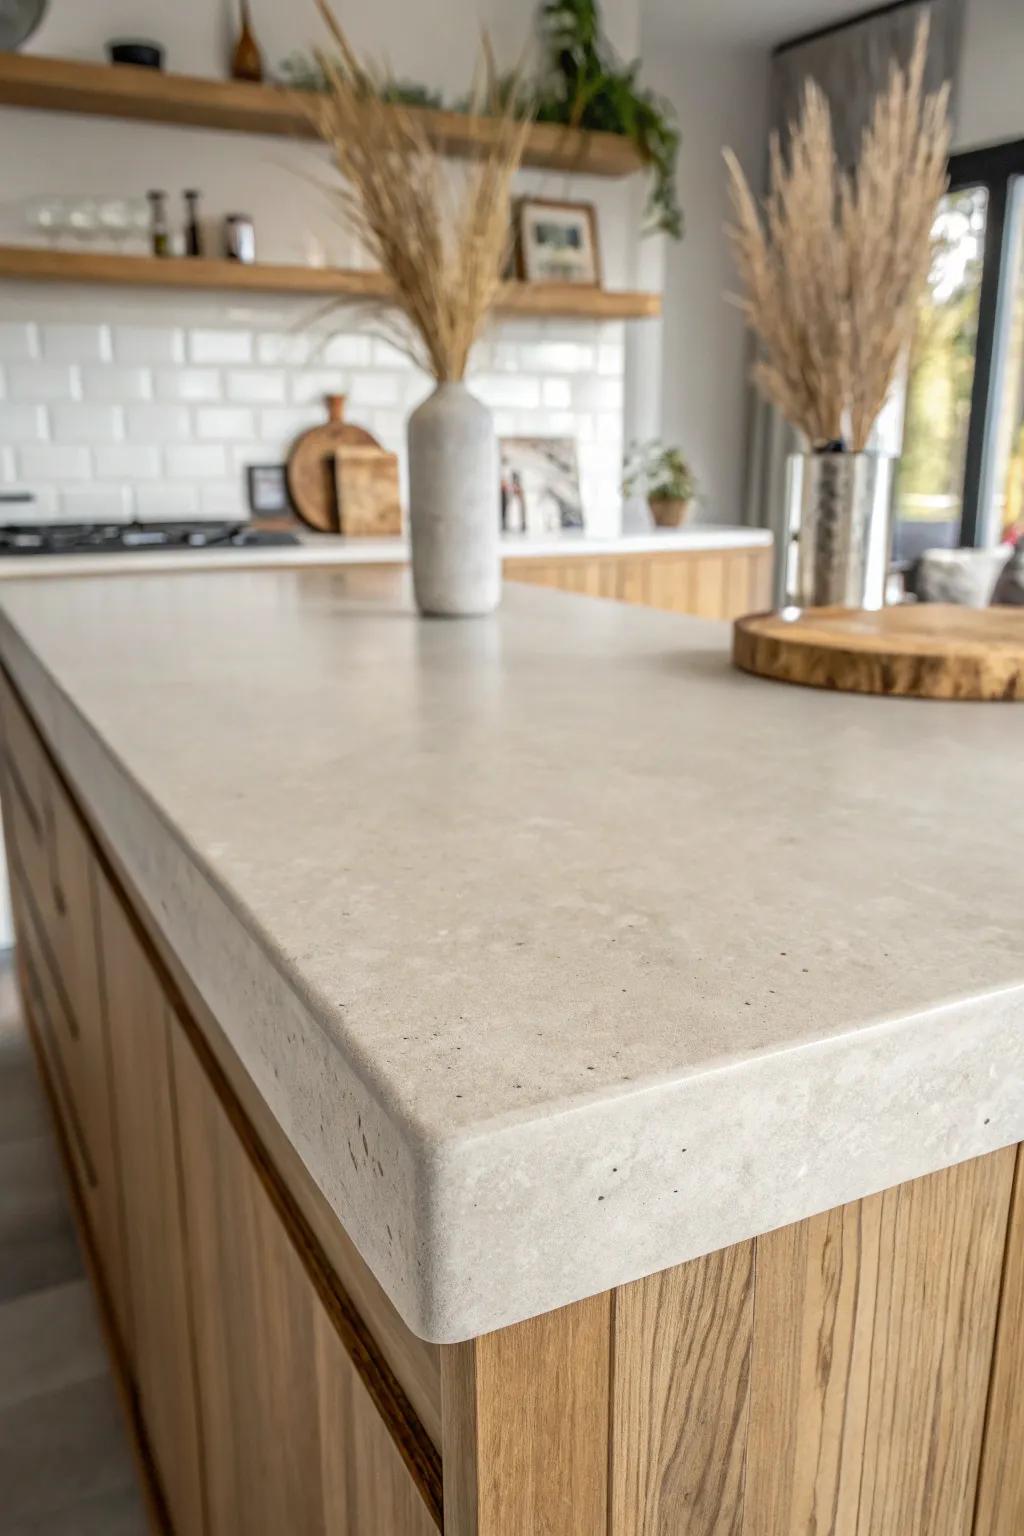
A thin concrete overlay can totally change a tired bar top, and I love the modern-rustic mix it creates with wood cabinetry. I seal it well because I learned the hard way that citrus and red wine don’t play nice with unsealed concrete.
Maybe worth checking out:
- Concrete Resurfacer Mix: Refresh your existing surfaces with a durable, easy-to-spread concrete mix designed for thin overlay applications.
- Food-Safe Concrete Sealer: Protect your new countertop from stains and moisture with a high-quality, matte-finish sealer designed for concrete.
- Concrete Spreading Trowel: Achieve a smooth, professional finish on your overlay project using a versatile steel finishing trowel.
Fabric Wrap Under a Clear Coat
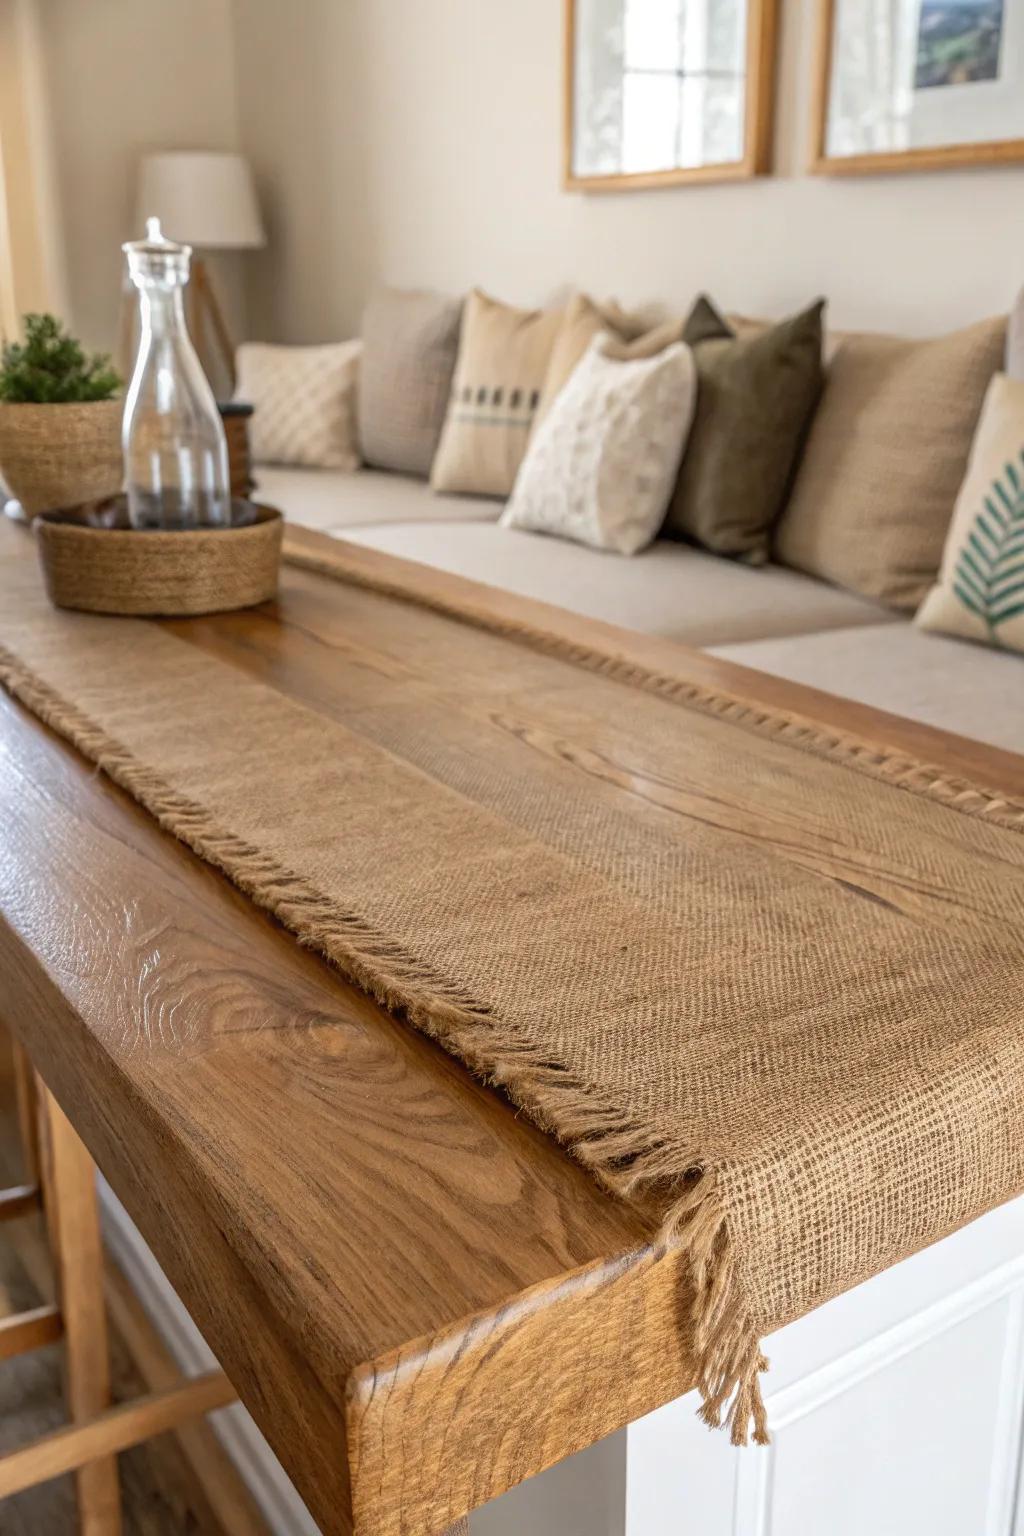
For a soft farmhouse twist, I’ve wrapped a bar top in burlap fabric (or any sturdy textile) and sealed it under a clear protective finish. It sounds odd until you see it—the texture looks amazing, but the top still cleans up like a dream.
Products that could assist:
- Natural Jute Burlap Fabric Roll: Choose a tightly woven burlap to create that rustic, textured base layer for your DIY bar top project.
- Clear Epoxy Resin Kit: Seal your fabric securely with a durable epoxy finish that creates a smooth, glass-like surface for easy cleaning.
- Foam Brushes and Spreaders: Use high-quality spreaders to ensure an even application of your resin coat without trapping unwanted air bubbles.
Cork Sheet Covering With Seal
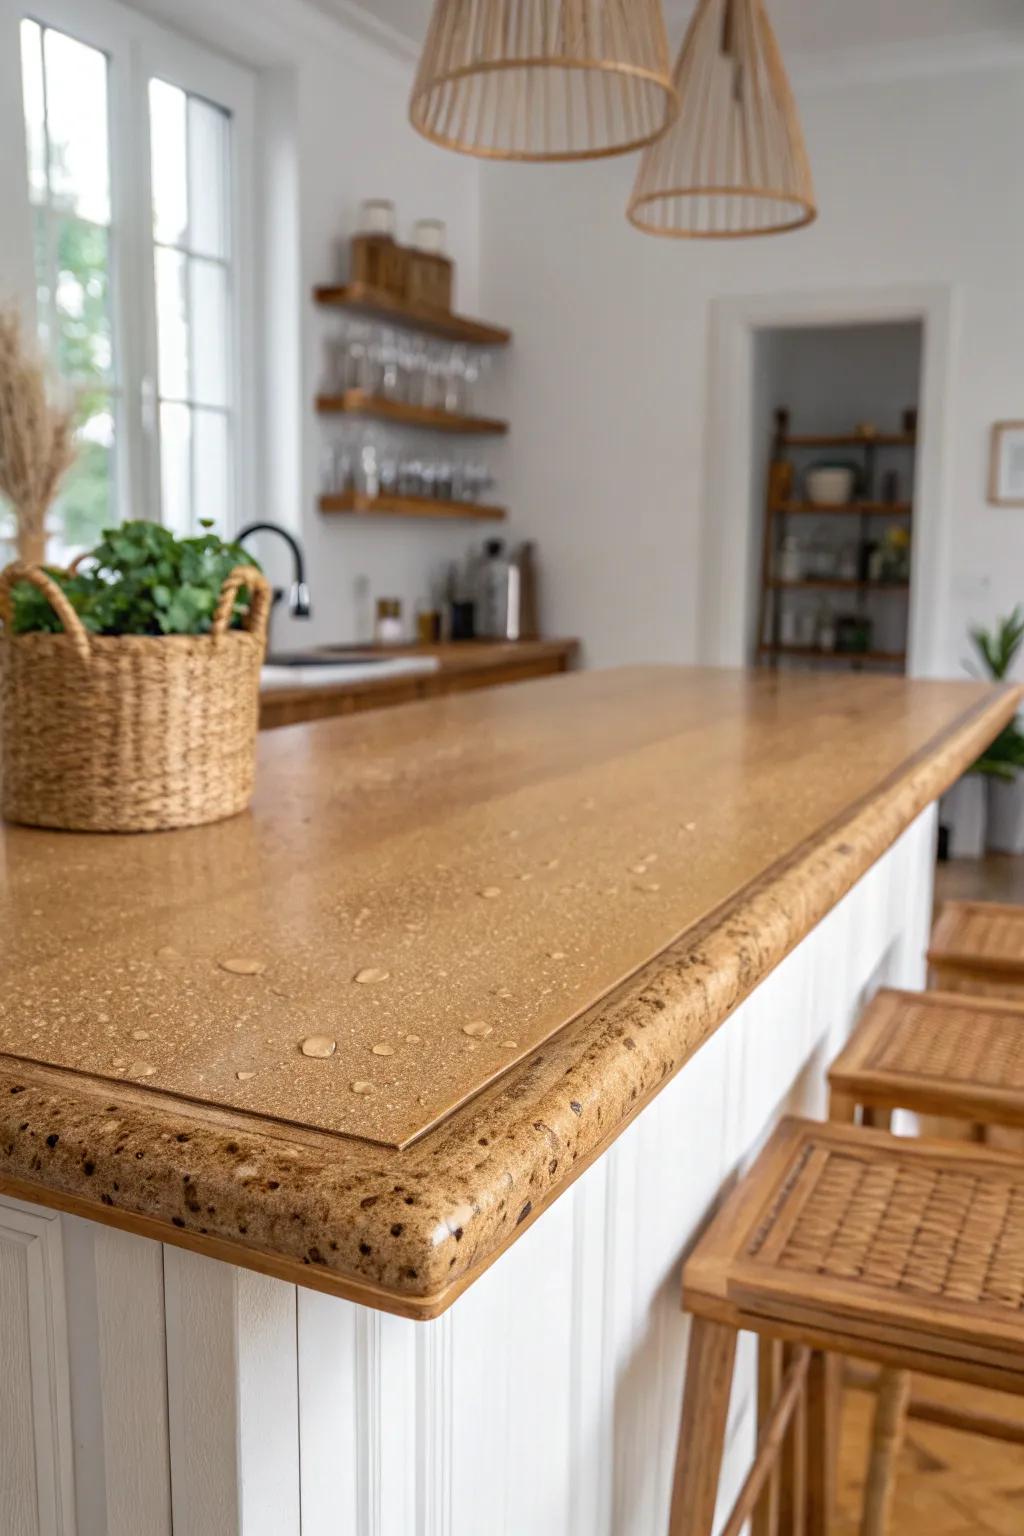
A cork covering on a bar top gives you that warm pub feel, and I’ve sealed cork so it stays protected instead of soaking up spills. It’s also surprisingly forgiving if you’re doing your first DIY bar makeover.
You might like:
- Adhesive Cork Roll: Create a warm, natural foundation for your bar top project with this easy-to-apply cork roll material.
- Clear Polyurethane Sealer: Protect your cork surface from moisture and spills by applying a durable, clear finish coat.
- Foam Brushes Set: Ensure a smooth, streak-free application of your sealer with these disposable foam applicators.
Charred Wood Top Sealed Smooth
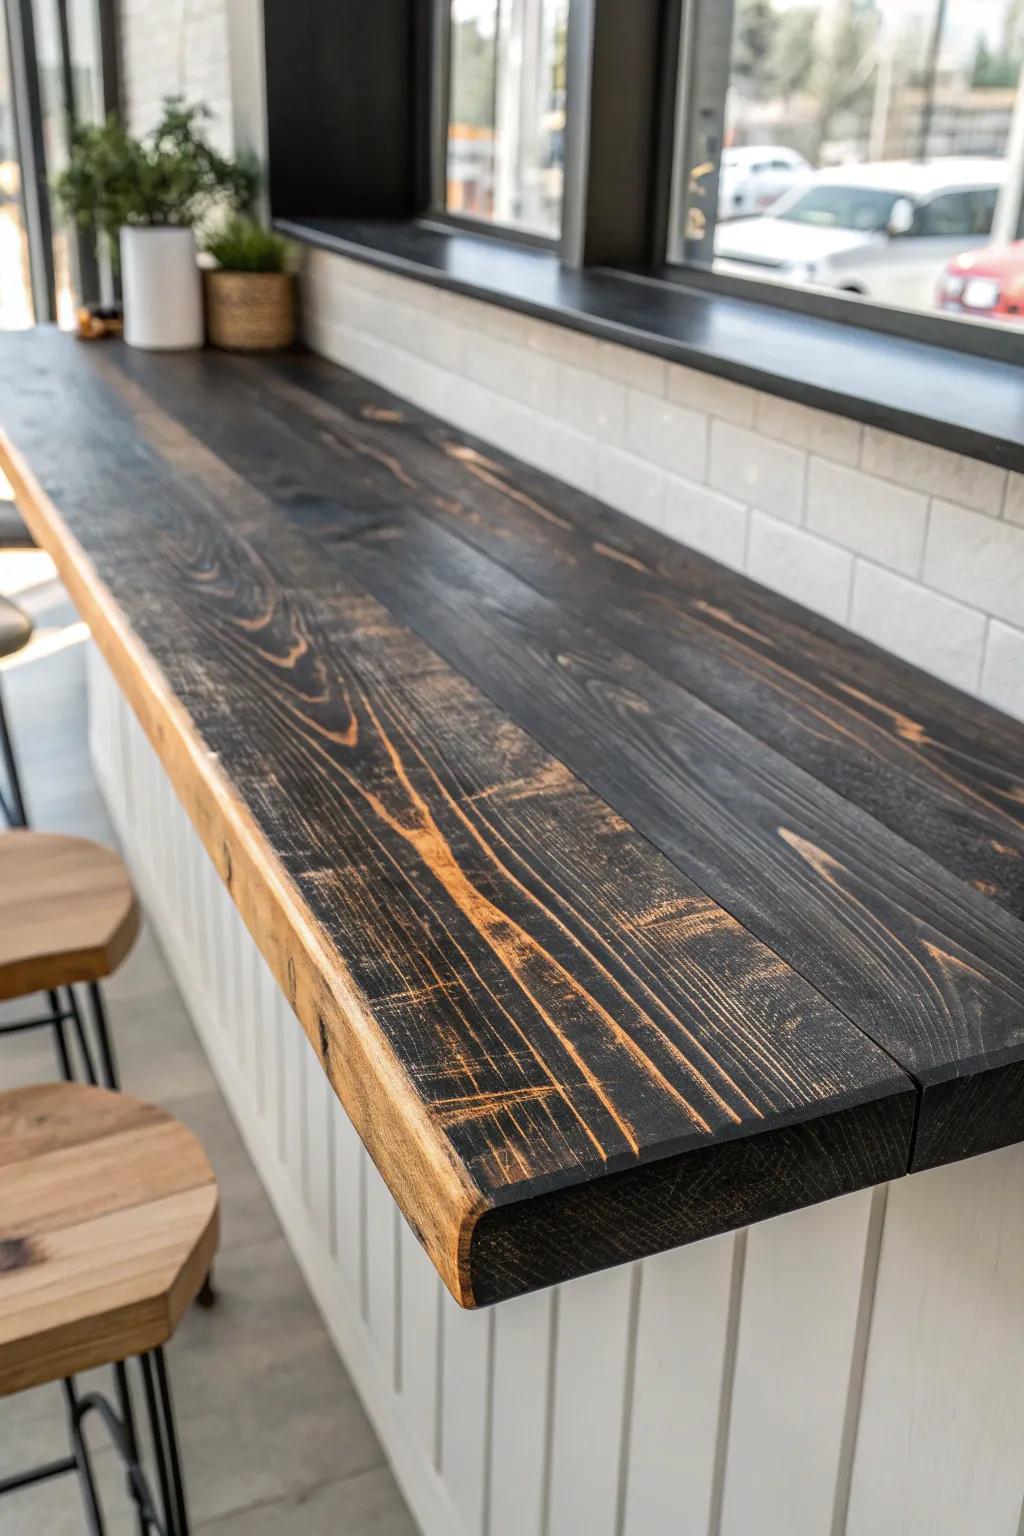
Charring the wood for a burned finish and then sealing the bar top is one of my favorite “rustic but refined” tricks. I’ve done it on reclaimed boards, and the black grain pops under a clear protective coat in the coolest way.
A few relevant products:
- Handheld Propane Torch Kit: Create that stunning charred grain effect safely by using a reliable propane torch for precise heat application.
- Clear Polyurethane Sealer: Protect your newly charred surface and make the black grain pop with a durable, smooth satin finish.
- Heavy Duty Wire Brush: Remove loose soot and ash after burning to reveal the textured grain before applying your final sealant.
Glow Pigment Epoxy Night Bar
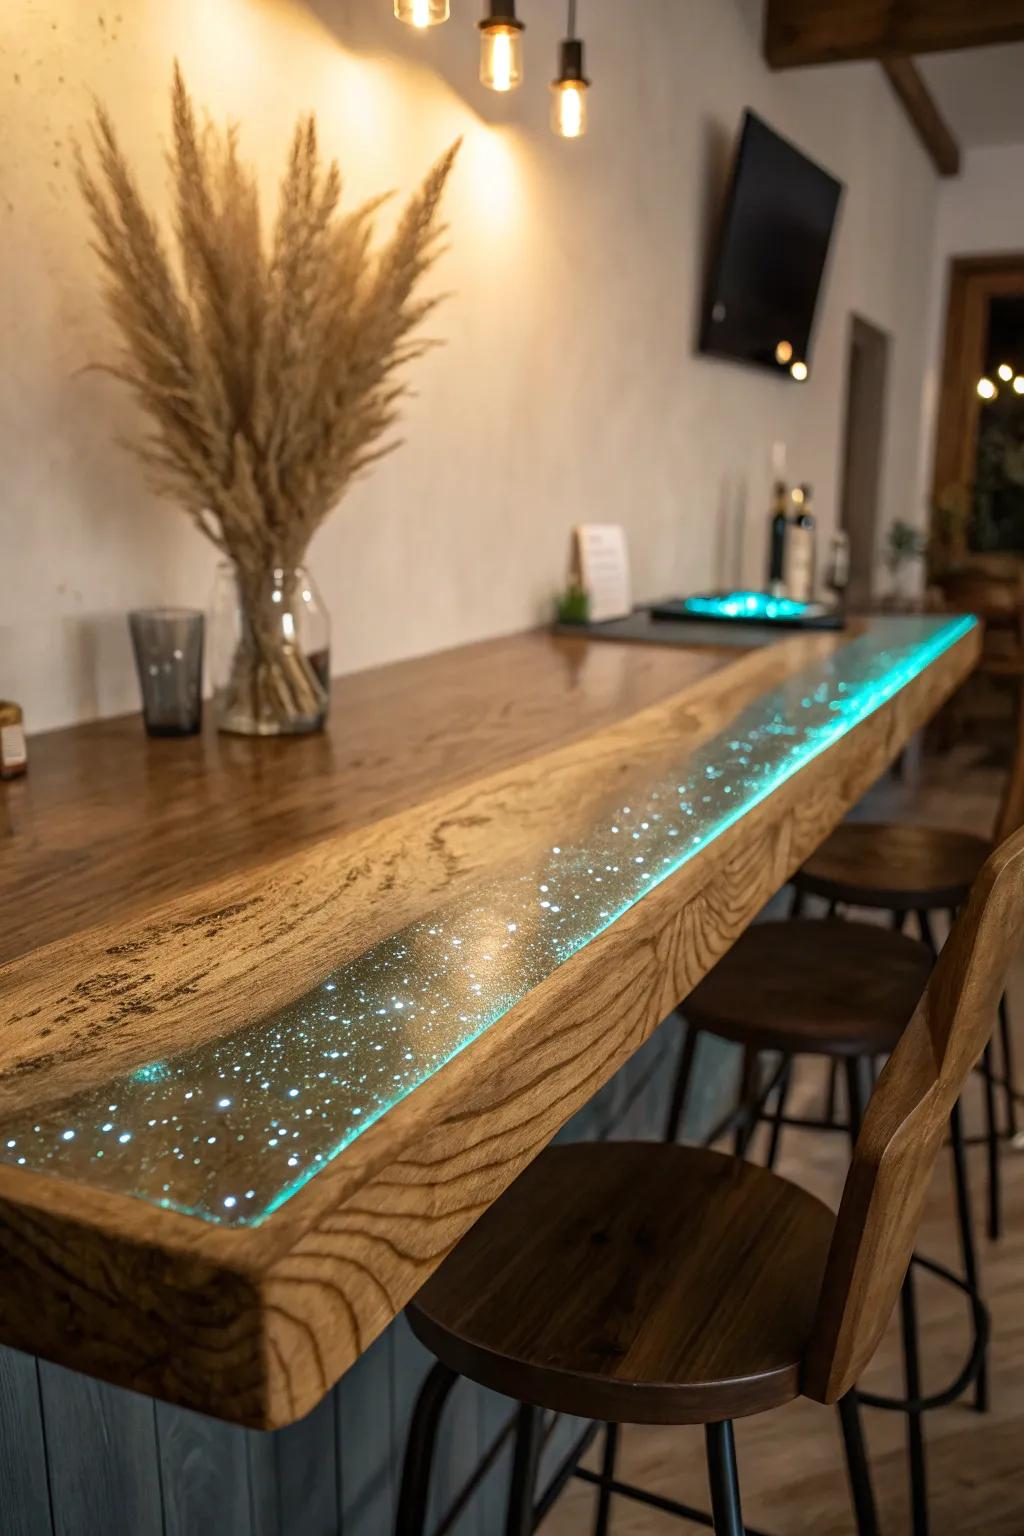
For a straight-up wow moment, I’ve mixed glow pigment into epoxy resin and used it as a bar top covering that quietly charges in daylight. When the lights go low, it gives the surface a subtle afterglow that people always notice.
A few things you might like:
- Clear Deep Pour Epoxy Resin Kit: Create the perfect durable base for your glowing bar top by pouring this clear, high-gloss resin mixture.
- Glow in the Dark Powder Pigment: Mix this phosphorescent powder into your resin to achieve that stunning, self-charging luminous night effect.
- Live Edge Wood Slab: Start your project with a unique, raw wood slab to create the natural banks for your glowing river.
Embedded Keepsakes Under Clear Epoxy
My most meaningful bar top covering ever was a clear epoxy pour over flat keepsakes—little notes, ticket stubs, and small patches—arranged like a clean gallery wall. If you do this, I’ve learned you’ll want to seal paper items first so the epoxy stays crystal clear.
Might be a good match:
- Clear Tabletop Epoxy Resin Kit: Create a durable, crystal-clear surface over your keepsakes with this easy-to-mix, self-leveling pouring resin kit.
- Mod Podge Sealer for Paper: Seal your ticket stubs and notes before pouring to prevent stains and ensure they remain perfectly legible.
- Heat Gun for Bubble Removal: Eliminate surface bubbles effortlessly after pouring your epoxy to achieve a flawless, professional-looking glass-like finish.


