
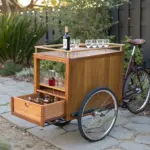
The edge is what makes a bar top feel like a real bar, not just another countertop. I’ve built a lot of tops in my little woodshop, and the right bar top edge profile always ends up being the detail everyone notices (and leans on).
Glow Line Edge Channel
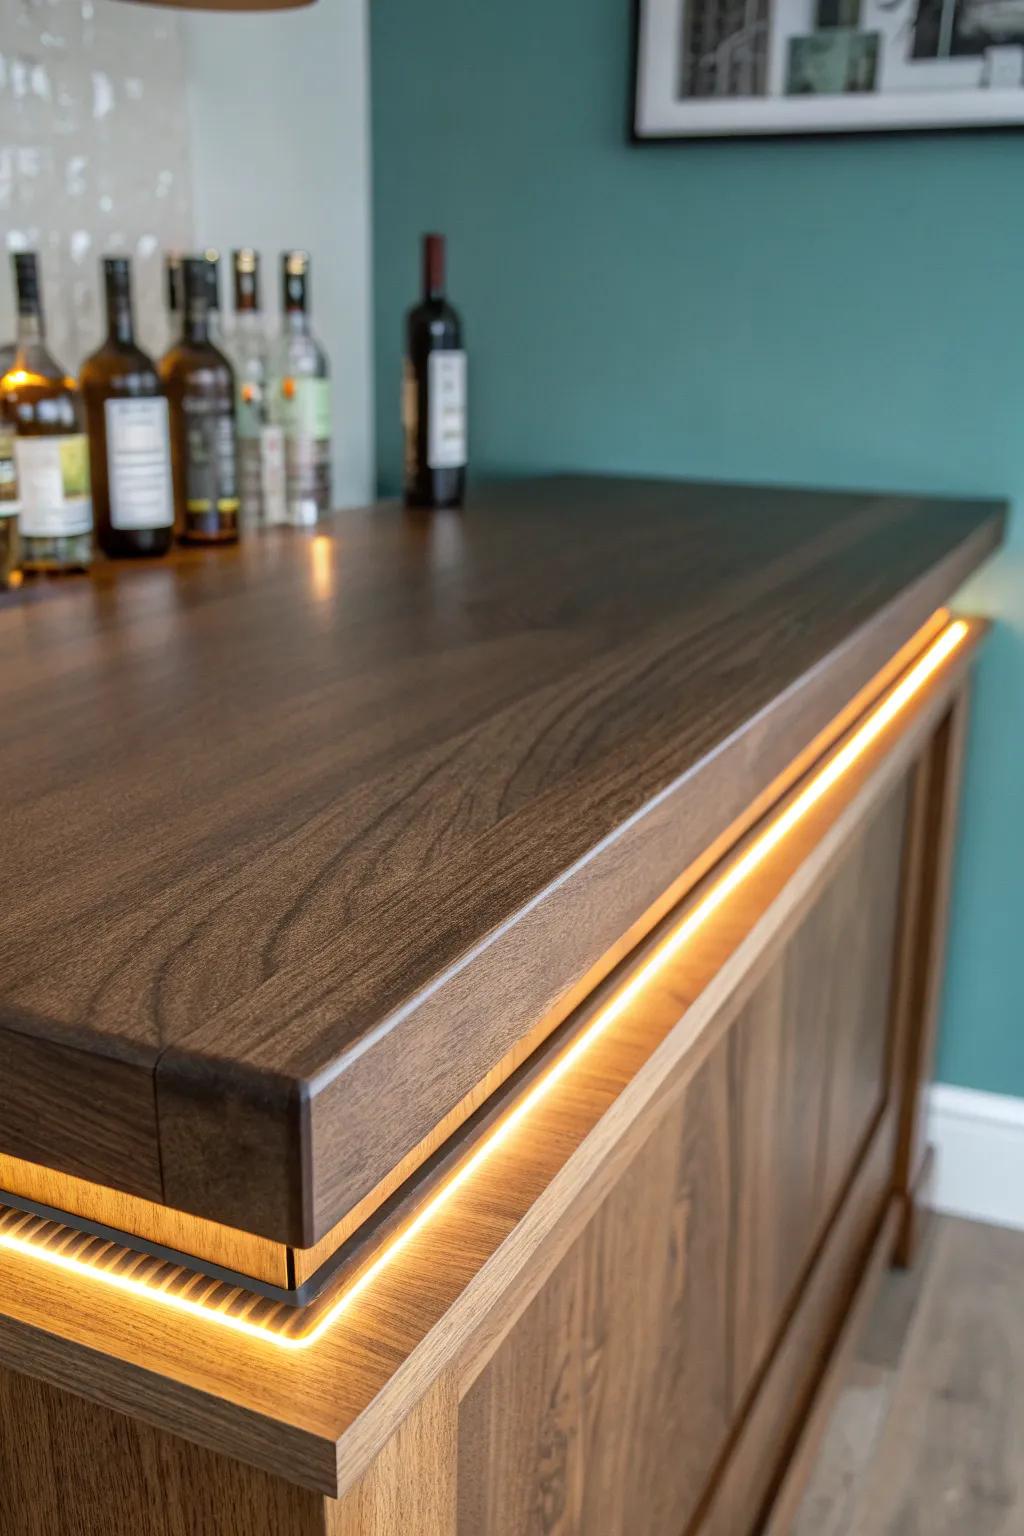
Cutting a slim edge channel for a soft glow strip makes the bar top feel like it belongs in a cozy lounge. I’ve tucked lighting right under the lip of the edge so it highlights the profile without shining in your eyes.
Some ideas to consider:
- Warm White COB LED Strip Light: Create a seamless, dot-free glow under your bar edge for that cozy, professional lounge atmosphere.
- Aluminum LED Channel with Diffuser: Protect your light strip and soften the output with this channel for a polished, finished look.
- Hardwood Router Bit for Channels: Carve the perfect groove into your wood bar top to neatly tuck away lighting components.

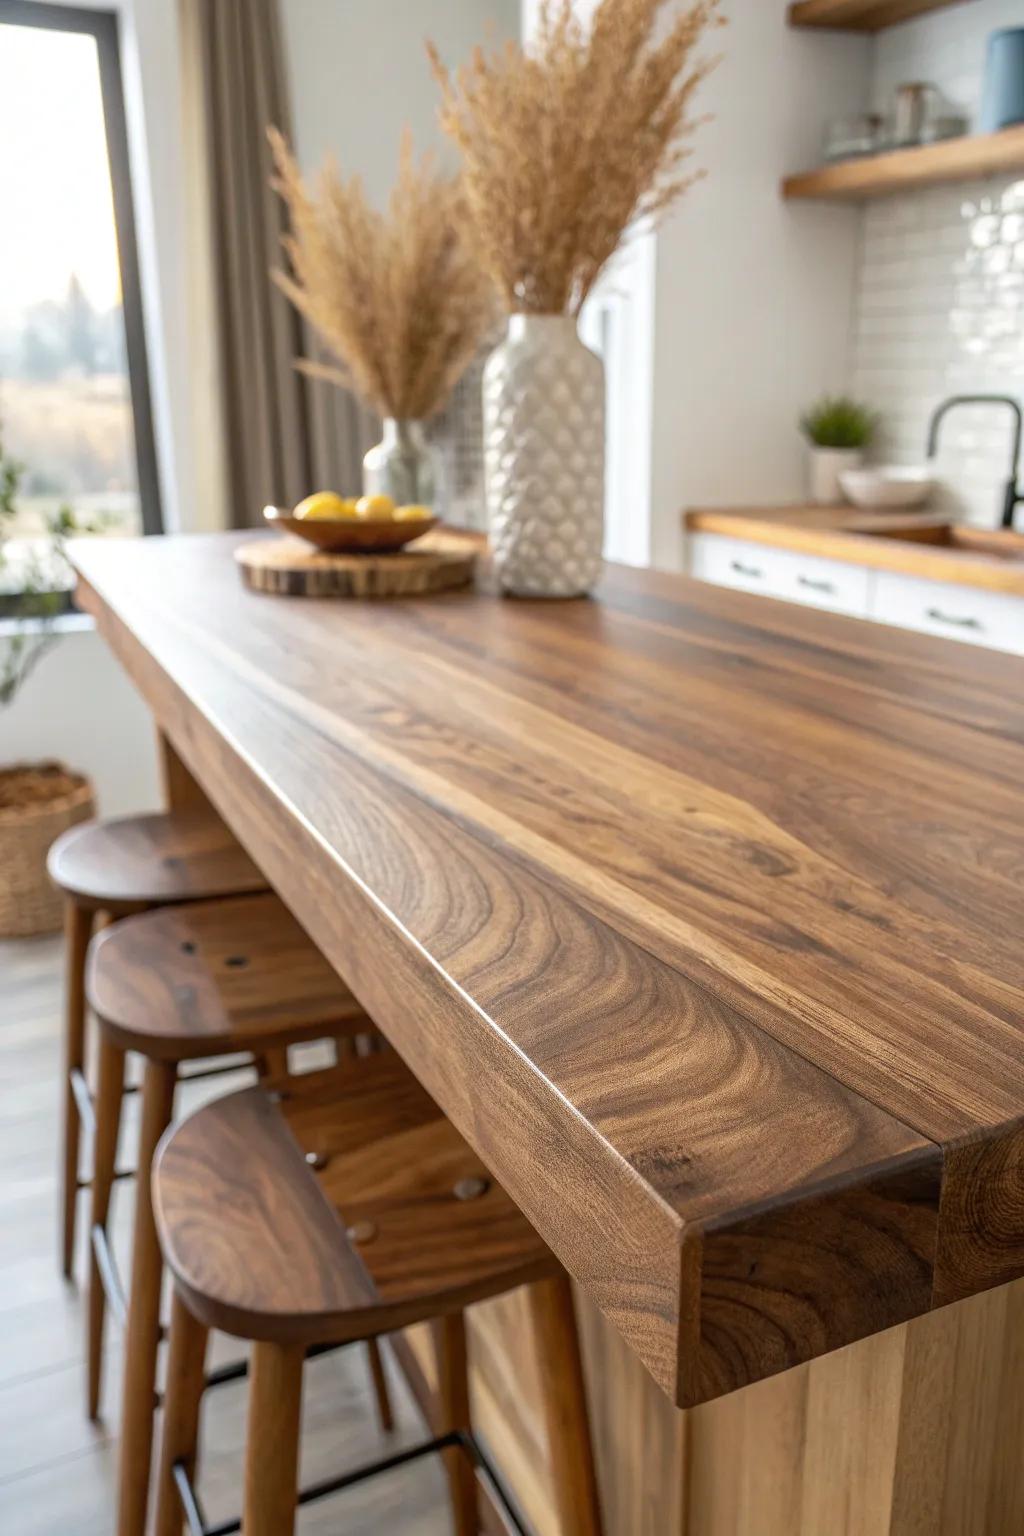
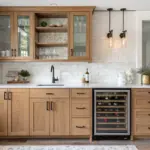
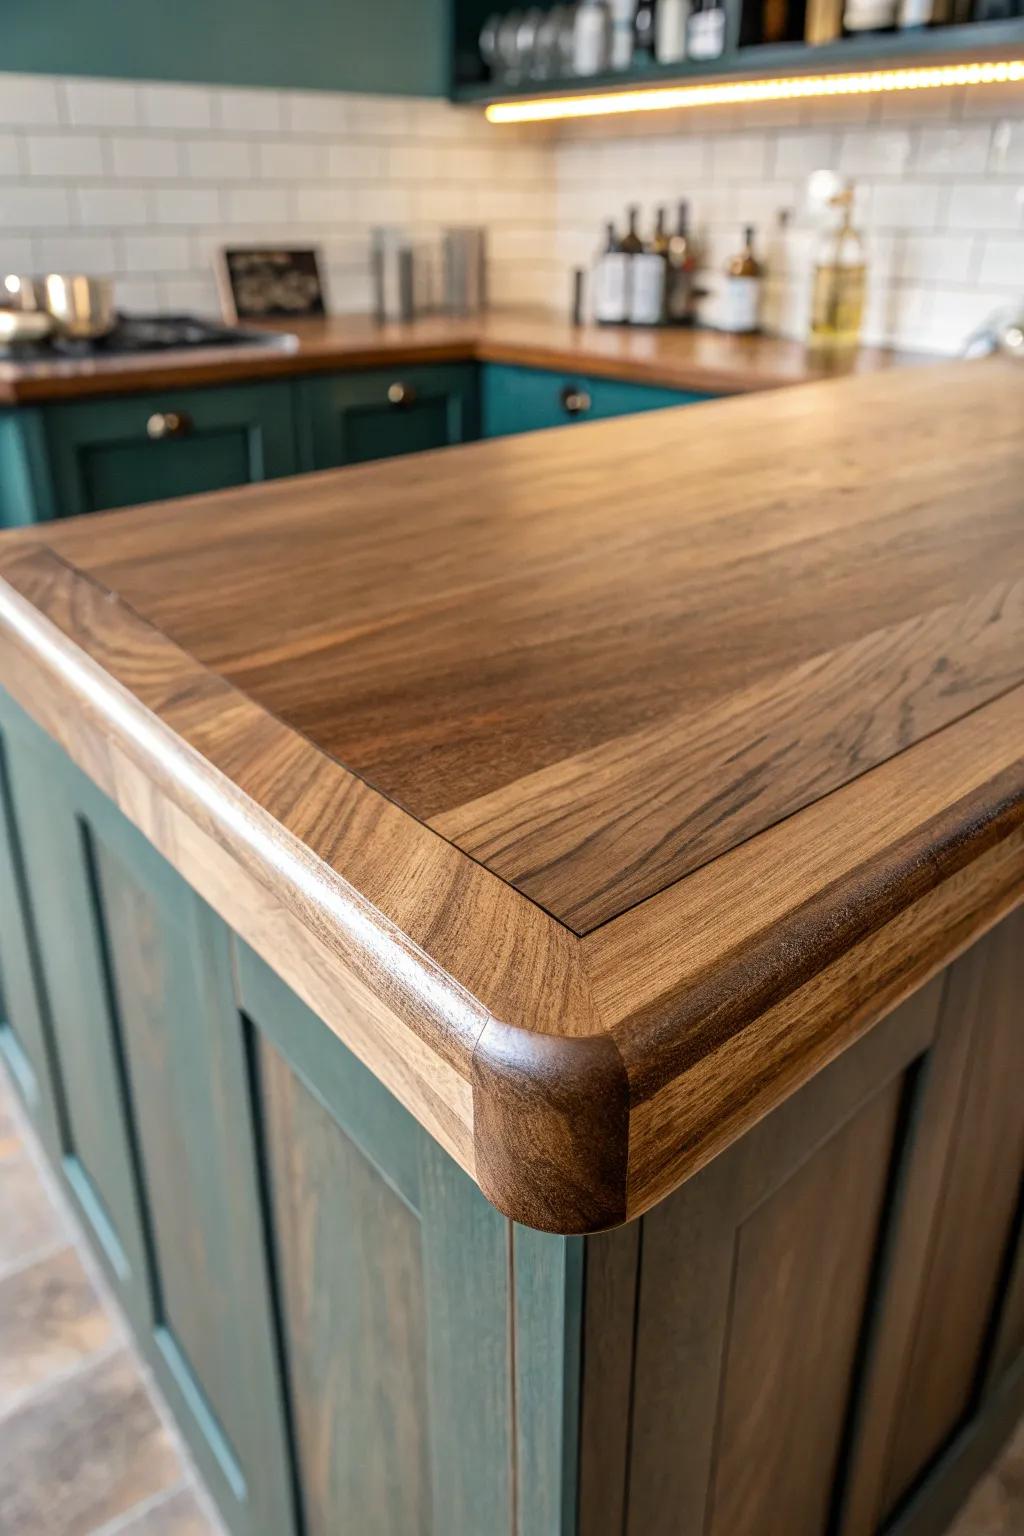
Eased Square Edge
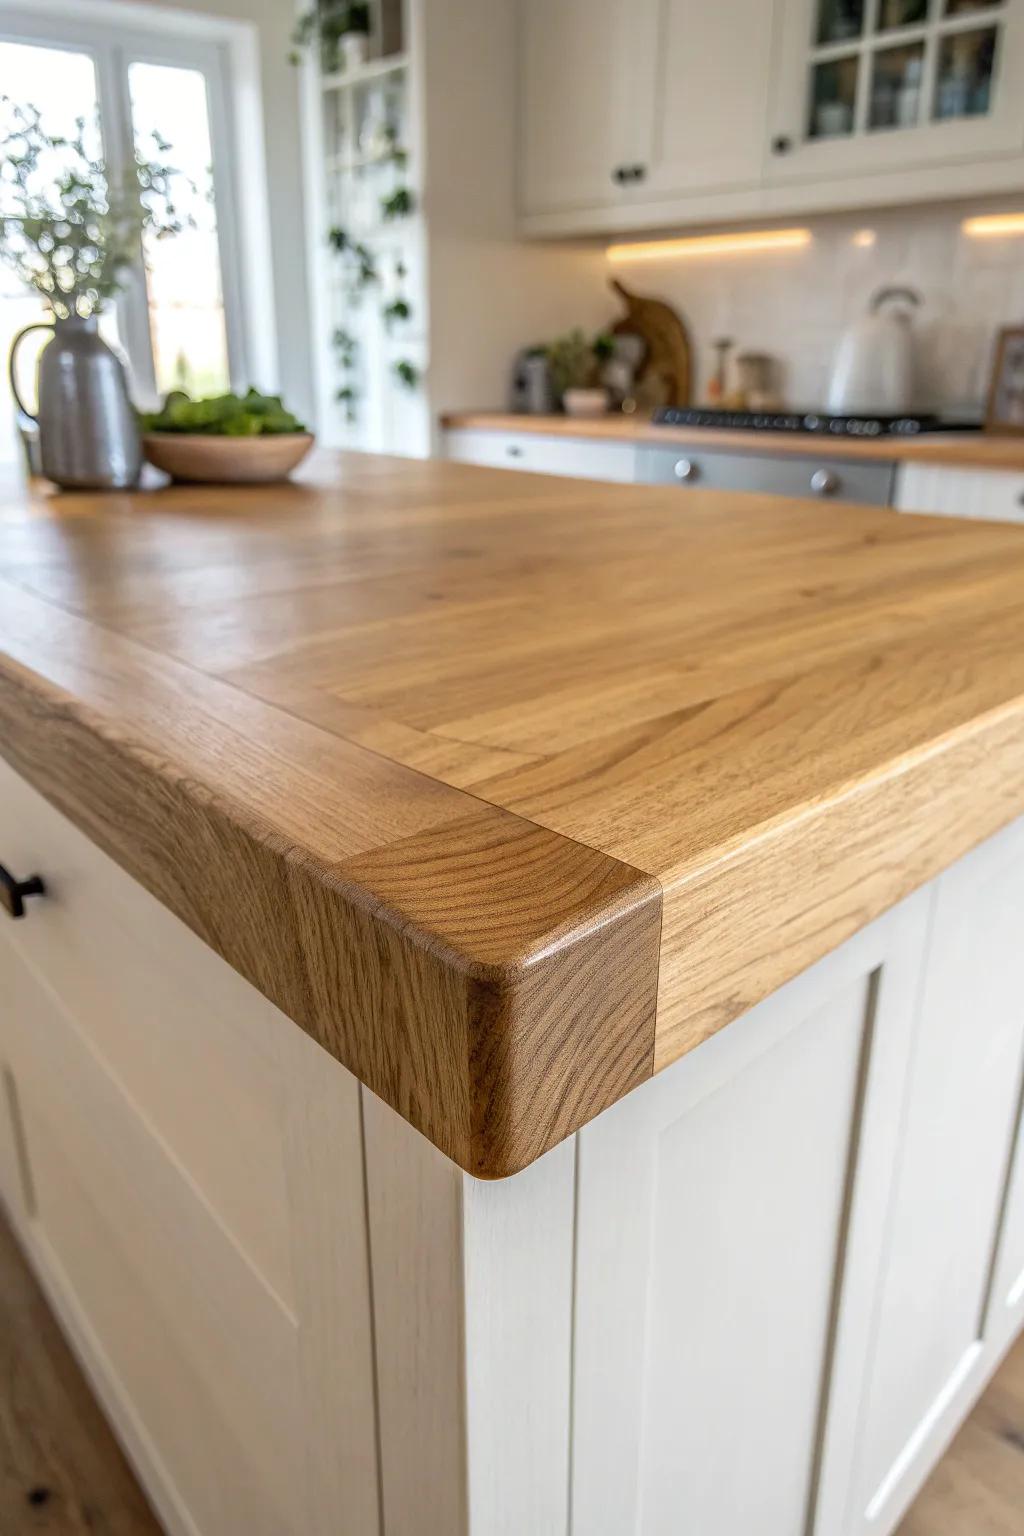
An eased edge (just a tiny soften on the corners) is my go-to when you want clean lines without sharpness. I use it constantly on modern-rustic builds because it’s simple, comfy, and super forgiving.
Possibly handy products:
- Corner Rounding Router Bit: Create that perfectly soft, eased edge on your countertop by using this essential woodworking router bit.
- Food-Safe Butcher Block Oil: Protect your newly shaped wooden bar top and enhance the grain with this conditioning oil finish.
- Hand Sanding Block Kit: Smooth out any rough spots after routing to ensure your eased edge feels comfortable to the touch.
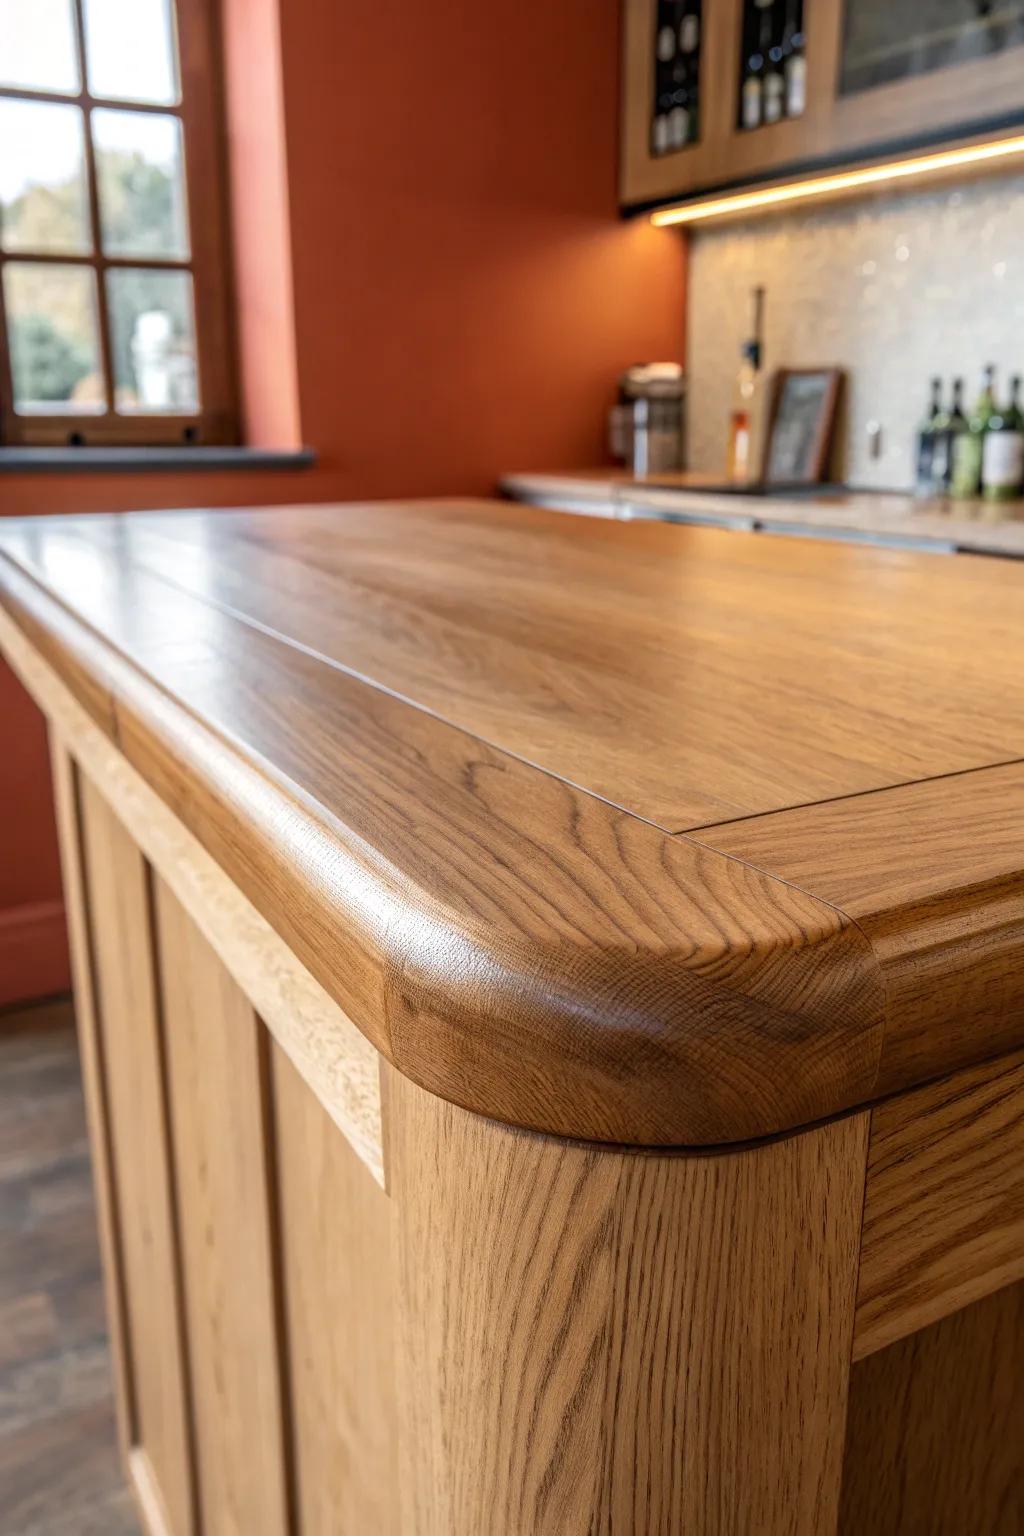
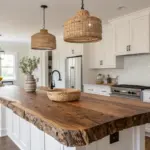
Big Roundover Edge
A chunky roundover edge feels great on your forearms, especially for a hangout bar. I’ve routed this profile on everything from plywood-topped bars to solid slabs, and it always reads “finished.”
Possibly helpful picks:
- Large Radius Roundover Router Bit: Create that smooth, professional countertop curve with a high-quality bit designed for deep, clean cuts.
- Heavy-Duty Wood Router: Power through solid hardwood slabs or thick plywood with a reliable router essential for consistent edging.
- Food-Safe Wood Finish Oil: Protect your newly shaped bar top and enhance the grain with a durable, safe penetrating oil.
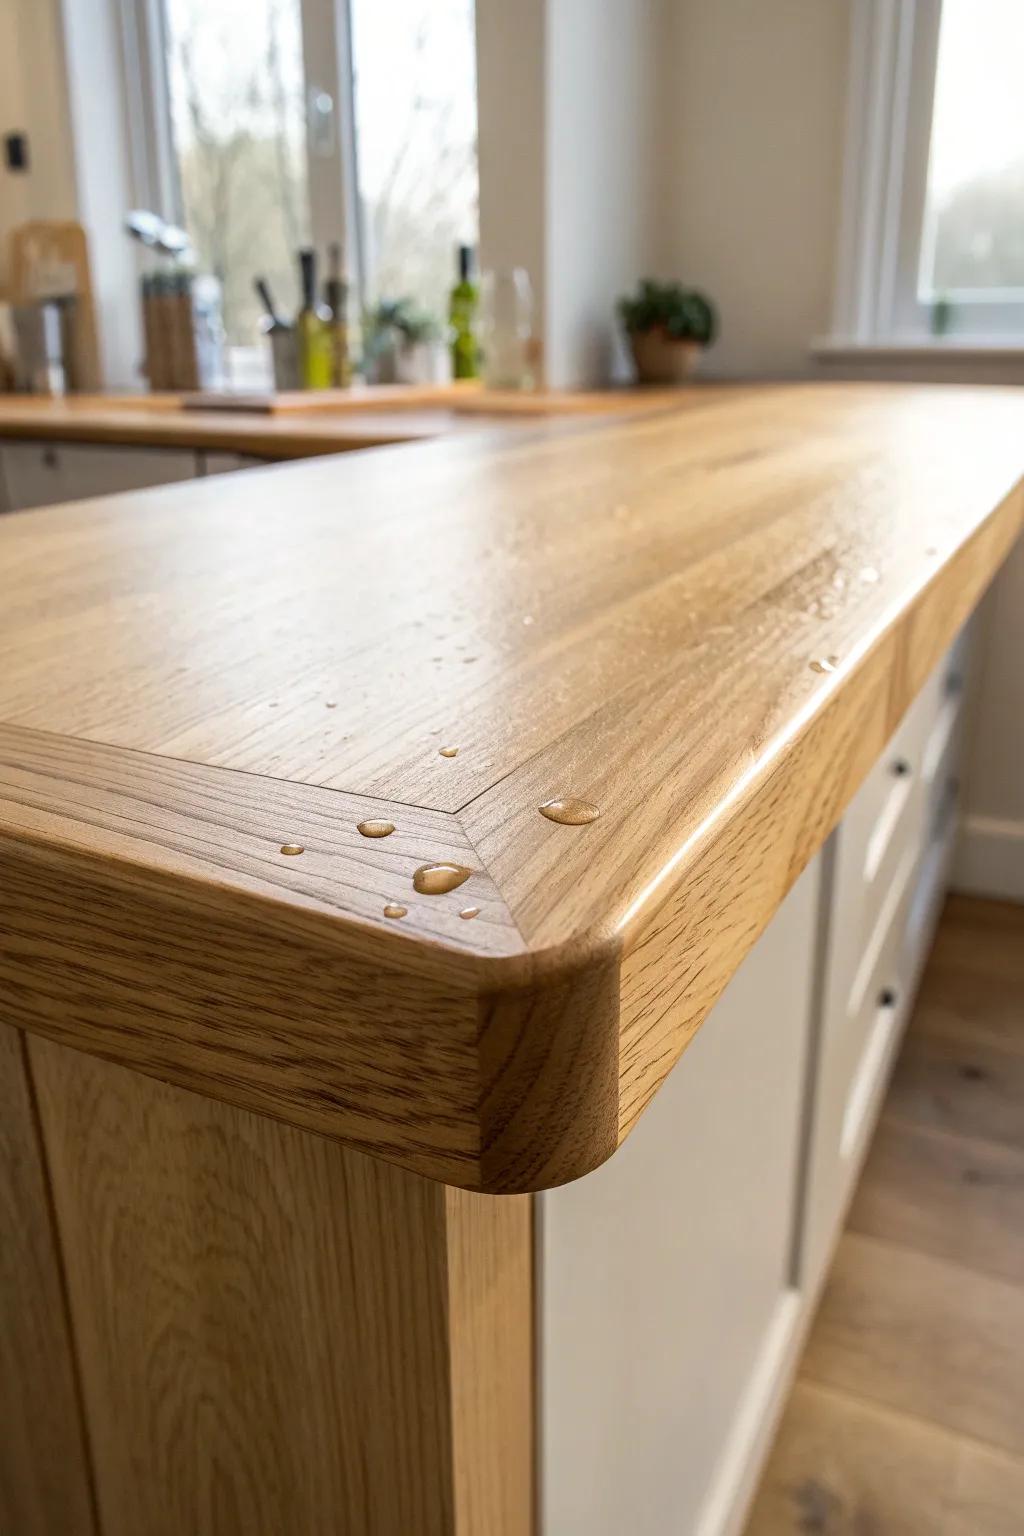
Bullnose Edge
A full bullnose edge gives that smooth, classic counter vibe while still being bar-friendly. I like it on kid-proof builds because I’ve seen it take bumps way better than crisp corners.
Might be a good match:
- Roundover Router Bits: Create that perfectly rounded edge yourself by using these bits to smooth out sharp wooden corners.
- Wood Finishing Oil: Protect your newly shaped edge and enhance the natural grain with a durable, food-safe oil finish.
- Orbital Sander Sandpaper: Achieve a splinter-free, silky surface after routing by using high-quality sanding discs for final polishing.
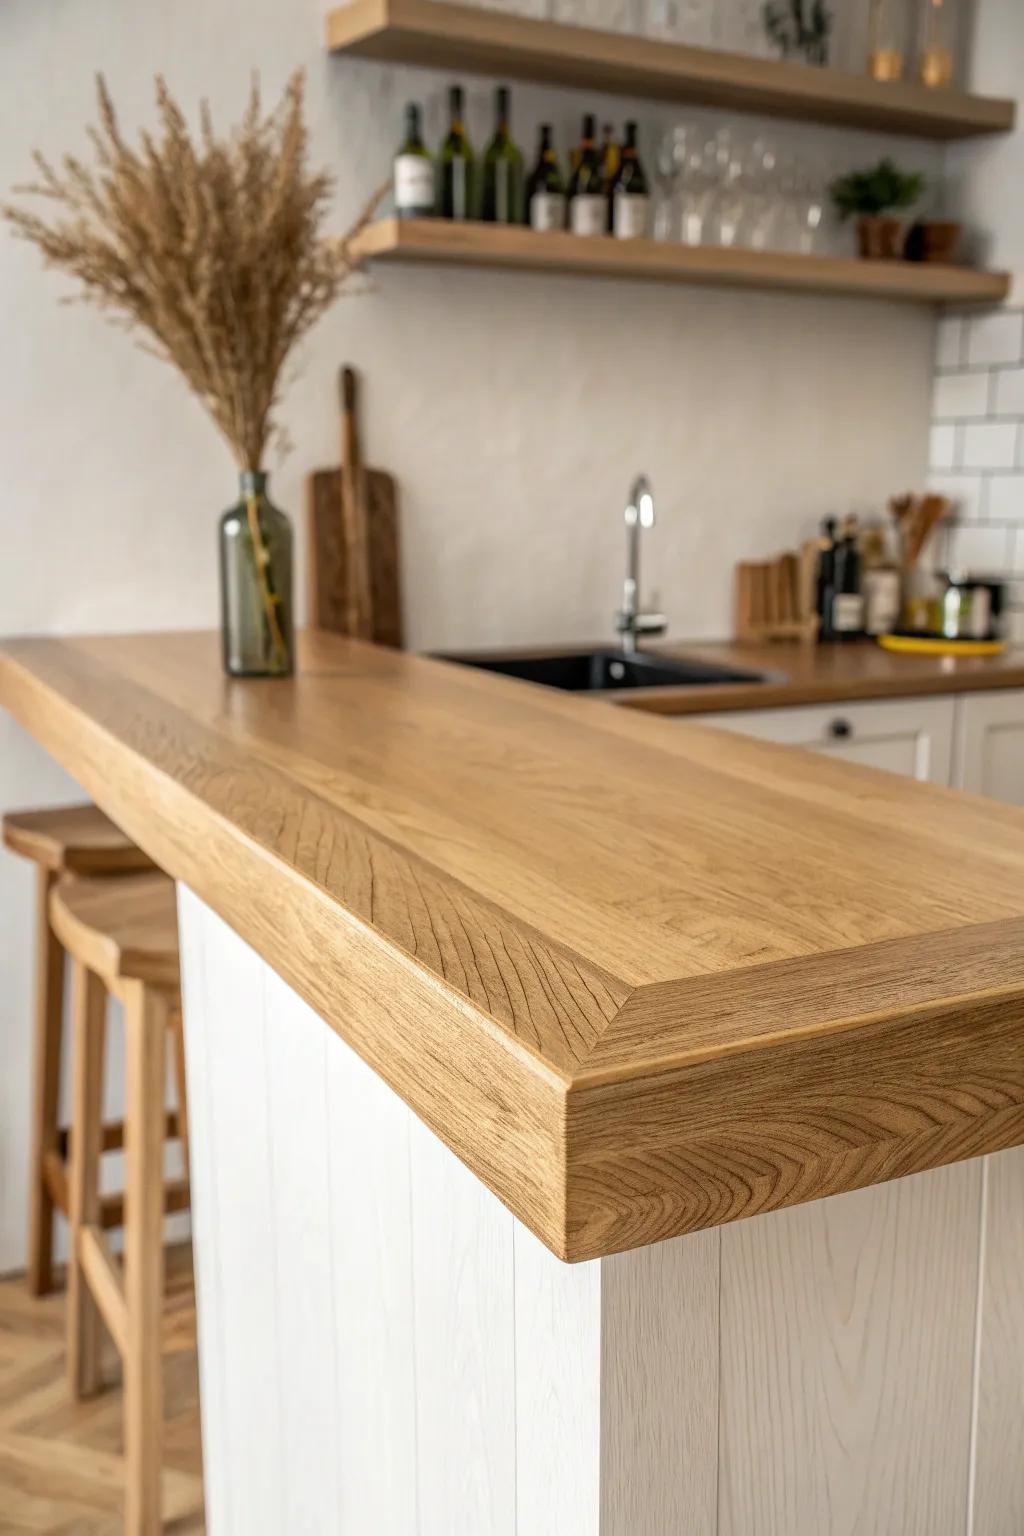
Beveled Spill-Lip Edge
A slight beveled edge on top can help nudge small spills back toward the surface instead of straight down your bar front. I’ve used this on busy basement bars, and it really does cut down on sticky drips.
A few helpful options:
- Chamfer Router Bit: Create clean, consistent beveled edges on your wood bar top to help catch small spills effectively.
- Food Safe Wood Finish: Seal your new beveled edges against moisture and stains with a durable, water-resistant oil finish.
- Wood Sanding Block Kit: Smooth down your beveled cuts by hand to ensure a splinter-free, professional-looking edge transition.
Chicago Bar Rail Profile
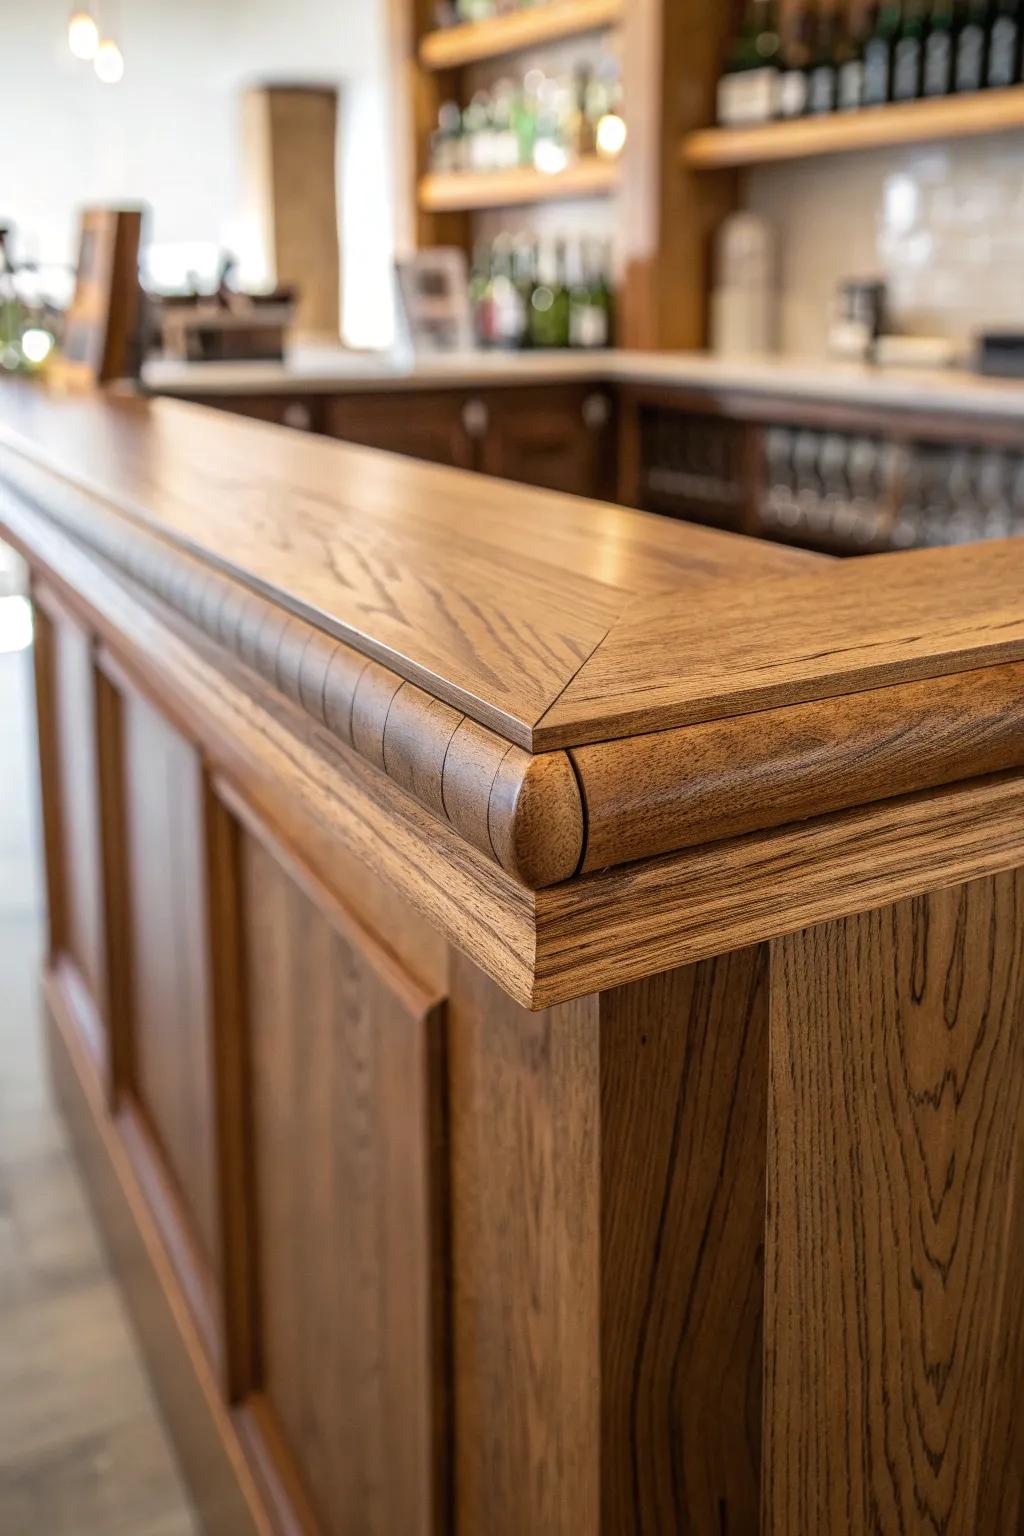
If you want your build to instantly feel like a “real” bar, the bar rail edge is the move because it doubles as an armrest edge. I’ve added it to plain tops and watched them go from basic to pub-style overnight.
A few suggestions:
- Hardwood Bar Rail Molding: Upgrade your bar top with this classic hardwood molding that provides a comfortable and stylish armrest.
- Wood Stain and Sealer: Protect your new bar rail and enhance the natural wood grain with this durable stain and sealer.
- Wood Clamps for Installation: Ensure a tight, seamless fit during installation by using these sturdy clamps to hold the rail in place.
Ogee Edge for Vintage Charm
An ogee edge brings that old-school furniture vibe that plays so well with farmhouse cabinets. I’ve used it when a client wanted “a little fancy,” and it looks especially good under warm lighting.
Products that could assist:
- Ogee Router Bit: Create elegant edges yourself; use this tool to carve that classic S-shaped profile into your custom wood countertop.
- Food-Grade Wood Oil: Protect your woodwork and enhance the grain’s depth by regularly applying a safe, penetrating oil to the surface.
- Fine Grit Sanding Block: Ensure a flawlessly smooth finish on your detailed edge profile with touch-ups using a high-quality, flexible sanding sponge.
Cove-Then-Round Combo Edge

A cove edge paired with a small roundover gives you depth without going full ornate molding. I’ve routed this combo on stained wood tops, and it makes the grain look richer because of the extra shadows.
A few choices to try:
- Cove Router Bit: Create the signature inward curve of this profile to add elegant depth and shadow lines to your project.
- Roundover Router Bit: Smooth out the sharp edges seamlessly with this essential bit for a comfortable, professional-grade finish.
- Wood Stain and Sealer: Enhance the wood grain on your new edge profile while protecting the surface from moisture and wear.
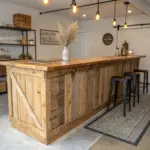
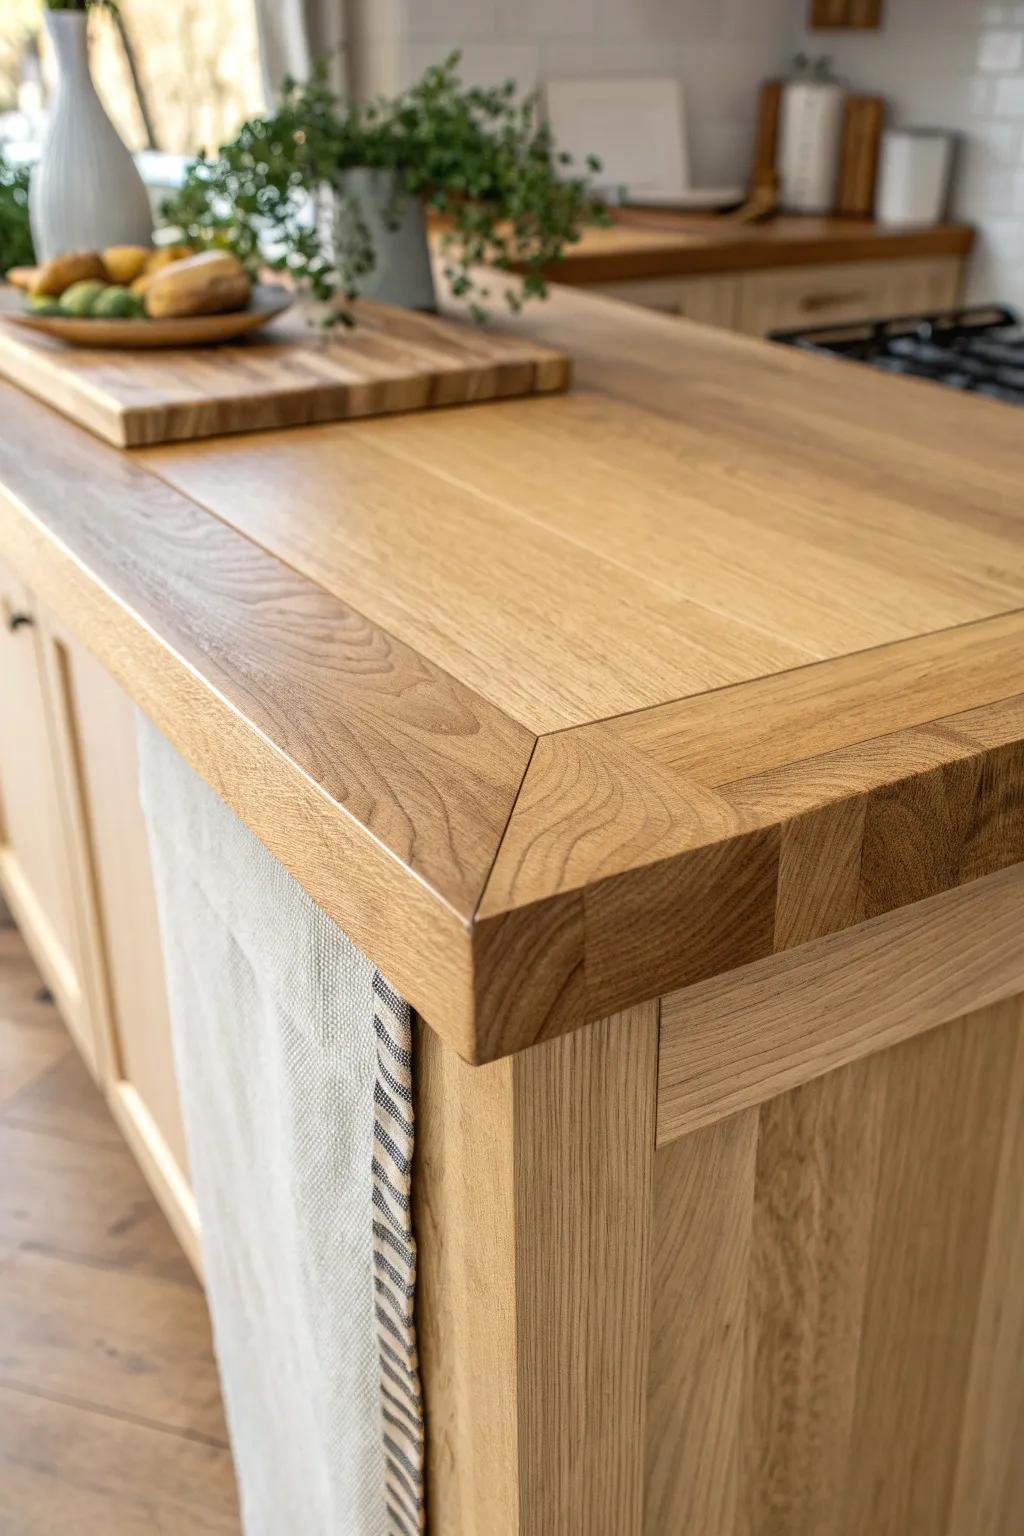
Laminated Thick-Look Edge
A laminated edge is my favorite trick for making a top look thick and hefty without using a massive slab. I’ve glued on edge build-ups and then shaped them, and people always assume the whole top is that thickness.
These products might be useful:
- Heavy Duty Wood Glue: Securely bond your edge strips to the main slab to create that seamless, thick appearance effectively.
- Parallel Jaw Clamps: Apply even pressure across the entire edge buildup to ensure gap-free joints and professional results.
- Router with Roundover Bits: Finish your new thick edge with a smooth profile to replicate the custom look shown here.
Mitered Waterfall Edge
A waterfall edge feels sleek and modern, and it’s a fun challenge if you like clean joinery. I’ve done miter folds on veneered and solid-wood builds, and the continuous grain look is pure magic when it lines up.
Explore these options:
- Digital Angle Gauge: Ensure your saw blade is perfectly set to 45 degrees for seamless, gap-free miter joints.
- Miter Max Spring Clamps: Apply precise pressure directly to mitered corners during glue-ups without damaging the delicate wood edge.
- Clear Wood Glue for Joinery: Create a strong, invisible bond on your waterfall edge that resists creep and dries clear.
Banding Edge in Contrasting Wood
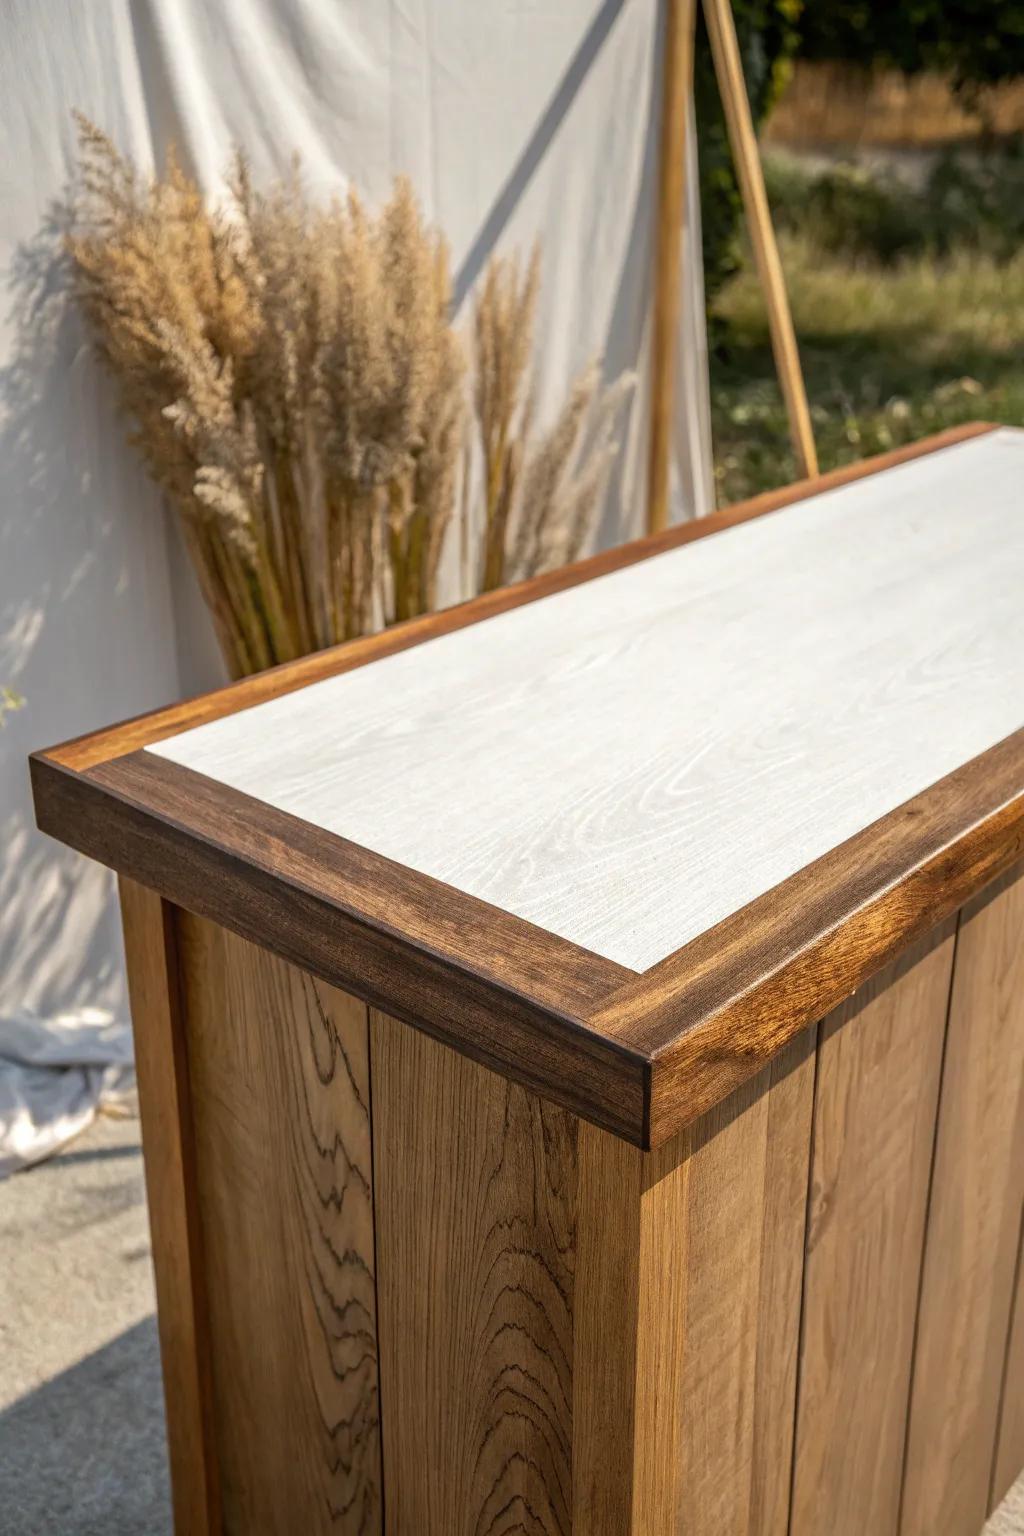
A thin contrasting wood edge band can make even a simple top look custom. I’ve paired light and dark species on the edge, and it frames the bar top like a piece of art.
Useful items to consider:
- Hardwood Veneer Edge Banding: Apply a finished look to plywood edges easily using this iron-on real wood veneer banding.
- Hardwood Lattice Molding Strips: Create a solid, durable border for your bar top with these finish-ready hardwood trim pieces.
- Wood Glue and Clamp Set: Ensure a tight, seamless bond for your decorative edging with reliable wood glue and clamps.
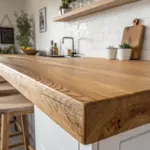
Breadboard End Edge Detail
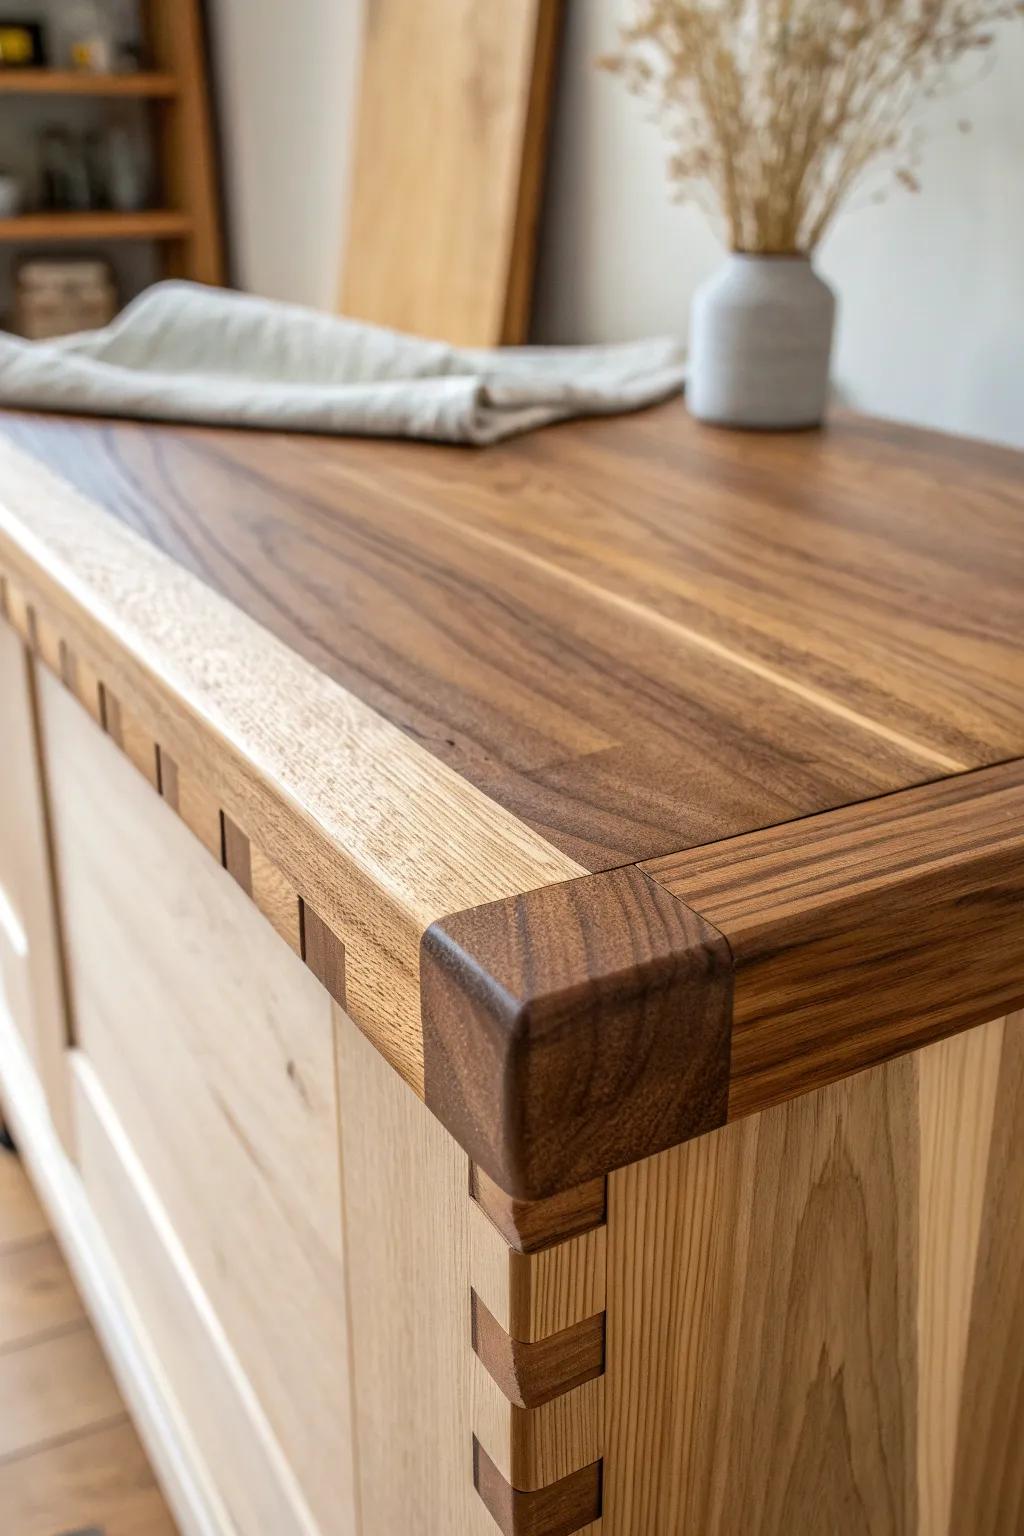
Adding breadboard ends changes how the front edge reads and gives a handcrafted, furniture-style finish. I’ve used this detail to visually “cap” the bar top edge and make long runs feel more intentional.
May just do the trick:
- Butcher Block Conditioner & Sealer: Protect your newly crafted breadboard ends and enhance the wood grain with this food-safe oil finish.
- Hardwood Lumber Boards (Walnut/Maple): Source high-quality contrasting hardwood boards to create the distinct border and end cap details shown here.
- Woodworking Clamps Set: Ensure tight, seamless joints during glue-ups with robust clamps designed for furniture and cabinet making tasks.
Inlaid Metal Strip Edge

A flush metal inlay edge adds this subtle, classy line that catches light when you walk by. I’ve routed a tiny channel along the bar top edge and inlaid metal, and it instantly made the build feel more tailored.
A few things you might like:
- Flat Brass or Aluminum Bar Stock: Add a sophisticated touch to your woodwork by inlaying this durable metal strip for flush edges.
- Woodworking Router with Edge Guide: Carve precise, straight channels for your metal inlays easily with this essential power tool setup.
- Two-Part High Strength Epoxy: Secure your metal inlay permanently to the wood surface with this strong, clear-drying adhesive.
Rope-Wrapped Nautical Edge
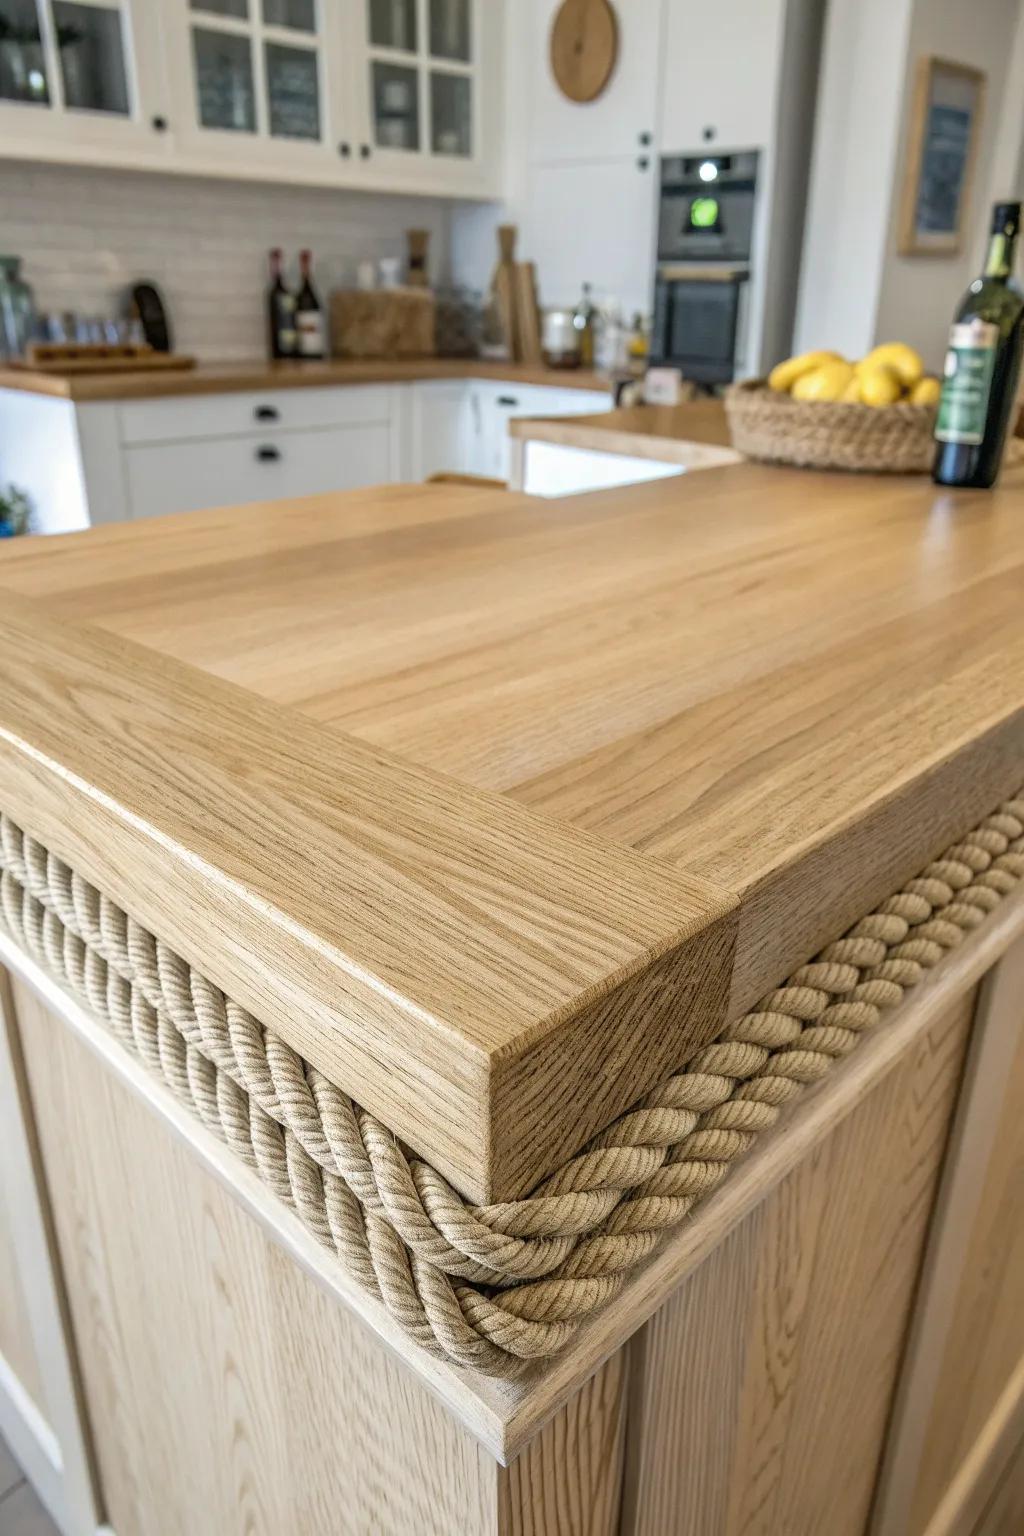
A rope-wrapped edge is quirky in the best way, especially for a patio or lake-house vibe. I’ve recessed a shallow groove around the bar top edge so the rope sits tidy and doesn’t snag sleeves.
Give these a look:
- Natural Jute or Manila Rope: Choose a thick, twisted natural fiber rope to create the authentic nautical look around your bar edge.
- Heavy-Duty Construction Adhesive: Secure your rope firmly into the recessed groove with a strong, permanent adhesive designed for wood projects.
- Wood Router with Straight Bit: Carve the perfect recessed groove for your rope edge to sit flush using a reliable router tool.


