
A little bathroom crown molding can take a plain, builder-basic space and make it feel finished in a way paint alone never does.
Classic White Crown at the Ceiling
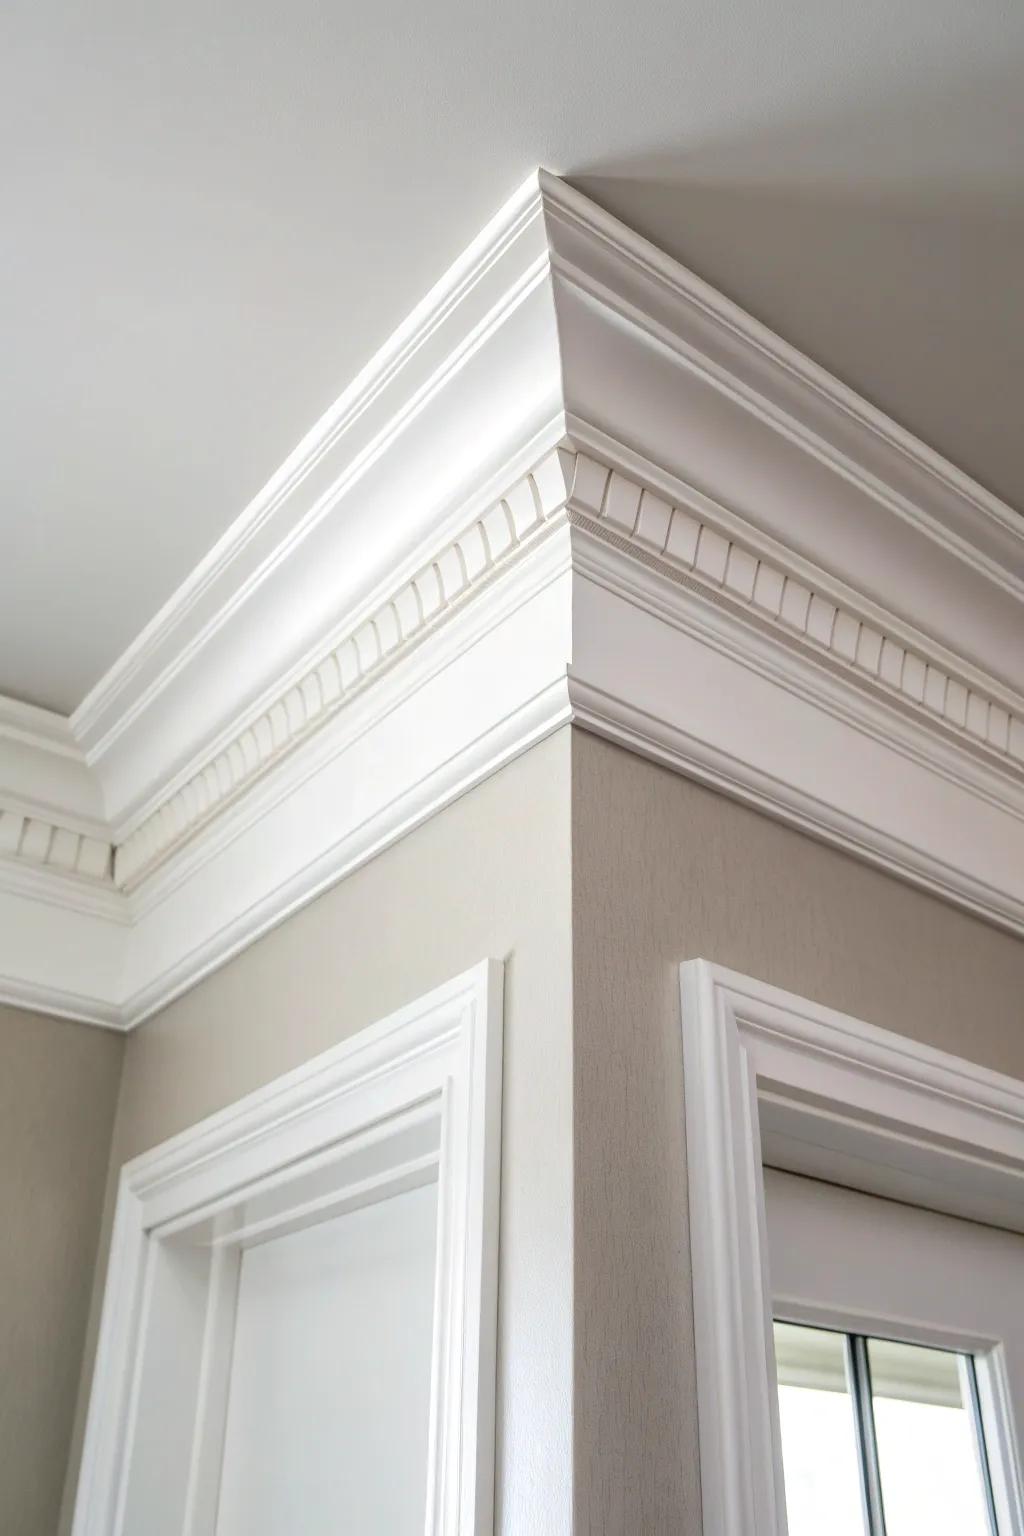
My go-to is crisp white bathroom crown molding where the wall meets the ceiling—it instantly makes the whole room feel cleaner and more polished. I usually paint it in a durable semi-gloss so it wipes down easily when steam and splashes happen.
Explore these options:
- Polyurethane Crown Molding: Instantly elevate your bathroom with these moisture-resistant moldings that mimic traditional wood without warping from humidity.
- Semi-Gloss Interior Paint: Protect your molding and make cleaning a breeze by applying a durable, moisture-repellent semi-gloss finish.
- Acrylic Latex Caulk: Ensure a seamless, professional finish by filling gaps between the ceiling and trim with flexible sealant.


Match Crown With Other Trim

When I match bathroom crown molding to door casings and baseboards, the room looks intentional instead of “added later.” I’ve learned the hard way that even a slightly different profile can make the trim package feel mismatched.
You might give these a try:
- Primed Polyurethane Crown Molding: Create a unified look with moisture-resistant molding that mimics wood but stands up perfectly to bathroom humidity.
- Coping Saw for Detailed Cuts: Ensure your corners fit tightly together for a seamless transition between walls by hand-cutting precise cope joints.
- Paintable White Caulk: Fill gaps flawlessly between your molding and ceiling to achieve that built-in, intentional aesthetic you desire.


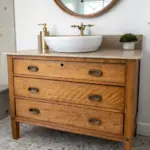
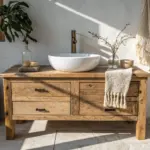
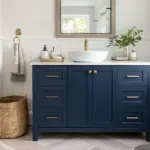
Wrap Crown Around a Built-In Vanity
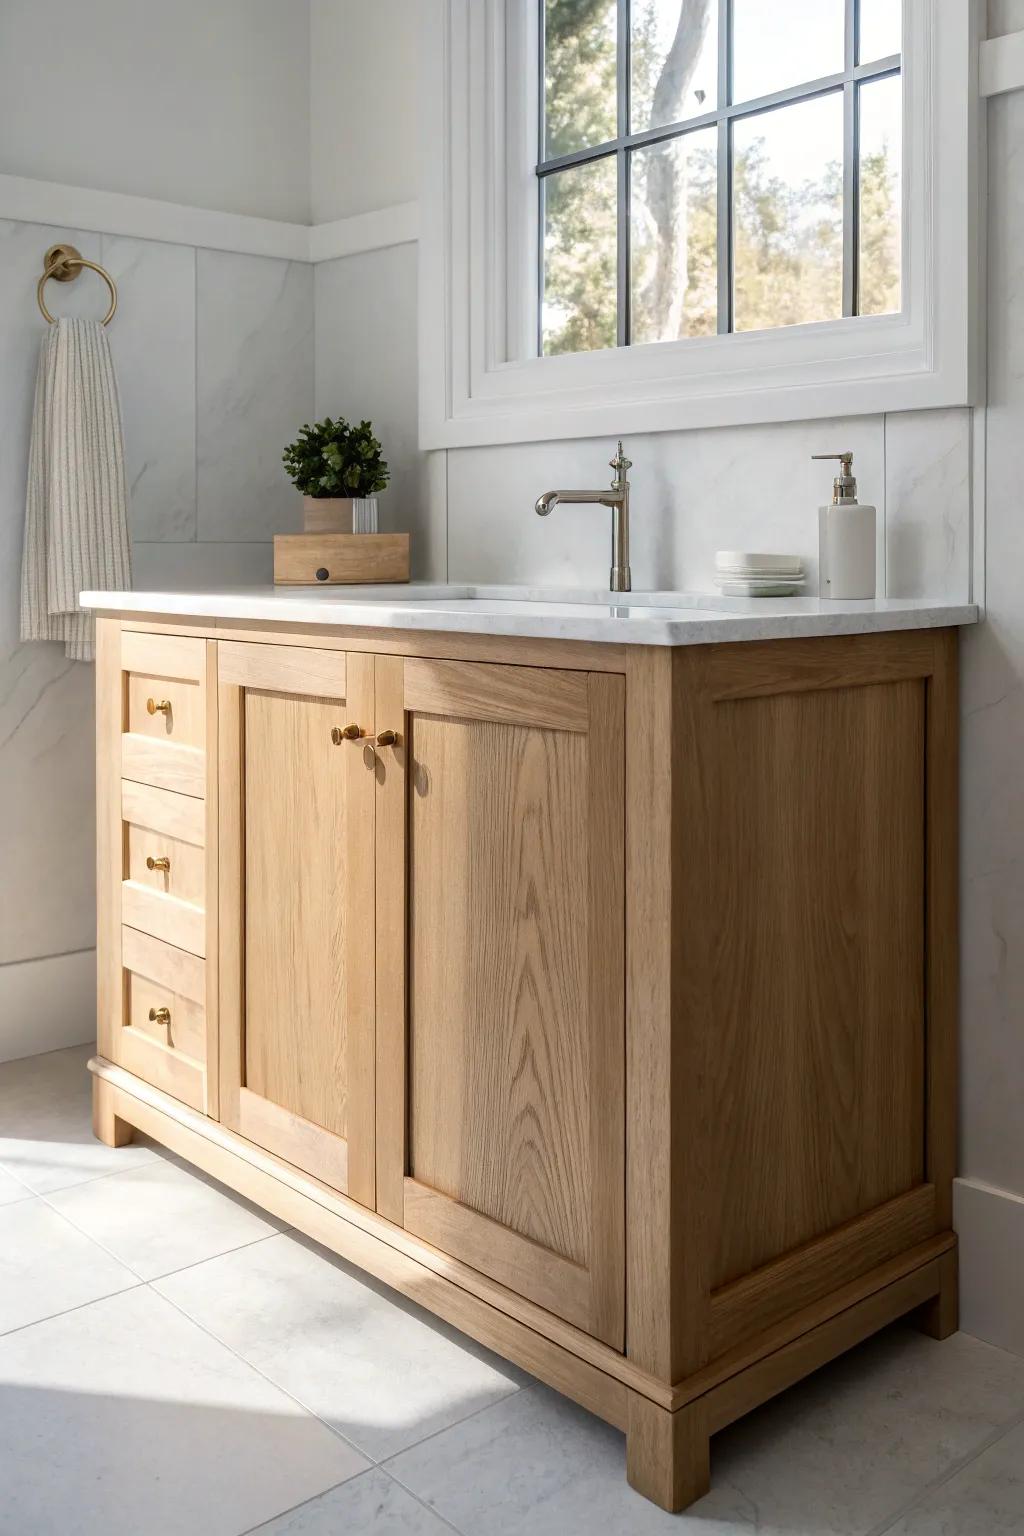
One of my favorite upgrades is adding crown molding on vanity cabinets so they look like furniture instead of boxes. I’ve done it on a tower cabinet too, and it made the whole vanity wall feel taller and more expensive.
These products might be useful:
- Wood Crown Molding Trim: Add elegance to your cabinetry by installing custom wood trim that elevates the boxy look naturally.
- Brad Nailer Kit: Secure your new molding precisely and effortlessly without splitting delicate wood pieces during your vanity upgrade.
- Wood Stain and Sealer: Finish your molding to match your existing vanity wood tone for a seamless, high-end furniture appearance.
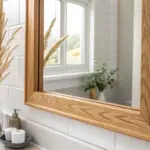
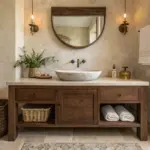
Crown-Topped Mirror Frame
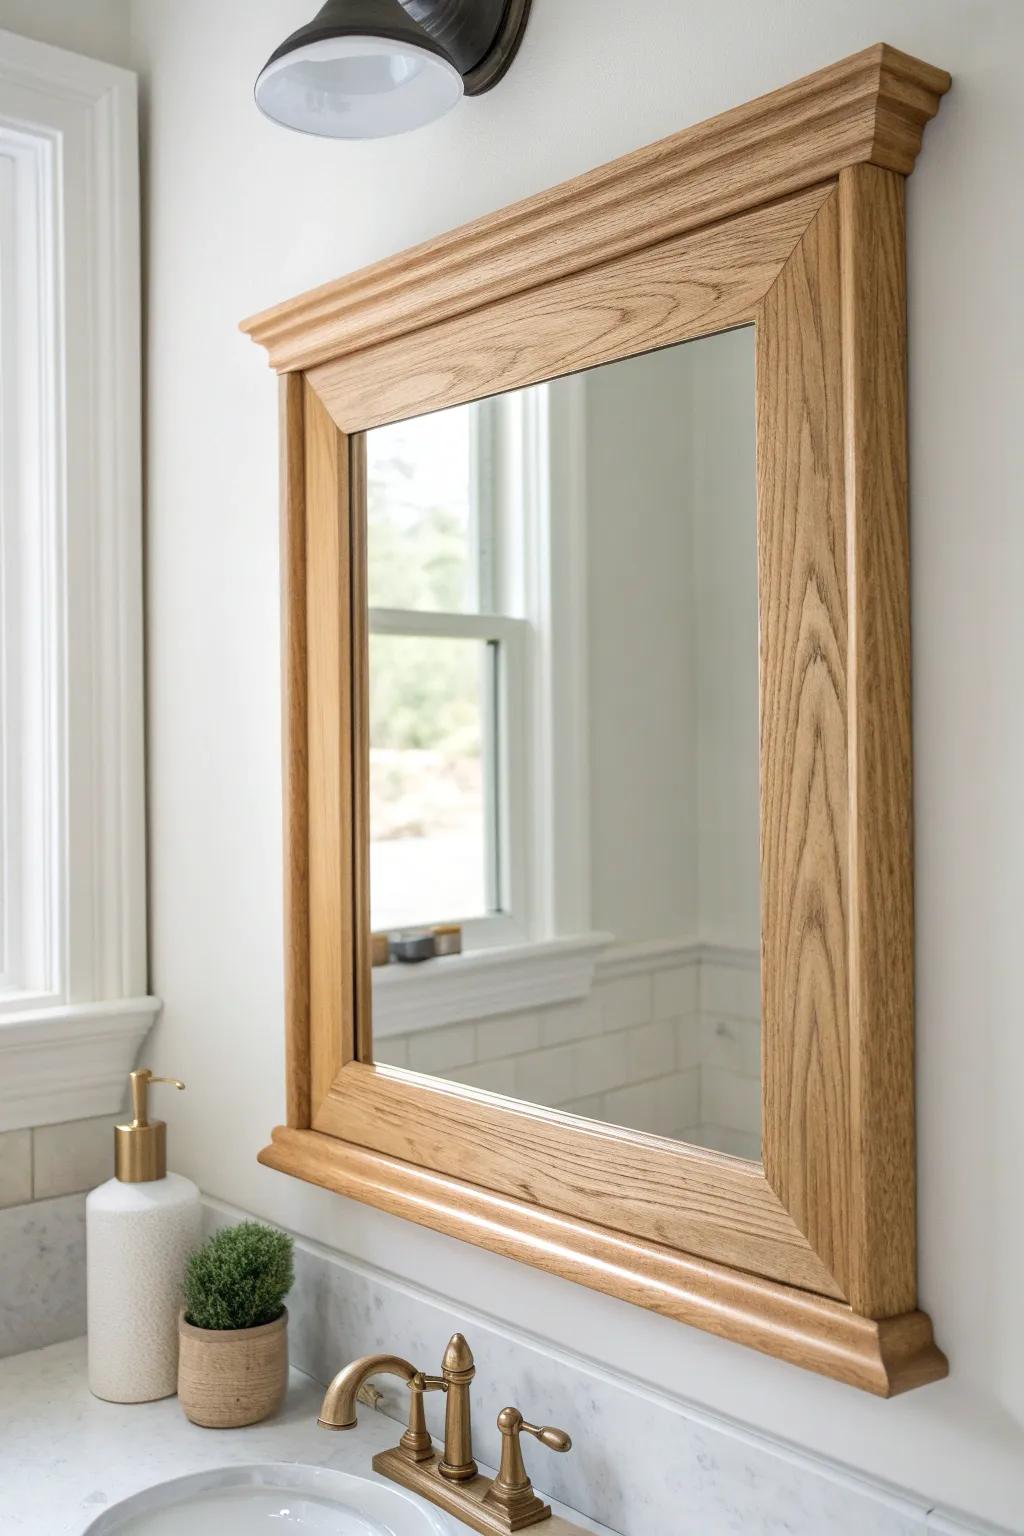
Try using a small run of crown molding above the bathroom mirror like a little “cap”—it’s such an easy way to fake a custom mirror. I’ve built simple mirror frames and that crown topper is always the part that gets compliments.
A few helpful options:
- Unfinished Oak Wood Crown Molding: Select a stain-grade hardwood molding profile to perfectly match your new mirror frame’s warm, natural look.
- Mitre Saw or Mitre Box: Cut precise angles for your molding corners to ensure professional-looking joints with this essential woodworking tool.
- Wood Glue and Clamp Set: Secure your frame pieces firmly while the adhesive dries to create a durable, long-lasting mirror bond.
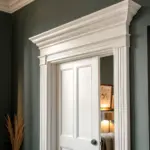
Doorway Header Crown Detail
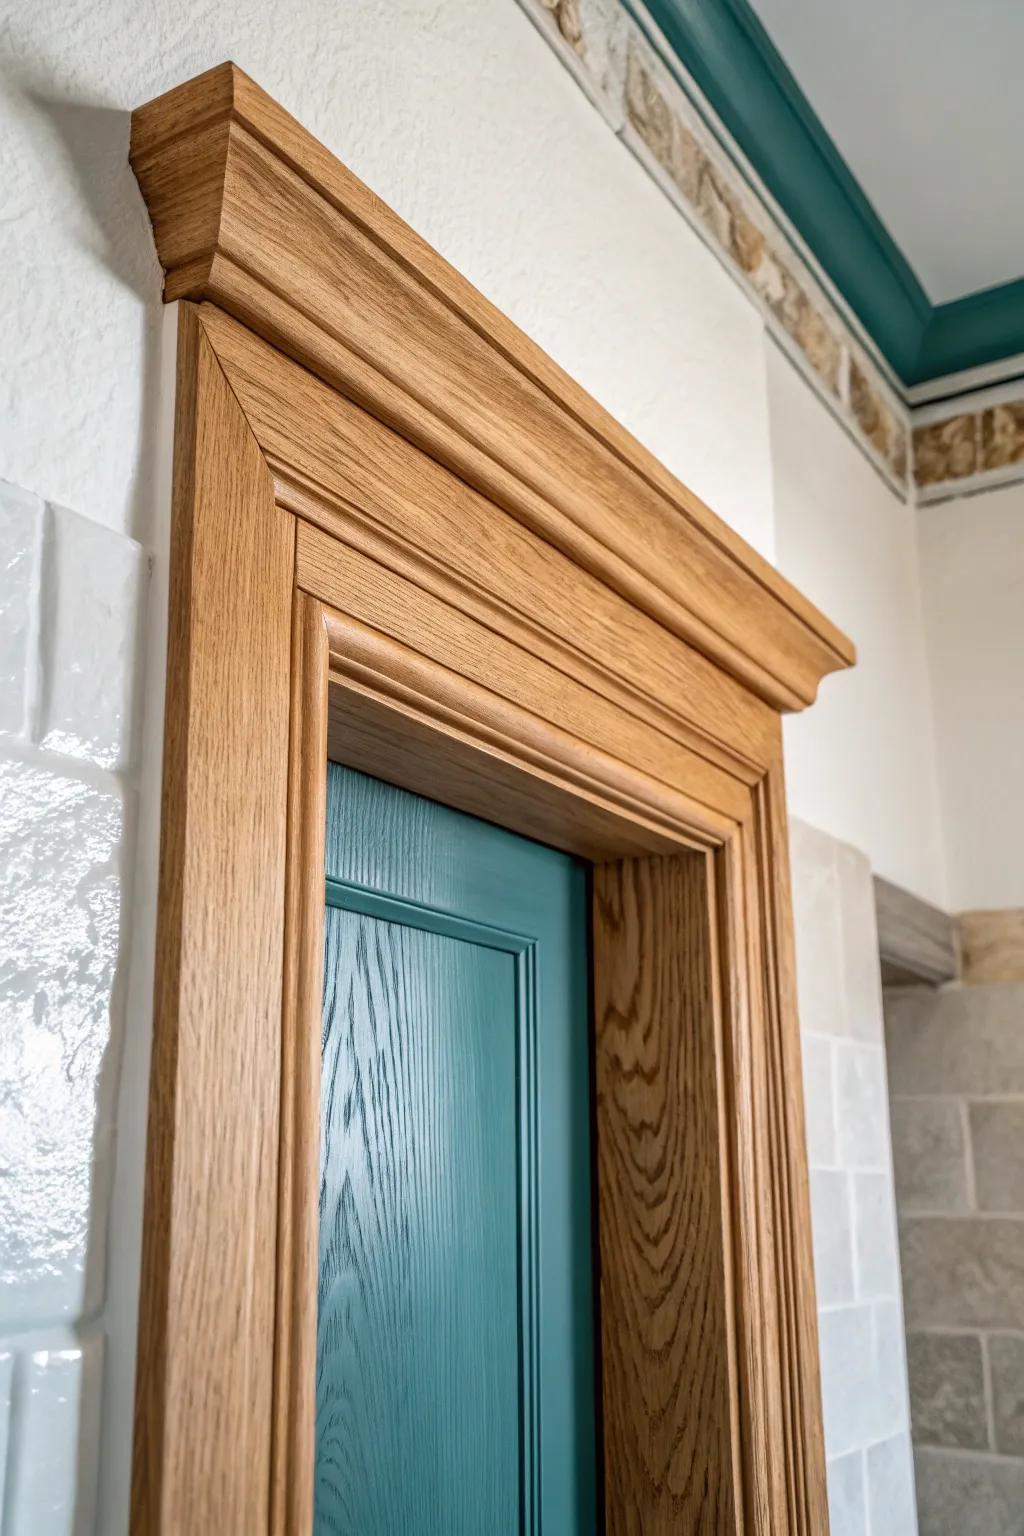
I love adding a short piece of crown molding as a header above a closet or toilet-room door for that old-house charm. I’ve used this trick in a plain hallway bath, and it instantly made the doorway feel more architectural.
You might like:
- Unfinished Oak Crown Molding: Select solid wood molding that stains beautifully to match your door frame for a custom, cohesive architectural look.
- Door & Window Casing Trim: Create the sturdy vertical framework needed to support your decorative header with these clean, classic casing profiles.
- Miter Saw for Precise Cuts: Achieve tight corners and perfect angles on your molding installation with a reliable, easy-to-use compound miter saw.
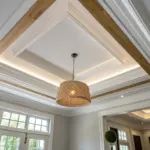
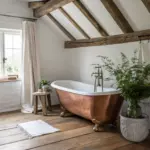
Tray Ceiling With Layered Crown
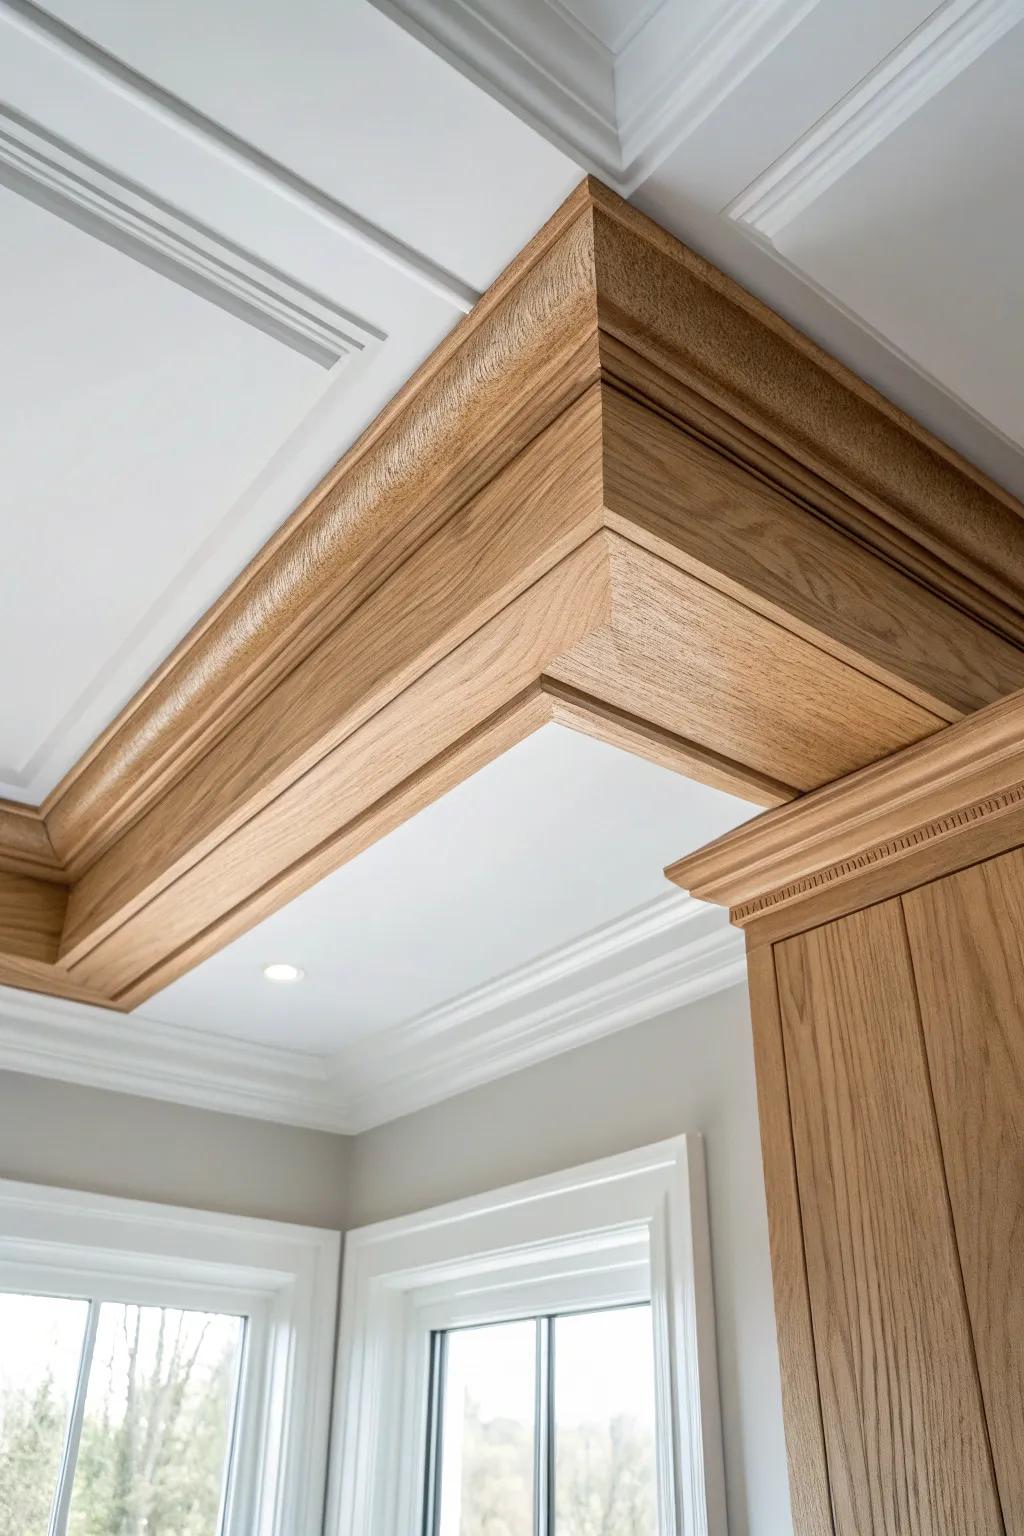
If you’ve got (or can build) a tray ceiling, crown molding is the magic line that defines each step and adds depth. I’ve installed layered bathroom crown molding on trays, and the ceiling suddenly becomes a feature instead of a blank lid.
Possibly handy products:
- Stainable Wood Crown Molding: Choose unfinished wood molding to match your existing cabinetry and add warm, natural textures to your ceiling design.
- Compound Miter Saw: Make precise angled cuts effortlessly to ensure your molding corners fit seamlessly for a professional-looking installation.
- Brad Nailer Kit: Secure your layered molding firmly in place with minimal surface damage, making the finishing process much easier.
Simple Coffered Look Using Crown Strips
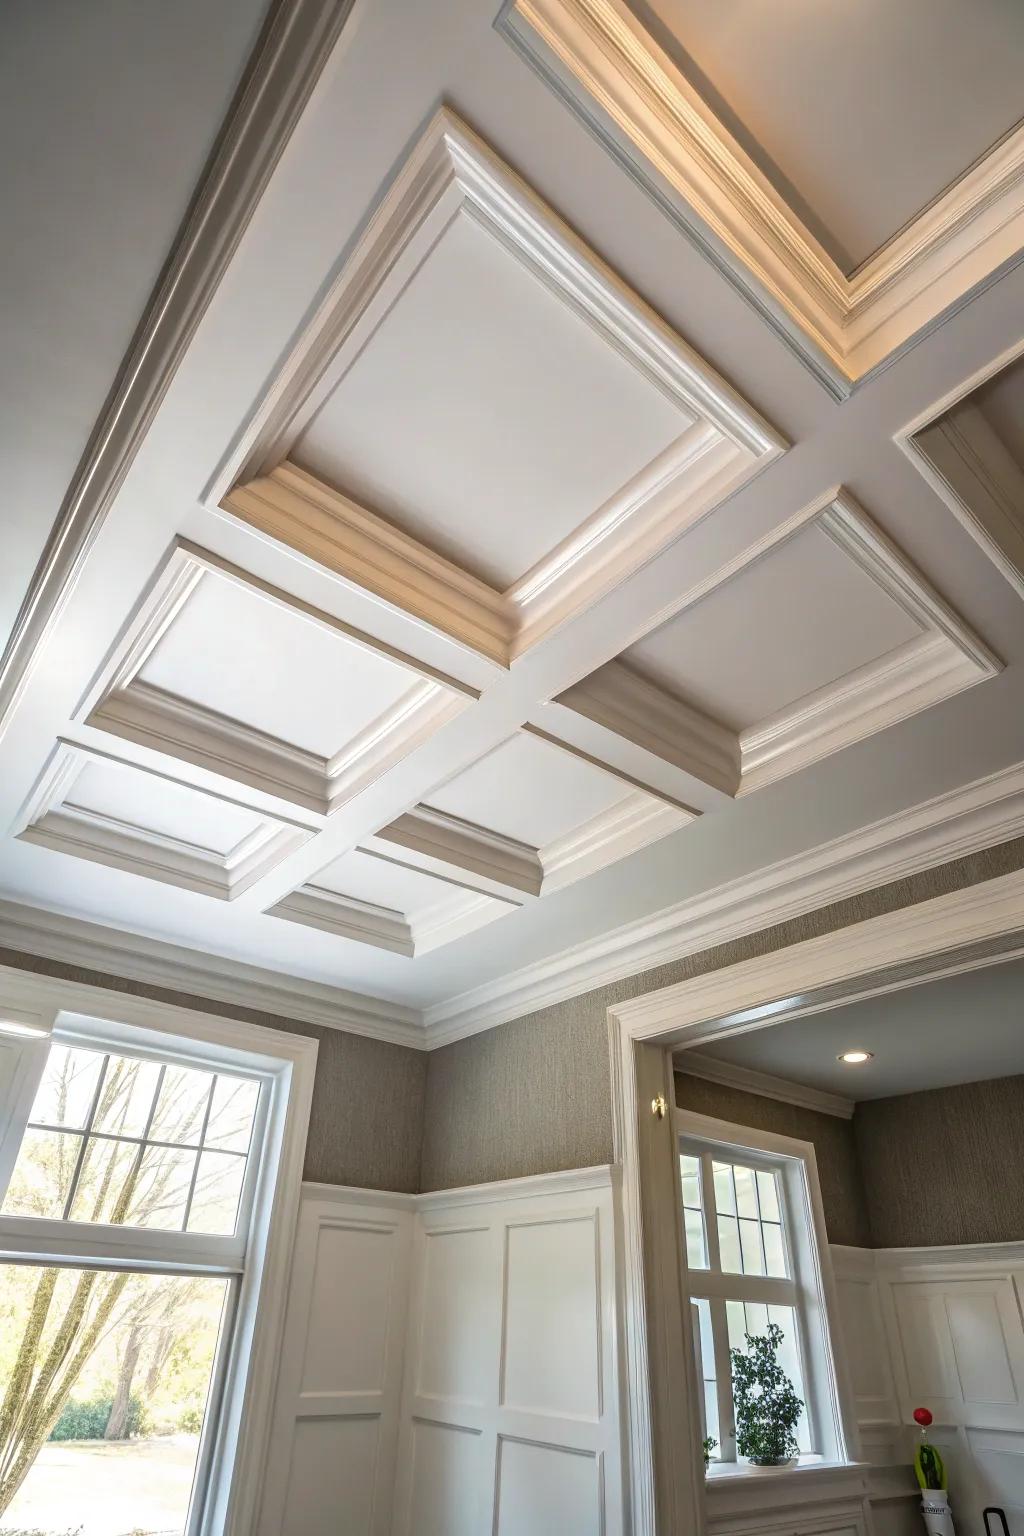
You can fake a coffered ceiling by laying out boxes and finishing the edges with small crown molding—it’s surprisingly doable. I’ve done a scaled-down version in a bathroom and it gave that “grand” vibe without heavy beams.
Some handy options:
- DIY Molding Strips: Transform your bathroom ceiling with pre-made molding strips that create an elegant, architectural box design.
- Laser Level Tool: Ensure your ceiling grid lines are perfectly straight and square for a professional-looking coffered installation.
- Caulk Gun & Adhesive: Secure your molding firmly and fill any gaps for a seamless, polished finish on your new ceiling.
Crown as a Wainscoting Cap
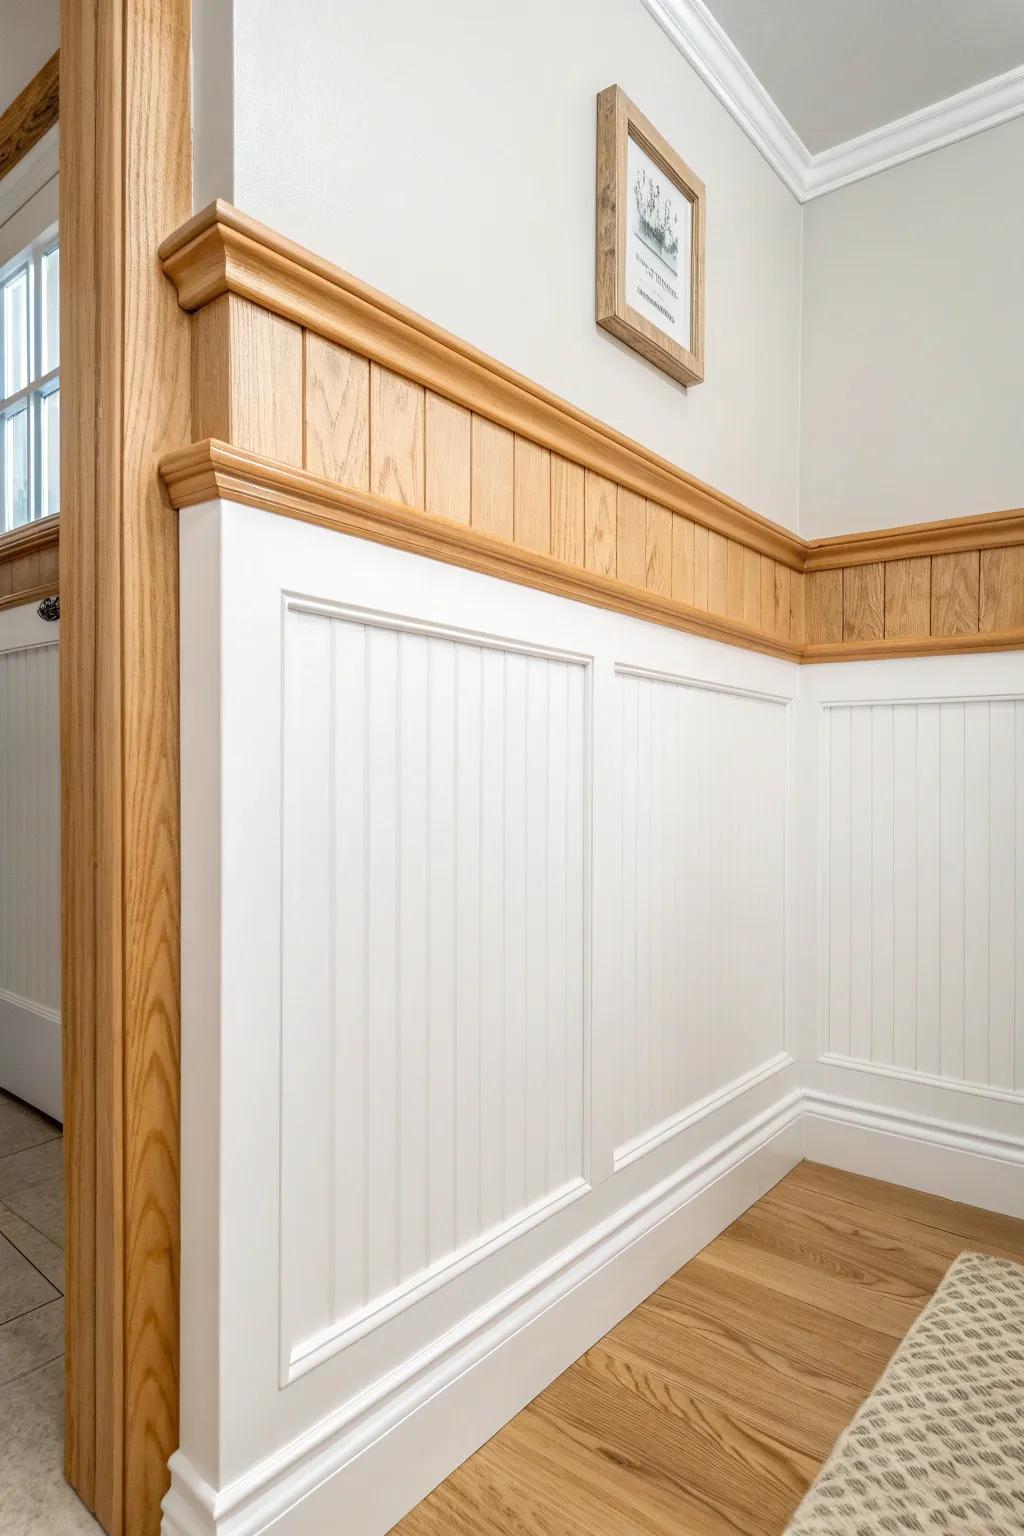
Instead of only using it at the ceiling, I sometimes run bathroom crown molding as a top cap over beadboard or wainscoting. I used this in a moisture-prone half bath, and the trim line made the wall treatment look finished and intentional.
Possibly helpful picks:
- Water-Resistant Beadboard Paneling: Instantly add texture and classic style to your bathroom walls with durable, moisture-resistant wainscoting panels.
- Polystyrene Crown Molding: Create an elegant transition between wall treatments using lightweight, moisture-proof molding that mimics traditional wood.
- Construction Adhesive for Trim: Ensure a secure, long-lasting hold for your new molding and panels in humid bathroom environments.
Moisture-Smart Materials and Sealing
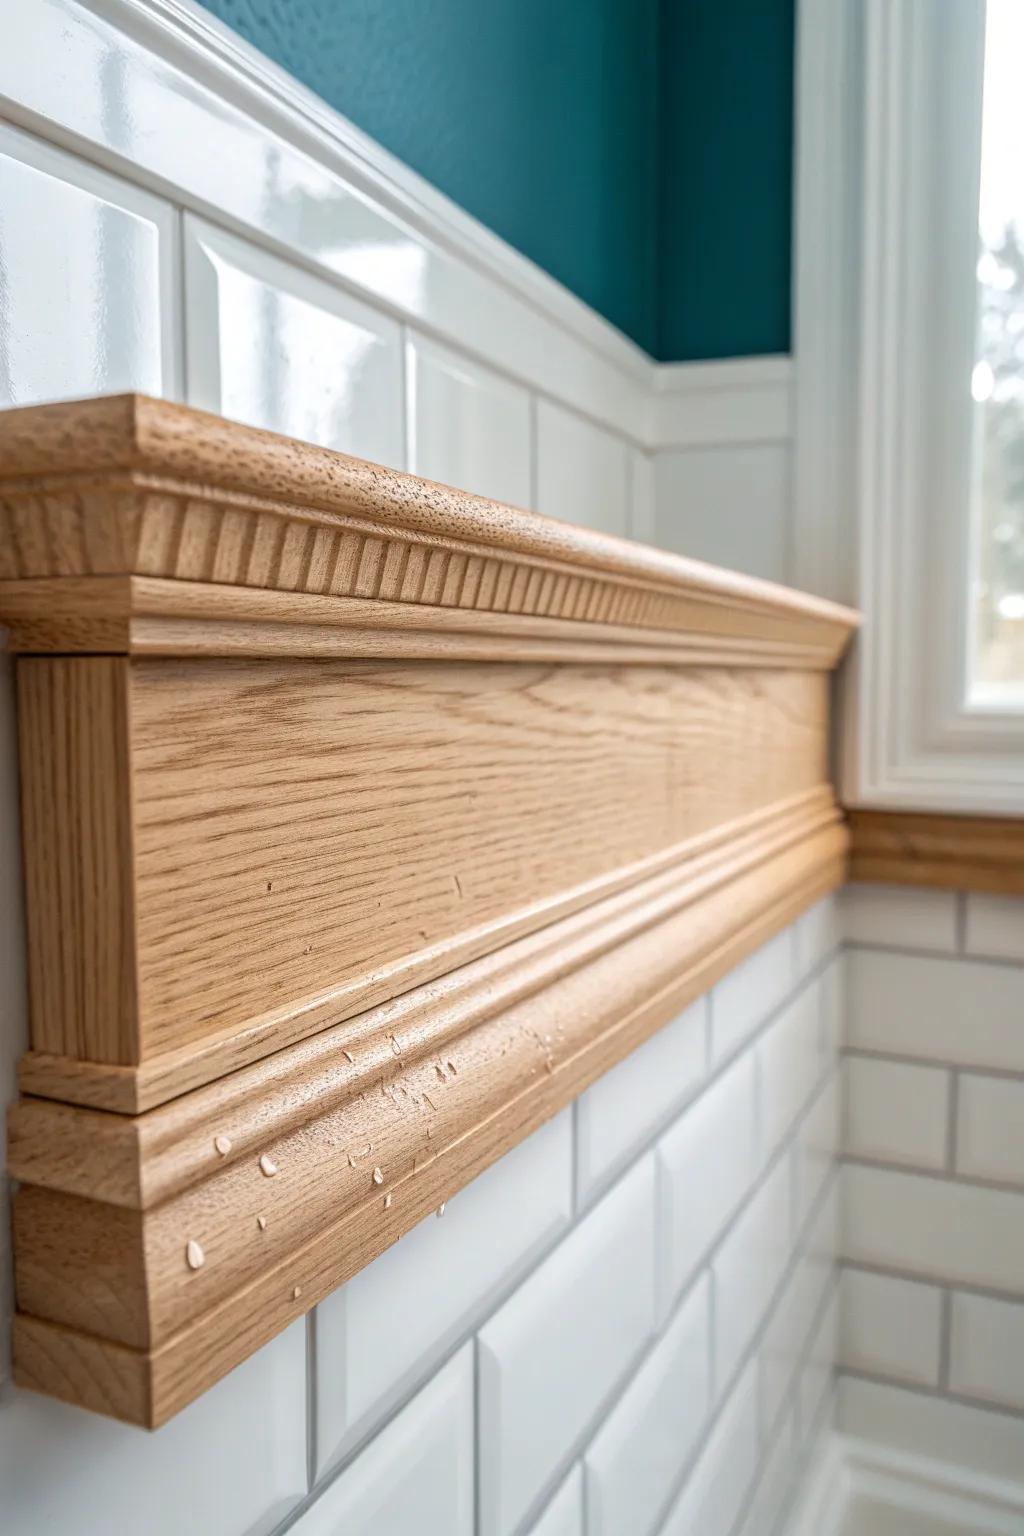
In steamy bathrooms, I’ve had the best luck choosing moisture-resistant crown molding and sealing every cut end before paint. The difference is huge—my early projects taught me that skipping proper sealing can lead to swollen seams fast.
A few suggestions:
- Clear Waterproof Wood Sealer: Protect your wood molding from humidity and steam by applying a durable, clear waterproof sealant coat.
- Paintable Silicone Caulking: Ensure a watertight seal along every edge and corner with high-quality, mold-resistant silicone caulk.
- Ventilation Exhaust Fan: Reduce moisture buildup significantly by installing or upgrading to a high-efficiency bathroom exhaust fan today.
Flexible Crown for Curves and Odd Angles
For bowed walls, arched mirrors, or tricky angles, flexible crown molding can save your sanity while still looking high-end. I’ve used it around a curved ceiling transition in a bath, and it hugged the shape like it was made for it.
These products might help:
- Flexible Polyurethane Crown Molding: Bend this molding around curved walls or arched details to achieve a seamless, custom look without complex cuts.
- Wood Grain Finish Flexible Trim: Match the natural look of wooden cabinetry with a flexible trim that mimics real wood grain and texture.
- Construction Adhesive for Molding: Secure your flexible molding firmly in place on tricky curves using a strong, instant-grab construction adhesive.
Crown Molding With Hidden Light Glow
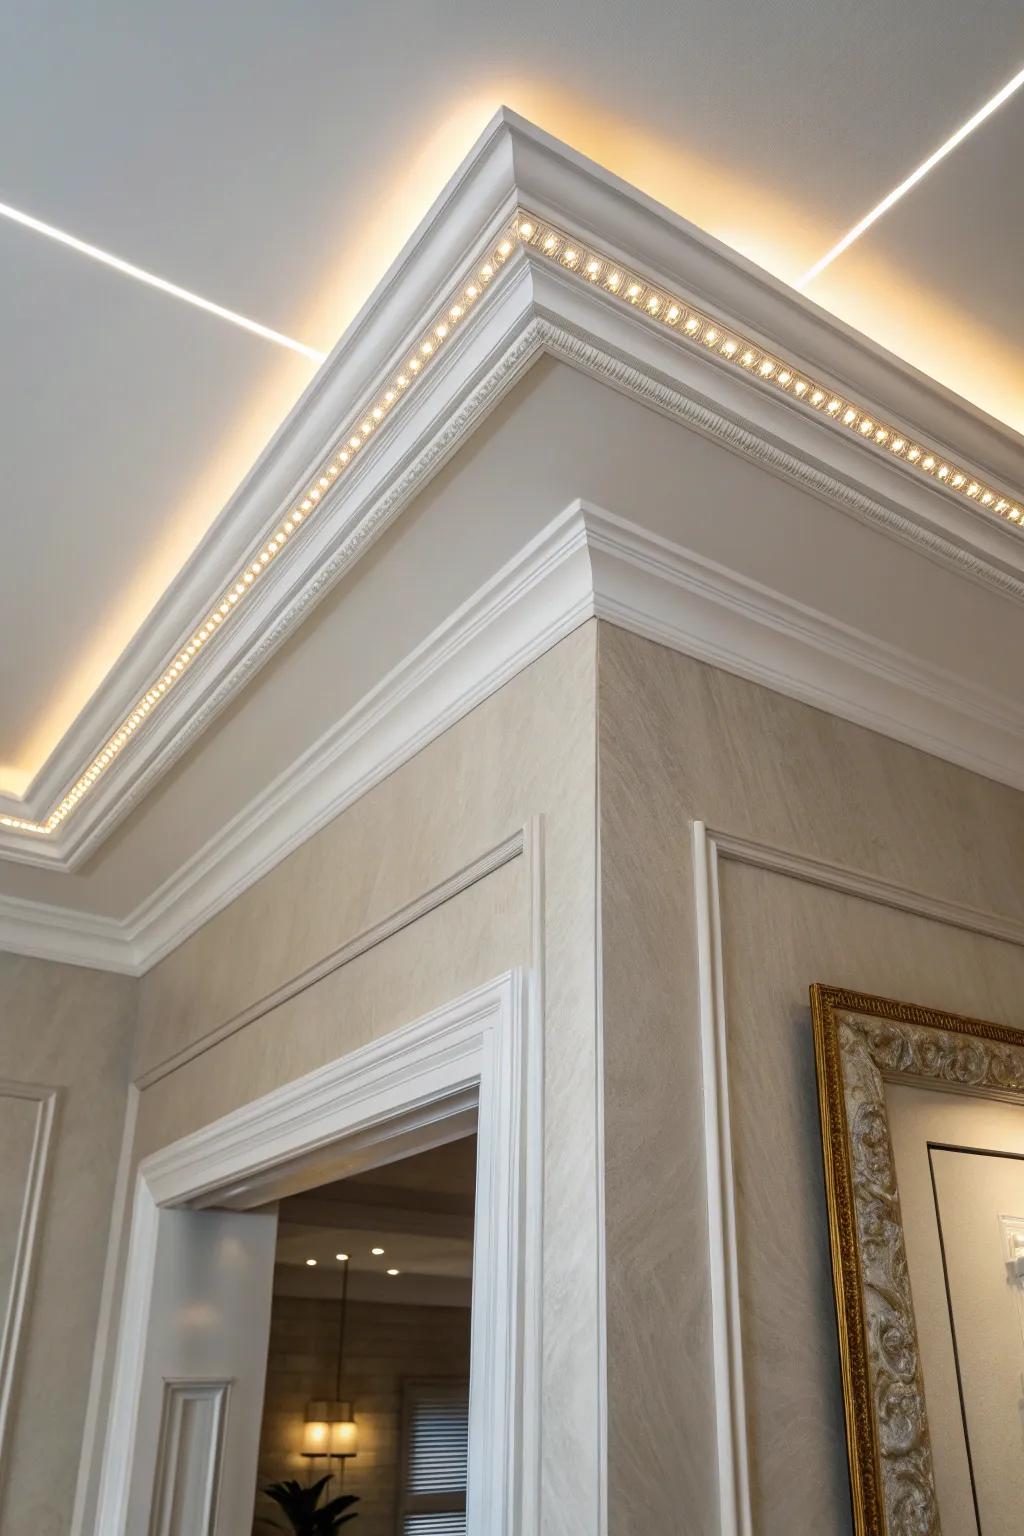
I’m obsessed with crown molding for indirect lighting—it gives that soft, spa-like glow without harsh overhead glare. I tried it in a bathroom makeover and it felt like upgrading the whole mood of the room, not just the trim.
A few things you might like:
- DIY Indirect Lighting Crown Molding: Instantly elevate your space with trim specifically designed to house LED strips for a seamless, professional glow.
- Dimmable Warm White LED Strip: Create that relaxing spa ambiance by adding flexible, warm-toned light strips behind your molding for hidden illumination.
- Solderless LED Connector Kit: Make installation simple without specialized tools using these easy connectors to link your light strips around corners.
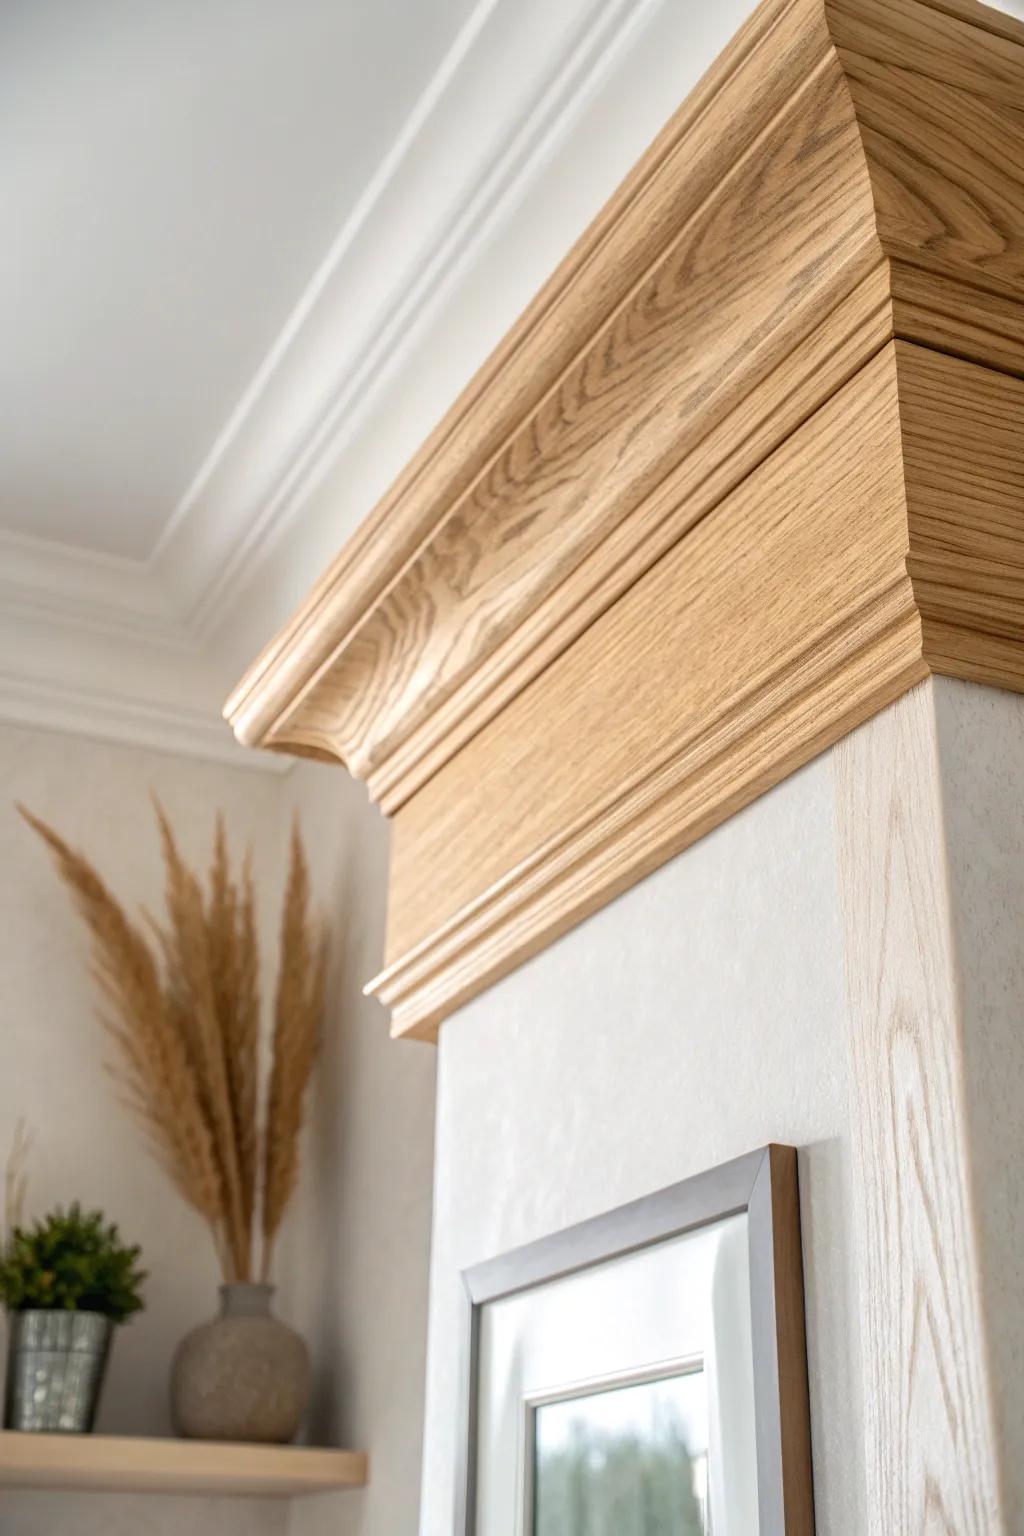
Mixed-Material Crown With an Inlay Twist
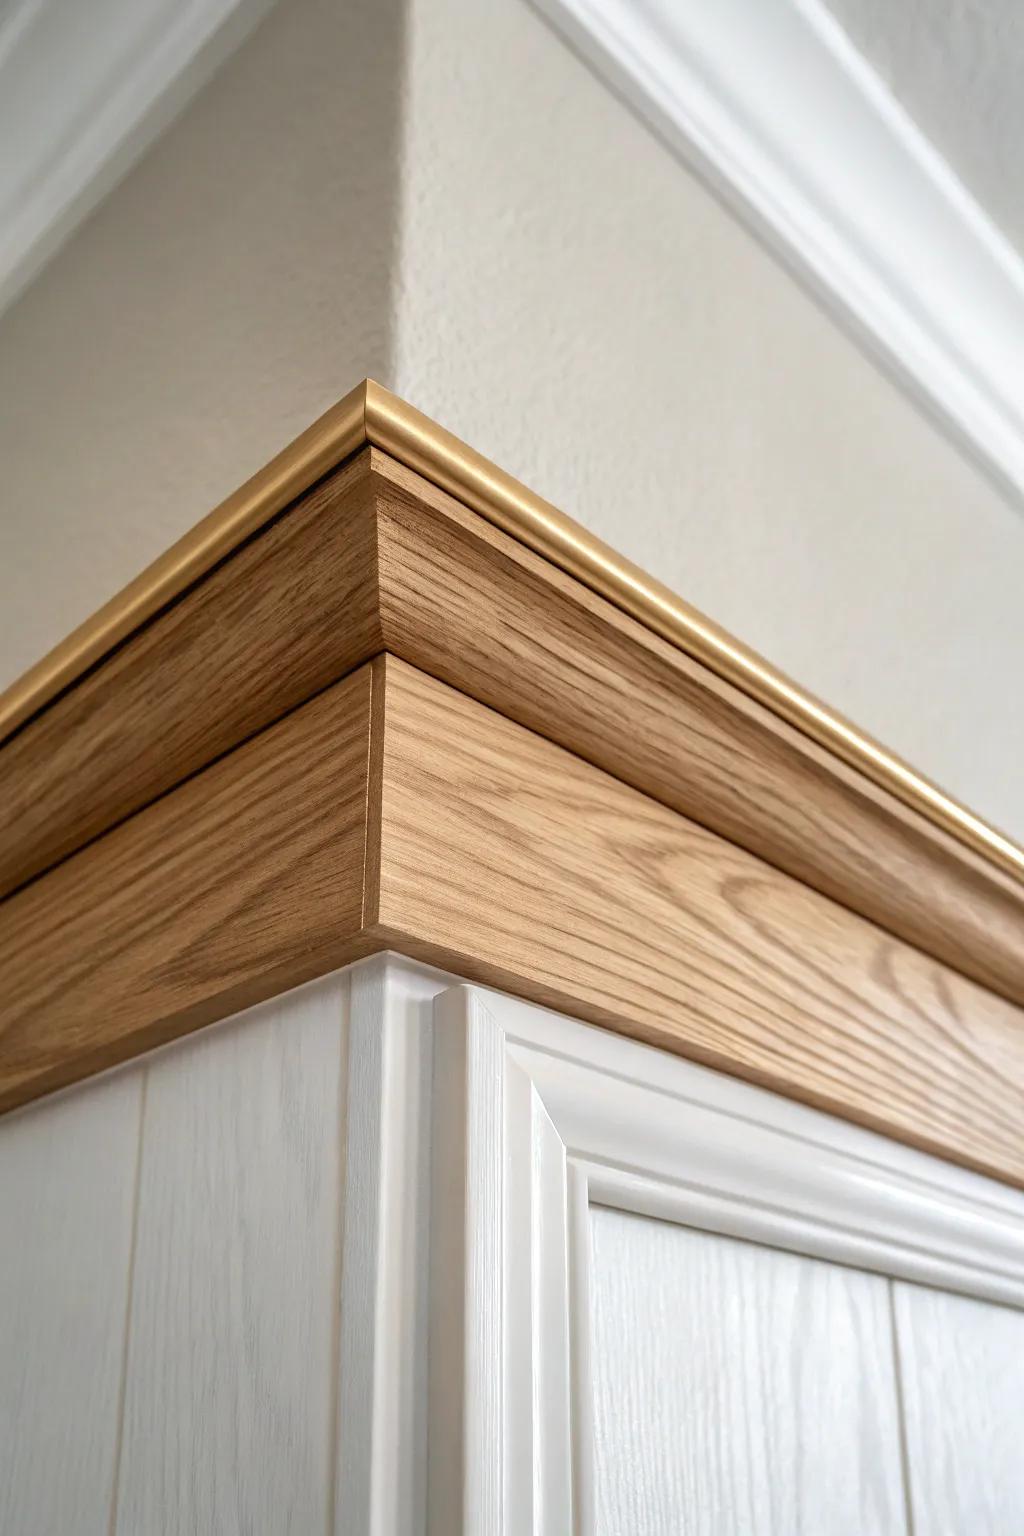
For a real wow moment, I’ve routed a shallow groove in bathroom crown molding and added a slim metal inlay strip before finishing. It’s unexpected in a bathroom, but it ties in beautifully if you’ve got metal fixtures and want the trim to feel custom.
Check these products out:
- Gold Metal Inlay Strips: Add a luxurious, custom touch to your molding by inserting these sleek, self-adhesive metal strips into grooves.
- Palm Router: Carve precise, shallow grooves into your wooden crown molding to perfectly house your chosen metal inlay strips.
- Unfinished Oak Crown Molding: Use natural wood molding as your base material, perfect for routing and staining to contrast with metal accents.


