
A wood accent wall is one of my favorite ways to make a room feel warmer and more “finished” without dropping a fortune.
Mixed-Width Planks With Intentional Gaps
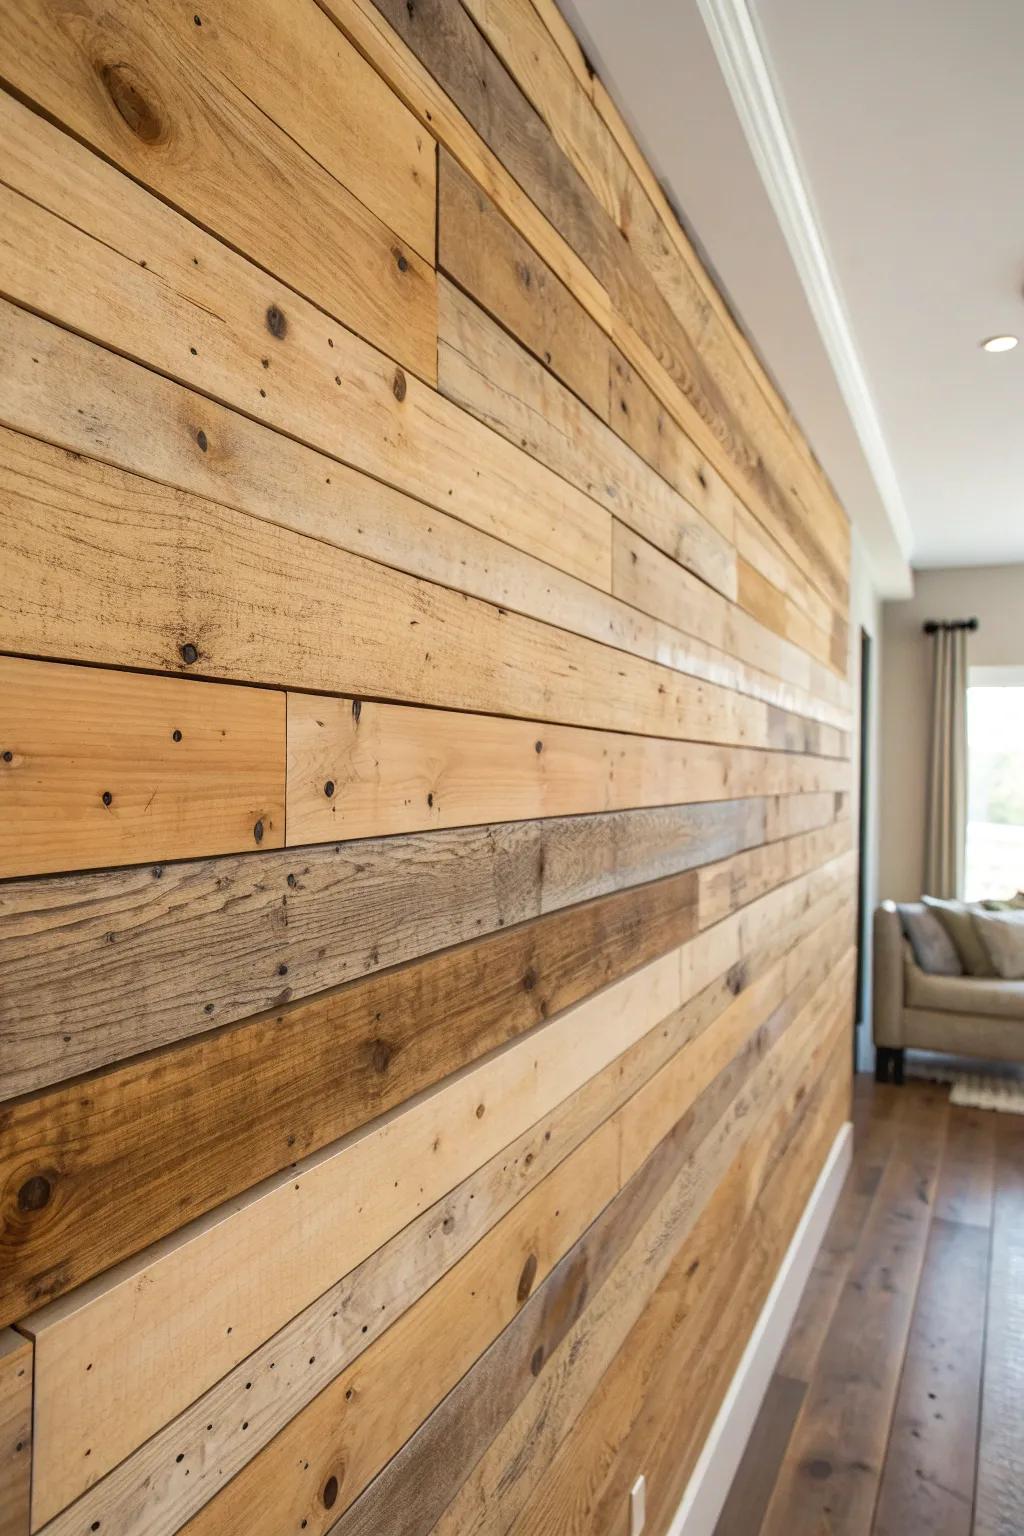
I love a slightly industrial look, so I’ve done wood plank walls with tiny intentional gaps to create bold shadow lines. It uses cheaper, less-perfect boards, and the gaps make it feel like a designer detail.
Useful items to consider:
- Reclaimed Wood Plank Packs: Instantly achieve a rustic look with peel-and-stick or nail-up reclaimed wood panels designed for easy DIY installation.
- Black Nickel Spacers or Shims: Use uniform spacers during installation to create consistent, bold shadow lines between your boards for that industrial vibe.
- Brad Nailer Kit: Secure your planks quickly and invisibly with a reliable brad nailer, essential for a secure and clean finish.


Classic Pallet Plank Accent Wall
When I need max character for minimal cash, I reach for reclaimed pallet wood and cover just one accent wall. I’ve had the best results lightly sanding and mixing plank widths so the wall looks collected, not cookie-cutter.
A few helpful options:
- Reclaimed Wood Planks: Instantly add rustic charm to your space with these peel-and-stick real wood panels for easy installation.
- Brad Nailer Kit: Secure your pallet planks effectively to the wall with this essential tool for a professional-looking finish.
- Random Orbital Sander: Smooth out rough pallet surfaces efficiently to prepare your reclaimed wood for a safe, splinter-free wall.

Simple Board and Batten

A board and batten wall is my go-to when a room feels flat, because it’s mostly trim and paint, not pricey lumber. I’ve installed it with basic boards, then painted everything one color so it looks custom without looking expensive.
Maybe worth checking out:
- Primed MDF Board Trim: Create clean vertical lines for your wall project with these ready-to-paint trim boards.
- Construction Adhesive: Ensure your boards stay securely in place on the wall with strong, fast-grabbing construction adhesive.
- Paintable Caulk: Fill gaps and seams seamlessly for a professional, custom-built finish before you start painting.
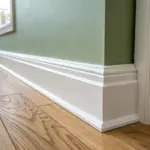
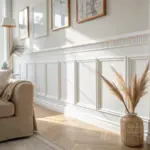
Half Wall Wainscoting With Cheap Trim
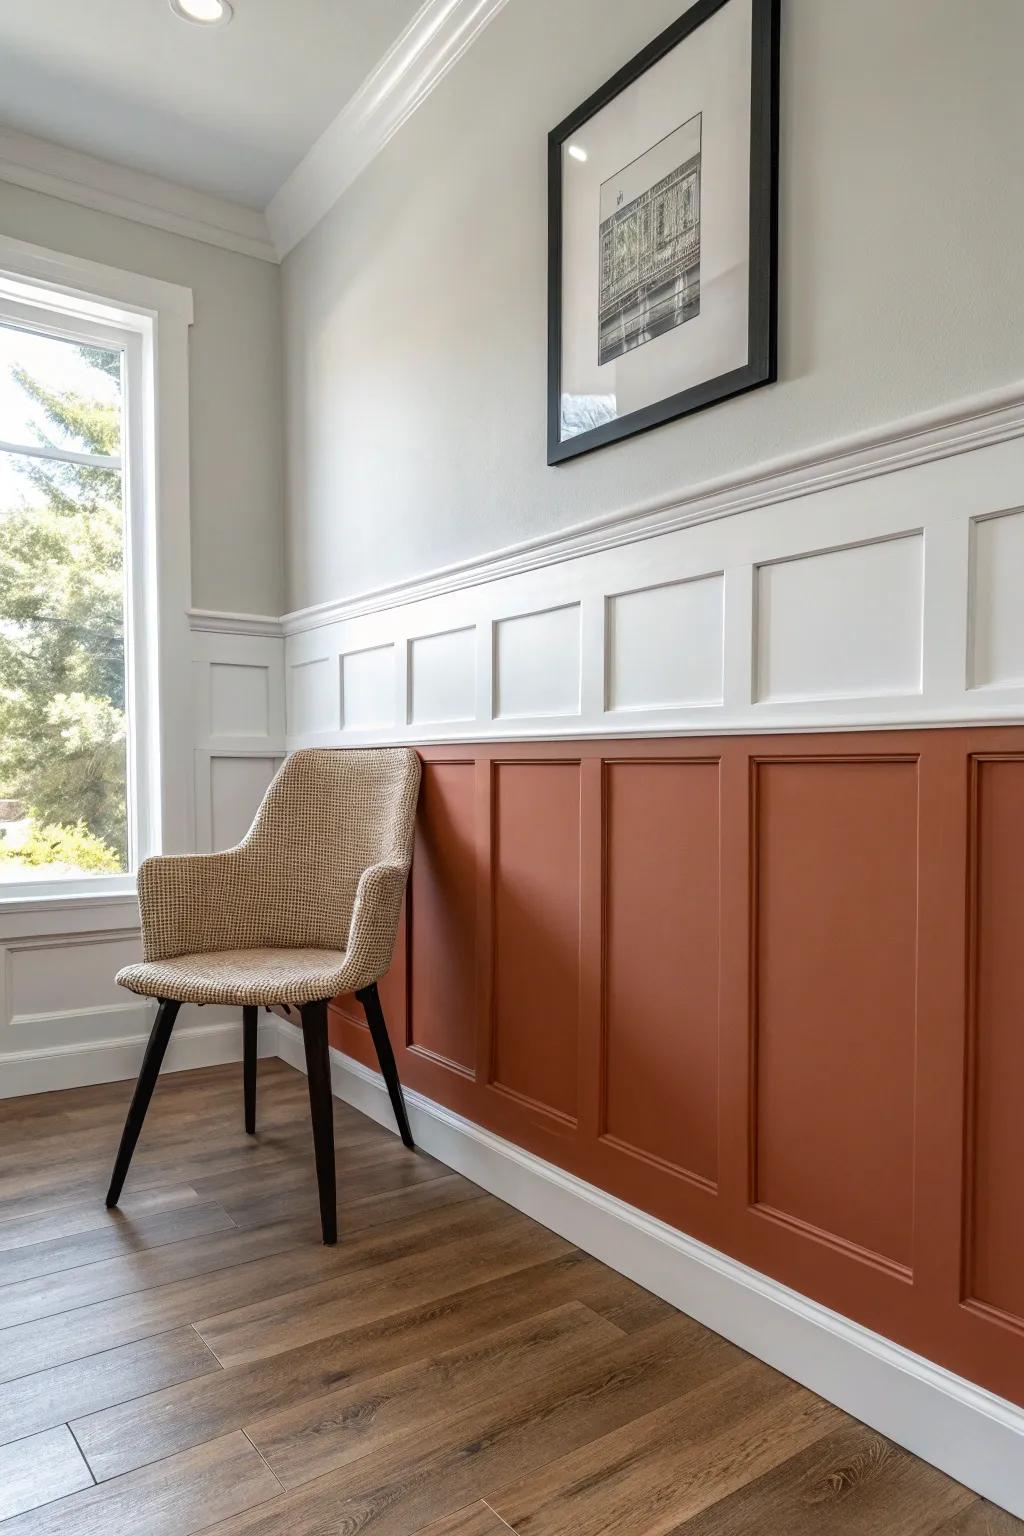
I love doing wainscoting on the bottom half of a wall because you get the “built-in” vibe while using way less wood. I’ve even used simple square trim to create boxes, and it still reads classic once it’s painted.
Items that may come in handy:
- Primed MDF Board Trim: Create those classic box shapes on your walls easily with smooth, paint-ready MDF boards perfect for DIY wainscoting projects.
- Chair Rail Molding: Finish off the top edge of your wainscoting cleanly to separate paint colors and add a polished, professional look.
- Rapid Fuse Wood Adhesive: Secure your trim pieces quickly and reduce the need for excessive nailing, making installation much faster and cleaner.
Picture Frame Molding Feature Wall
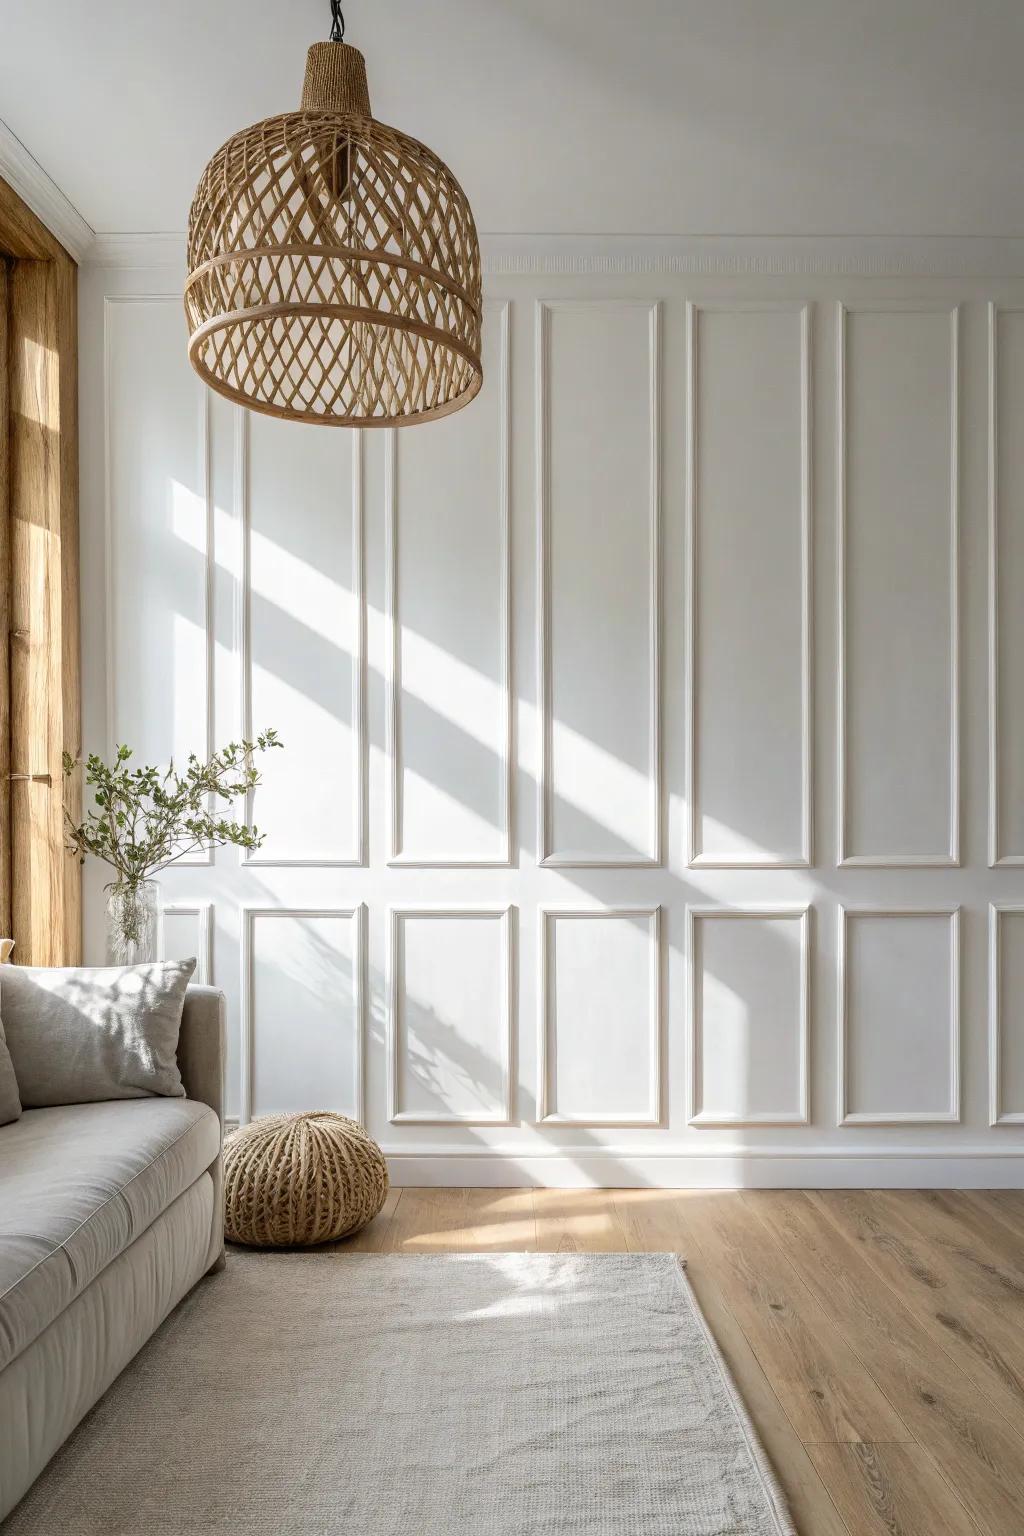
For a “fancy wall on a thrift-store budget,” I build picture frame molding grids with thin trim and paint it all the same color. I’ve done this behind a sofa, and people always assume it cost way more than it did.
Possibly handy products:
- Primed Molding Trim Kit: Create elegant wall frames effortlessly with ready-to-paint molding strips that add instant architectural character to any room.
- Laser Level Tool: Ensure perfectly straight lines and professional spacing for your molding grid by using this essential precision alignment tool.
- Paintable Caulk & Gun: Achieve a seamless, built-in look by filling gaps between the trim and wall before applying your final paint color.
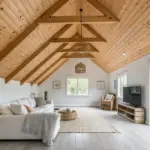
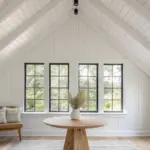
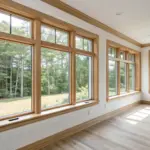
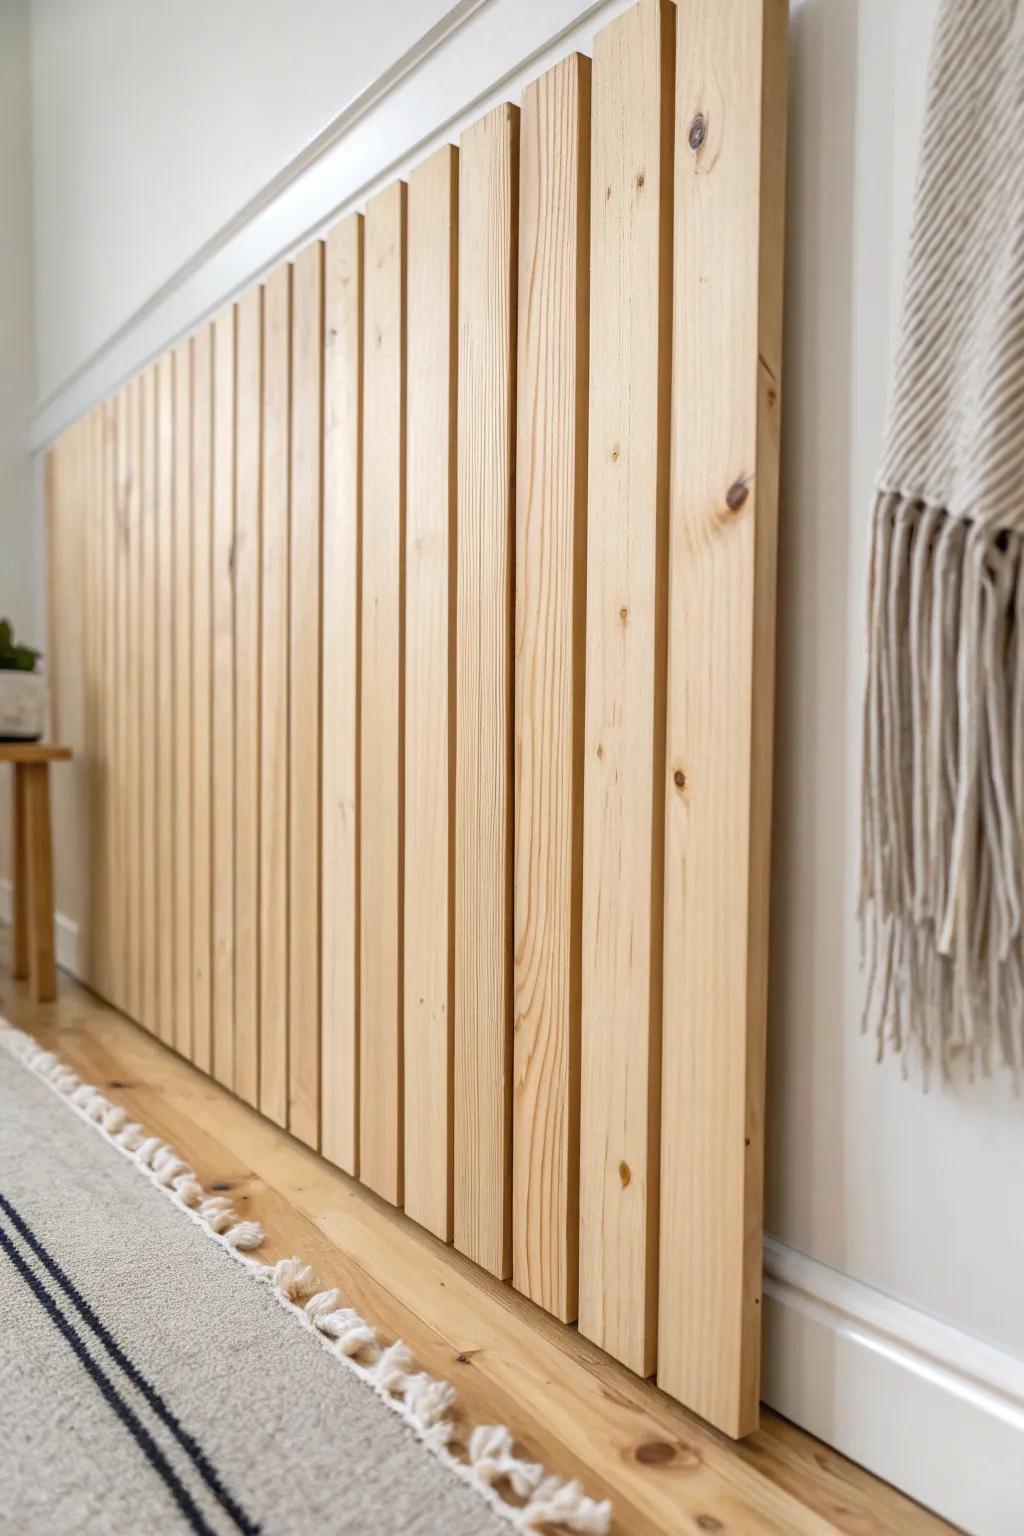
Vertical Planks to Make Ceilings Feel Taller
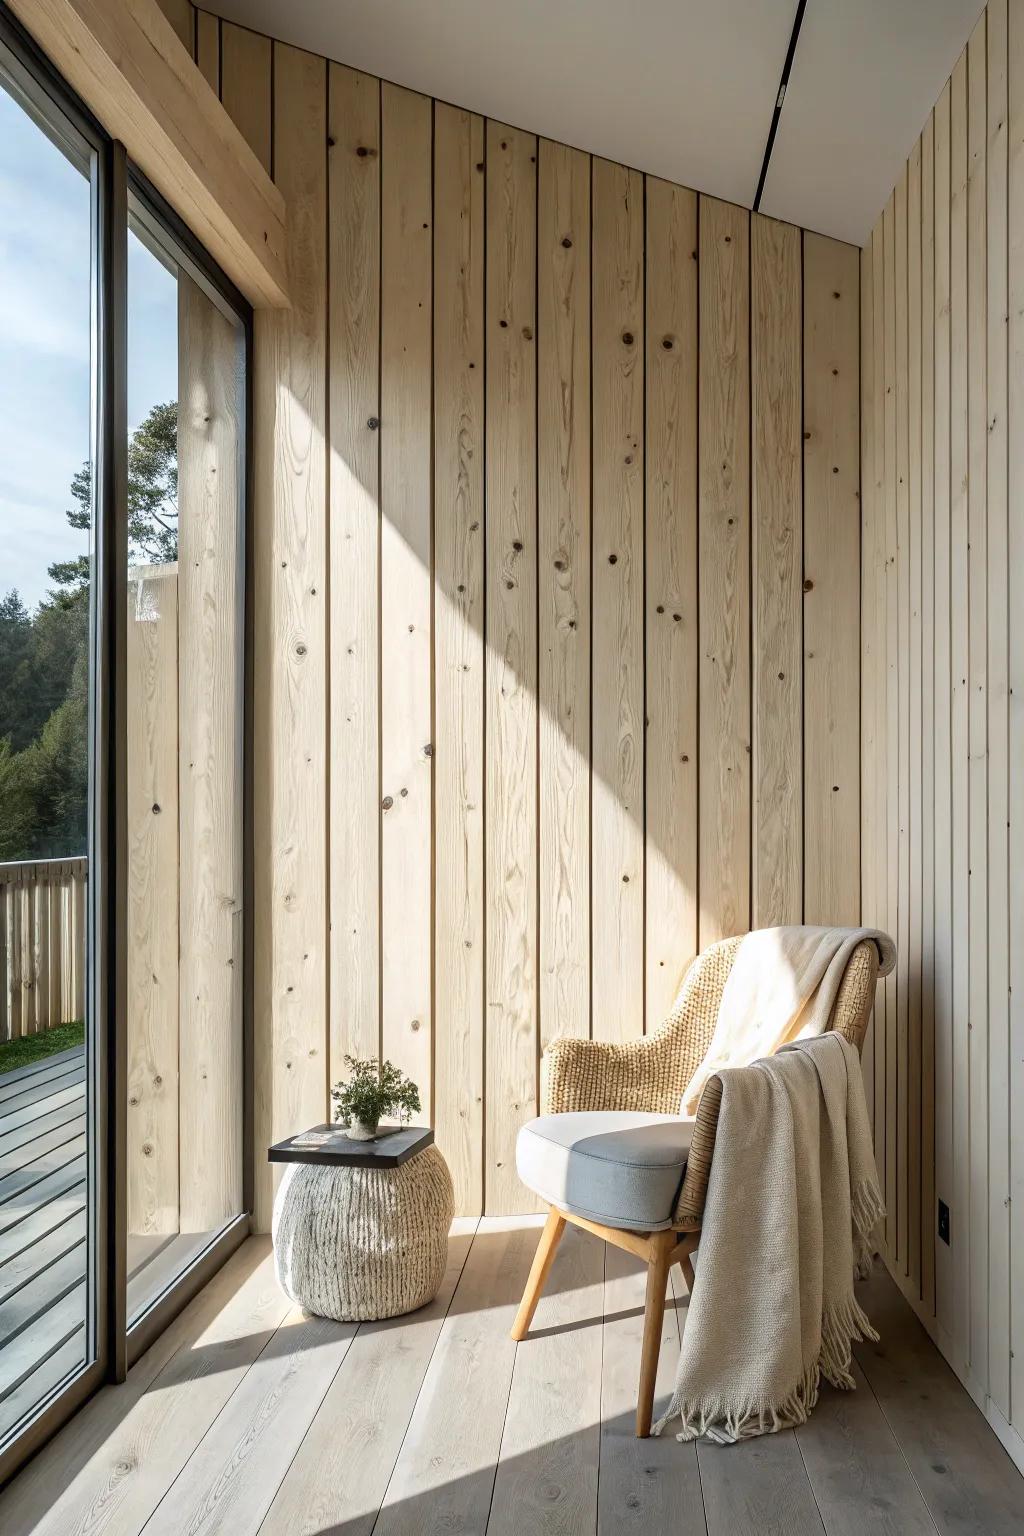
When a room feels squat, I run vertical wood planks to pull your eye up. I’ve used inexpensive pine boards and a light stain, and it completely changed the vibe without changing anything else.
Check these products out:
- Unfinished Pine Tongue and Groove Planking: Create clean vertical lines instantly with these interlocking raw wood boards ready for your custom finish.
- Clear Water-Based Wood Sealer: Protect your fresh pine walls while keeping their natural, light color visible to enhance room brightness.
- Construction Adhesive for Wood Paneling: Secure your vertical planks firmly to the wall with this strong adhesive for a lasting installation.

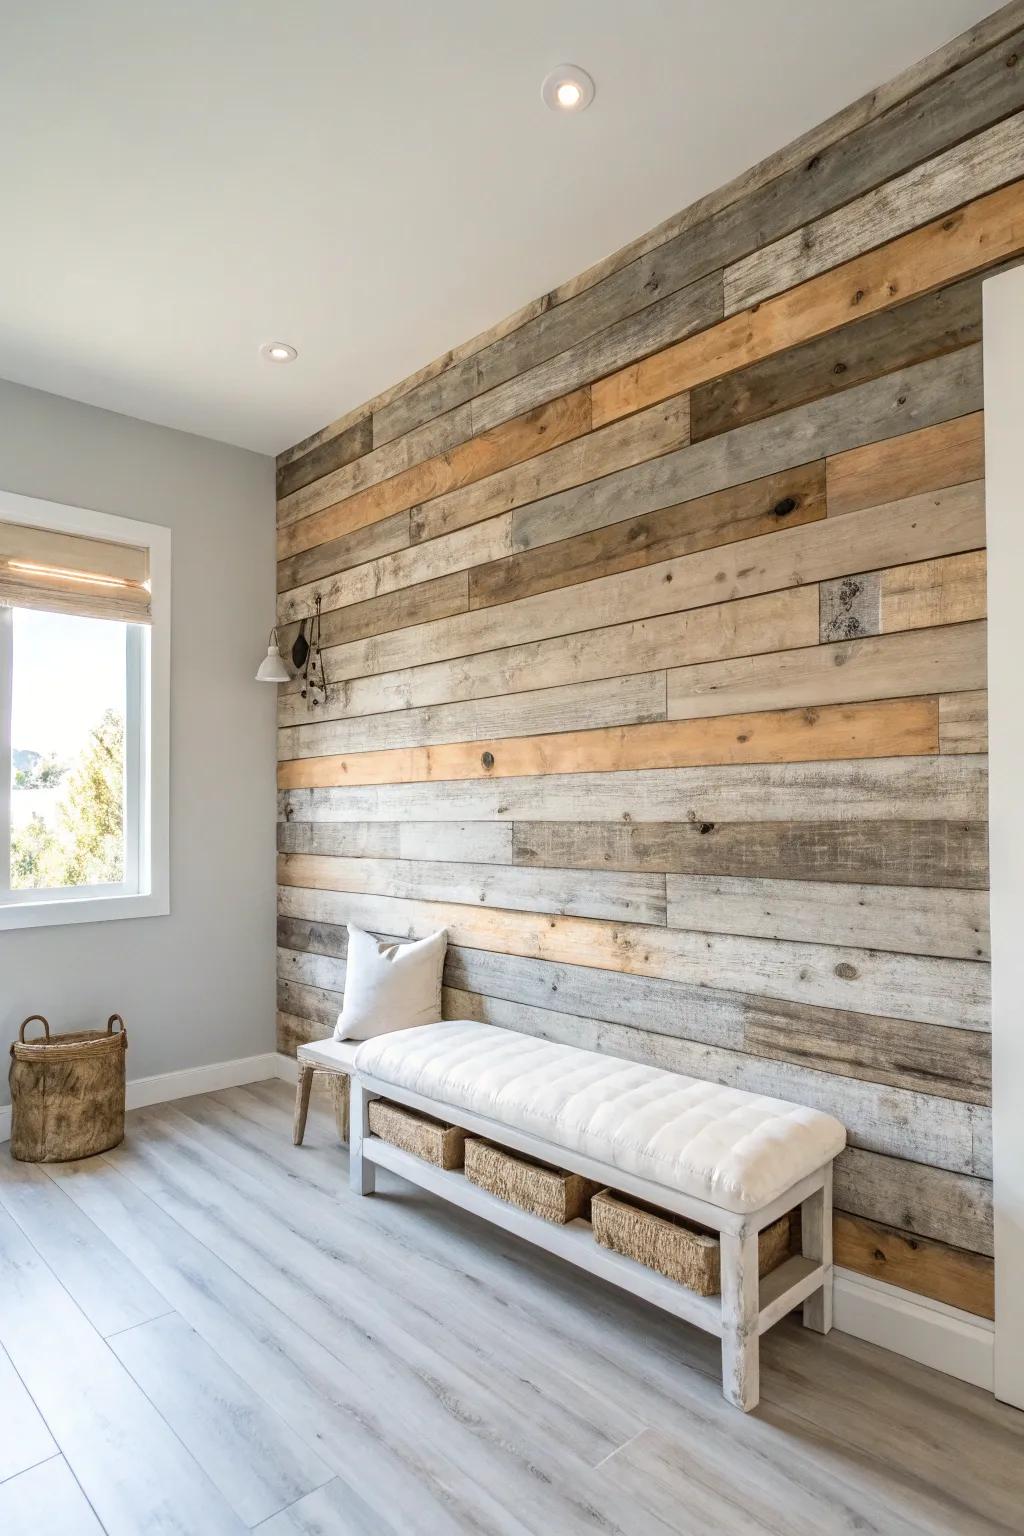
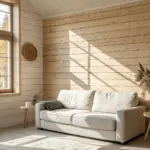
Whitewashed Plank Accent Wall
A soft whitewashed wood wall is my cheat code for farmhouse cozy without the heaviness of dark stain. I’ve brushed on a watered-down paint wash and wiped it back so the wood grain still shows through.
A few choices to try:
- Peel and Stick Whitewashed Wood Paneling: Instantly create that dreamy farmhouse look without nails or glue; simply peel to stick realistic weathered texture.
- Matte White Chalk Finish Paint: Create your own custom whitewash effect easily by diluting this versatile paint and wiping it back.
- Wide Paint Brush Set: Ensure broader coverage and smoother application when applying your custom paint wash to large plank surfaces.
Furring-Strip Slat Wall on the Cheap
I’ve built a modern wood slat wall using inexpensive furring strips and consistent spacing, and it looks way pricier than it is. The secret in my shop is cutting a quick spacer block so every gap stays perfect.
Check if these fit your needs:
- Construction Adhesive: Secure your wood slats permanently to the wall without needing excessive nails by using strong construction adhesive.
- Brad Nailer Kit: Attach thin furring strips cleanly and quickly with a brad nailer that leaves barely visible holes.
- Matte Polyurethane Wood Finish: Protect your raw wood slats while keeping that natural look by applying a clear, water-based matte finish.
Diagonal Plank Wall for Instant Energy
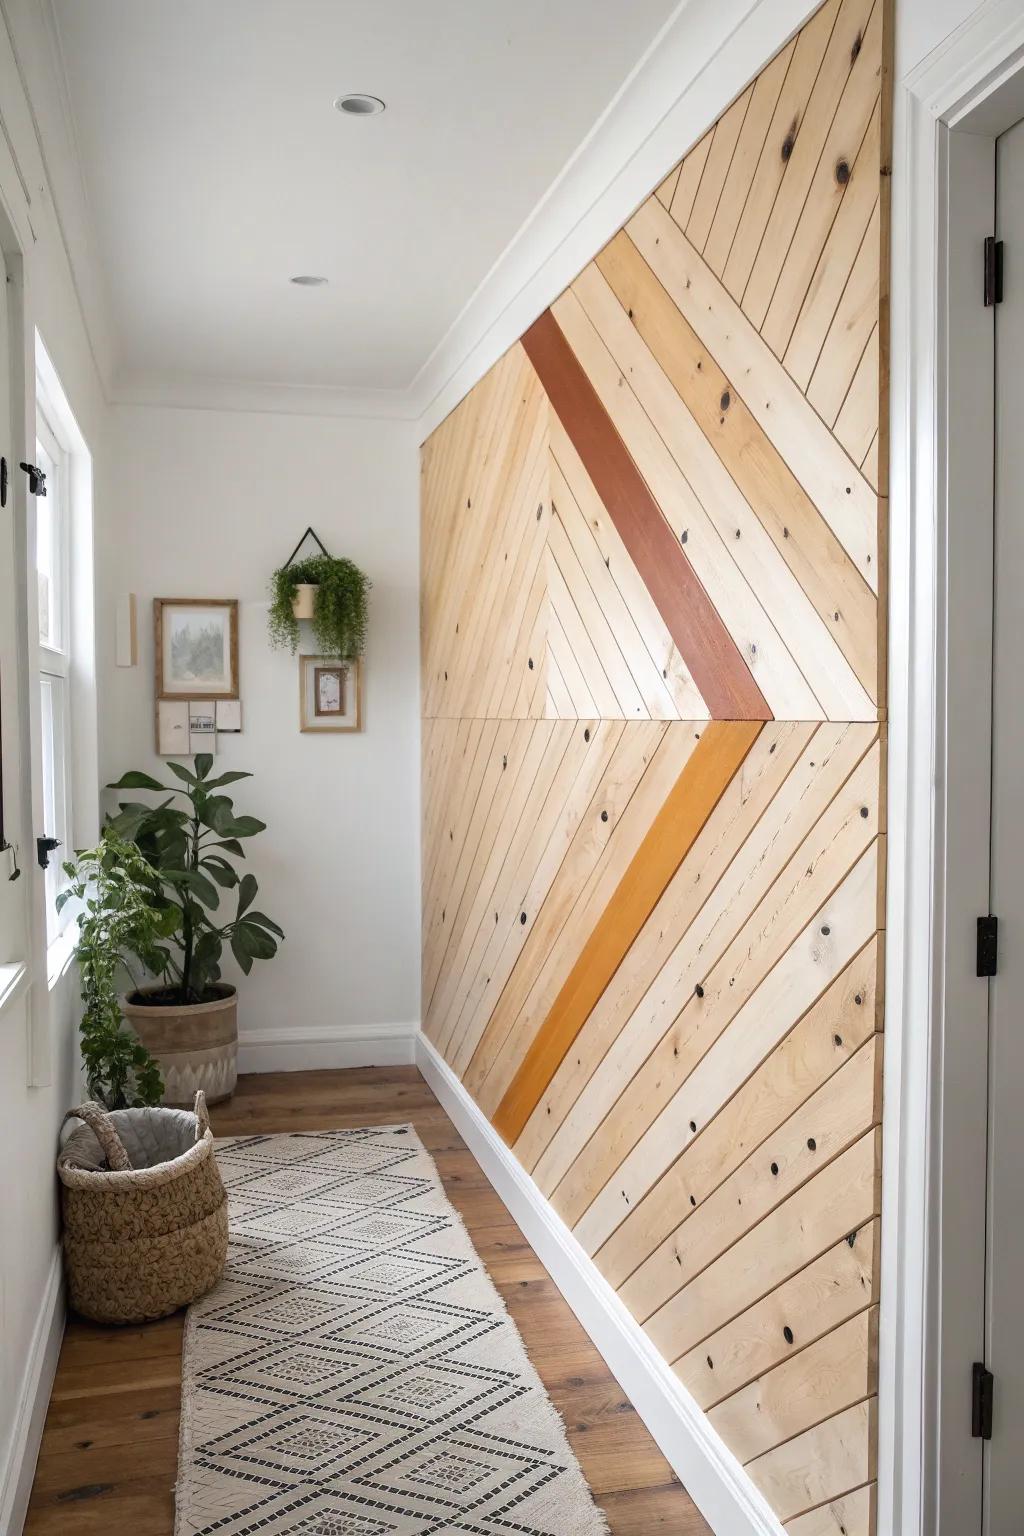
A diagonal wood wall makes a plain room feel designed, even with basic boards. I tried this in a small hallway once, and the angle trick made the space feel longer and more interesting.
A few suggestions:
- Pine Wood Planks: Create your geometric masterpiece by picking up unfinished pine boards ready for cutting, staining, or painting.
- Brad Nailer Kit: Secure your diagonal planks quickly and cleanly without noticeable holes using an easy-to-handle electric nail gun.
- Wood Stain Sampler: Add those vibrant accent stripes seen in the photo by applying small amounts of different colored wood stains.
Herringbone With Budget Pine Strips
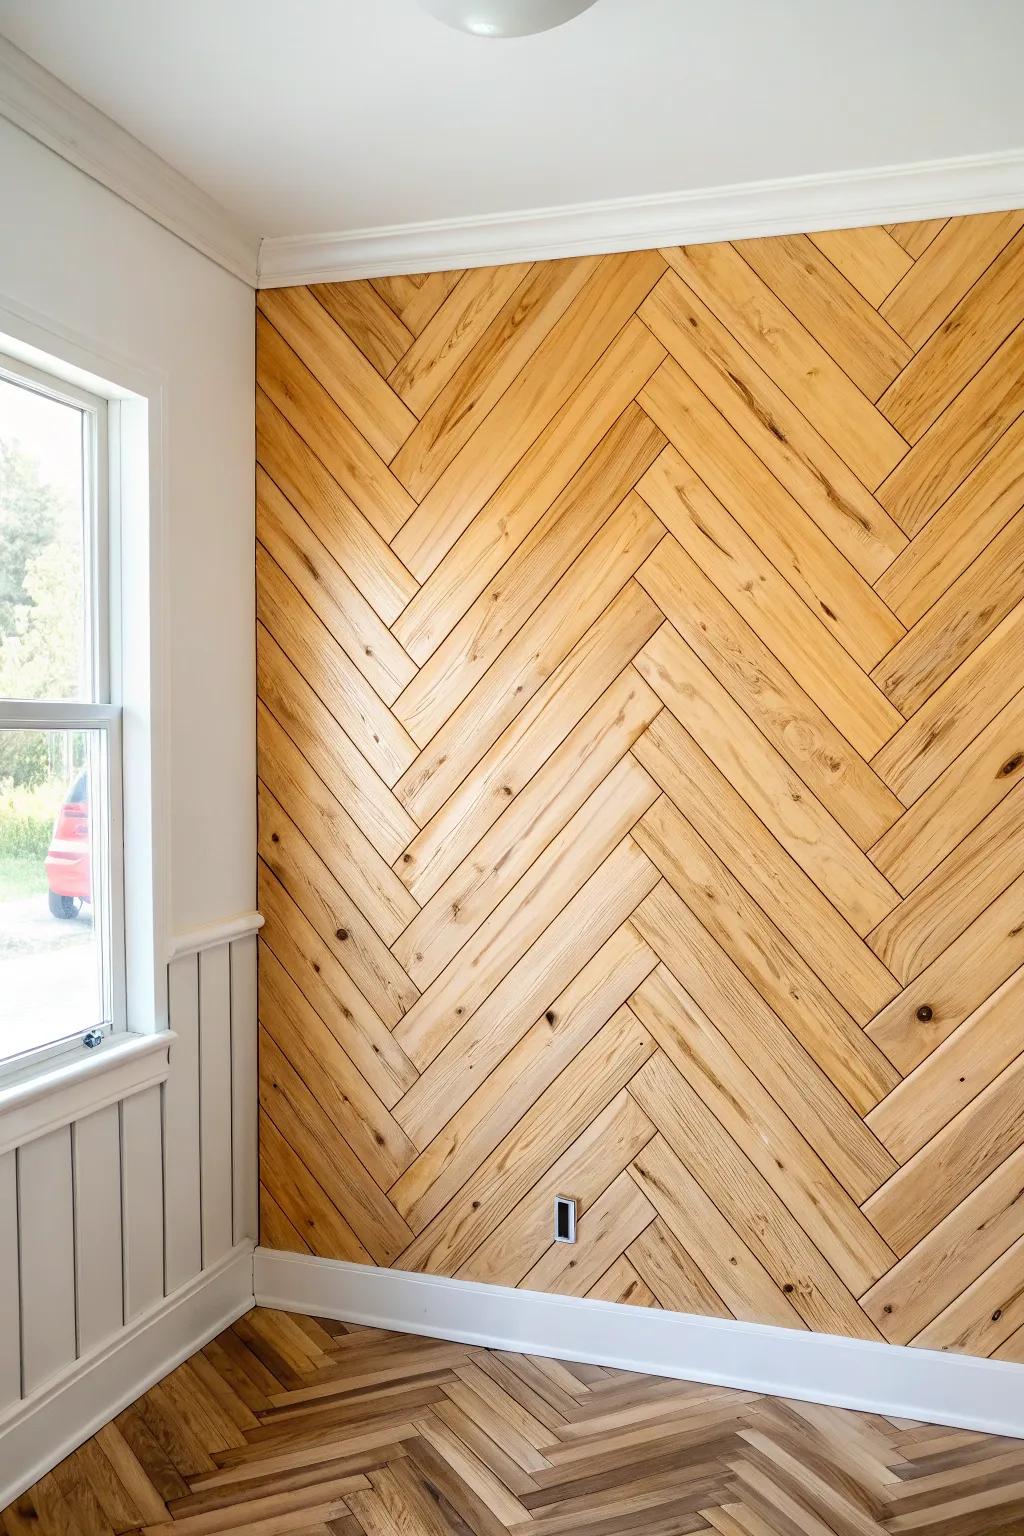
When I’m craving a statement, I do a herringbone wood wall using narrow pine strips instead of fancy hardwood. It’s more time than money, and I love how the pattern hides tiny imperfections.
Give these a look:
- Brad Nailer Kit: Secure your pine strips quickly and cleanly for a professional finish without visible hammer marks on your wall.
- Miter Saw: Make precise, repeatable angled cuts essential for perfectly aligning the complex herringbone pattern on your feature wall.
- Construction Adhesive: Ensure a long-lasting bond between the wood and drywall, adding extra stability to your new accent wall.
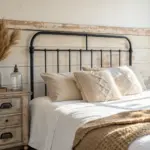
Headboard-Only Plank Feature
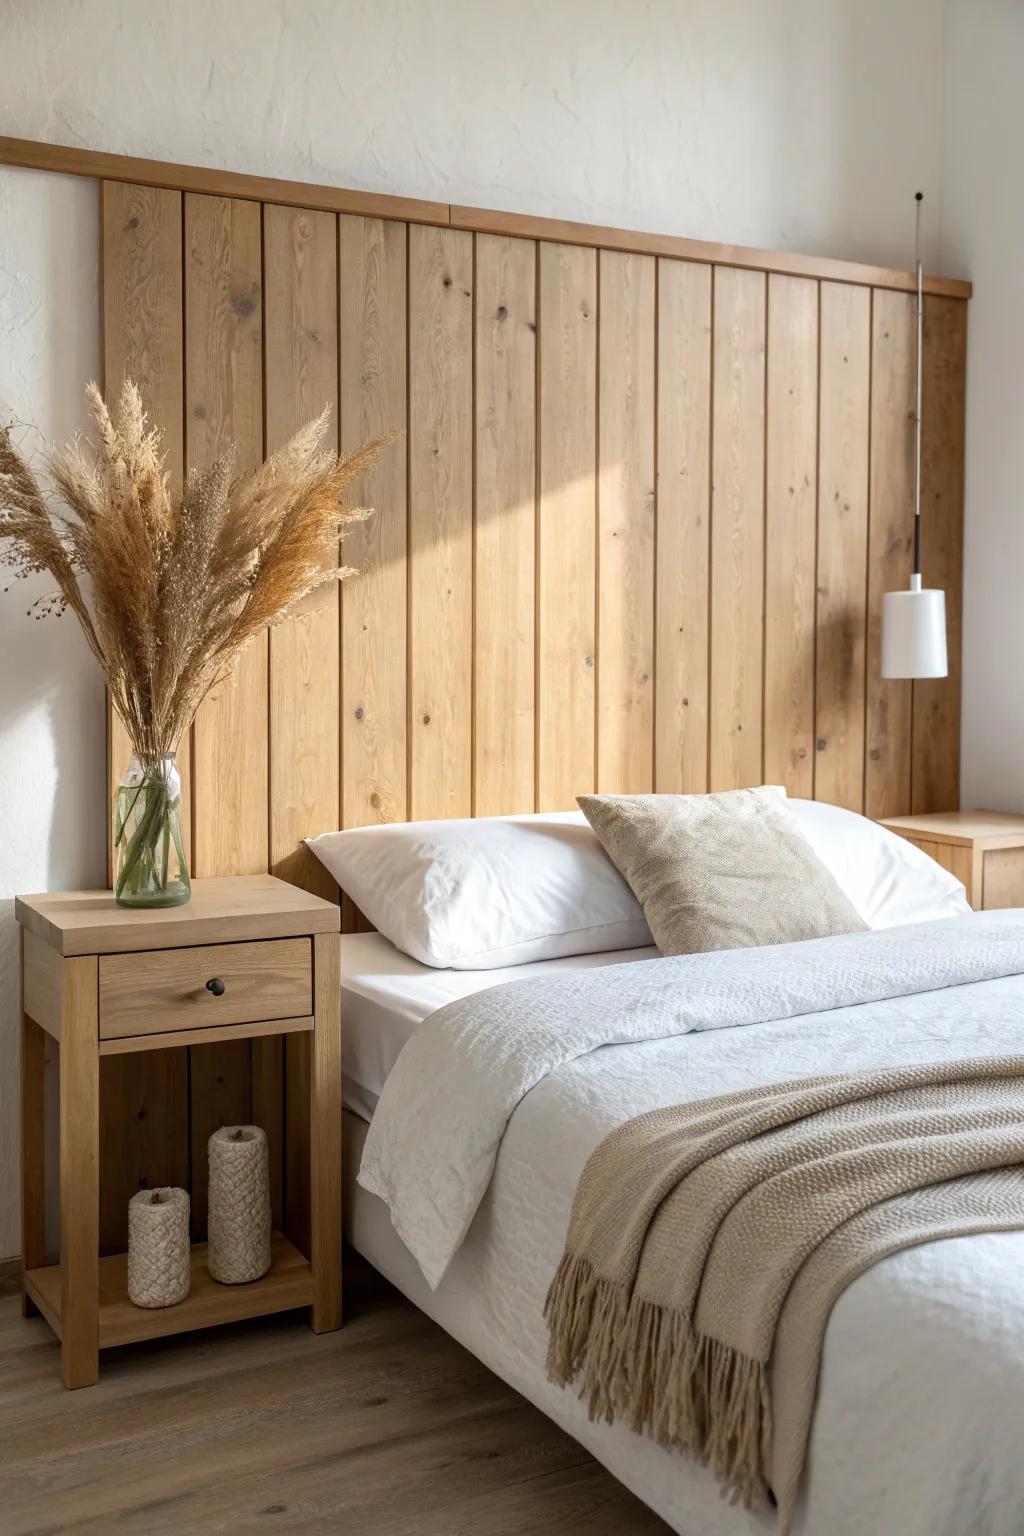
If a full wall feels like too much, I’ve made a “just behind the bed” wood headboard wall panel that stops at the nightstands. It’s cheaper, faster, and still gives you that cozy cabin backdrop.
May just do the trick:
- Peel and Stick Reclaimed Wood Planks: Transform your bedroom wall effortlessly by applying these self-adhesive planks for an instant, rustic wood slat appearance.
- Unfinished Pine Wood Boards: Build a custom, authentic wood backdrop using these simple boards, perfect for staining to match your decor.
- Wood Stain and Sealer: Enhance the natural grain of your wood feature with a stain that provides protection and rich color.
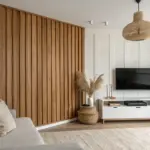
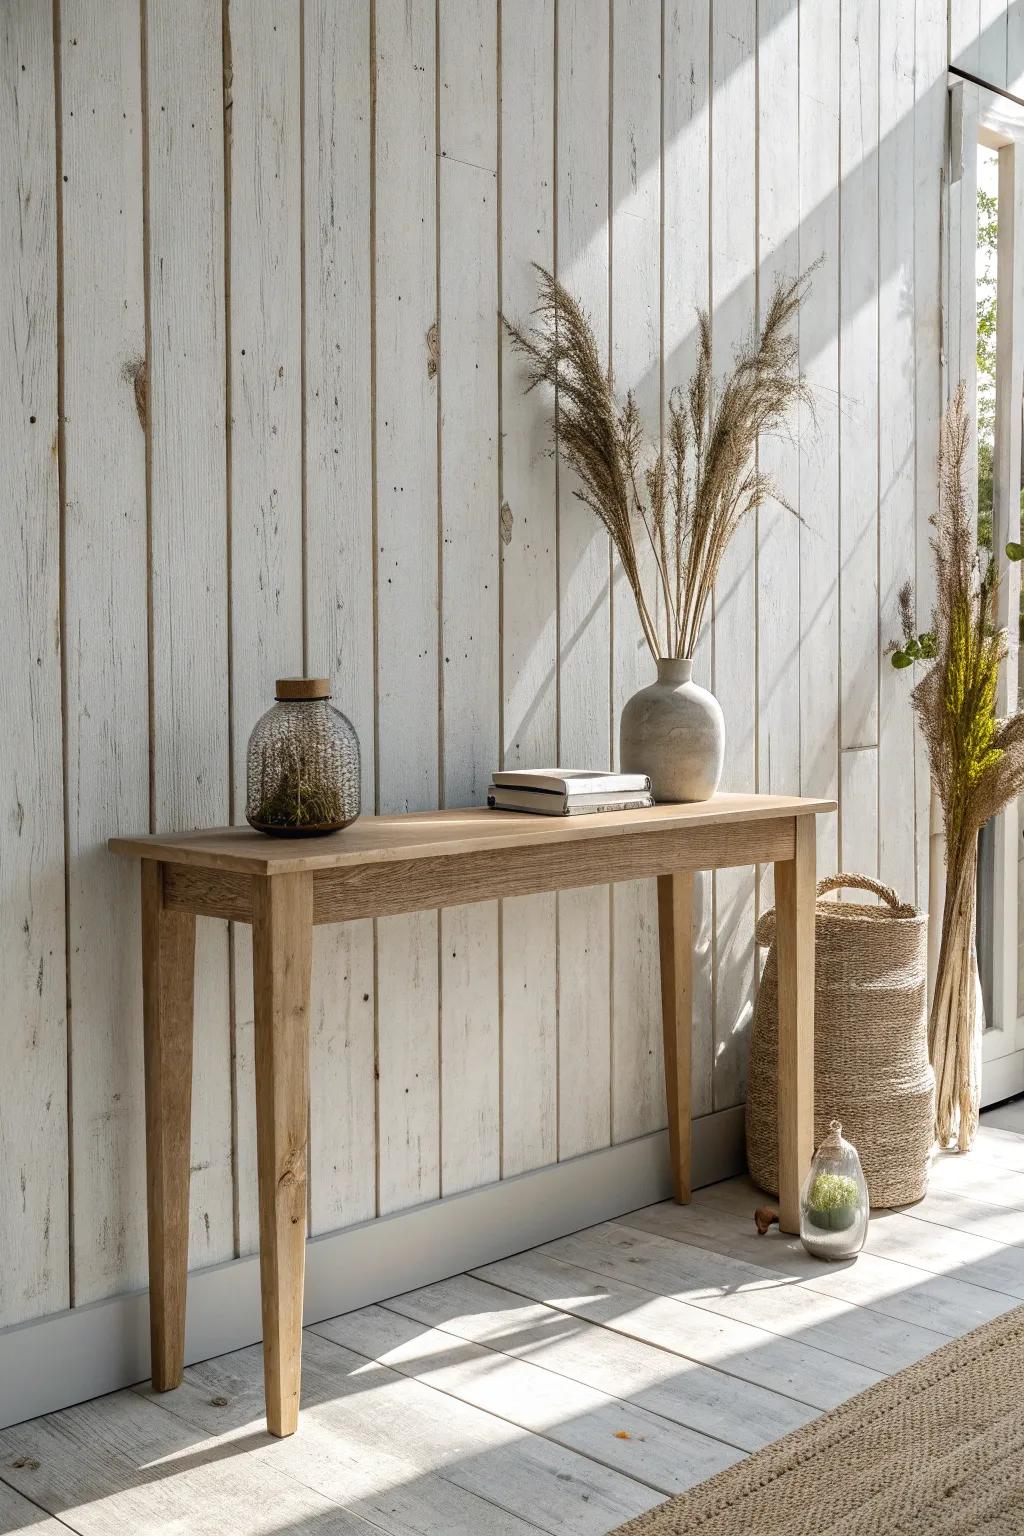
Floating Shelf Wall on Wood Planks
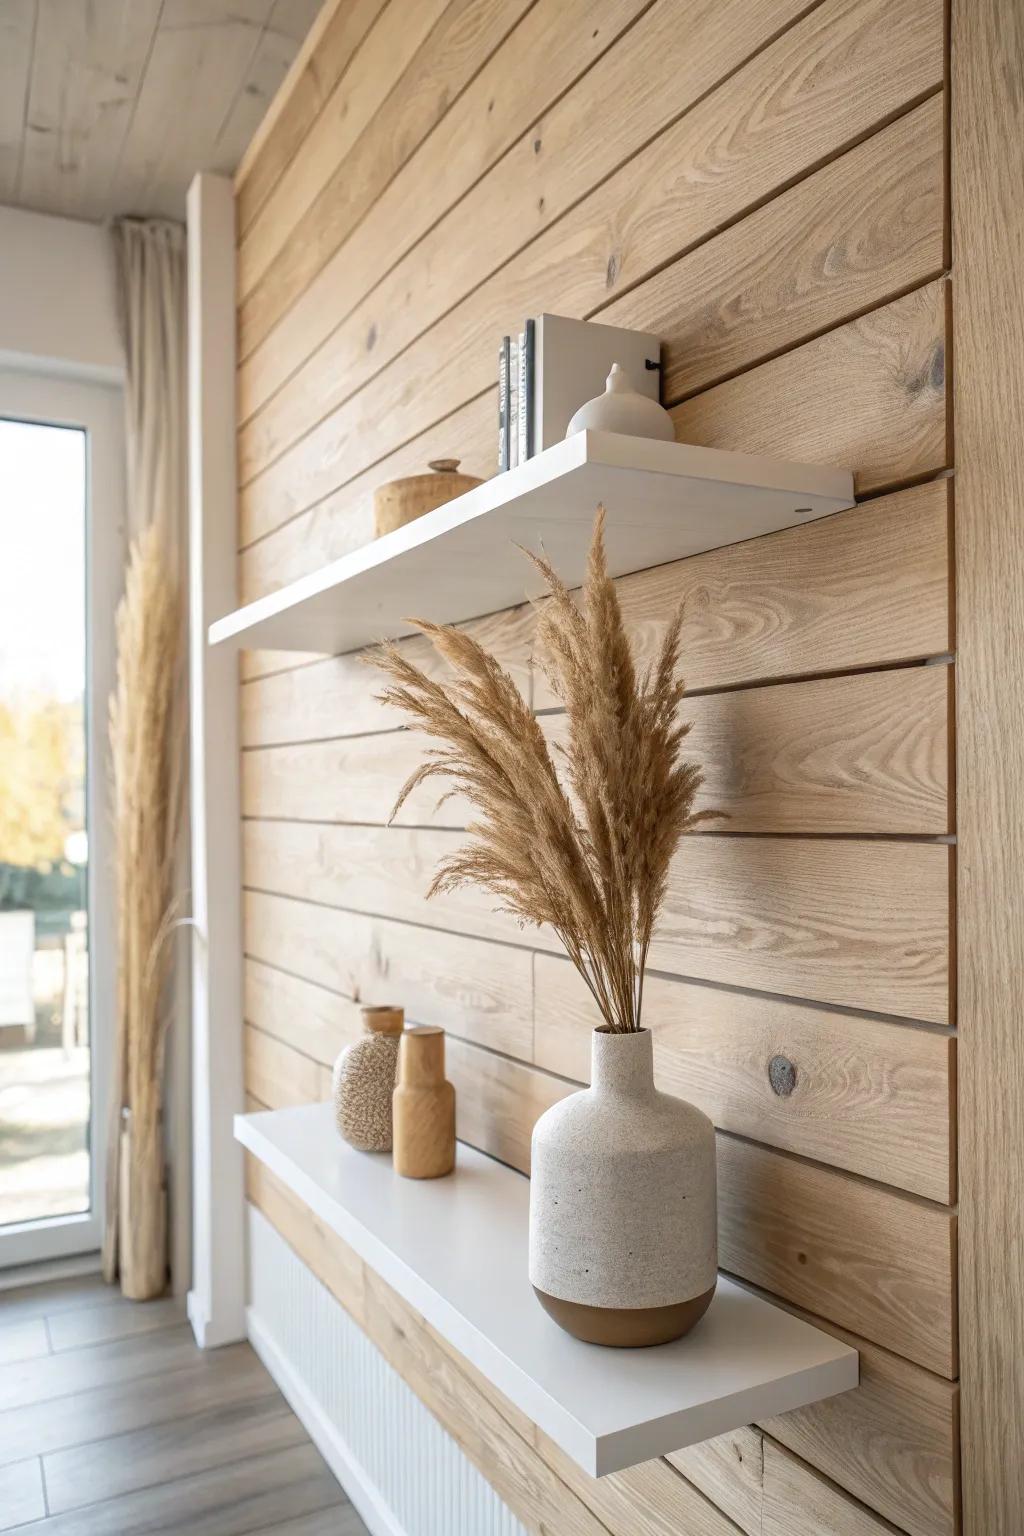
One of my favorite living-room upgrades is wood planks with a couple of simple floating shelves anchored into studs. I’ve done this as a TV wall, and it turns everyday clutter into decor.
Products that could assist:
- Peel and Stick Wood Planks: Transform your plain walls instantly with these easy-to-apply planks for a cozy, authentic wood texture.
- White Floating Shelves: Display your favorite decor pieces cleanly and stylishly with these minimalist shelves that blend perfectly.
- Ceramic Vases & Pampas Grass: Add a natural, bohemian touch to your new shelves with textured vases and dried fluffy grasses.


