
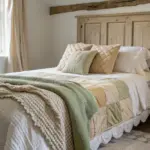
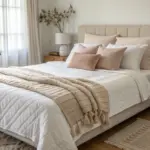
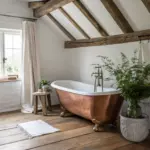
Cottage floors are all about that cozy, lived-in feeling—like the house has stories to tell and you’re lucky enough to add your own.
Distressed Wood Look for Easy Living
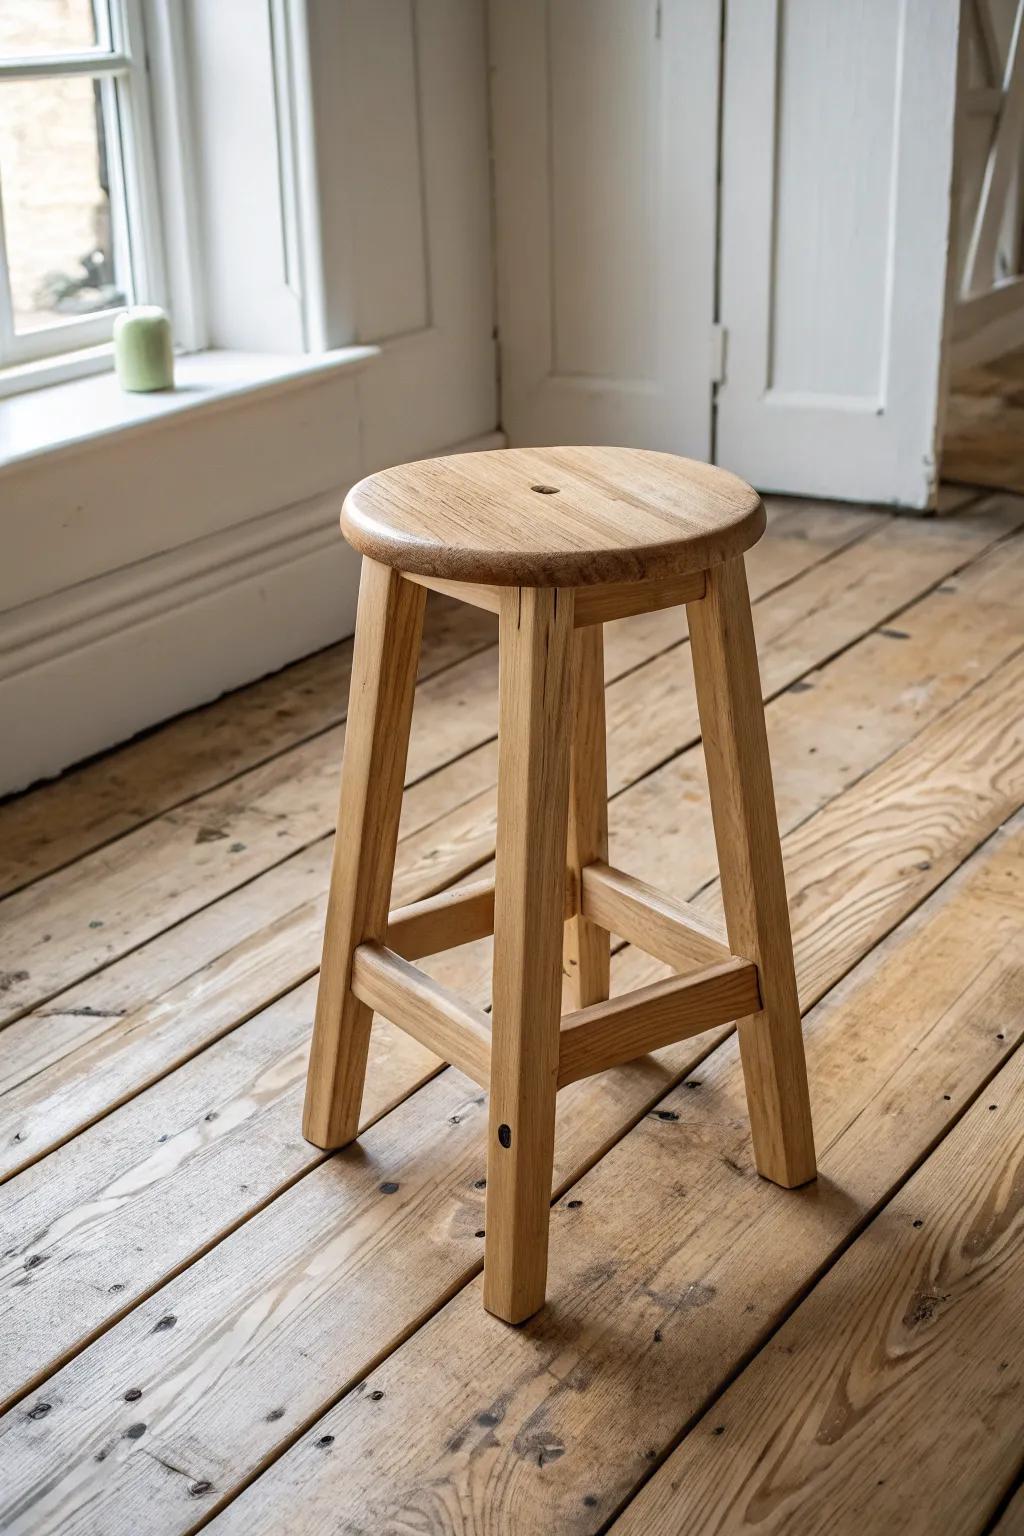
If you love the vibe but not the upkeep, a distressed wood-look floor gives you that aged character without the stress. I’ve recommended this for cottages with pets because the “already lived-in” texture forgives everything.
Some handy options:
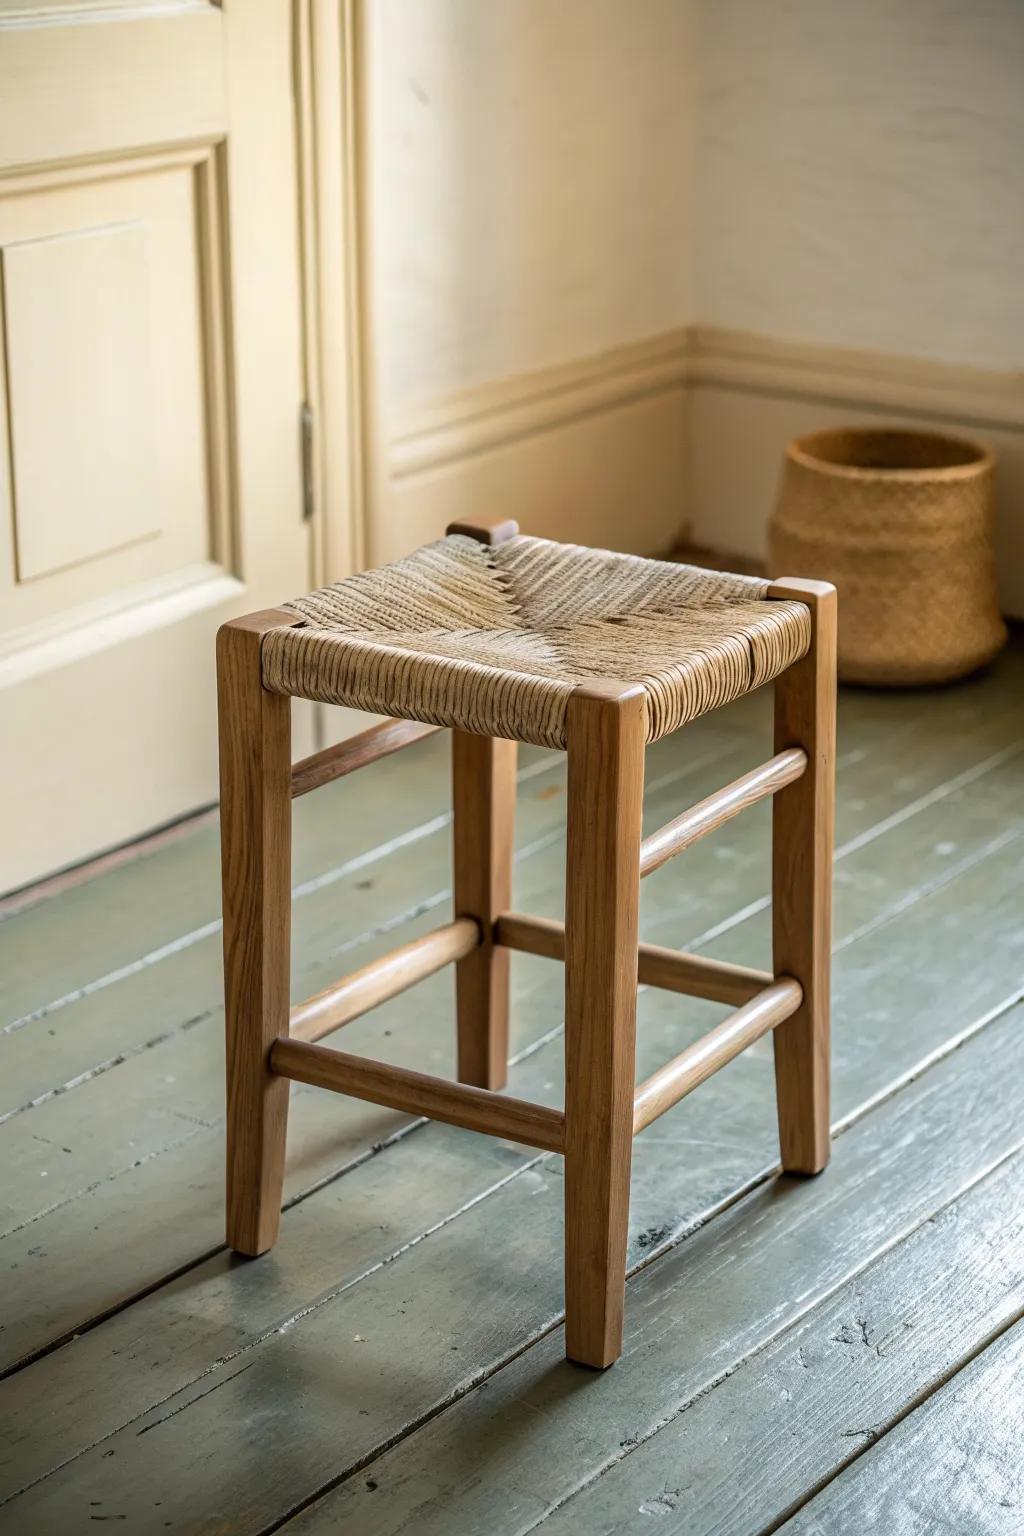
- Distressed Hardwood Stool: Add instant rustic charm to your space with a durable wood stool that hides wear perfectly.
- Wood Repair Marker Kit: Keep your distressed floors looking intentional, not damaged, by easily blending any deeper scratches or scuffs.
- Natural Wood Floor Cleaner: Protect the finish of your textured flooring with a gentle cleaner designed to nourish distressed surfaces.
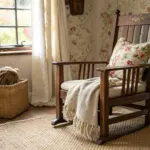
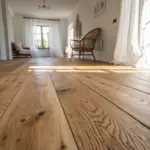
Light Oak With a Whitewashed Look
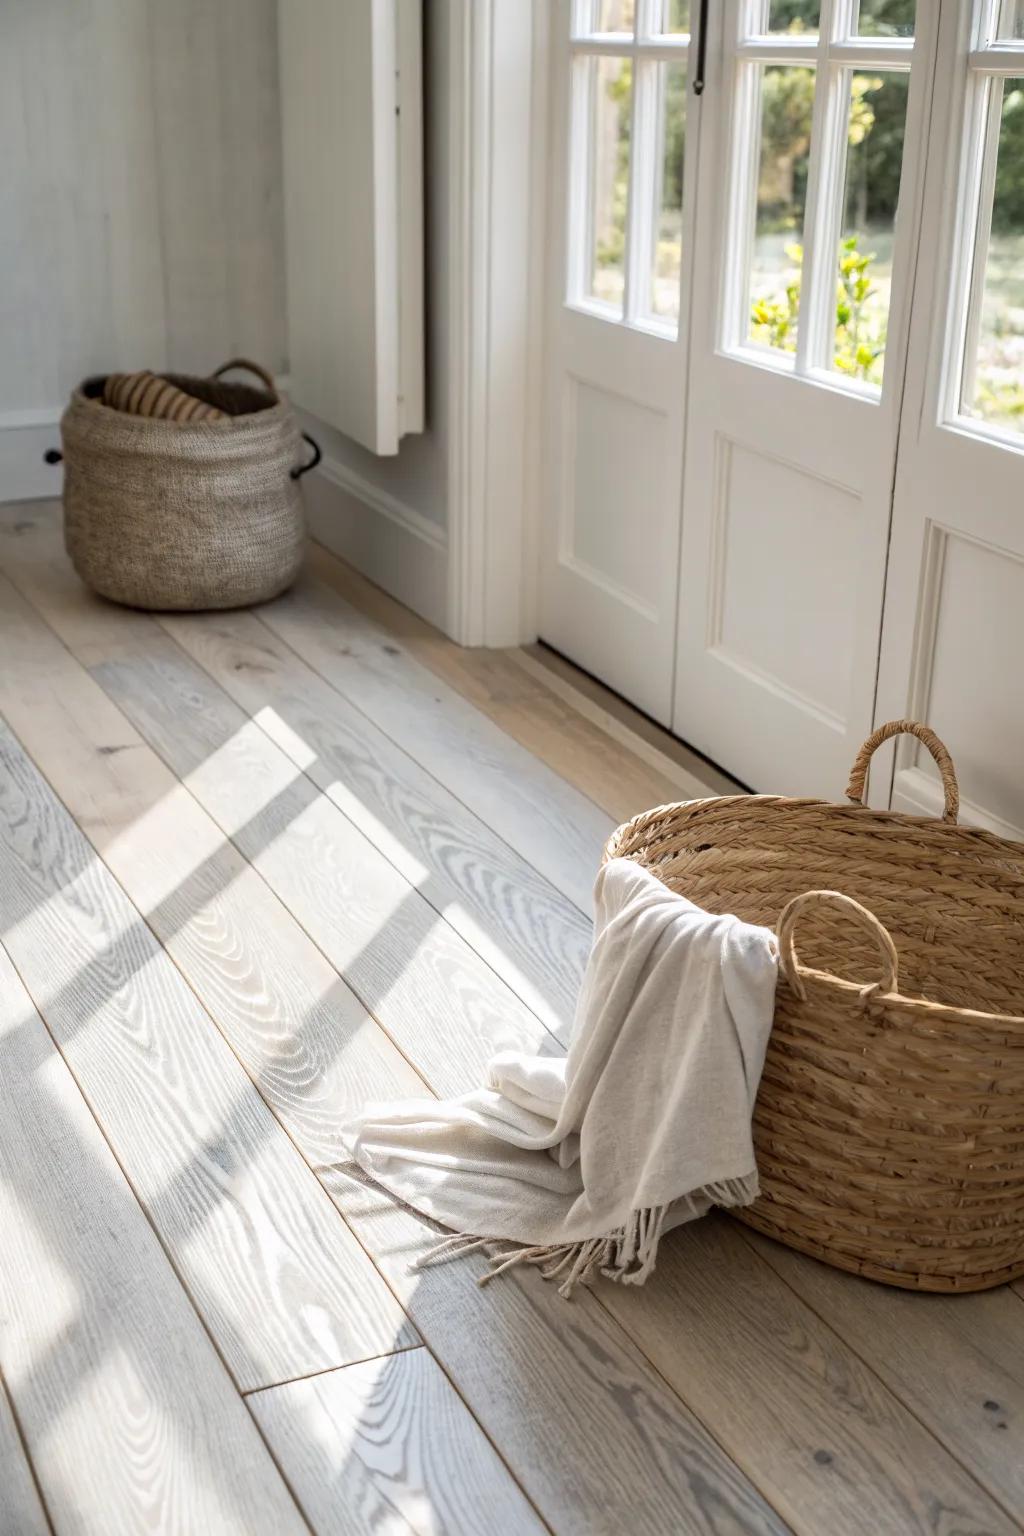
For that airy, relaxed vibe, I lean into whitewashed wood floors that keep the grain visible but calm down yellow tones. I’ve used this look in a sunlit dining area and it made every basket, plant, and linen curtain feel twice as cottagey.
A few helpful options:
- Whitewash Wood Stain: Brighten your existing wood floors while keeping the grain visible for that airy, coastal cottage feel.
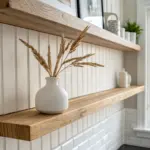
- Woven Seagrass Storage Basket: Add natural texture to your room with this versatile storage solution, perfect for holding cozy throws.
- Beige Cotton Throw Blanket: Soften your space instantly with a lightweight, neutral throw that complements light-toned cottage flooring beautifully.
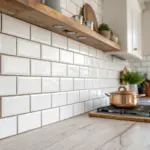
Brick or Brick-Look Pavers in the Entry
Nothing says cottage practicality like brick flooring in an entryway or mudroom—it’s tough, textured, and instantly charming. I’ve used a simple running-bond layout and it made boots-by-the-door look intentional instead of messy.
Maybe worth checking out:
- Thin Brick Veneer Tiles: Create that authentic, rustic look easily on existing floors; install these for instant cottage charm and durability.
- Faux Brick Peel and Stick Tile: Try this budget-friendly option for a quick weekend update; get the classic brick aesthetic without messy grout.
- Brick Sealer and Enhancer: Protect your new entryway floor from mud and moisture while enhancing the rich, natural color of the brick.
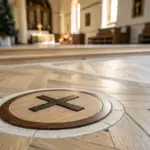
Classic Hex Tile in Cottage Bathrooms
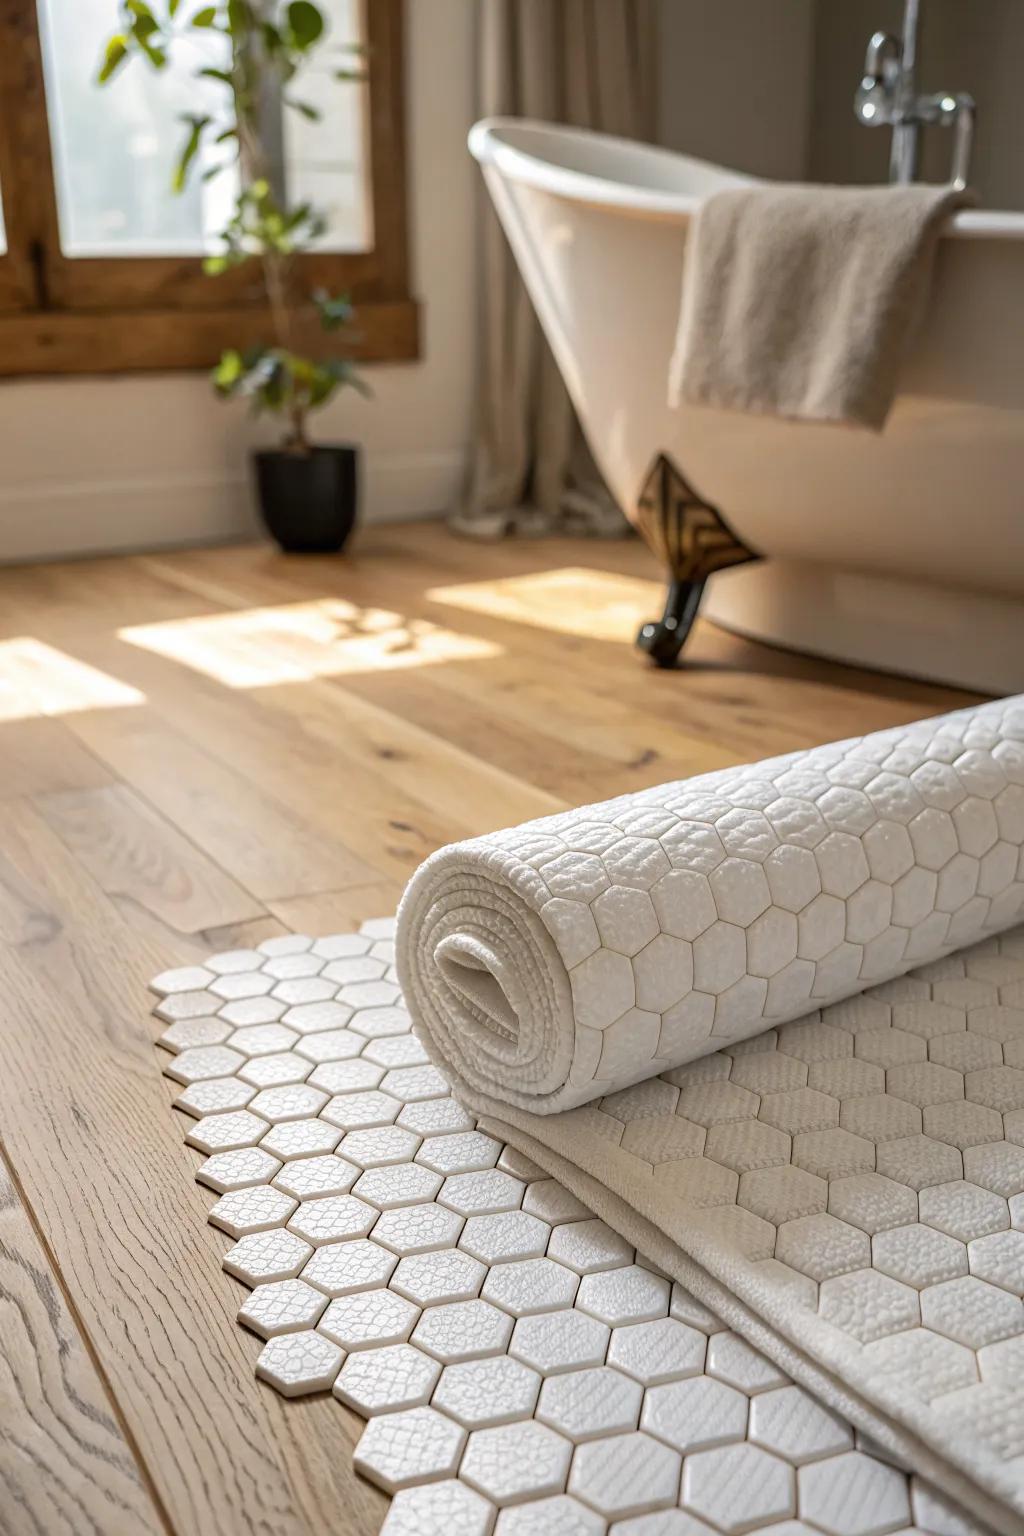
A small hex tile floor is such a timeless cottage move, especially in a tiny bath where you want pattern without clutter. I’ve set it with warm, creamy grout and loved how it read as vintage but still clean.
Check these products out:
- White Porcelain Hexagon Mosaic Tile: Create that timeless vintage look instantly by choosing durable white porcelain mosaic sheets for your bathroom renovation.
- Warm White or Cream Grout: Soften the stark white tiles and enhance the cottage aesthetic by applying a warm, creamy grout color.
- Notched Trowel for Tile Installation: Ensure a perfect, professional-grade floor installation by using the correct V-notch trowel for mosaic tile sheets.
Painted Wood Floors in Soft Neutrals
A cottage can totally pull off painted wood floors—think warm cream, dusty sage, or soft blue for that storybook feel. I’ve repainted a beat-up floor and the second it dried, the whole room felt brighter and more collected.
Consider these options:
- Porch and Floor Paint: Refresh worn wood floors with durable paint designed to withstand foot traffic and resist scuffs effectively.
- Angled Sash Paint Brush: Ensure clean edges along baseboards and trim for a professional finish on your DIY flooring project.
- Natural Jute Storage Basket: Add texture to your freshly painted floors with a woven basket that complements soft, neutral tones perfectly.
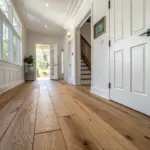
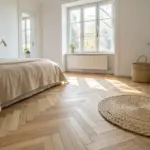
Mixed-Width Planks for Collected Charm
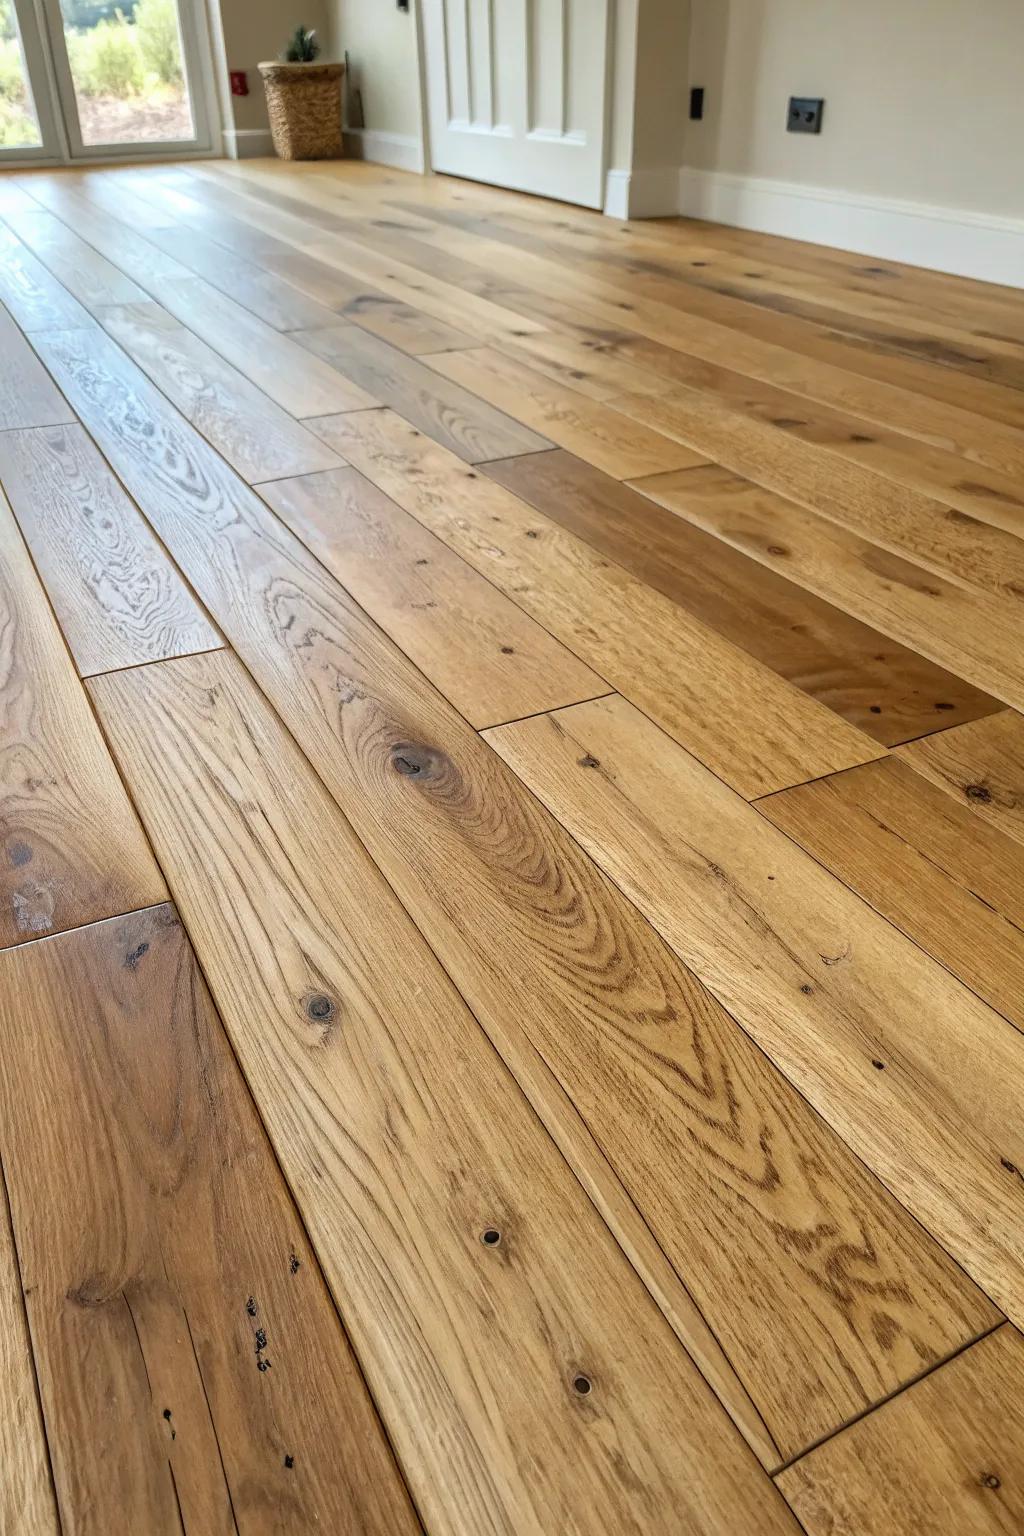
mixed-width wood planks give that “built over time” cottage feel, like the floor was pieced together with whatever was on hand. I’ve blended widths in one install and the visual movement made the space feel older in the best way.
Possibly helpful picks:
- Engineered Oak Wood Flooring Sample: Compare textures and mixed-width styles in your own home to visualize that perfect rustic cottage foundation.
- Hardwood Floor Cleaning Mop Kit: Protect your beautiful new floors with a gentle cleaning system designed to maintain natural wood finishes.
- Felt Furniture Pads Multipack: Prevent scratches on your authentic wood planks by applying these durable protectors to all your furniture legs.
Rope or Jute Inlay Along the Border
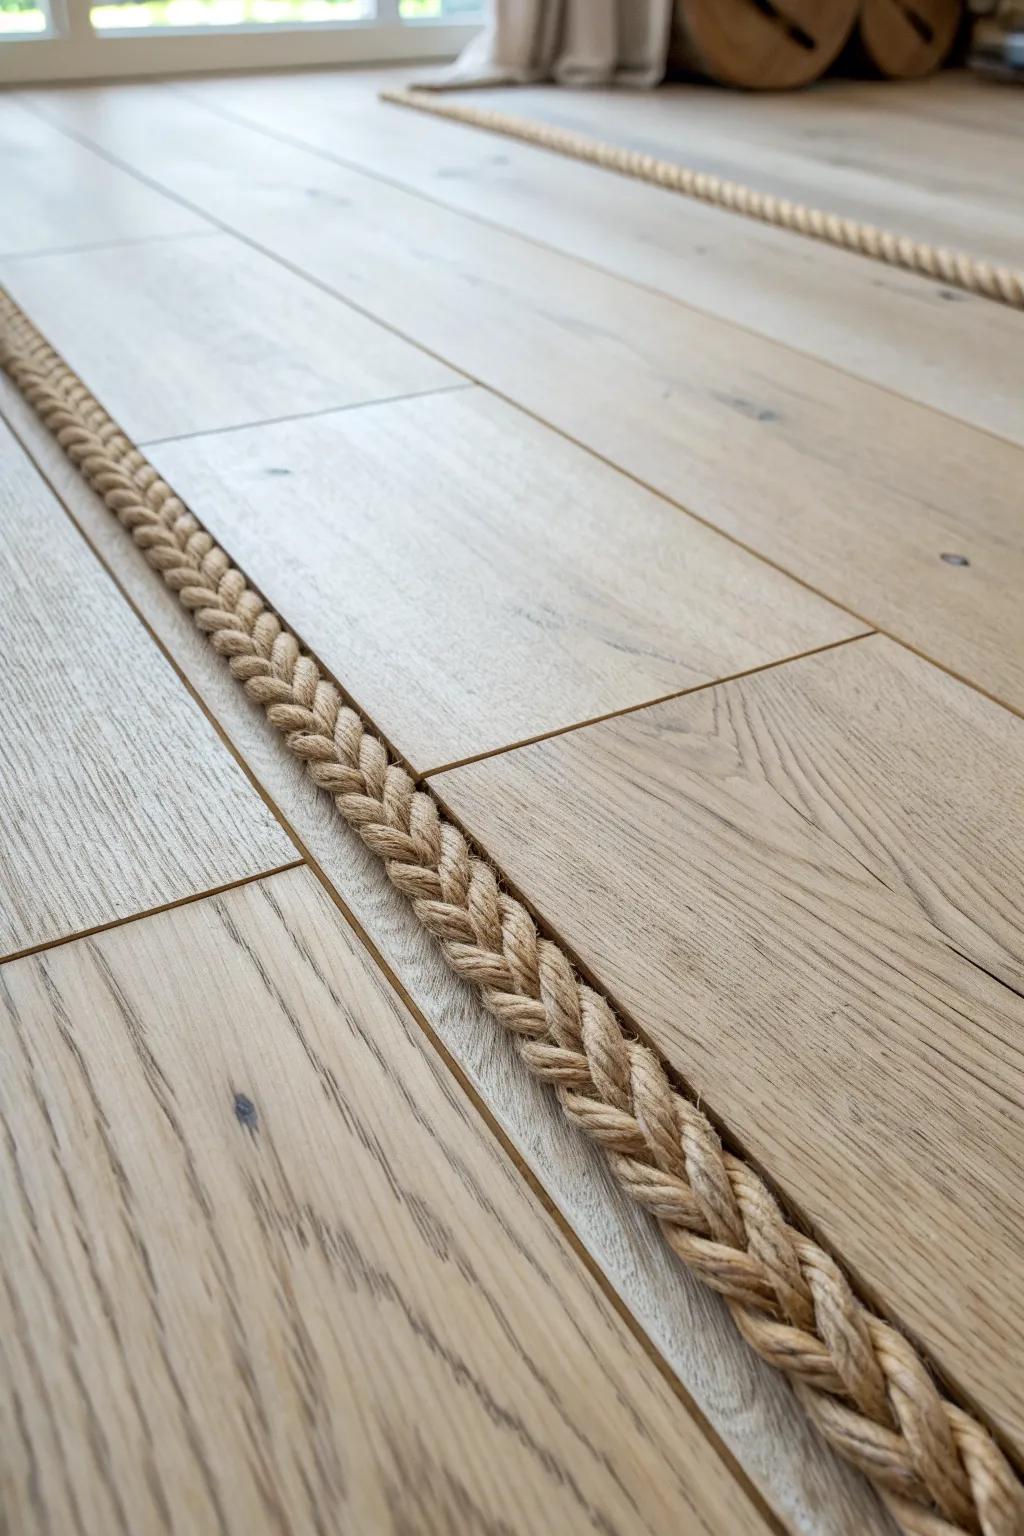
For a subtle cottage surprise, I’ve inlaid a thin jute rope border between wood planks and it added texture without feeling fussy. It’s one of those details you only notice up close—then you can’t stop staring at it.
You might like:
- Natural Jute or Hemp Rope Spool: Choose a thick, twisted natural fiber rope to create the textured inlay effect between your floorboards.
- Heavy-Duty Construction Adhesive: Secure your rope inlay firmly into the gaps with a strong, transparent adhesive designed for wood.
- Wood Flooring Chisel Tool: Use a sharp chisel to clean out existing gaps or slightly widen grooves for the perfect rope fit.


