
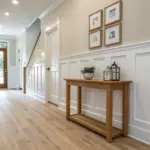
Baseboards are one of those little details that can make a room feel instantly finished—or instantly builder-basic. I’ve upgraded a lot of spaces with simple wood trim tweaks, and it still amazes me how big the payoff can be.
Create Light-Washed Shadow Baseboards
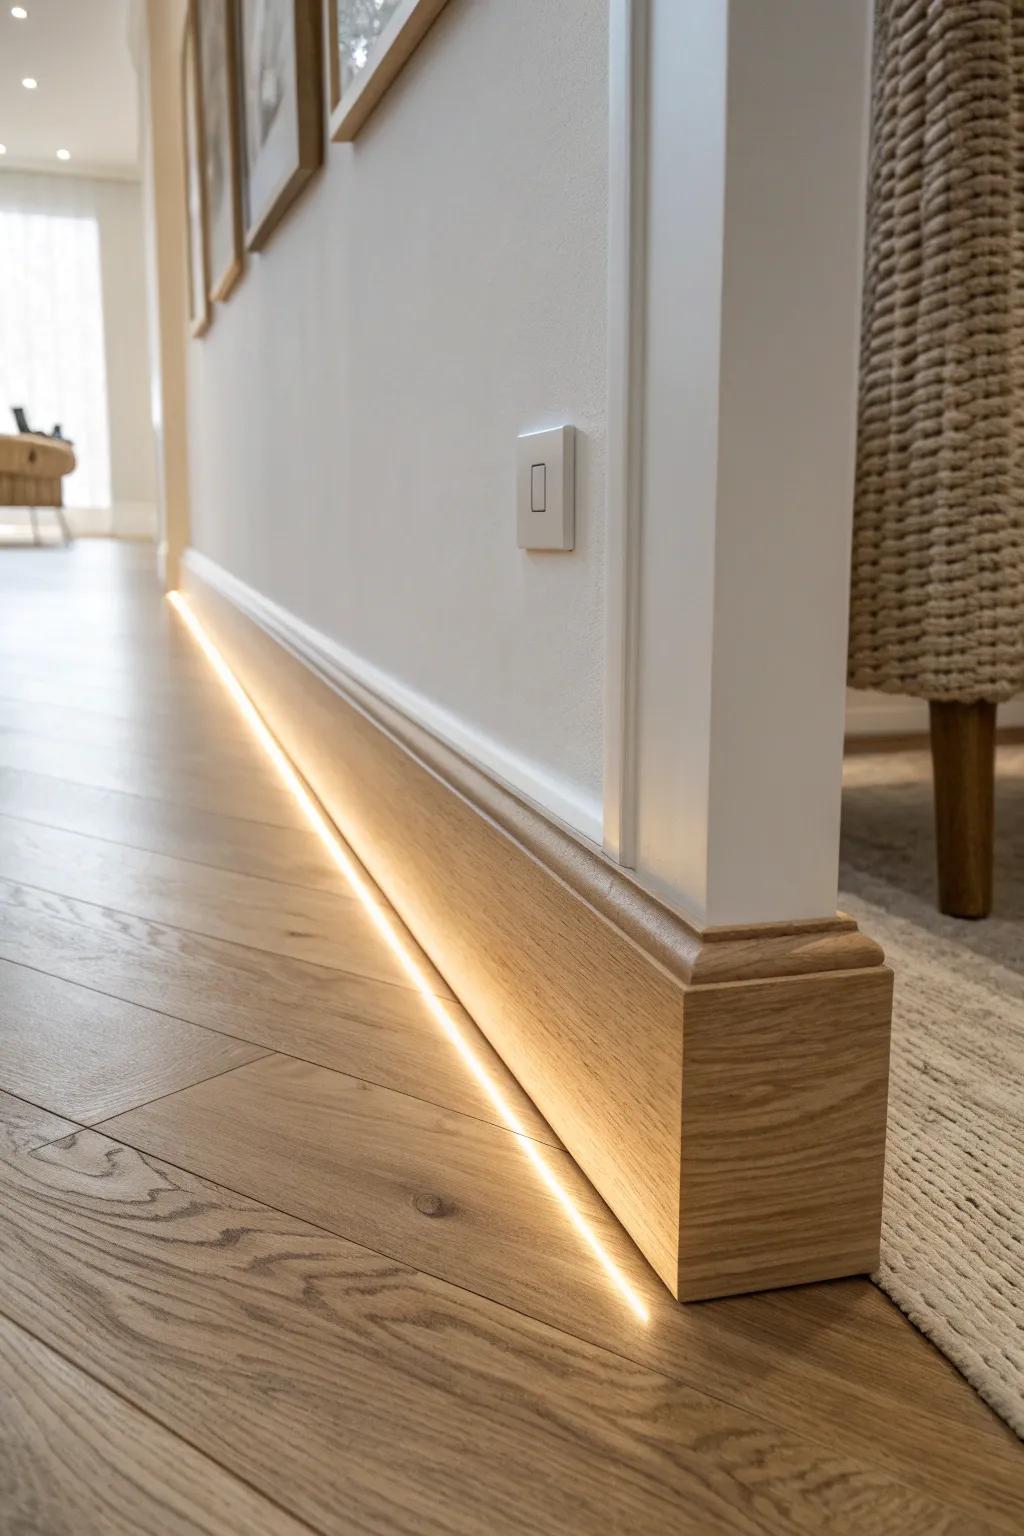
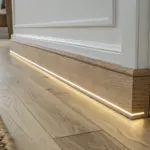
One of the coolest modern twists I’ve played with is a recessed or notched profile that lets hidden lighting create glowing baseboards along the floor line. I tried it in a dark hallway and it felt like a boutique hotel detail—soft, cozy, and totally unexpected.
Consider these options:
- LED Adhesive Strip Lights with Diffuser: Install these flexible light strips under your baseboards to achieve that soft, boutique hotel glow effortlessly.
- Aluminum LED Channel for Baseboards: Use these channels to house your LED strips for a cleaner look and smoother light dispersion.
- Motion Sensor Switch for Lighting: Automate your hallway glow by connecting your new baseboard lights to a convenient motion sensor switch.

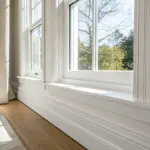

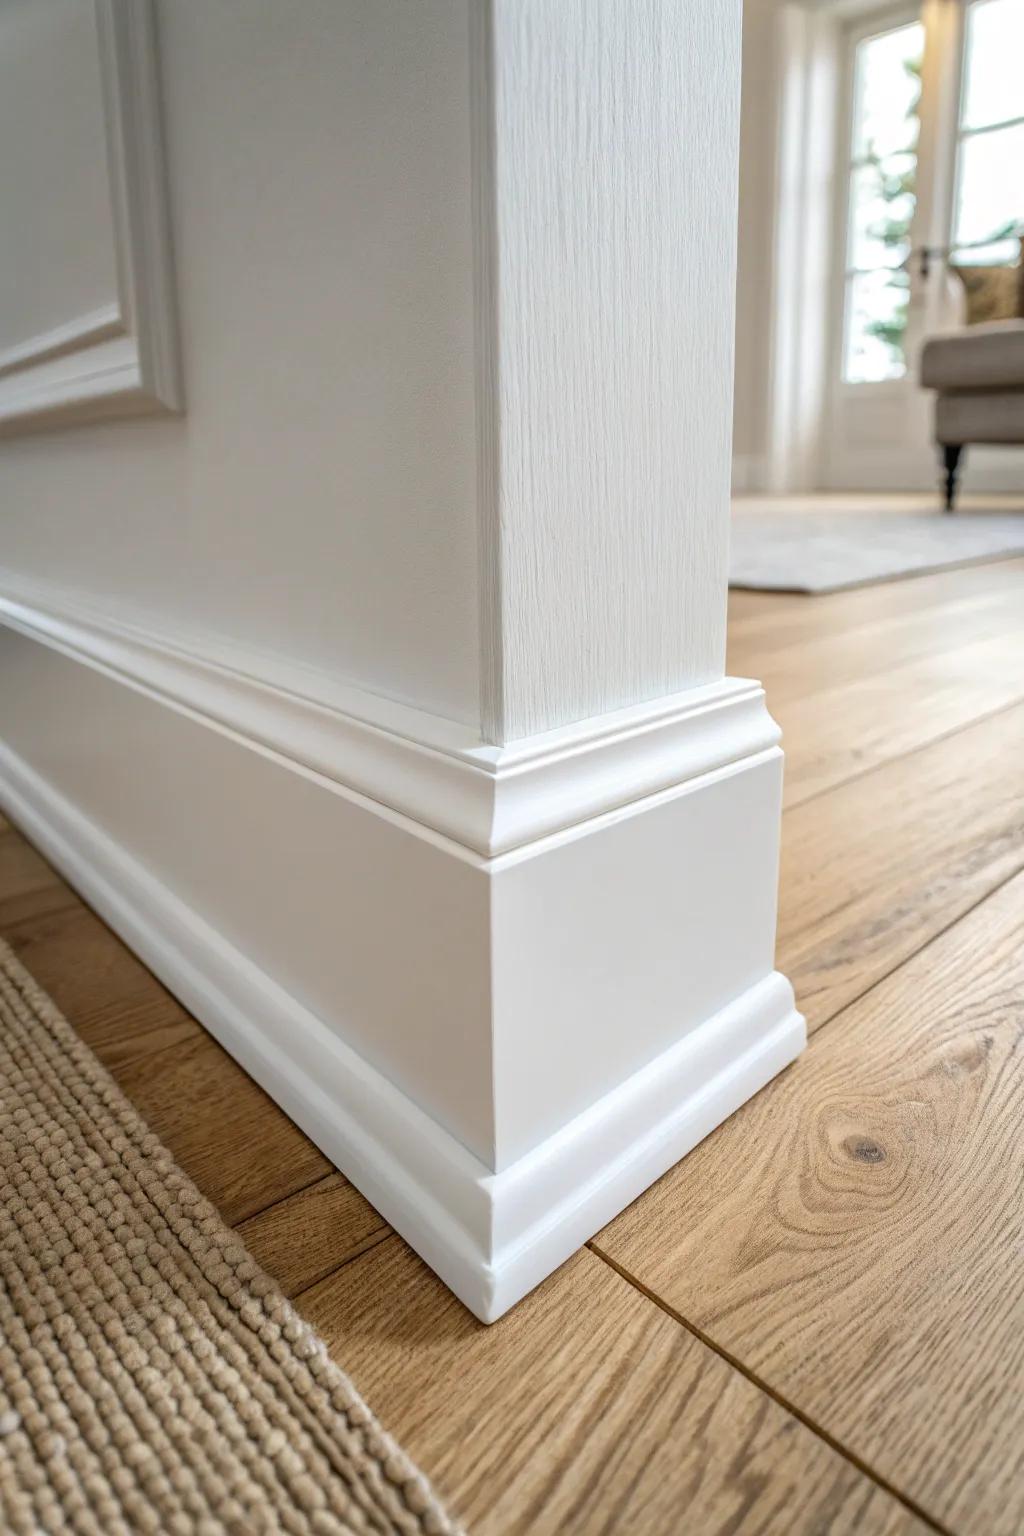
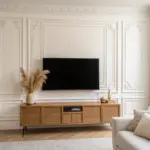
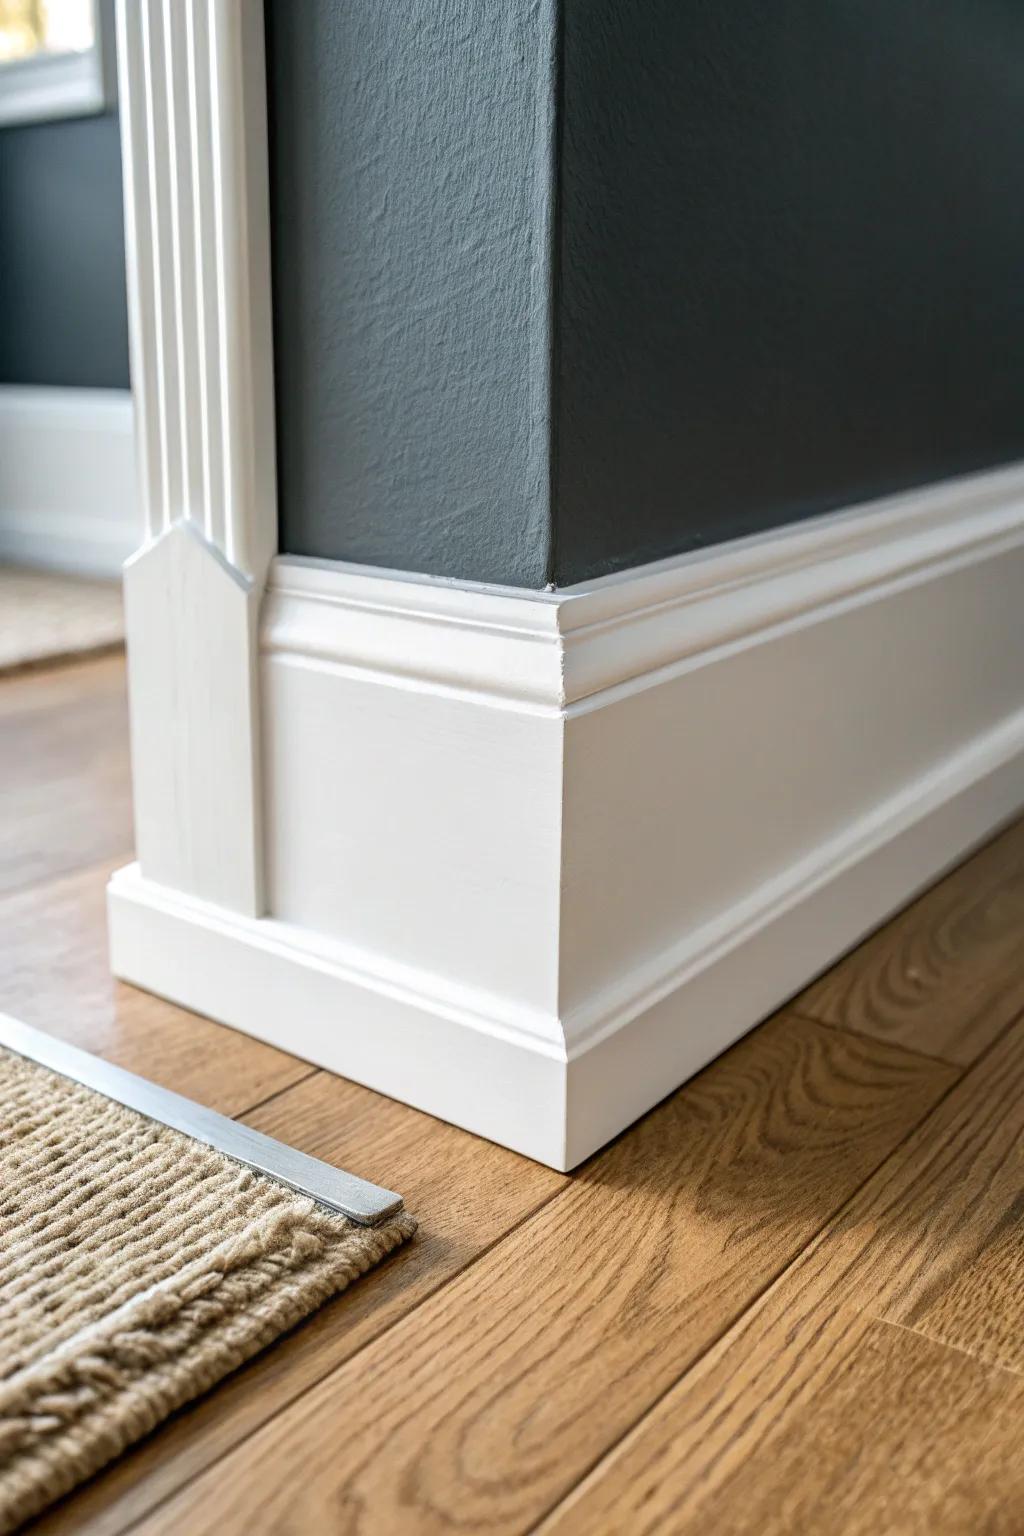
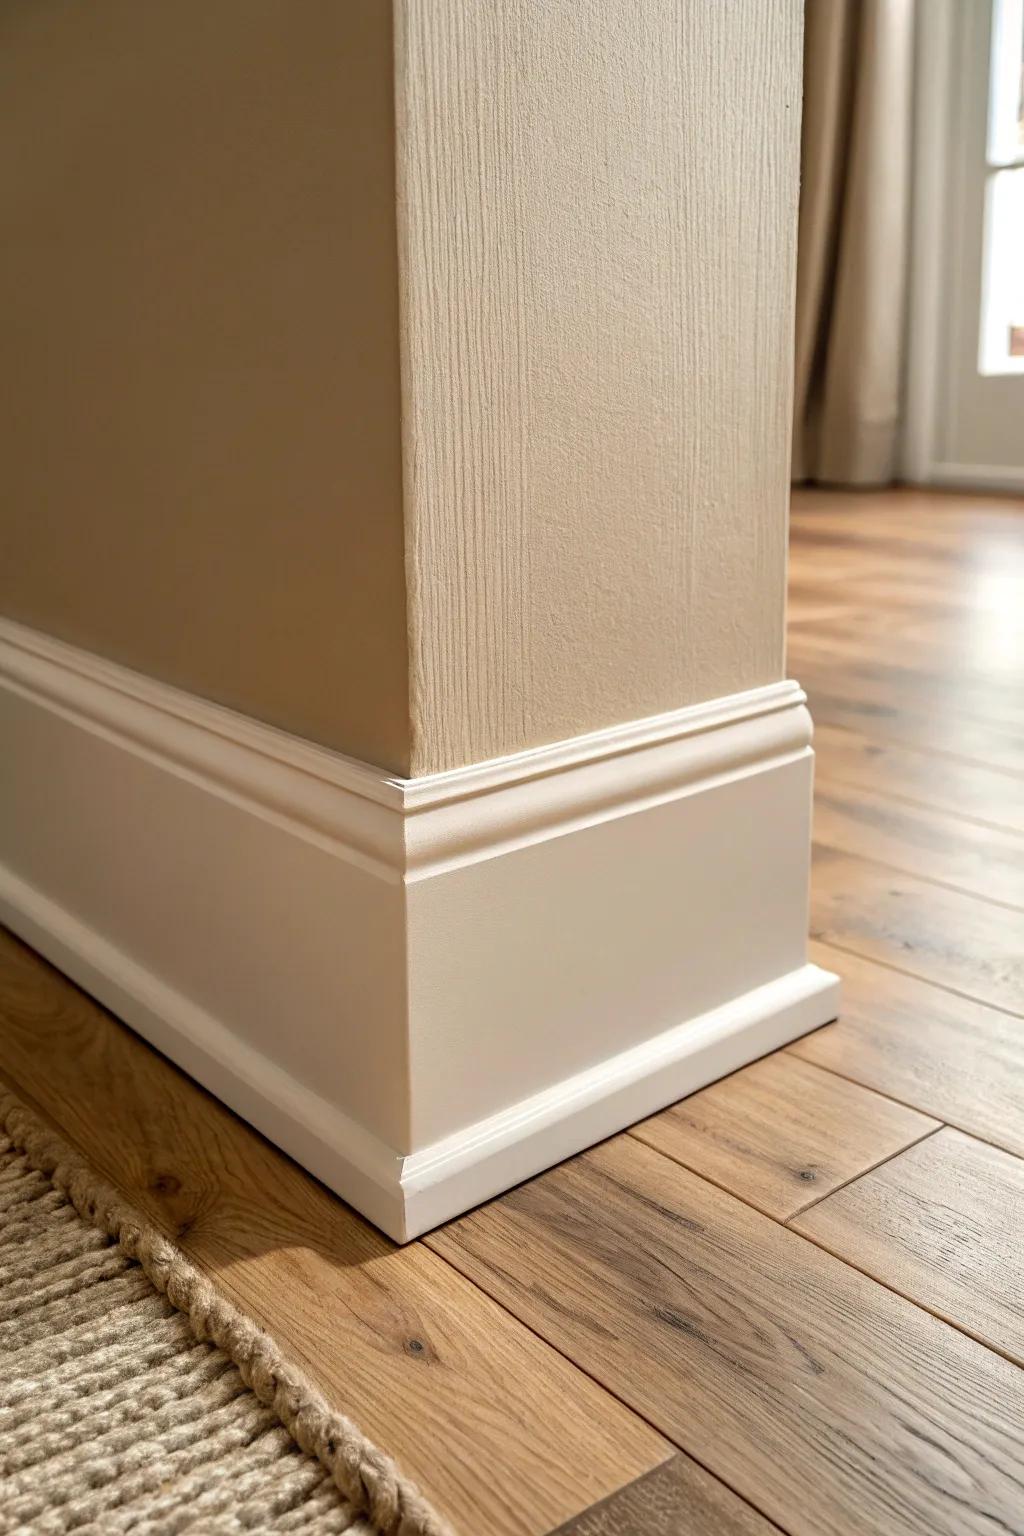
Go Taller for Instant Drama

My favorite quick upgrade is swapping short trim for tall baseboards, because it makes ceilings feel higher and the whole room look more custom. I’ve done this with simple boards and a clean paint job, and it always reads like a higher-end remodel.
Check if these fit your needs:
- Tall Primed MDF Baseboard Molding: Create a high-end look instantly by installing these tall, paint-ready boards along your wall perimeter.
- Baseboard Cap Molding: Add height and detail to plain boards by stacking this decorative cap on top for custom elegance.
- White Paintable Caulk & Gun Kit: Achieve that seamless, professional finish by filling gaps and corners before applying your final coat of paint.
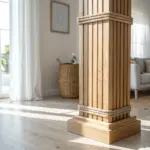
Try Simple Modern Flat Stock
When I want a crisp look, I use flat stock baseboards with sharp corners—no fussy curves, just clean lines. I’ve installed this style in a hallway before, and it made the walls look smoother and more intentional.
A few things you might like:
- Primed MDF Baseboard Molding: Create crisp, clean lines in any room with these straightforward boards ready for your choice of paint.
- Brad Nailer Kit: Secure your new modern trim efficiently and accurately without damaging the wood surface during installation.
- Paintable Caulk: Fill gaps seamlessly between the wall and your new trim for a professional, polished final look.


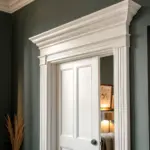
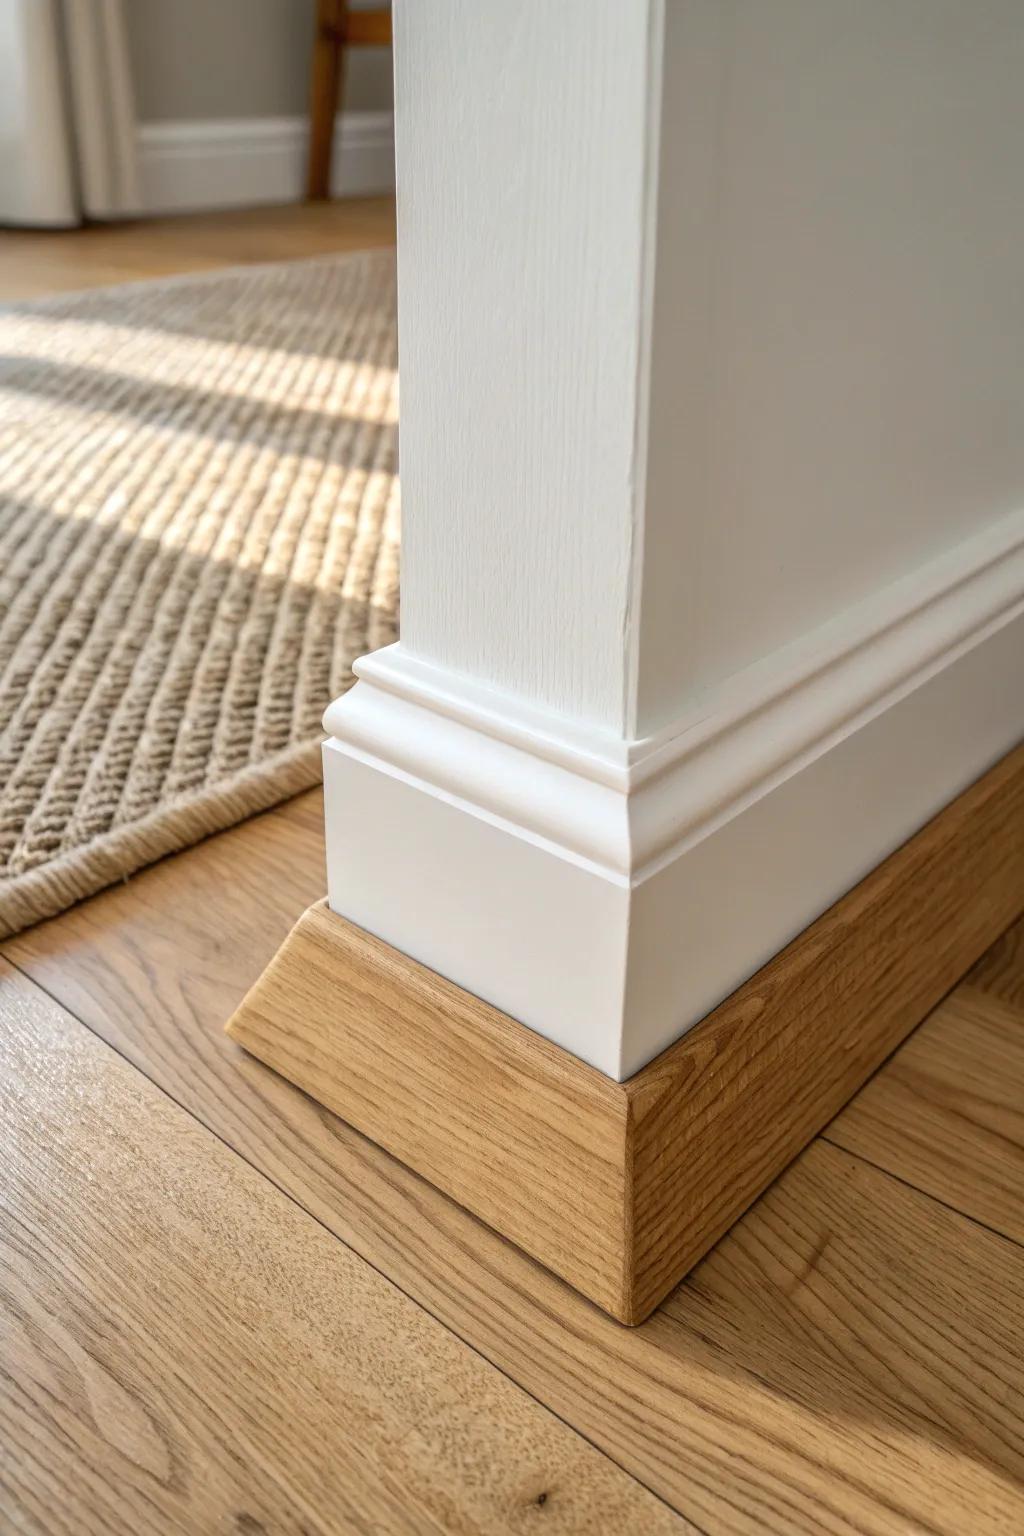
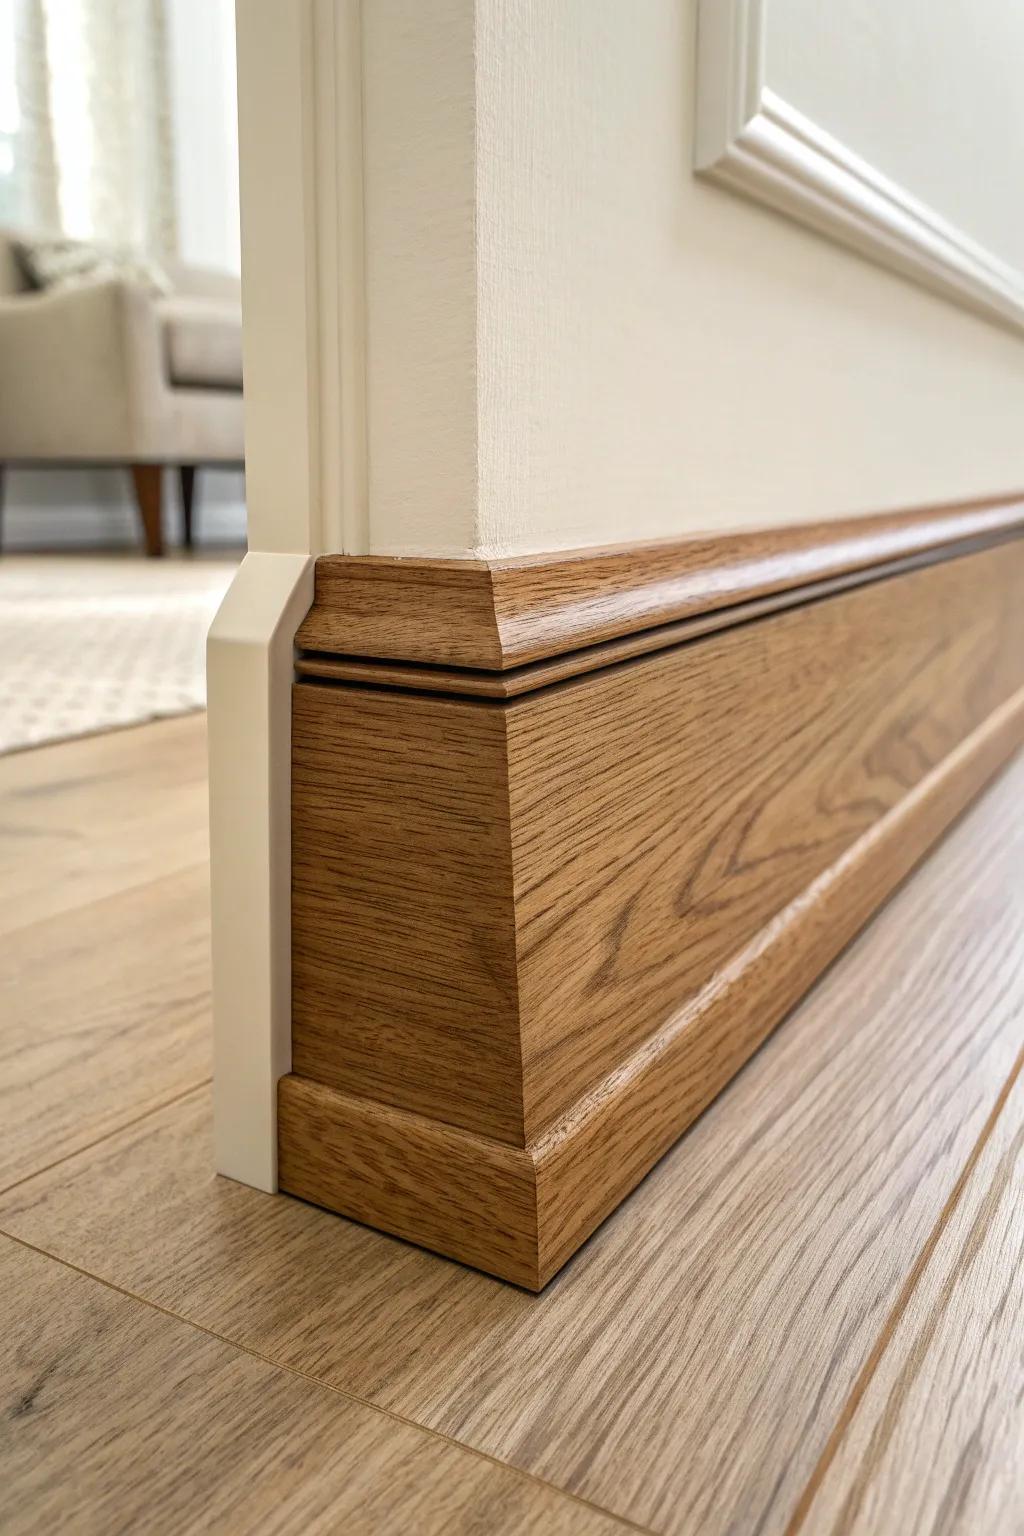
Add a Base Cap for a Layered Look
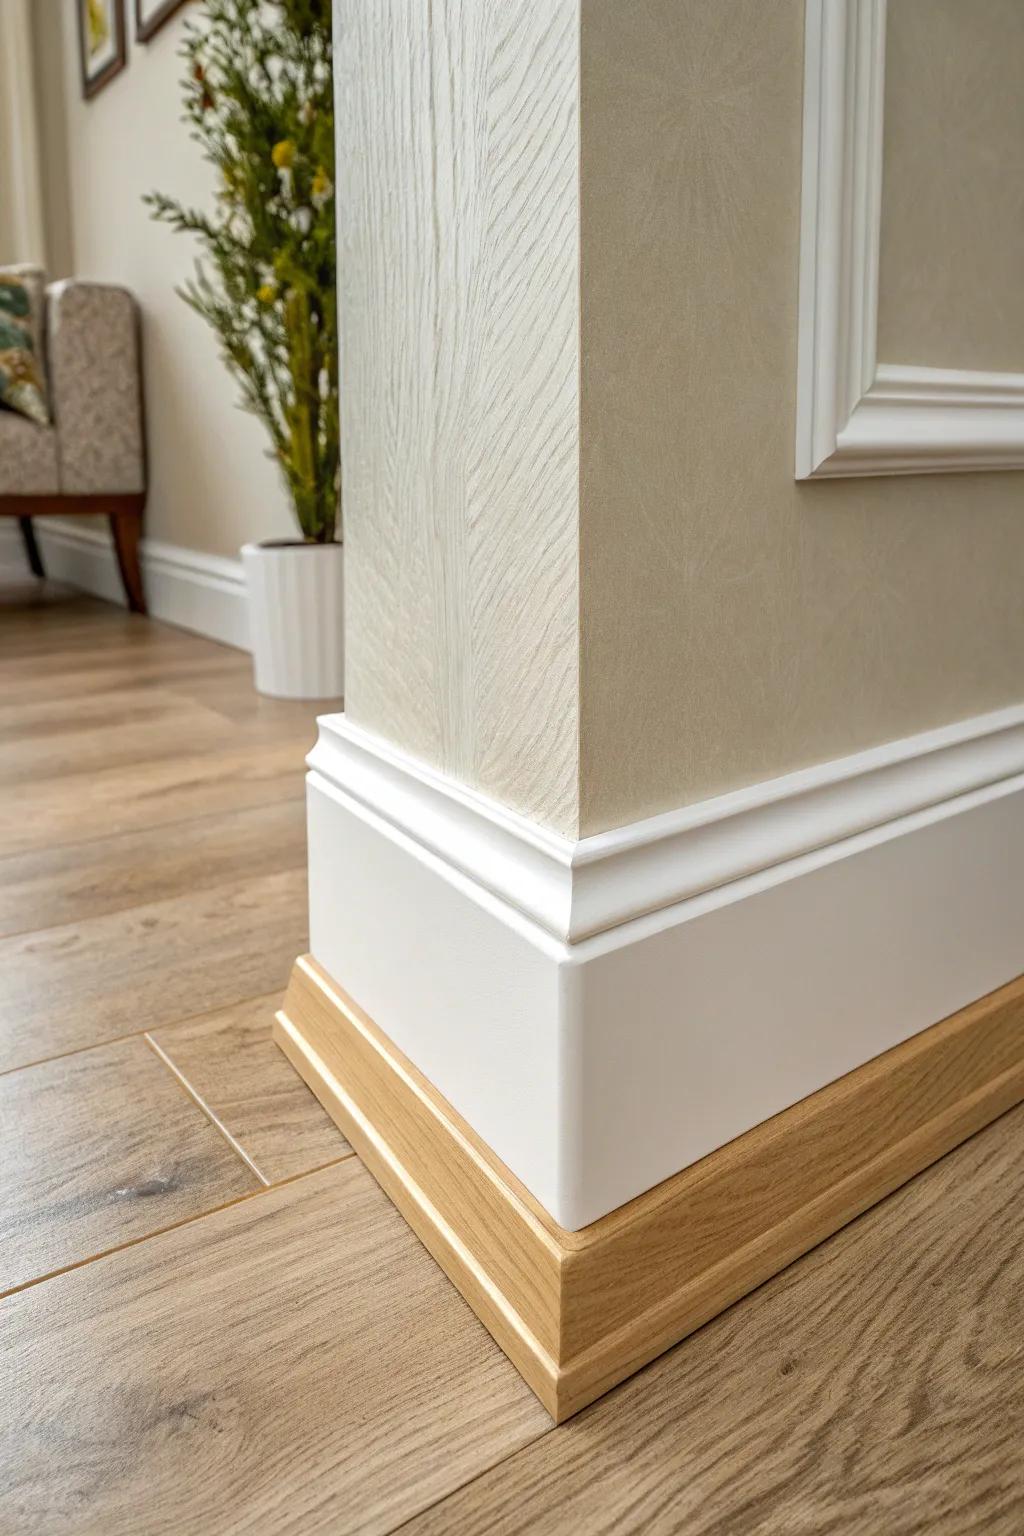
One of my go-to tricks is adding cap molding to a plain board so it looks like a pricier, thicker profile. I’ve done this on a tight budget and it still gave that “old house detail” vibe in the best way.
A few suggestions:
- Decorative shoe molding: Finish your baseboard project with a subtle trim piece to hide gaps and add polished, professional detail.
- General woodworking adhesive: Secure your new molding layers firmly without visible nails by using a strong, reliable construction adhesive.
- Interior wood stain or paint: Match your new trim perfectly to your existing floors or baseboards with a quality stain or paint.
Finish With Shoe Molding
In older homes (and honestly, even new ones), shoe molding saves the day by hiding little floor gaps and making the install look clean. I’ve added it after the fact more than once, and it always makes my baseboards look more “pro.”
Explore these options:
- Primed Quarter Round Molding: Cover floor gaps seamlessly with this classic trim profile, giving your baseboards a finished, professional appearance.
- Brad Nailer Kit: Secure your shoe molding quickly and cleanly without splitting the wood for a durable, tight fit.
- Paintable Caulk: Fill any remaining small gaps between the molding and wall to achieve a flawless, smooth, and painted look.
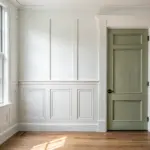
Paint High-Contrast Baseboards
Painting high-contrast baseboards is such an easy statement—think bright trim against deeper walls or the other way around. I tried this in a dark, moody room and the baseboards suddenly looked like intentional architecture instead of an afterthought.
Try these:
- Angled Sash Paint Brush: Achieve crisp, clean lines where your baseboards meet the wall for that professional high-contrast finish.
- Painters Tape for Delicate Surfaces: Protect your dark walls and wood floors from splatter while ensuring a razor-sharp paint edge.
- Semi-Gloss Interior Trim Paint: Choose a high-quality semi-gloss finish to make your white baseboards pop against moody wall colors.

Match Baseboards to the Wall Color
For a quieter, modern vibe, I’ve painted baseboards the same color as the wall so everything feels seamless. It surprised me how much calmer the room looked, especially with taller trim.
Useful items to consider:
- Paintable Primed Baseboard Molding: Choose tall, primed moldings ready for custom paint to create that seamless, modern look in your home.
- Precision Angle Paint Brush: Achieve crisp lines between floor and trim with a high-quality sash brush designed for detailed trim work.
- All-Purpose Interior Primer: Ensure your paint adheres perfectly to existing trim for a durable, professional finish that lasts for years.
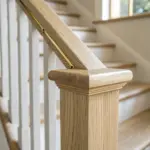
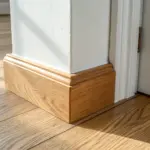
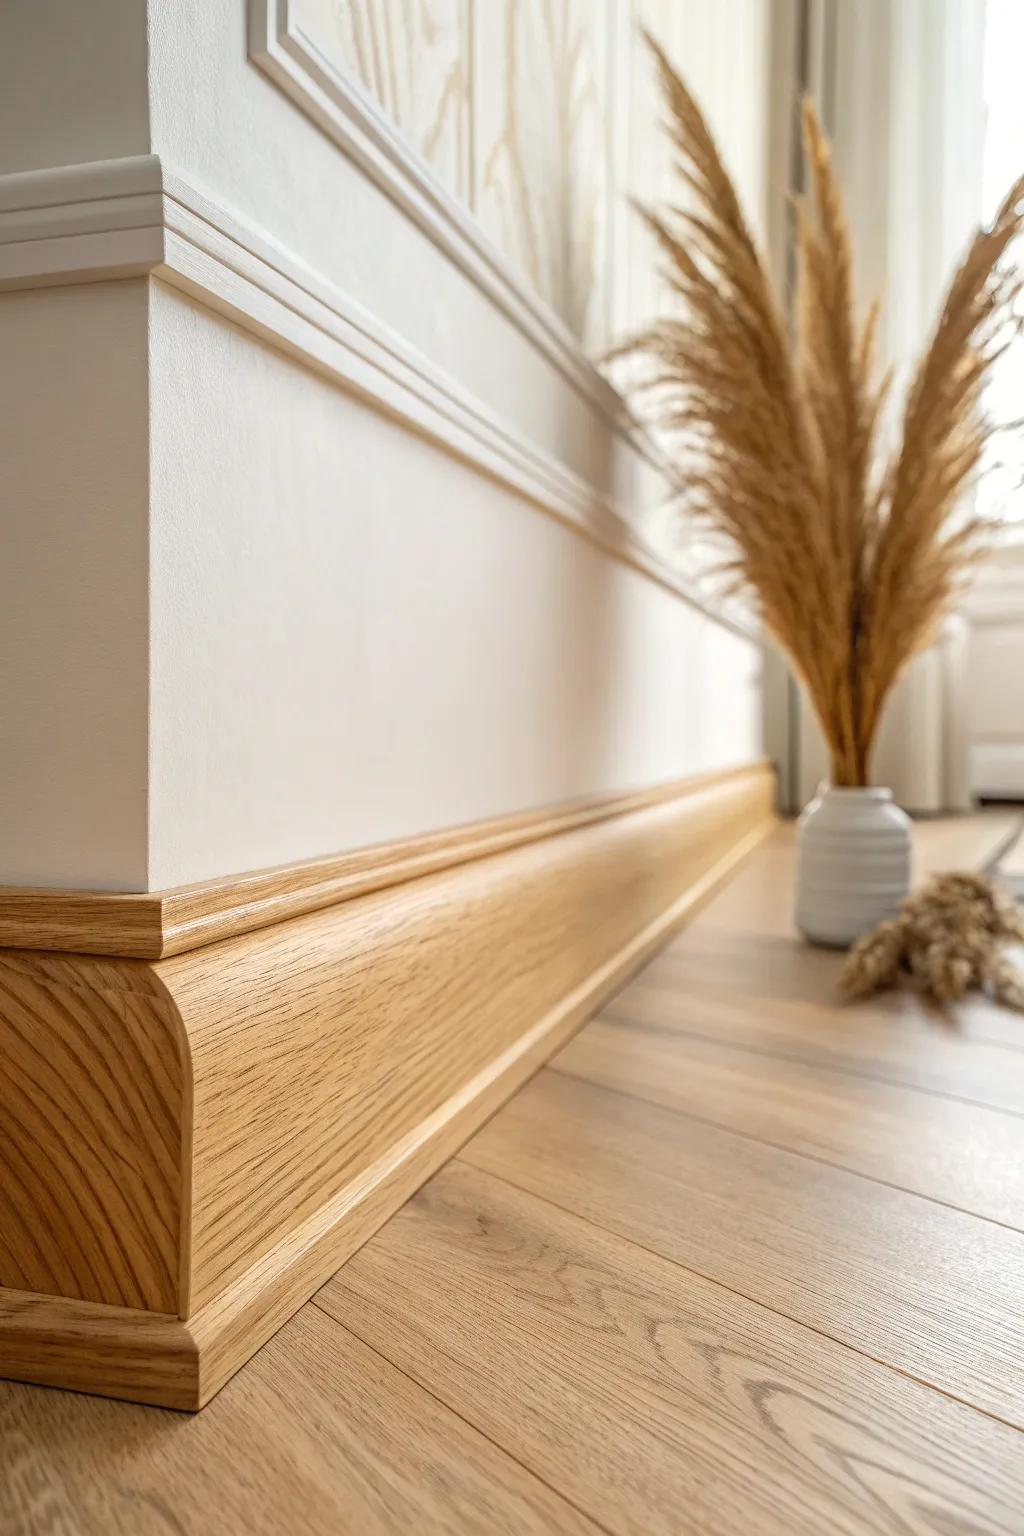
Build Craftsman Style With a Back Band
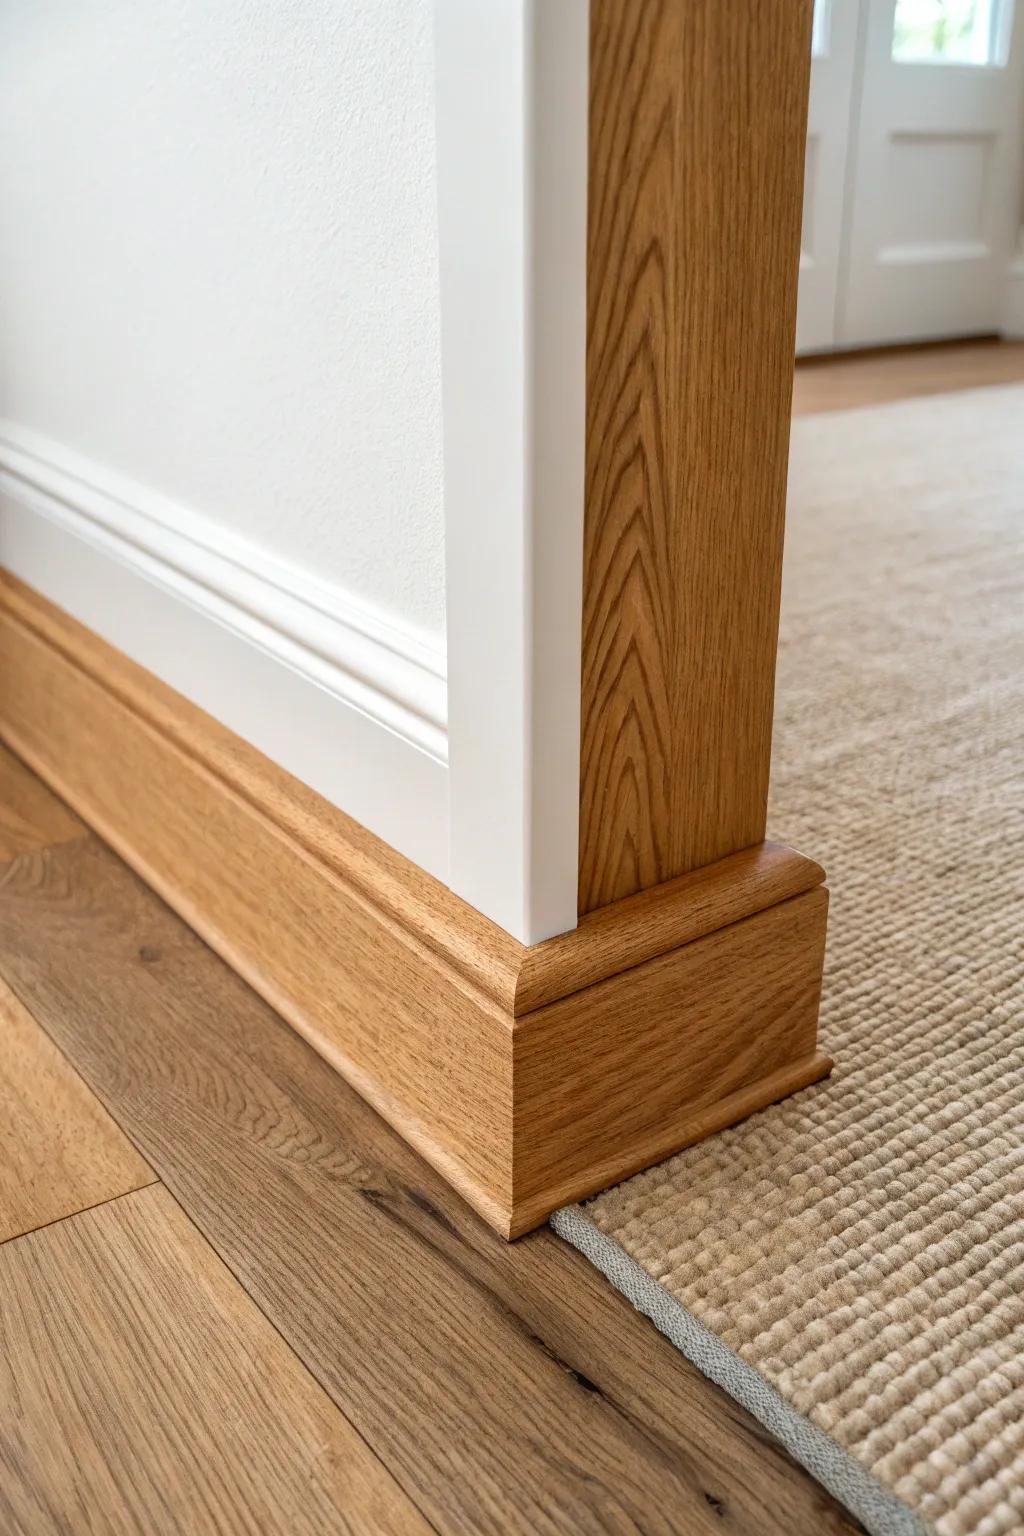
For that classic handmade look, I build Craftsman baseboards with a tall, square board and a simple top strip (sometimes called a back band feel). I’ve done this in a bedroom, and the straight lines made everything look neat and substantial.
A few choices to try:
- Brad Nailer Kit: Secure your new baseboards quickly and cleanly with a reliable nailer designed for finish carpentry projects.
- Wood Stain and Finish: Enhance the natural wood grain of your oak trim using a high-quality stain for lasting results.
- Miter Saw Protractor: Ensure your baseboard corners meet perfectly by measuring exact angles for cleaner, tighter joint cuts.
Create a Two-Tone Baseboard Effect
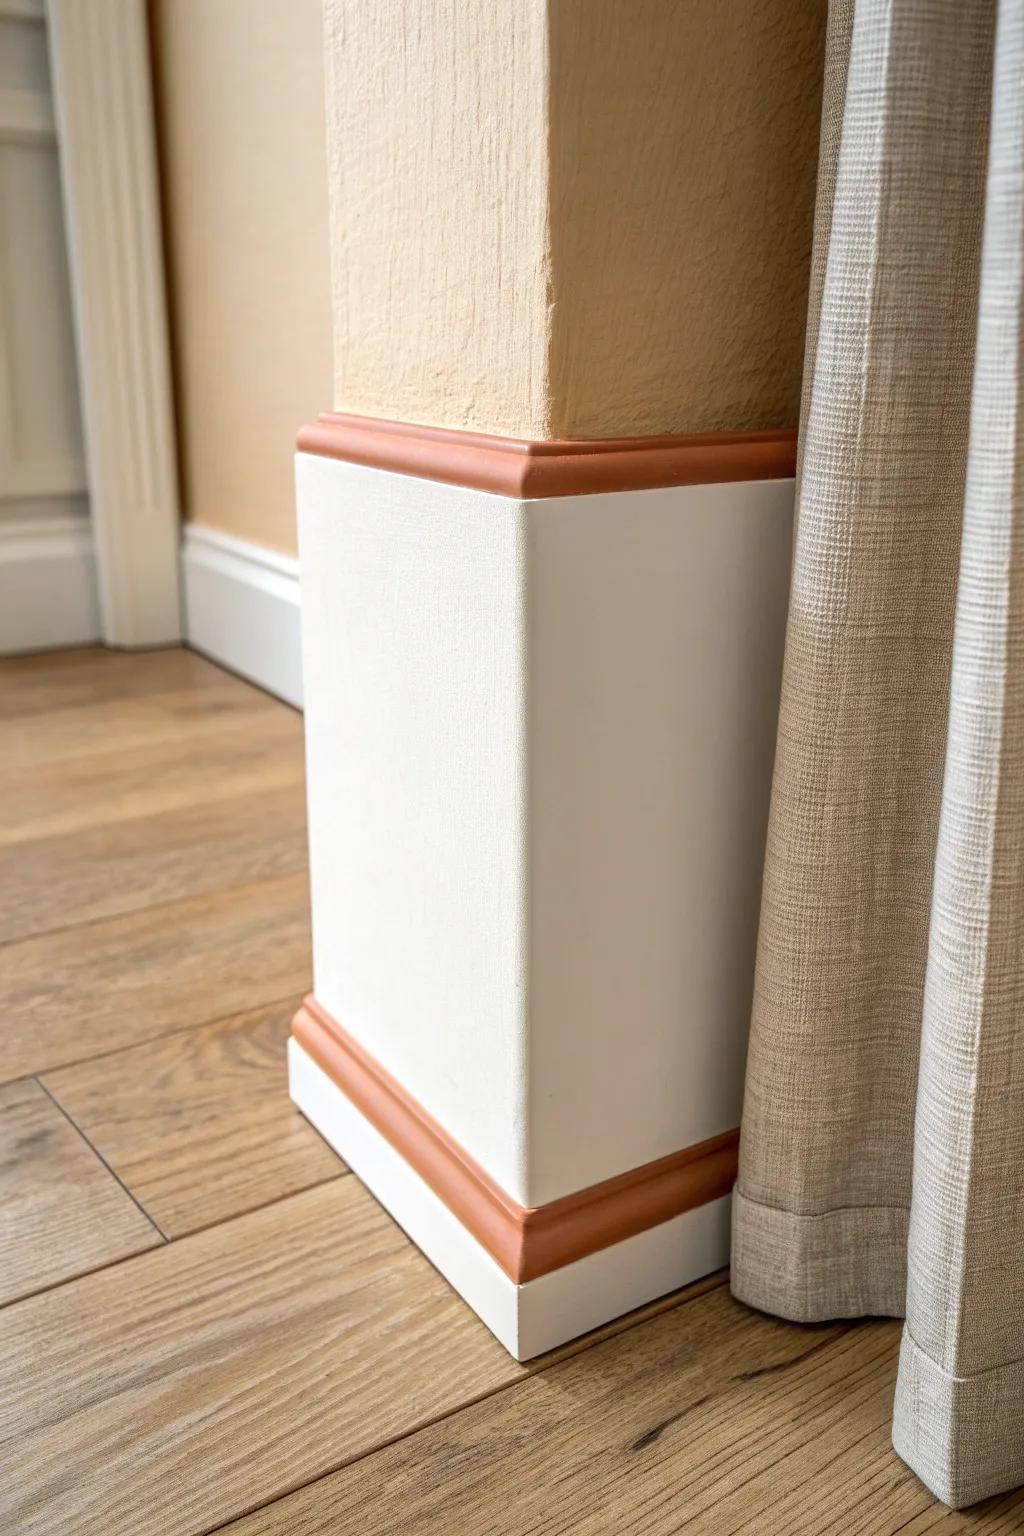
A fun twist is painting the baseboard in two-tone color blocking, like a slim stripe or a contrasting cap line. I tested this on scrap first, and once it was on the wall it looked like custom millwork.
Items that may come in handy:
- Painter’s Tape for Delicate Surfaces: Ensure crisp, clean lines by masking off your baseboards before applying contrasting colors or creating stripe effects.
- Decorative Chair Rail Molding: Add architectural interest by installing a slim molding piece above your baseboard to create a capped look.
- Angled Sash Paint Brush: Achieve professional results on trim and tight corners with a high-quality brush designed for precision work.
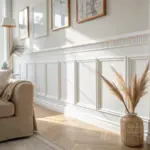
Add Picture Frame Molding Above the Baseboard
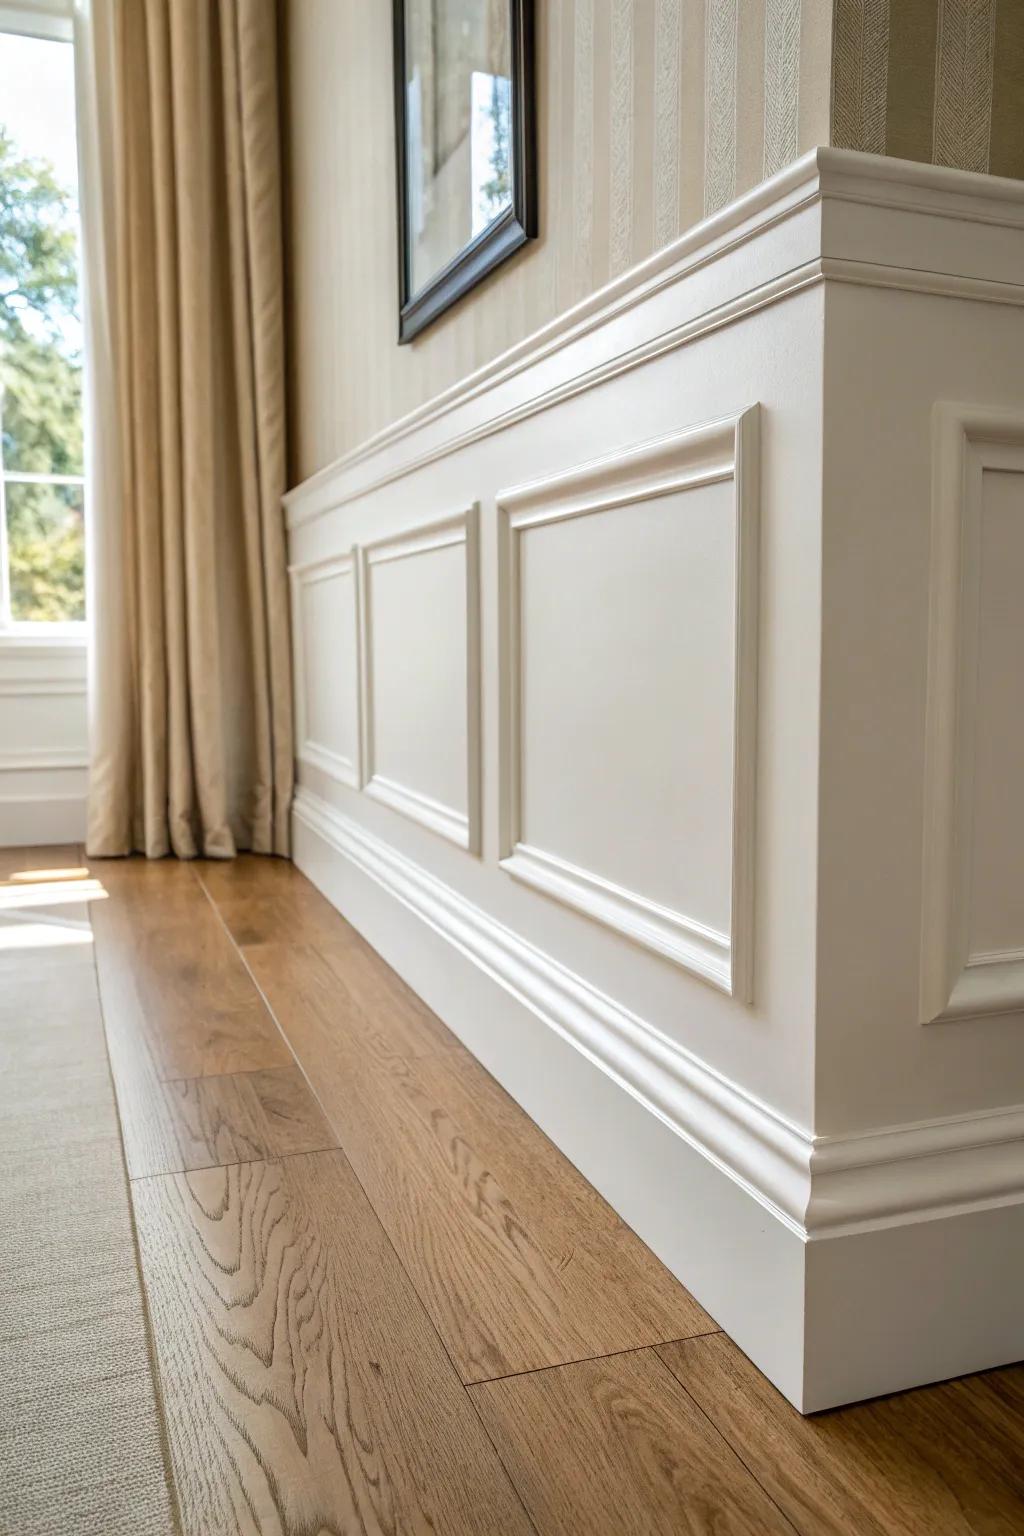
If you want that elegant, built-in look, pair baseboards with panel molding just above them so the wall feels “designed.” I’ve installed this in a dining nook, and it made basic drywall look like a finished feature.
Give these a look:
- Pre-Primed Wall Panel Molding Kit: Transform your plain walls easily using these pre-cut frames to achieve a classic, architectural look quickly.
- Self-Adhesive Molding Trim: Create elegant wall frames without power tools by applying this simple peel-and-stick trim for instant upgrades.
- Construction Adhesive & Caulk Gun: Secure your new molding firmly in place and fill gaps seamlessly for that professional, high-end finish.
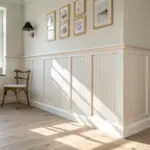
Run Baseboards Into Wainscoting
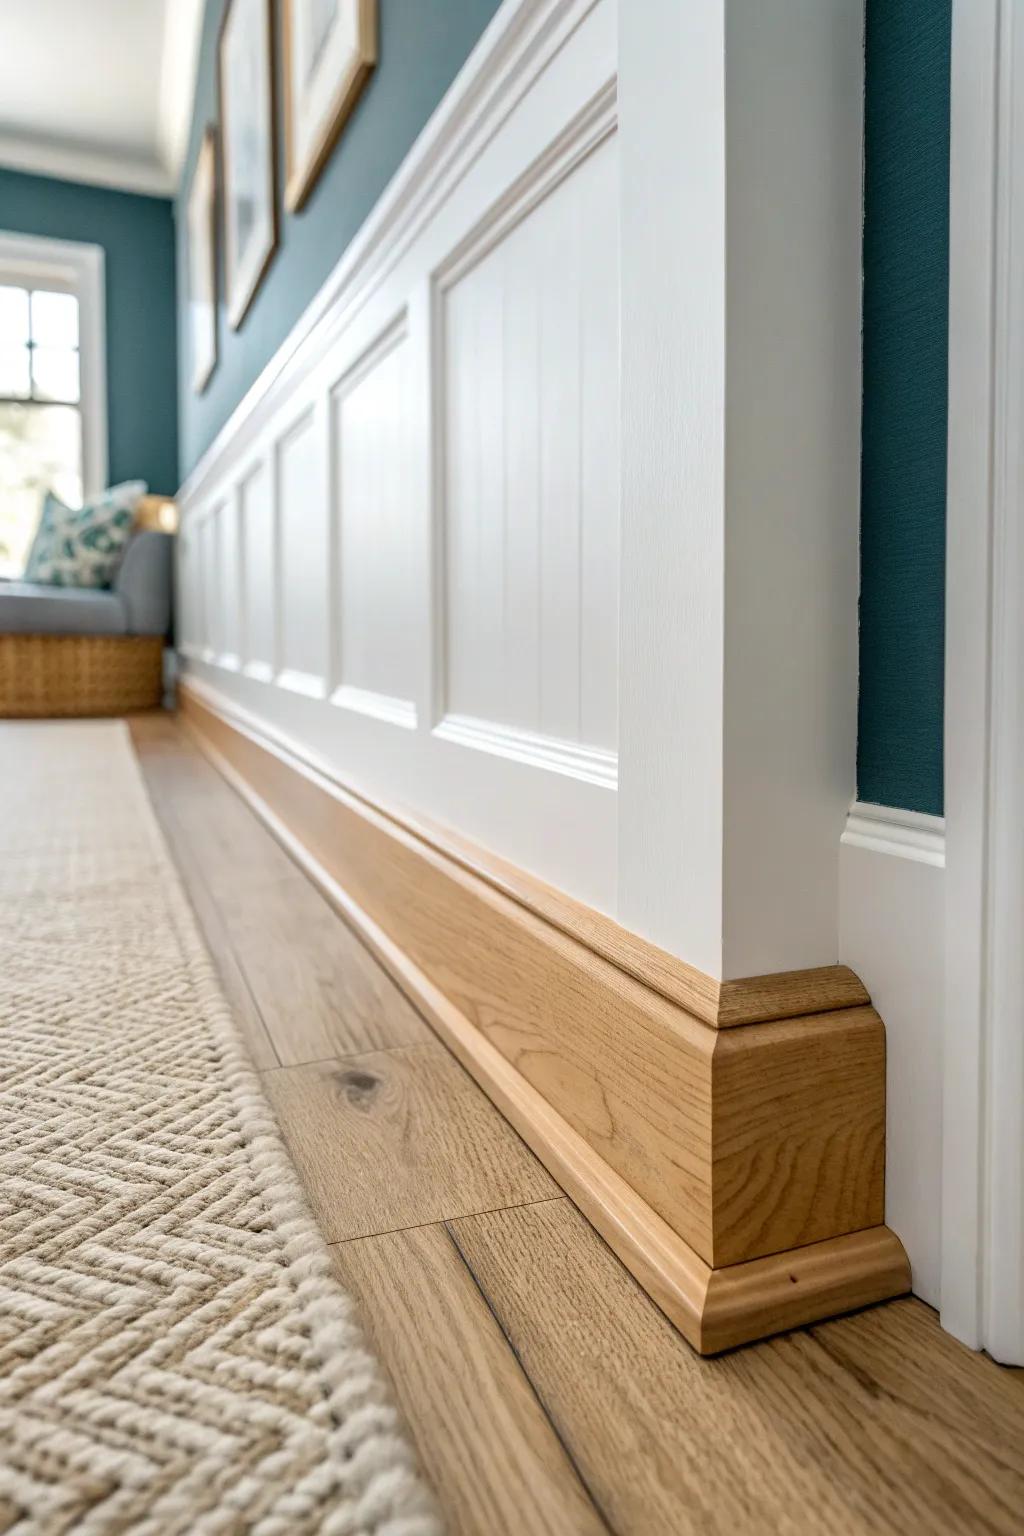
Extending baseboards into wainscoting base trim makes the whole lower wall feel cohesive and intentional. I’ve done this in an entryway and loved how the baseboard became the foundation for the entire wall treatment.
Check these products out:
- Unfinished Oak Baseboard Molding: Choose solid unfinished oak molding to perfectly match your flooring and create a warm, custom foundation.
- White Beadboard Wainscoting Panels: Install these classic white panels above your baseboard to easily achieve that timeless, cohesive cottage look.
- Heavy-Duty Construction Adhesive: Secure your heavy wooden baseboards and wall panels firmly in place for a long-lasting, professional installation.
Use Flexible Trim for Curved Walls
For rounded corners or bowed walls, flexible baseboard trim keeps everything smooth instead of choppy and patched. I’ve fought one too many wavy walls, and using a bend-friendly option saved my sanity.
Possibly handy products:
- Flexible Wood-Look Baseboard Molding: Wrap curved walls seamlessly with this pliable molding that mimics natural wood grain for a seamless finish.
- Construction Adhesive for Trim: Ensure your flexible trim stays perfectly in place on curved surfaces with a strong, reliable bonding adhesive.
- Fine Grit Sanding Sponge: Prepare your walls and smooth out any rough edges on your trim for professional, clean-looking results.
Make Built-In Baseboard Cable Channels
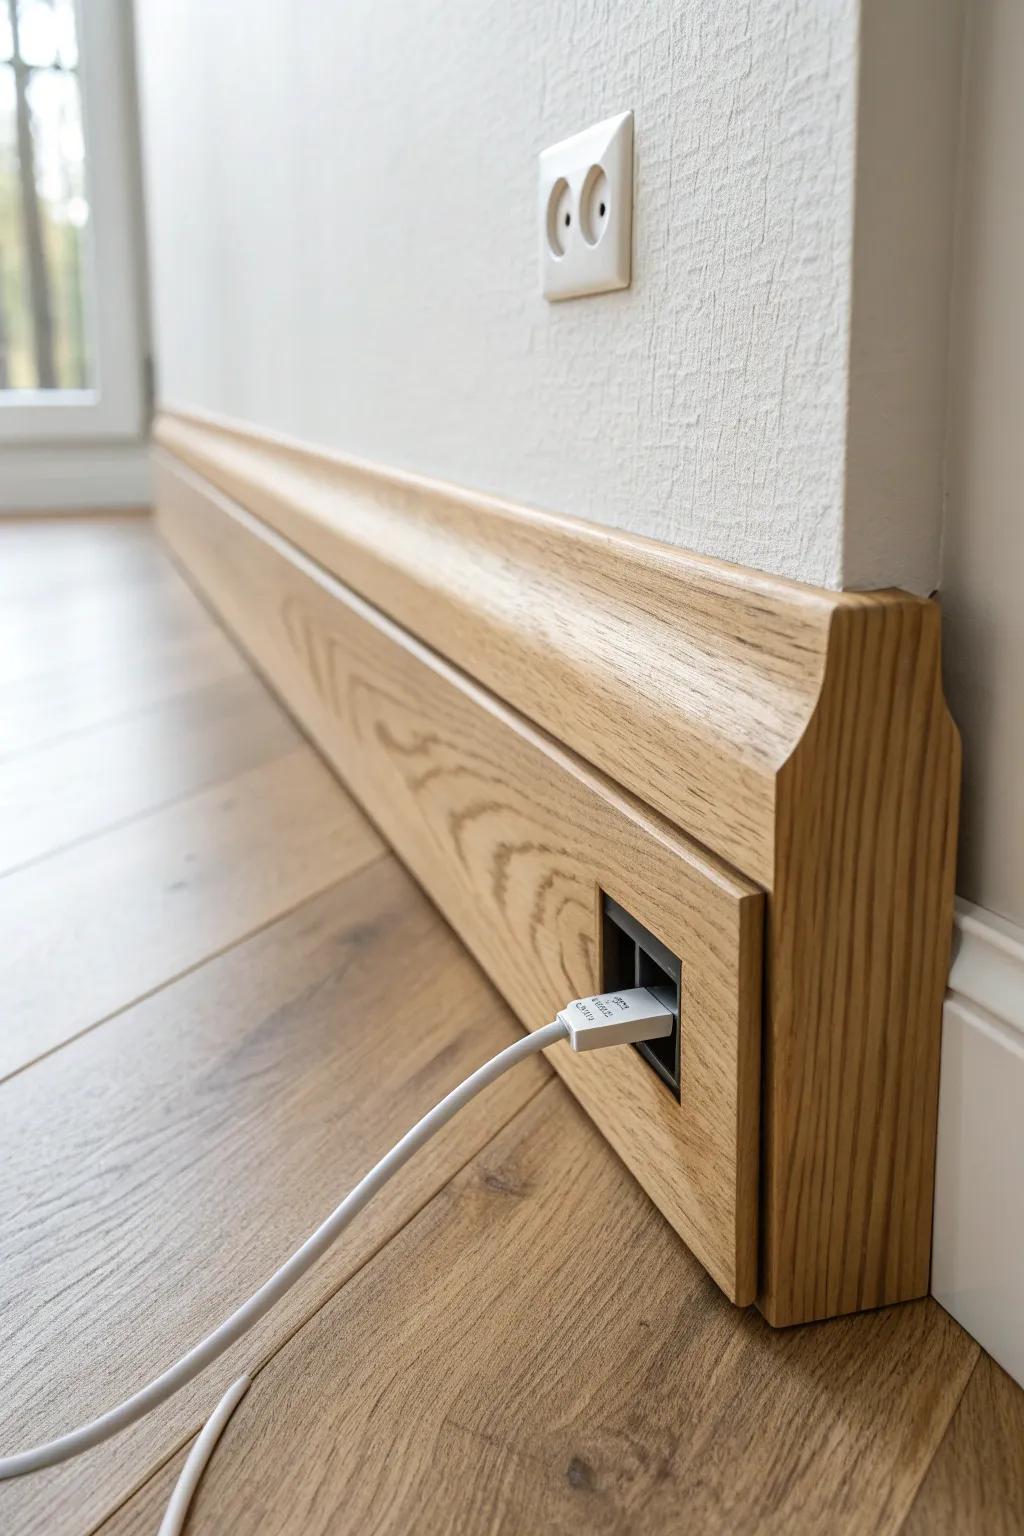
In a workspace or media room, I love baseboards that hide cords with a baseboard cable channel behind a removable face. I built a simple version once and it was so satisfying to see the floor line clean and clutter-free.
May just do the trick:
- Solid Oak or Hardwood Boards: Choose high-quality hardwood planks to construct the custom baseboard frame and the removable front face panel.
- Recessed Media Wall Plates: Install recessed connection points inside your baseboard channel to keep plugs flush and prevent protruding cables.
- Heavy Duty Magnetic Catches: Use strong magnetic latches to make the front panel easily removable for quick access to your wiring.
Add a Tiny Inlay Strip for Wow Factor
If you like subtle fancy, route a shallow groove and add a wood inlay strip (even a contrasting species) along the top edge of the baseboard. I tested this on a short run first, and it looked like heirloom-level trim without feeling flashy.
A few relevant products:
- Palm Router: Create precise grooves along your baseboards effortlessly by using a compact tool designed for detailed edging work.
- Straight Router Bit Set: Achieve the perfect channel width for your inlay with these durable bits suitable for shallow, clean cuts.
- Wood Inlay Banding: Instantly elevate your trim’s appearance by gluing these decorative wooden strips into your routed grooves for contrast.


