If your headphones keep sliding around your desk or getting crushed in a drawer, a simple DIY headphone stand is one of those small builds that instantly makes your space feel calmer. I’ve made a bunch of these over the years from scraps and salvaged wood, and they’re the perfect excuse to show off beautiful grain while protecting your headband.
Minimalist T-Stand With Dowel Bar

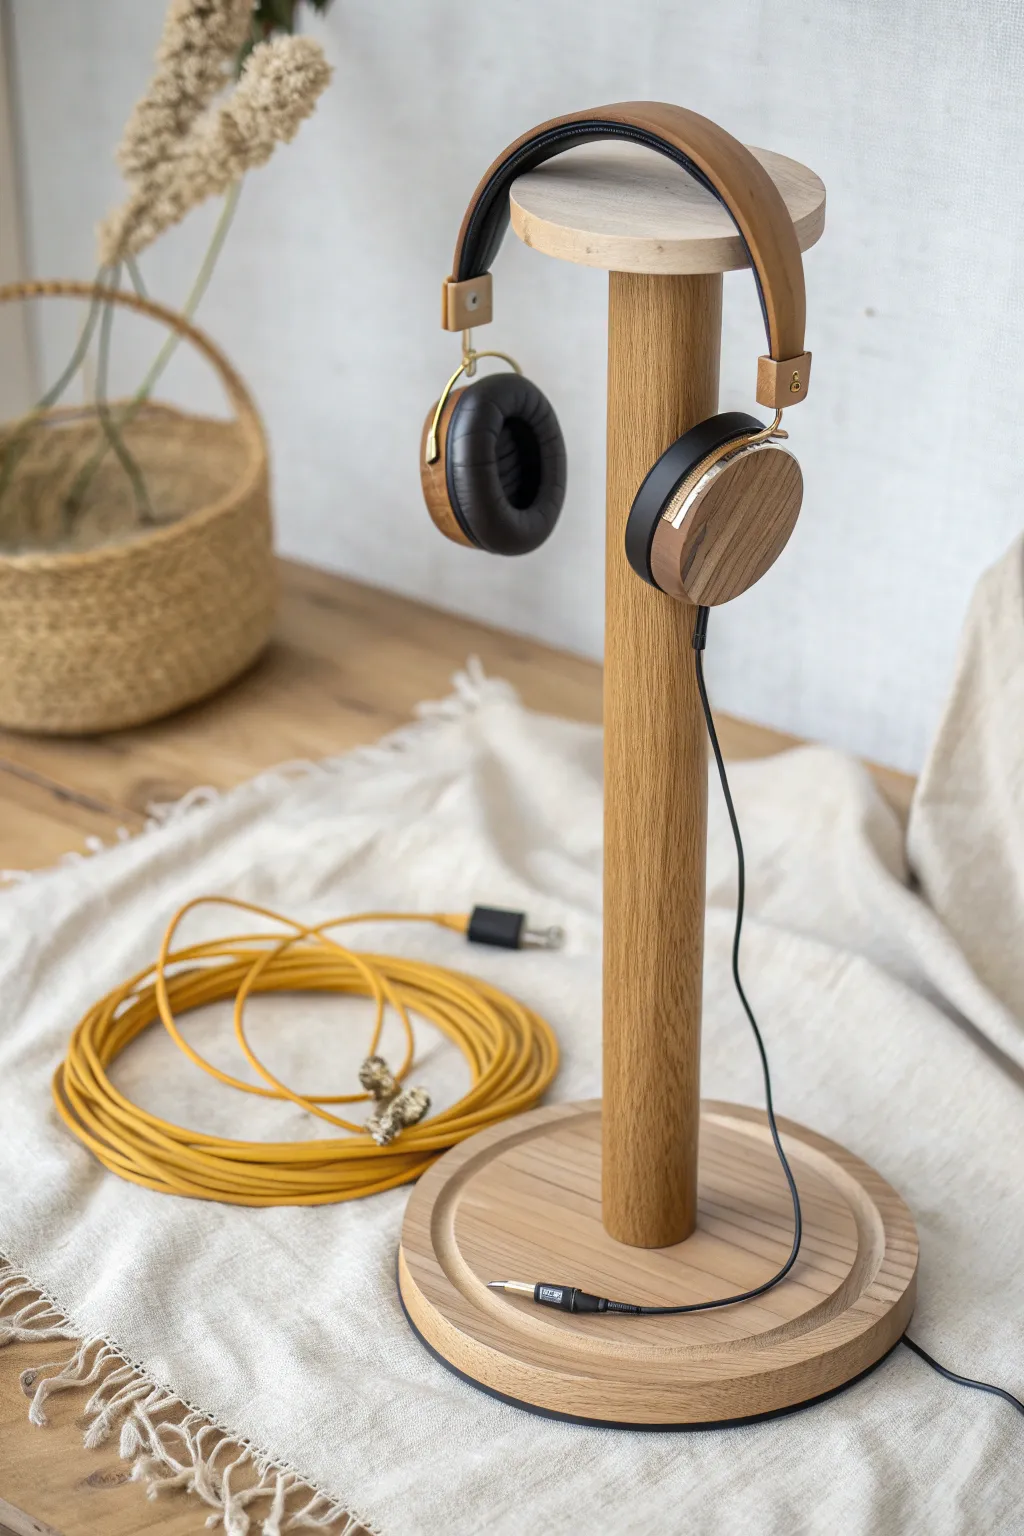
When I need a quick win, I build a clean T-stand with a square post and a smooth wood dowel across the top. I always soften the edges with sandpaper so the headband doesn’t get those annoying pressure dents.
Possibly helpful picks:
- Square Oak Dowel Rod: Use strong hardwood square dowels for the main support post to create a stable and durable frame.
- Assorted Grit Sandpaper: Smooth out rough edges and corners with varying grits to protect your headphones from unwanted scratches.
- Wood Glue: Securely bond your wooden pieces together without screws for a seamless, minimalist look that lasts.


Industrial Pipe and Wood Base Stand

Mixing a wood base with simple metal pipe parts gives that cozy-industrial vibe without much fuss. I’ve built a few of these, and the weight of the pipe makes the stand feel rock-solid even with heavier over-ear headphones.
A few things you might like:
- Black Iron Pipe Flange: Secure your stand’s vertical pipe to the wooden base firmly with this essential connector for stability.
- Straight Black Iron Pipe Nipple: Choose the perfect height for your headphones by selecting durable, pre-threaded iron pipes for the main stem.
- Unfinished Hardwood Block: Create a heavy, premium foundation for your project by sanding and staining a solid block of wood.



Plywood Silhouette “Head” Stand

Cutting a playful head silhouette from plywood turns a basic headphone stand into a real conversation piece. I did one from scrap ply and sealed the edges, and it instantly looked like a boutique display prop.
A few suggestions:
- Birch Plywood Sheets: Start your project right by choosing durable, high-quality wood sheets perfect for cutting detailed shapes and silhouettes.
- Jigsaw or Scroll Saw: Achieve the precise curves of a head silhouette easily with a tool designed for intricate wood cutting.
- Clear Wood Finish: Protect your finished stand and highlight the natural wood grain by applying a smooth, durable clear coat.


Double-Decker Two-Headphone Stand

If you’ve got two pairs, I’ve had great results stacking two hang points into one dual headphone stand—either a taller post with two bars or a wide base with two uprights. The first one I made was for sharing a desk, and it saved us from the “where’d you put mine?” routine.
Useful items to consider:
- Walnut Wood Board for Base: Create a stable, elegant foundation for your dual stand project using this durable, high-quality hardwood material.
- Solid Wooden Dowel Rods: Build the sturdy vertical post needed to hold multiple heavy headsets with these reliable wooden supports.
- Wood Glue & Clamp Set: Ensure your custom double-decker stand stays permanently secure with professional-grade adhesive and essential clamping tools.
Rotating Stand With Accessory Ring

I once built a rotating headphone stand using a lazy-susan style bearing so I could spin it and grab what I needed fast. Adding a little accessory ring for cables made it feel like a tiny organizer tower.
These products might help:
- Lazy Susan Turntable Bearing: Transform your stationary wooden base into a spinning organizer by attaching this smooth-gliding bearing underneath.
- Round Wooden Tray or Plaque: Use this as a sturdy base to hold your extra audio cables, adapters, and accessories neatly.
- Wooden Dowel Rod: Create the central support pillar for your headphones by cutting this durable hardwood rod to size.