
Baseboards are one of those quiet farmhouse details that can instantly make a room feel finished and loved. I’ve tried a lot of trim styles in my own projects, and these farmhouse baseboard trim ideas are the ones that consistently give that cozy, clean-lined look.
Soft Neutral Painted Baseboards

If bright white feels too sharp, a soft neutral baseboard (warm cream or gentle greige) gives a calmer farmhouse vibe. I painted a set this way in a guest room once, and it made the whole space feel quieter and cozier.
Maybe worth checking out:
- Warm Neutral Interior Paint: Transform your room’s ambiance with a creamy, warm neutral paint that creates a cozy, inviting farmhouse atmosphere.
- Angled Sash Paint Brush: Ensure crisp, professional-looking lines on your baseboards with a quality angled brush designed for precise trim work.
- Primed Baseboard Molding: Start your project right with ready-to-paint molding that easily accepts your chosen soft neutral color palette.


Simple Flat Stock Boards
My go-to farmhouse baseboard trim is plain flat stock (think simple 1x boards) because the clean edge looks intentional without trying too hard. I’ve used this in bedrooms and hallways, and it always makes the walls feel crisp and grounded.
Products that could assist:
- Oak Wood Baseboard Molding: Upgrade your home’s aesthetic with solid wood trim that offers a sturdy, natural look perfect for staining.
- Baseboard Molding Cap: Add a refined finish to simple flat stock boards by installing this decorative cap for an elegant transition.
- Quarter Round Shoe Molding: Create a seamless gap seal between your new baseboards and flooring for a professional, polished appearance.

Taller Baseboards for Instant Charm
When I want that upgraded farmhouse feel, I go with tall baseboards—they make even basic walls look more custom. I installed taller trim in a living room makeover once, and the whole space felt “built-in” overnight.
Consider these options:
- Tall Primed Baseboard Molding: Upgrade your room immediately by installing these substantial, paint-ready moldings for that classic, custom-built farmhouse appearance.
- Baseboard Molding Puller Tool: Remove your existing short trim safely without damaging your drywall using this essential, specialized leverage tool.
- Finish Nailer Kit: Secure your new, taller baseboards efficiently and professionally with this easy-to-use power tool for seamless installation.


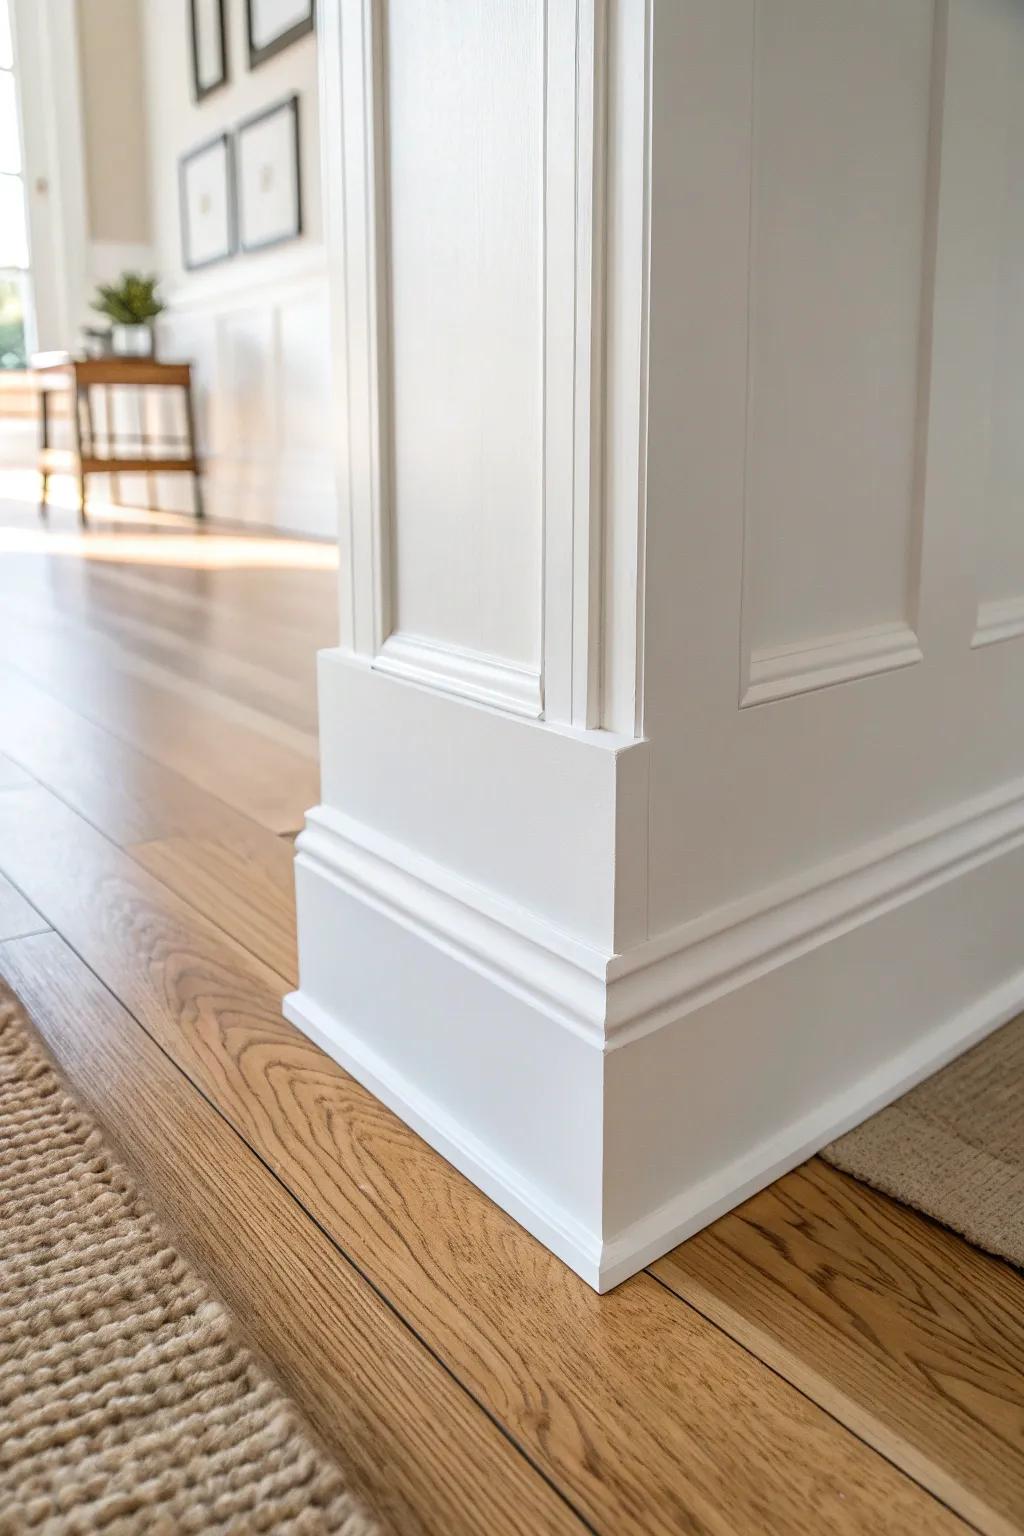
Layered Baseboard With a Cap Strip
A super classic trick I use is a wide flat board topped with a thinner cap strip to create a layered farmhouse baseboard. It’s an easy build that reads high-end, especially when the layers cast a little shadow line.
A few helpful options:
- Primed MDF Baseboard Molding (6-Inch): Start your layered look with a wide, flat primed board that serves as the sturdy foundation for your custom trim.
- Base Cap Molding: Add this decorative piece on top of your flat baseboard to create an elegant shadow line and finished edge.
- Brad Nailer Kit: Secure your layered trim pieces invisibly and efficiently to ensure tight seams and a professional-looking installation.
Stepped Trim for Subtle Detail
If you want “simple but not boring,” I’ve had great luck with stepped baseboard trim that adds just a hint of profile. I used it in a dining nook once, and it gave the room depth without drifting into fussy territory.
You might give these a try:
- Solid Oak Baseboard Molding: Choose unfinished solid oak boards to create a durable, custom stepped look that perfectly matches your farmhouse interior.
- Decorative Shoe Molding: Add this essential bottom layer to your baseboards to hide gaps and create that classic, finished stepped profile.
- Wood Stain and Sealer: Highlight the natural grain of your wood trim while protecting it from scuffs with a high-quality staircase finish.
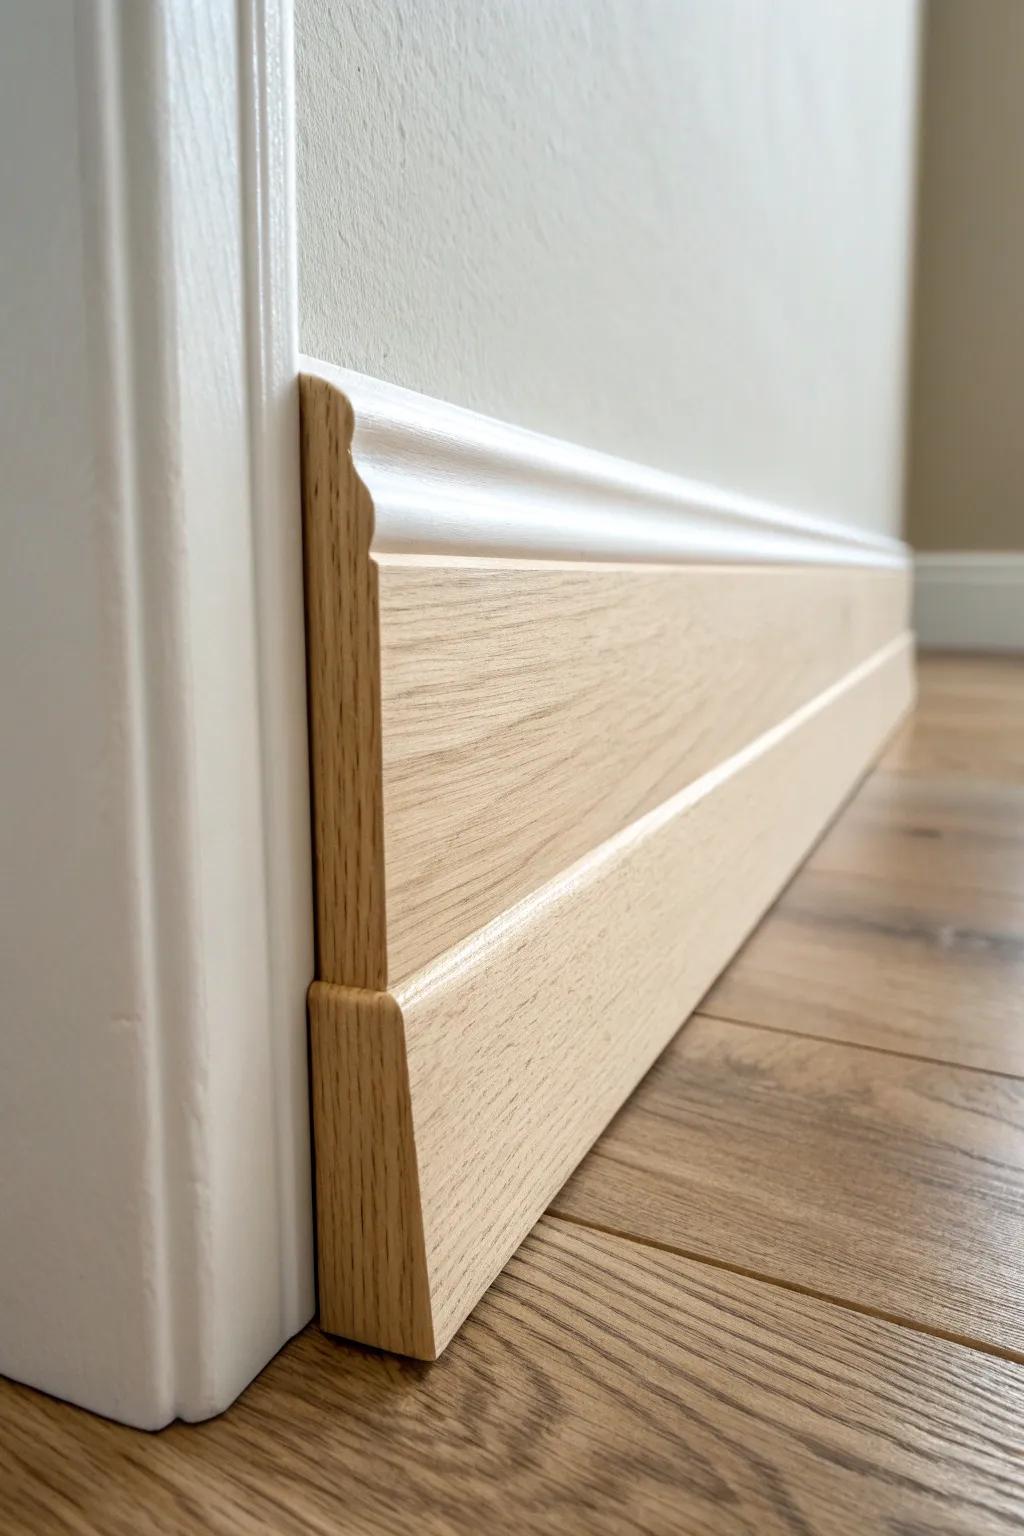
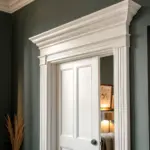
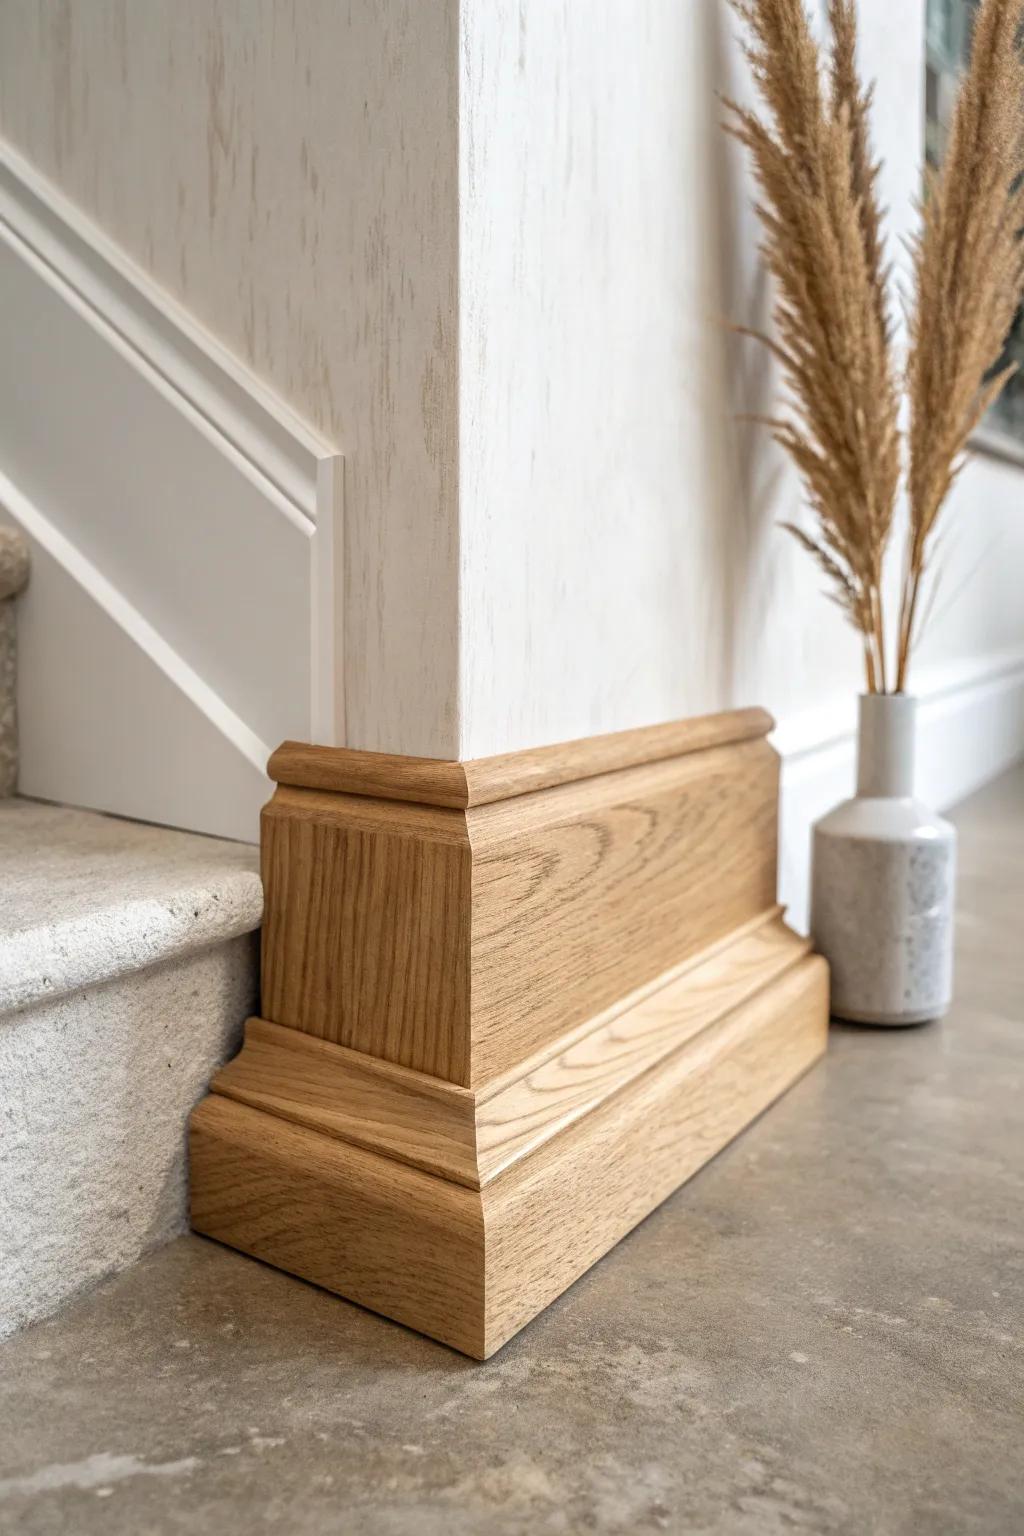
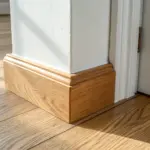
Plinth Blocks at Door Casings
Adding plinth blocks where the baseboard meets the door trim is one of my favorite farmhouse upgrades because it looks like real craftsmanship. I started doing this after restoring an older home, and now I miss it anytime it’s not there.
These products might be useful:
- Unfinished Wood Plinth Blocks: Add instant architectural depth to your doorways by installing these classic transition pieces between trim and baseboard.
- Natural Oak Baseboard Molding: Replicate the warm, natural split-design look from the photo with solid oak boards ready for custom finishing.
- Fluted Door Casing: Pair your plinth blocks with vertical fluted casing to achieve that authentic, high-end traditional farmhouse aesthetic.
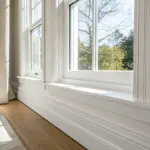
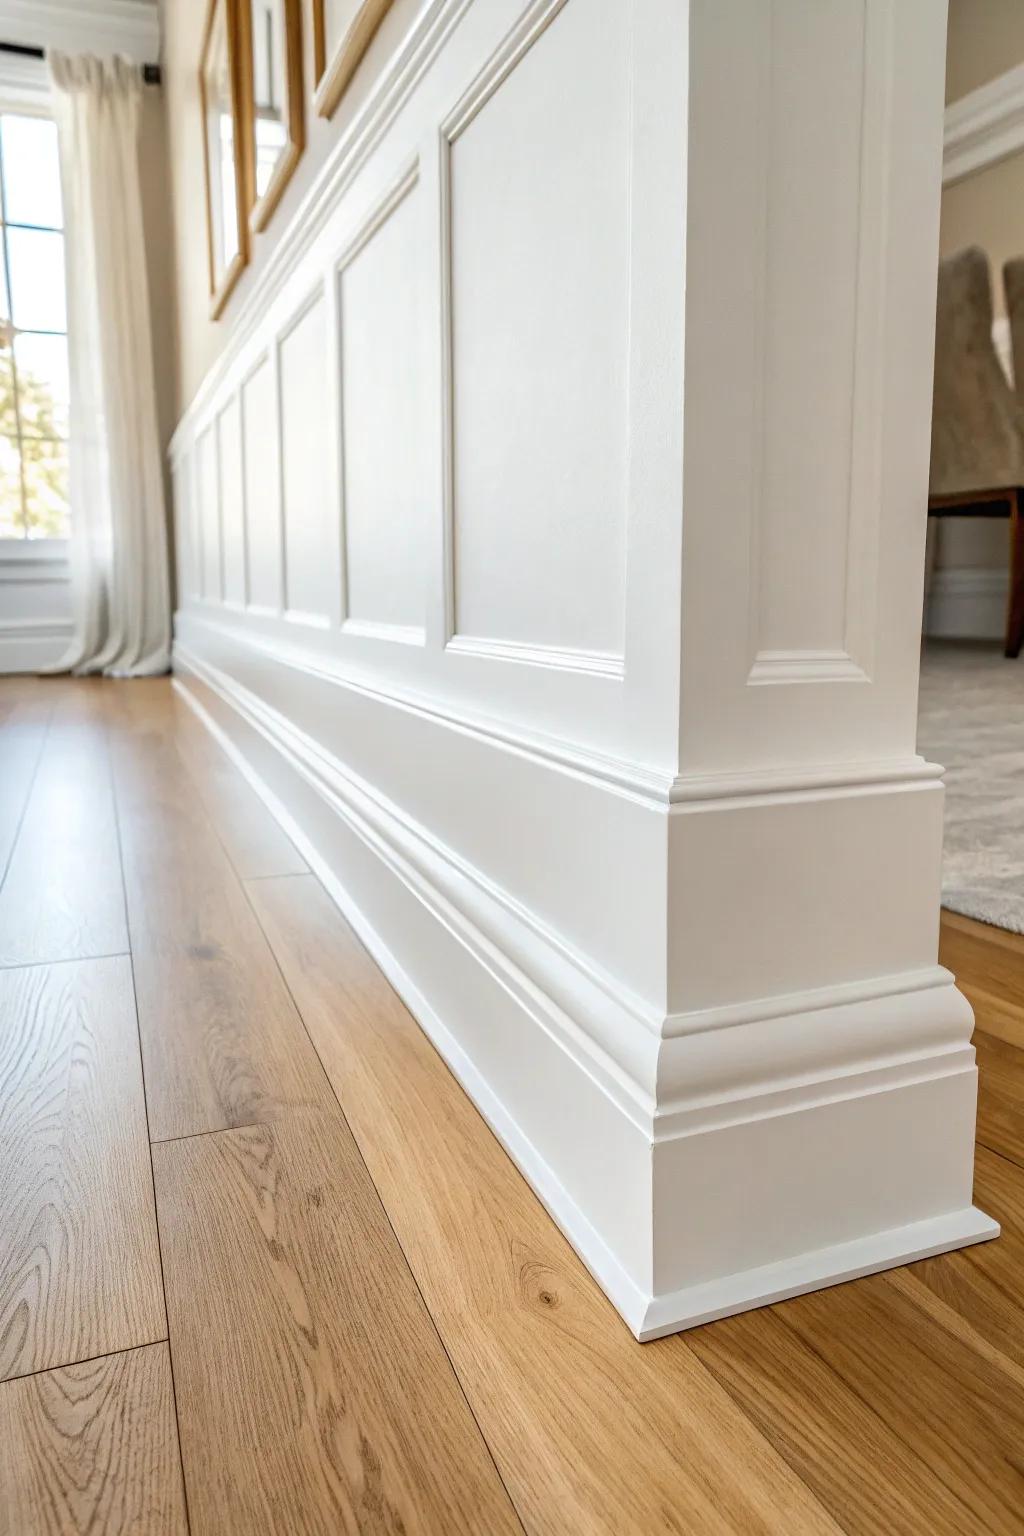
Crisp White Contrast Trim

For that clean farmhouse punch, I love white baseboard trim against warmer wall colors—it frames the room like a good matte around a photo. I’ve done this in narrow hallways, and it instantly made them feel brighter and more polished.
Useful items to consider:
- Primed MDF Baseboard Moulding: Refresh your home’s perimeter with these ready-to-paint baseboards that create a clean, architectural finish for any room.
- Quarter Round Shoe Moulding: Perfectly bridge the gap between your floor and baseboards with this essential finishing touch for a polished look.
- Semi-Gloss White Trim Paint: Achieve that crisp, durable contrast against warm walls using this washable paint specifically formulated for high-traffic trim areas.
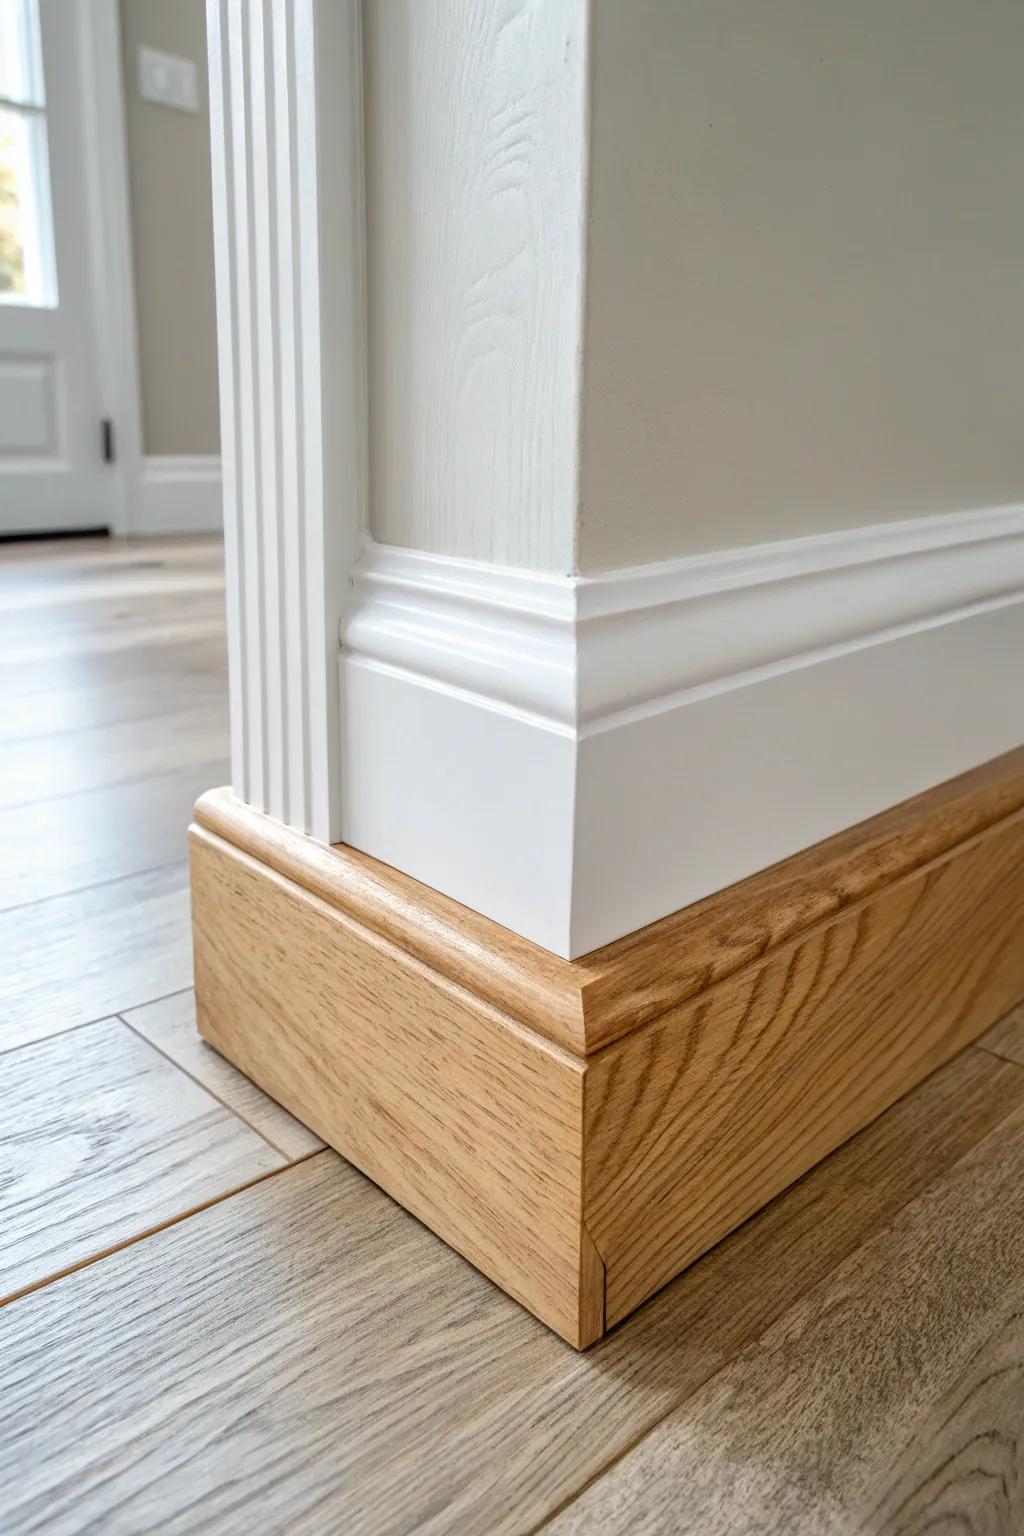
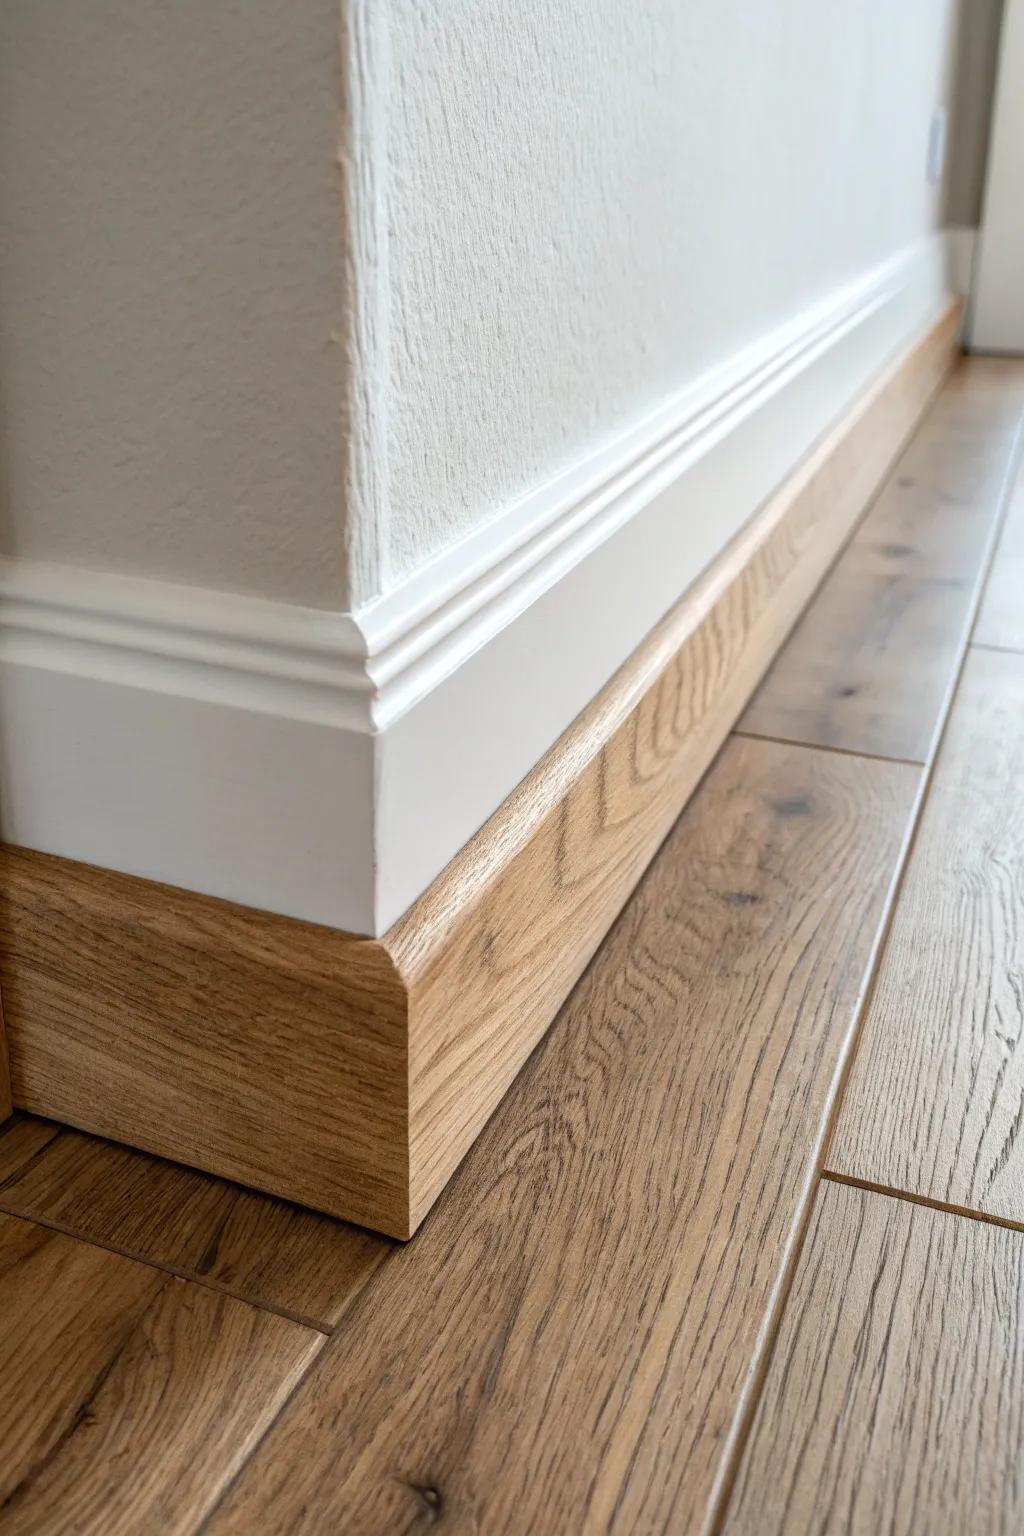
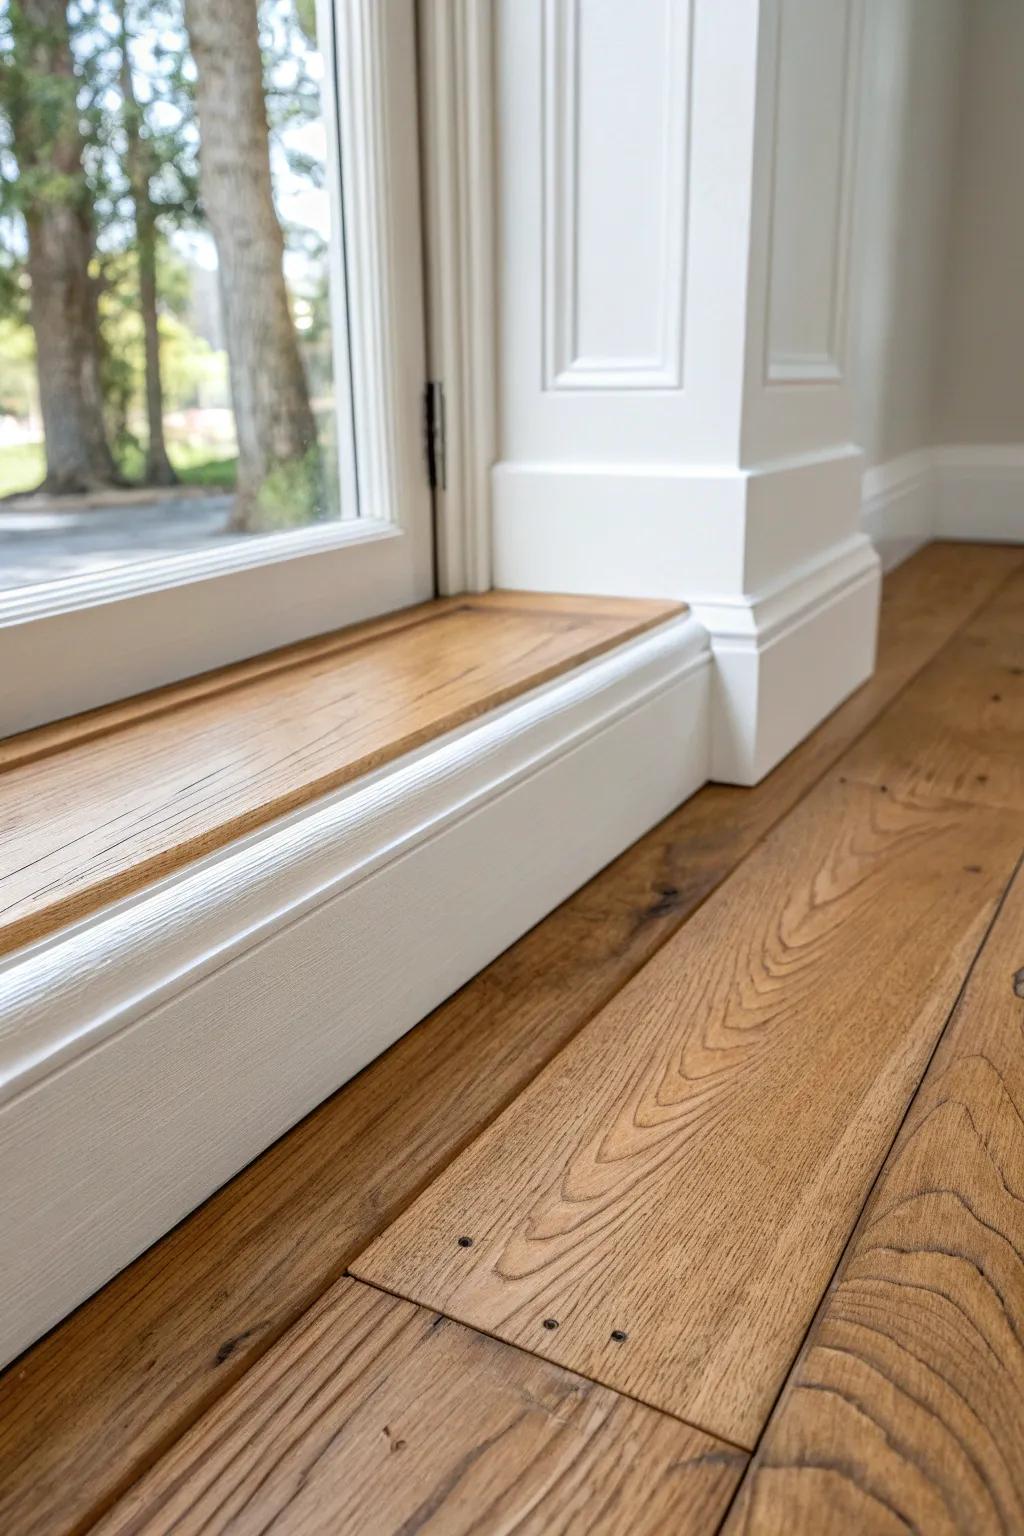
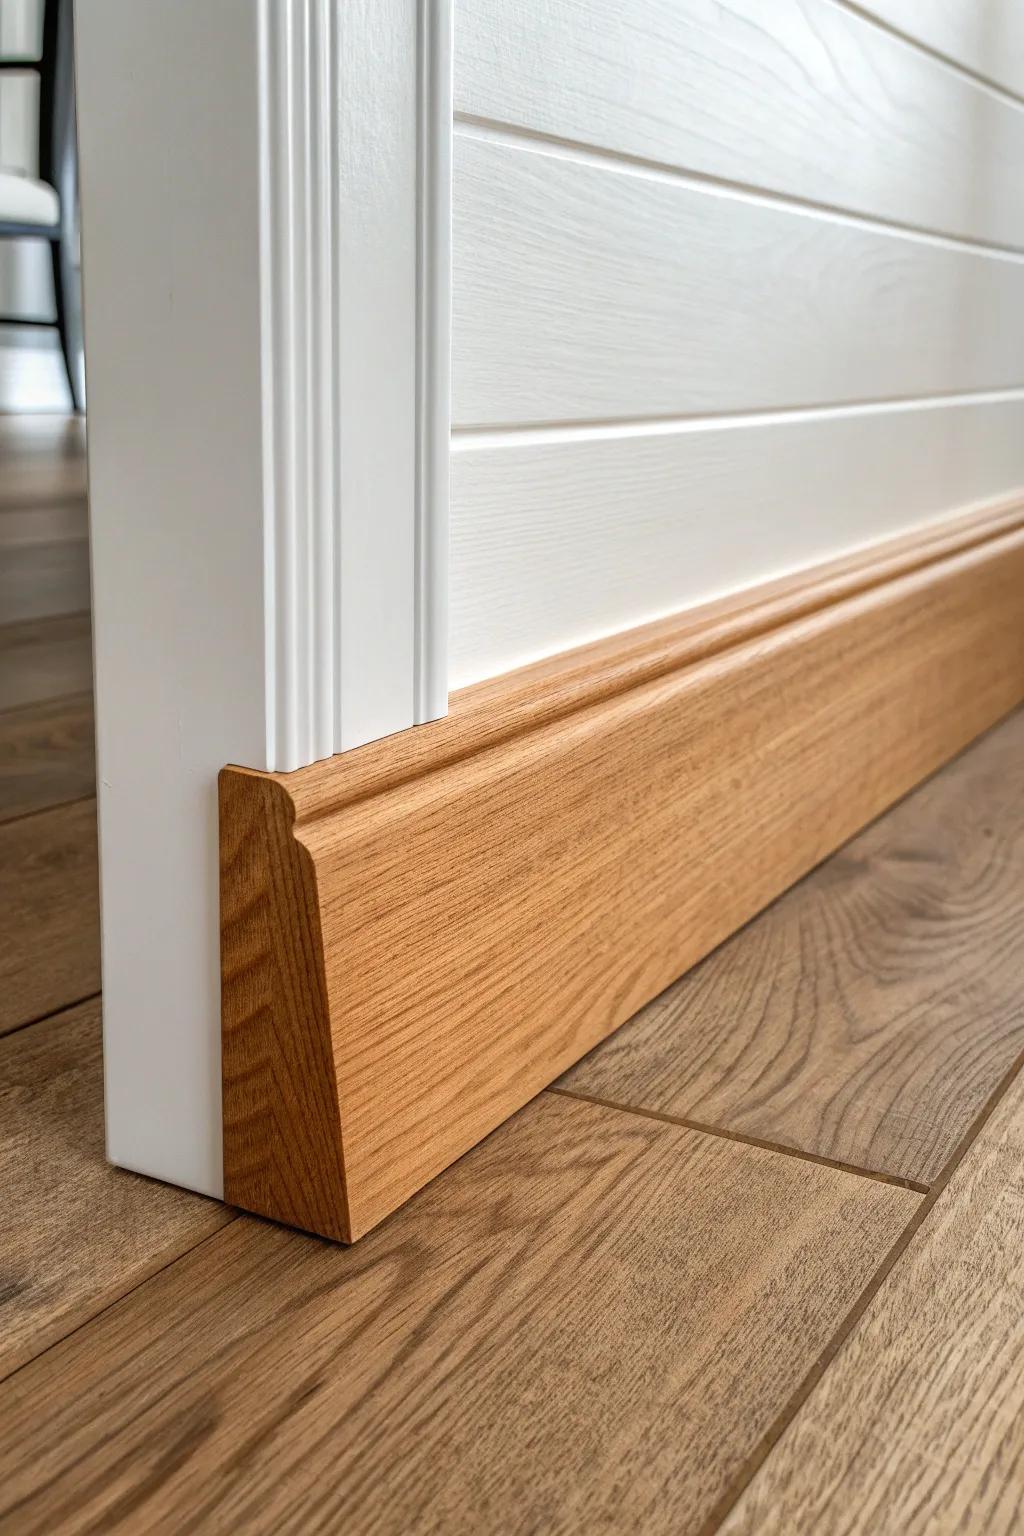
Natural Wood Baseboards
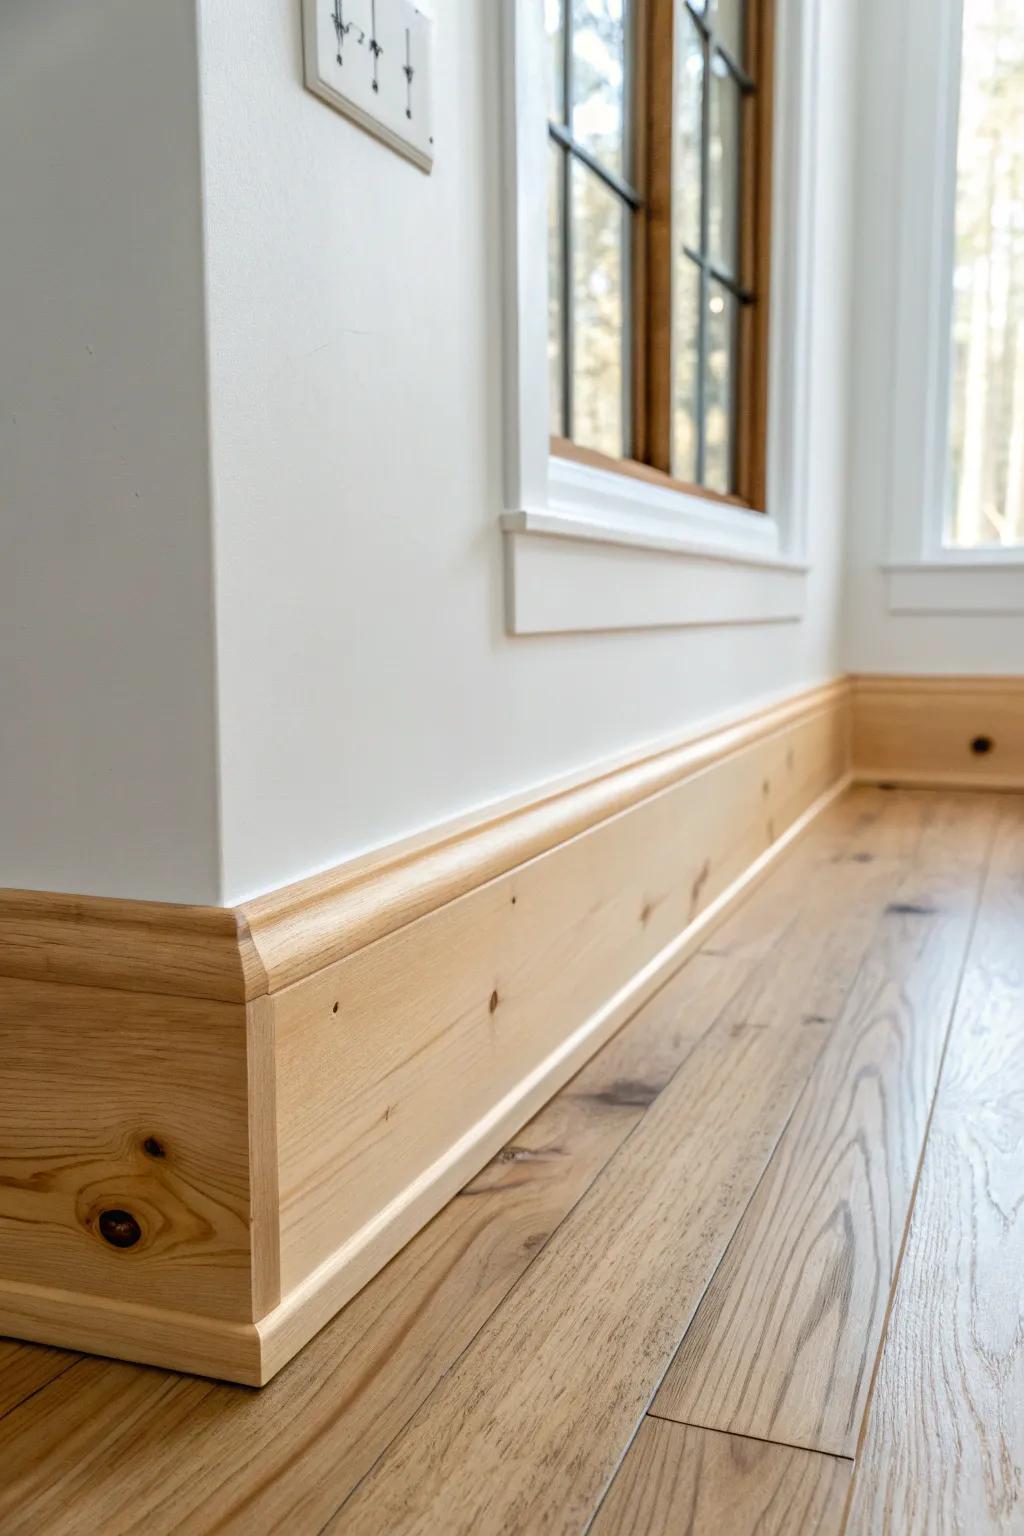
Leaving baseboards as natural wood is such a good move when you want rustic warmth without extra decor. I’ve clear-finished knotty boards for this, and the grain and little imperfections were basically instant character.
You might like:
- Clear Water-Based Polyurethane: Protect your raw wood trim with a clear coat that enhances natural grain without darkening the color.
- Brad Nailer Kit: Secure your new baseboards efficiently and create clean, professional-looking joints with this essential woodworking tool.
- Wood Filler for Knotty Holes: Fill unsightly gaps or fastener holes seamlessly to maintain that rustic look without compromising the finish.
Reclaimed Wood Baseboard Trim
Reclaimed wood baseboards bring that real farmhouse history—saw marks, nail holes, all of it. I’ve milled salvaged boards in my shop for trim, and every room ends up with its own one-of-a-kind story line at the floor.
Some handy options:
- Clear satin finish wood polyurethane: Protect your reclaimed boards while enhancing their natural grain and character with a durable, low-sheen finish.
- Brad nailer kit: Secure your unique farmhouse baseboards efficiently and cleanly without damaging the delicate wood surface.
- Wood filler for nail holes: Seamlessly blend installation marks with your wood’s natural tone for a professional, finished look.
Shoe Molding to Clean Up Gaps
When floors are wavy (older houses, I’m looking at you), I add shoe molding or a slim quarter round to make the baseboard look perfectly fitted. I’ve used this trick after installing reclaimed flooring, and it saved me from obsessing over tiny gaps.
A few relevant products:
- Primed White Shoe Molding: Conceal gaps between your new flooring and baseboards easily with this simple, paint-ready finishing trim.
- Brad Nailer Kit: Secure your new molding cleanly and efficiently without splitting the delicate wood trim pieces.
- Flexible Caulk for Molding: Seal the top edge of your molding for a professional, seamless look that resists cracking.
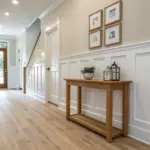
Baseboards That Pair With Shiplap
A sturdy farmhouse baseboard is the best “bottom frame” for shiplap because it visually holds all those lines in place. I’ve found that flat stock baseboards keep the wall texture feeling clean instead of busy.
A few things you might like:
- Oak Baseboard Molding: Add warmth to your shiplap walls with durable oak trim that provides a sturdy, classic foundation.
- Wood Finish Stain: Achieve the perfect golden farmhouse tone by staining your raw wood baseboards to match your flooring.
- Brad Nailer Kit: Secure your new baseboards cleanly and efficiently for a professional-looking installation without visible hammer marks.
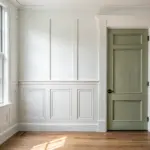
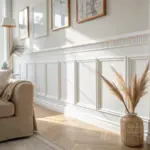
Beadboard and Wainscoting Transitions
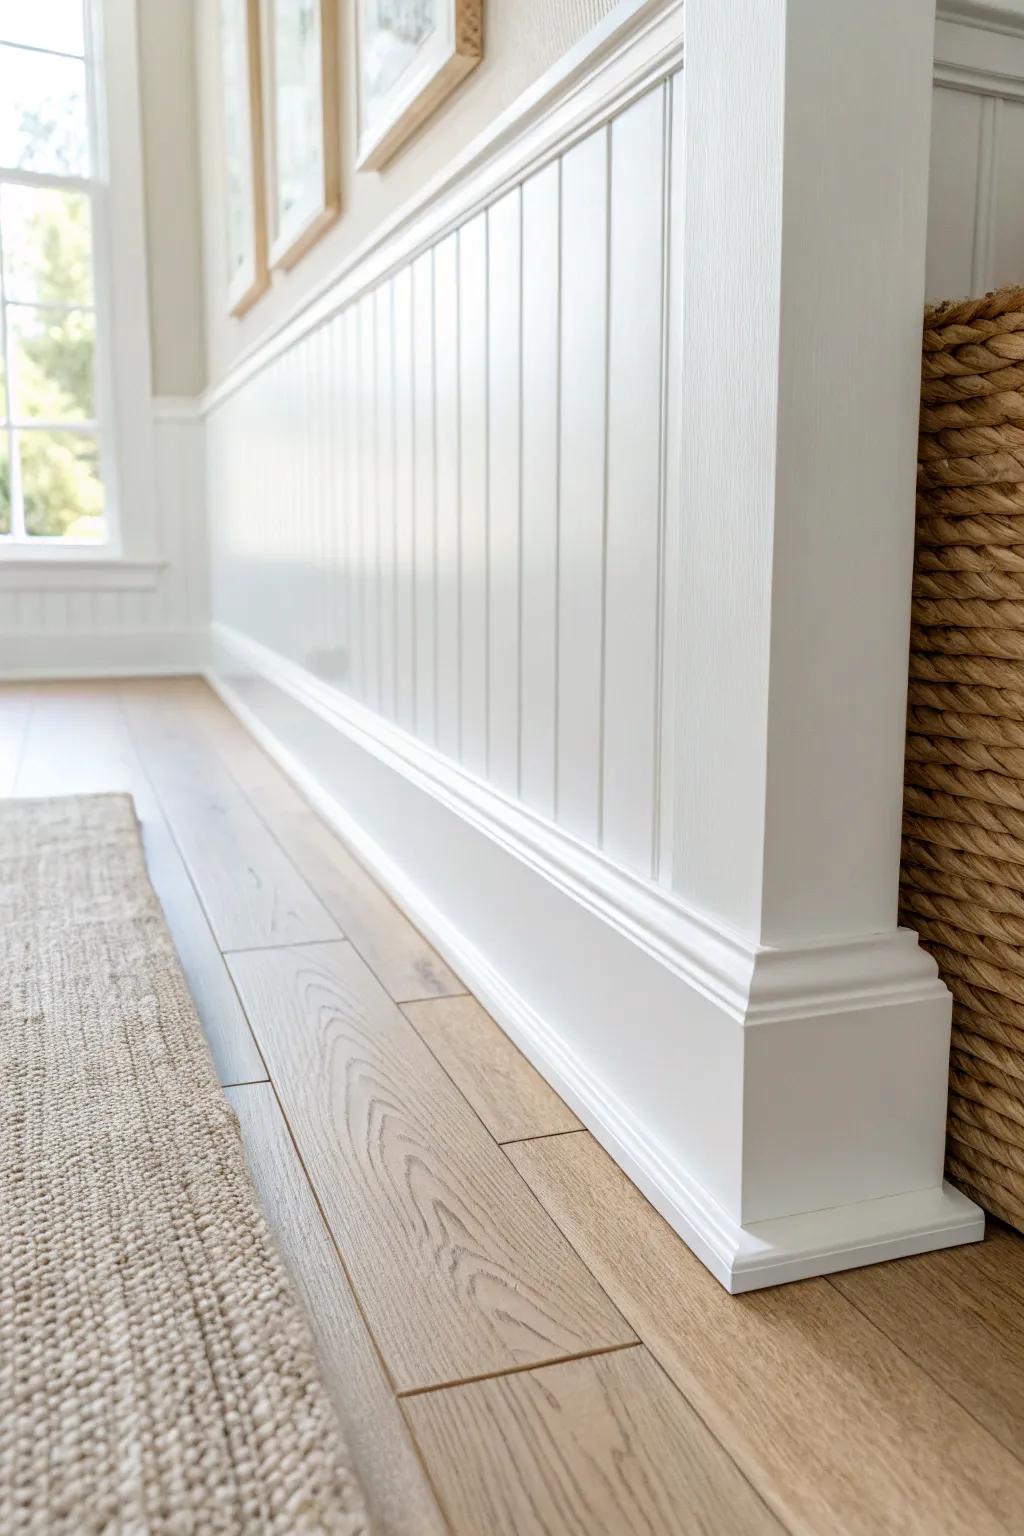
If you’re using beadboard or wainscoting, I like baseboards with a simple face so the wall detail stays the star. I’ve finished mudroom paneling this way, and it gave the whole space that tidy, hardworking farmhouse look.
Some ideas to consider:
- Primed White Beadboard Paneling Kit: Create that classic farmhouse look instantly by adding durable, ready-to-paint panels to your mudroom or hallway.
- Simple Flat Profile Baseboard Molding: Choose a clean, minimal baseboard style to ground your wainscoting without competing with the vertical groove details.
- Construction Adhesive & Caulk Gun: Ensure a professional, gap-free installation for your trim work with high-quality adhesive tools for secure mounting.
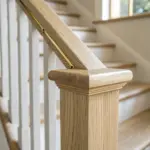
Staircase Skirt Board and Baseboard Match
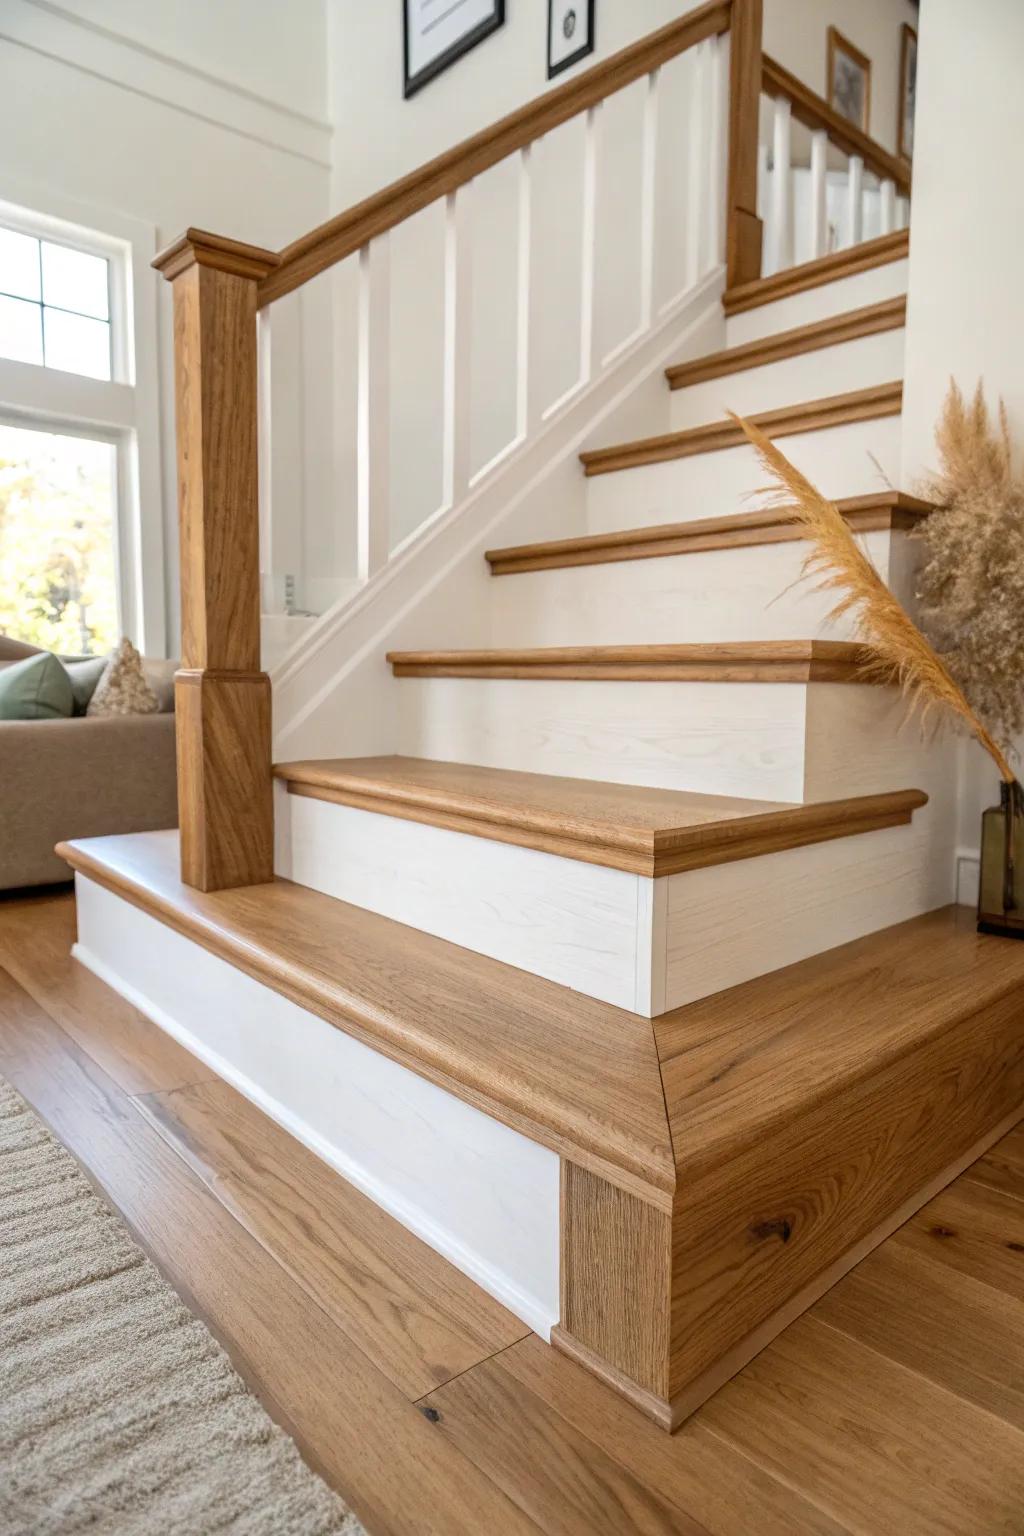
On stairs, I always try to match the baseboard trim to the stair skirt board for a seamless farmhouse flow. I did this on a staircase refresh once, and that continuous line made the whole entry feel more intentional.
Check these products out:
- Primed MDF Baseboard Moulding: Create seamless lines by installing clean, paintable white boards that bridge your stairs and hallway effortlessly.
- Paintable Caulk & Gun Kit: Achieve that professional finish by sealing gaps between your skirt board and baseboards for smooth transitions.
- White Semi-Gloss Trim Paint: Unify your woodwork with durable bright white paint to match the skirt board and baseboards perfectly.
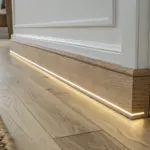
Baseboard Heat Vent Inserts
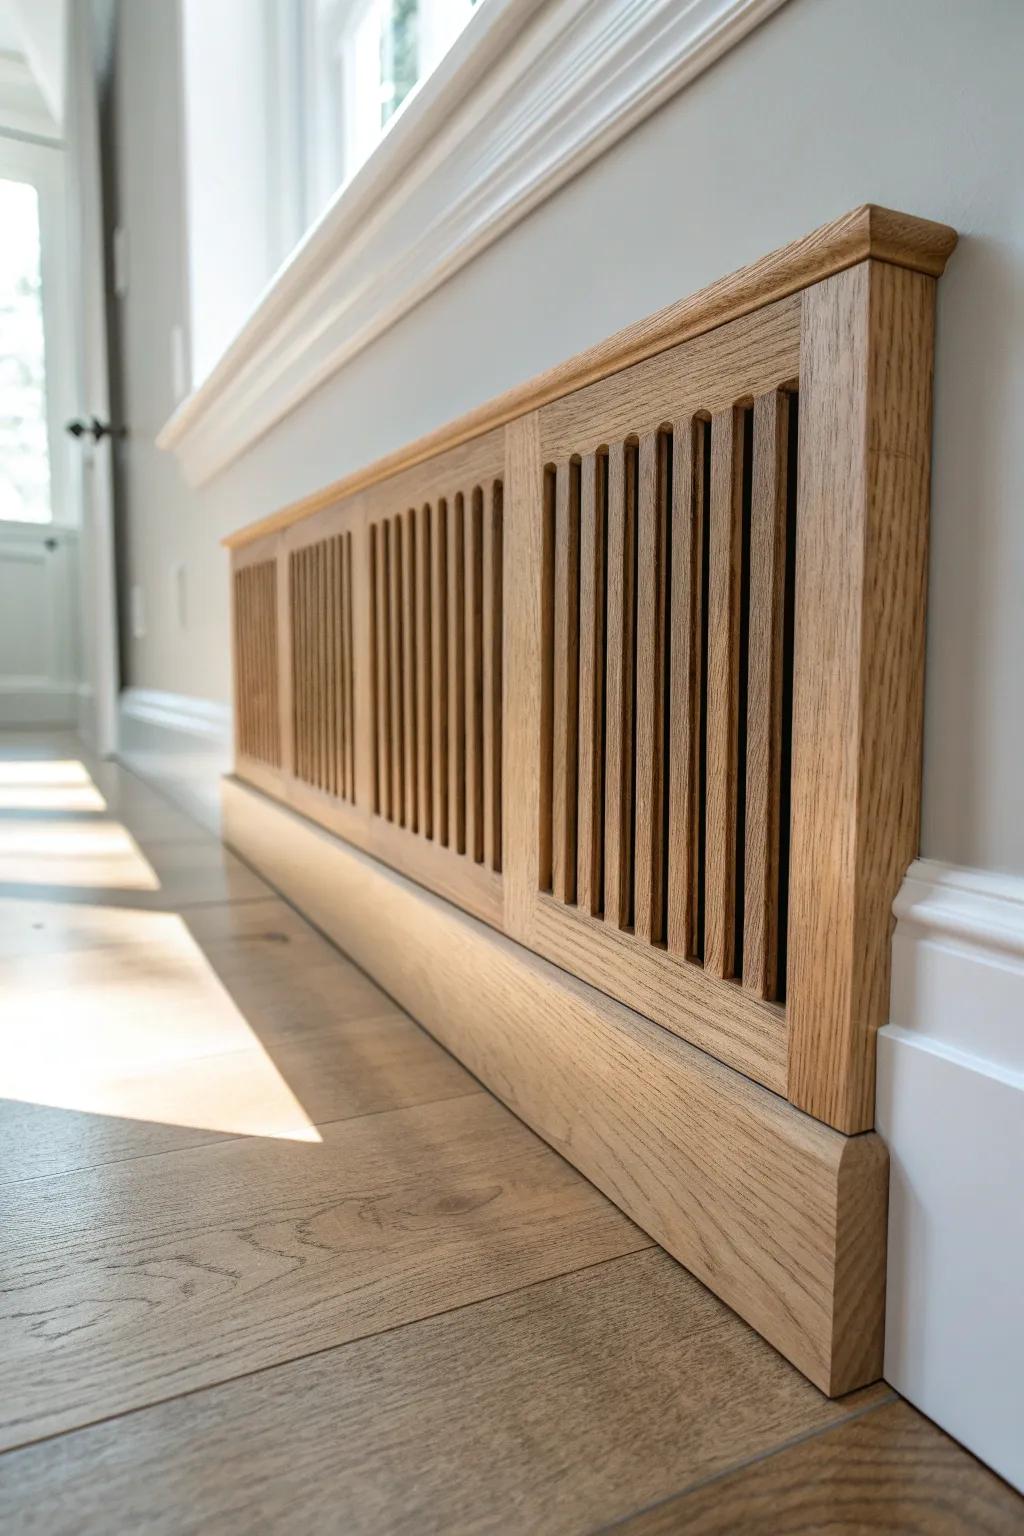
A surprisingly cute farmhouse upgrade is building baseboard vent covers with simple slats so the functional stuff looks planned. I’ve made these out of scrap boards, and they blend in way better than a random vent stuck in the wall.
Check if these fit your needs:
- Slat-Suitable Lumbar Boards: Build your own custom slat design using high-quality hardwood boards to match your existing farmhouse trim.
- Decorative Heat Grille Sheet: Instead of wood slats, consider inserting a decorative metal sheet for a classic, breathable radiator cover finish.
- Wood finishing oil or stain: Enhance the natural grain of your new cover and protect the wood with a quality finishing oil.
Contrasting Inlay or Reveal Line
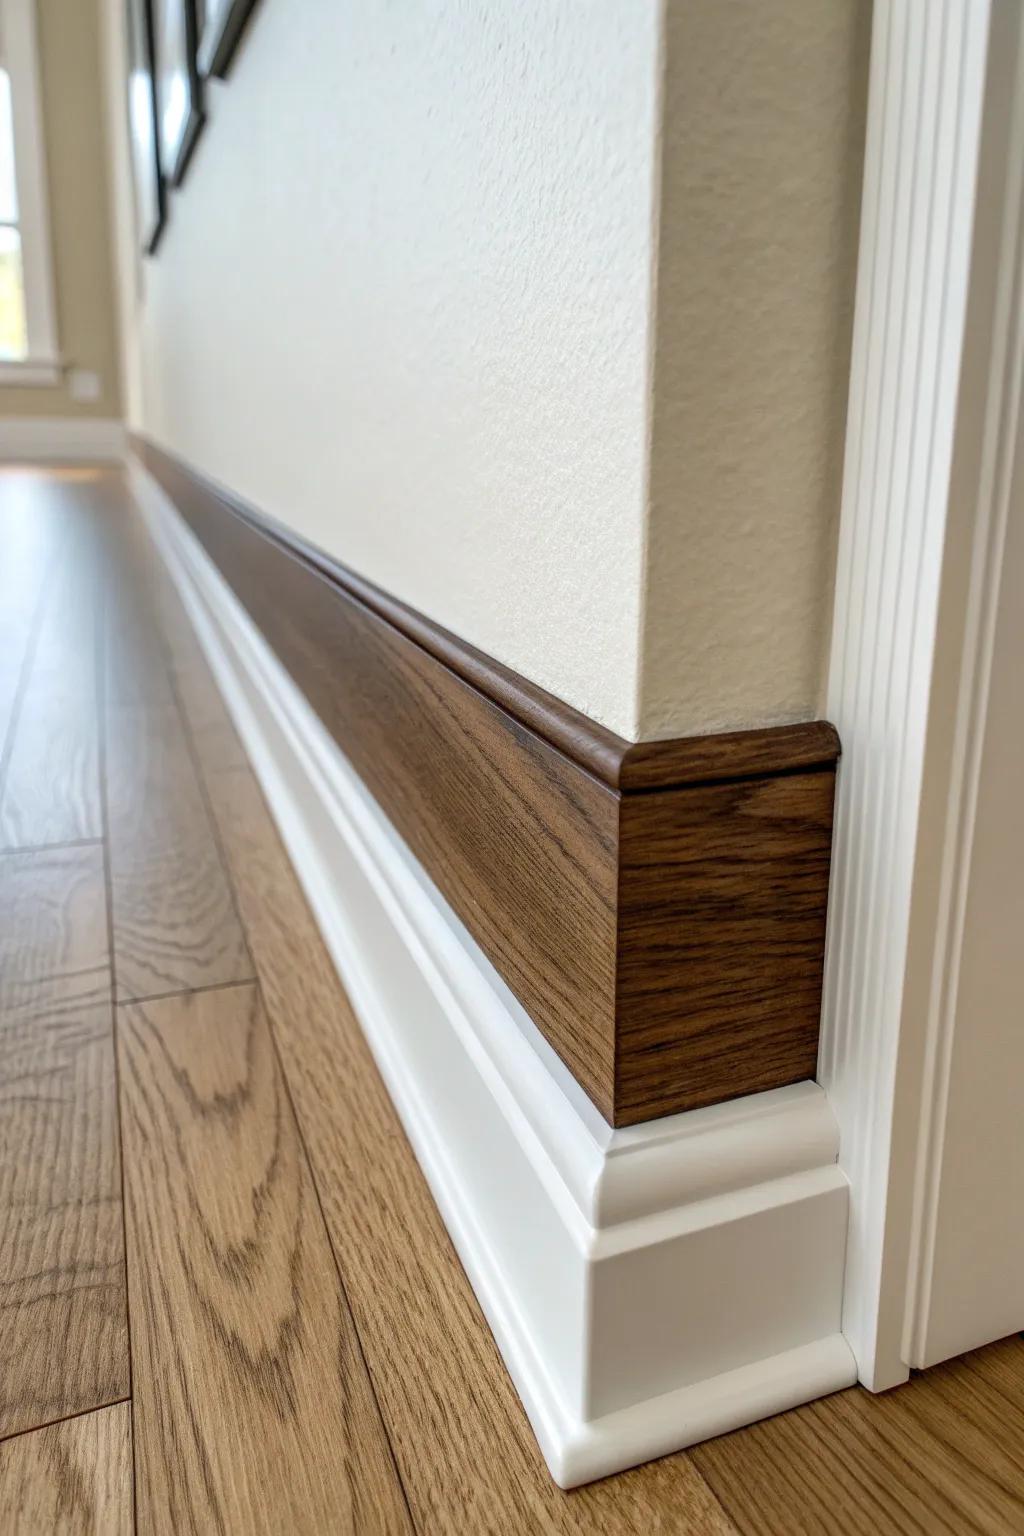
For a wow-factor farmhouse twist, I’ve added a thin contrasting wood inlay (or a narrow reveal gap) along the top edge of flat baseboards. It’s such a small detail, but I’ve seen it make basic trim look custom and artisan-made in the best way.
A few choices to try:
- Dark Wood Veneer Edging or Trim Strip: Create that stunning artisan inlay look easily by adhering thin wood veneer or molding strips to your existing baseboard.
- Wood Stain for Reveal Accent: Achieve the deep, contrasting color seen in the inlay by staining your wood trim pieces with rich, dark tones.
- Brad Nailer for Trim Installation: Secure delicate trim inlays and baseboards precisely without splitting the wood, ensuring a clean, professional finish for your project.


