
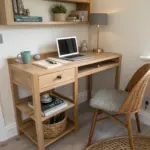
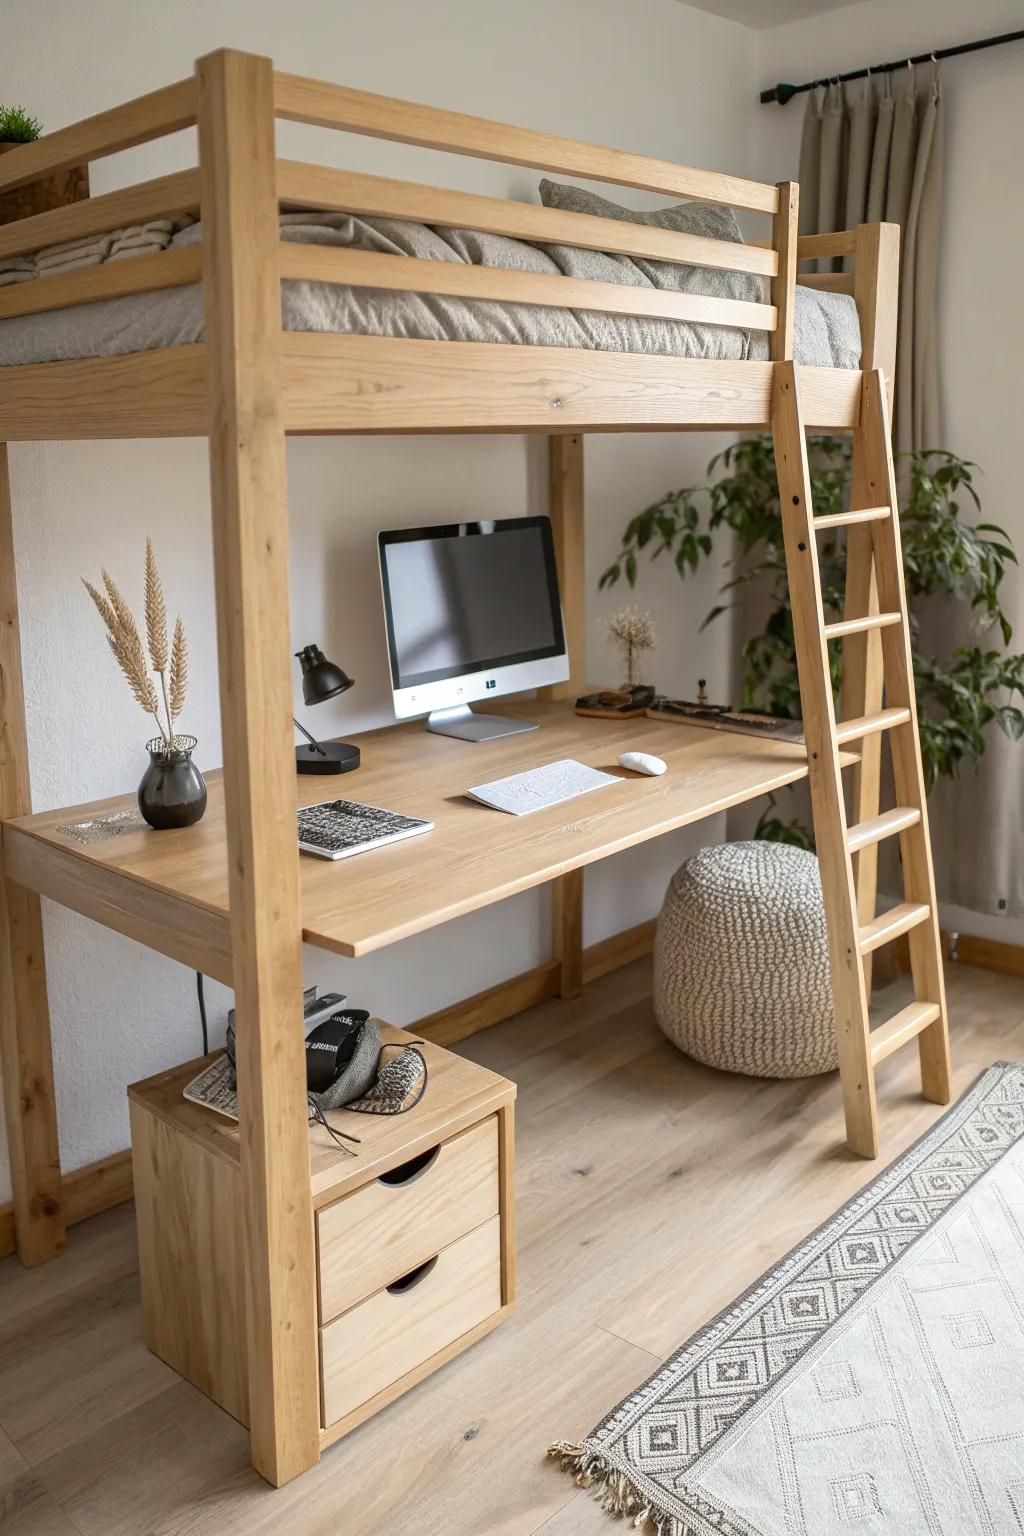
A gaming loft bed is my favorite way to turn a cramped room into a sleep-and-play setup without giving up precious floor space.
L-Shaped Corner Battle Station
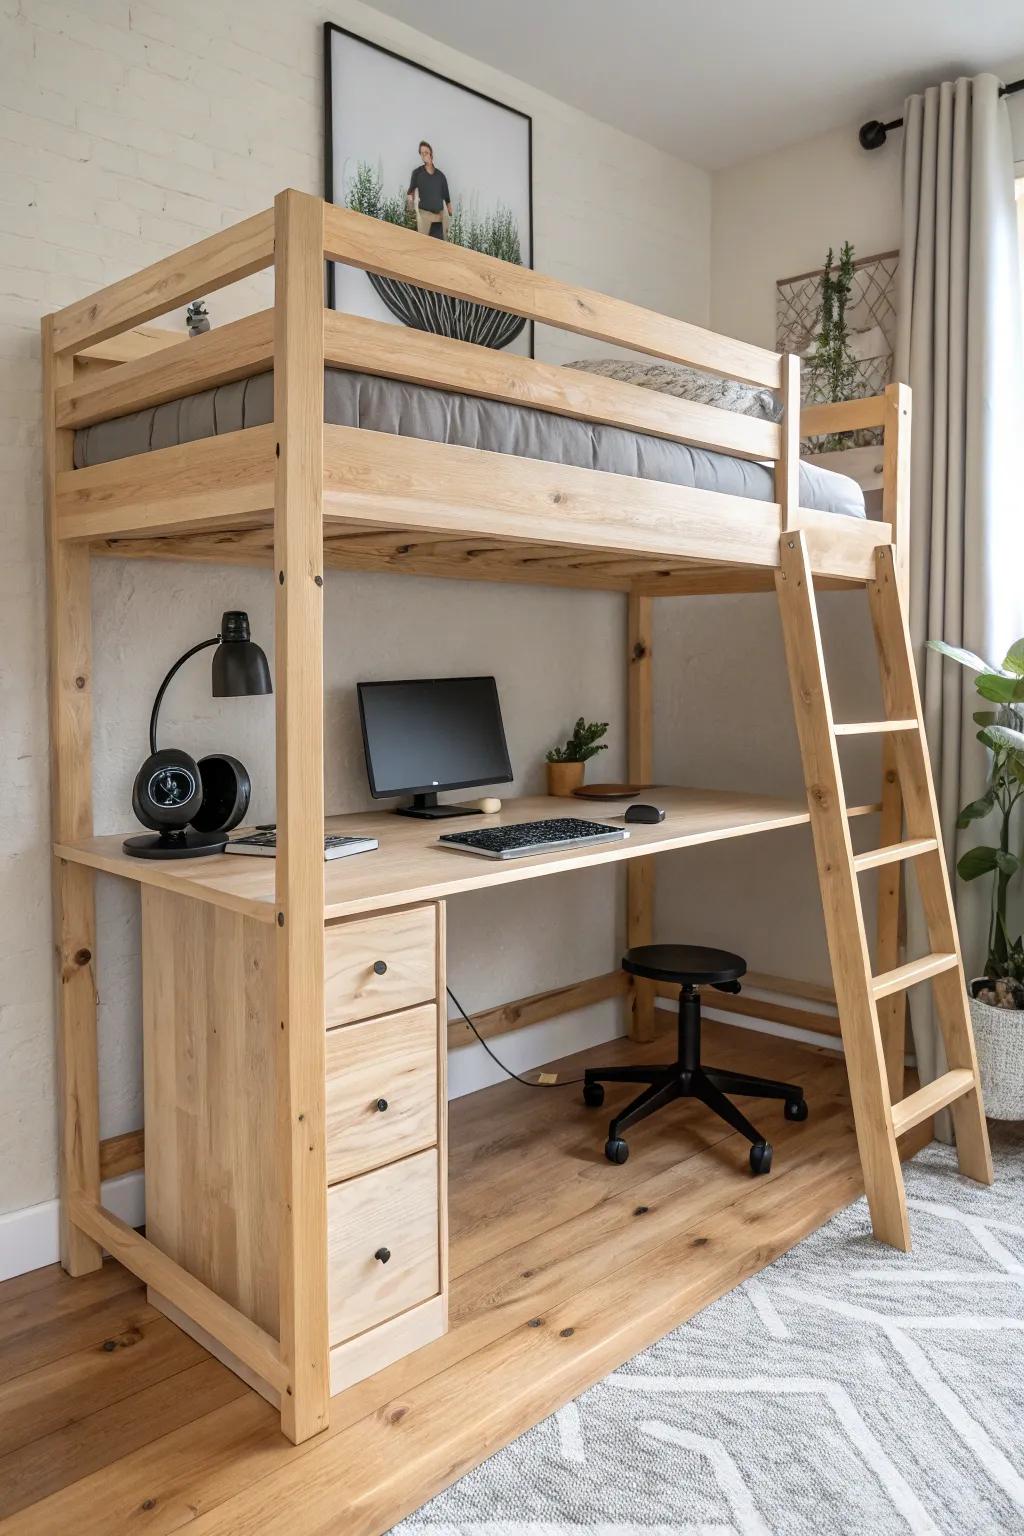
An L-shaped desk under a loft bed is perfect if you want one side for gaming and the other for homework or crafting, and I’ve used this trick in more small rooms than I can count. When I built my last one, that corner return made dual monitors feel roomy instead of cramped.
Might be a good match:
- Wooden Loft Bed Frame with Desk: Maximize your vertical space with a sturdy wooden loft bed that provides ample room for a corner setup underneath.
- Ergonomic Rolling Stool or Chair: Keep mobile and comfortable while switching tasks by adding a compact, rolling stool or ergonomic chair to your station.
- Under-Desk Drawer Cabinet: Organize your gaming accessories and school supplies efficiently with a compact wooden filing cabinet that fits neatly under tables.
Monitor Shelf Spanning the Loft Posts
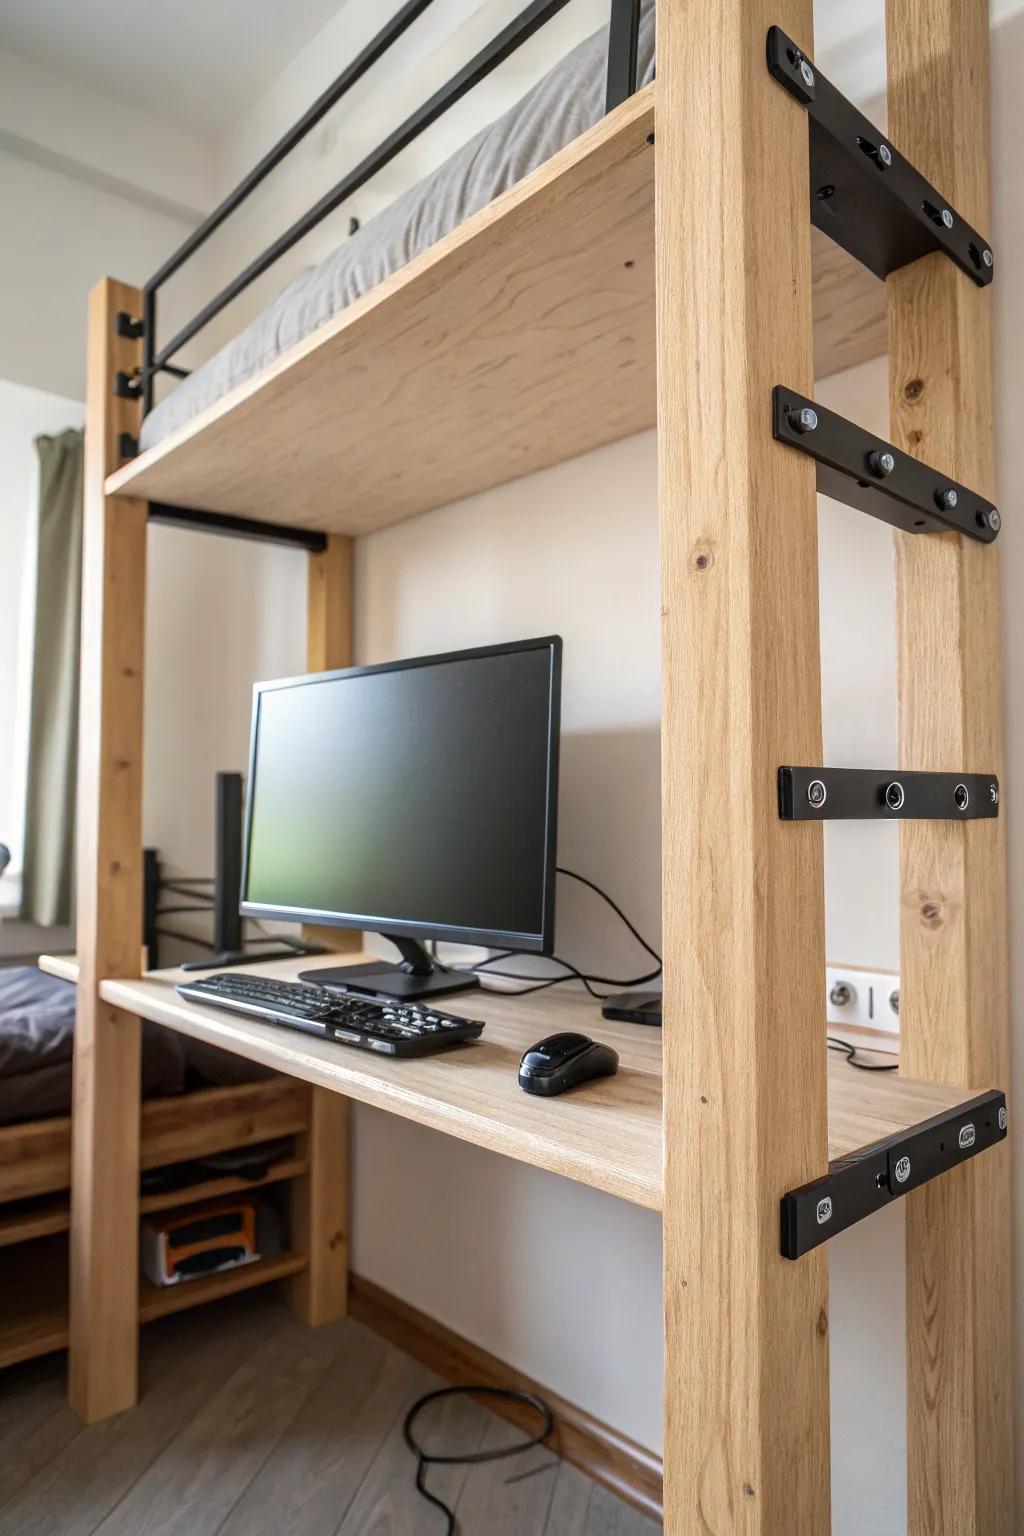
A thick, anchored monitor shelf mounted between the loft posts frees up desk space and makes multiple screens feel intentional under your loft bed gaming setup. I’ve built these with hardwood edging, and the extra height makes cable routing so much cleaner.
May just do the trick:
- Heavy-Duty L-Brackets or Shelf Supports: Secure your custom monitor shelf firmly to the loft posts with these sturdy, industrial-style brackets.
- Cable Management Channel Raceways: Keep your gaming setup clean by hiding power cords and HDMI cables neatly along the post.
- Solid Wood Table Top or Plank: Create the shelf itself using a solid, durable wood plank that matches your loft bed frame.
Desk With a Built-In Mouse Pad Lip
A wide desk under your gaming loft bed feels even better when you add a little hardwood lip to hold a mat in place and keep your mouse from drifting. I tried this on a reclaimed-wood desktop, and it made fast movements feel more controlled without changing the whole desk.
Items that may come in handy:
- Thin Wood Trim Molding: Create your custom desk lip easily by attaching a simple, thin wooden strip to the edge.
- Wood Glue or Strong Adhesive: Secure your new wooden lip firmly to the desktop surface without needing nails or complex tools.
- Extra Large Gaming Mouse Pad: Place this inside your new border to create a soft, non-slip surface perfect for precision gaming.


