
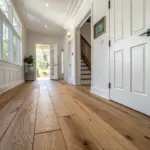
A hallway can feel like a forgettable pass-through until you add the right trim, and then it suddenly looks intentional and finished.
Molding Frames as Art “Matting”

I love hanging art centered inside picture frame molding so the trim acts like a built-in mat and makes even simple prints look elevated. I’ve done this in long hallways where I wanted visual interest without a messy gallery wall.
Try these:
- Pre-Primed Wainscoting Panel Kits: Instantly create elegant wall dimensions by installing these ready-to-paint molding kits directly onto your existing hallway walls.
- Light Wood Gallery Picture Frames: Showcase your botanical prints beautifully with natural wood frames that contrast warmly against crisp white molding.
- Laser Level & Measuring Tool: Ensure your molding boxes and artwork are perfectly centered and straight with this essential installation tool.


Classic Picture Frame Molding
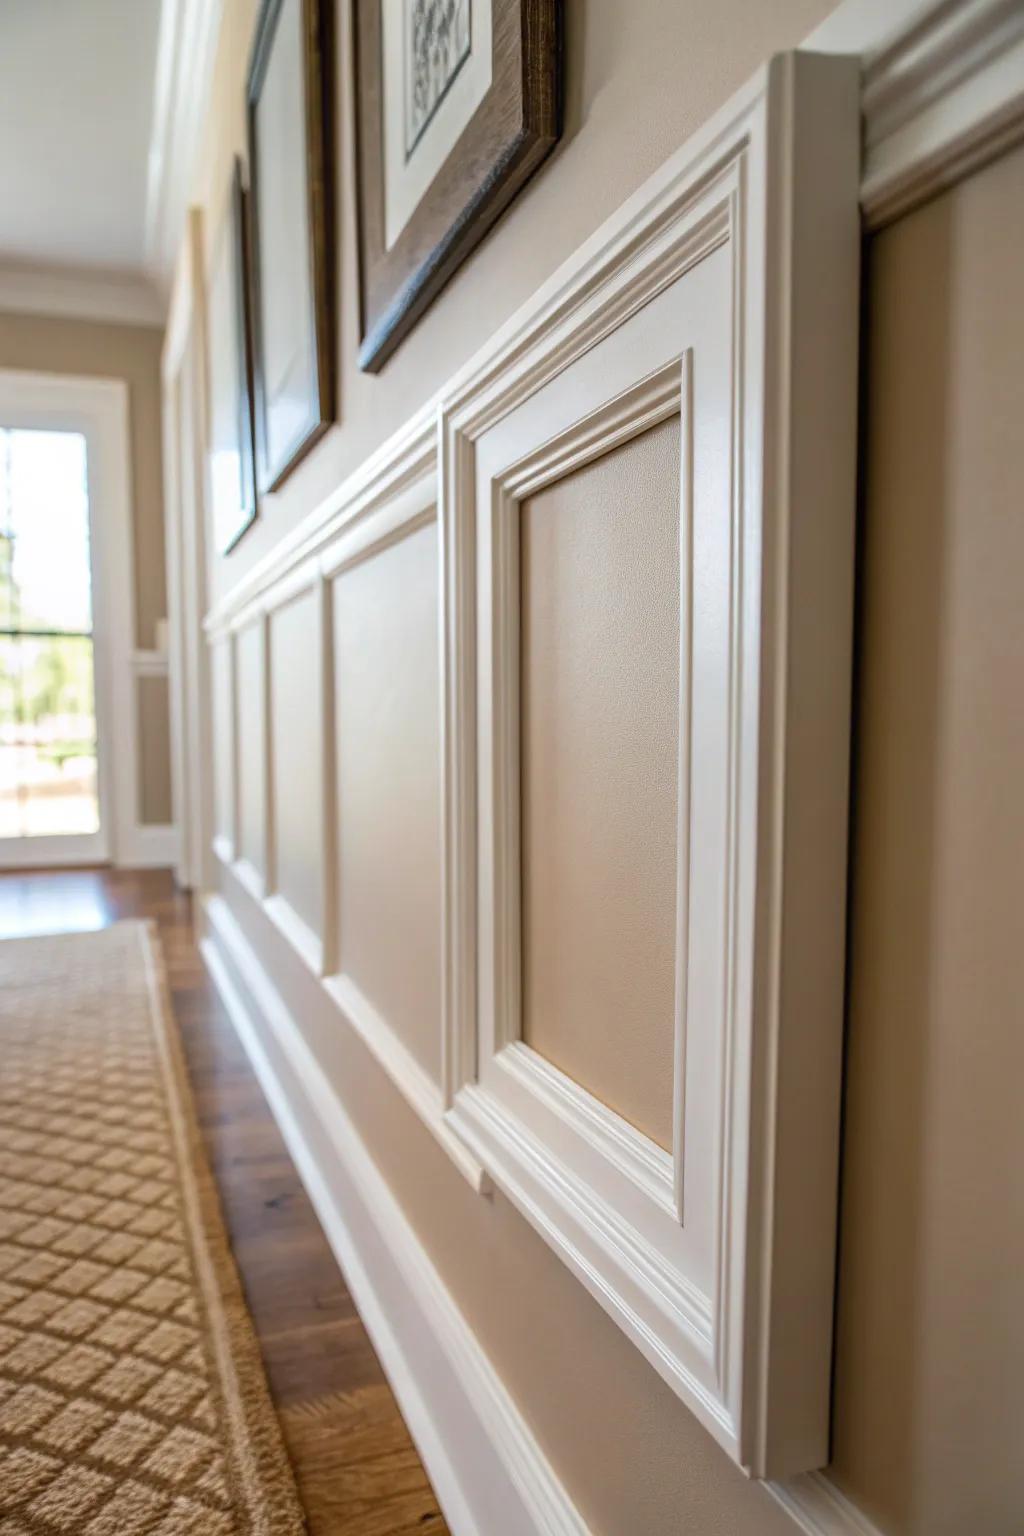
When I want a timeless upgrade fast, I reach for picture frame molding in simple rectangles—it makes a narrow hallway feel instantly tailored. I’ve found that keeping spacing consistent is what makes it look custom, even with basic trim.
Maybe worth checking out:
- Pre-Primed Wood Molding Trim Kit: Create elegant wall frames effortlessly with these ready-to-paint molding pieces, perfect for adding instant architectural detail.
- Laser Level Line Tool: Ensure perfectly straight lines and consistent spacing for your molding frames with this essential precision alignment tool.
- Finish Nailer or Brad Nailer Kit: Secure your trim pieces neatly and efficiently without splitting wood, making installation faster for DIY projects.
Traditional Wainscoting With Chair Rail
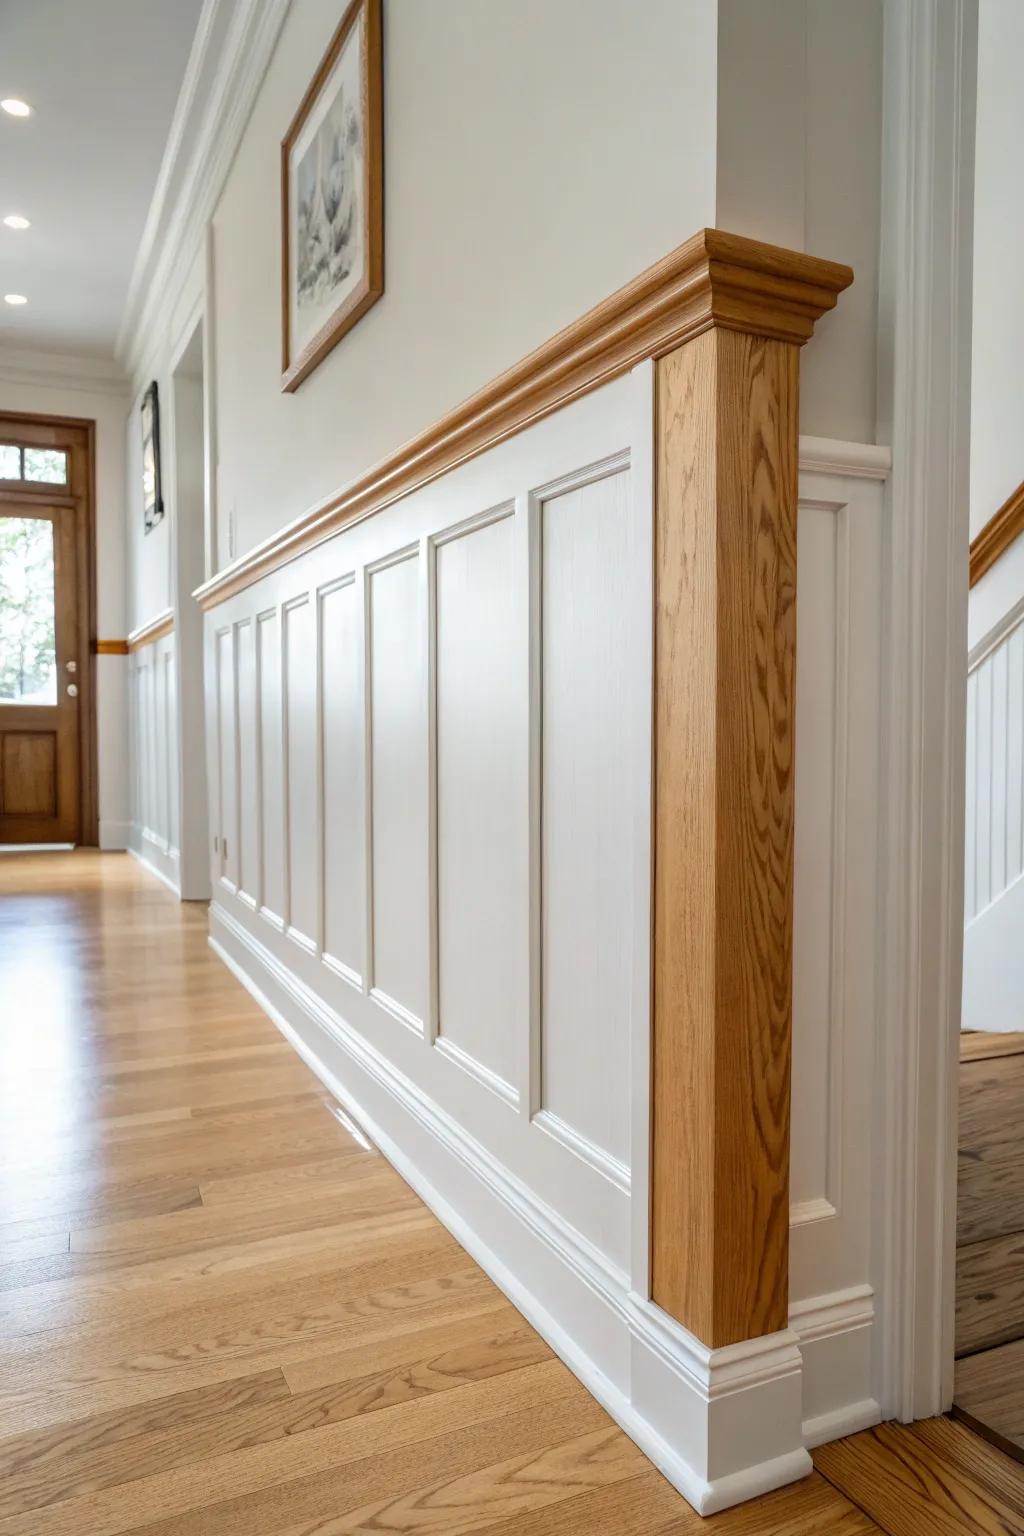
Wainscoting topped with a crisp chair rail is my go-to for busy entry hallways because it adds charm and takes the hit from bags and shoes. I’ve installed it at about one-third wall height most often, and it always makes the space feel more “home.”
Give these a look:
- Ready-to-Assemble Wainscoting Panel Kits: Transform your hallway walls instantly with these pre-cut kits that simplify the installation of classic recessed panels.
- Hardwood Chair Rail Molding: Top your wainscoting with a durable hardwood rail to create a definitive visual break and protect walls.
- Finish Nailer Kit: Secure your trim and panels efficiently for a seamless, professional look without damaging delicate wood surfaces.

Board and Batten Half Wall
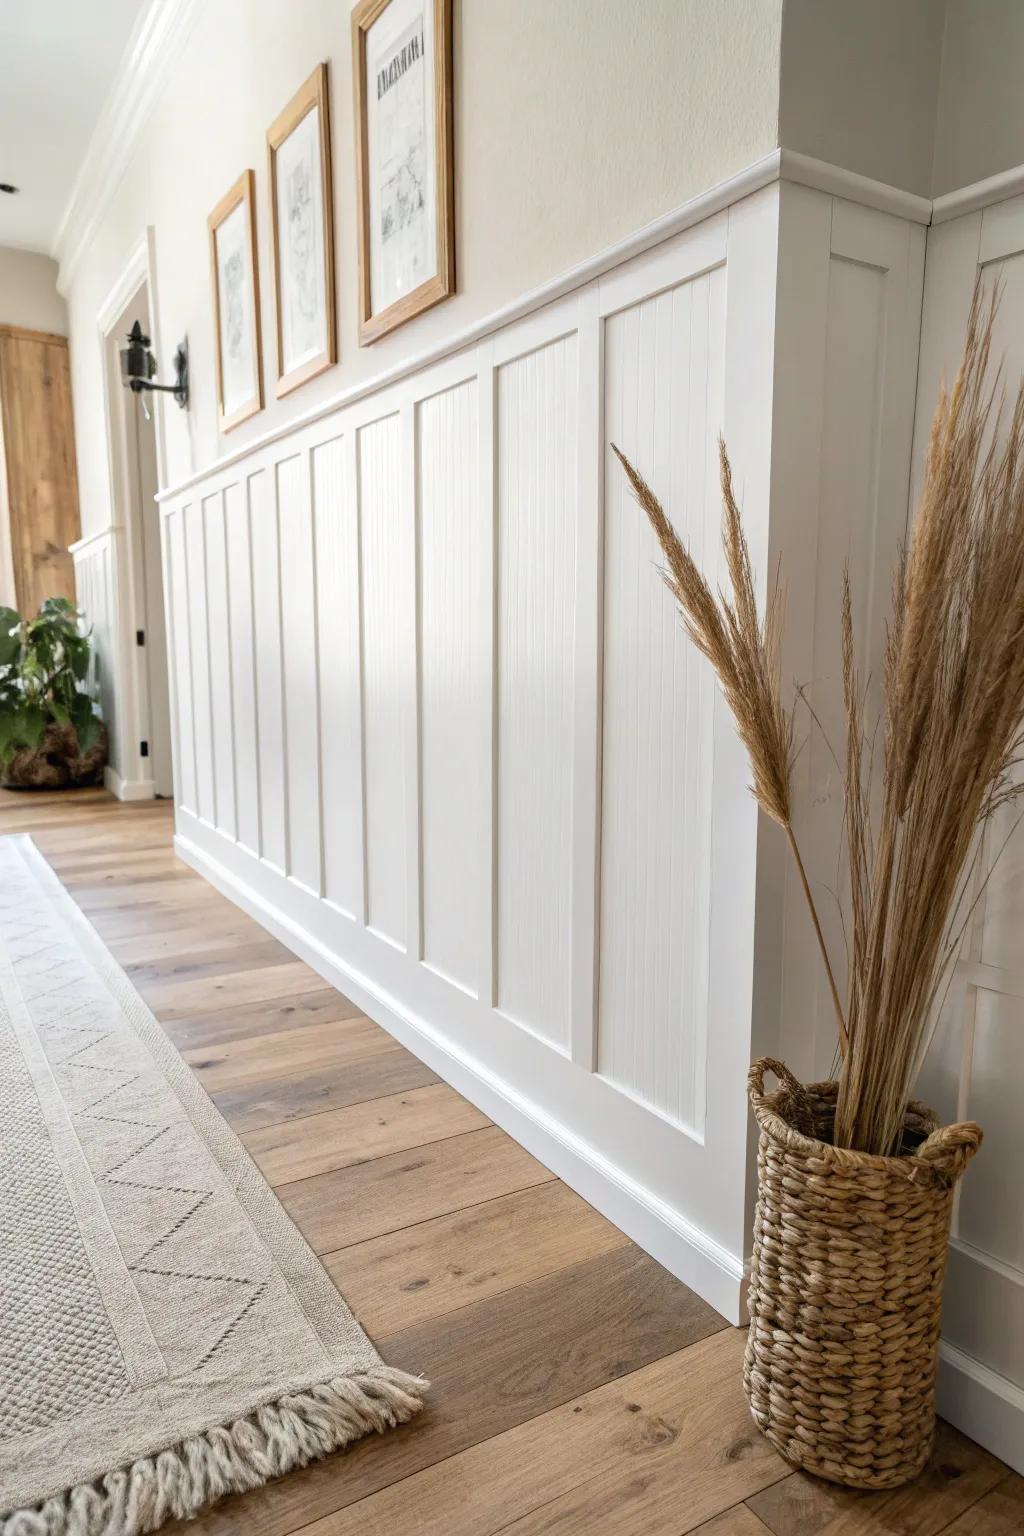
For a cozy, casual look, I love board and batten in the hallway because those vertical lines make the space feel taller. I’ve used wider battens in older homes for a sturdier vibe, and it pairs beautifully with wood floors.
Check if these fit your needs:
- Primed MDF Wood Wall Paneling Kit: Create elegant vertical lines easily with pre-primed strips that save you time on sanding and painting.
- Paintable White Caulk and Caulk Gun: Achieve a seamless, professional finish by filling gaps between your molding and wall before you paint.
- Brad Nailer Kit with Compressor: Secure your new molding firmly in place without leaving large holes that require extensive patching later.
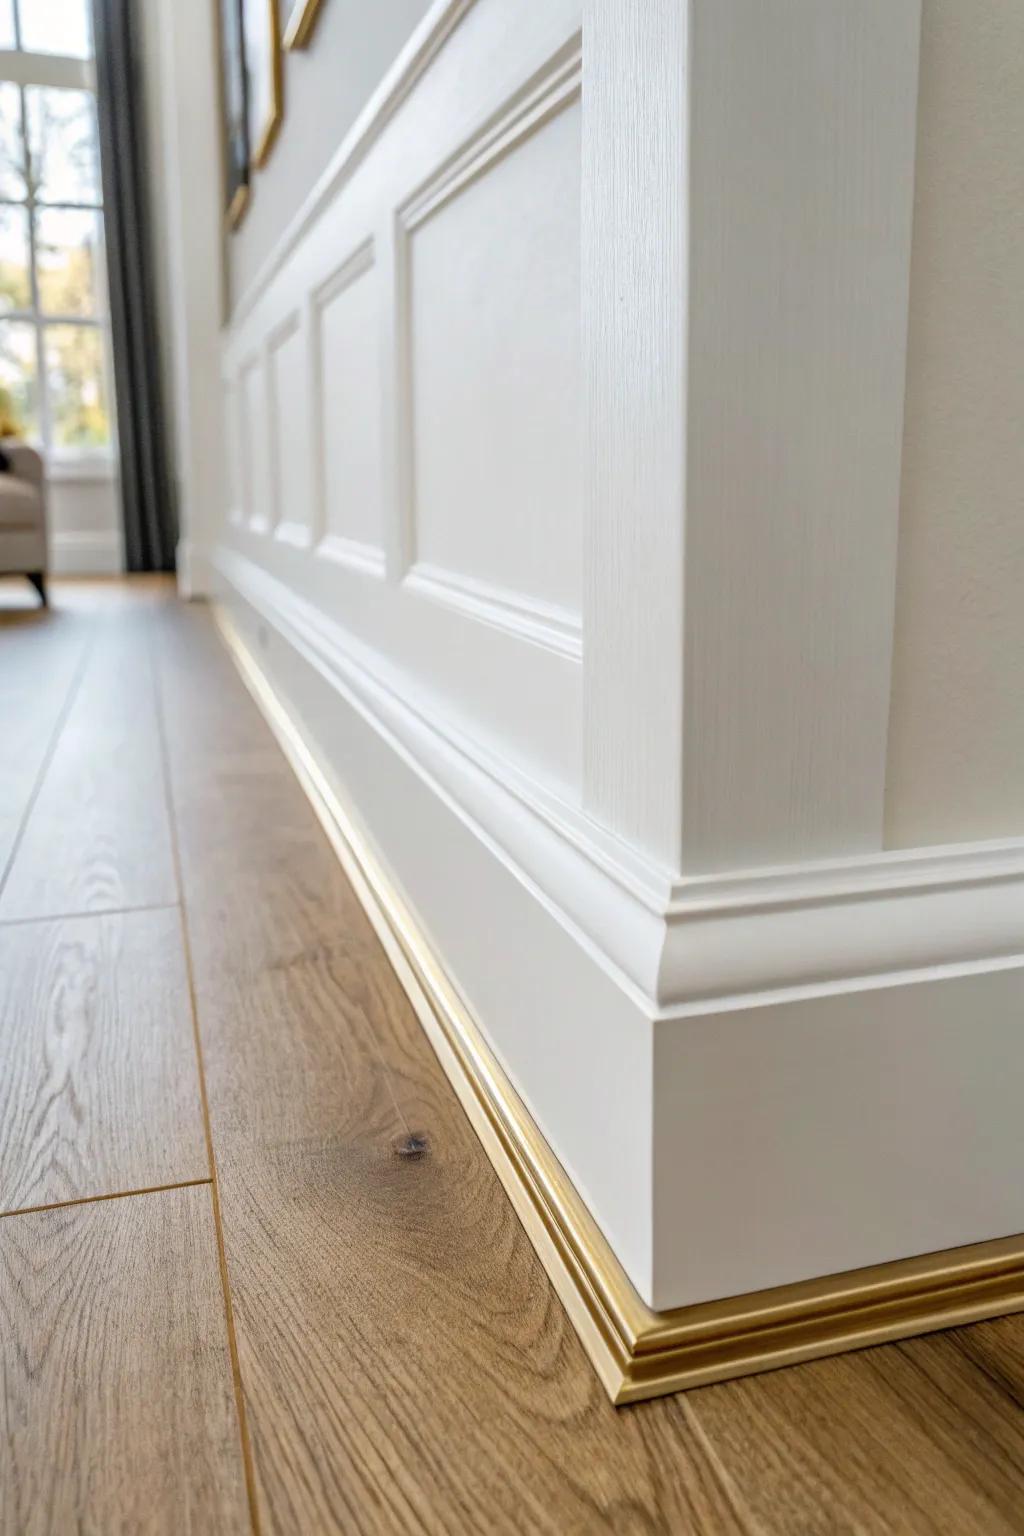
Bolder Baseboards for a Finished Look
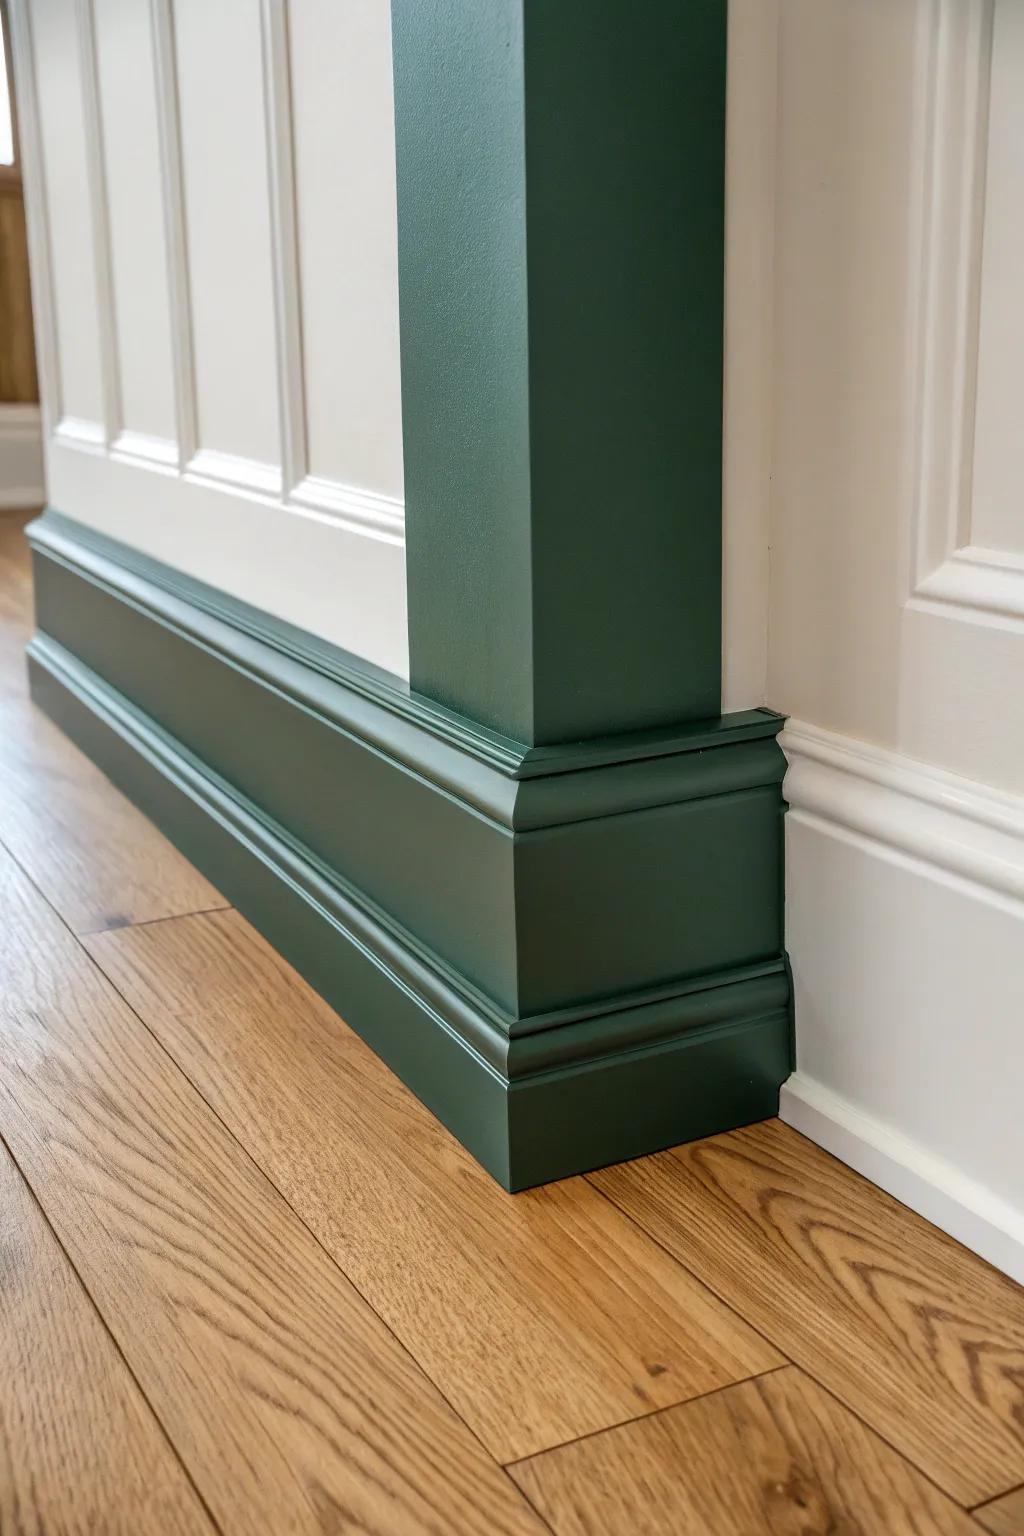
Swapping in taller baseboards (and adding shoe molding) is the simplest hallway “molding moment” I’ve done, and it instantly looks more high-end. I’ve noticed it also hides wavy flooring edges and drywall gaps like a charm.
A few relevant products:
- Primed MDF Baseboard Molding: Upgrade your hallway effortlessly by installing taller baseboards that offer a modern, custom look and hide gaps.
- Quarter Round Shoe Molding: Finish the transition between floor and wall cleanly by adding shoe molding to hide wavy flooring edges.
- Premium Interior Satin Door Paint: Create a bold statement like the image by painting your new trim in a rich, contrasting color.
Chair Rail With Flat Panel Below
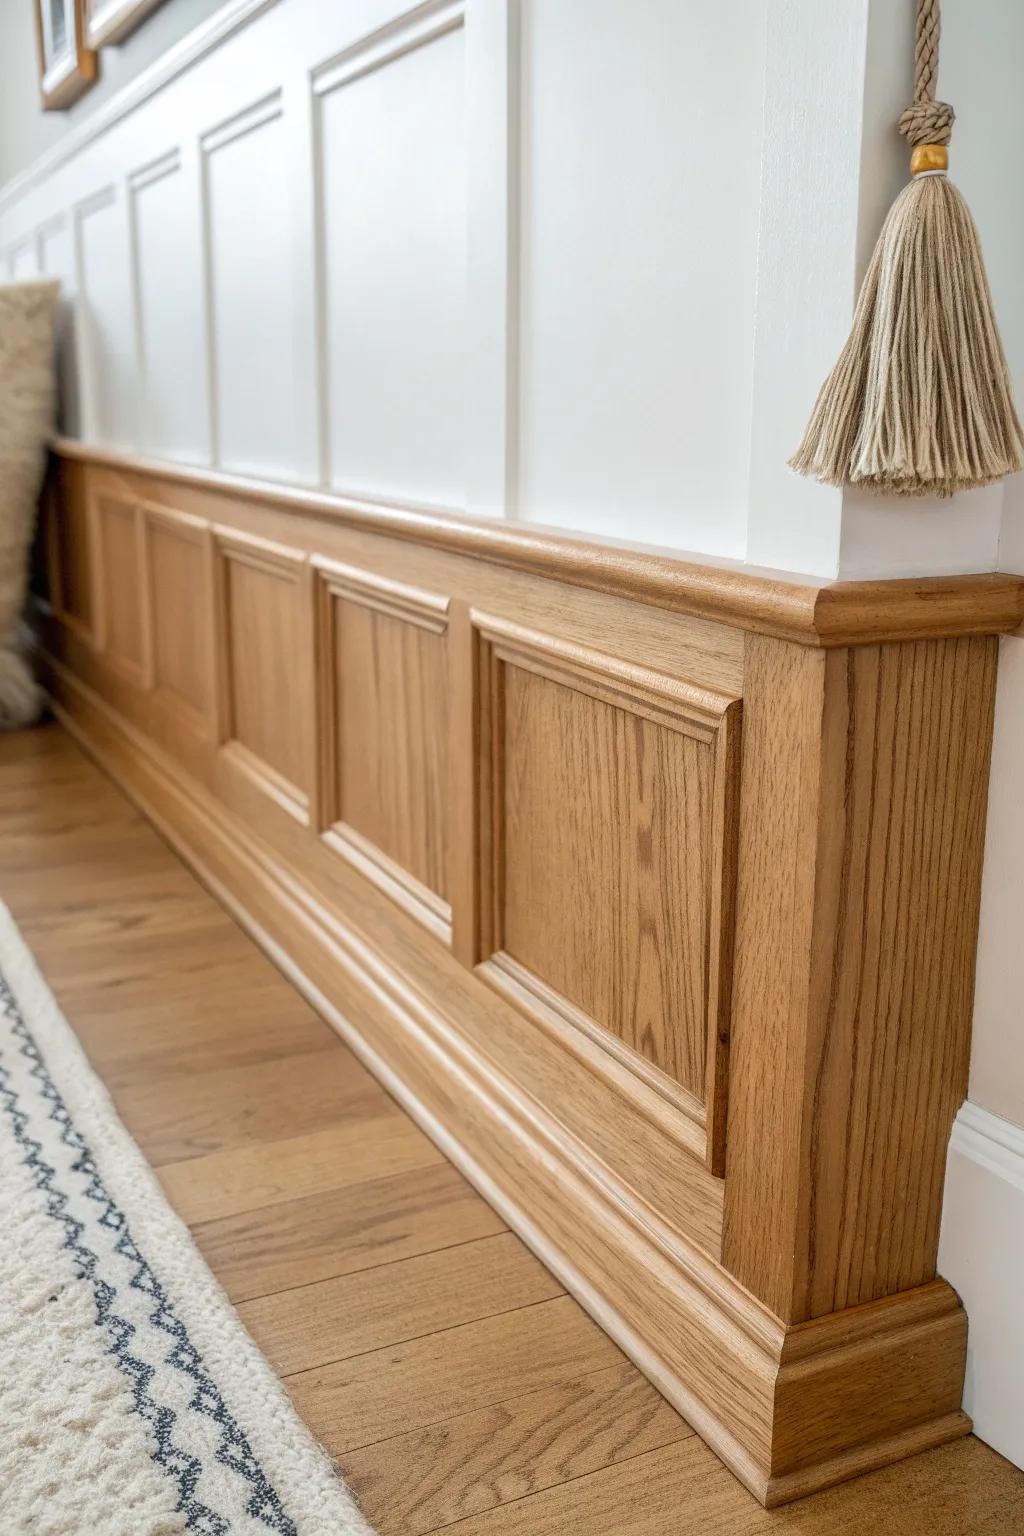
If you like clean lines, try a chair rail with a flat panel treatment below—it’s the sleek cousin of wainscoting. I’ve built this with simple rails and stiles, and it’s super forgiving in long hallways where walls aren’t perfectly straight.
A few suggestions:
- Decorative Chair Rail Molding: Define your wainscoting height with durable molding; it creates a crisp, finished edge to separate the paneling.
- Pre-Cut Wainscoting Wood Panels: Simplify your installation with ready-to-use panels or stiles that create that classic recessed look quickly and easily.
- Wood Stain and Sealer: Achieve the warm, natural finish seen here by applying a quality wood stain that enhances the wood grain.

Floor-to-Ceiling Box Molding
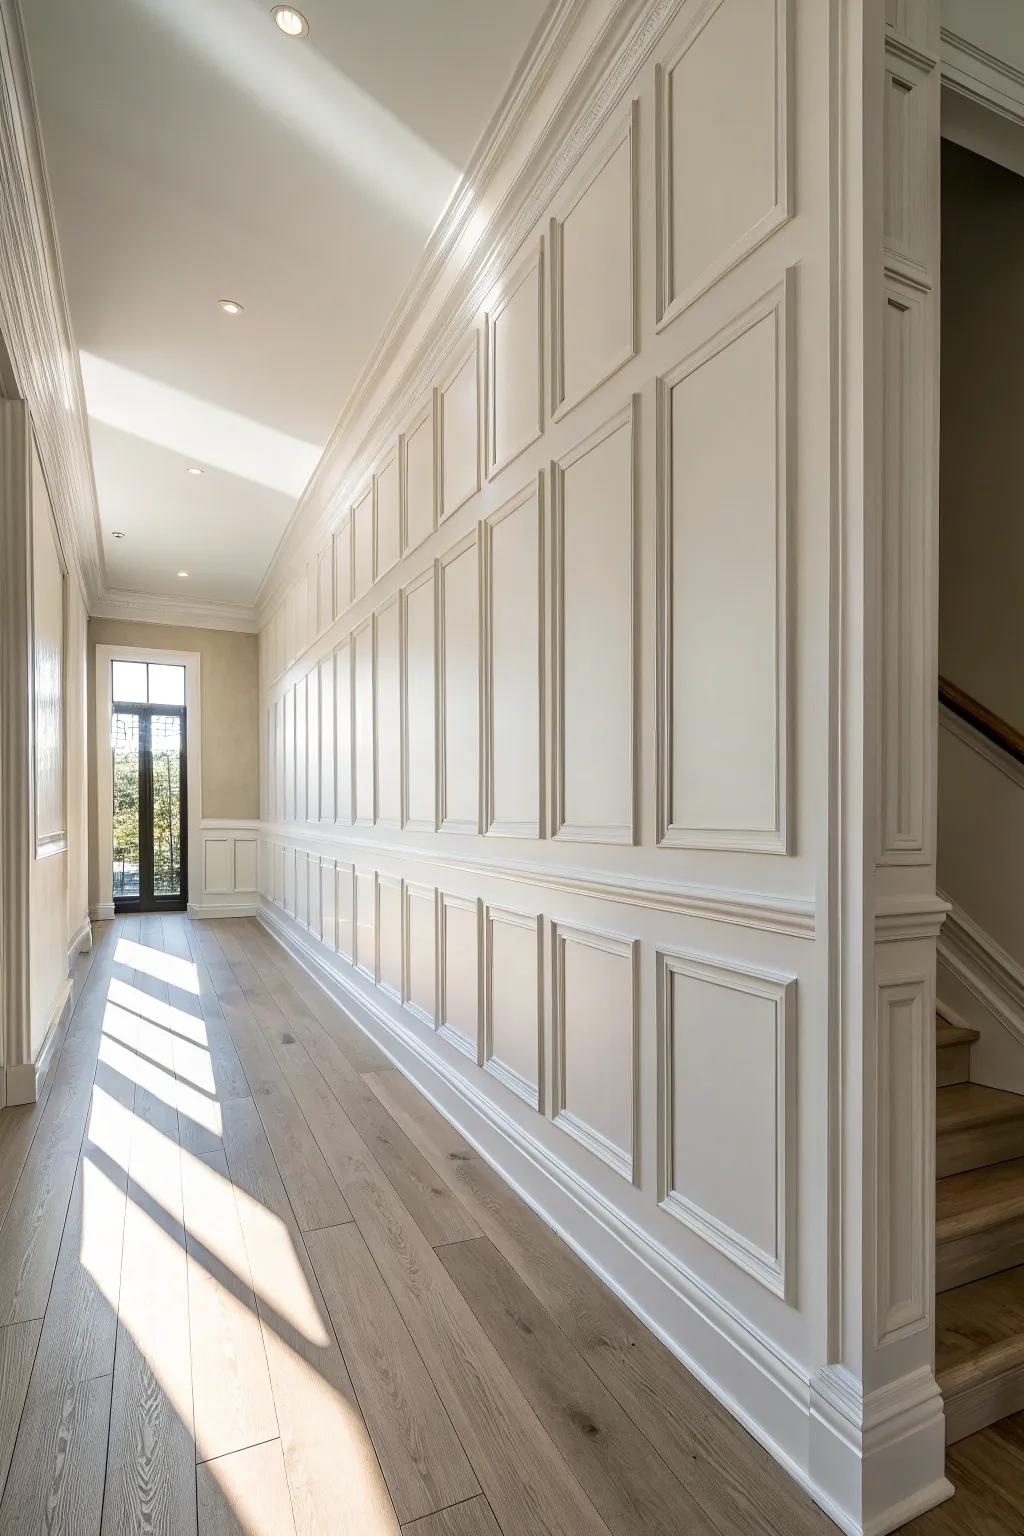
Going full-height with box molding turns a basic hallway into a statement without adding any bulk. I tried this once in a tall, plain corridor, and the vertical rhythm made it feel like a designed gallery space.
You might give these a try:
- Pre-Primed Wall Moulding Kits: Simplify your renovation process by choosing ready-to-cut moulding strips that create instant architectural depth on plain walls.
- Laser Level Tool: Ensure your vertical lines and horizontal spacing are perfectly straight for professional-looking, symmetric box molding panels.
- Paintable Caulk for Trim: Achieve a seamless finish by filling gaps between the wall and molding before applying your final paint coat.
Slim Picture Rail Above the Trim
Adding a narrow picture rail molding above wainscoting is such a classic trick, and it gives you a natural line to align frames. I’ve used it when clients didn’t want extra nail holes, and it keeps the whole hallway looking tidy.
Might be a good match:
- Oak Wood Chair Rail Molding: Add a classic touch to your walls with natural wood molding that creates distinct separation and style.
- Wainscoting Wall Panel Kit: Transform your hallway easily using pre-made paneling kits to achieve that elegant, traditional architectural look below.
- Wood Stain in Honey/Oak Finish: Enrich your natural wood molding with a warm stain that highlights the grain and matches traditional decor.
Upgraded Door and Window Casing
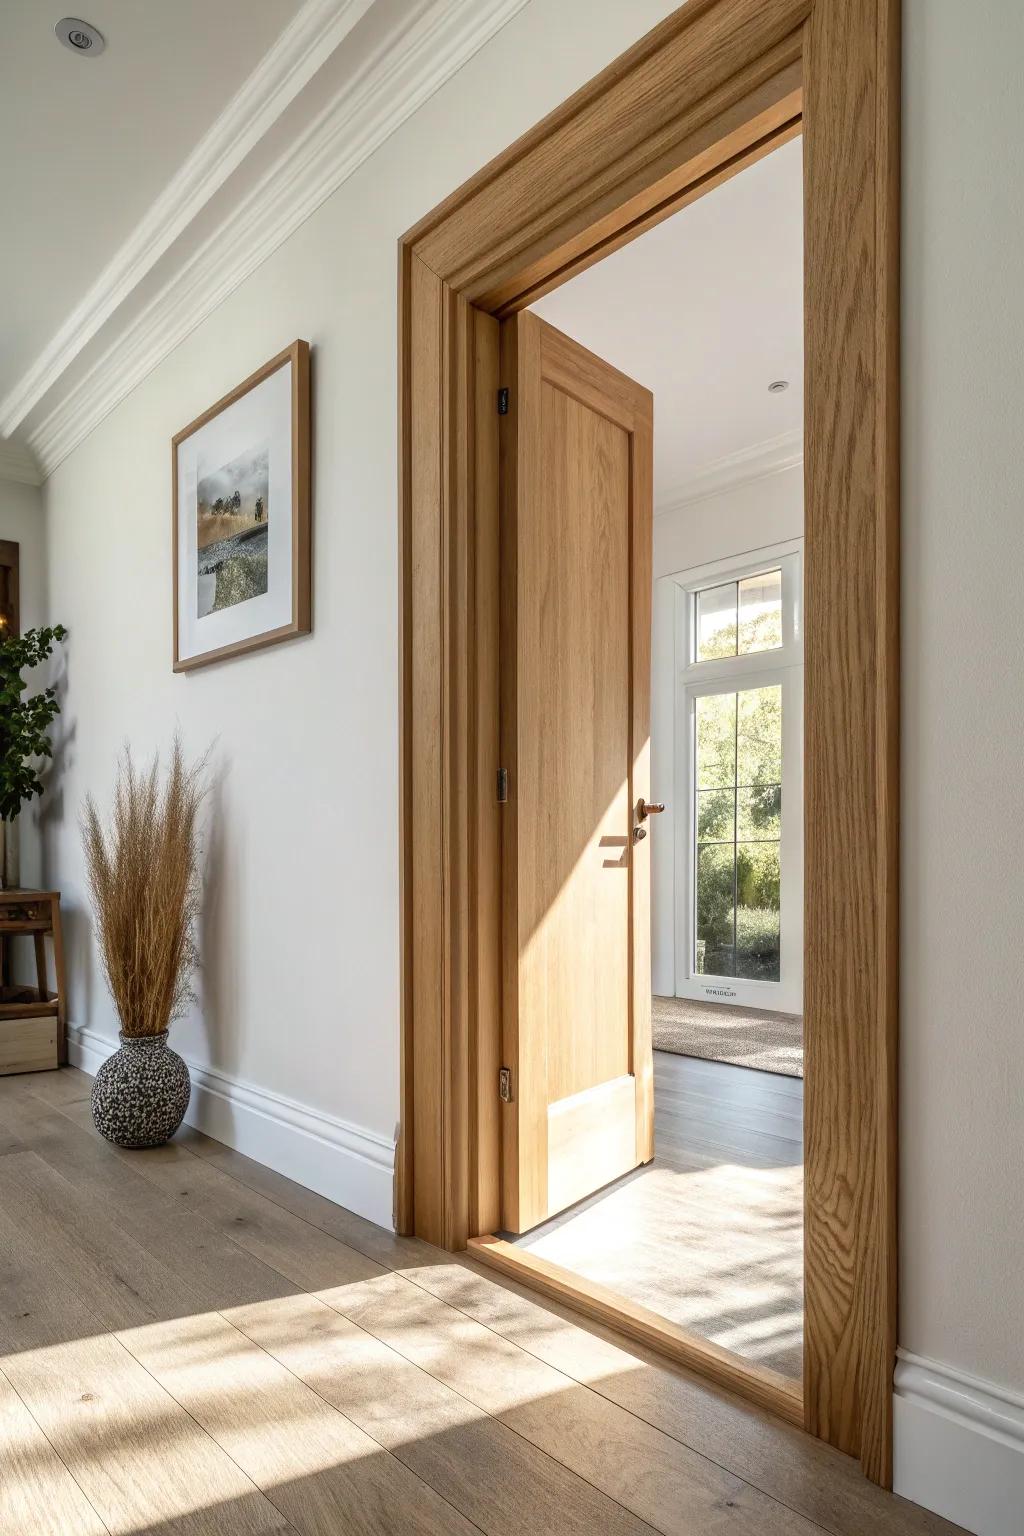
Sometimes the best hallway upgrade is simply beefier door casing and matching header trim, especially when the walls are otherwise plain. I’ve replaced skinny casing with thicker profiles, and it instantly made the doors feel more substantial.
Items that may come in handy:
- Solid Wood Casing Moulding: Upgrade your door frames instantly with solid wood casing that adds substantial architectural weight and classic style.
- Miter Box and Saw Set: Ensure professional-looking corners on your new trim with this essential cutting tool for perfect forty-five-degree angles.
- Brad Nailer Kit: Secure your new heavier casings quickly and cleanly without leaving large hammer marks on the wood surface.
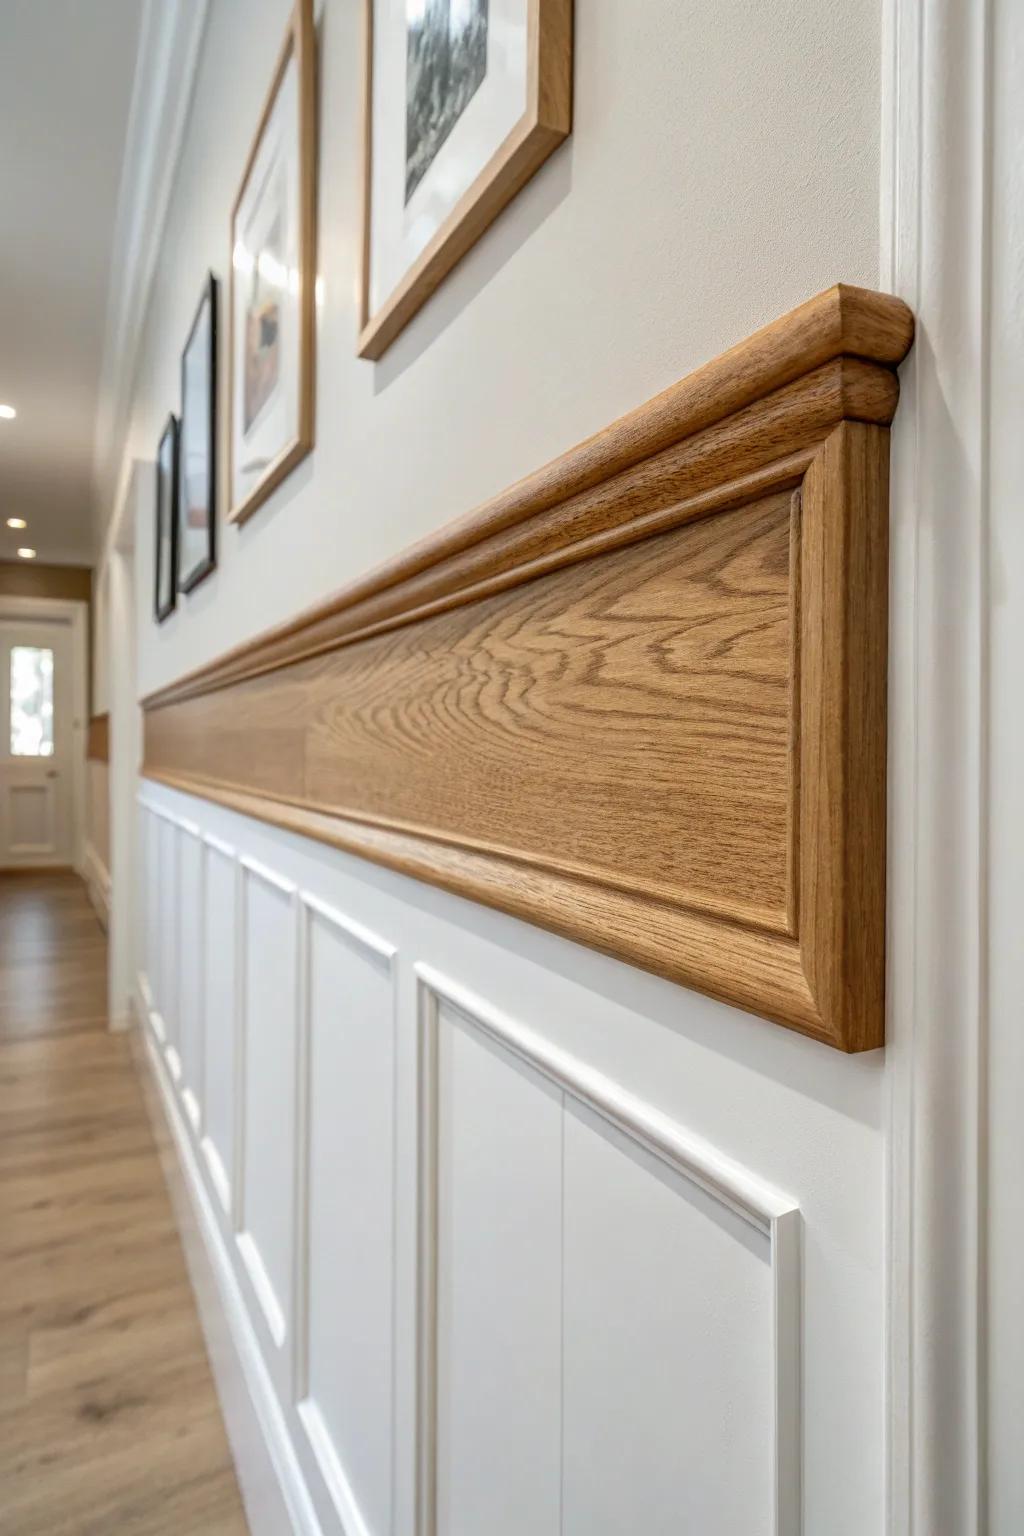
Reclaimed Wood Cap Rail for Warm Contrast
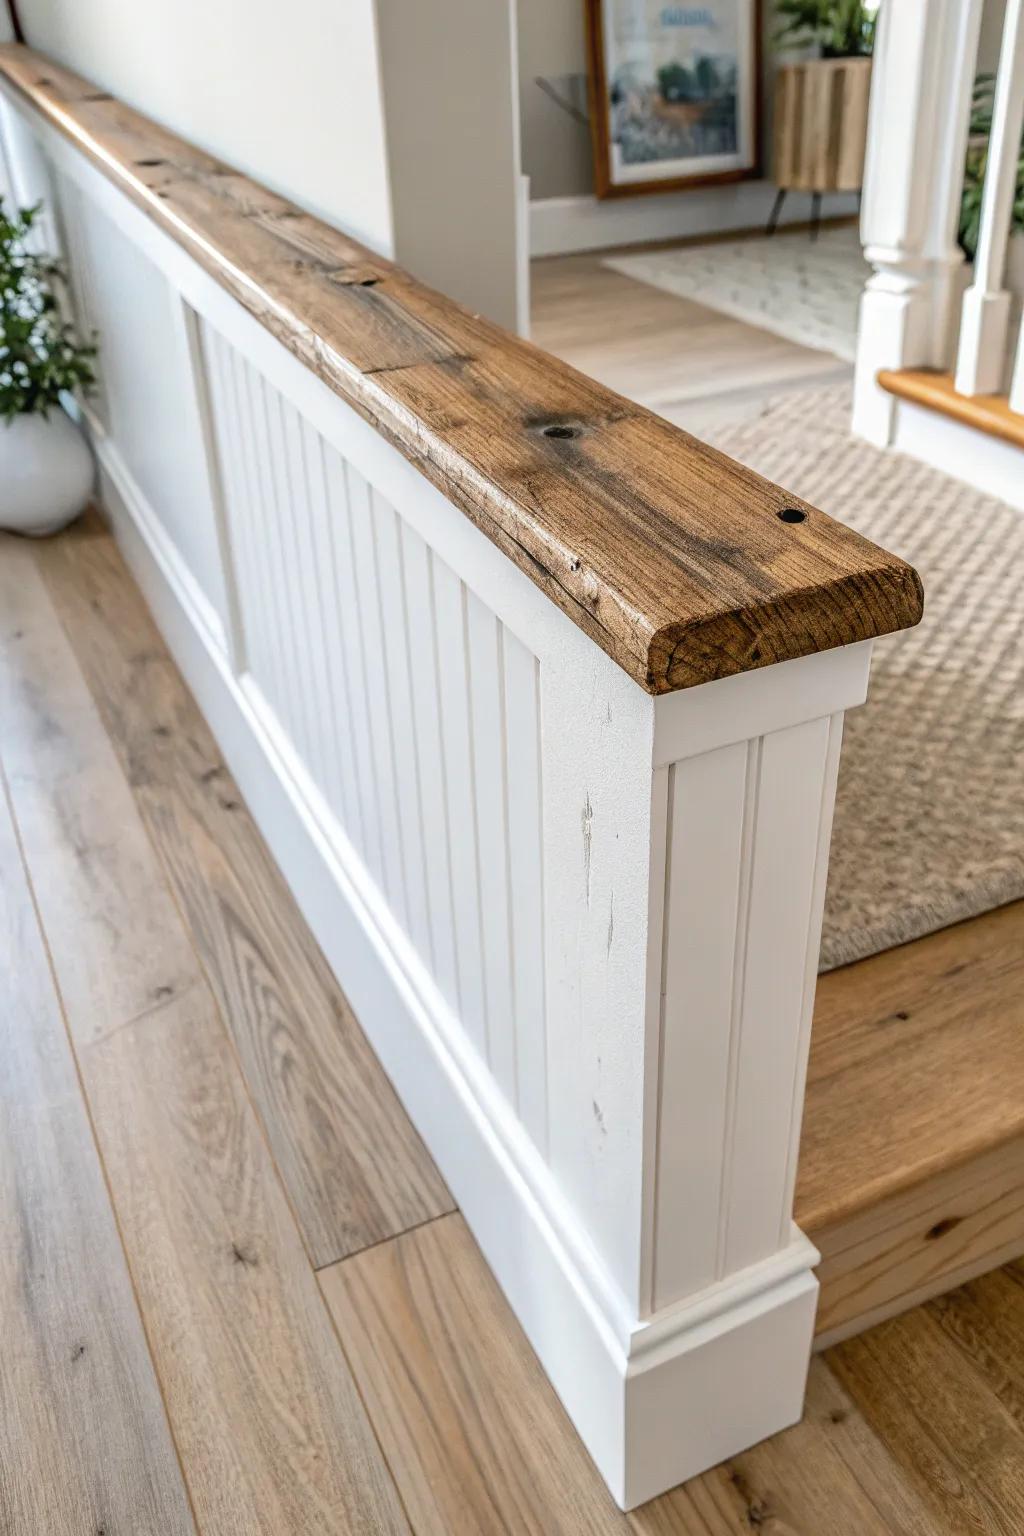
Topping painted wainscoting with a stained cap rail in reclaimed wood is one of my favorite warm-and-rustic twists. I’ve used old fir and oak offcuts for this, and the grain brings life to an all-white hallway.
Check these products out:
- Beadboard Paneling Kit: Create the classic white wainscoting base easily with pre-cut panels that add instant architectural character.
- Wood Stain & Sealer: Achieve that rich, rustic tone on your wood cap rail to beautifully contrast against white trim.
- Brad Nailer Kit: Secure your new molding and cap rails cleanly and professionally without damaging the wood surface.
Crown Molding With Hidden Light Ledge
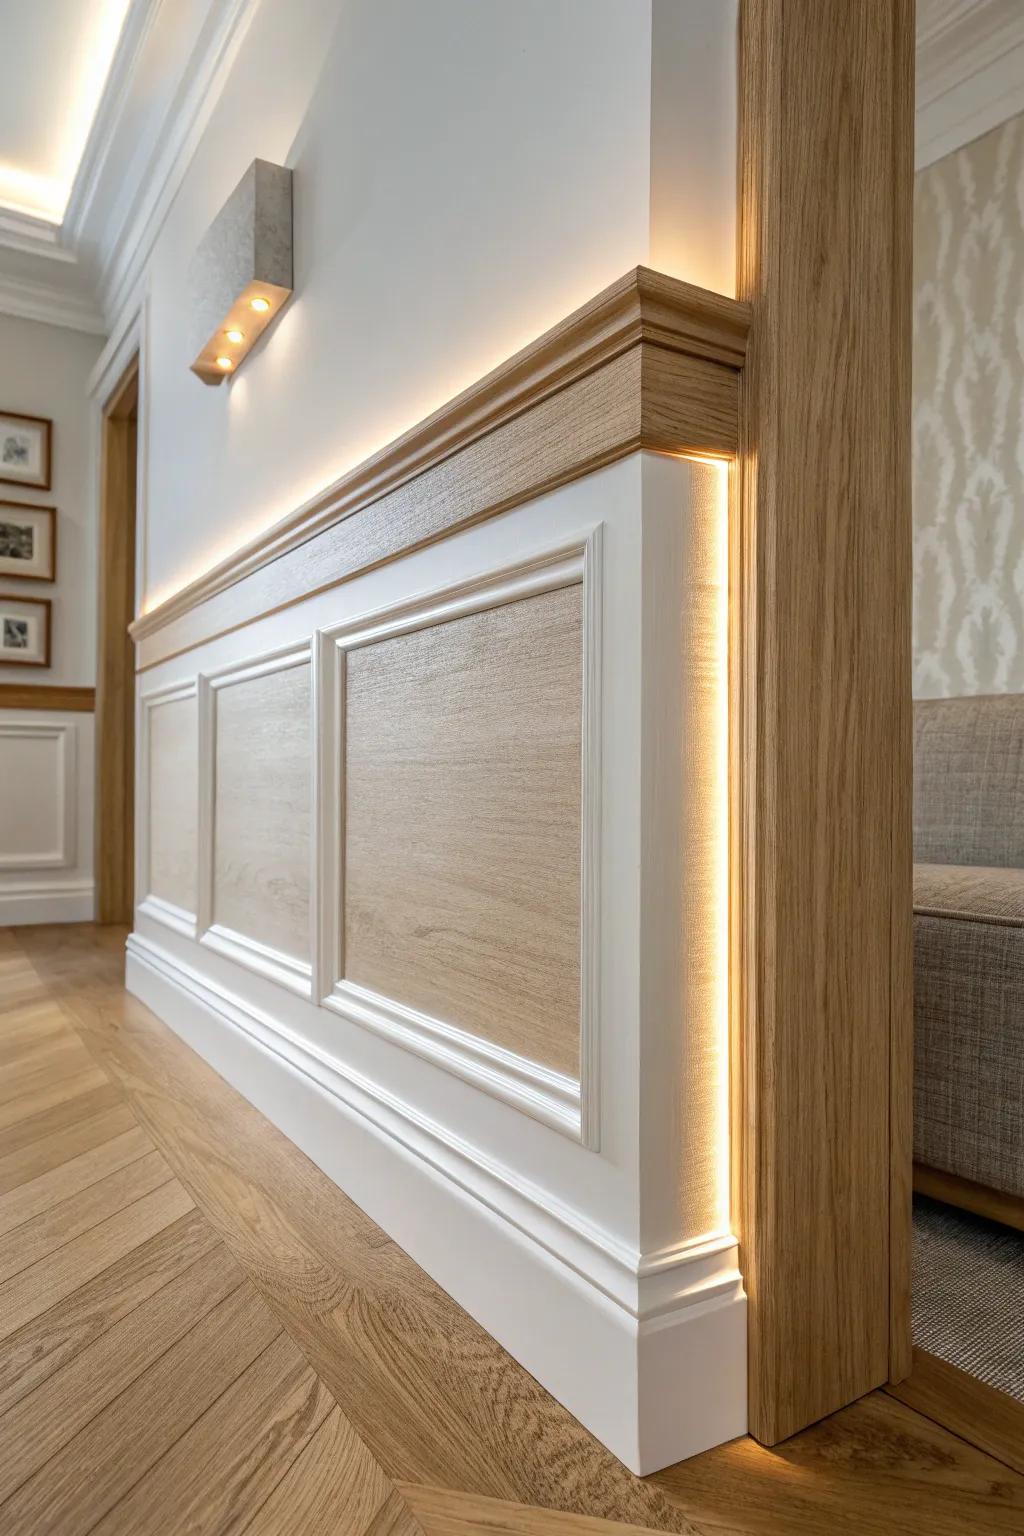
Crown molding can do more than look pretty—when I’ve built a small light ledge behind it, the hallway gets a soft glow that feels super cozy at night. It’s one of my favorite “secret upgrade” molding projects because the trim hides all the magic.
A few choices to try:
- LED Strip Light Kit: Add a soft, warm glow behind your molding to create instant ambiance and modernize your hallway design.
- Architectural Crown Molding: Choose a profile with a slight projection to effectively conceal your LED strips while adding classic elegance.
- Aluminum LED Channel Diffuser: Install these tracks to protect your light strips and ensure a smooth, spotless glow without harsh glare.
Diagonal Picture Frame Molding Pattern
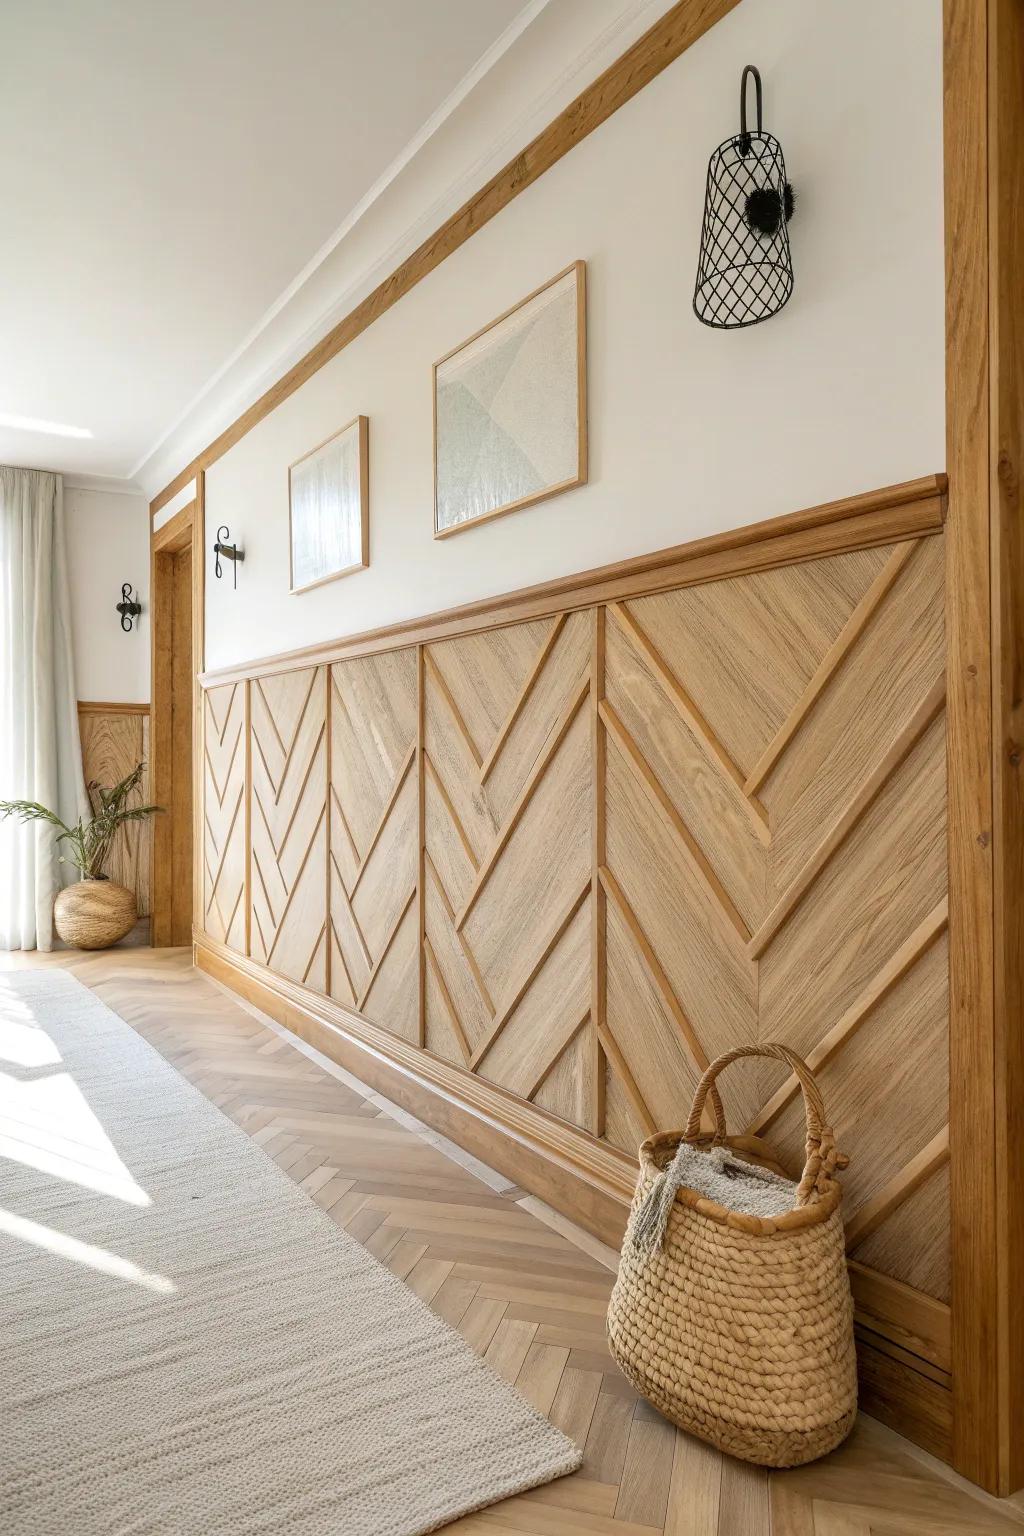
If you want a real conversation starter, lay out picture frame molding in a diagonal rhythm instead of straight rectangles. I tested this in a short hallway first, and it gave the space instant energy without needing bold paint.
Some handy options:
- Unfinished Wood Molding Trim: Create your custom pattern layout with versatile finish-grade pine or oak lattice molding strips.
- Brad Nailer Kit: Secure your diagonal cuts precisely and quickly without splitting the delicate wood trim pieces.
- Sliding Compound Miter Saw: Achieve perfect angled cuts necessary for distinctive diagonal or chevron patterns with reliable precision.
Mirror Panels Set Inside Molding Boxes
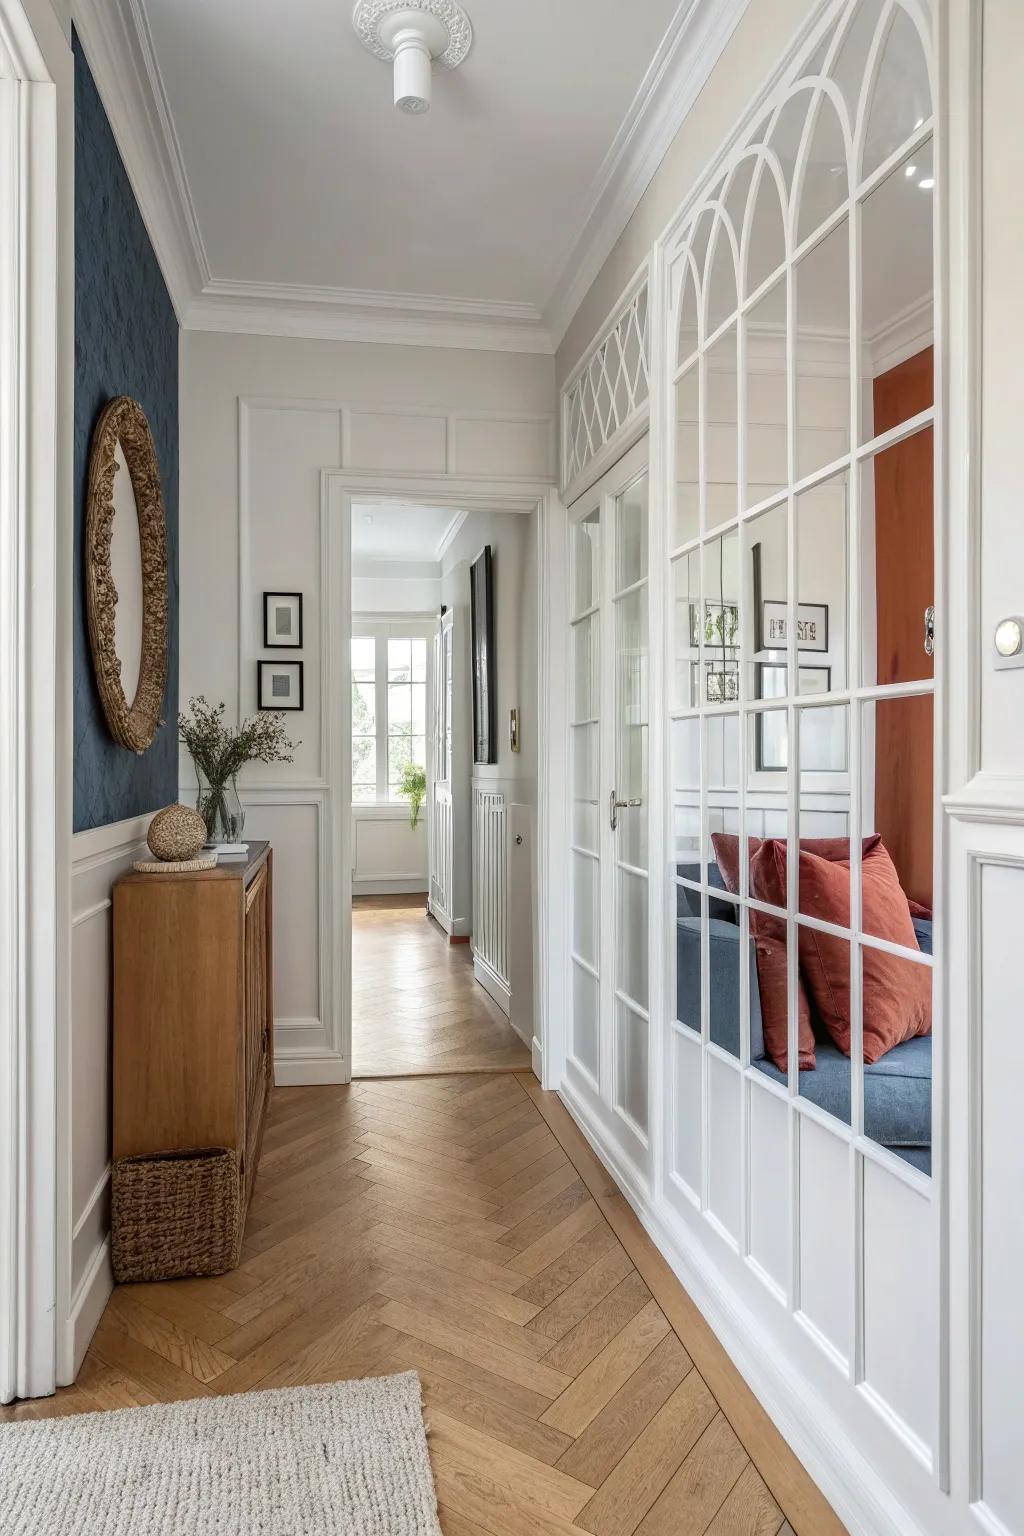
I’ve set thin mirror panels inside box molding on a narrow hallway wall, and it doubled the light while still feeling architectural. The trim keeps it looking built-in, not like you just hung a random mirror.
Useful items to consider:
- Acrylic Mirror Sheets: Transform your hallway walls with these lightweight, shatterproof mirror panels that create instant depth and brightness effortlessly.
- Pre-Primed Wall Molding Trim: Create elegant architectural frames around your mirrors using this ready-to-paint molding for a custom built-in appearance.
- Heavy-Duty Construction Adhesive: Secure your mirror panels and molding permanently to the wall for a safe, professional, and lasting installation.
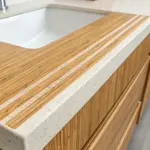
Mixed-Material Inlay Trim for a Wow Factor
For an unexpected twist, I’ve routed a shallow groove into hallway molding and added a slim metal inlay or a tinted resin stripe, and it looks like custom millwork. It’s a small detail, but in a long corridor it turns plain trim into something people stop to stare at.
These products might be useful:
- Self-Adhesive Metal Trim Strips: Add a luxurious metallic accent to your molding instantly; simply peel and stick for an elegant, custom look.
- Compact Palm Router Tool: Carve precise grooves into your baseboards to prepare them for seamless inlays with this essential woodworking tool.
- Brass Flat Bar Stock: Insert these solid metal bars into routed grooves to create a durable, high-end architectural detail in your hallway.


