
A budget kitchen floor doesn’t have to look “budget” at all—you just need the right material (and a few crafty tricks).
Stained and Sealed Concrete Slab
If you’ve already got a slab, I’ve found that stained concrete can be one of the cheapest ways to get that sleek, updated look. A solid seal coat is the whole game here—I learned the hard way that it’s what makes cleanup easy.
These products might help:
- Concrete Stain or Dye: Add rich color to your plain slab with an easy-to-use stain that transforms dull grey into modern elegance.
- High-Gloss Concrete Sealer: Protect your new floor and create a durable, wipeable surface by applying a quality, wet-look finishing sealer.
- Floor Wax or Polish: Maintain that showroom shine and add an extra layer of protection against daily kitchen foot traffic and spills.
Peel-and-Stick Vinyl Tiles
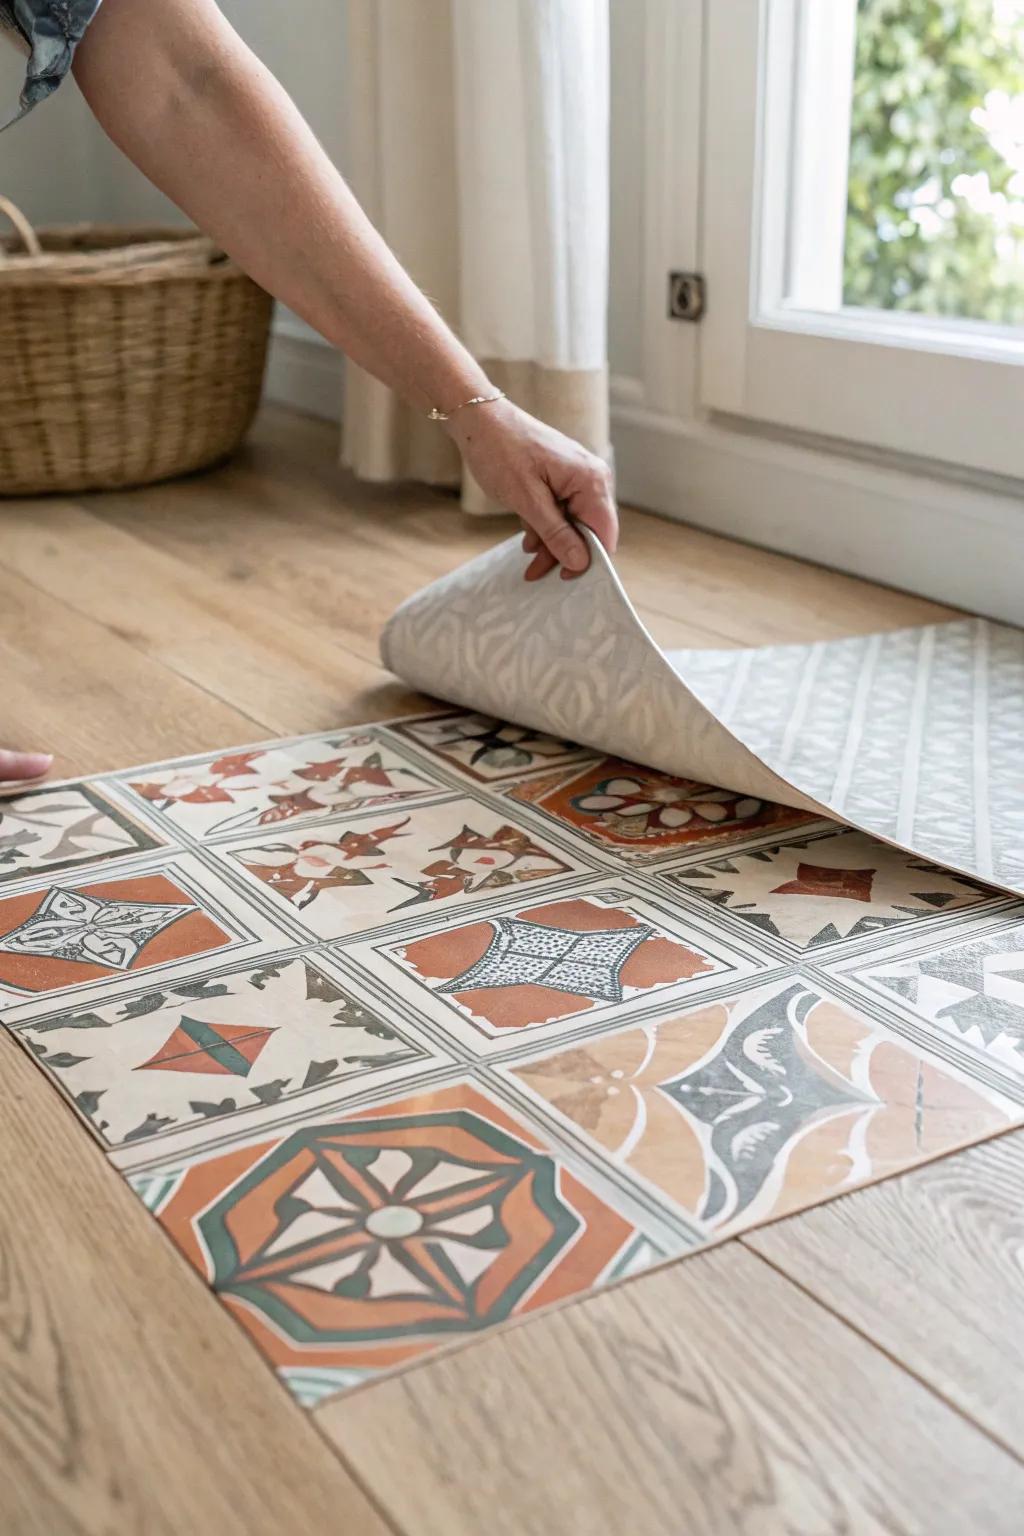
For the quickest budget glow-up, I’ve used peel-and-stick vinyl tiles to cover ugly floors and it honestly felt like cheating. If you pick a patterned tile look, you get instant personality and it hides crumbs like a champ.
A few things you might like:
- Patterned Peel-and-Stick Floor Tiles: Transform your kitchen instantly with these easy-to-apply tiles that add vibrant patterns and help conceal daily messes.
- Heavy Duty Utility Knife: Ensure clean edges and a professional finish by using a sharp, reliable knife for precise trimming around corners.
- Vinyl Floor Roller: Help your new flooring adhere securely and last longer by rolling out air bubbles and ensuring a firm bond.


Classic Ceramic Tile Grid
When I’m aiming for timeless and budget-friendly, ceramic tile in a simple grid is my go-to because it’s clean, bright, and easy to live with. I’ve used plain tiles and let the rest of the kitchen shine—simple can look really expensive.
Consider these options:
- Octagon and Dot Mosaic Tile: Recreate this timeless look easily with pre-mounted mosaic sheets that simplify the installation of classic patterned floors.
- Black Diamond Tile Inserts: Add contrast to larger plain tiles by inserting small black accents for that custom, high-end vintage aesthetic.
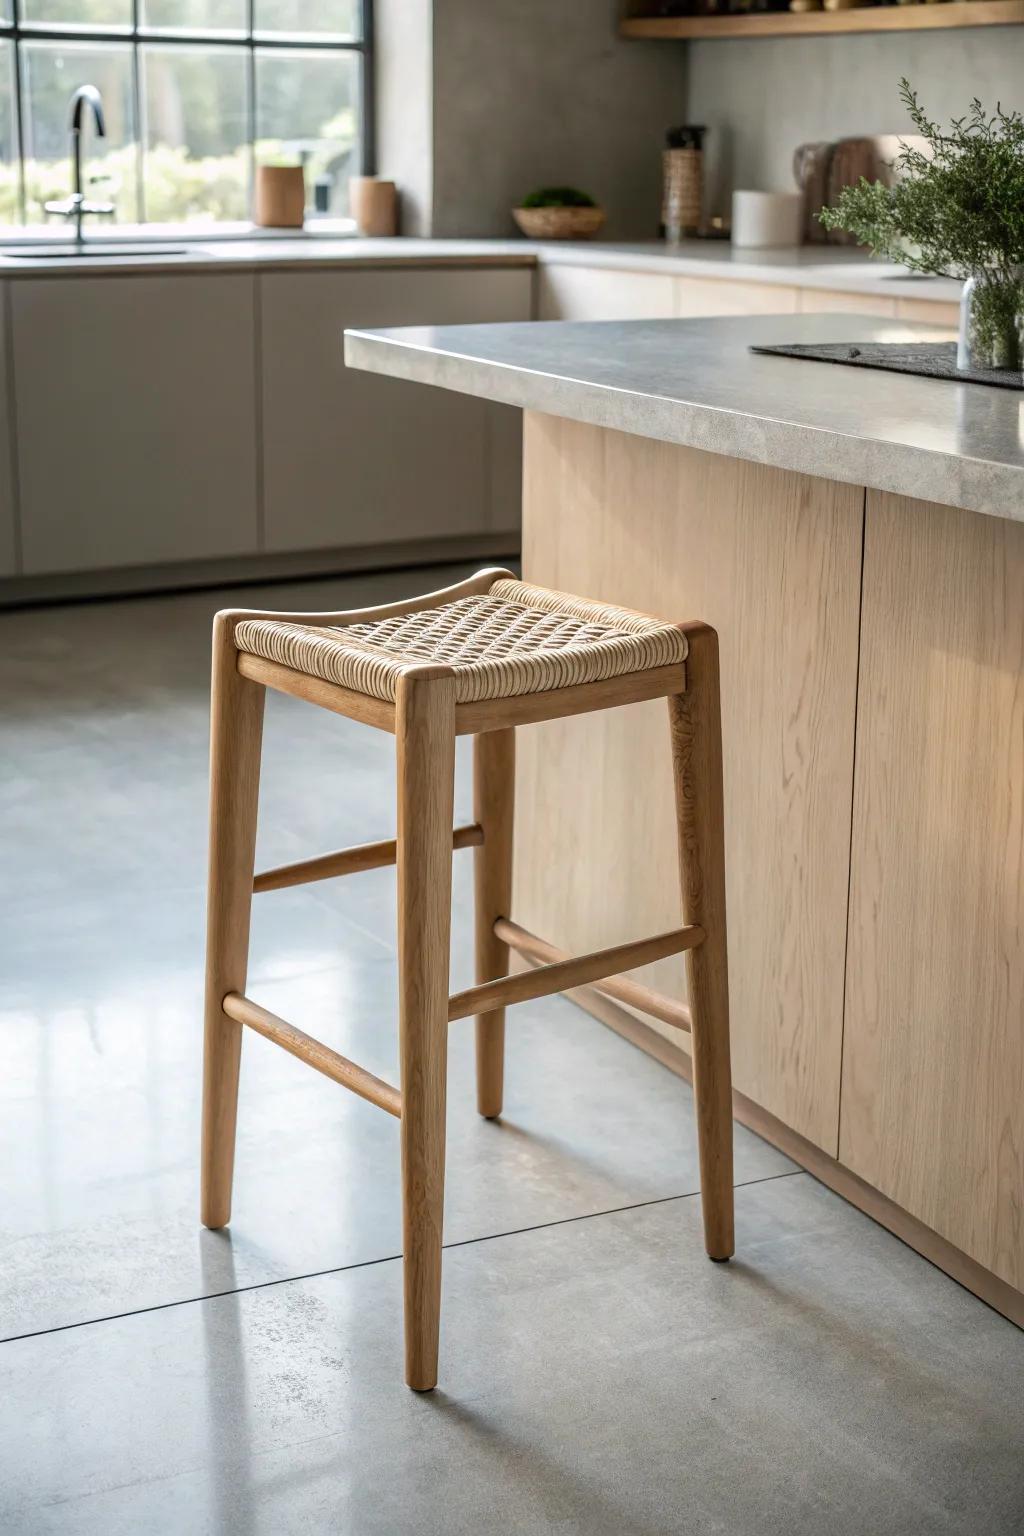
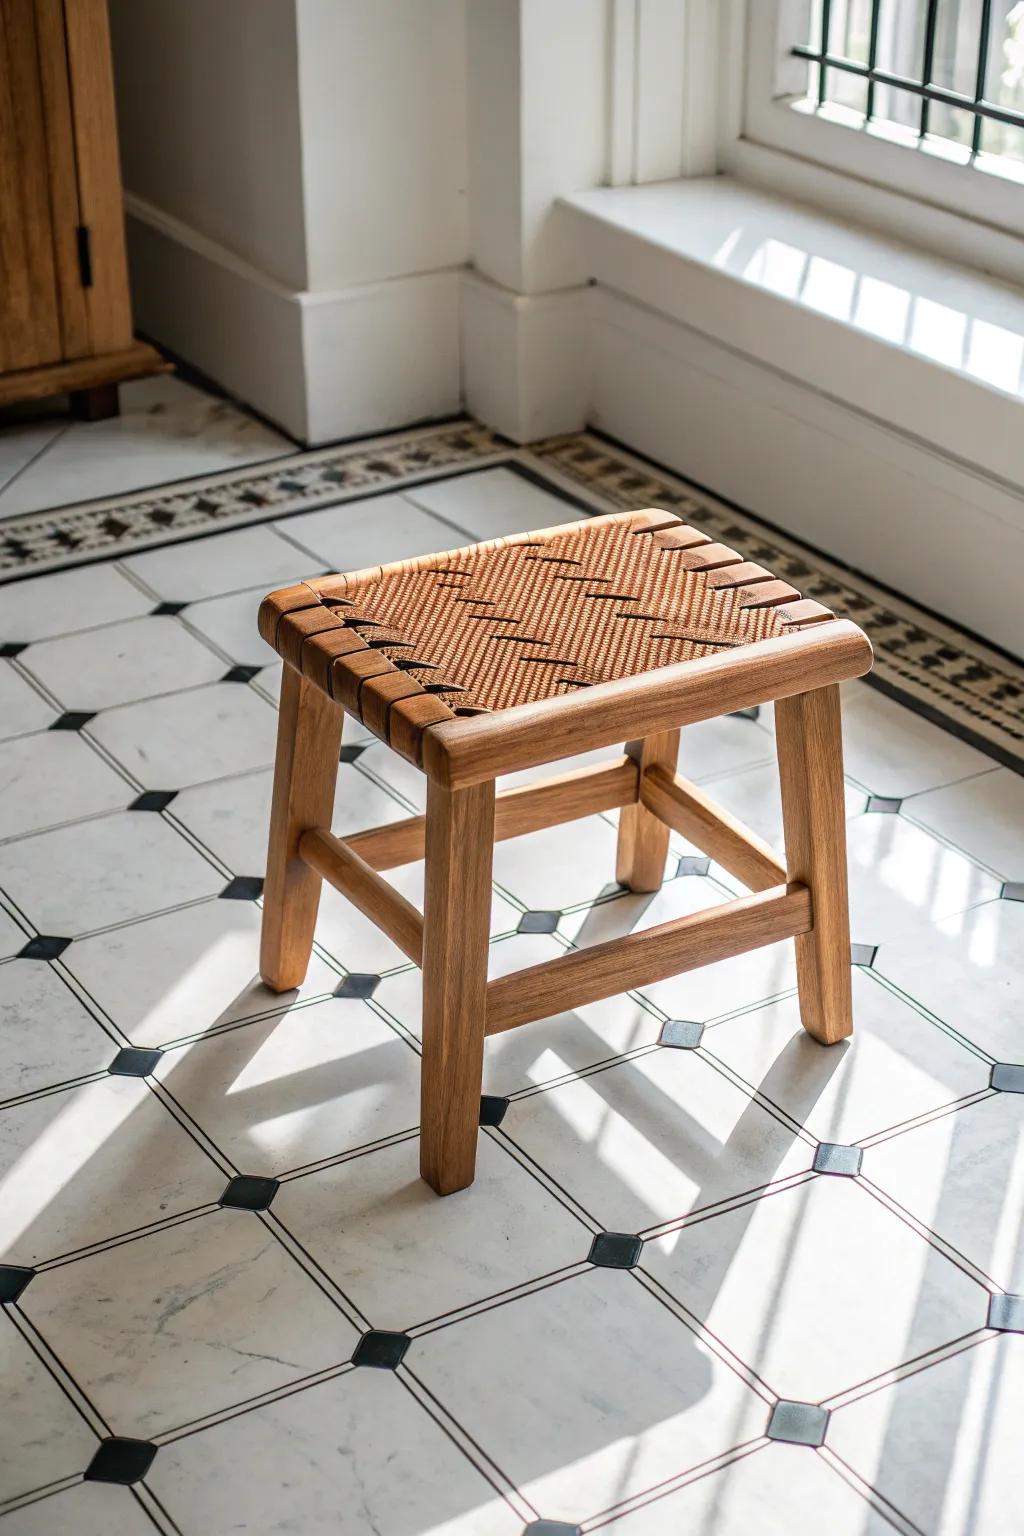
- Wooden Woven Footstool: Warm up your cool tiled floors with natural textures and wood tones using a versatile, rustic accent stool.


DIY Checkerboard Paint Pattern
One of my favorite cheap “designer” looks is a painted checkerboard kitchen floor, and I’ve pulled it off with careful taping and patience. It’s playful, classic, and gives you that vintage charm without paying for specialty tile.
Might be a good match:
- Multi-Surface Painters Tape: Achieve crisp, clean lines on your floor by securely masking off your square pattern before painting.
- Floor Stencil or Template: Ensure perfectly uniform squares and save measuring time by using a reusable large-scale floor stencil.
- Porch and Floor Paint: Select a durable, scuff-resistant paint formulated specifically for high-traffic floors to ensure long-lasting results.
Tile Near the Sink, Planks Elsewhere
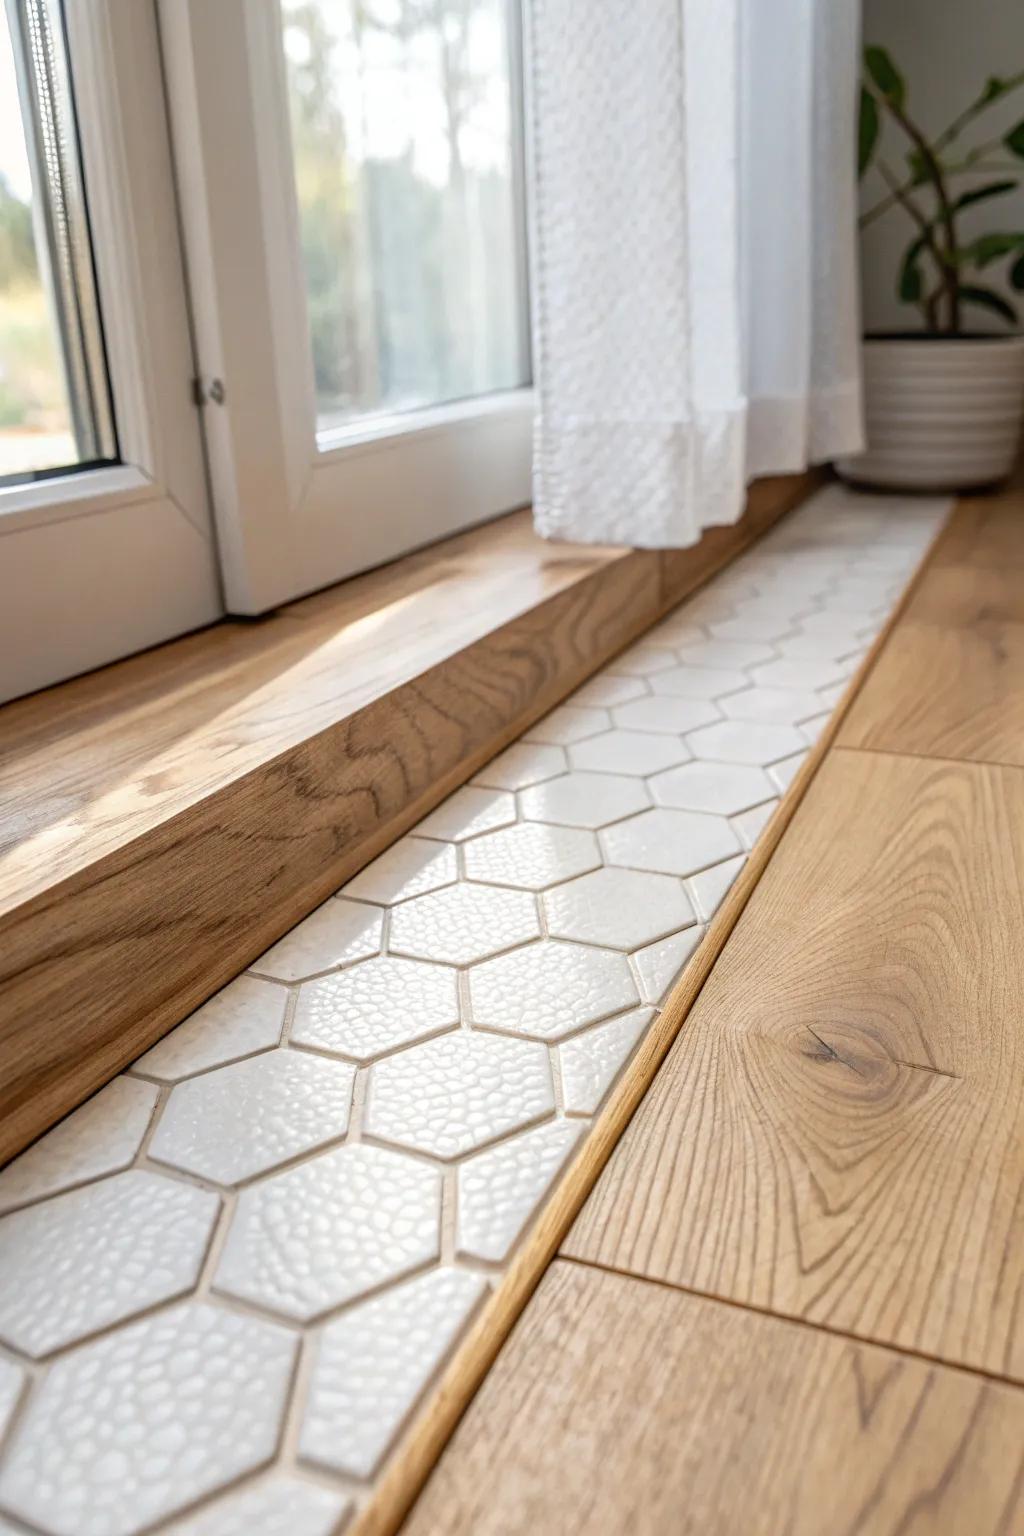
To stretch the budget, I’ve done a “work zone” of tile by the sink and a cheaper floating plank floor in the rest of the kitchen. It’s practical where water splashes, and it still gives you a cohesive look with a clean transition strip.
Possibly handy products:
- Mosaic Hexagon Porcelain Tile: Create a durable splash zone near your sink with these classic, water-resistant geometric tiles.
- Oak Look Laminate Flooring: Install affordable, easy-to-clean planks in the dining area for a warm, natural wood appearance.
- T-Molding Transition Strip: Bridge the gap cleanly between your tile and wood floors with a matching transition piece.
Thin Brick for Rustic Charm
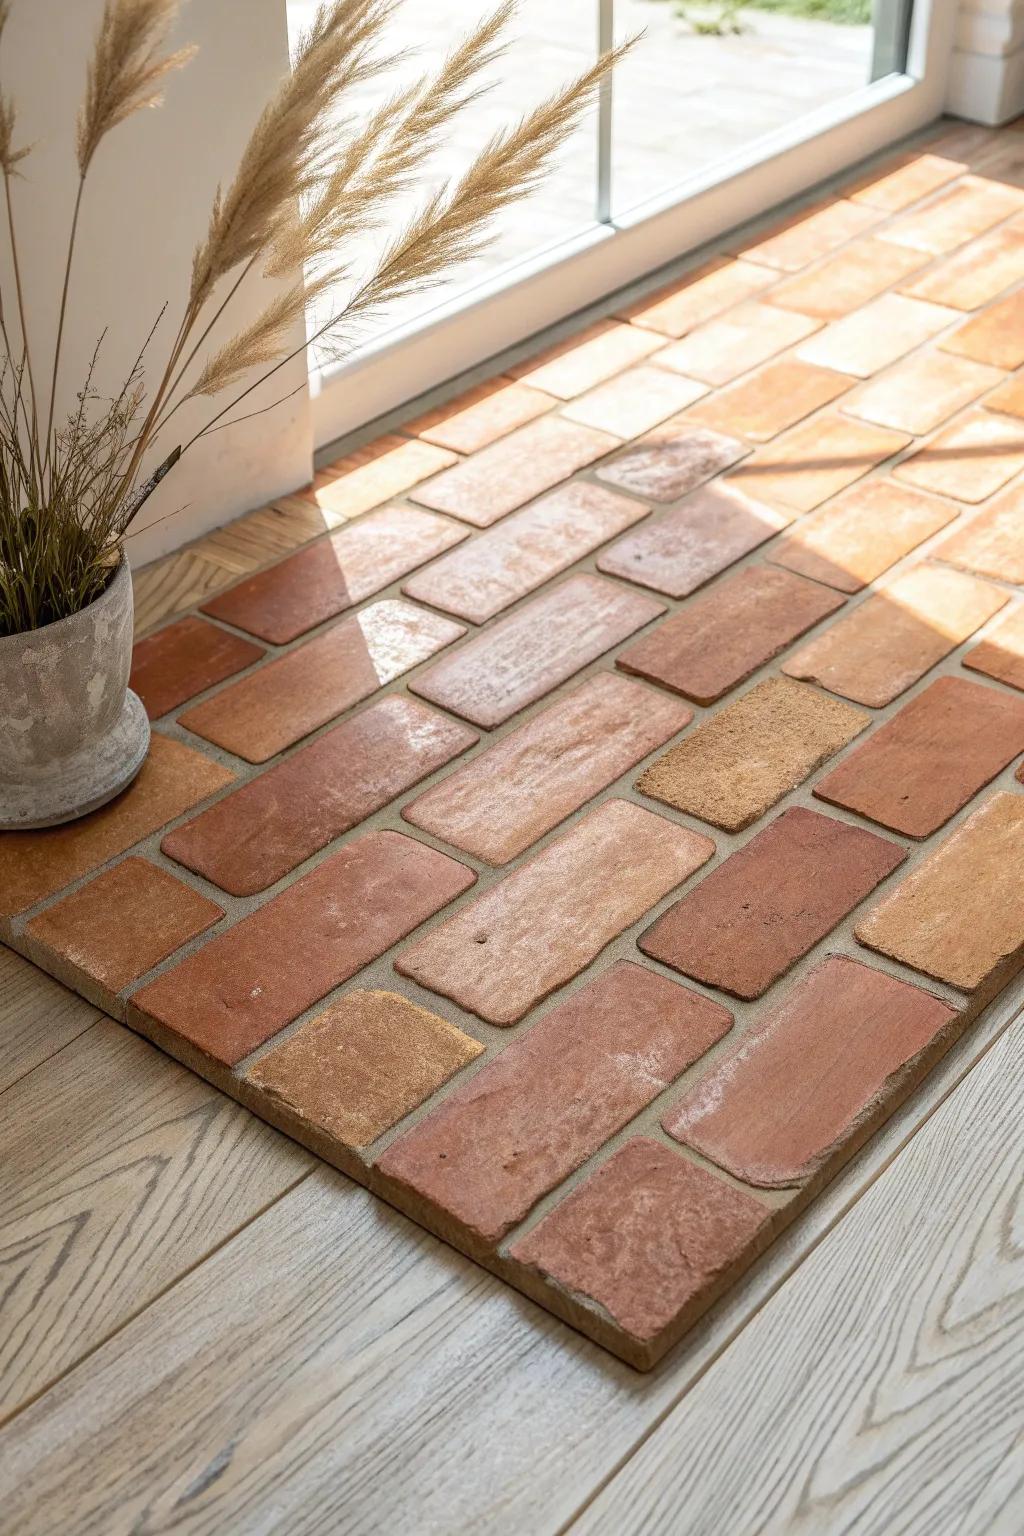
For a rustic kitchen floor on a budget, I’ve used thin brick tile in small areas to get that old-world texture without reworking the whole room. With the right sealant, it holds up better than you’d think and looks incredible with wood cabinets.
Give these a look:
- Terracotta Thin Brick Tiles: Create an authentic, rustic foundation by installing these textured thin bricks that bring warmth to any kitchen space.
- Penetrating Stone & Brick Sealer: Protect your porous brick flooring from kitchen spills and stains while enhancing the natural clay color with this essential sealant.
- Sanded Grout for Wide Joints: Finish your brick floor installation with durable sanded grout designed to fill wider, rustic joints for that classic farmhouse look.

“Tile Rug” Inset With Leftovers

One of my favorite “wow” budget ideas is creating a tile rug inset using leftover or clearance pieces, like a framed pattern right in the middle of the kitchen. I’ve done this to make a basic floor feel custom, and it’s such a conversation starter.
Check these products out:
- Decorative Patterned Floor Tiles: Create your stunning center feature with patterned tiles that contrast beautifully against plain flooring for visual impact.
- Tile Leveling System Kit: Ensure your new inset rug lies perfectly flat and flush with surrounding tiles using this essential installation tool.
- Tile Edge Trim / Transition Strip: Frame your tile rug cleanly or smooth the transition between the inset and existing flooring for a professional finish.


