
The front of your kitchen island is what everyone sees from the “hangout” side, so it deserves a little love beyond plain cabinet backs.
Vertical Slats for a Modern Fluted Look
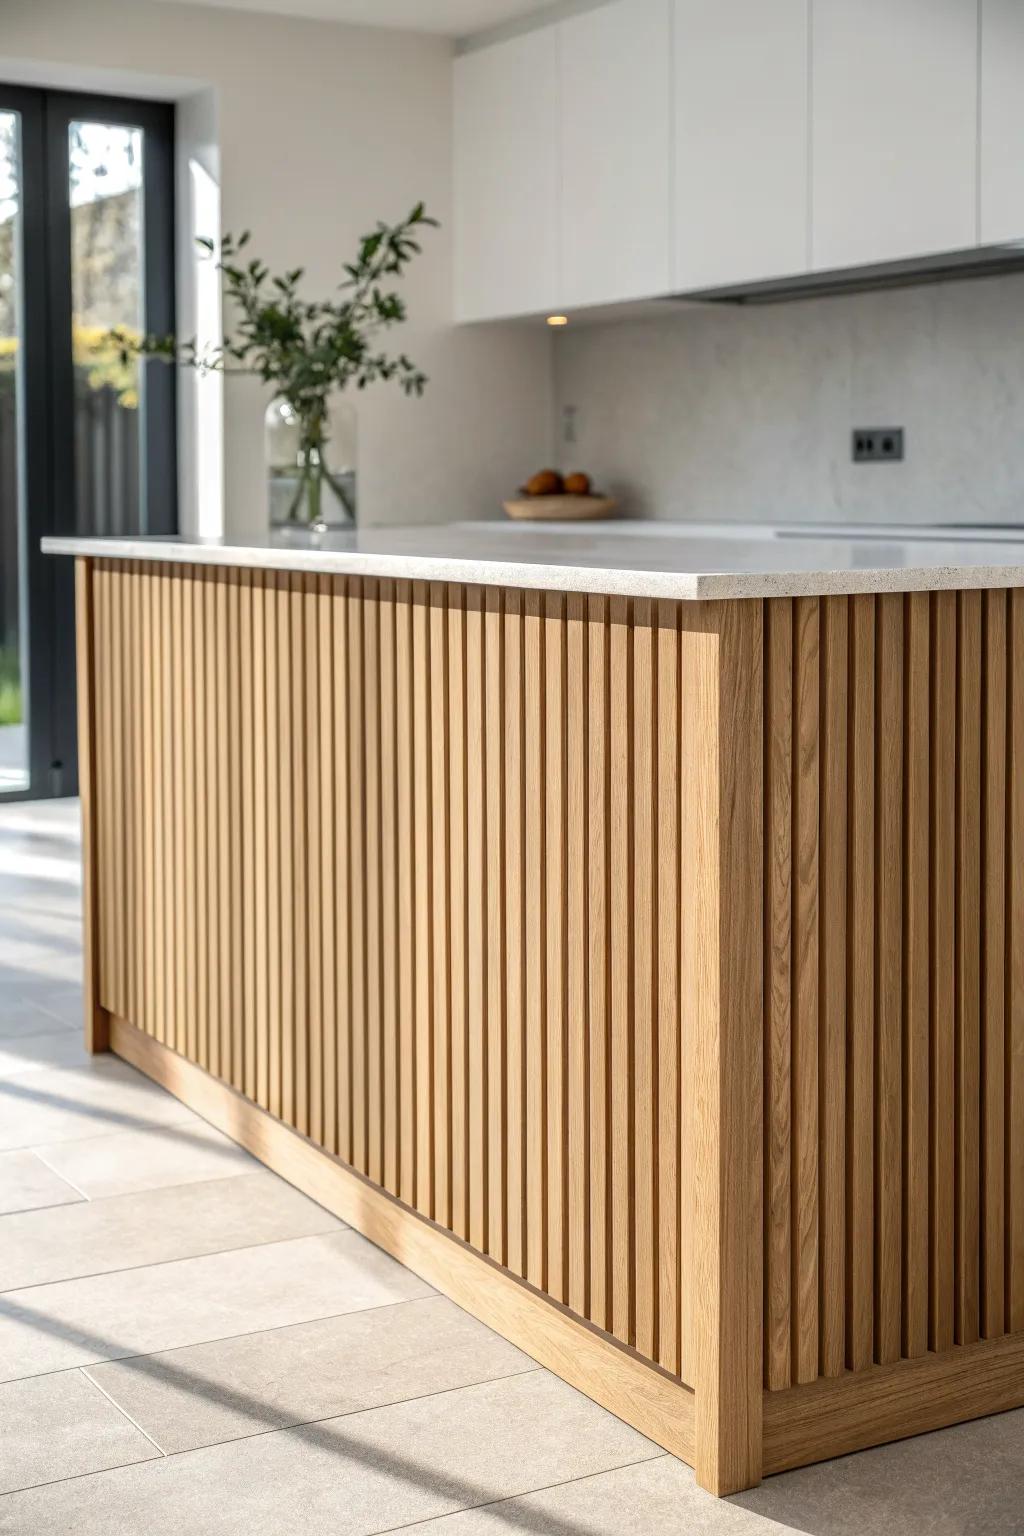
A slatted island front (think tight vertical strips) gives you that fluted texture that looks high-end but is totally buildable with patience. I’ve made slat fronts with simple spacers, and it’s one of my favorite ways to add depth without heavy trim.
These products might be useful:
- Unfinished Oak Wood Slats or Trim: Use these wooden strips to create the core texture; staining or sealing them allows for a custom finish.
- Brad Nailer Kit: Secure your slats quickly and invisibly with this essential tool, ensuring a professional and durable installation.
- Matte Wood Sealer: Protect your new kitchen island front from splashes and stains while maintaining that natural, modern wood look.

Classic Shaker-Style Panels
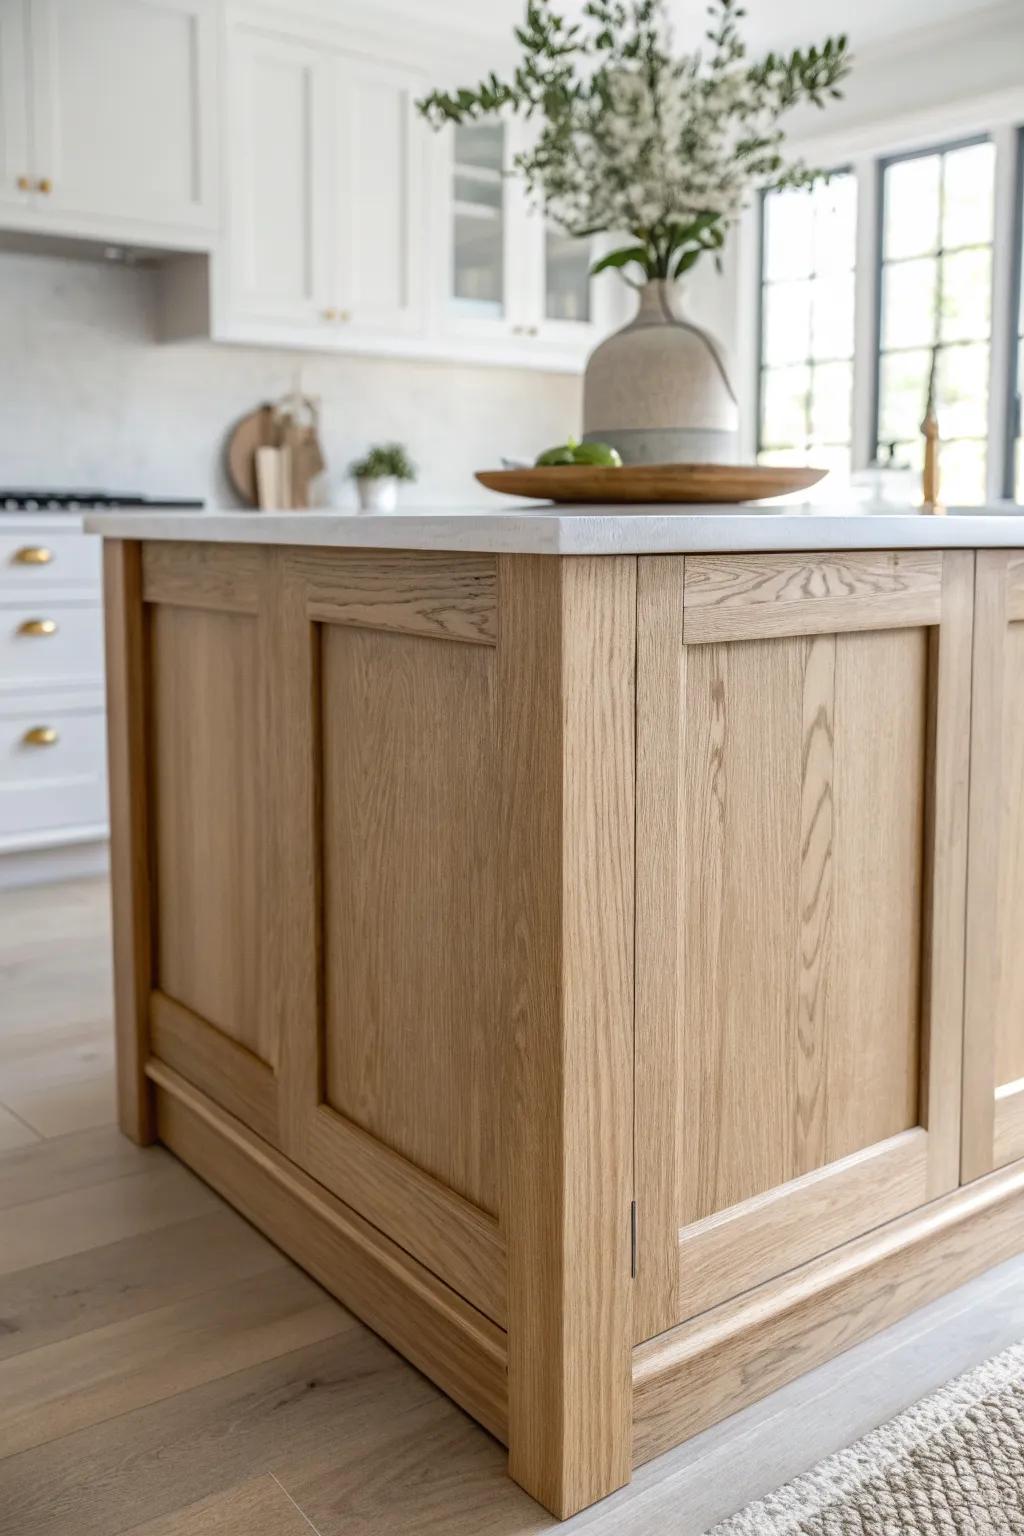
When I want a timeless kitchen island front that works with almost any style, I build simple shaker panels with clean stiles and rails. If you’re new to trim work, this one’s friendly—I’ve dressed up “basic” islands with panels like this and it instantly looks custom.
Check if these fit your needs:
- Pre-Primed Shaker Panel Molding Kit: Create clean lines instantly by using pre-cut molding strips to frame your island’s panels with professional precision.
- Brad Nailer Kit: Secure your new panel trim firmly and invisibly to ensure your island upgrade lasts for years to come.
- High-Quality Wood Filler & Putty Knife: Achieve a seamless finish by filling nail holes and gaps before painting or staining your new shaker panels.
Beadboard for Cottage Texture
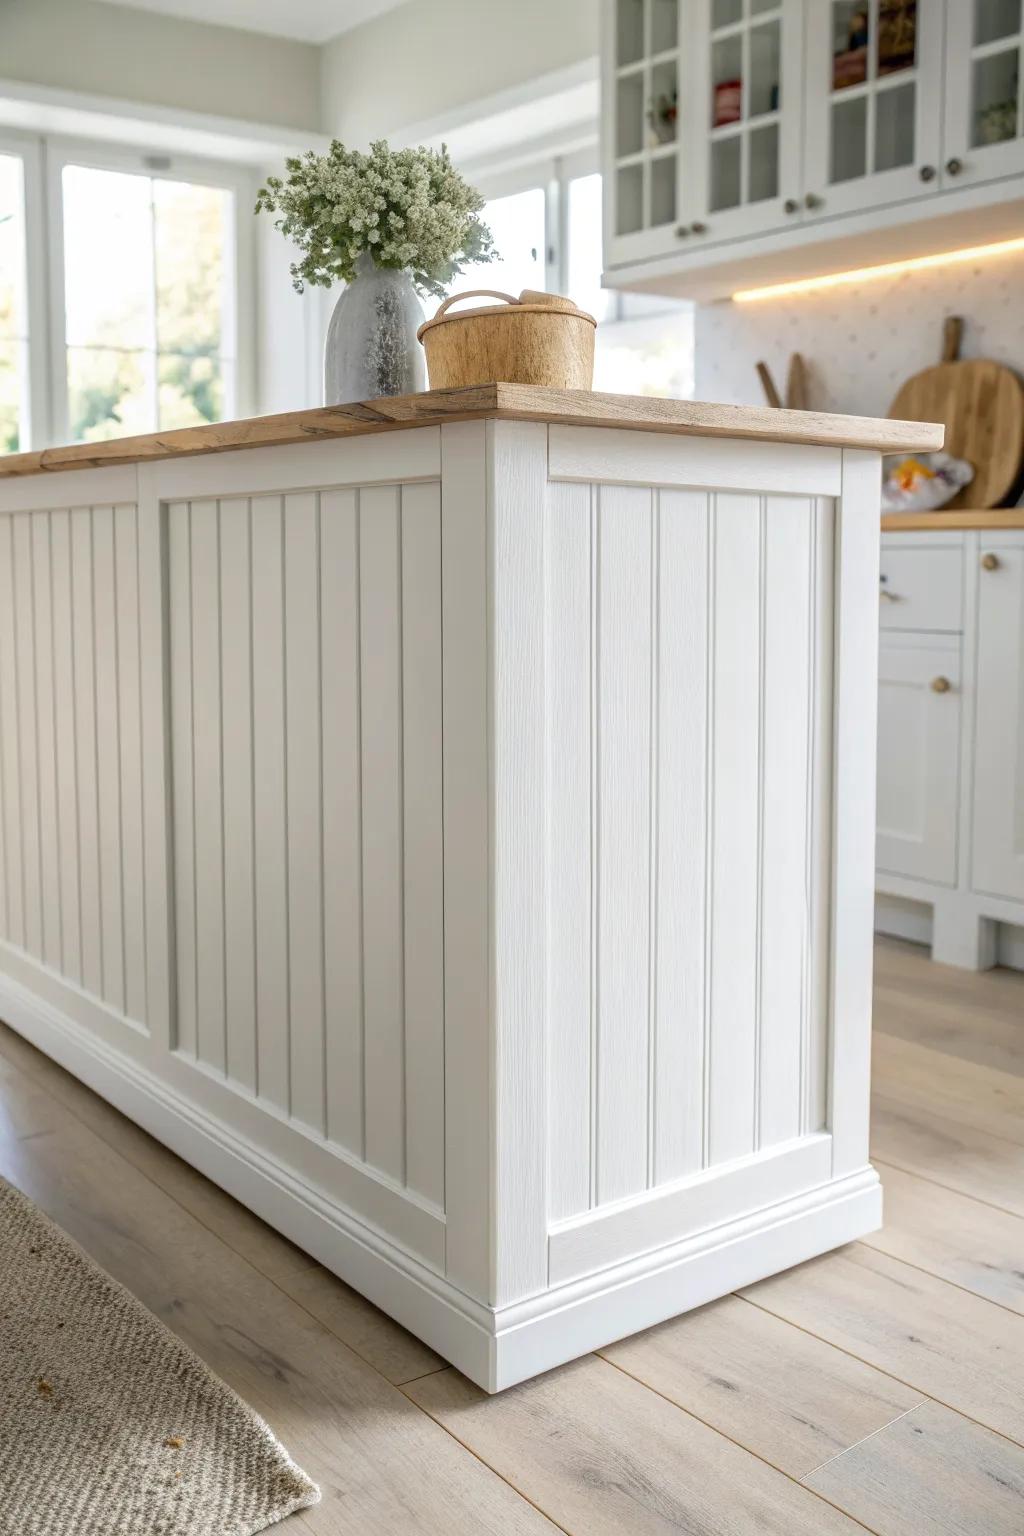
A beadboard island front adds that soft, cozy texture that makes stools feel like a real little dining spot. I’ve used beadboard sheets on island fronts in rentals and remodels because it’s quick, forgiving, and still looks like real craft.
You might like:
- Paintable Beadboard Wallpaper: Refresh your island front easily with this textured wallpaper that mimics the look of real wood paneling.
- White Interior Wood Paint: Achieve a crisp, clean finish on your beadboard paneling with a durable, easy-to-clean semi-gloss paint.
- Baseboard Molding Trim: Complete the custom look by framing the bottom of your island with classic white baseboard molding.

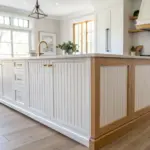
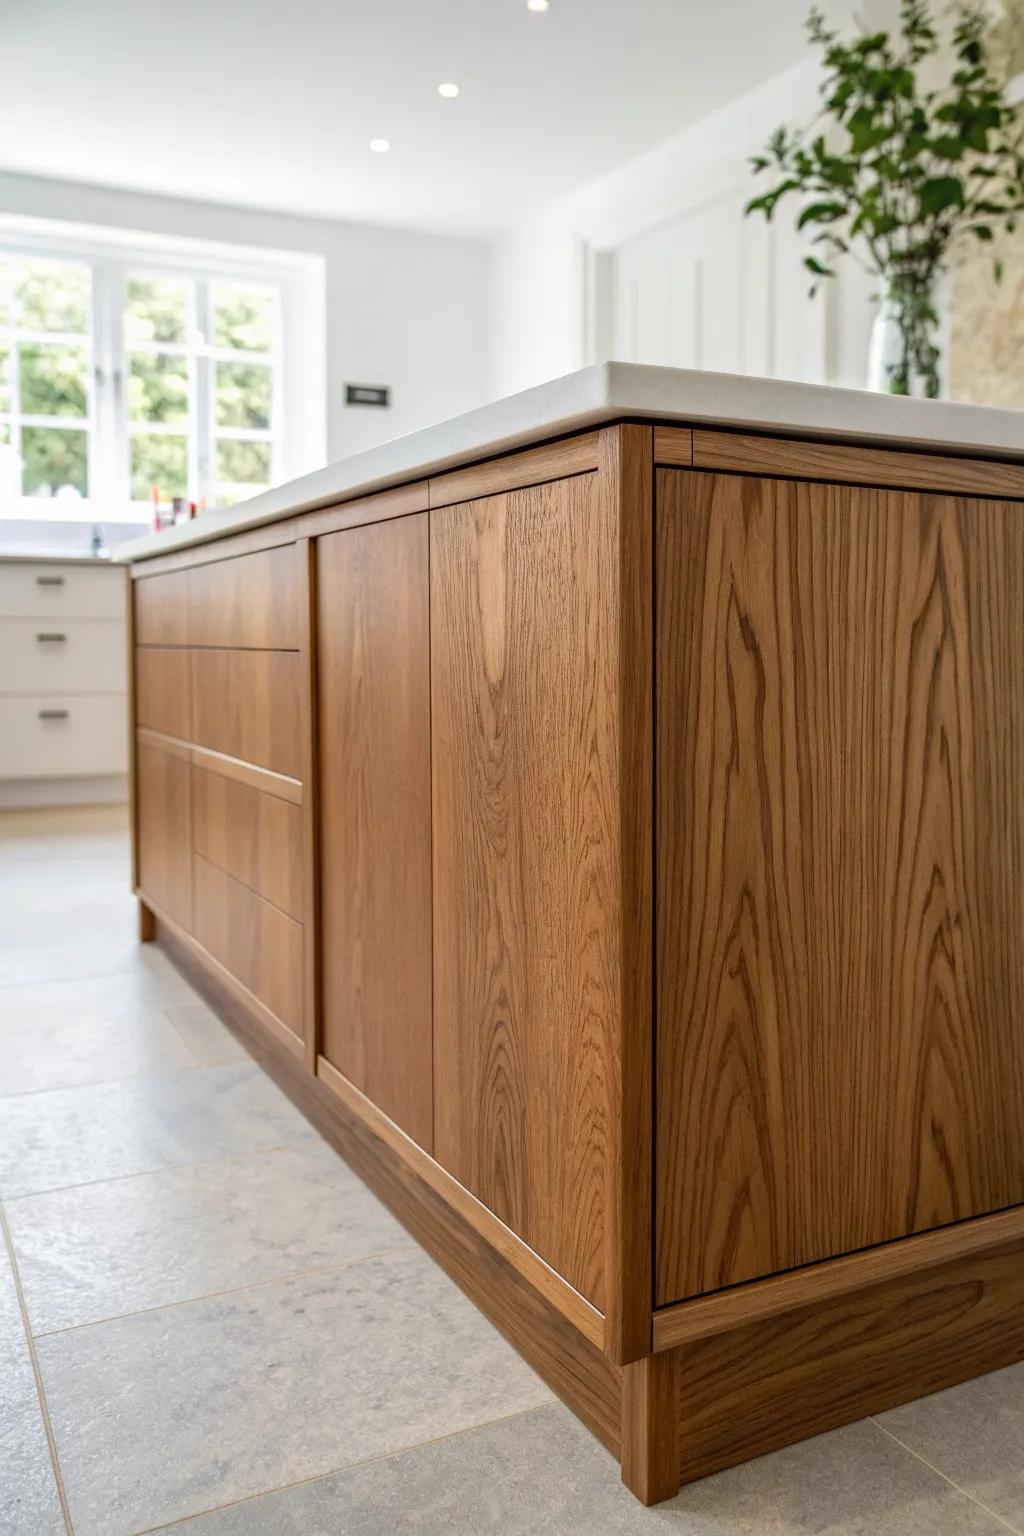
Wainscoting Frame-and-Panel Trim
If you like that polished farmhouse look, a wainscoting-style island front is basically trim magic—just frames, a top rail, and a crisp base. I’ve built these frames right on the island face, and the extra depth makes the whole kitchen feel more “finished.”
These products might help:
- Unfinished Wood Molding Strips: Create your custom frames with versatile molding strips that can be cut and stained to match any island.
- Wood Stain & Sealer: Enhance the natural wood grain of your new trim work with a high-quality stain for a durable finish.
- Brad Nailer Kit: Secure your trim pieces precisely without splitting the wood for a professional-looking, seamless island installation.
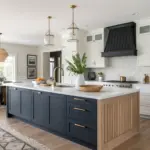
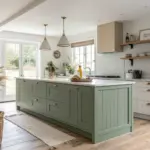
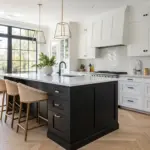
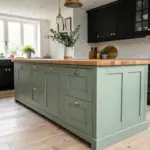
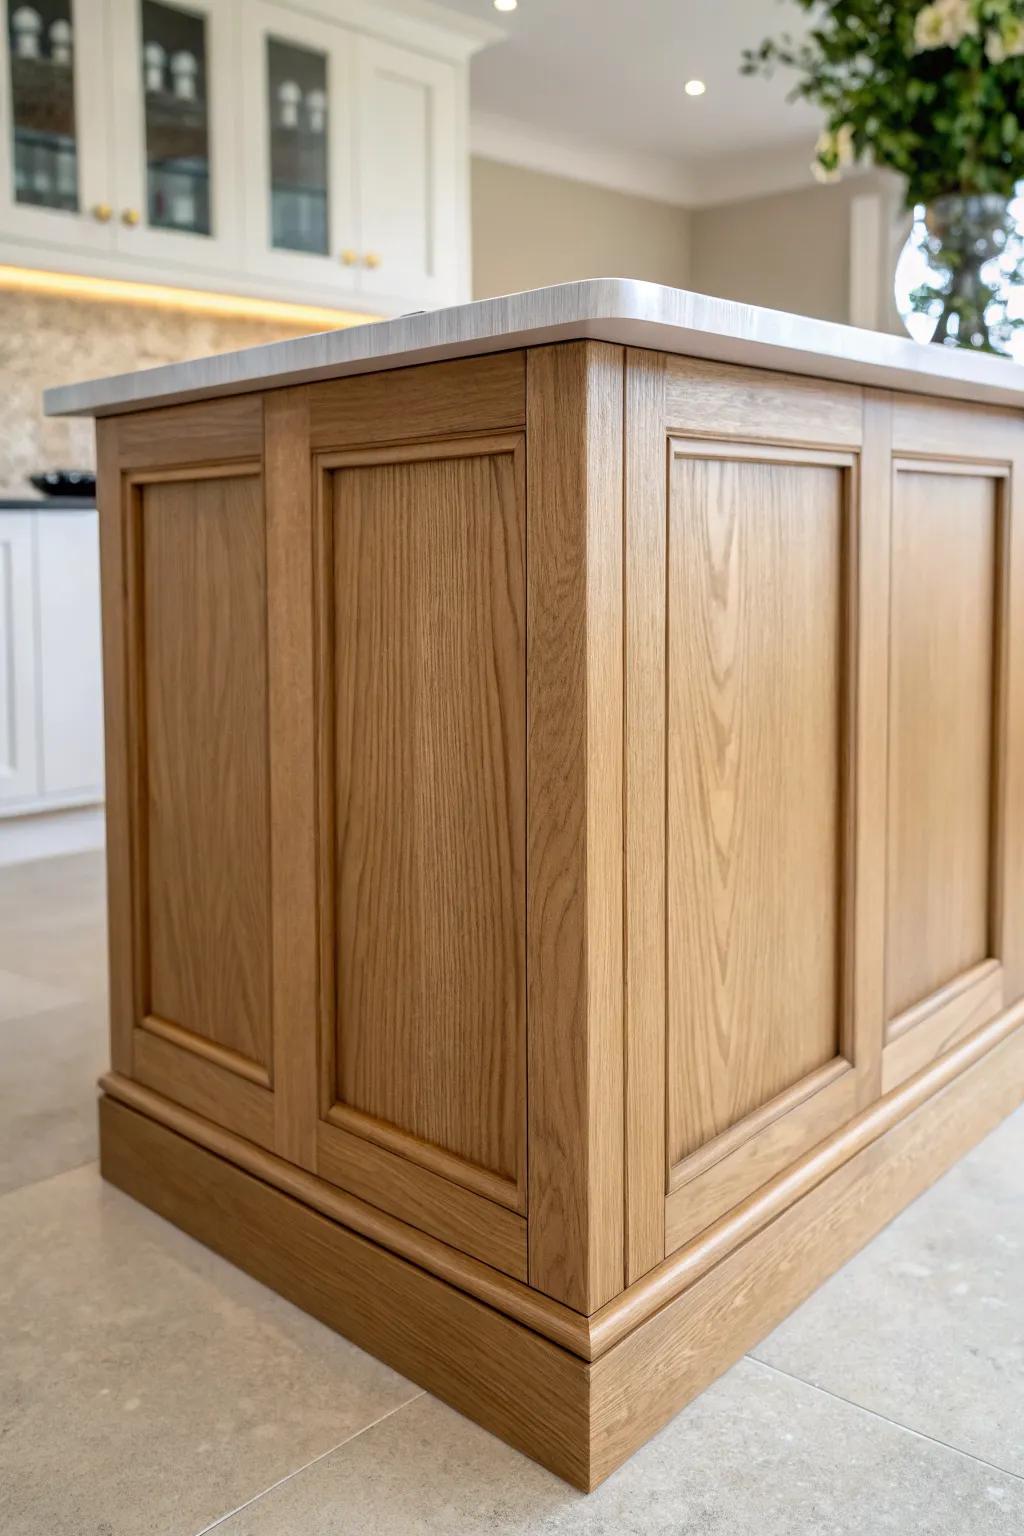
Contrasting Paint on the Island Front
Painting the island front a different color than the perimeter cabinets is the fastest way to make it a statement without changing the layout. I’ve done this on a tight budget, and it’s wild how a bold contrast makes your island look like a furniture piece.
A few relevant products:
- Cabinet & Furniture Paint: Transform your kitchen island with durable, self-leveling paint designed specifically for smooth finishes on cabinetry.
- Gold Cup Pull Hardware: Update your island’s look instantly by swapping old handles for classic brass or gold bin pulls.
- Cabinet painting kit: Ensure a professional-looking result with a complete set of foam rollers, angled brushes, and trays.
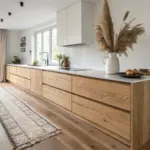
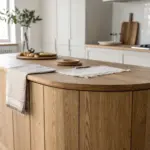
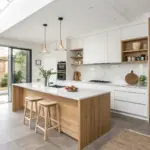
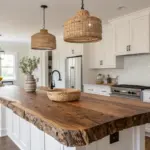
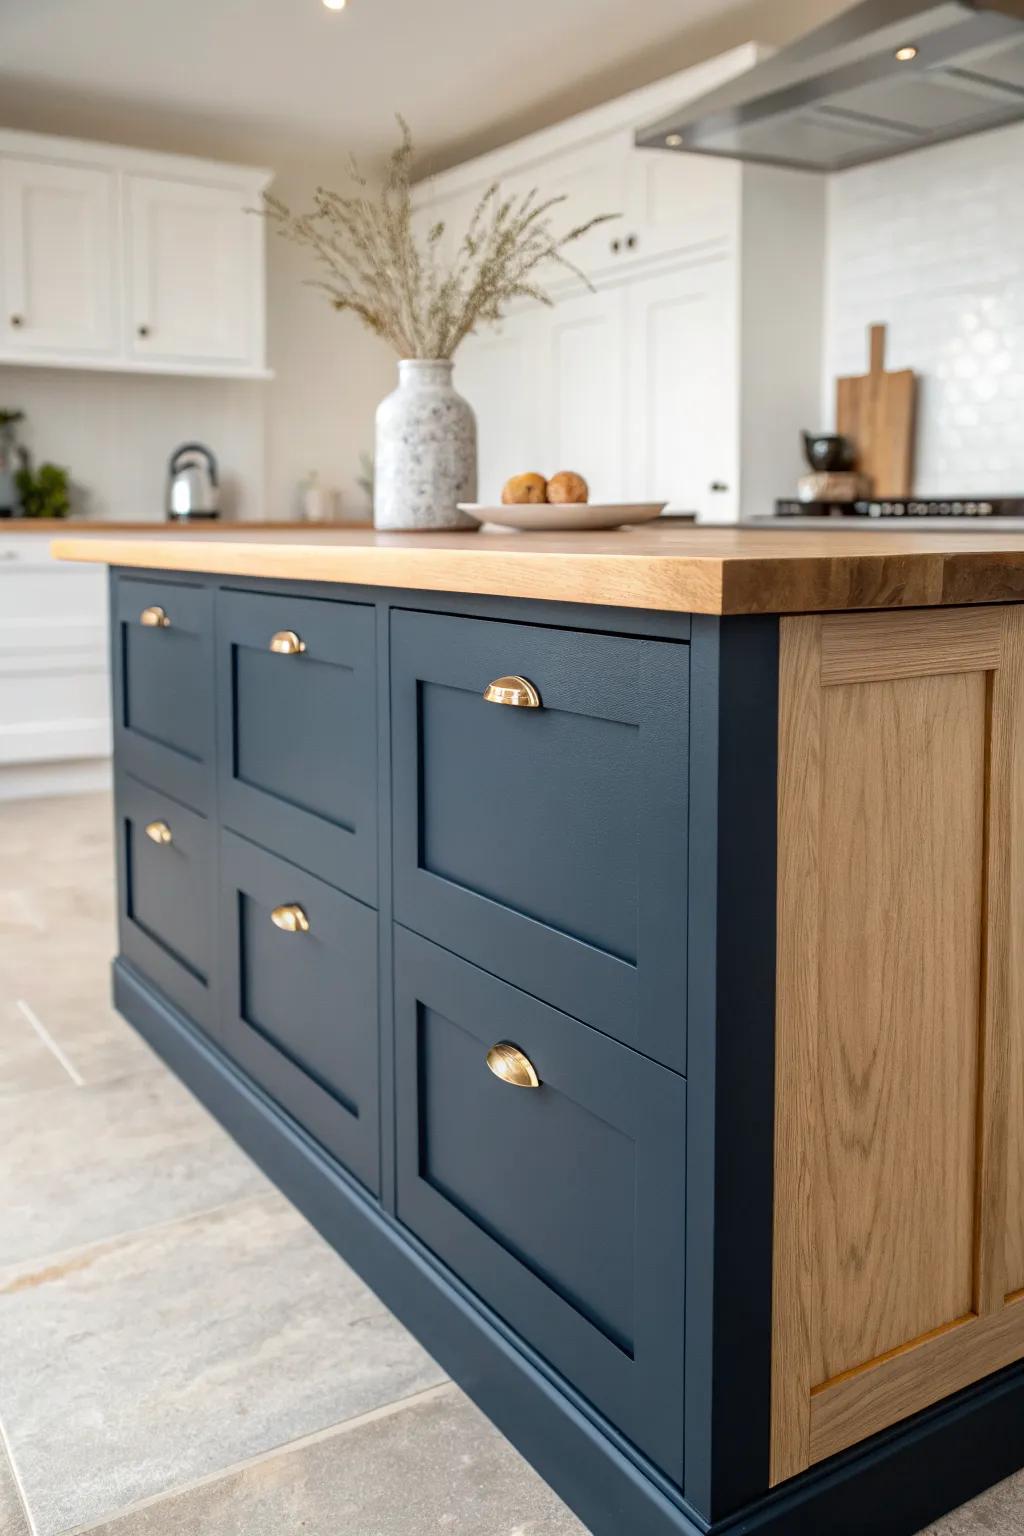
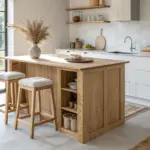
Warm Wood Stain as a Focal Point
A stained wood island front brings instant warmth, especially in bright kitchens where everything else is light and smooth. I love letting the grain show, and I’ve had good luck using a clear, durable topcoat so the “public side” holds up to feet and fingerprints.
A few choices to try:
- Clear Matte Polyurethane Finish: Protect your wood surfaces with a durable, non-yellowing finish that resists everyday scuffs without hiding the grain.
- Natural Penetrating Wood Stain: Enhance the natural warmth of your island with a rich stain that deepens color while highlighting texture.
- Microfiber Tack Cloths: Ensure a flawless, professional-looking application by removing every speck of dust before staining or sealing your wood.
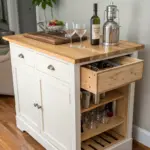
Built-In Cubby Grid for Bottles or Baskets
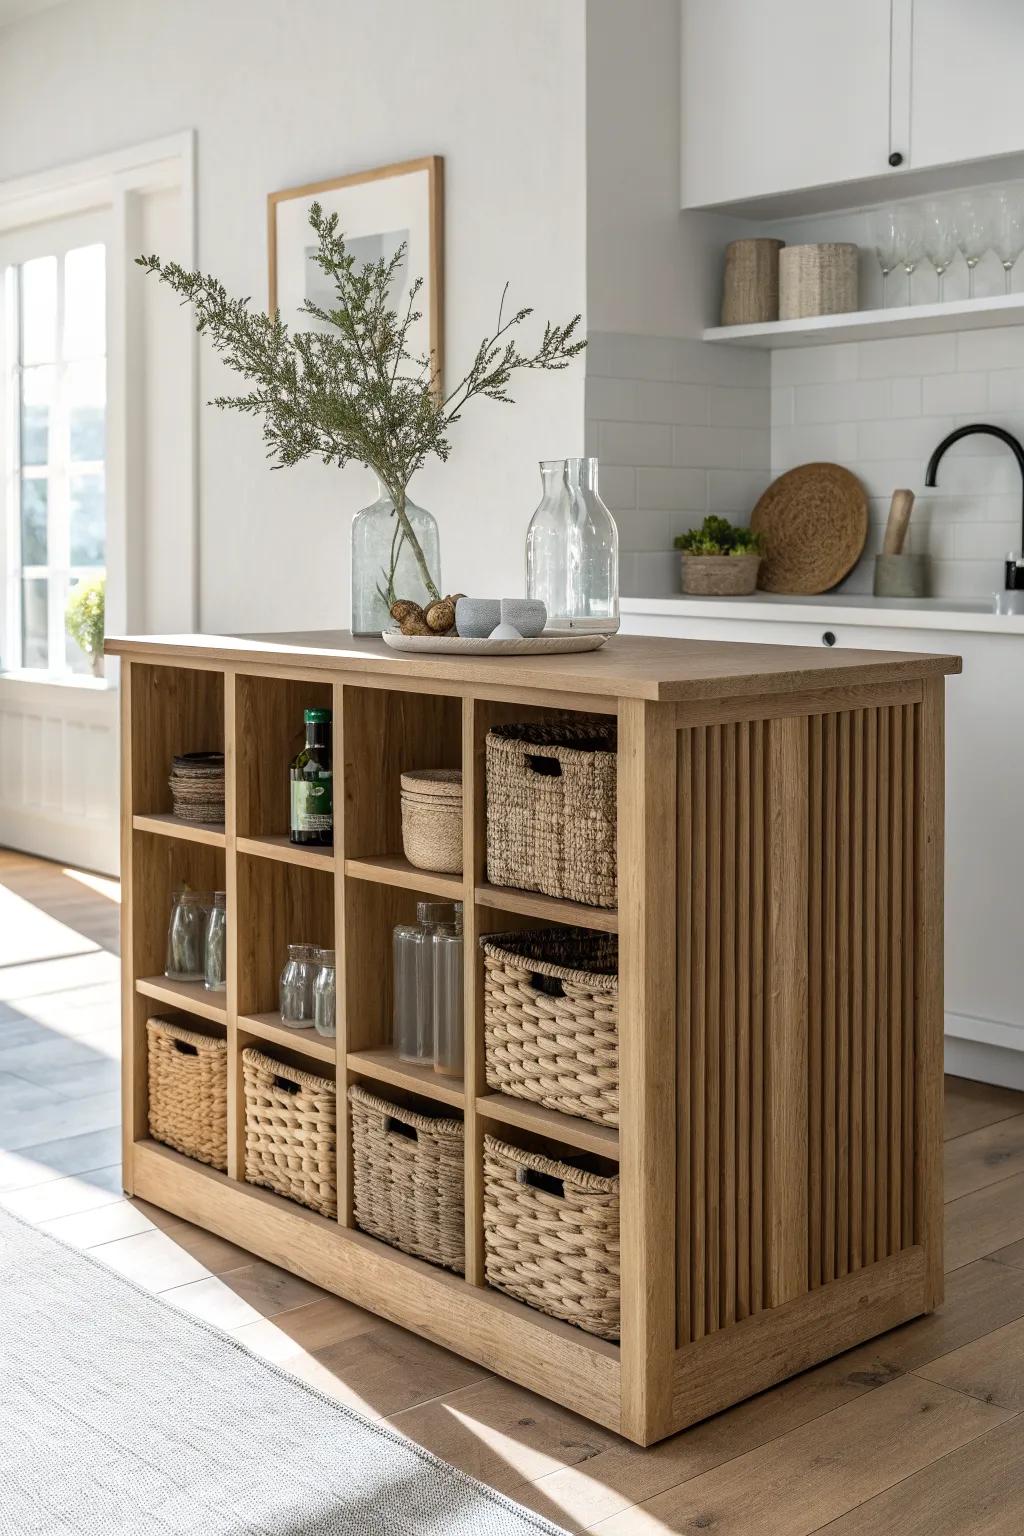
A simple cubby grid turns the kitchen island front into storage that looks like décor, especially with woven baskets or a few special bottles. I’ve built these grids from scrap hardwood strips, and it’s a fun weekend project with a big visual payoff.
A few things you might like:
- Woven Storage Baskets: Organize your open cubbies with these natural woven baskets to hide clutter and add rustic texture instantly.
- Decorative Glass Pitchers: Display minimalist glass pitchers or carafes on open shelving to reflect light and create an airy, modern look.
- Faux Greenery Stems with Vase: Add a fresh focal point to your island counter with realistic faux branches in a simple, elegant vase.
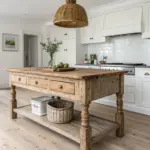
Reclaimed Plank Wrap on the Island Face
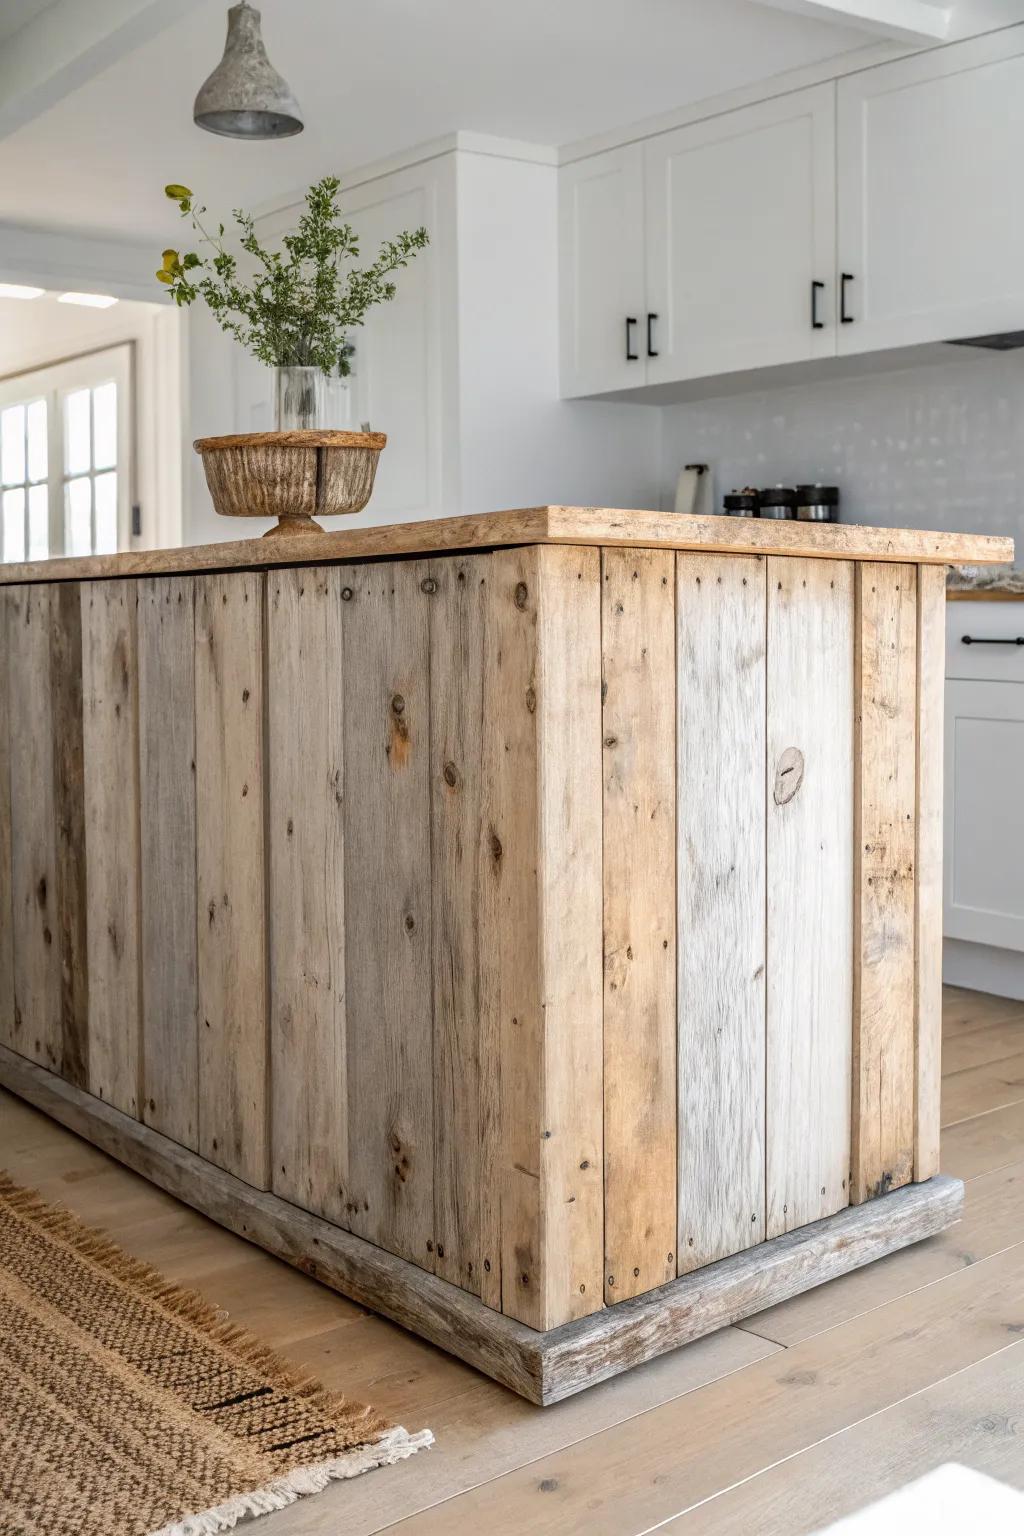
For instant rustic character, I wrap the island front in reclaimed wood planks and keep the edges slightly imperfect on purpose. I’ve pulled boards from old shelving and fence panels, and that weathered grain makes the island feel like it has a story.
Try these:
- Reclaimed Wood Planks: Instantly add rustic charm to your island by applying real weathered wood planks for an authentic farmhouse look.
- Brad Nailer Kit: Secure your wood planks efficiently and neatly without splitting the timber using this essential installation tool.
- Matte Polyurethane Sealer: Protect your new wood surface from kitchen spills while maintaining that natural, non-glossy weathered finish.
Tile-Faced Island Front for Pattern
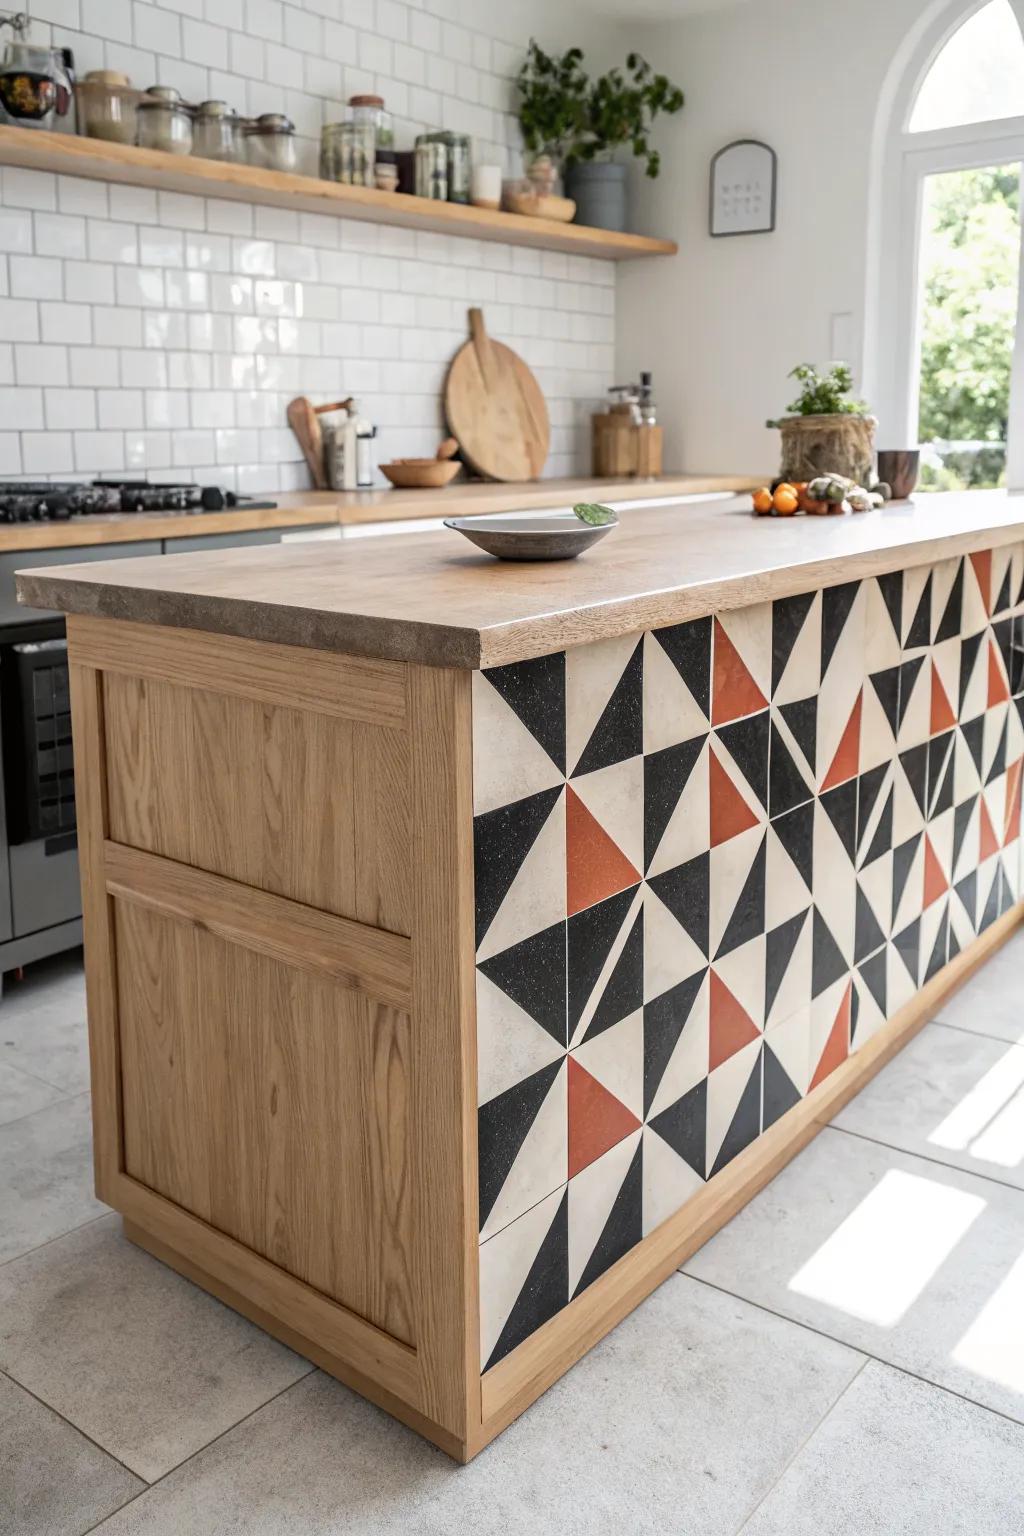
Tiling the kitchen island front is such a bold move—especially if you go with a graphic pattern that reads like art from across the room. I’ve helped install tile on an island face before, and the key is a super-flat substrate so your lines stay crisp.
Explore these options:
- Geometric Patterned Tile SticKers: Transform your island quickly with these adhesive decals that mimic the look of real custom tilework effortlessly.
- Decorative Cement Tile: Create a durable, high-end focal point by installing authentic patterned tiles directly onto your island’s front face.
- Strong Tile Adhesive: Ensure your new tiled masterpiece stays perfectly secure on the vertical surface with high-performance, easy-to-spread adhesive.
Cane-Webbed Panels for Airy Texture
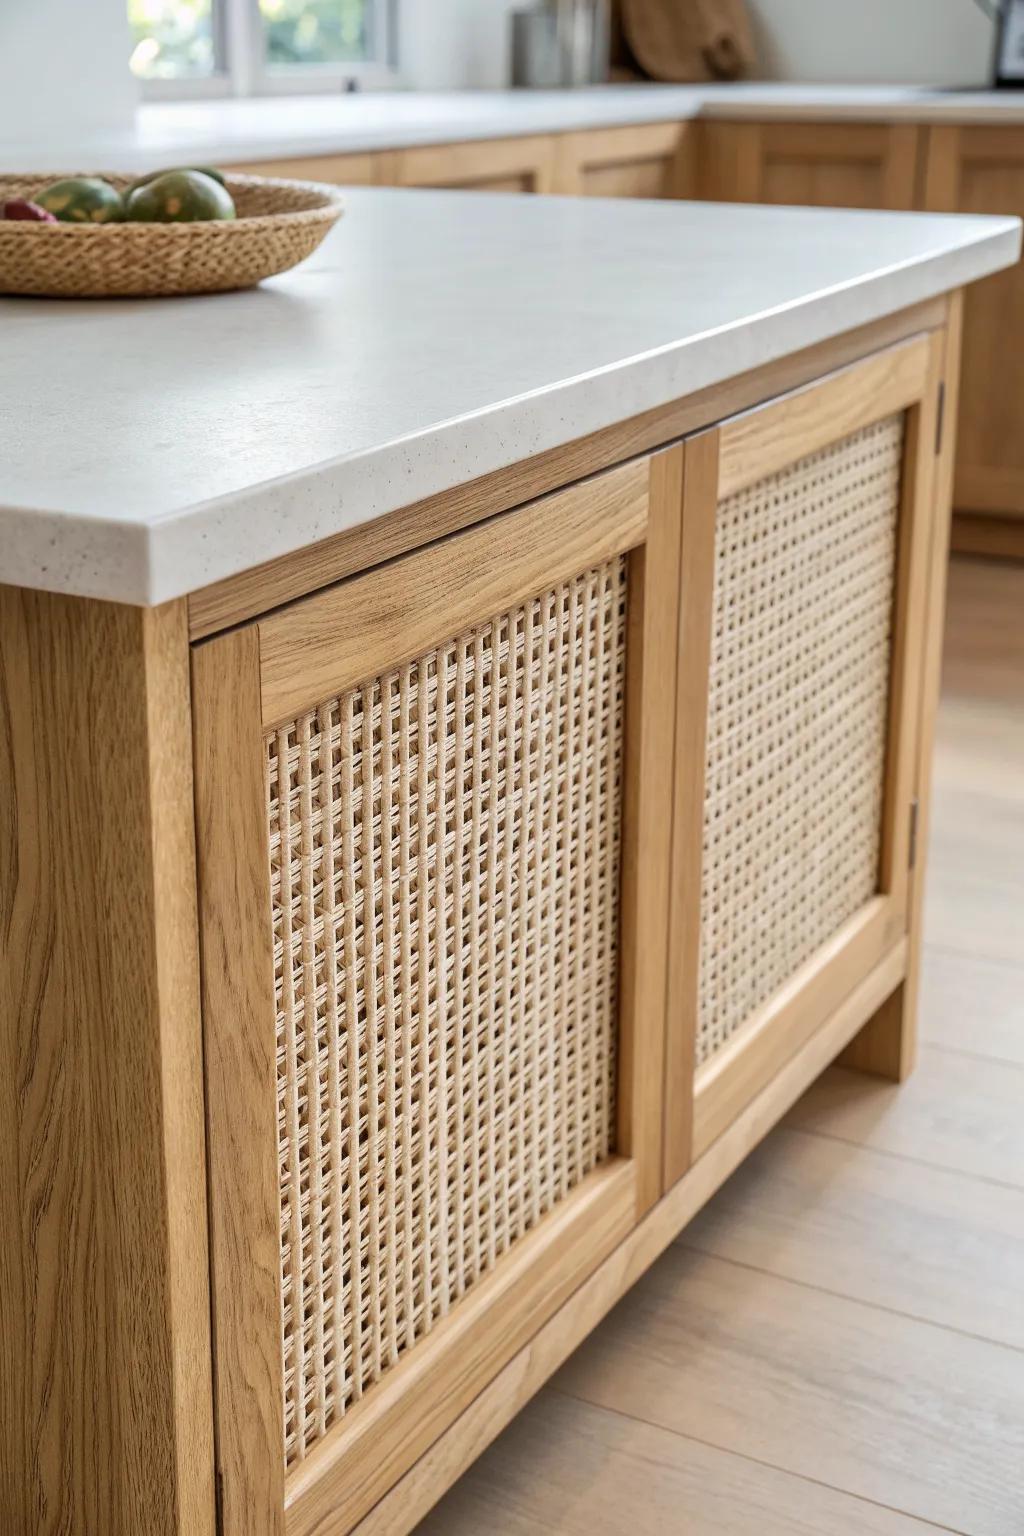
Swapping in cane webbing inserts on the island front adds this light, vintage texture that looks amazing with wood countertops and simple stools. I’ve used cane in cabinet doors, and on an island front it’s a total conversation-starter while still feeling warm and natural.
You might give these a try:
- Natural Rattan Cane Webbing Roll: Create beautiful DIY cabinet inserts with natural material that adds instant vintage charm and airy texture to furniture.
- Staple Gun Kit for Upholstery: Secure your new cane webbing panels firmly and professionally to wooden frames with this essential, easy-to-use tool.
- Wood Spline for Caning Projects: Achieve a seamless, professional finish on your island doors by using proper spline to secure the webbing edges.
Metal Straps and Rivet Details
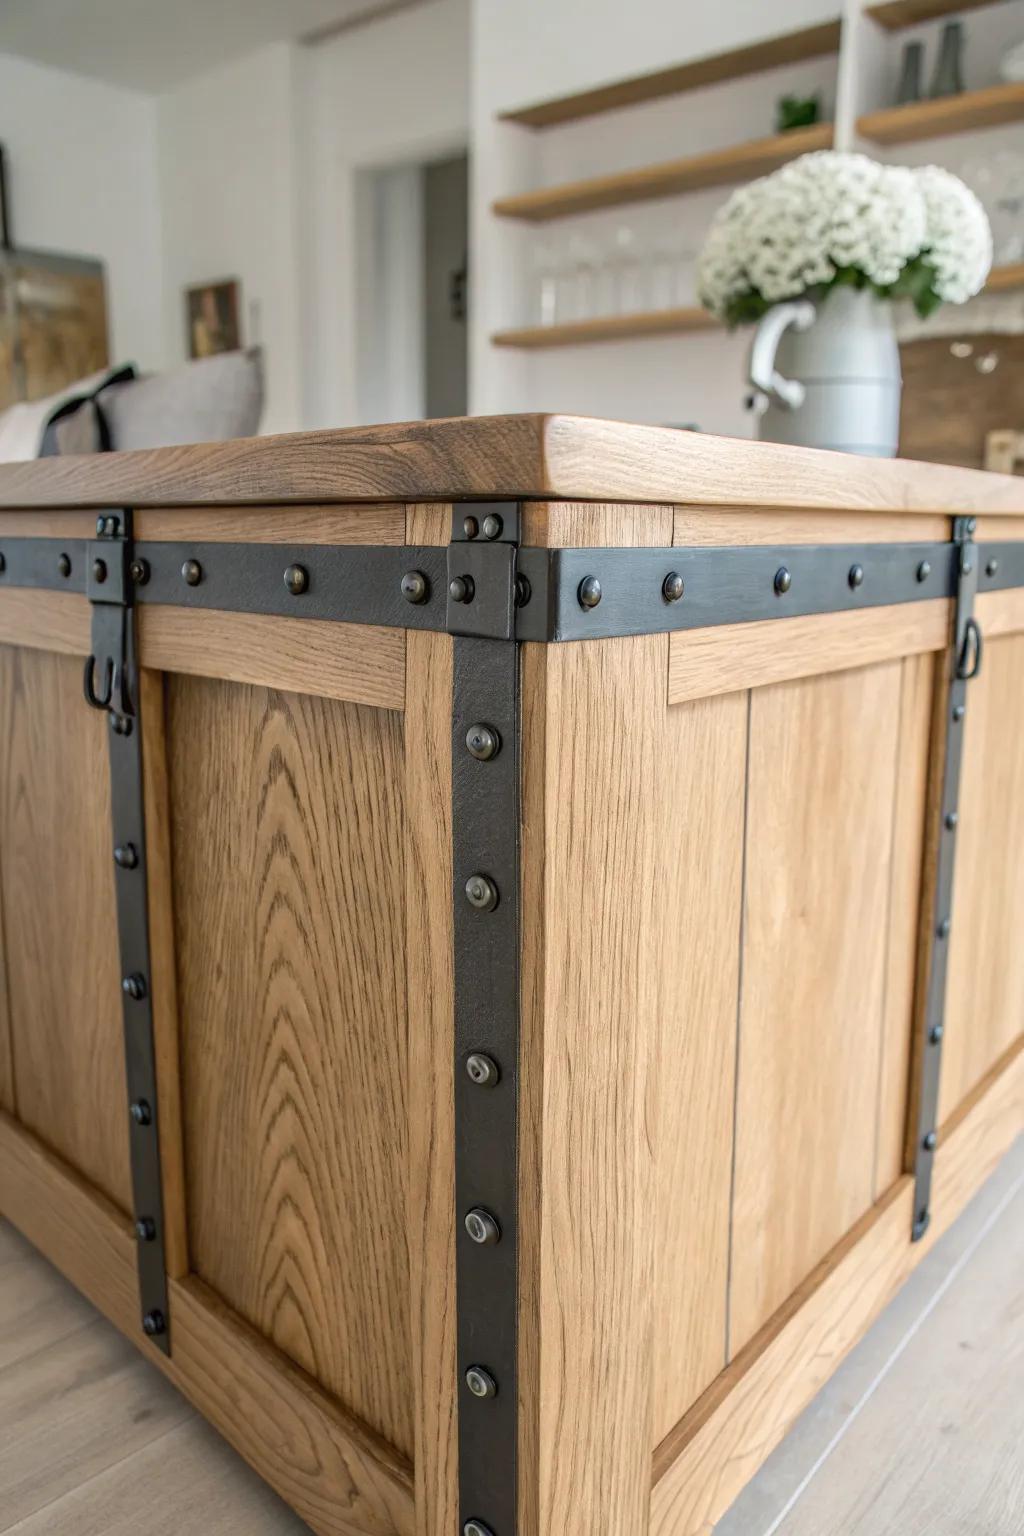
If you want a little industrial edge, add metal strap accents across the island front like it’s a crate or an old workbench. I’ve done faux straps with thin metal and decorative fasteners, and it’s surprisingly easy to make it look rugged and intentional.
A few helpful options:
- Steel Flat Bar Strips: Create the main strap structure by securing these durable flat bars directly onto your wooden island base.
- Decorative Clavos or Nails: Mimic the look of heavy-duty construction by hammering these rustic decorative heads into your metal strapping.
- Corner Braces and Brackets: Add authentic reinforcement to the edges of your island to complete the rugged, industrial crate aesthetic.


