
Living room wall moulding is my favorite way to make plain drywall feel finished, cozy, and a little bit fancy without changing your whole house. With a few smart trim choices, you can add architectural detail that makes your art, sofa, and lighting look like they belong together.
Tall Panels Behind the TV Wall
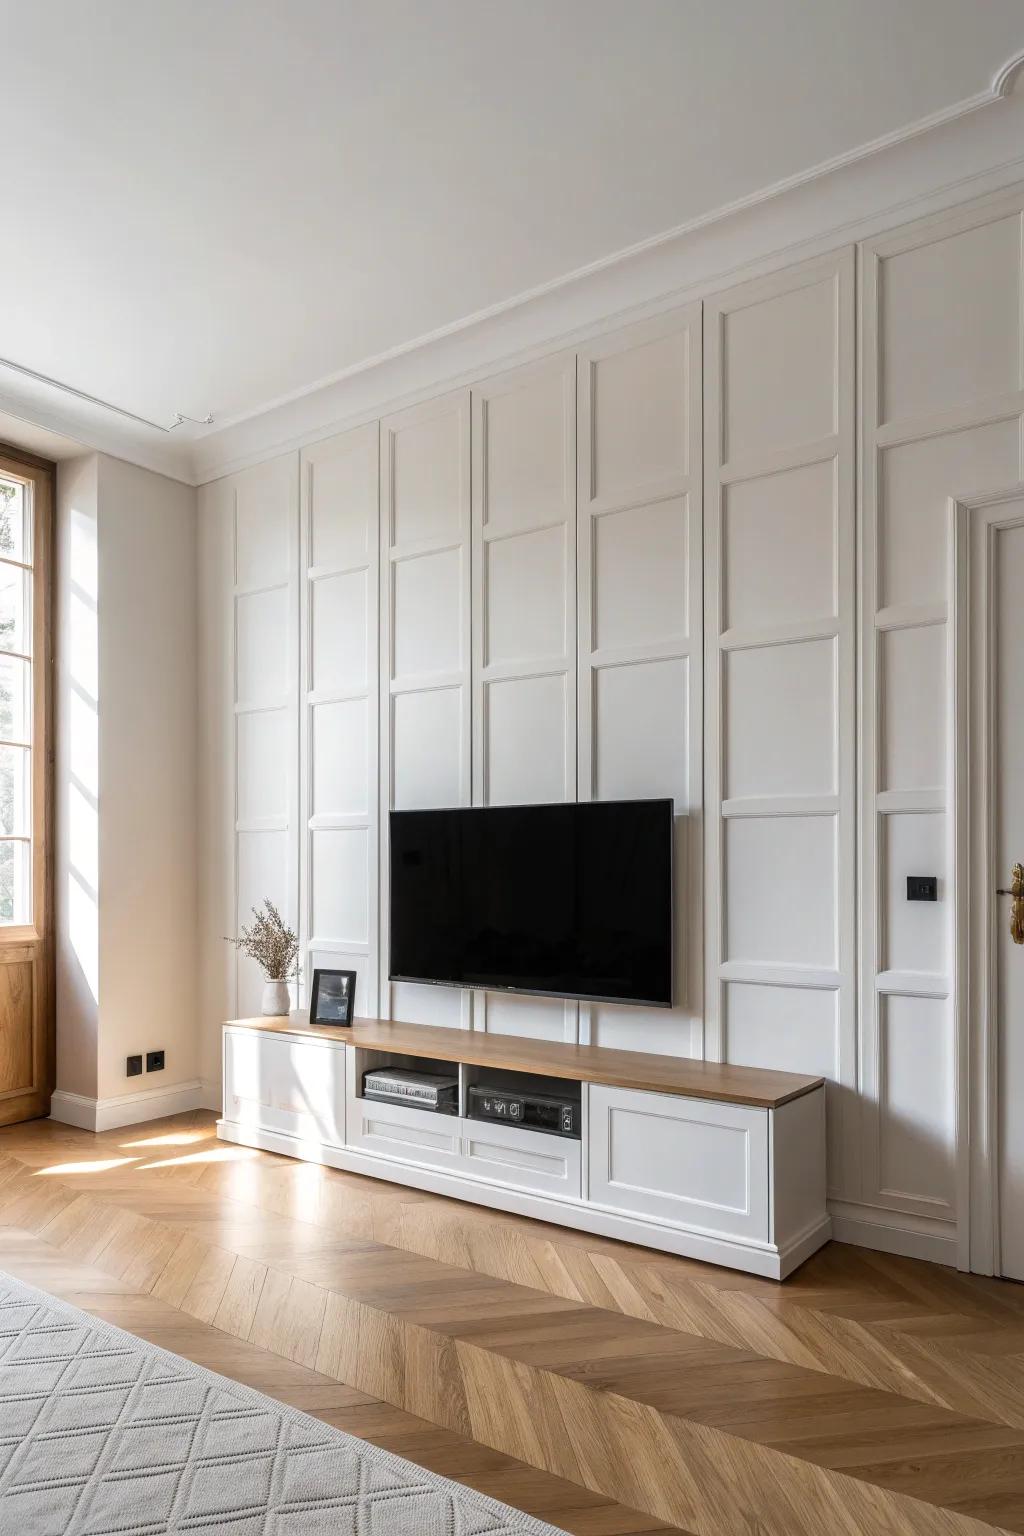
A TV looks way less “black box” when it’s set inside a planned layout of wall moulding panels. I’ve built shallow rectangles around a media area, and it helped the TV blend into the wall instead of dominating it.
These products might help:
- Pre-Primed Wall Moulding Kits: Create elegant frames easily with these ready-to-paint moulding strips, perfect for establishing a custom panel grid.
- Paintable Caulk & Gun Set: Ensure seamless joints and professional finishes by filling gaps between moulding and walls before final painting.
- Laser Level Tool: Keep your vertical and horizontal moulding lines perfectly straight and symmetrical for a flawless installation layout.


Classic Picture Frame Moulding Grid
When I want that timeless “custom home” vibe, I lay out a clean grid of picture frame moulding and keep the spacing even. I’ve done this behind my sofa, and the subtle shadows make the whole living room feel instantly more polished.
Check if these fit your needs:
- Pre-Primed Wall Moulding Trim Kits: Upgrade your walls effortlessly with pre-primed trim kits that simplify creating precise, elegant grids for any room.
- Laser Level for Wall Installation: Ensure perfectly straight lines and even spacing for your grid by using a reliable self-leveling laser tool.
- Construction Adhesive and Caulk Gun: Secure your moulding firmly and seamlessly fill gaps for a professional, polished finish on your new wall.
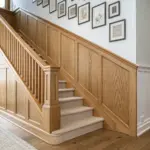
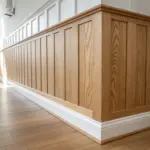
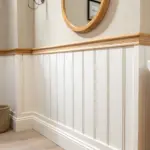
Chair Rail With Box Panels Below
A simple chair rail with box panels on the lower third is one of those upgrades that always looks intentional. I built it in a rental-friendly way once (minimal holes), and it still gave the room that classic, grounded look.
You might like:
- Pre-Primed Wainscoting Panel Kit: Create this classic look easily with ready-to-install panels that save you time on measuring and cutting lumber.
- Chair Rail Molding Trim: Define the upper edge of your wainscoting with a clean, simple horizontal trim piece for a polished finish.
- Construction Adhesive or Double-Sided Mounting Tape: Secure your panels firmly to the wall with strong adhesive, ideal for permanent or rental-friendly installation options.
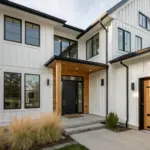
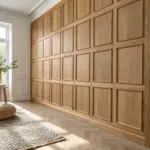
Board and Batten Feature Wall
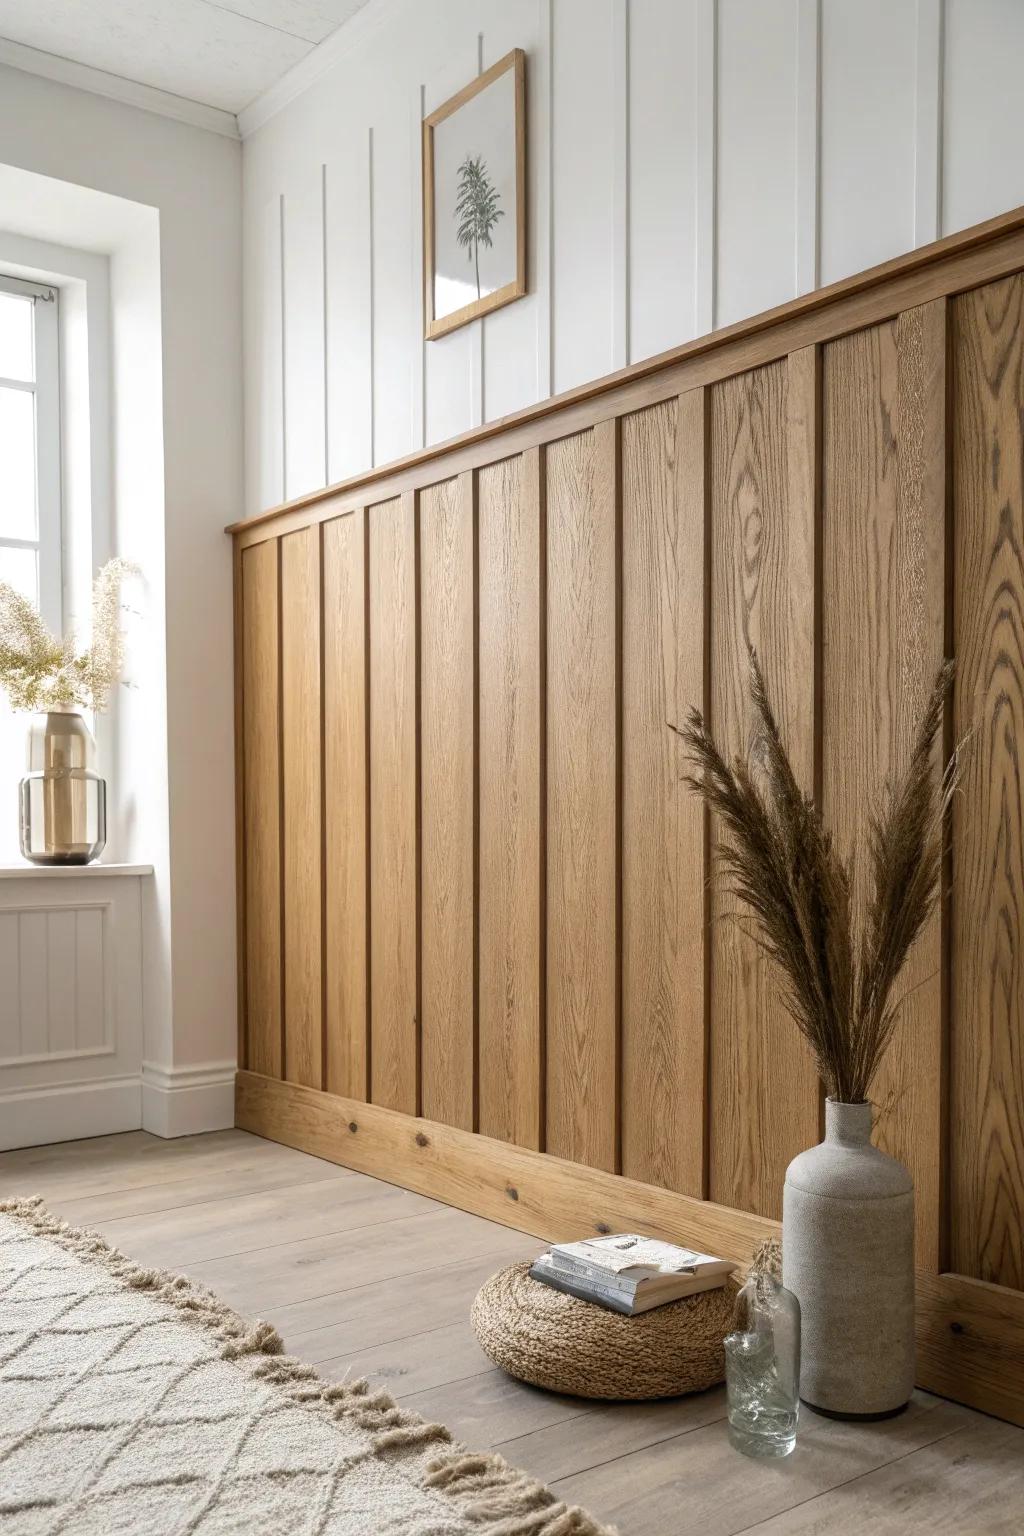
Board and batten is my go-to when you want wall moulding that feels rustic but still clean and tailored. I’ve used it to visually widen a narrow living room wall by keeping battens evenly spaced and letting the vertical lines do the magic.
Try these:
- Pre-Primed or Wood Board and Batten Trim Kit: Create clean vertical lines instantly with these ready-to-install decorative wood or PVC trim moulding strips.
- Wood Finish Interior Stain: Achieve the warm, natural oak look from the photo by applying a rich, high-quality wood stain.
- Heavy-Duty Construction Adhesive: Secure your new moulding panels firmly to the wall for a durable, professional-looking installation.
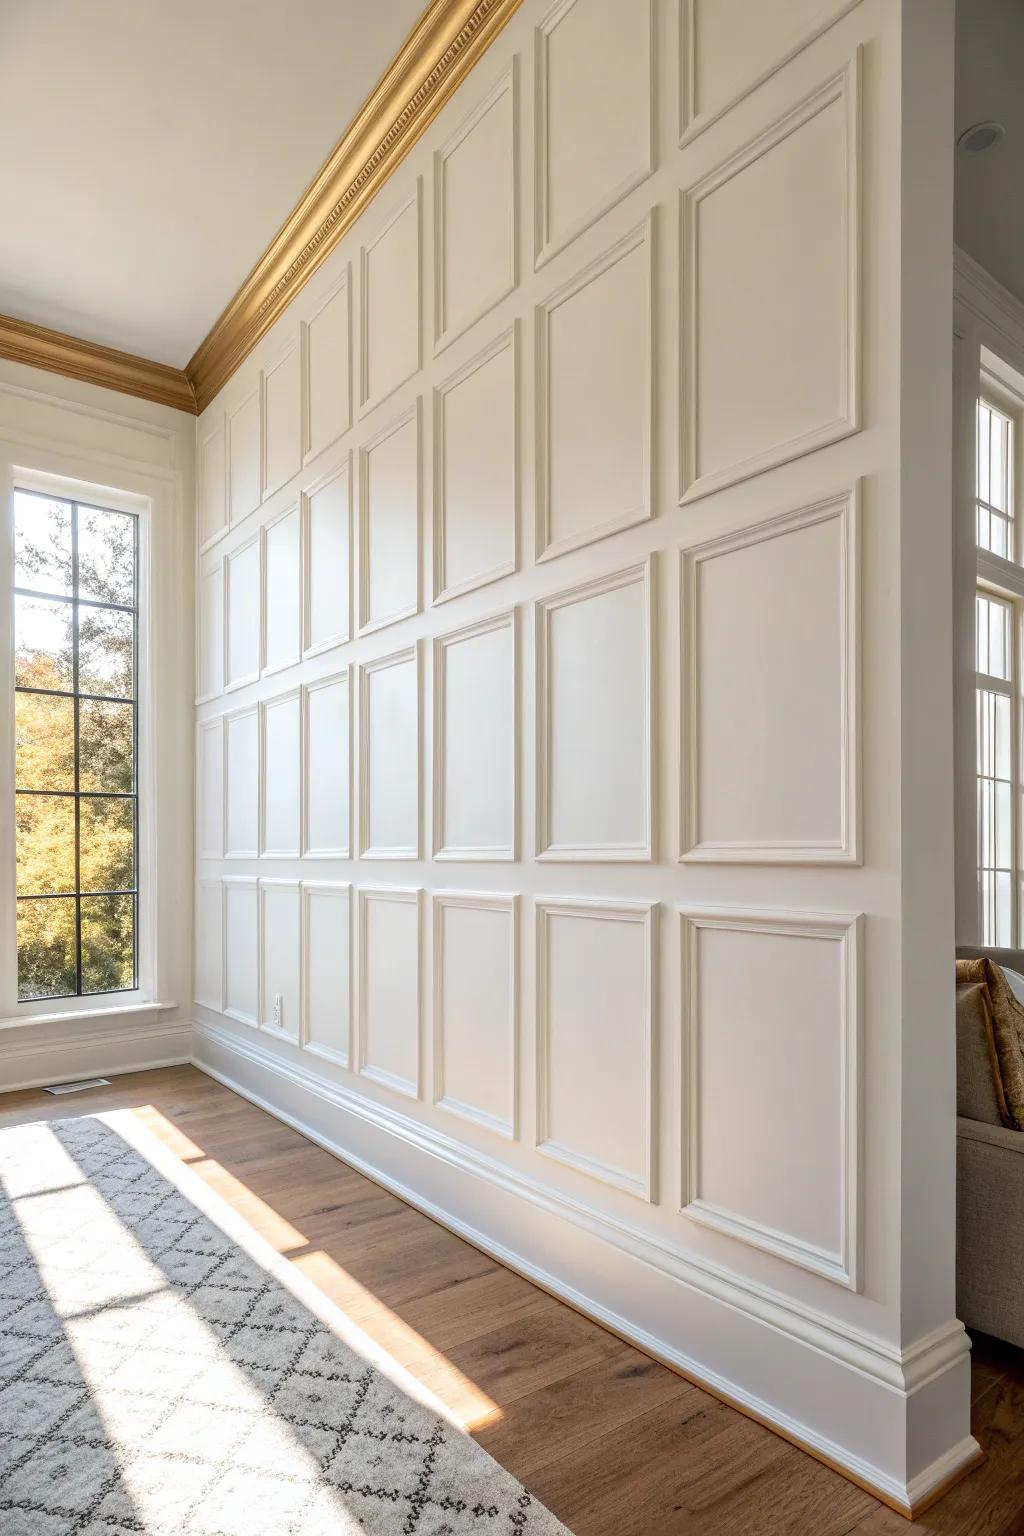
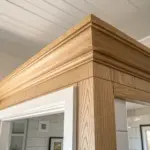
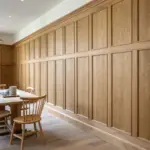
Full-Height Panel Moulding
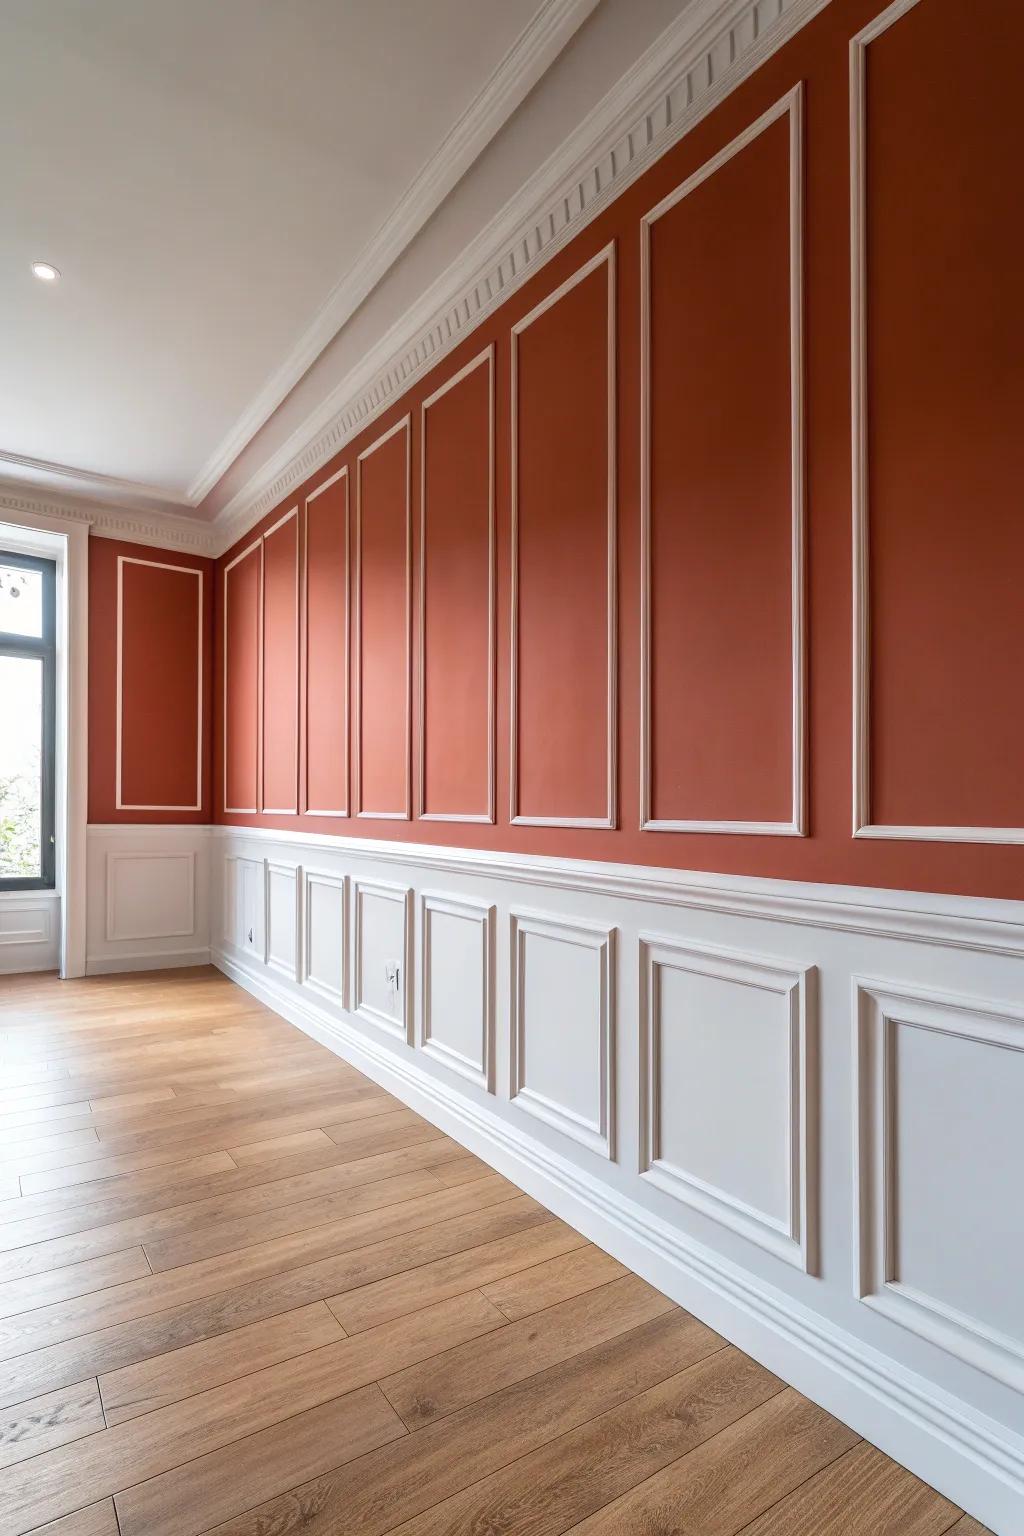
Taking panel moulding from baseboard to ceiling makes a living room feel taller, like the walls grew an extra foot overnight. I tried this in a room with average ceilings, and it surprised me how “architectural” it looked with almost no extra decor.
Possibly handy products:
- Self-Adhesive Wall Molding Trim: Transform your walls instantly with easy-to-cut moulding that creates elegant, framed boxes without complex carpentry.
- Precision Laser Level Tool: Ensure perfectly straight lines and uniform spacing for your moulding grids to achieve a professional, balanced look.
- Interior Paint with Primer: Highlight your new moulding with rich, durable color that unifies the trim and wall for dramatic impact.
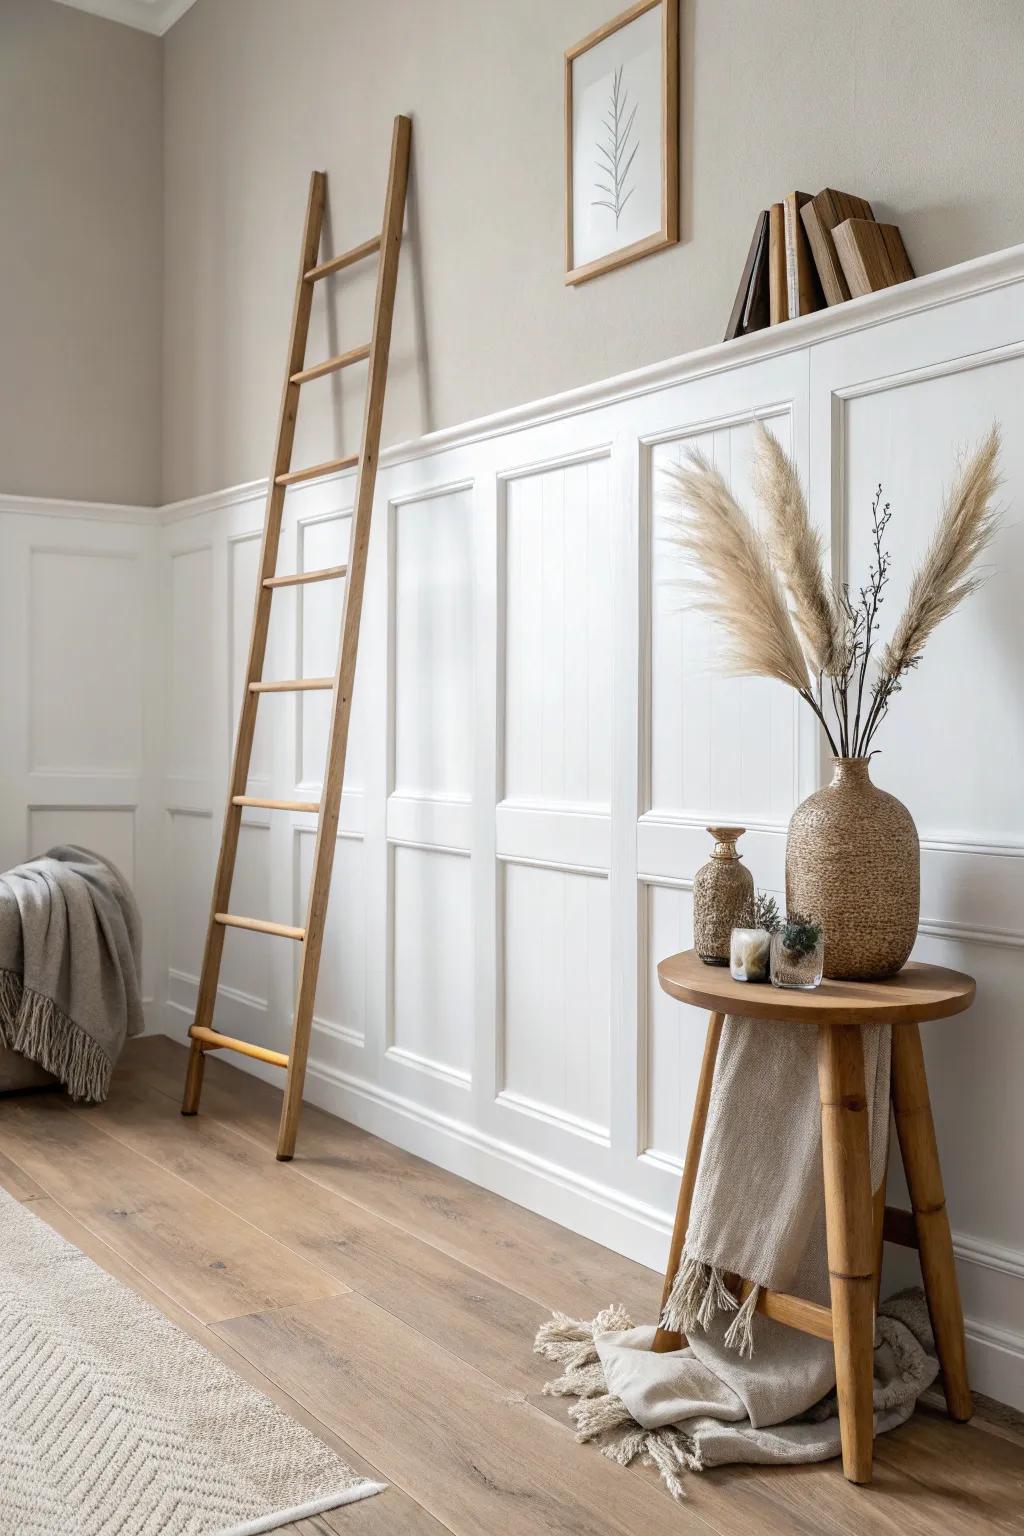
Monochrome Moulding for Soft Texture
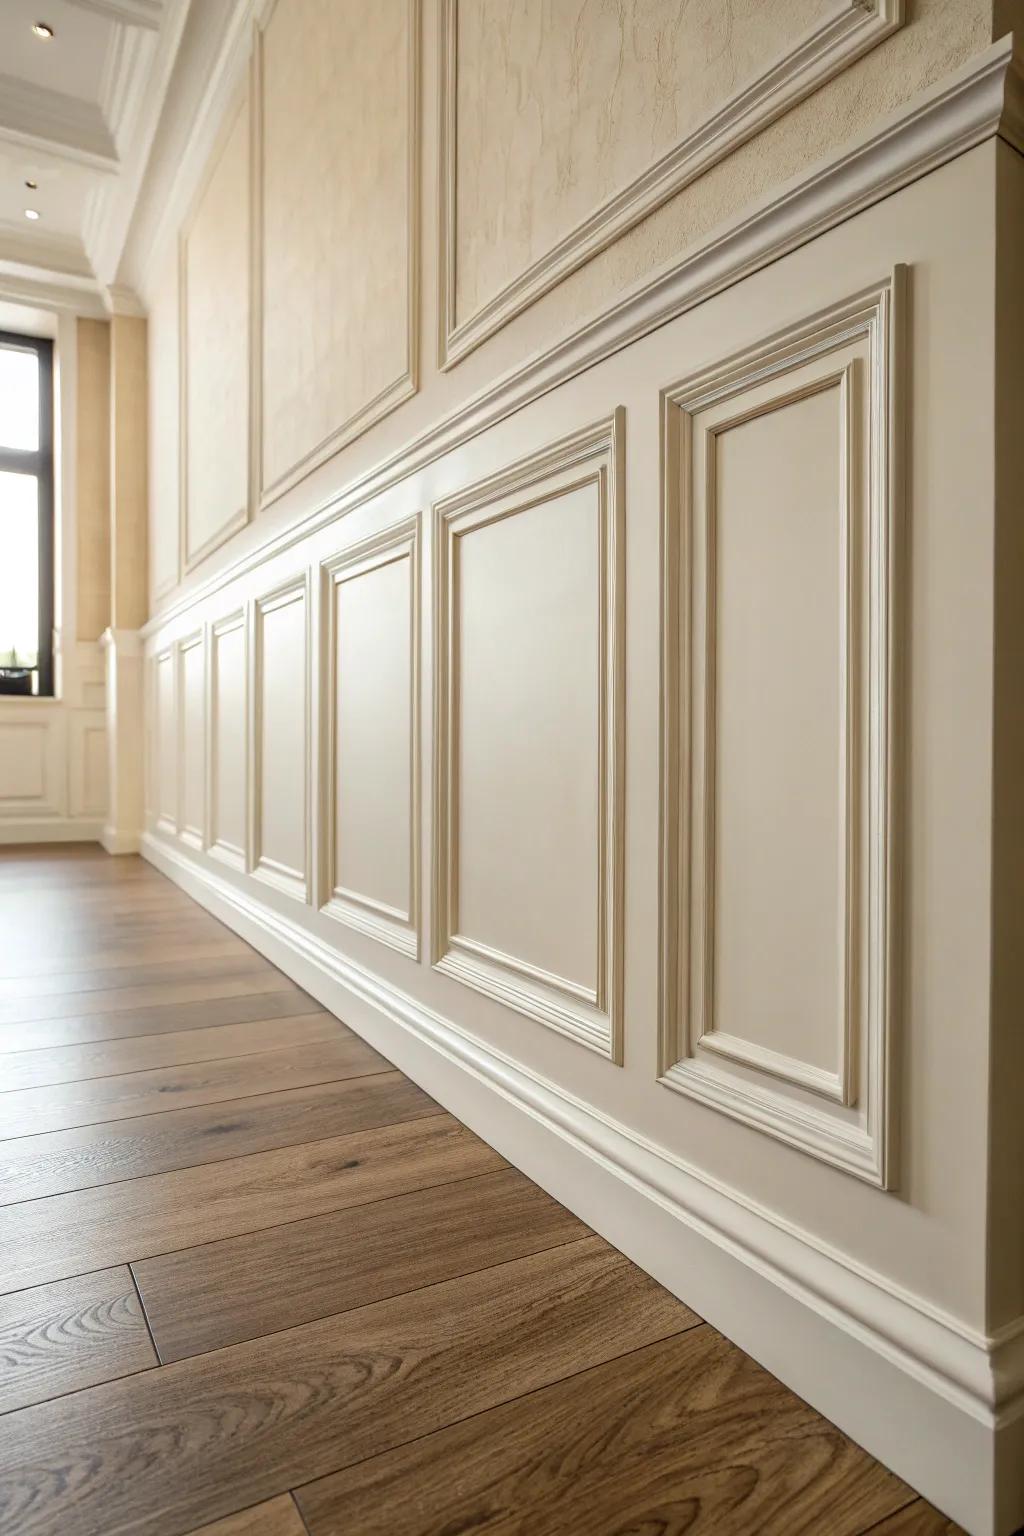
Painting the moulding the same color as the wall is my favorite “quiet luxury” trick for tone-on-tone moulding. I’ve done it in warm off-white, and the texture shows up beautifully when afternoon light hits the trim.
Maybe worth checking out:
- Pre-Primed Wainscoting Panels: Instantly add dimension to bare walls with these ready-to-paint panels, perfect for achieving that elegant tone-on-tone look.
- Warm White Satin Interior Paint: Create a seamless, monochromatic finish by coating both walls and trim in a soft, light-reflecting warm white hue.
- Detailed Baseboard Moulding: Ground your wall design with substantial baseboards that add architectural weight and complete the classic monochrome aesthetic.
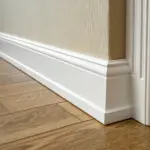
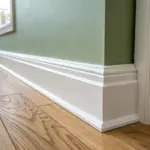
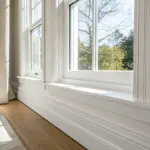
Extra-Tall Baseboards for a Custom Look
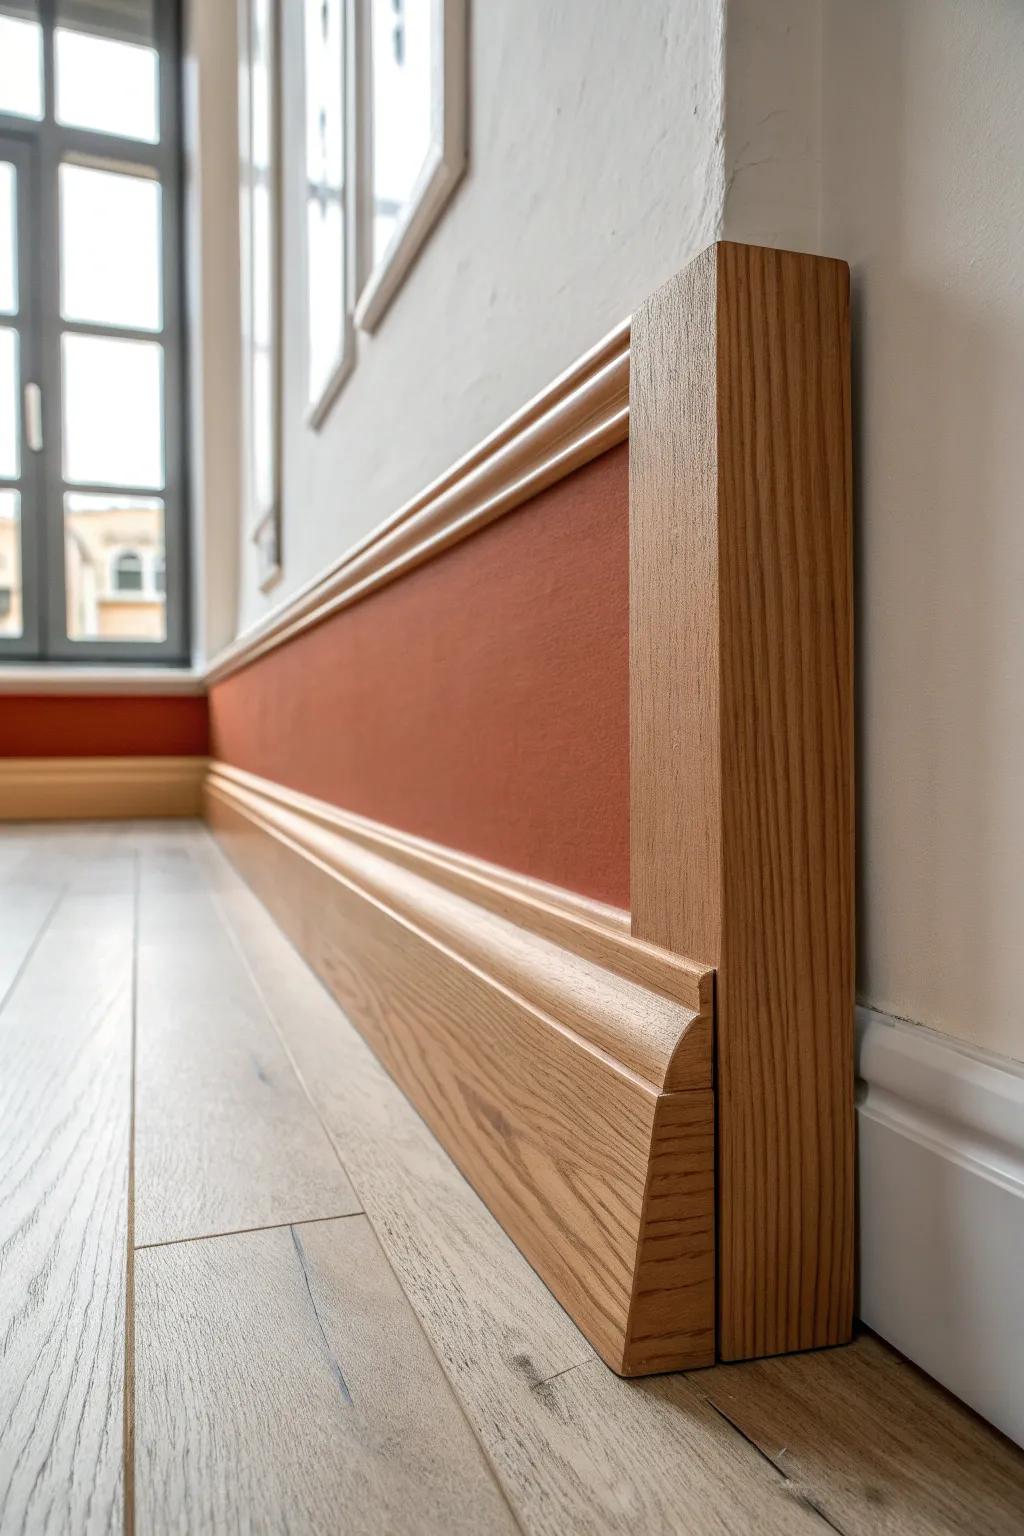
Swapping to tall baseboards is a sneaky way to make a living room feel higher-end without touching the furniture. I’ve built up baseboards with layered trim before, and it gave that old-home heft even on new drywall.
A few suggestions:
- Wide Oak Baseboard Moulding: Refresh your walls quickly by installing wide, unfinished wood trim that adds immediate height and elegance.
- Base Cap Moulding: Layer this decorative trim on top of flat boards to create a custom, stacked moulding appearance easily.
- Brad Nailer Kit: Secure your new tall baseboards firmly and professionally with this essential tool for precise trim installation.
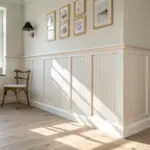
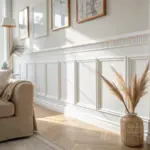
Wainscoting in a Cozy Reading Corner
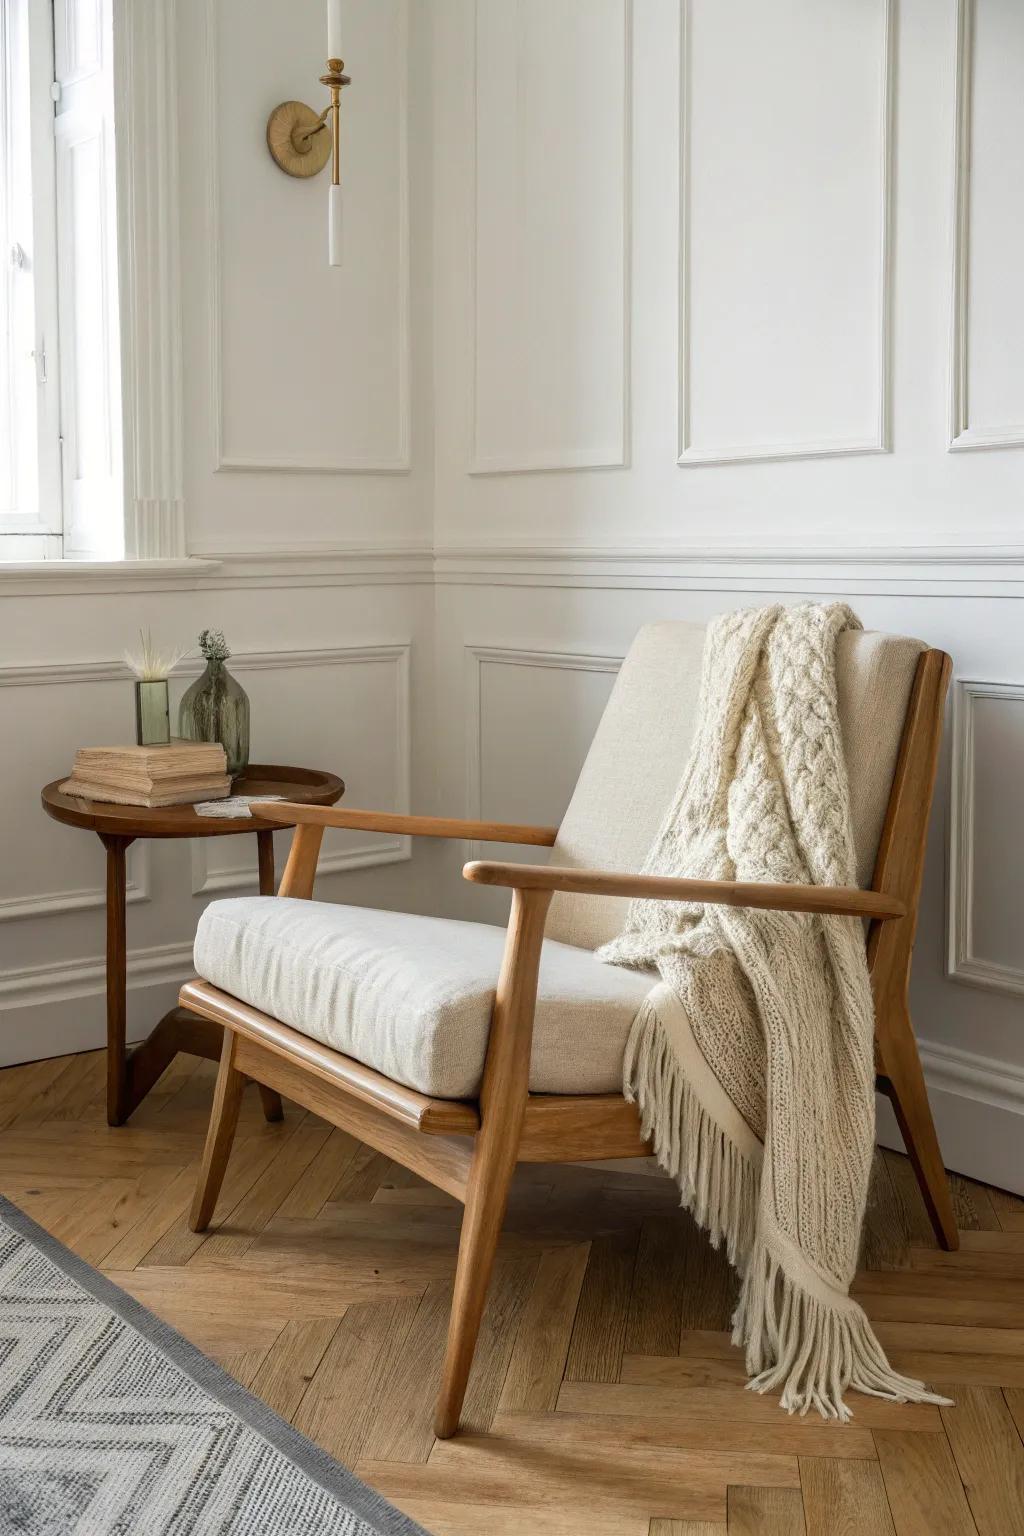
Running wainscoting around a reading nook makes it feel like its own little room within the living room. I did this behind a chair and side table, and suddenly that corner looked styled even before adding art.
Give these a look:
- DIY Wall Moulding Kit: Create elegant wainscoting easily with pre-cut frames to quickly define your cozy reading nook’s boundaries.
- Adhesive Caulk & Gun: Ensure seamless installation of your new trim work for a professional, polished look without visible gaps.
- Laser Level Tool: Keep your moulding lines perfectly straight and symmetrical to achieve that high-end custom carpentry appearance.
Symmetrical Panels Around a Fireplace
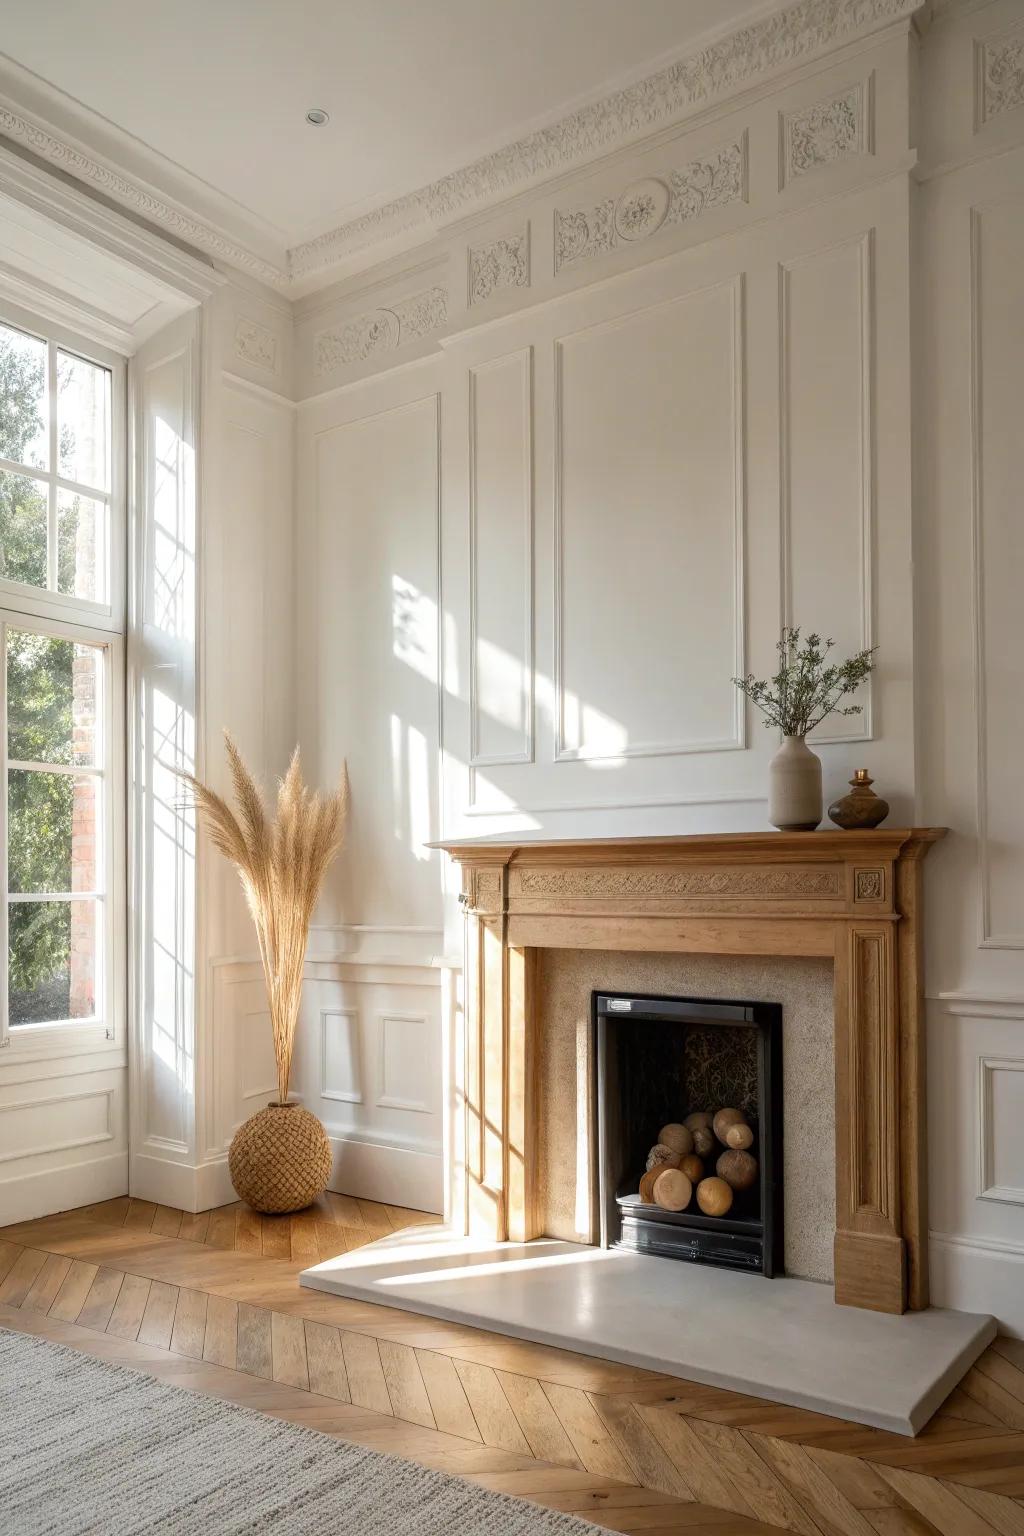
If your living room has a fireplace, framing it with symmetrical wall moulding on both sides makes the whole wall feel built-in. I’ve done this with simple rectangles, and it instantly made the fireplace feel like the star of the room.
Useful items to consider:
- Pre-Primed Wall Panel Moulding Kit: Create elegant, symmetrical frames easily with pre-primed moulding to instantly elevate your fireplace wall’s architectural interest.
- Construction Adhesive for Trim: Secure your new moulding firmly and cleanly to the wall without excessive nailing, ensuring a smooth finish.
- Digital Laser Level Tool: Ensure perfectly symmetrical placement of your panels on either side of the fireplace for a professional look.
Asymmetrical Box Layout for a Fresh Twist

An asymmetrical moulding layout feels artsy and current while still being real woodwork, not just paint. I sketched mine out on scrap paper first, and that little bit of planning made the finished wall look intentionally “designed.”
Check these products out:
- Paintable Wood Slat Wall Panels: Create striking texture easily by installing these pre-cut slats to form your custom geometric or grid designs.
- Construction Adhesive & Caulk Gun: Secure your moulding firmly to the wall without excessive nailing, ensuring a smooth and professional-looking installation.
- Digital Laser Level Tool: Ensure perfectly straight vertical and horizontal lines for your grid layout, making the installation process much simpler.
Diagonal Lattice Moulding Accent Wall
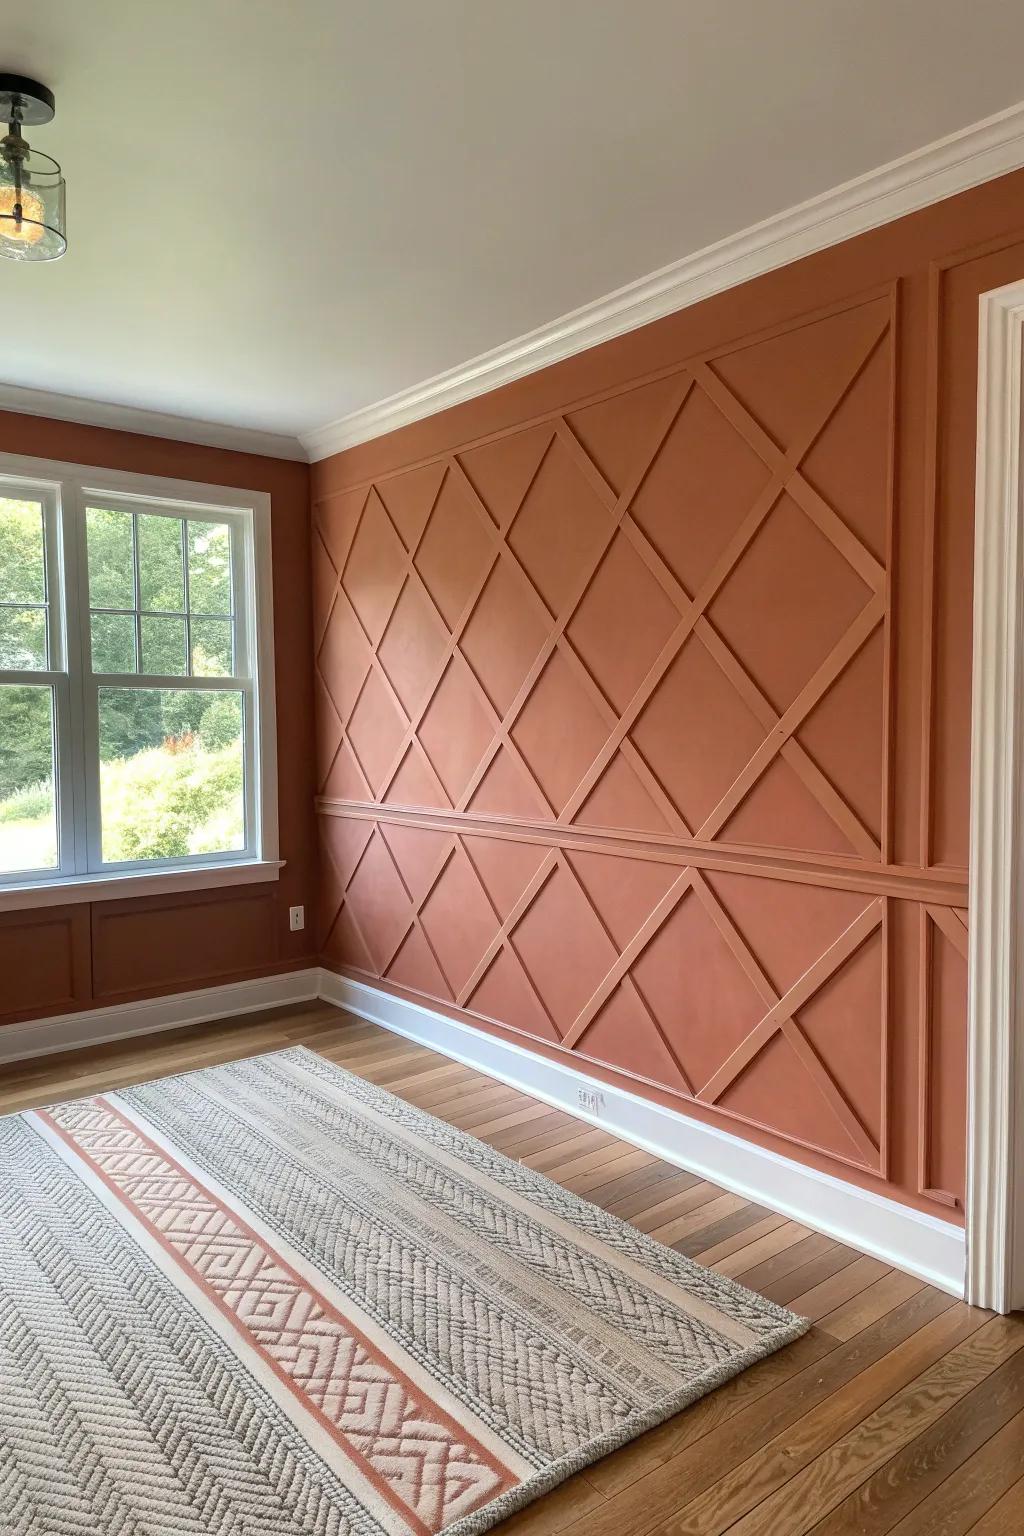
Lattice moulding in a diagonal pattern gives you that wow texture without needing thick boards. I’ve done a crisscross look on a living room accent wall, and it turned plain paint into a statement backdrop.
You might give these a try:
- Primed Pine Lattice Moulding: Use these thin, flat moulding strips to easily create the geometric diamond pattern on your accent wall.
- Digital Laser Level: Ensure your diagonal lines are perfectly straight and parallel for a professional-looking finish with this tool.
- Paintable Caulk and Gun: Fill in gaps between moulding joints and the wall to achieve a seamless, built-in appearance before painting.
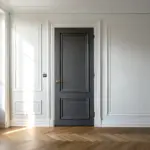
Hidden Door Seam Disguised in Moulding
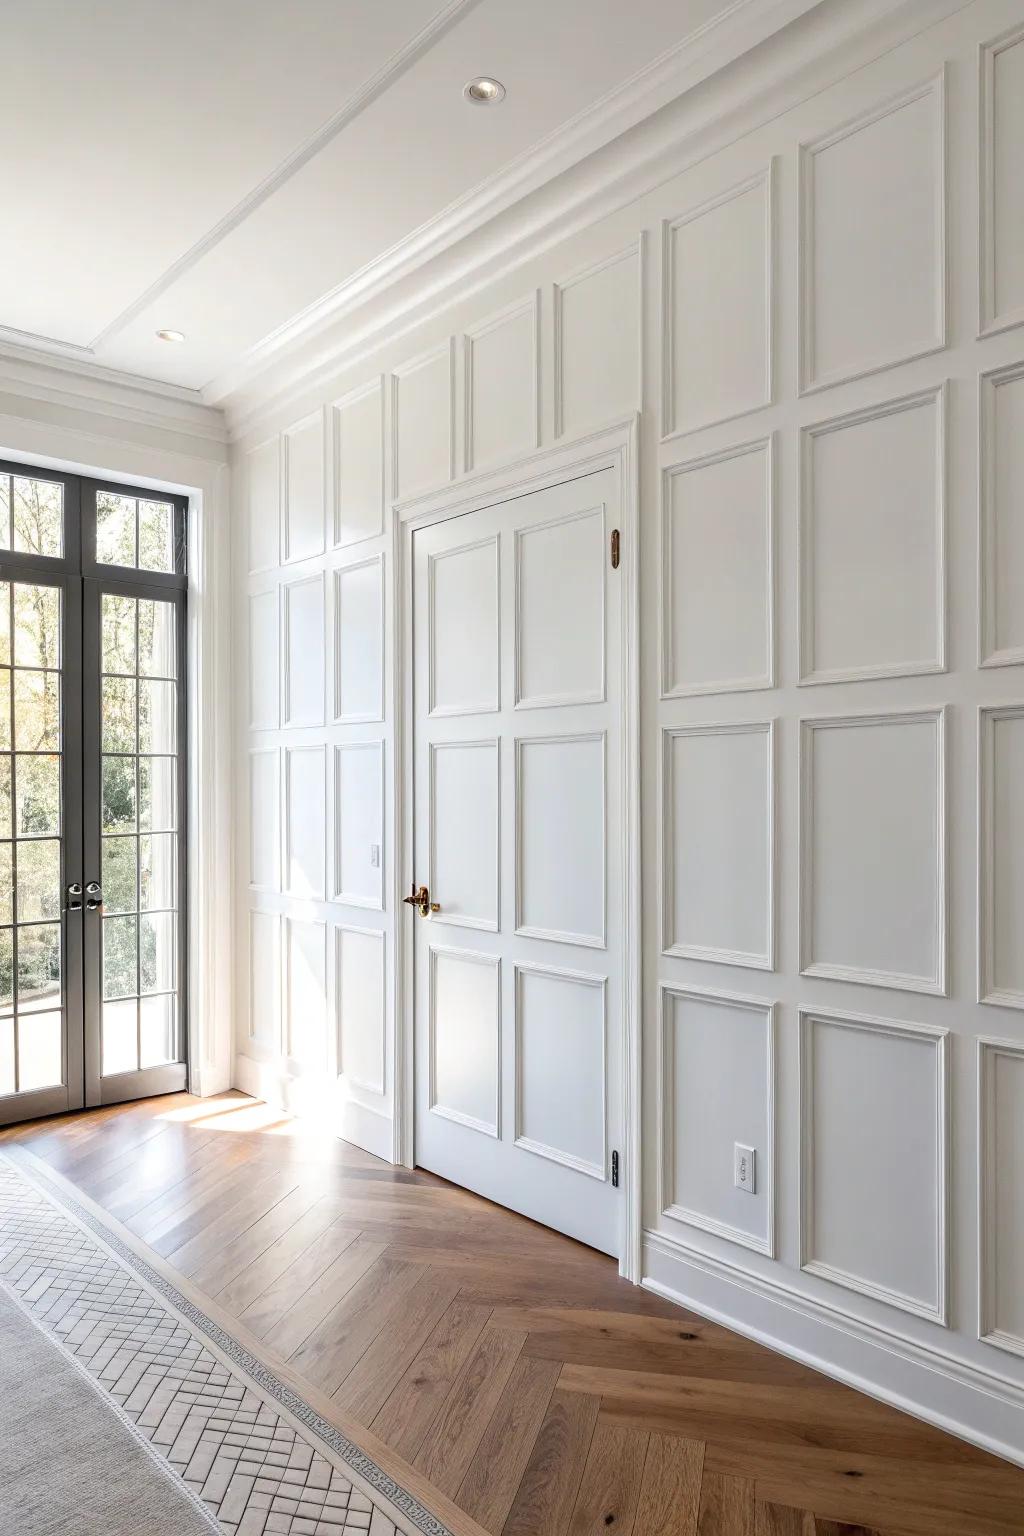
For a true jaw-drop moment, you can design wall moulding so it lines up across a hidden door, making the whole wall read as one continuous pattern. I helped a friend pull this off with careful measurements, and nobody spotted the door until we pointed it out.
Items that may come in handy:
- DIY Hidden Door Inswing Hardware Kit: Transform any doorway into a secret passage; create a completely flush surface ready for your moulding trim.
- Primed Wall Moulding Trim Panel Kit: Create elegant geometric patterns on your door and walls with these ready-to-paint, pre-cut moulding pieces.
- Digital Laser Distance Measure Tool: Ensure your moulding lines align perfectly across the door gap by measuring with professional-grade precision.


