
A mid-century modern headboard is one of those small upgrades that instantly makes your bedroom feel pulled together, especially when you let the wood grain do the talking. I’ve built and refinished a bunch of these in my Portland workshop, and the magic is always the same: clean lines, warm tones, and a little geometric flair.
Room Divider-Style Extended Headboard
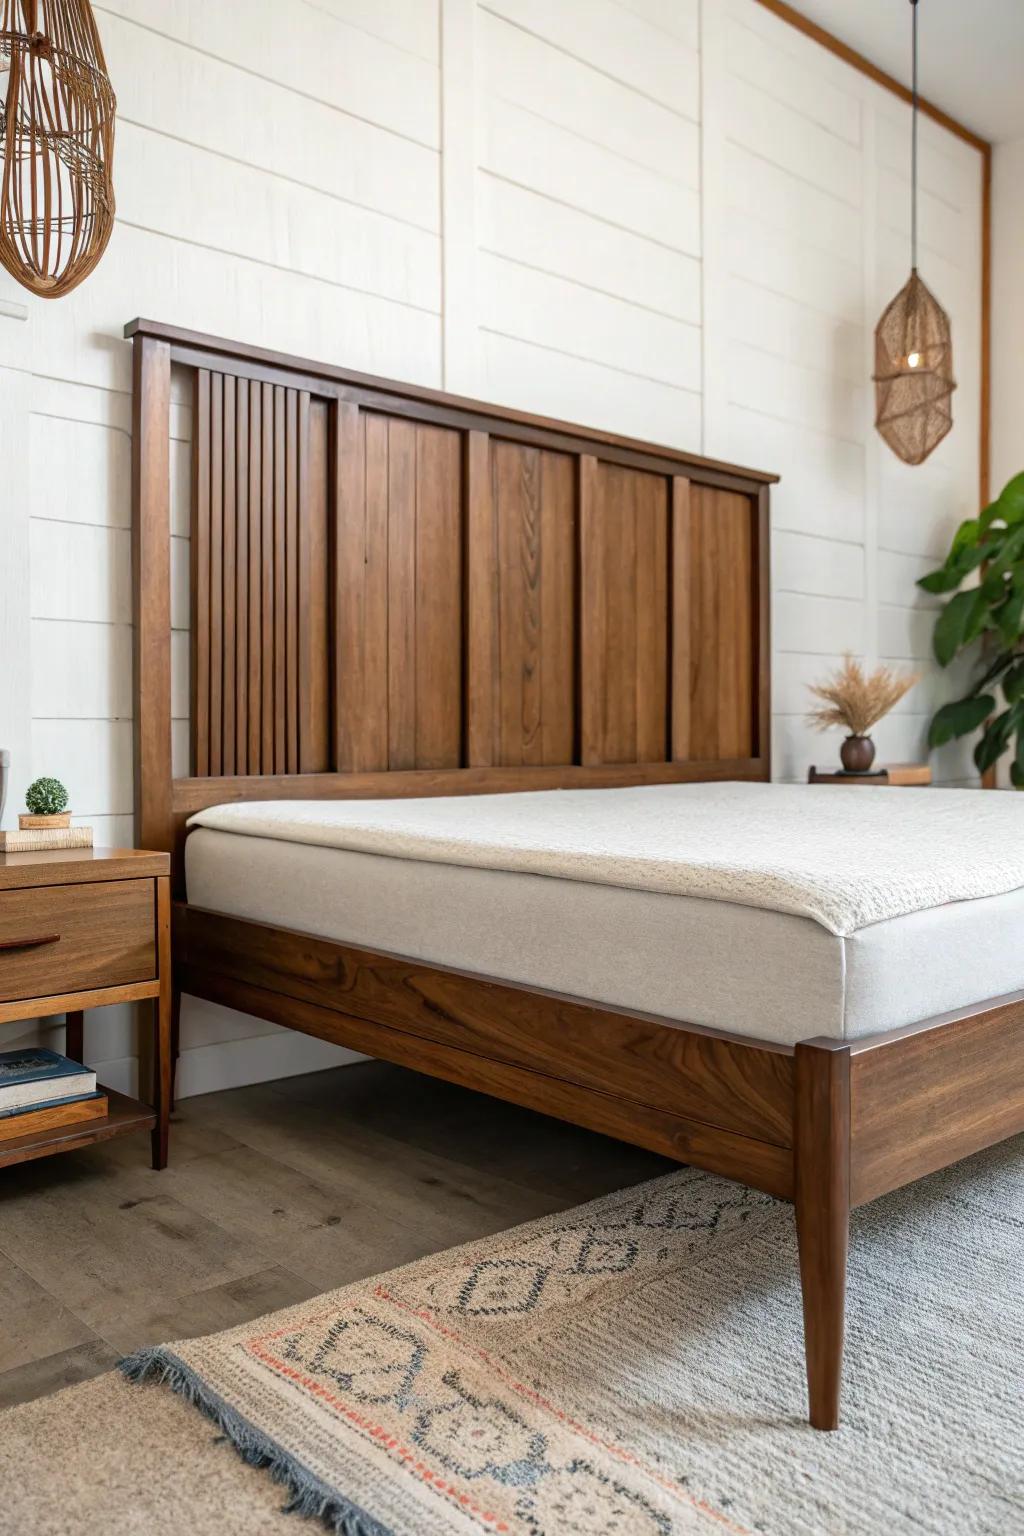
Make the headboard extend wider than the bed like a mini room divider—super mid-century and perfect for anchoring the whole wall. I built one that stretched past the nightstands, and it made my bedroom feel like a styled suite without adding clutter.
Try these:
- Wall-Mounted Wood Panels: Create a seamless, extended look by mounting slatted wood panels horizontally behind your bed frame.
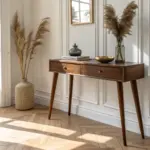
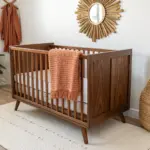
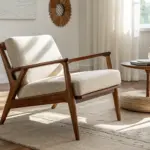
- Mid-Century Platform Bed: Choose a low-profile wood platform bed frame to complement your custom extended headboard design perfectly.
- Matching Wooden Nightstands: Anchor the extended design by placing sleek, matching wood nightstands directly in front of the panels.


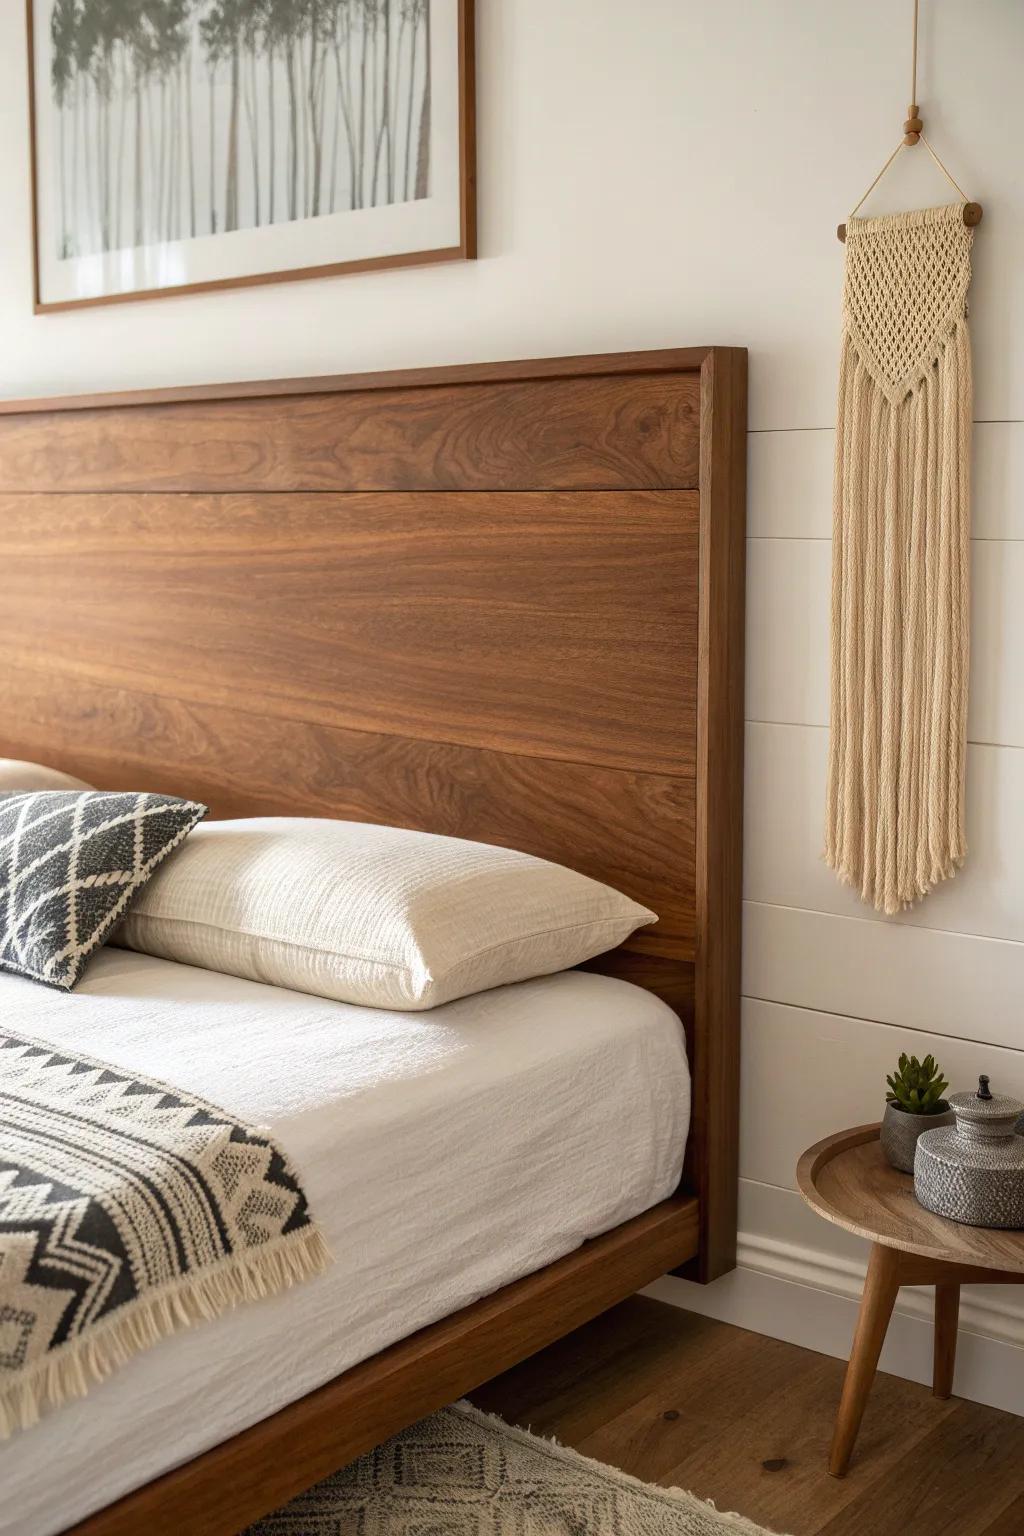
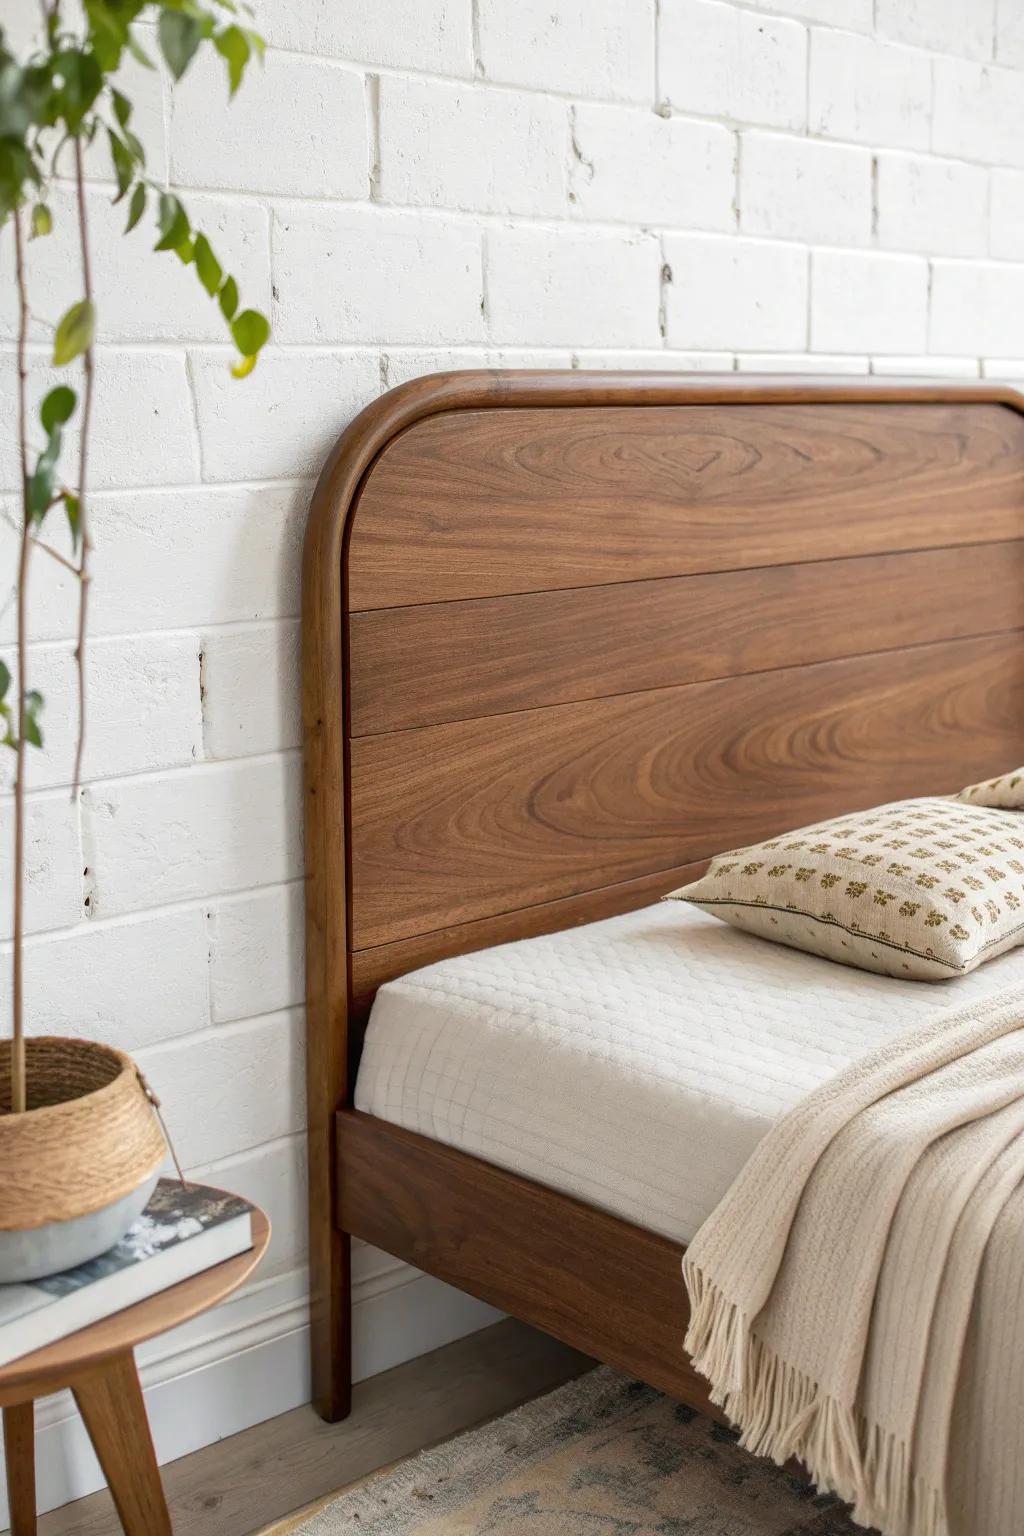
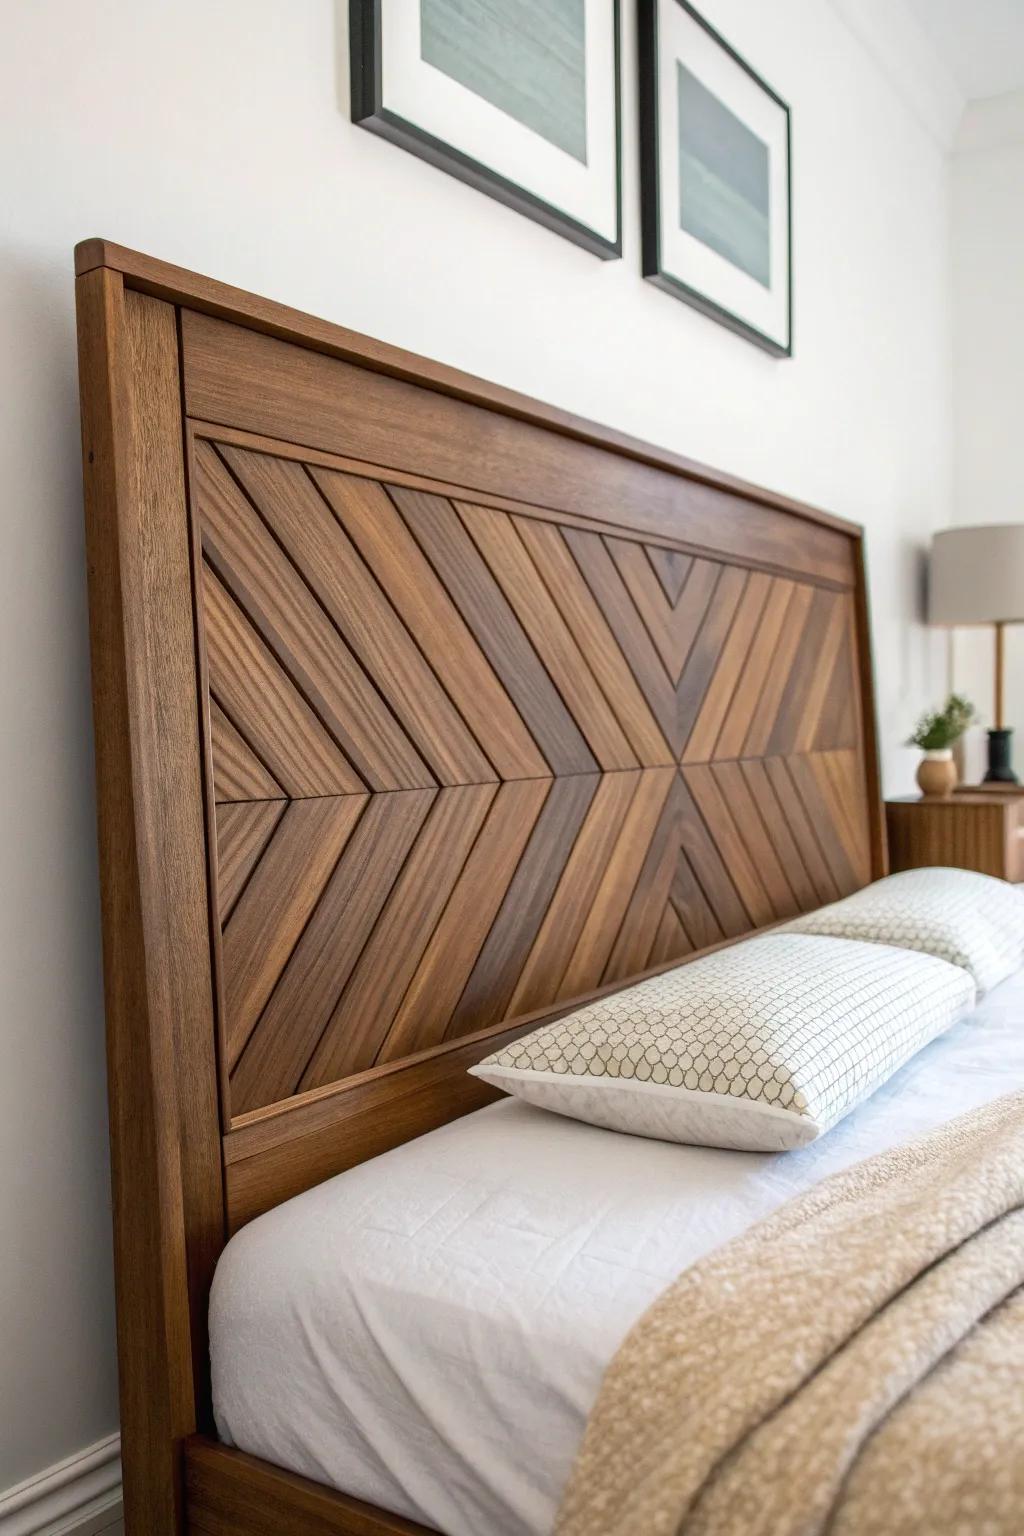
Simple Walnut-Style Slab
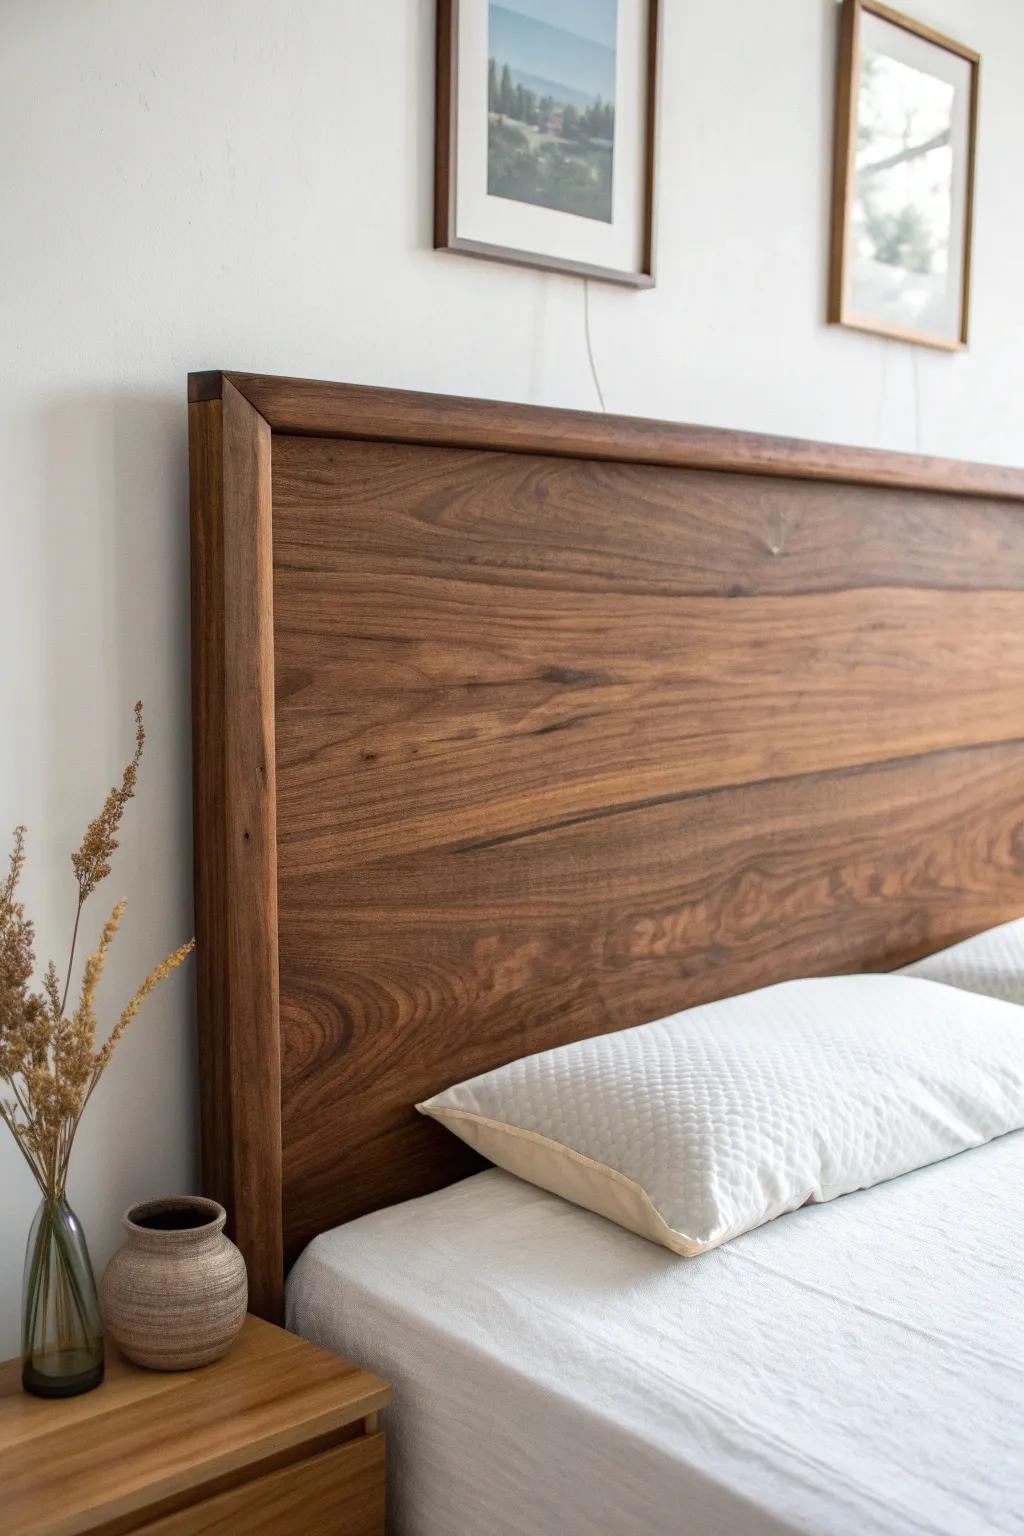
My go-to mid-century modern headboard is a single wide wood slab look with a satin finish—easy, calm, and all about that warm tone. I’ve faked the “expensive wood” vibe before by staining a nicer plywood panel and letting the grain pattern be the star.
Possibly handy products:
- Walnut Veneer Plywood Sheet: Create your own custom headboard slab by using a high-quality veneer sheet for that authentic grain look.
- Dark Walnut Wood Stain: Enhance natural wood grain and achieve that classic mid-century warmth by applying this rich, dark stain.
- Satin Polyurethane Finish: Protect your wood headboard and give it a smooth, professional low-sheen look with this clear coat.


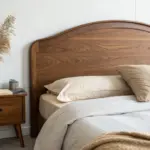
Vertical Spindle Headboard
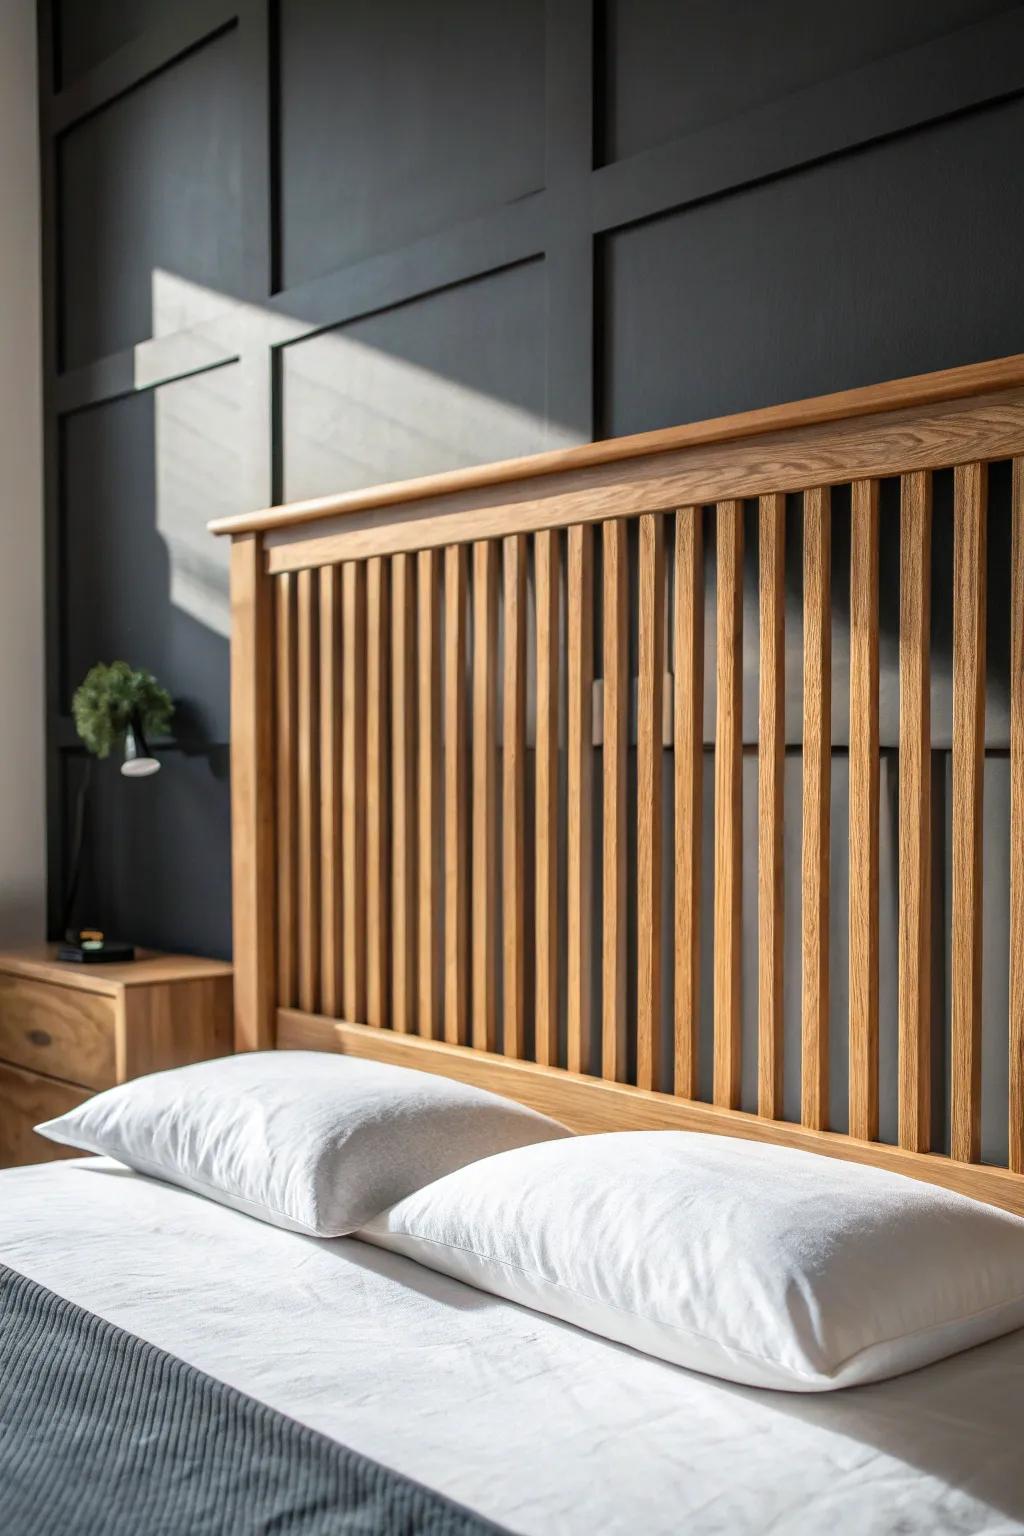
Thin vertical spindles instantly give that vintage vibe, and a mid-century modern headboard like this looks amazing against a dark accent wall. I’ve made mine by ripping uniform strips and rounding the edges so it feels smooth when you lean back to read.
A few helpful options:
- Solid Wood Spindle Headboard: Instantly upgrade your bedroom style with a ready-made spindle headboard that perfectly captures that mid-century modern aesthetic.
- Matte Black Wall Paint: Create the perfect moody contrast for your warm wood furniture by painting a dramatic dark accent wall today.
- White High Thread Count Sheets: Refresh your bed with crisp white linens that make wood tones pop and offer a hotel-quality sleep experience.
Floating Panel Headboard
A wall-mounted floating headboard panel looks super clean and makes small bedrooms feel bigger. I’ve mounted one with a simple cleat so it sits just off the wall and throws a soft shadow that feels very mid-century modern.
Some handy options:
- Wall-Mounted Solid Wood Headboard: Anchor your bedroom with a sleek, floating wooden panel that adds instant mid-century warmth and modern style.
- Heavy Duty Z-Clip Hanging Cleats: Secure your floating headboard safely to the wall using these sturdy, invisible brackets for a seamless flush mount.
- LED Strip Lights for Backlighting: Create a soft, atmospheric glow behind your floating panel to enhance the modern aesthetic and depth.
Two-Tone Wood Blocks
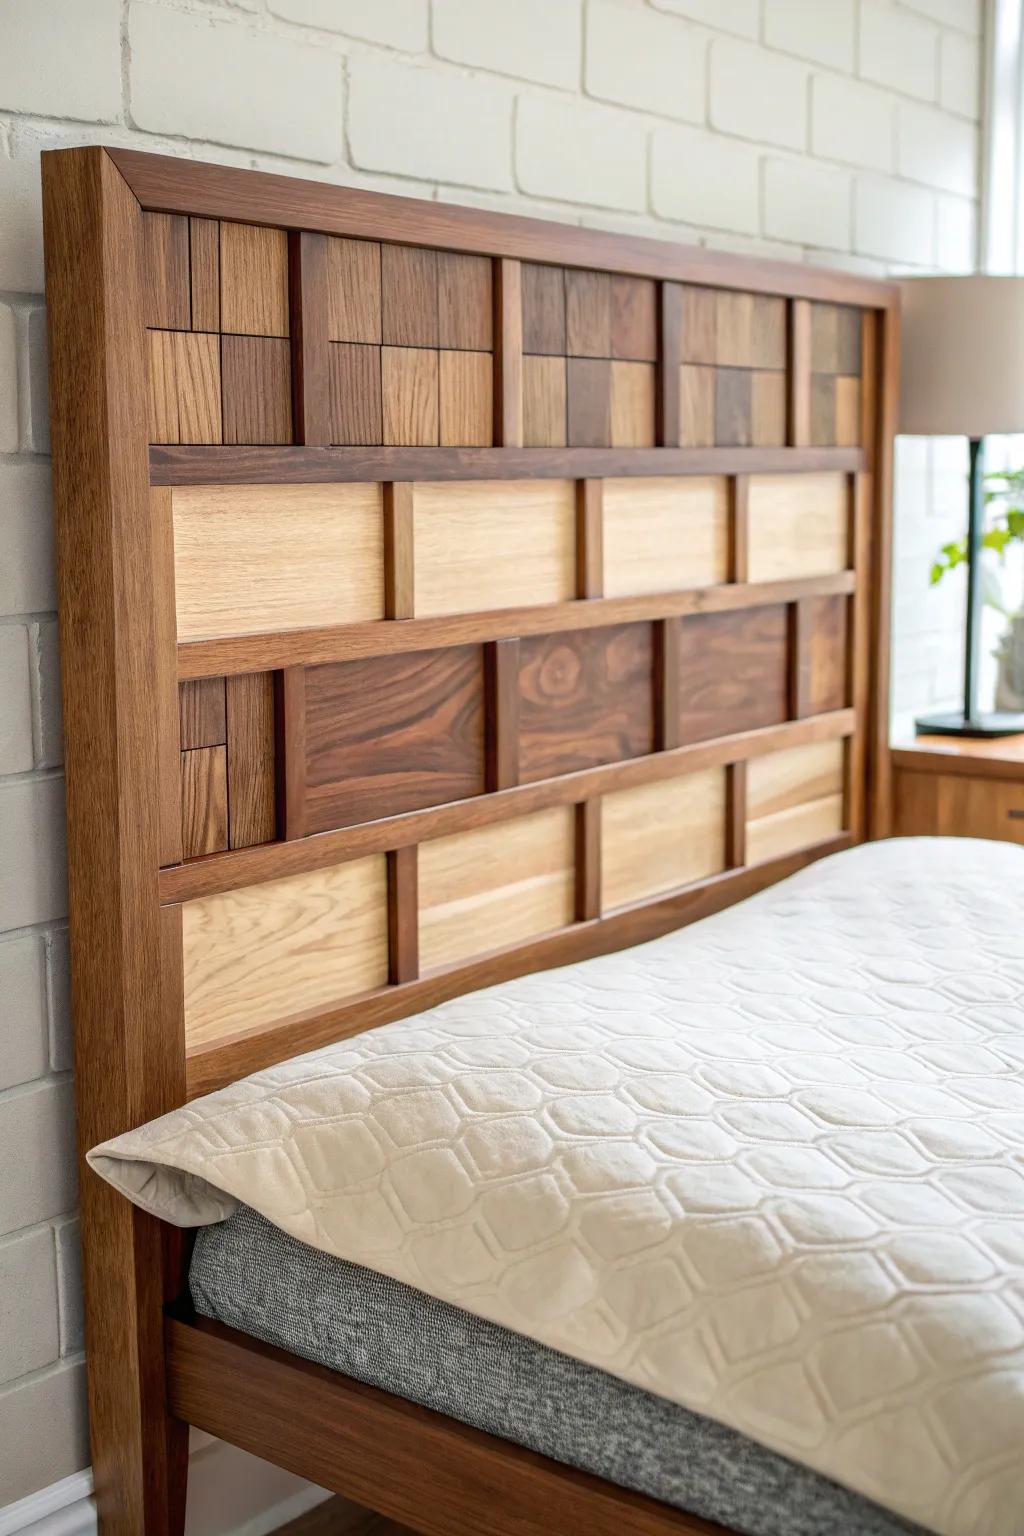
Try a mid-century modern headboard with a two-tone layout—light wood on top, darker wood below, all in sharp rectangles. I’ve mixed leftover stains on test pieces until the contrast felt “retro but cozy,” then sealed it for a smooth finish.
These products might help:
- Assorted Wood Stains: Create that retro two-tone contrast by testing different shades on scrap wood to find your perfect mix.
- Polyurethane Wood Finish: Protect your custom headboard and achieve a smooth, professional sheen that highlights the natural grain pattern.
- Reclaimed Wood Planks: Use peel-and-stick wood panels or planks to easily replicate the geometric block look without heavy machinery.
Cane Webbing Insert Panel

A cane webbing insert adds texture without feeling heavy, which is very on-theme for a mid-century modern headboard. I’ve framed cane inside a simple wood border, and it instantly made my room feel lighter and more curated.
You might give these a try:
- Natural Rattan Cane Webbing Roll: Transform your existing frame with this open weave material to add authentic, airy texture and vintage charm easily.
- Wooden Headboard Frame with Rattan Insert: Choose a pre-made wood headboard featuring natural cane panels for a hassle-free, instant mid-century modern upgrade.
- Heavy Duty Staple Gun Kit: Secure your new caning material tightly to your wooden frame for a professional, drum-tight finish that lasts.


Half-Upholstered Wood Combo
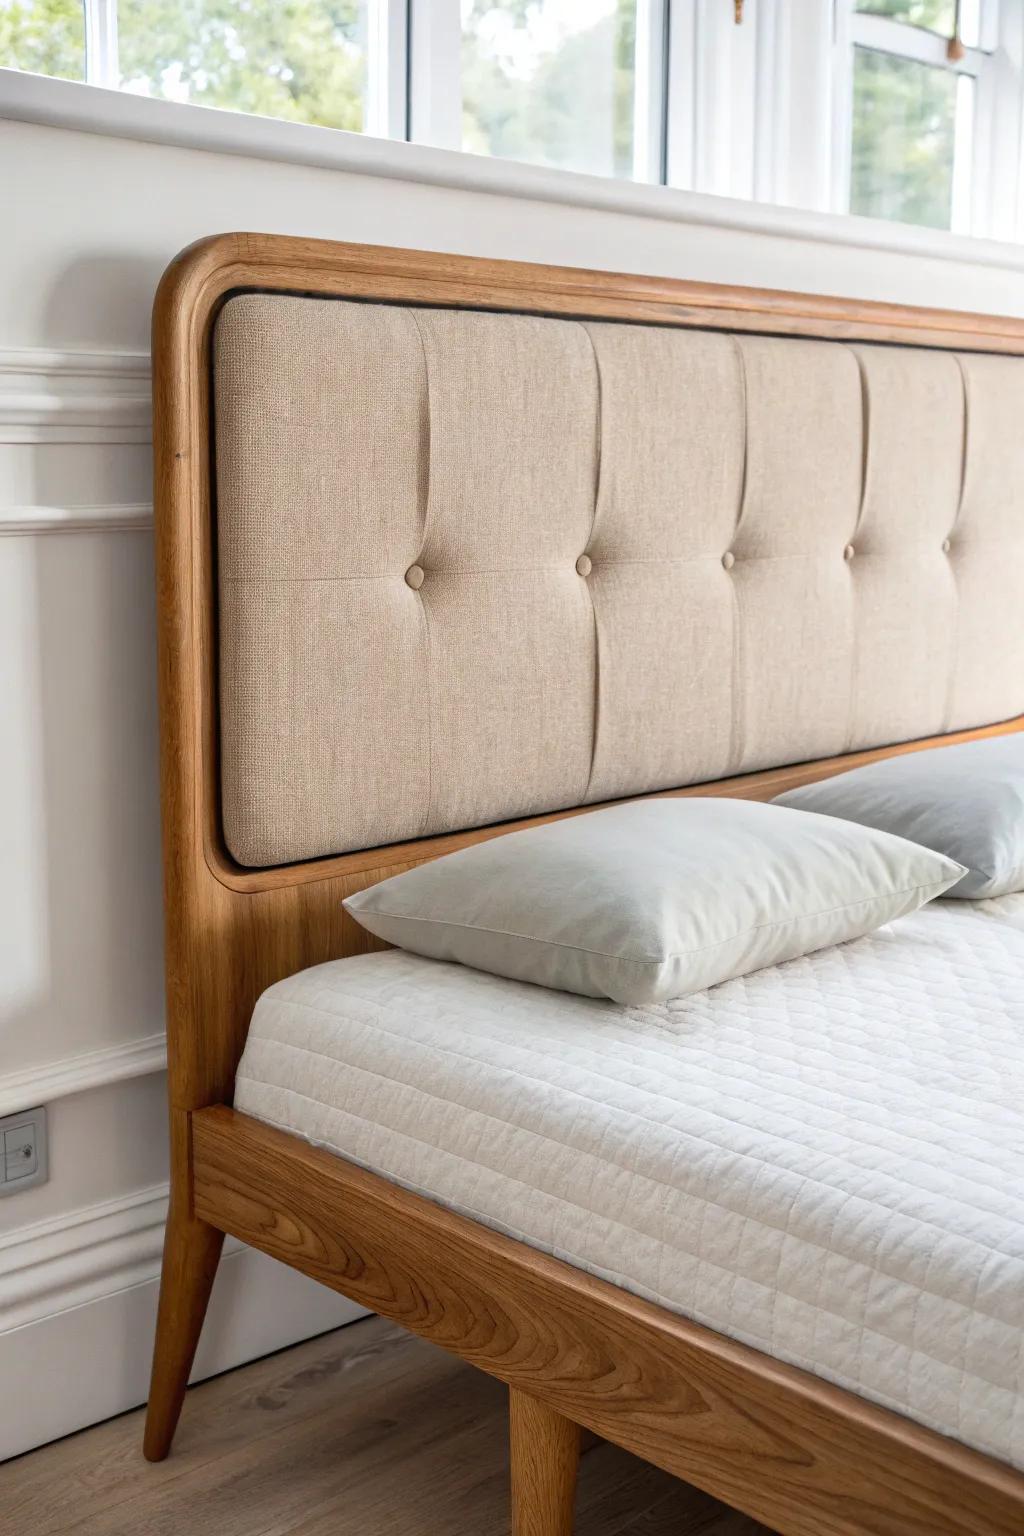
Mix a wood frame with a simple upholstered center for a headboard that’s both sleek and comfy. I’ve used neutral fabric over foam inside a clean wood headboard frame so it stays mid-century modern without getting fussy.
A few choices to try:
- Mid-Century Modern Wood & Fabric Bed Frame: Update your bedroom instantly with a frame that blends warm wood tones and soft, neutral fabric upholstery.
- Linen Upholstery Fabric by the Yard: Refresh an existing headboard project with durable, neutral linen fabric that adds texture and comfort to your space.
- Upholstery Foam Sheet: Create a plush, comfortable backrest for your DIY headboard using high-density foam for lasting support.
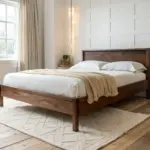
Rounded Corner Headboard
Soft, rounded corners keep a mid-century modern headboard from feeling too boxy, and they’re surprisingly easy with a template and a sander. I’ve done this on plywood panels and the “gentle curve” detail always makes it feel more vintage.
A few things you might like:
- Curved Wood Template: Create perfect, uniform arcs on your DIY headboard corners with this essential guide for consistent results.
- Orbital Power Sander: Smooth out those rounded edges effortlessly to achieve a professional, furniture-grade finish on your wooden panels.
- Mid-Century Style Bed Frame: Skip the build and instantly upgrade your bedroom with a ready-made bed frame featuring classic rounded corners.
Integrated Floating Nightstands
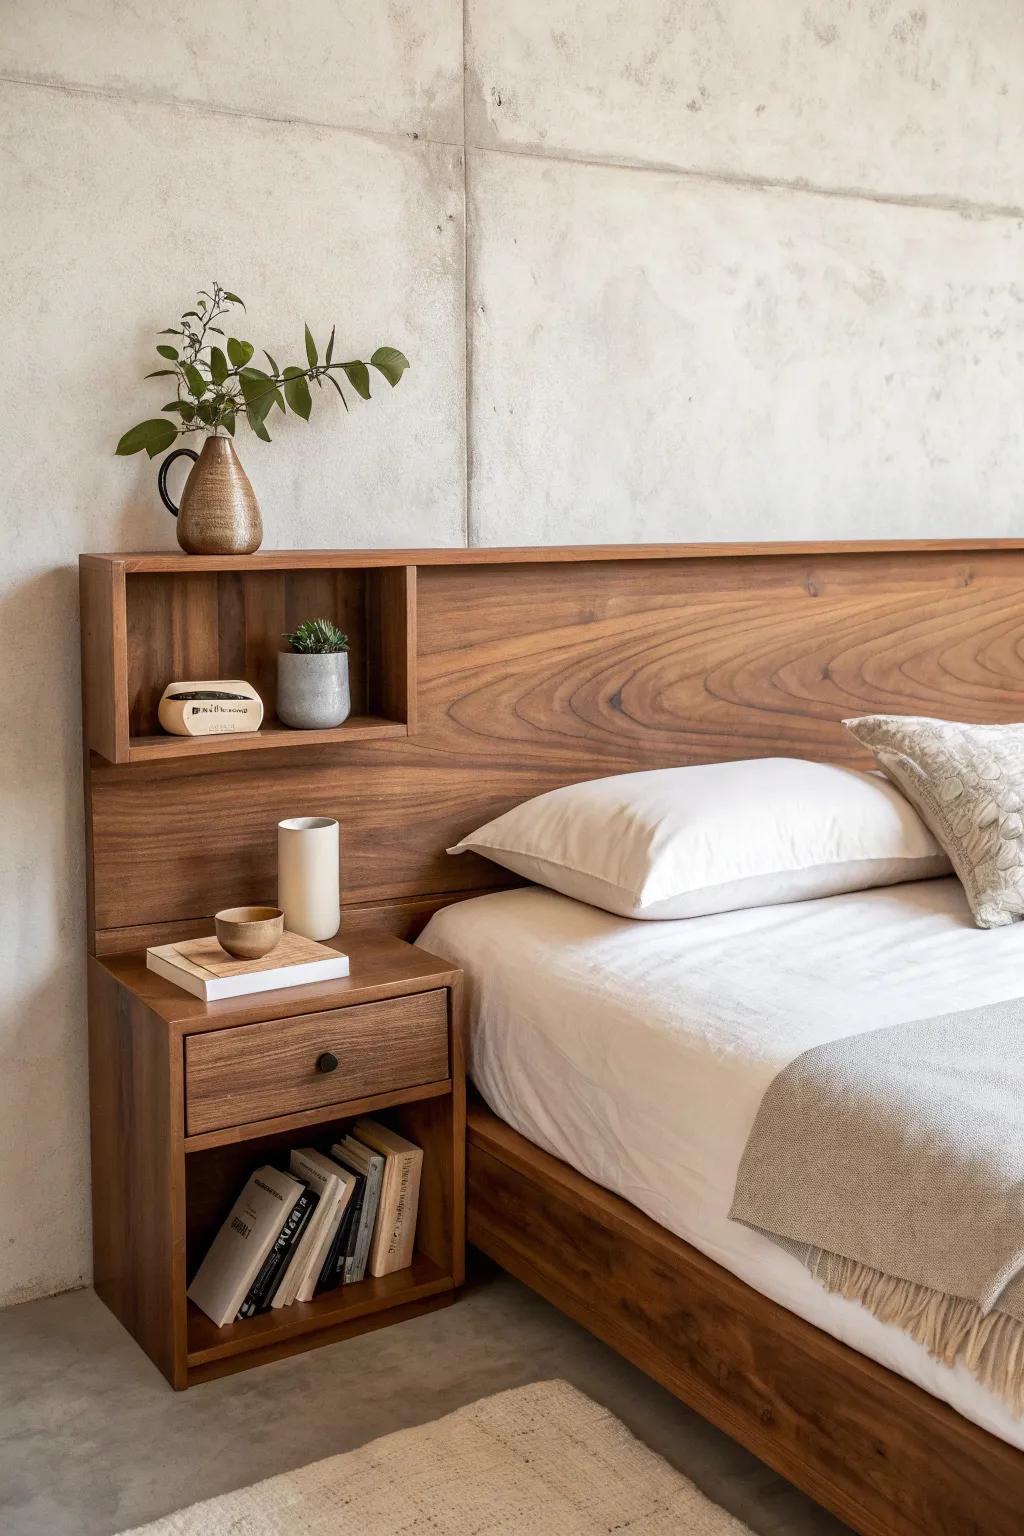
Build tiny attached shelves on each side so the headboard becomes the whole bedside setup—clean, minimal, and very mid-century. I’ve added these to a floating headboard build before, and it was a game-changer for small-room function.
Useful items to consider:
- Wall-Mounted Shelves: Create your own integrated look by mounting these minimalist wood shelves directly next to your existing headboard.
- Small Wooden Crates/Boxes: Replicate the built-in cubby style by securing these wooden boxes sideways to your wall or headboard frame.
- L-Brackets for Shelving: Provide the necessary sturdy support for your DIY floating nightstand project with these discreet, heavy-duty brackets.
Wall Sconce Mount Headboard
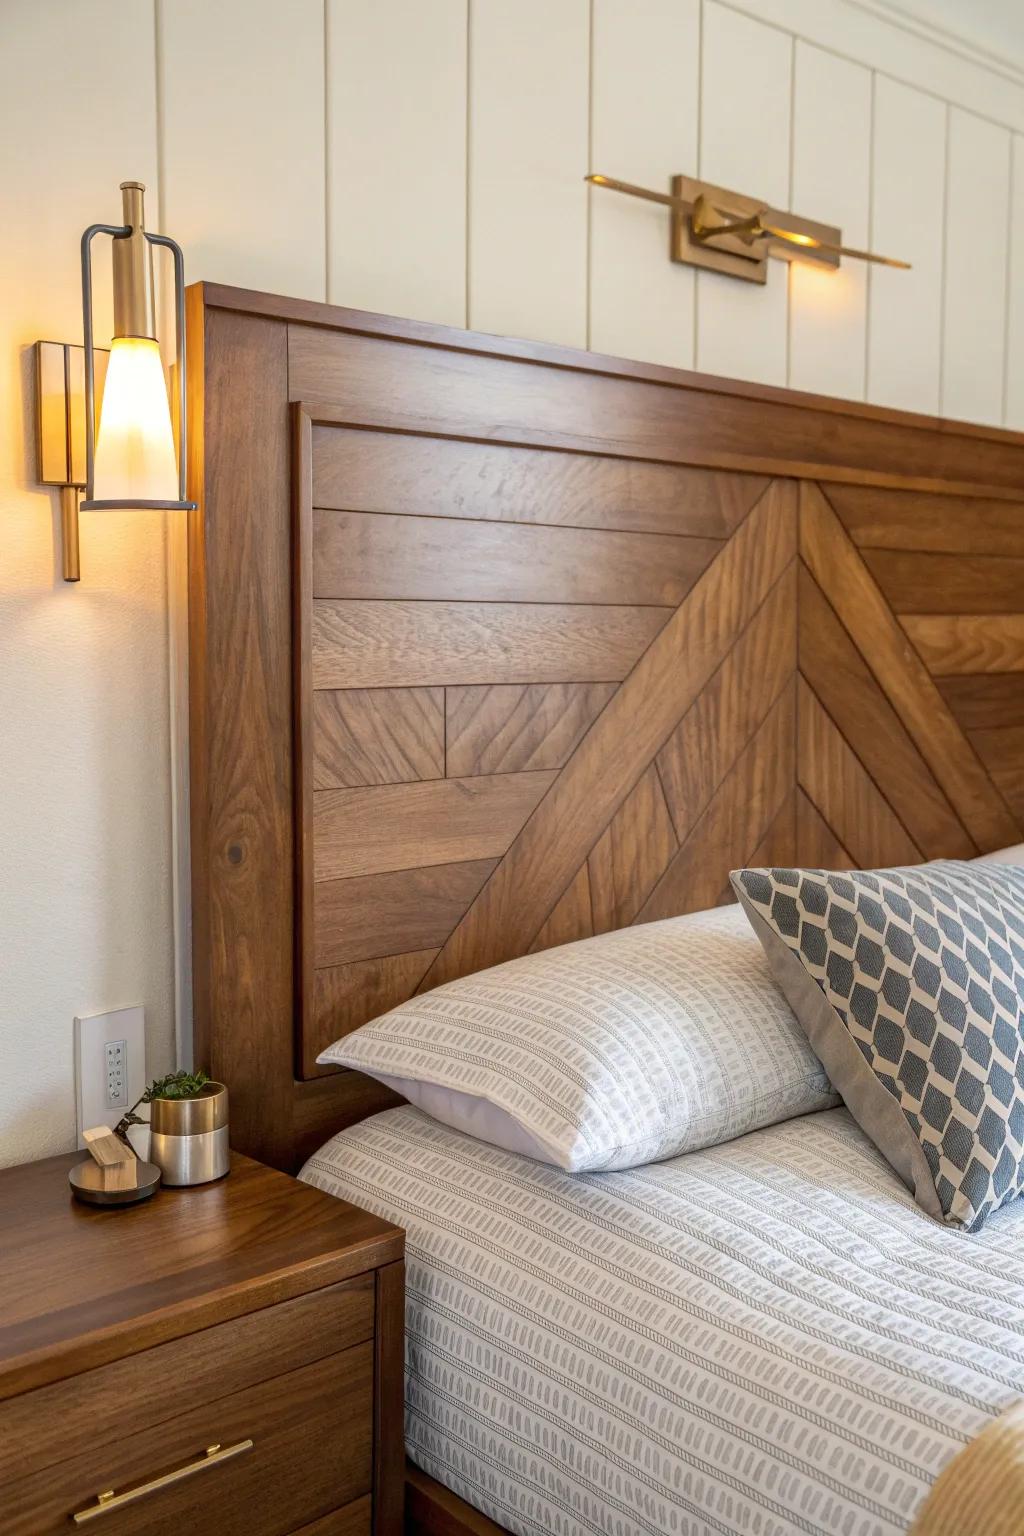
Design your mid-century modern headboard with little wood “wings” or blocks where sconces can mount, so the lighting looks intentional. I’ve pre-drilled wire channels behind the panel in my shop, and it kept everything tidy and flush.
A few relevant products:
- Mid-Century Modern Wall Sconce: Illuminate your bedside with sleek, adjustable lighting that complements wood tones and adds vintage character.
- Walnut Finish Wood Stain: Achieve that rich, classic mid-century look on your headboard project with a deep, warm finish.
- Flush Mount Brackets: Ensure your custom headboard mounts securely and sits perfectly flat against the wall for stability.
Reclaimed Wood With Clean Lines
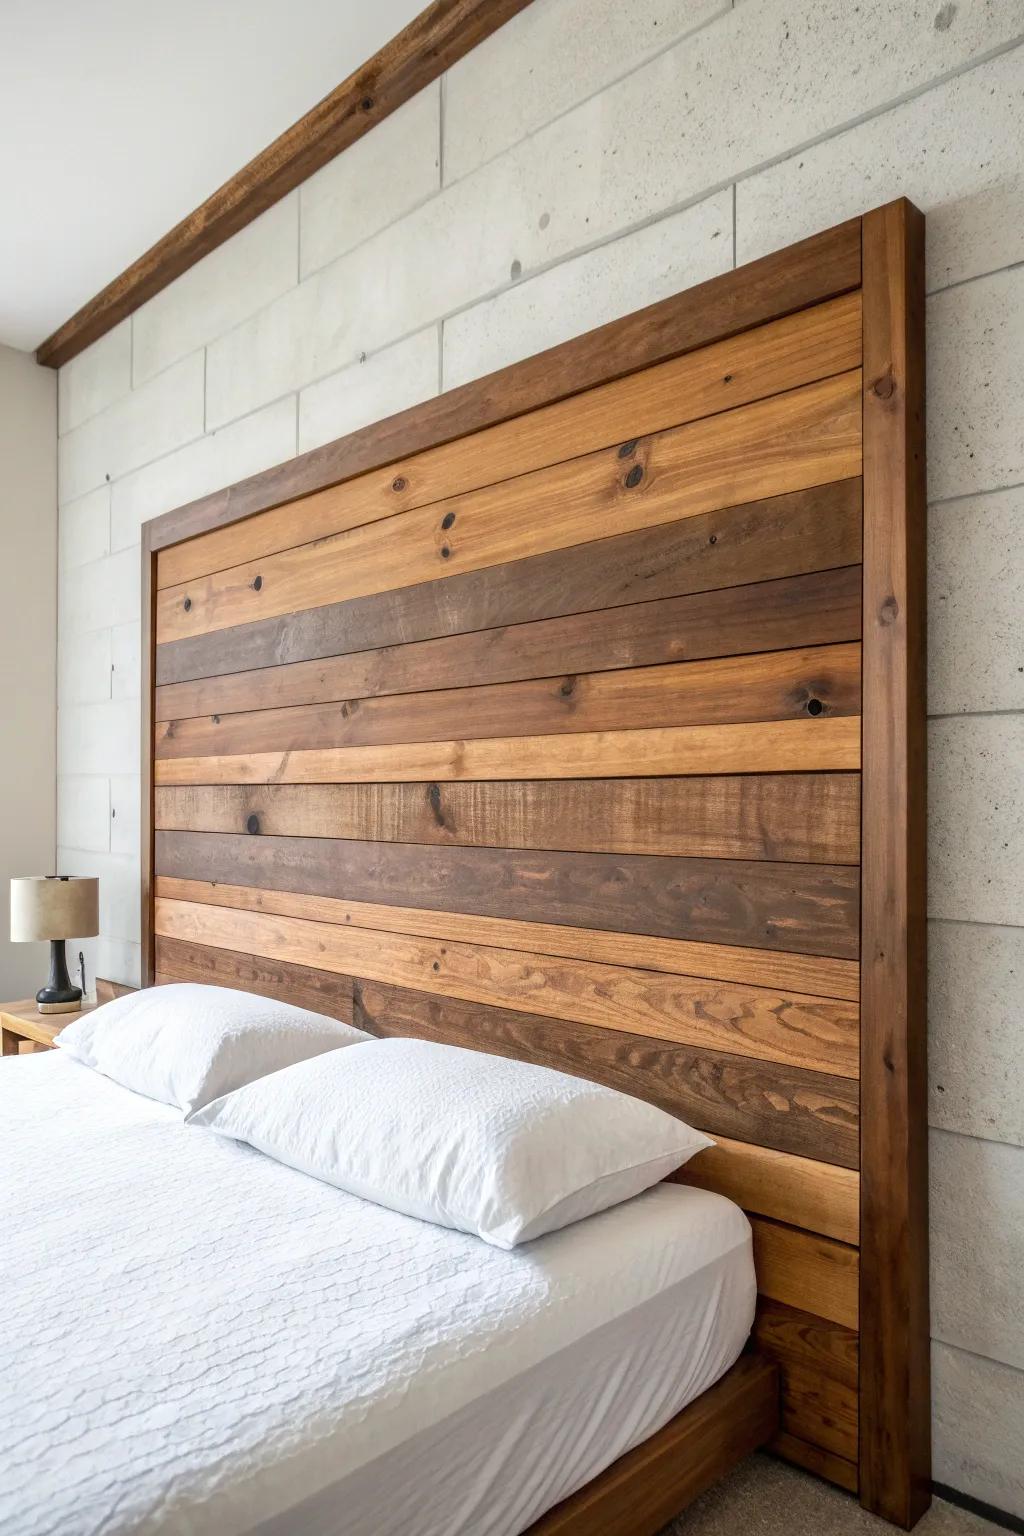
If you love character but still want mid-century vibes, use reclaimed wood in perfectly straight rows and keep the silhouette simple. I’ve done this when I wanted rustic warmth without farmhouse heaviness, and the key was sanding smooth while keeping a few honest knots.
Products that could assist:
- Reclaimed Wood Wall Planks: Instantly create that warm, textured look by applying these easy-to-install planks directly to your wall.
- Orbital Random Sander: Achieve a professional finish on your DIY lumber by smoothing out rough spots while preserving character.
- Wood Stain Variety Pack: Enhance the natural grain and create subtle tonal variations in your wood slats for custom depth.
Resin Inlay Geometric Lines
For a serious wow moment, pour thin resin inlay lines into routed grooves to create crisp geometric stripes. I’ve done this with a dark-tinted pour on warm wood, and it turned a simple mid-century modern headboard into instant wall art.
Give these a look:
- Clear Casting Epoxy Resin Kit: Create smooth, durable inlay lines in your wood project with this versatile casting epoxy resin kit.
- Black Epoxy Resin Pigment: Tint your resin inlay deep black to achieve superb contrast against warm mid-century wood tones.
- Plunge Router Tool: Carve precise, clean geometric grooves into your headboard to prepare the perfect channel for resin pouring.


