
A painted fireplace surround is one of those weekend projects that can totally change how your whole living room feels. I’ve done a bunch of these makeovers in my workshop, and I still get that little thrill when the first coat turns “meh” into “wow.”
Deep Navy for a Cozy Anchor
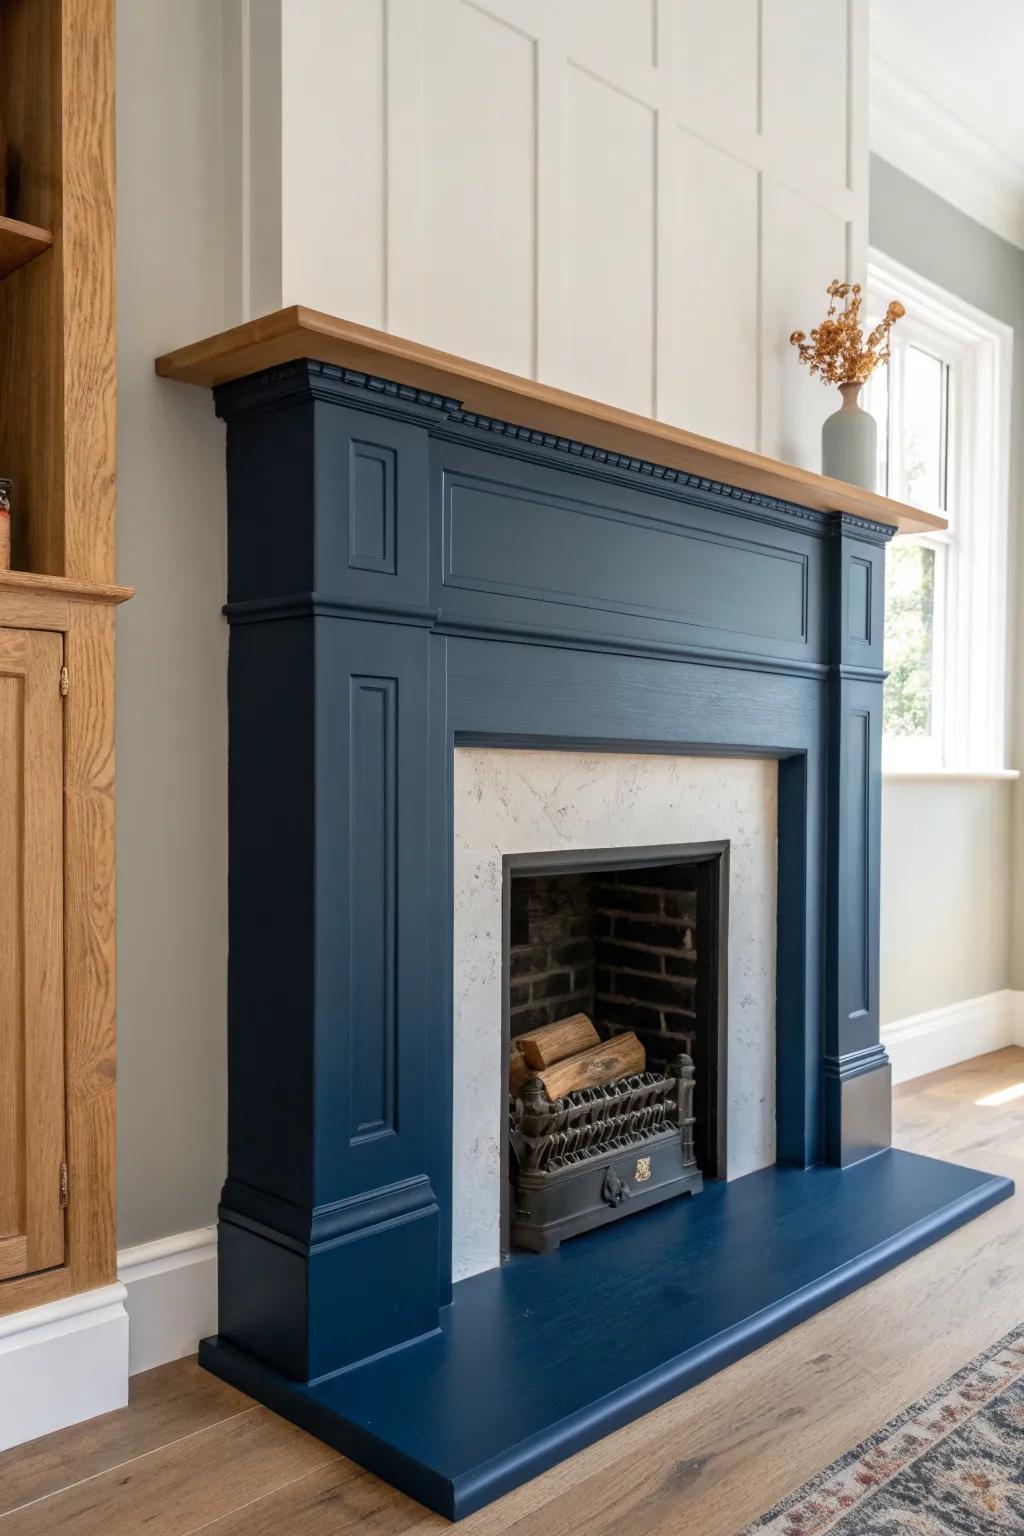
A navy blue fireplace surround gives you that library vibe, especially if your walls are light and airy. I painted one navy with a simple wood mantel, and it instantly looked like a custom feature wall.
Check if these fit your needs:
- Navy Blue Interior Paint: Transform your fireplace surround with deep navy paint to create a sophisticated, cozy focal point in your room.
- Natural Wood Mantel Shelf: Install a floating wood mantel to add warmth and beautiful contrast against the dark blue painted surround.
- Dried Flower Vase Decor: Place a simple ceramic vase with dried botanicals on the mantel to complete the classic, airy aesthetic.


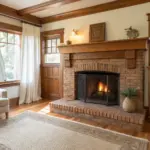
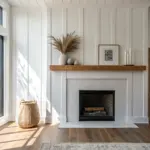
Classic Bright White Surround
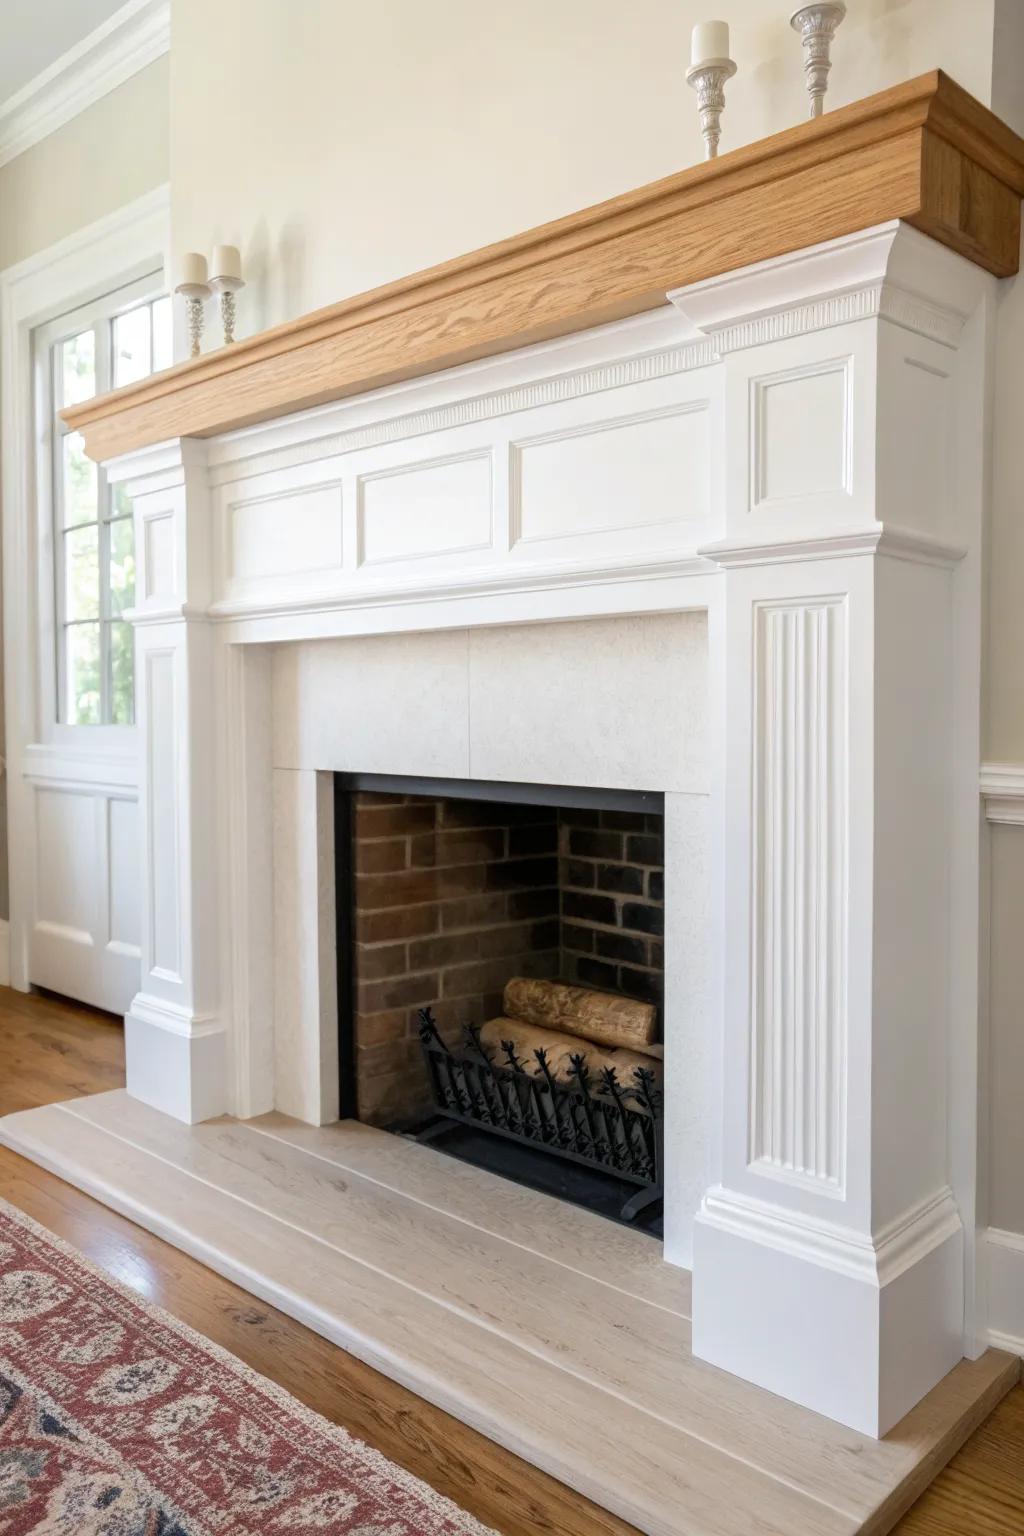
When I need a sure-win makeover, I paint the fireplace surround a crisp bright white because it instantly cleans up dated trim and makes the mantel decor pop. I’ve paired it with natural wood shelves and the contrast always feels fresh without trying too hard.
Maybe worth checking out:
- Semi-Gloss White Interior Paint: Achieve that crisp, clean look by applying a fresh coat of durable, easy-to-clean semi-gloss bright white paint.
- Angled Sash Paint Brush: Ensure professional-looking lines around intricate molding and mantel details with a high-quality angled sash brush.
- Black Fireplace Grate: Complete the classic look by adding a sturdy cast iron grate to hold your logs securely.
Moody Matte Black Statement
A matte black fireplace surround is my go-to when a room feels bland, because it creates a strong focal point even with simple styling. I’ve done this on both wood and brick surrounds, and it somehow makes everything nearby look more intentional.
These products might help:
- High-Heat Matte Black Paint: Refresh your fireplace surround with specialized paint designed to withstand high temperatures while providing a sleek matte finish.
- Angled Paint Brush Set: Achieve clean lines and precise edges on intricate molding or mantel details with these versatile angled painting tools.
- Painter’s Tape for Delicate Surfaces: Protect your walls and hearth tiles from accidental drips or smears to ensure a professional-looking, crisp paint job.

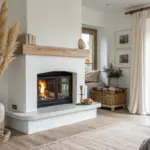
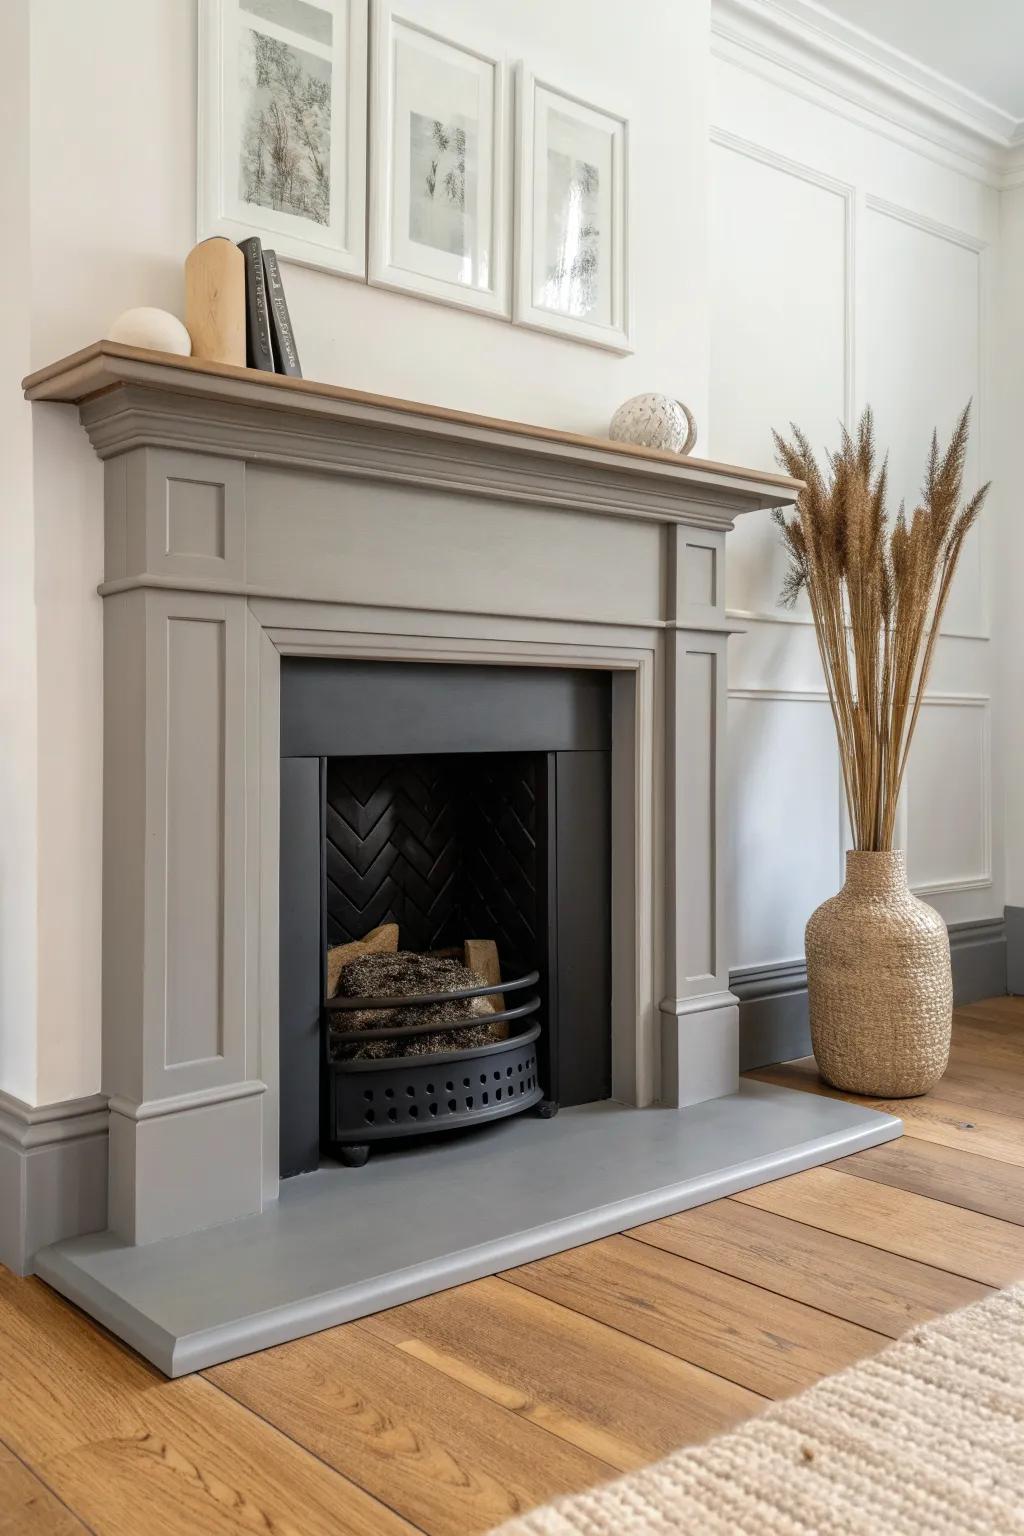
Charcoal Gray for Soft Drama
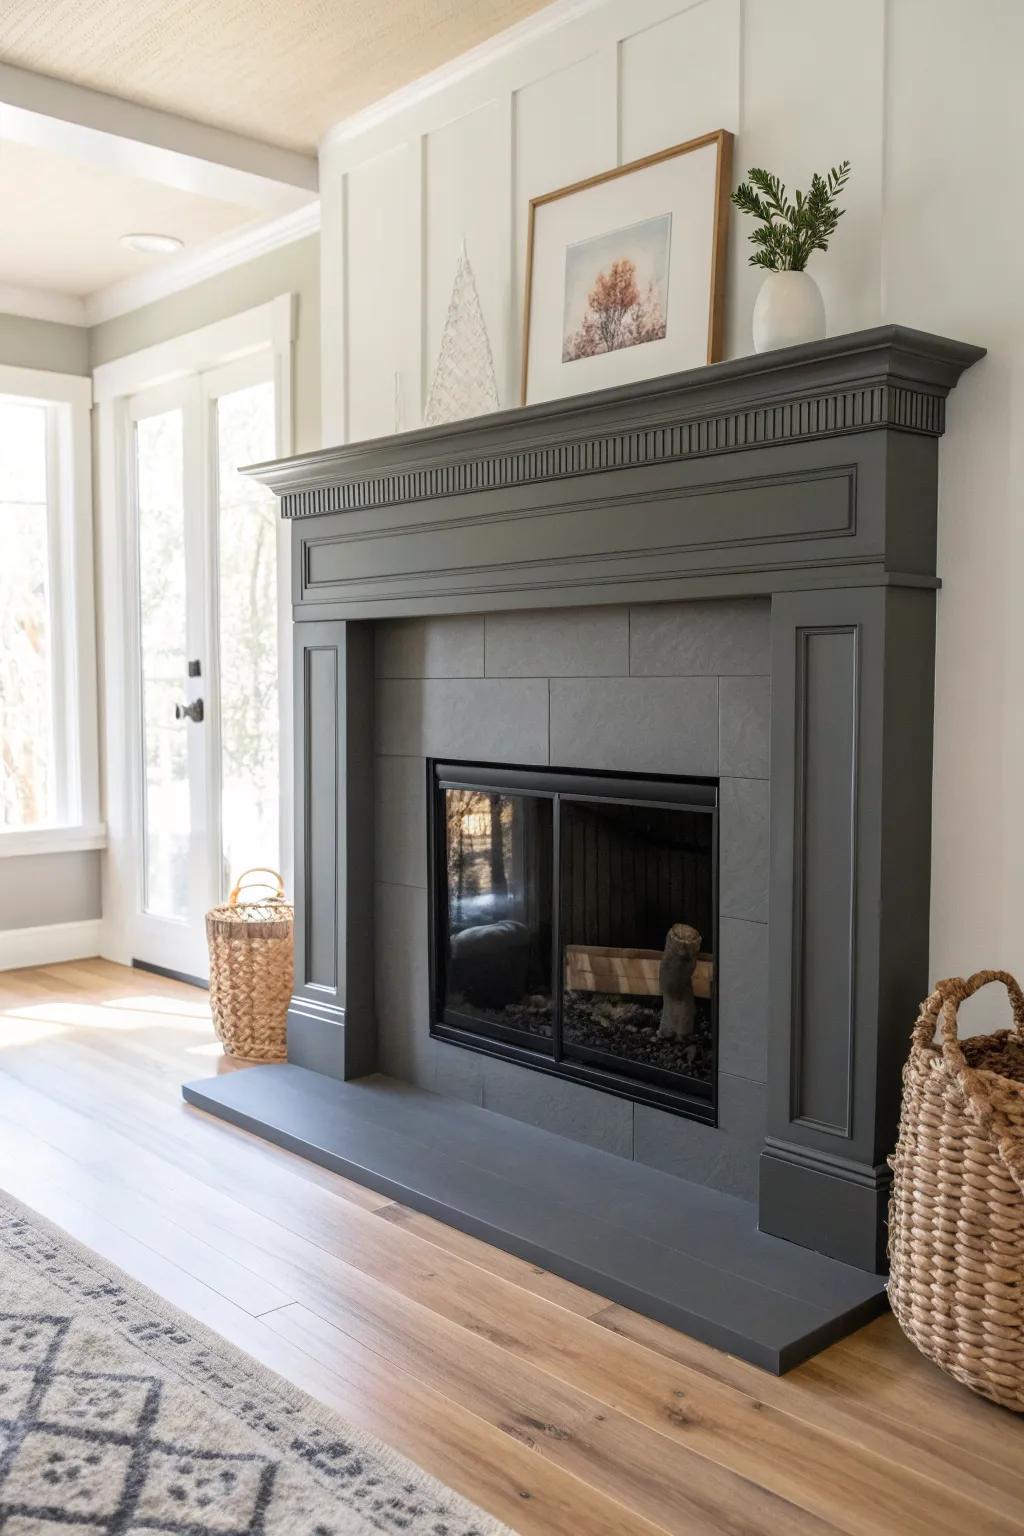
If black feels too bold, I like a charcoal gray surround for that cozy, modern look without the starkness. I used this in a family room makeover and the painted surround made the fireplace feel “built-in” instead of tacked on.
You might like:
- Charcoal Gray Interior Furniture Paint: Transform your existing mantel easily with this deep gray paint for a modern, sophisticated matte finish.
- Woven Storage Basket: Recreate the cozy texture shown in the image by adding a large woven basket for firewood or blankets.
- Framed Nature Art Print: Complete the look with subtle, earth-toned framed artwork to lean or hang above your newly painted mantel.
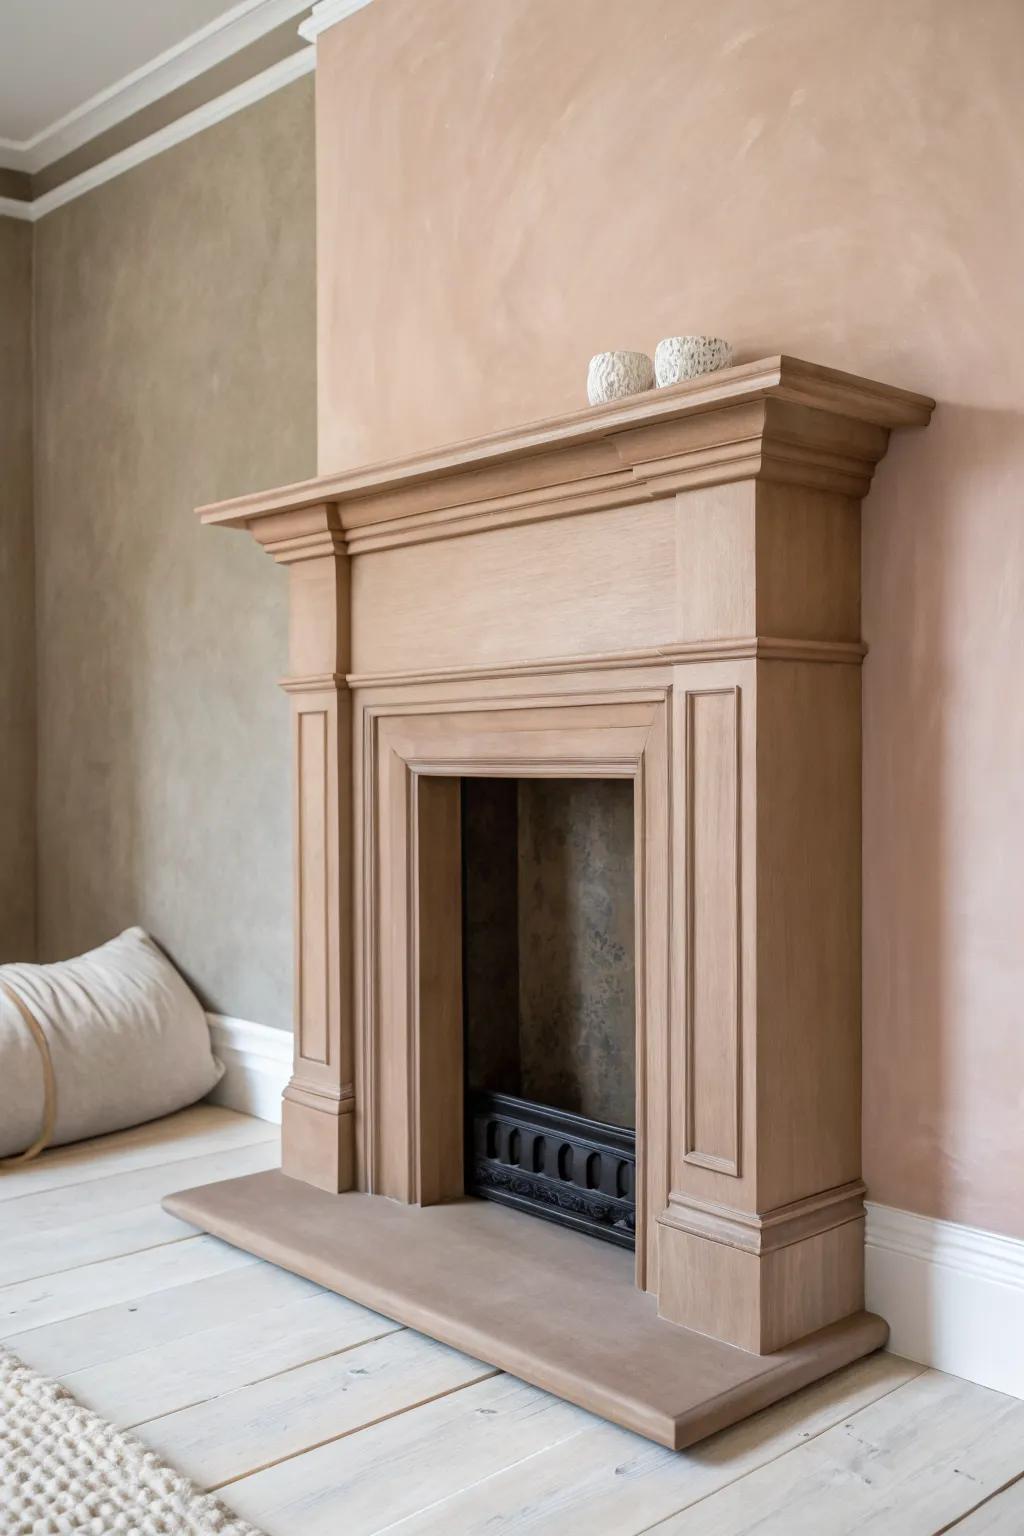
Greige for a Modern Farmhouse Blend
When I’m working in a home with warm woods and neutral textiles, a greige fireplace surround keeps everything calm and pulled together. I’ve used it to bridge honey oak floors with cooler wall colors, and it smooths out that “clashy” feeling fast.
Try these:
- Greige Chalk or Mineral Paint: Transform your fireplace surround with a matte greige finish that beautifully bridges warm wood tones and cool walls.
- Tall Woven Floor Vase: Add organic texture next to your newly painted fireplace with a large natural seagrass or rattan floor vase.
- Natural Dried Pampas Grass: Complete the modern farmhouse look by filling a floor vase with fluffy, dried pampas grass for extra warmth.
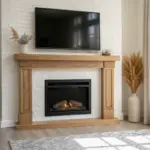
Two-Tone Mantel and Surround
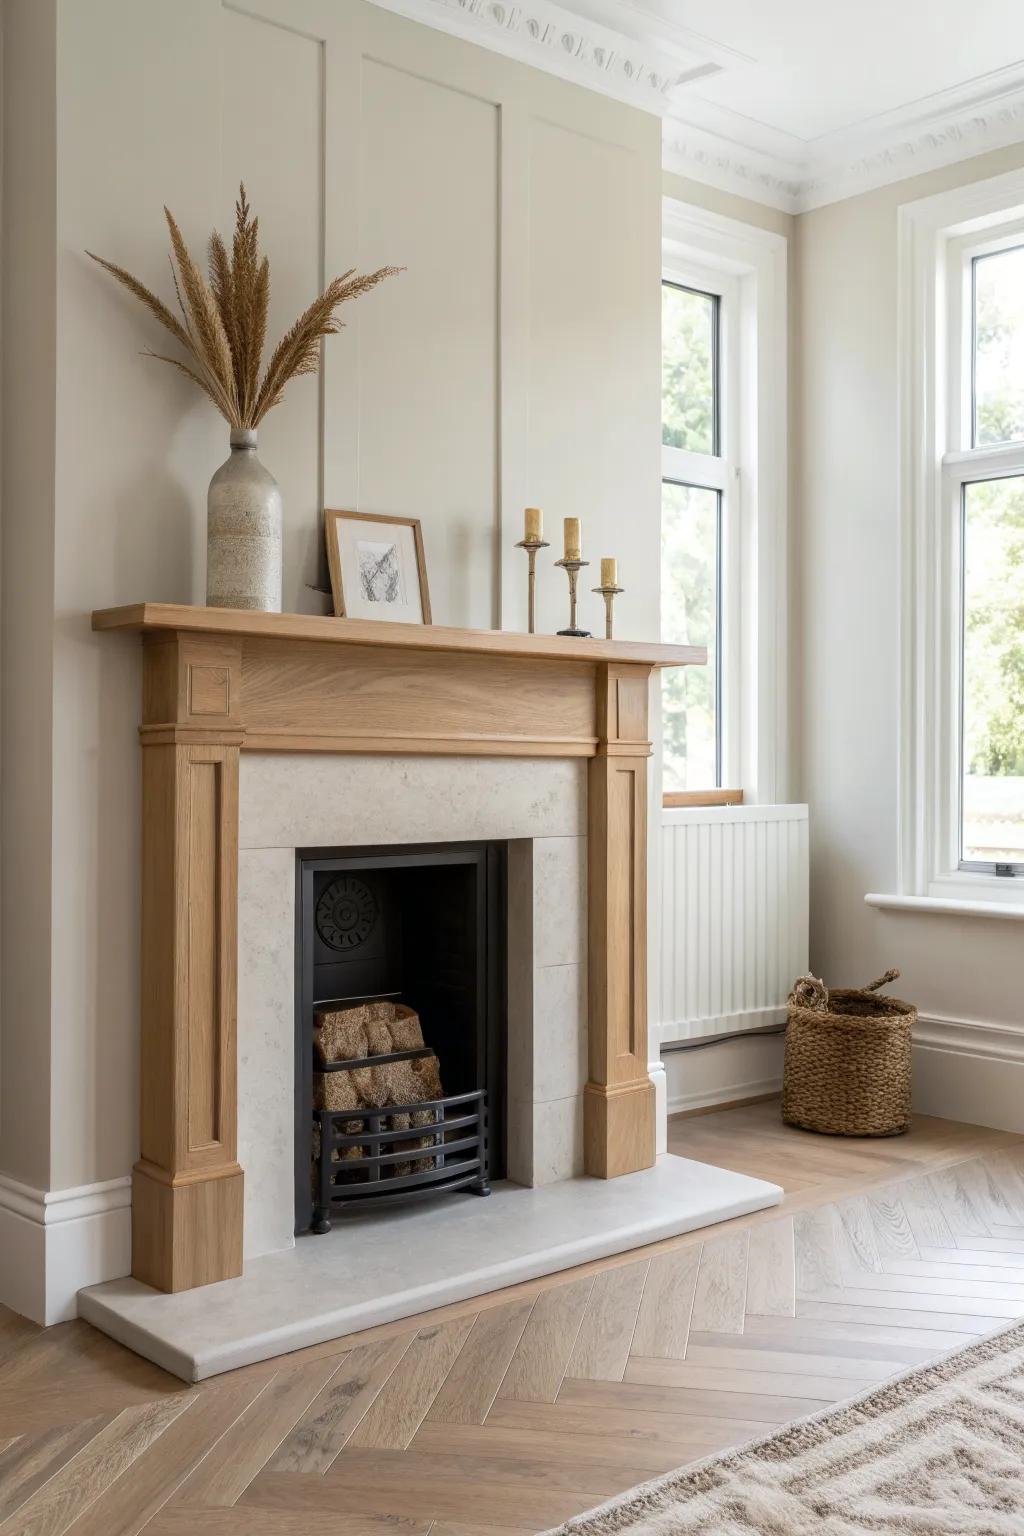
One of my favorite classic looks is a two-tone fireplace surround—painted surround with a stained or natural wood mantel for instant contrast. I’ve built simple box mantels for this, and the mix of paint and grain always looks high-end.
A few relevant products:
- Unfinished Wood Fireplace Mantel Shelf: Install a floating mantel above your existing surround to create immediate contrast and classic wooden warmth.
- Professional Paint Sprayer: Upgrade your DIY toolkit to achieve a smooth, factory-like finish on your fireplace surround when painting.
- Wood Stain and Sealer: Enhance your mantel’s natural grain with a quality stain that mimics the high-end oak look shown here.

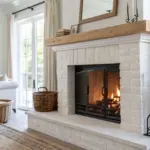
Painted Brick Surround in Soft White
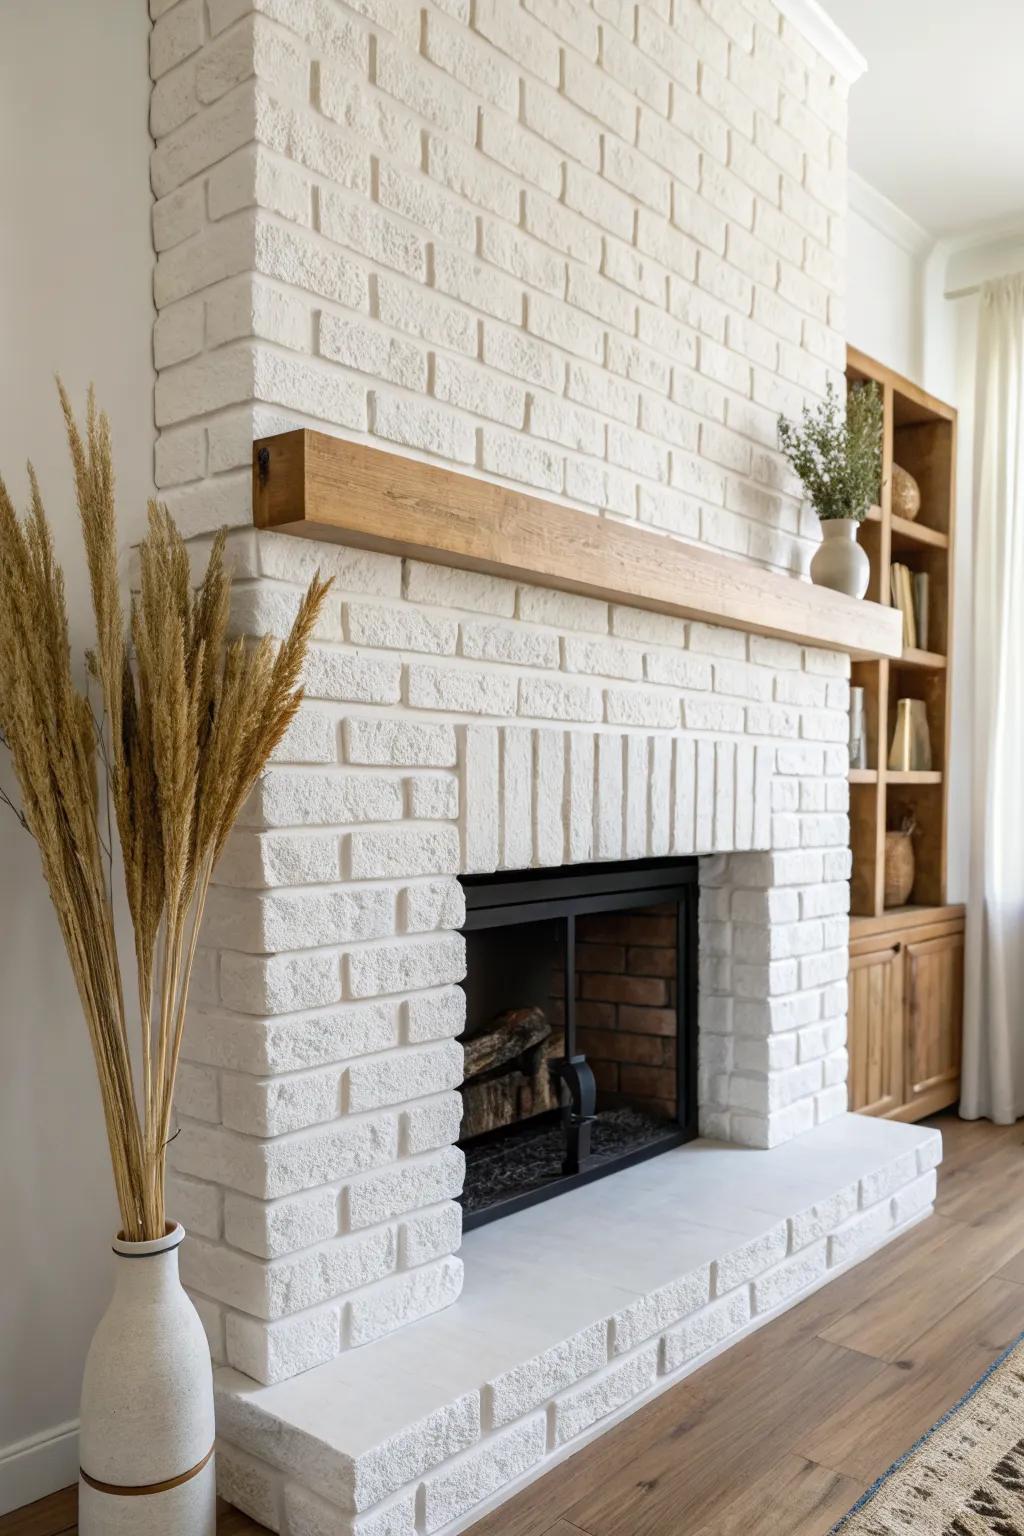
If your fireplace surround is brick, a soft white painted brick treatment can brighten the room while still letting texture do its thing. I’ve done this after a deep clean and good primer, and the brick suddenly looked timeless instead of tired.
Give these a look:
- Masonry Primer and Paint Kit: Start your transformation by adhering to tricky surfaces with a specialized primer designed for porous brick substrates.
- TSP Heavy Duty Cleaner: Ensure a long-lasting finish by removing soot and grime from the brick before you start painting.
- High-Density Paint Roller for Rough Surfaces: Get into every nook and cranny of uneven brick texture efficiently with a thick nap roller cover.
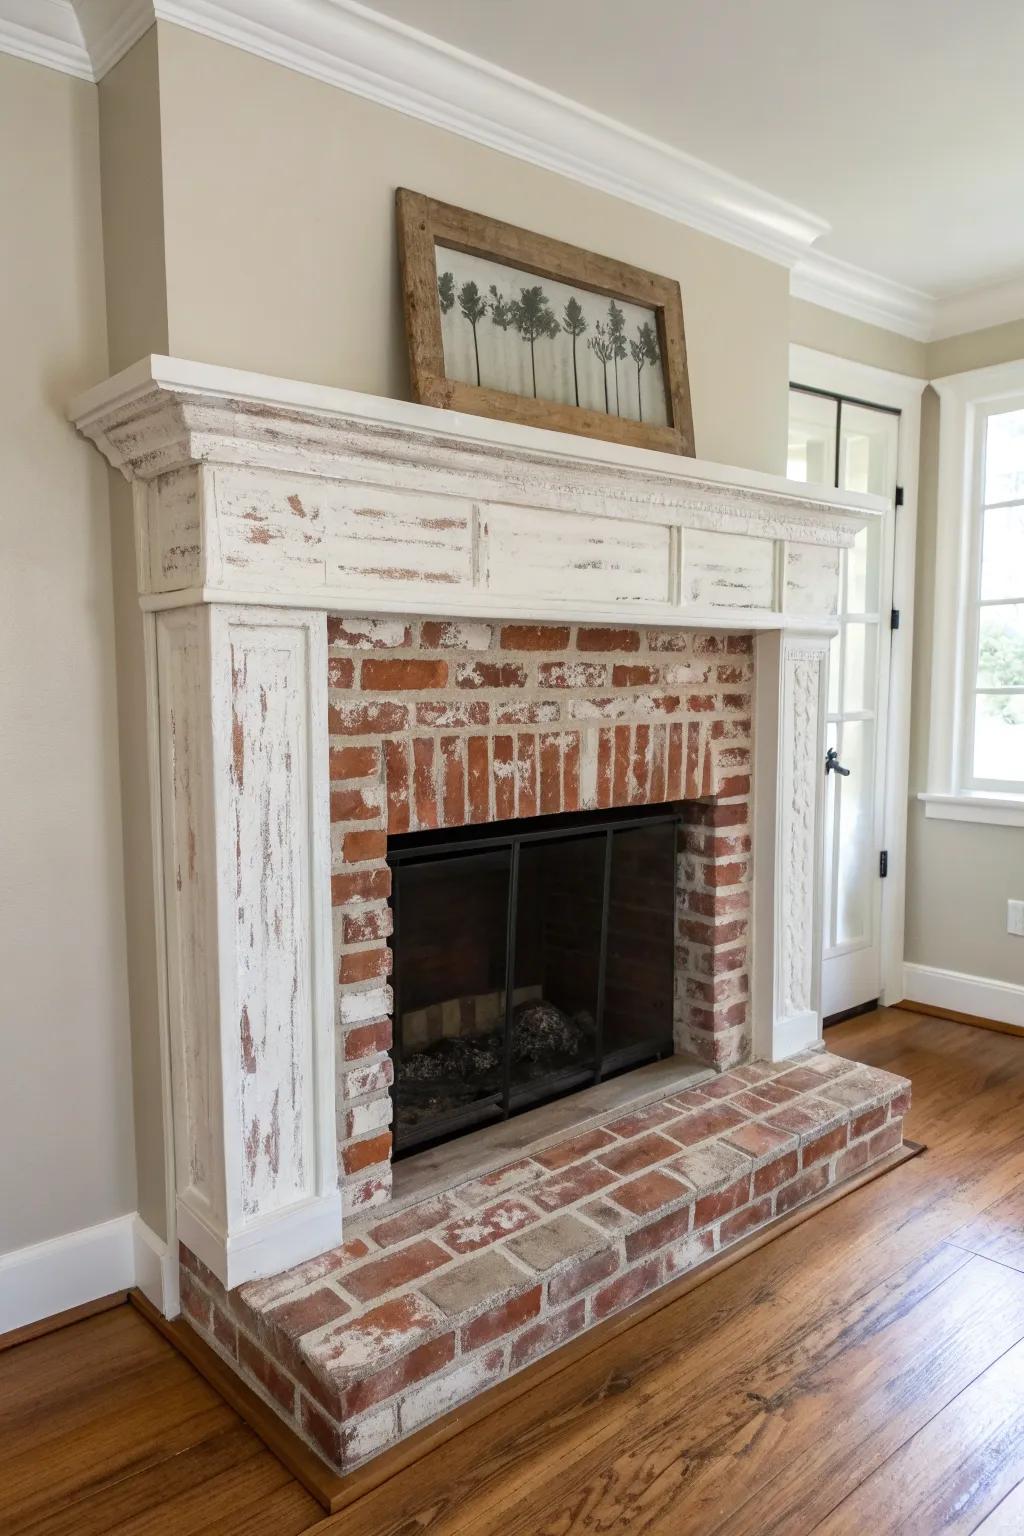
Whitewash Look for Gentle Texture
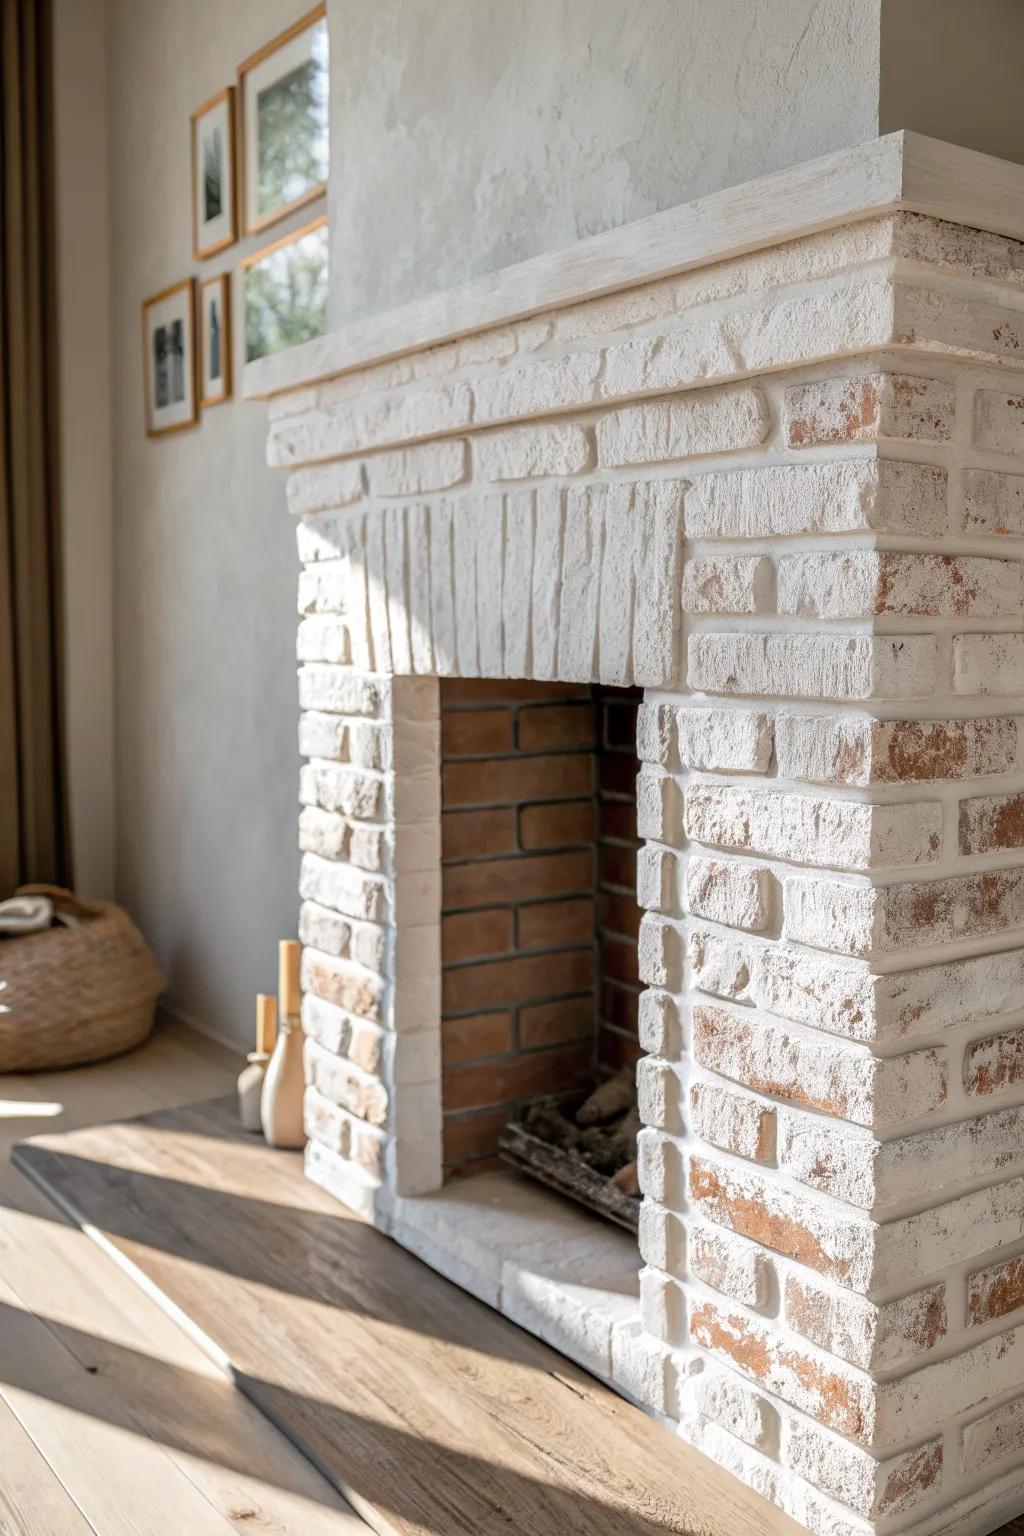
For people who want character without committing to full coverage, I love a whitewashed fireplace surround that lets a bit of the original brick or stone peek through. I tested this on a rough surround once, and the uneven texture made it look perfectly lived-in.
Items that may come in handy:
- General Purpose Chalk-Style Paint: Create a smooth matte finish easily by diluting this paint for a perfect, custom whitewash effect.
- Masonry Paint Brush Kit: Use these stiff-bristled brushes to work thin paint into rough brick crevices for thorough coverage.
- Lint-Free Cotton Rags: Wipe away excess paint quickly with these cloths to control opacity and reveal underlying brick texture.
German Schmear-Style Painted Surround
A German schmear-style surround is such a cool middle ground between paint and plaster, and it can make an outdated brick surround feel old-world charming. I tried it on a smaller surround and the softened lines instantly made the whole fireplace feel cozier.
Might be a good match:
- General Purpose Mortar Mix: Create that authentic, textured old-world look by applying this essential base directly over your existing brickwork.
- Masonry Trowel Set: Apply and spread your mortar or paint smoothly across the bricks to control the thickness of coverage.
- Heavy-Duty Grouting Sponge: Wipe away excess mortar before it dries to reveal just the right amount of original brick underneath.
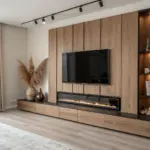
Painted Surround Plus Matching Built-Ins
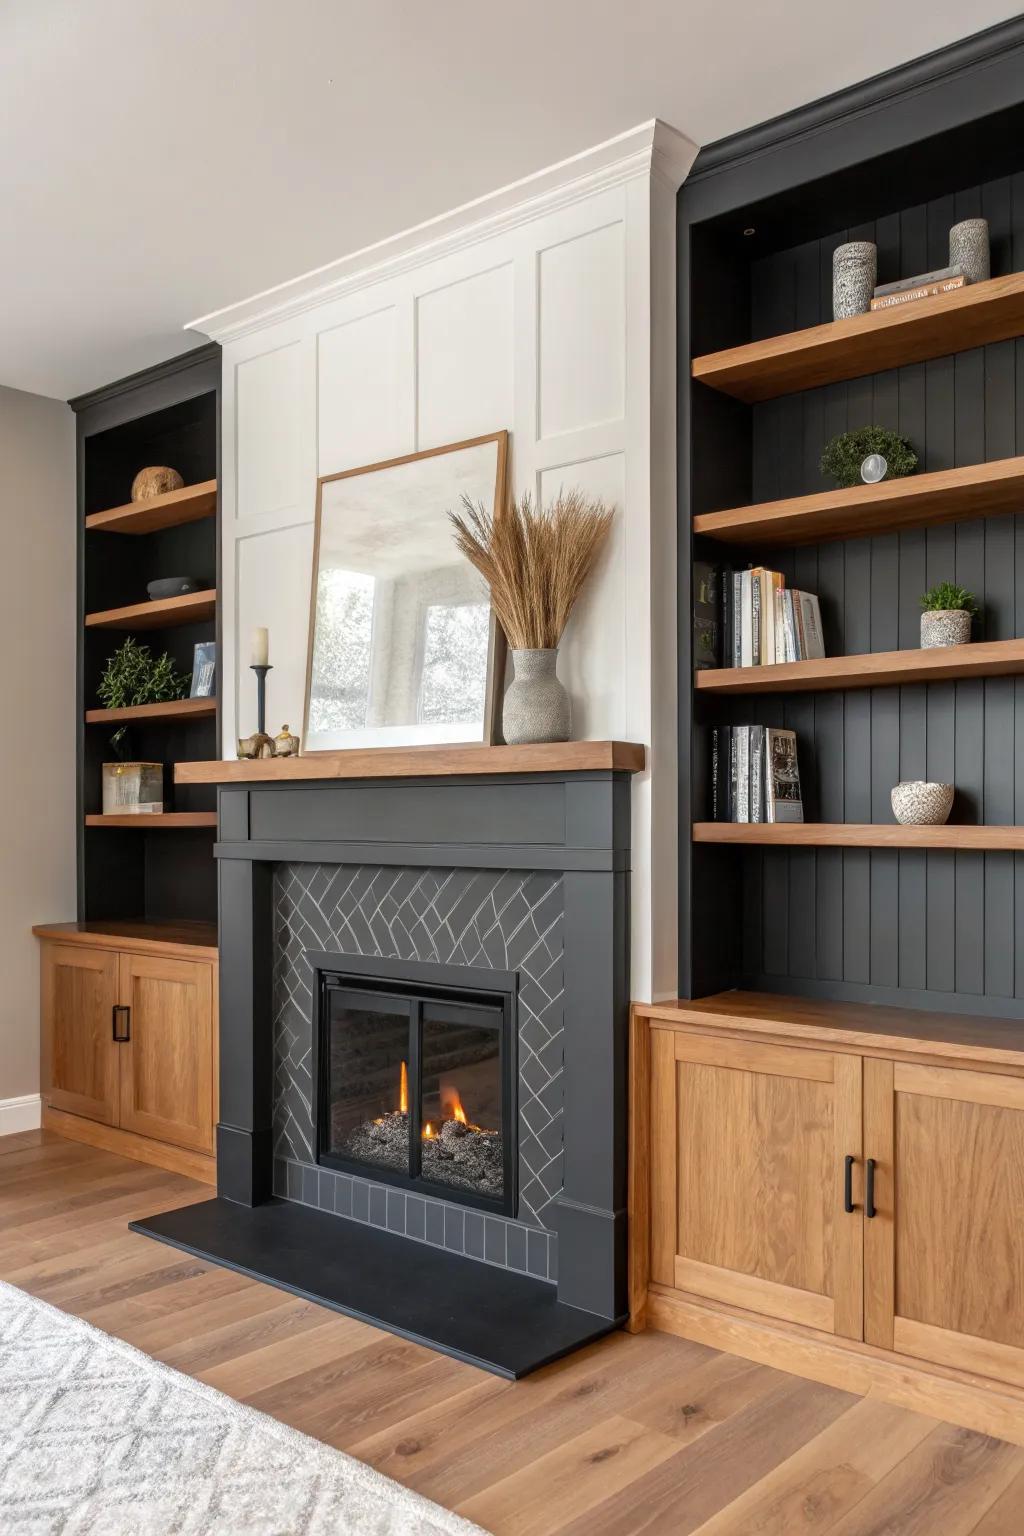
If you have shelves or cabinets near the fireplace, painting the fireplace surround and built-ins the same color gives that “custom wall” look. I’ve done this in dark paint, and the surround suddenly felt like part of a single, intentional design.
You might give these a try:
- Matte Charcoal Black Interior Paint: Transform your fireplace and shelves with deep, rich color to create that custom, cohesive built-in look.
- Modern Matte Black Cabinet Pulls: Update existing cabinet doors with sleek hardware to seamlessly blend storage into your new dark surround design.
- High-Density Foam Paint Roller Kit: Achieve a smooth, professional finish on cabinetry and mantels without leaving unsightly brush strokes or texture.
Tone-on-Tone Surround and Wall Color
For a subtle, designer-y move, I paint the fireplace surround the same color as the wall but in a different sheen to create quiet depth. I did this in a small room once, and it made the fireplace feel bigger without screaming for attention.
Check these products out:
- Angled Sash Paint Brush: Achieve clean lines and professional corners on your mantel trim with a high-quality angled sash brush.
- Satin or Semi-Gloss Interior Paint: Create subtle contrast against matte walls by choosing a durable satin or semi-gloss finish for your mantel.
- Decorative Ceramic Vases: Add texture to your newly painted mantel with neutral ceramic vases similar to those in the inspiration photo.
Highlight the Trim With a Painted Border
If your fireplace surround has nice molding, try painting the surround one color and the trim edge another for a crisp painted outline. I’ve used this trick to make basic builder-grade surround profiles look way more detailed.
A few choices to try:
- Angled Sash Paint Brush: Achieve crisp lines and sharp edges on detailed trim work with a high-quality angled sash brush.
- Painter’s Tape for Delicate Surfaces: Ensure your two-tone lines remain perfectly straight and protect existing finishes using reliable painter’s tape.
- Artist Brush Set for Detailing: Perfect the tiniest corners and intricate molding profiles of your fireplace surround with fine artist brushes.
Painted Surround With a Faux Concrete Finish
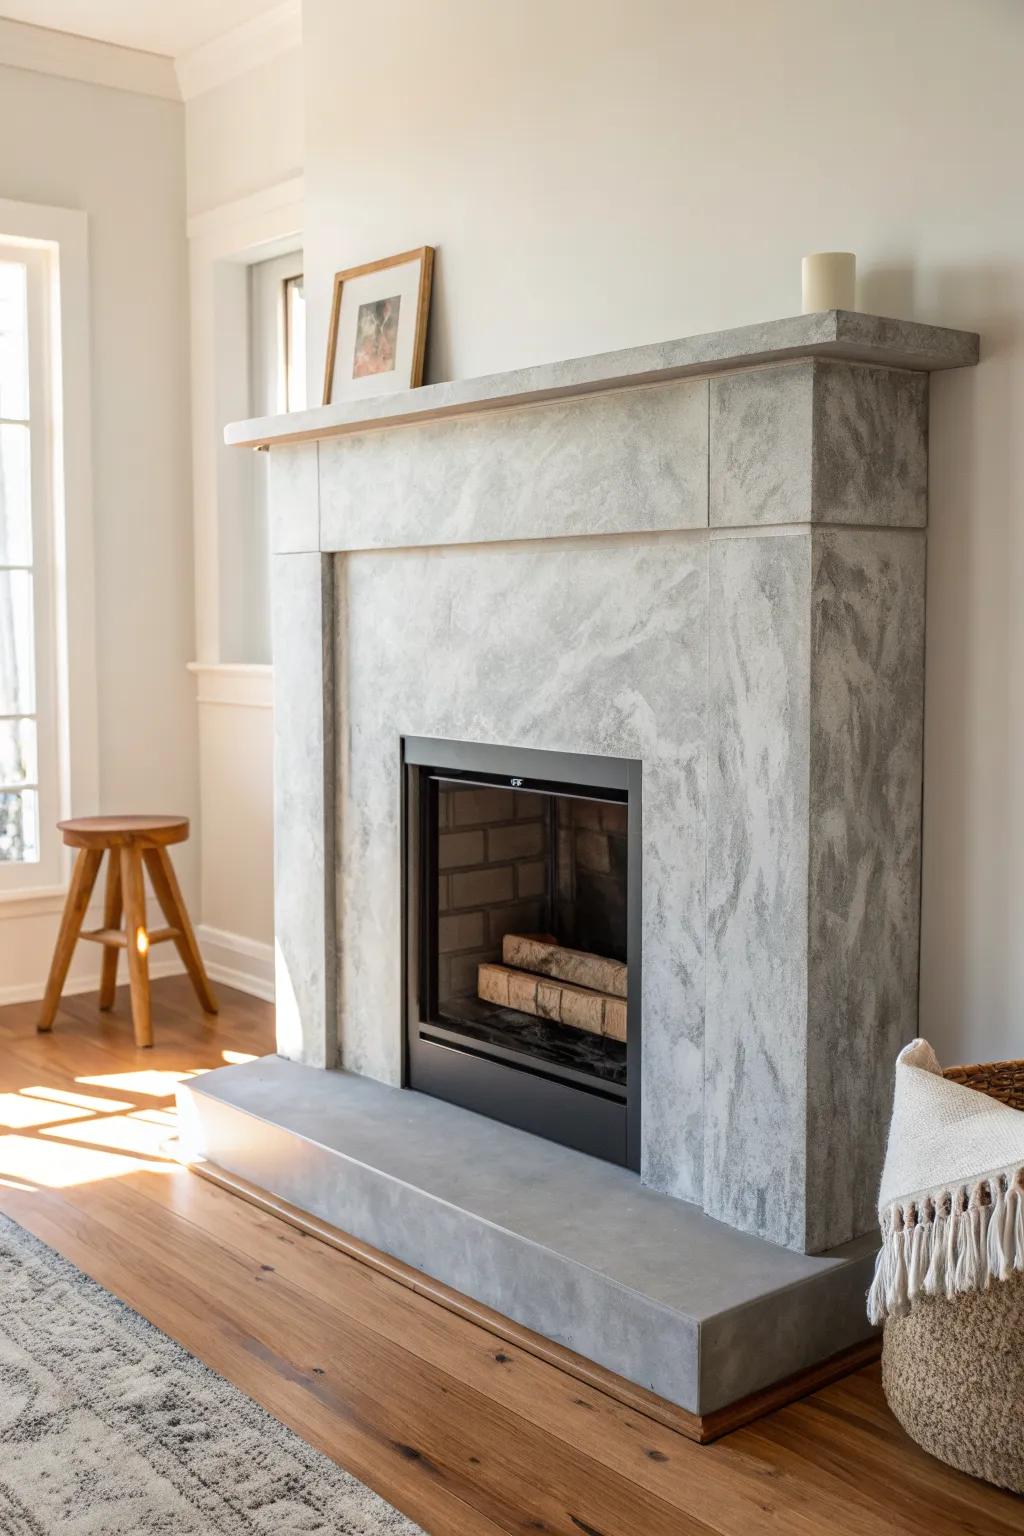
A painted concrete-look fireplace surround is a fun way to get that modern, slightly industrial vibe without rebuilding anything. I’ve layered paint to mimic cement on a surround, and it made my rustic wood decor feel extra current.
Explore these options:
- Faux Concrete Paint Kit: Transform your fireplace easily with a specialized kit designed to replicate the textured, gray look of real concrete.
- High-Quality Paint Sponges: Create authentic depth and mottled industrial texture by dabbing your paint layers with these durable sponge tools.
- Matte Topcoat Sealer: Protect your new finish and lock in that realistic, non-shiny cement aesthetic with a durable matte clear coat.
Color-Block the Surround for a Bold Twist
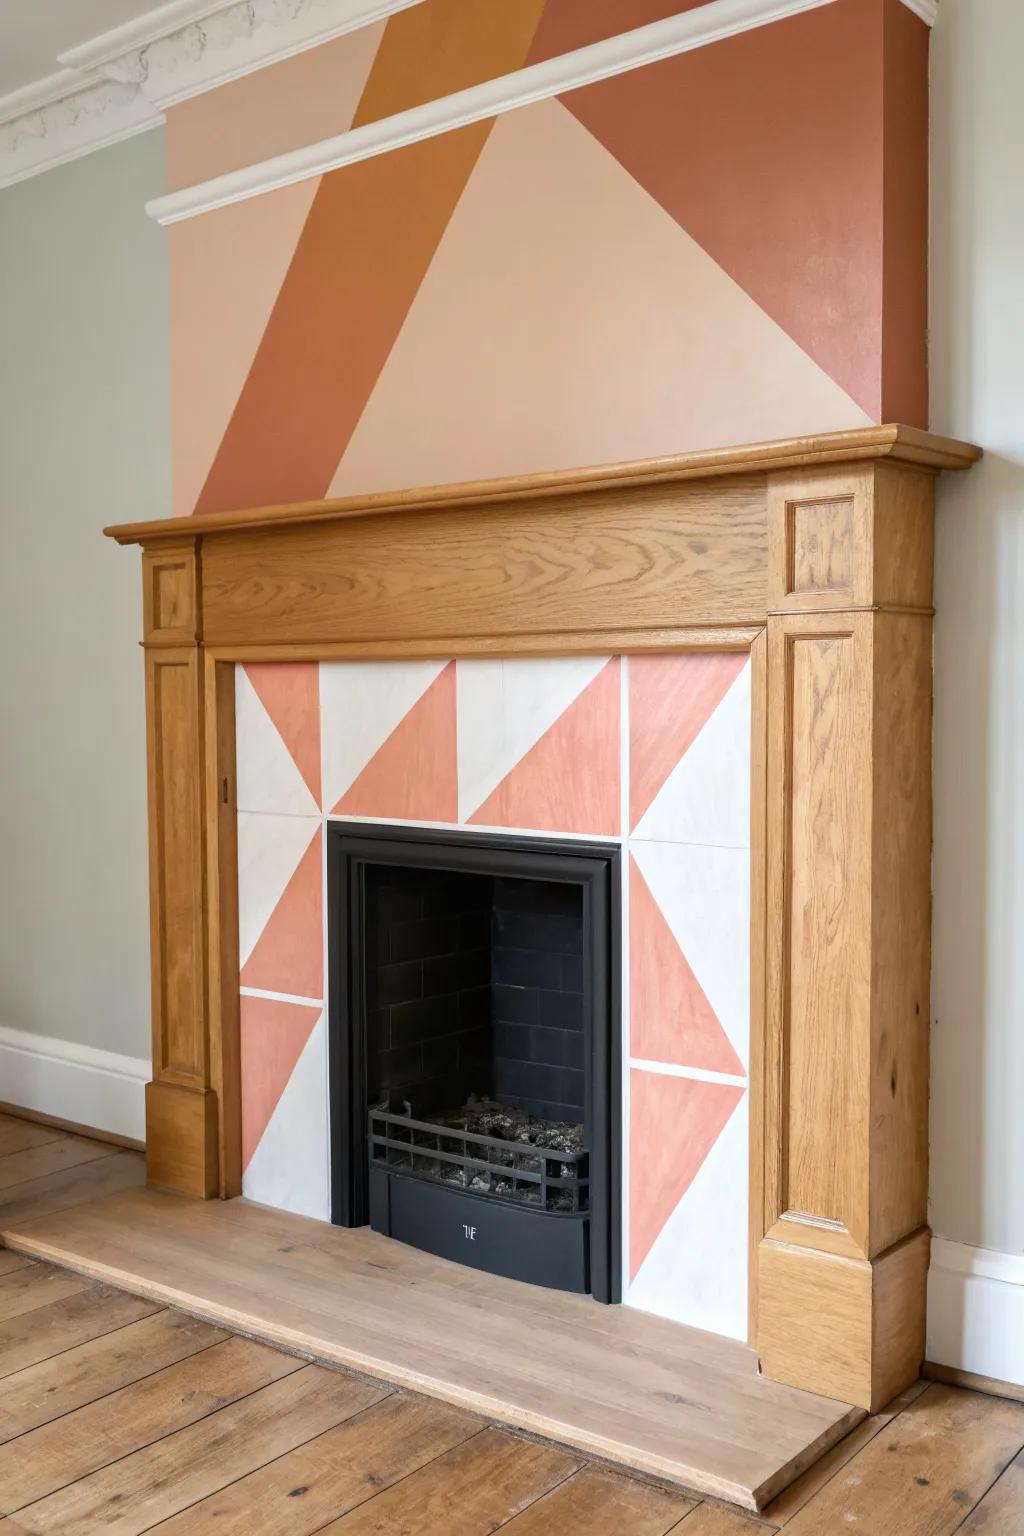
For a big wow moment, I’ve taped off sections and created a color-blocked fireplace surround that turns the whole feature into art. I kept the rest of the room simple, and the painted surround became the conversation piece every time.
A few suggestions:
- Painter’s Tape: Secure precise, clean lines for your geometric shapes with specialized tape designed for delicate multi-surface painting tasks.
- Tile or Multi-Surface Paint Set: Choose durable, specialized paint designed for tile or hearth surfaces to ensure your bold colors adhere beautifully.
- Angled Sash Paint Brush: Achieve sharp edges and smooth application within tight geometric sections using a high-quality angled brush for control.
Stencil Pattern on the Surround Face
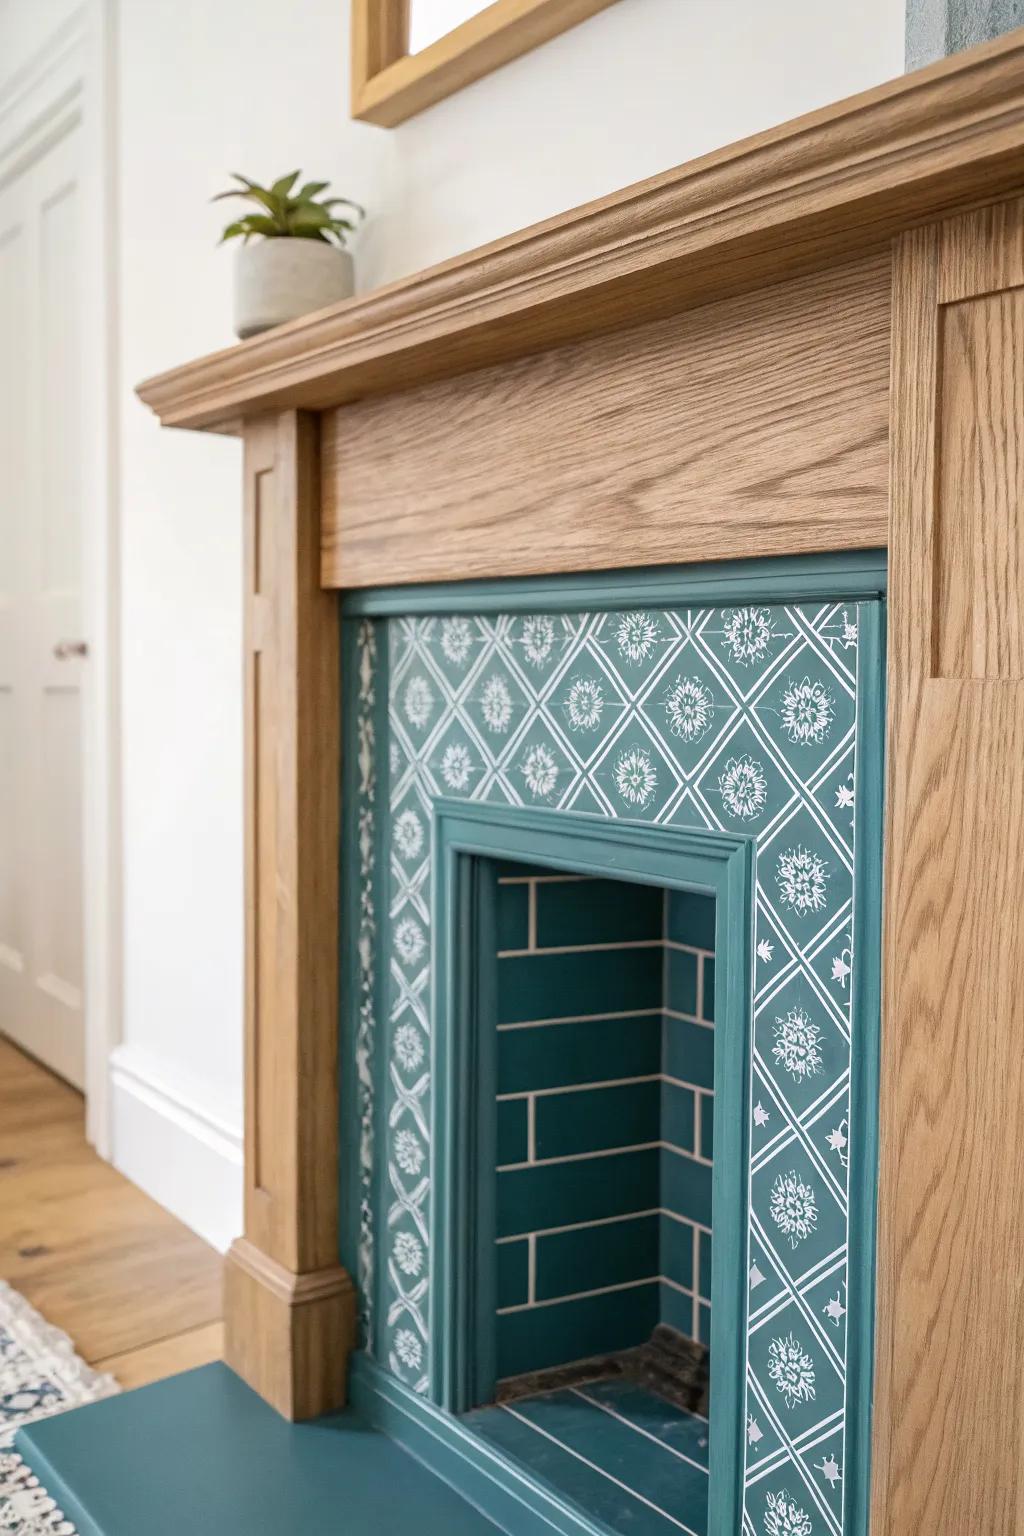
A stenciled fireplace surround is my secret weapon when the surround is plain but you want a custom feel, kind of like “tile vibes” without the tile install. I’ve done a subtle pattern in tone-on-tone paint, and it reads expensive up close but calm from across the room.
A few things you might like:
- Geometric Tile Stencils: Create a convincing faux-tile look easily; find a reusable pattern that matches your home’s unique style.
- Teal Chalk Style Paint: Achieve that deep, matte finish seen in the photo; select a rich teal shade for maximum impact.
- High-Density Foam Roller Kit: Ensure crisp stencil lines and smooth application; use a dense foam roller to prevent messy paint bleed.
Ombre Fade From Hearth to Mantel
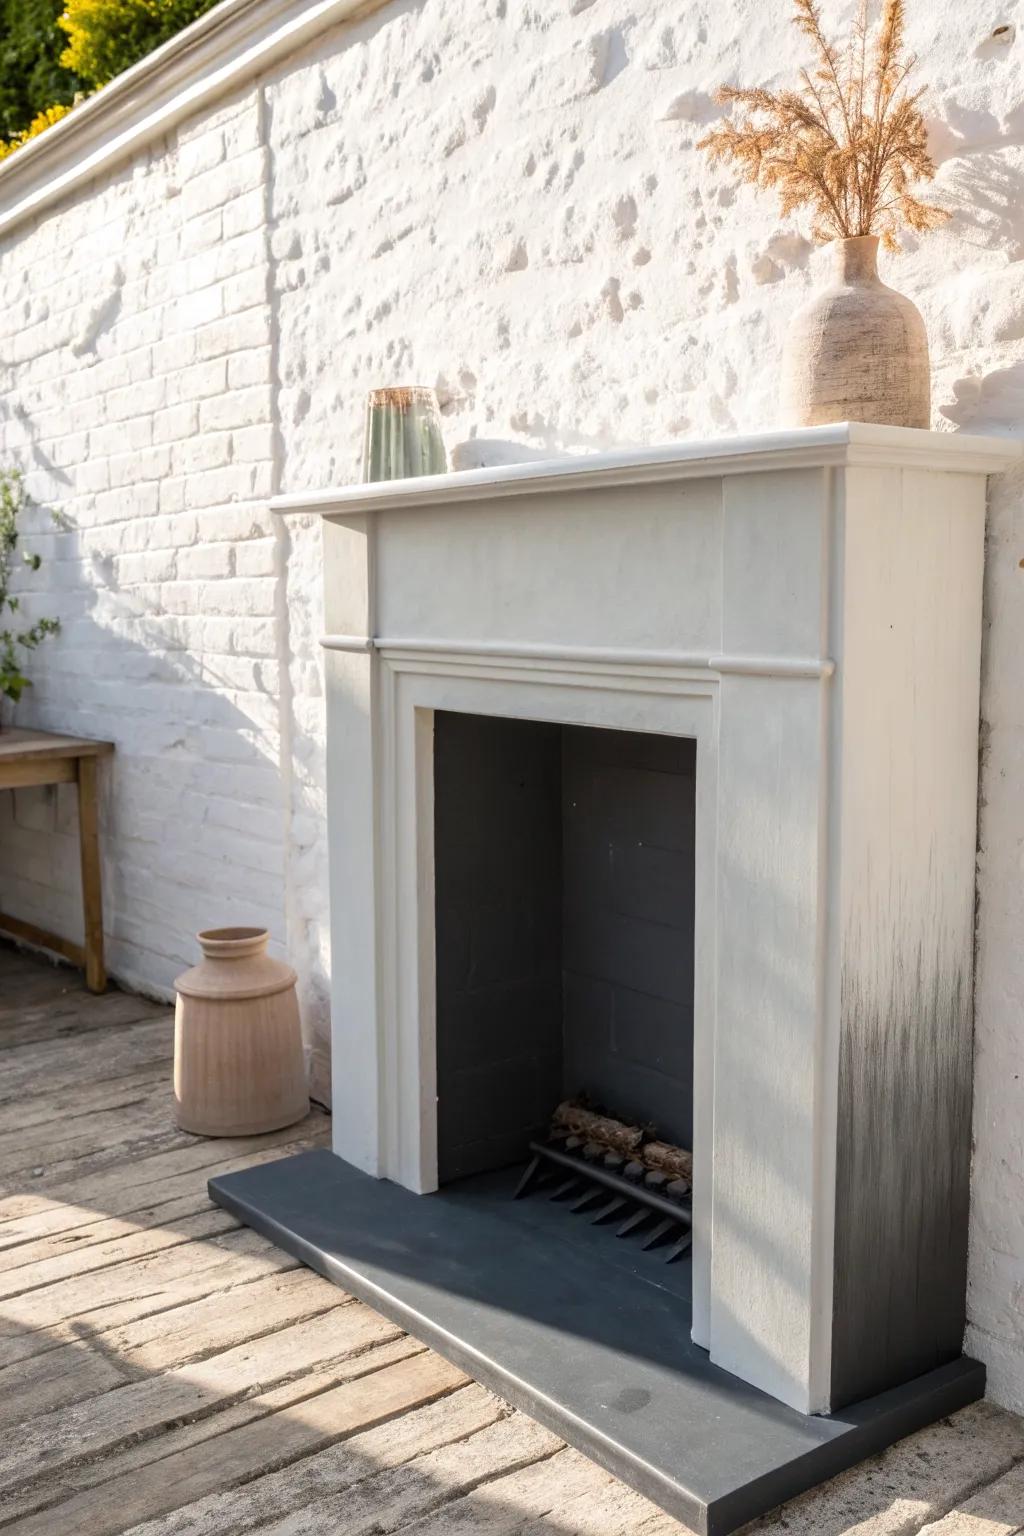
This one’s unusual but so pretty: an ombre fireplace surround that fades from darker near the hearth to lighter toward the mantel. I tried it as an experiment on a spare surround panel first, and once I saw the depth it created, I couldn’t stop thinking about how dreamy it looked.
Some ideas to consider:
- Matte Charcoal Chalk Paint: Start your fade at the base with a rich charcoal hue to anchor the look and create depth.
- Creamy White Chalk Paint: Use a warm white shade for the upper mantel to brighten the space and contrast against the dark base.
- Blending Paint Brush Set: Achieve a seamless transition between colors with soft bristle brushes designed specifically for blending and creating gradients.


