
Pantry shelves look simple until you start trying to fit real-life stuff like cereal, cans, and small appliances without wasting a bunch of air space.
Make a Tight Can Zone

For a dedicated canned goods run, I space shelves at 6.5–7 inches, and it seriously multiplies capacity. I’ve rebuilt pantries where this one tweak freed up an entire shelf elsewhere.
Explore these options:
- Adjustable & Stackable Can Organizers: Maximize vertical space by stacking cans neatly to fit perfectly within your newly adjusted tight shelf zones.
- Tiered Shelf Risers: Elevate rear cans for better visibility, ensuring you see every label even on tightly spaced pantry shelves.
- Extra Shelf Inserts: Add an extra layer of storage instantly to tall shelf gaps without needing to drill new holes.
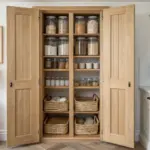
Use Zoned Shelf Heights

In my own pantry builds, I plan shelf spacing by zones—cans get about 7 inches, cereal gets 14–16 inches, and bulky items get 18–24 inches. You’ll feel instantly more organized when each category has a “home” that actually fits.
Maybe worth checking out:
- Adjustable Wooden Shelving Unit: Create your own zoned pantry layout with adjustable shelves that easily accommodate cans, cereal boxes, or bulk items.
- Woven Storage Baskets with Liners: Use these versatile baskets on mid-height shelves to neatly contain loose items or cereal boxes while maintaining style.
- Large Canvas Floor Bin: Ideally suit your lowest zone for bulky items with a durable, spacious container that keeps floors clutter-free.

Add Two Inches of Clearance
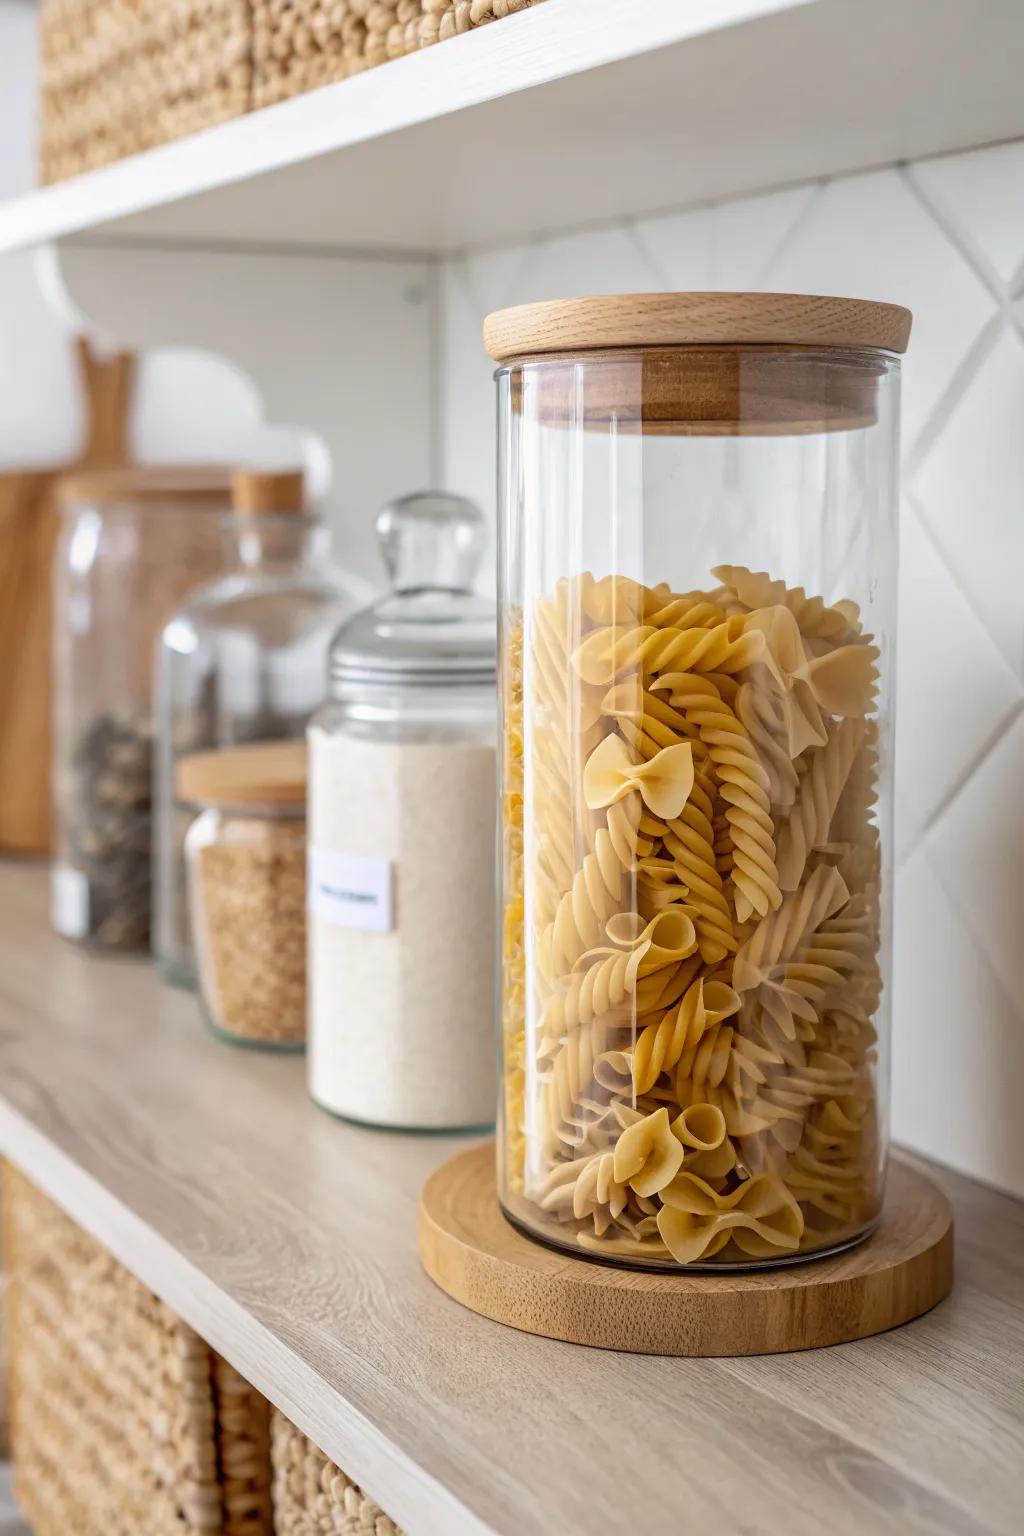
I always build in 2 inches of clearance above the tallest item because it saves you from that annoying tilt-and-snag moment. You’ll be shocked how much smoother daily grabbing feels when the vertical spacing is just a touch generous.
You might like:
- Tall Glass Canisters with Wood Lids: Store dry pasta vertically in these sleek containers to easily test your pantry shelf height clearance.
- Adjustable Shelf Dividers: Keep tall canisters perfectly spaced and organized on your shelves to maintain that crucial vertical clearance.
- Pantry Shelf Riser Stand: Use these stands to elevate shorter jars, ensuring every item fits within your optimized shelf spacing.
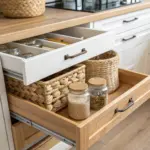
Go Wider at the Bottom
In every pantry I’ve tuned up, the lowest shelves work best with 18–24 inches of height for bulk storage like bins and big bags. If you leave that roomy bottom spacing, you won’t end up stacking heavy stuff in unsafe towers.
May just do the trick:
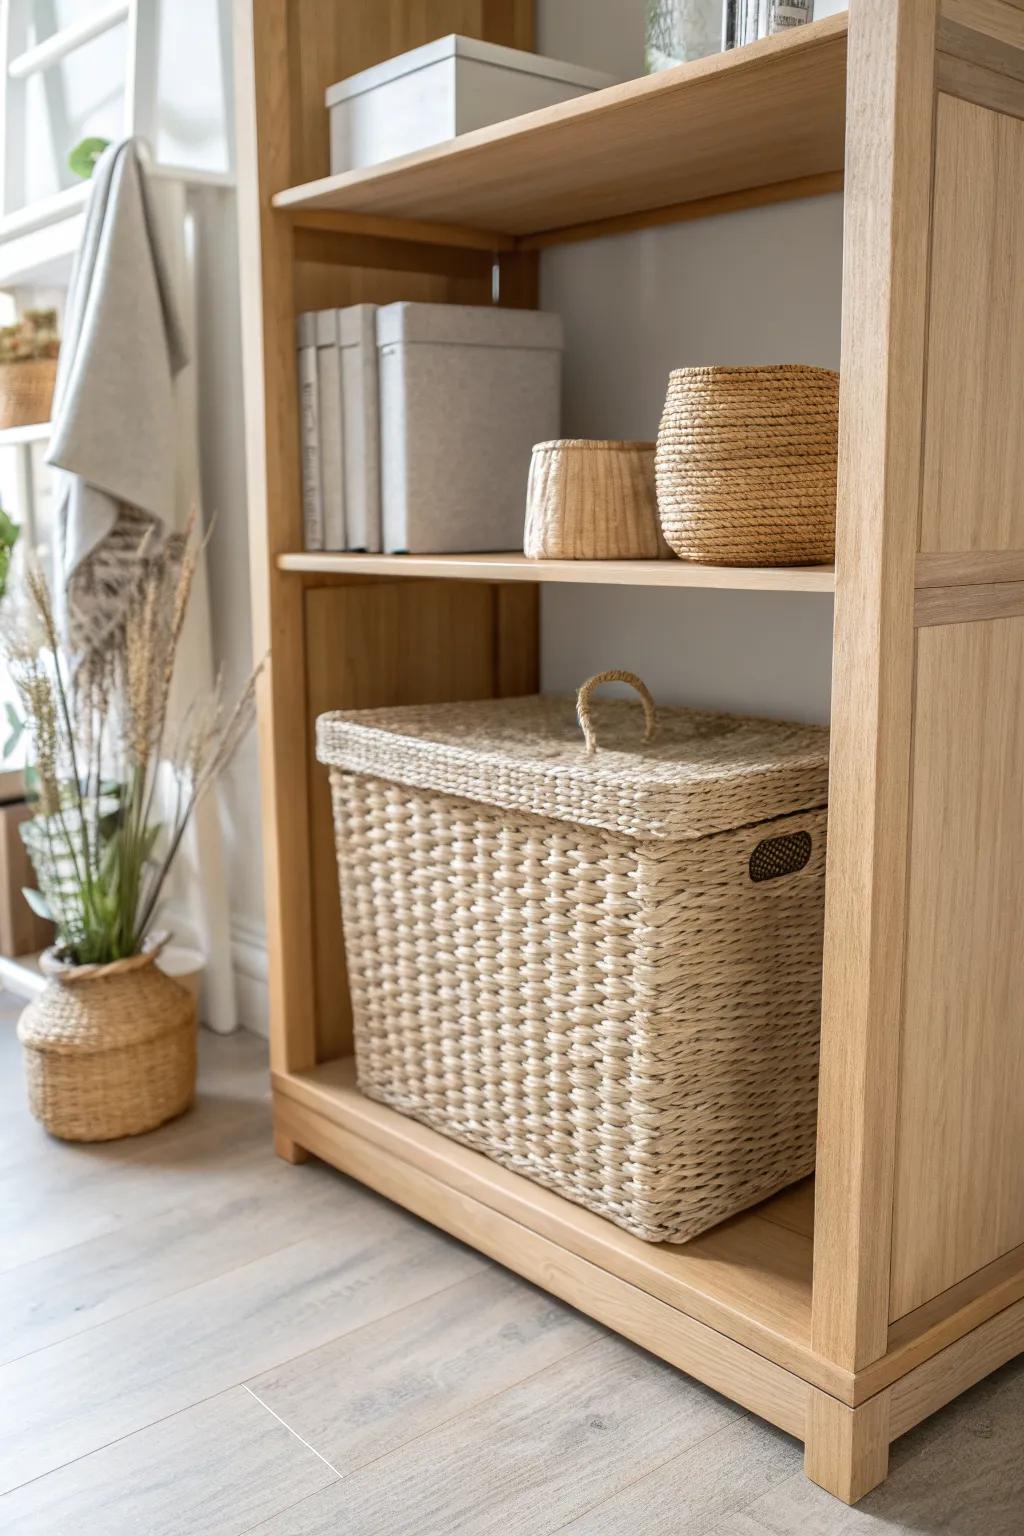
- Large lidded woven storage baskets: Conceal bulky items and keep your lower shelves organized with these spacious, natural-fiber storage containers.
- Tall rolling wire laundry hampers: Roll heavy bulk goods in and out easily by utilizing the generous height of your bottom shelf.
- Stackable plastic bulk food bins: Create a stable and accessible system for bulk dry goods that maximizes your vertical shelf space.
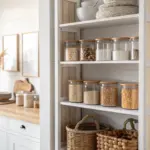
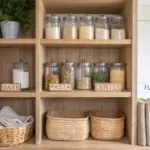
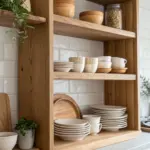
Keep Eye-Level Shelves Medium-Tall

My sweet spot for everyday shelves is 14–16 inches of spacing at eye level so canisters and cereal boxes slide in without wasted space. When I set it up this way, I can scan everything fast without digging.
Consider these options:
- Airtight Food Storage Canister Sets: Organize dry goods beautifully with these matching canisters that fit perfectly on medium-height shelves for easy access.
- Large Glass Mason Jars for Dry Goods: Store cereal and grains visibly in these tall glass jars, designed to maximize vertical space on your pantry shelves.
- Woven Seagrass or Hyacinth Storage Baskets: Slide these textured baskets onto lower shelves to hide clutter while maintaining a cohesive, natural aesthetic in your pantry.
Create a Tall Bottle Shelf

I like one shelf spaced 12–14 inches just for oil bottles and vinegar, because tall bottles topple when they’re crammed. If you give them that extra headroom, you’ll stop playing bottle bowling every time you cook.
A few things you might like:
- Clear Turntable Organizer: Keep oils accessible without knocking others over by rotating this organizer to find exactly what you need.
- Matching Glass Bottle Set: Upgrade your shelf aesthetic and ensure uniform height for all your oils and vinegars with these dispenser bottles.
- Non-Skid Shelf Liner: Protect your wood shelves from sticky oil drips and prevent tall bottles from sliding around unexpectedly with this liner.
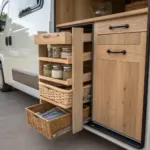
Reserve an Appliance Bay
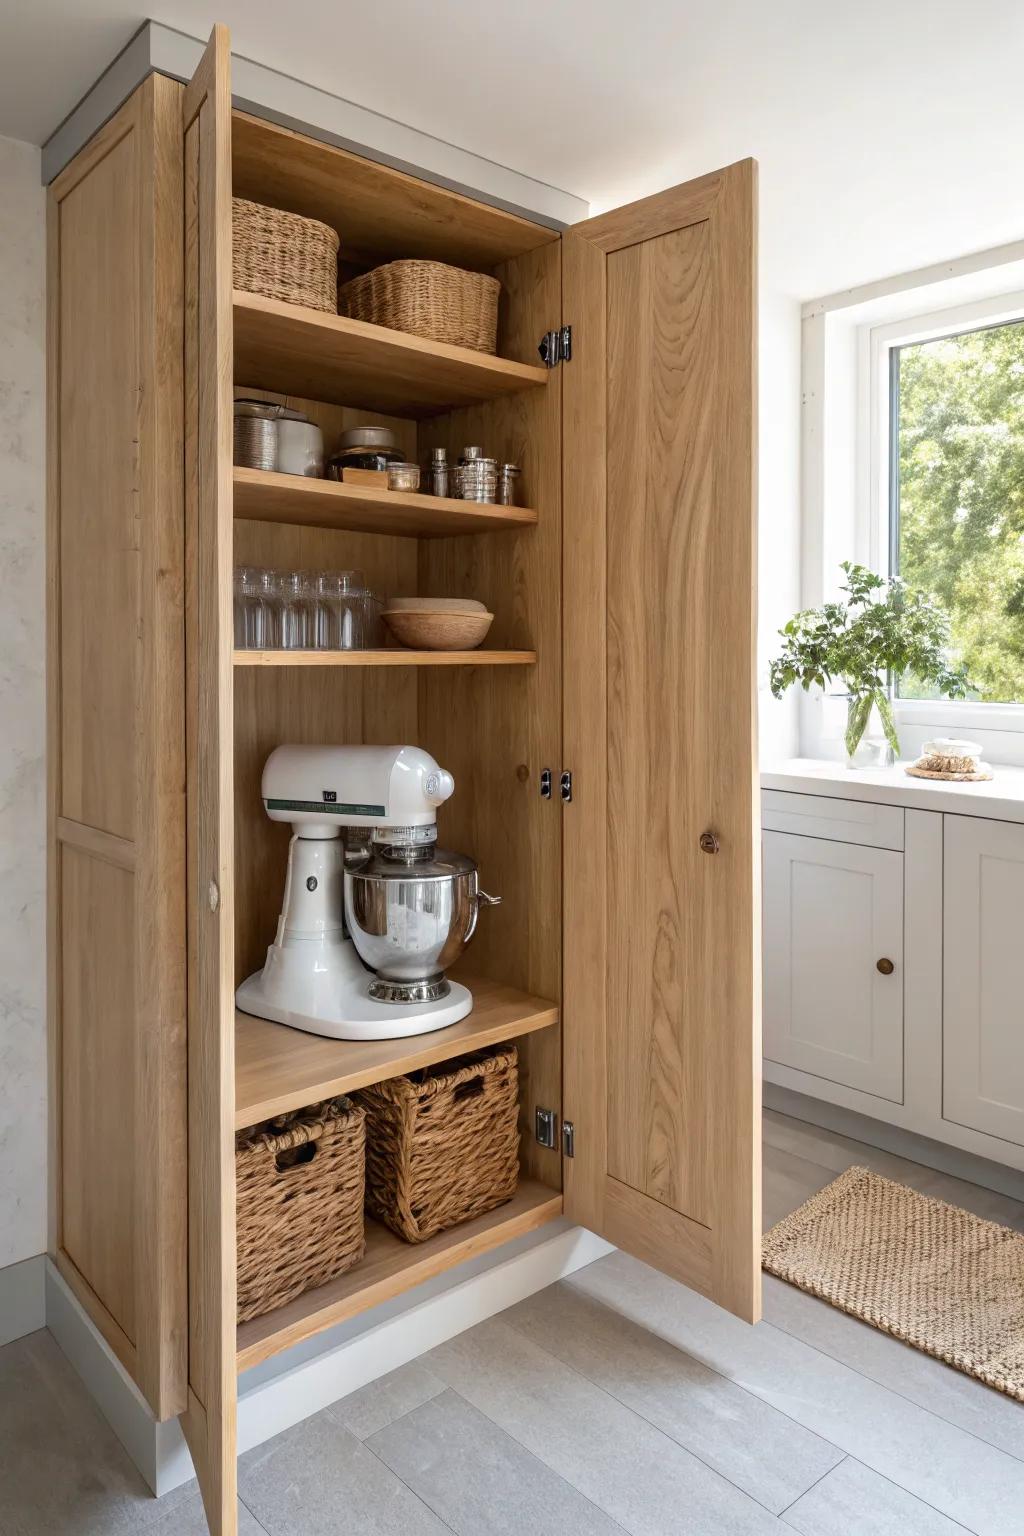
In my workshop, I plan a “parking spot” shelf with 18–20 inches of spacing for small appliances so they don’t hog the kitchen counter. You’ll love having one tall, easy-access zone instead of forcing appliances onto random shelves.
You might give these a try:
- Stand Mixer Cover: Protect your appliance from dust while it sits in storage to keep it clean and ready for your next recipe.
- Woven Storage Baskets: Organize accessories and loose parts near your appliance bay with sturdy, natural-looking bins that match wooden cabinetry perfectly.
- Glass Storage Jars: Keep baking ingredients like flour and sugar fresh and visible right next to your mixer for efficient baking prep.
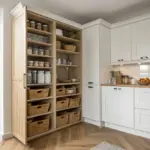
Try Graduated Spacing Top to Bottom
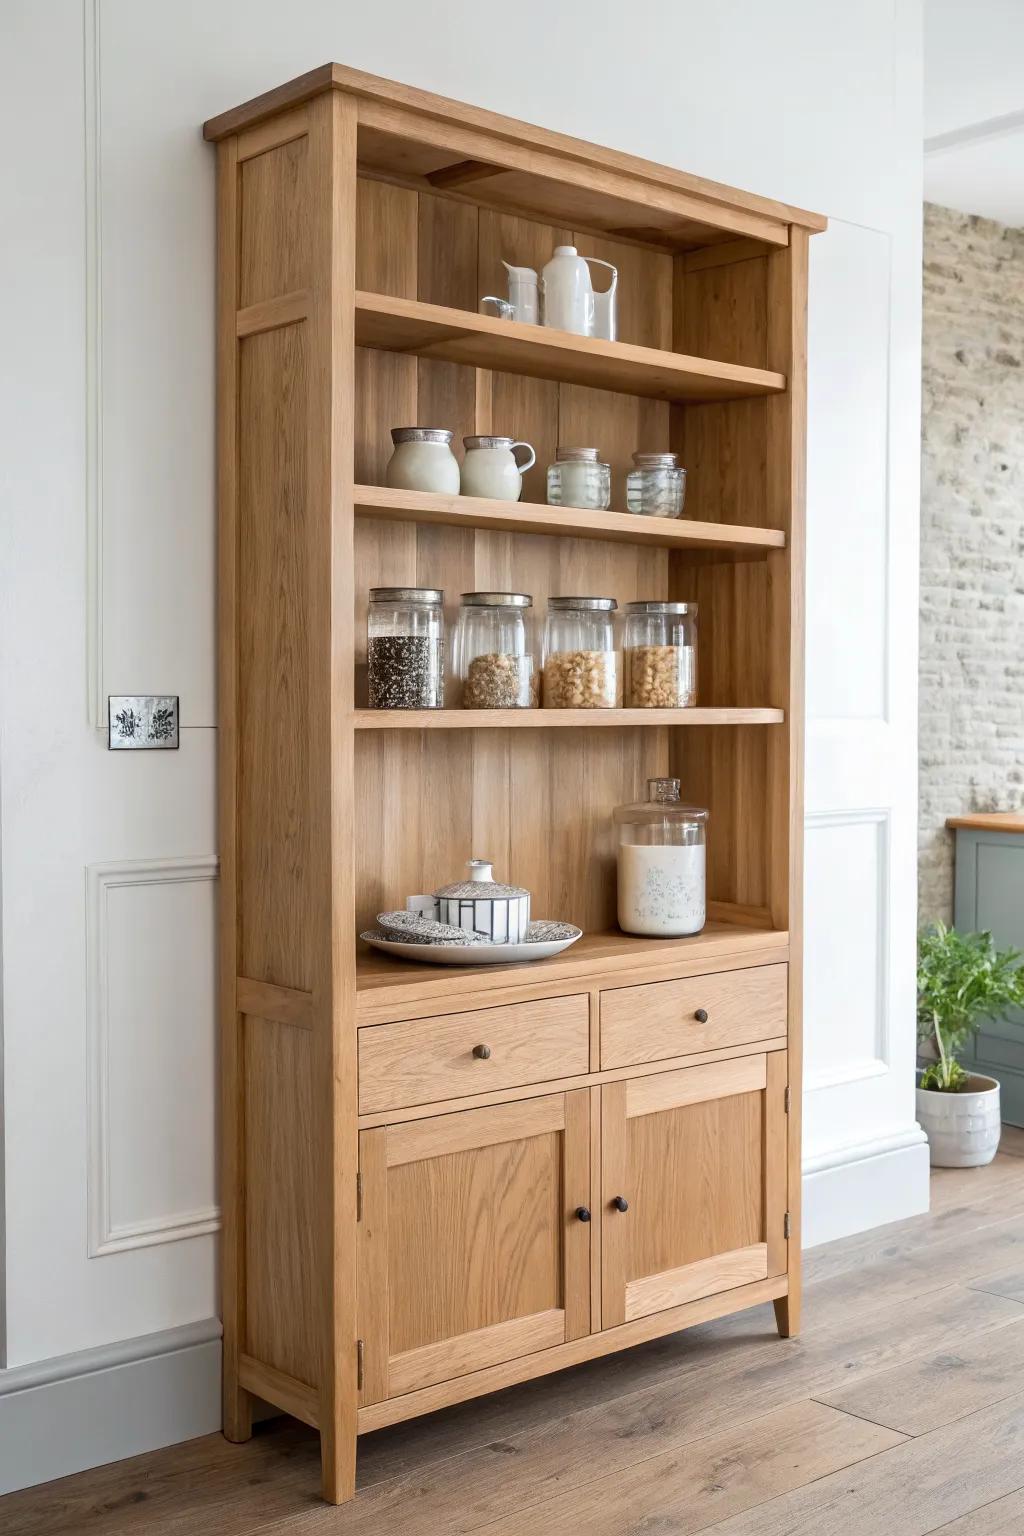
One of my go-to layouts is graduated shelf spacing—tight up high, medium in the middle, tall down low—because it matches how we actually store things. When I do this, the pantry instantly looks calmer because there’s less “floating air” between items.
These products might help:
- Adjustable Shelf Pegs or Supports: Secure your new custom layouts easily with fresh support pegs designed to fit most standard cabinet holes.
- Clear Glass Storage Jars Set: Use varied jar heights on your newly spaced shelves to maximize vertical room and create visual harmony.
- Tall Woven Storage Baskets: Fill those spacious bottom shelves with sturdy, tall baskets perfect for hiding bulk items or linens.
Use Adjustable Shelves for Reality Checks
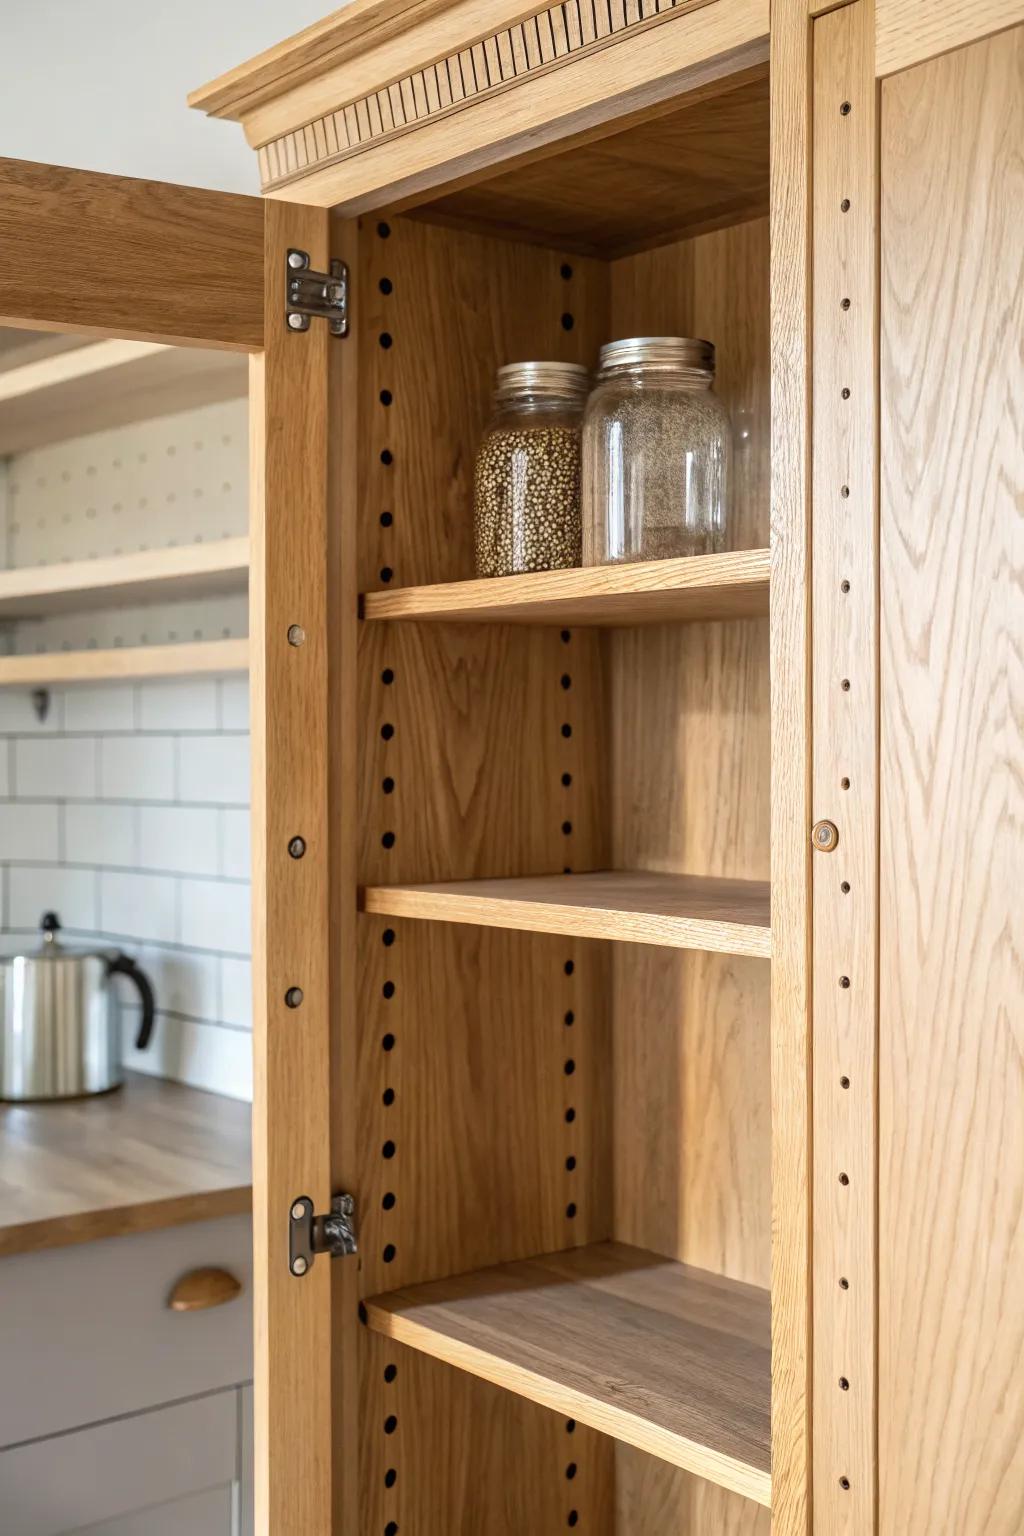
I’ve learned the hard way that fixed shelves lock you into yesterday’s groceries, so I love adjustable shelves to fine-tune shelf height later. You can start with common spacing and then tweak once you see what you truly store.
Try these:
- Shelf Pins or Pegs: Upgrade your existing cabinets with sturdy support pins to easily reposition shelves whenever your storage needs change.
- Glass Jars with Lids: Use uniform clear jars to maximize vertical space and easily spot contents on your newly adjusted shelves.
- Cabinet Shelf Standards: Install mounting rails inside your pantry to create a fully customizable system for ultimate shelf height flexibility.
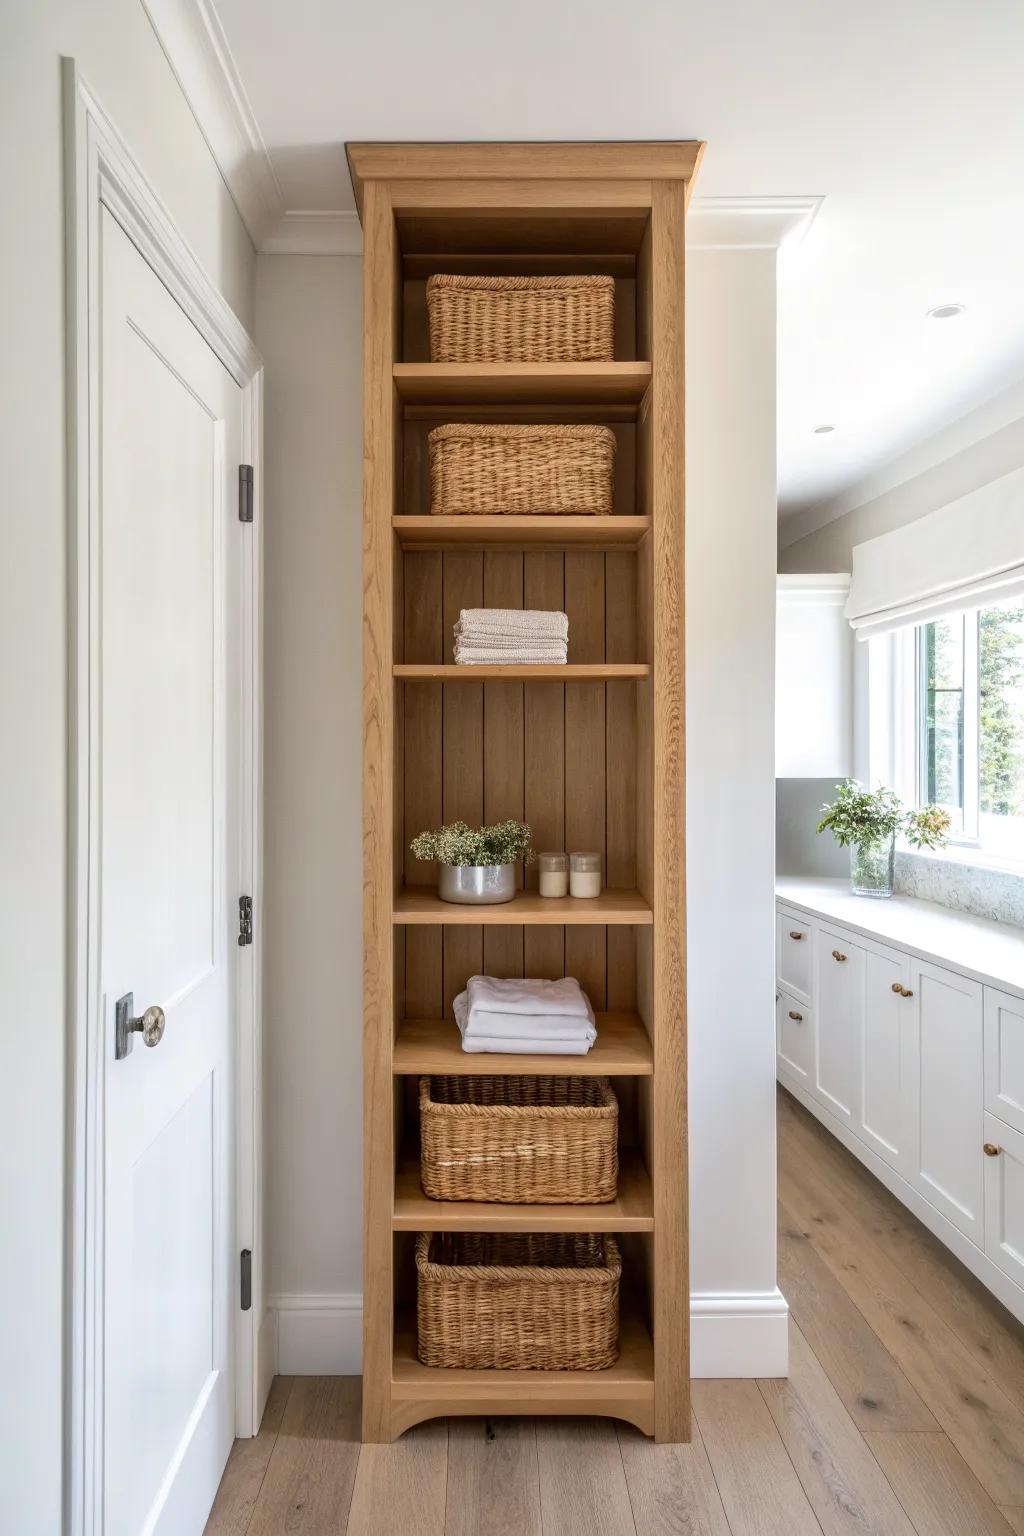
Space Basket Shelves a Bit Taller

Whenever I build shelves meant for baskets and bins, I give them 10–12 inches of spacing so handles and labels don’t catch. You’ll get that neat “everything corralled” look without fighting the bins every time you pull one out.
A few choices to try:
- Woven Storage Basket with Leather Handles: Corral loose items in your pantry with stylish woven baskets that feature easy-to-grab handles for quick access.
- Adjustable Shelf Pegs or Supports: Customize your cabinet spacing easily to accommodate taller bins by replacing or upgrading old shelf support pegs.
- Label Holders for Baskets: Keep your pantry organized by clipping on clear label holders, ensuring everyone knows exactly where items belong.
Add a Shallow Spice Shelf Run
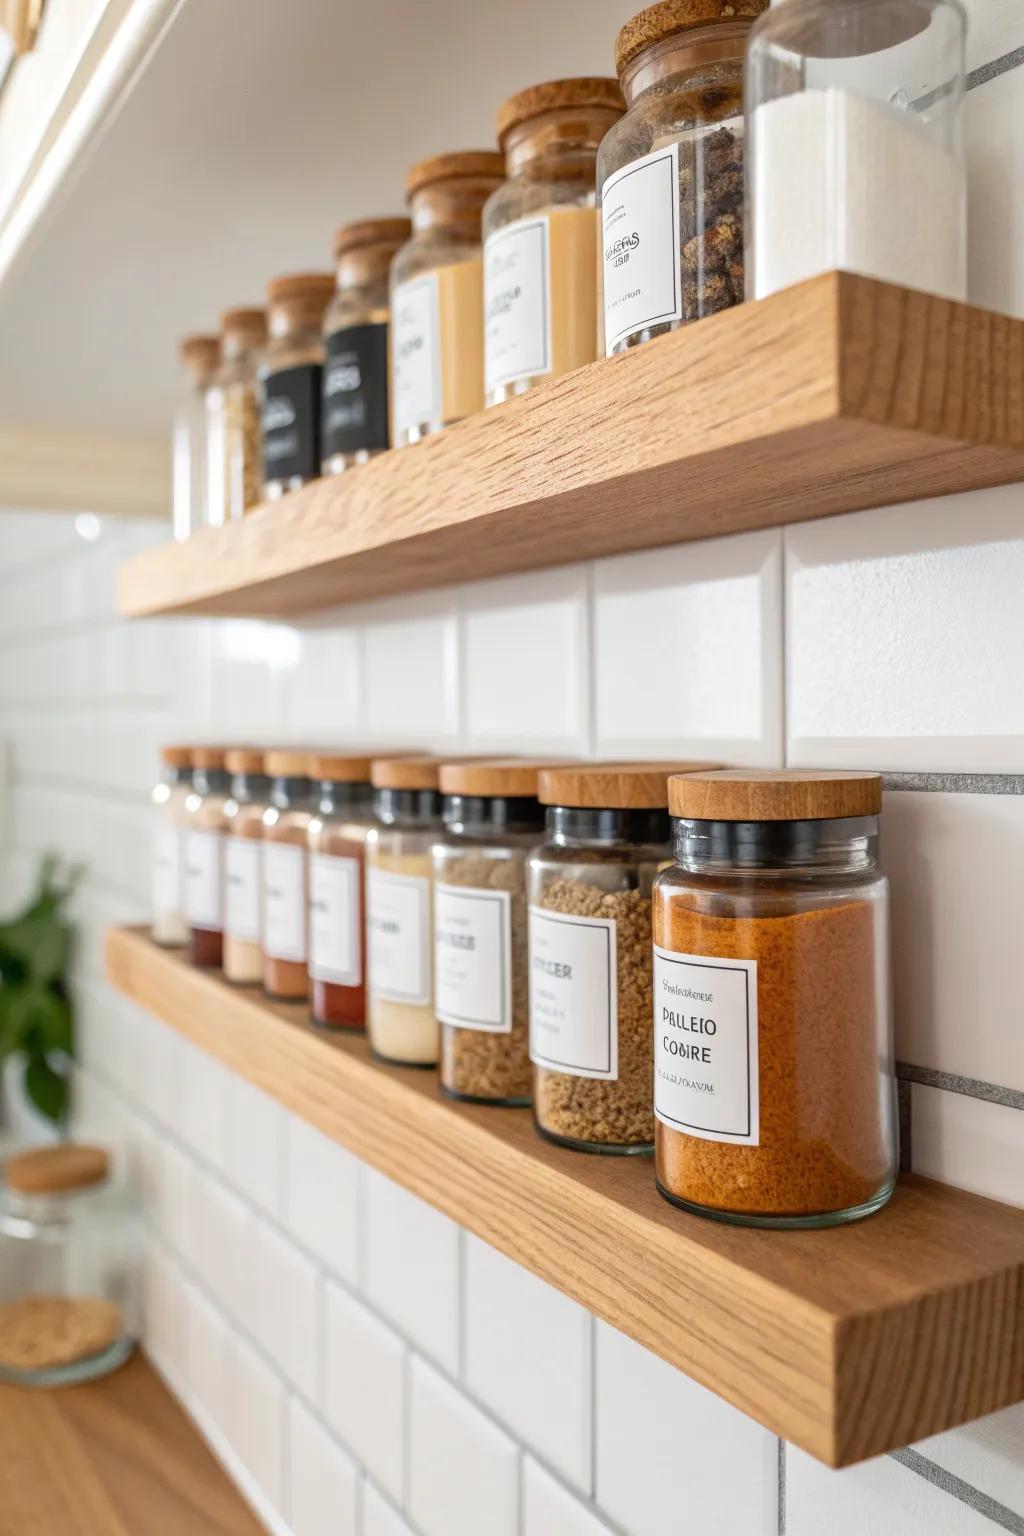
For spices, I’ve had great results with a shallow section spaced 4–6 inches tall, because spice jars don’t need much headroom. You’ll stop losing little bottles behind taller items when the spacing is purposely tight.
Might be a good match:
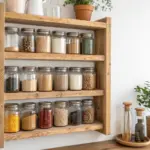
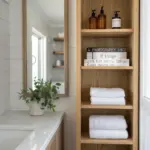
- Floating Wood Spice Shelves: Install sleek floating wood shelves to create dedicated, accessible storage areas that showcase your spice collection beautifully.
- Glass Spice Jars with Wood Lids: Upgrade your pantry organization by transferring spices into matching glass jars with airtight wooden lids for freshness.
- Minimalist Spice Labels: Apply clean, modern labels to your jars for instant visual clarity and a cohesive, professional pantry look.
Build a Baking Shelf With Extra Height

My baking-heavy clients always need one shelf at 14–16 inches to fit flour containers and taller bakeware odds and ends. If you bake even a little, you’ll appreciate having a dedicated baking zone that isn’t cramped.
A few helpful options:
- Large Glass Storage Jars with Lids: Store flour and sugar accessible and airtight in clear jars to keep your baking essentials organized and fresh.
- Woven Bread or Proofing Basket: Add texture to your pantry while providing a functional spot for proofing dough or holding baking linens.
- Ceramic Kitchen Canisters: Organize smaller baking ingredients like baking soda or cocoa powder in stylish opaque containers on upper shelves.
Plan One Shelf for Paper Goods
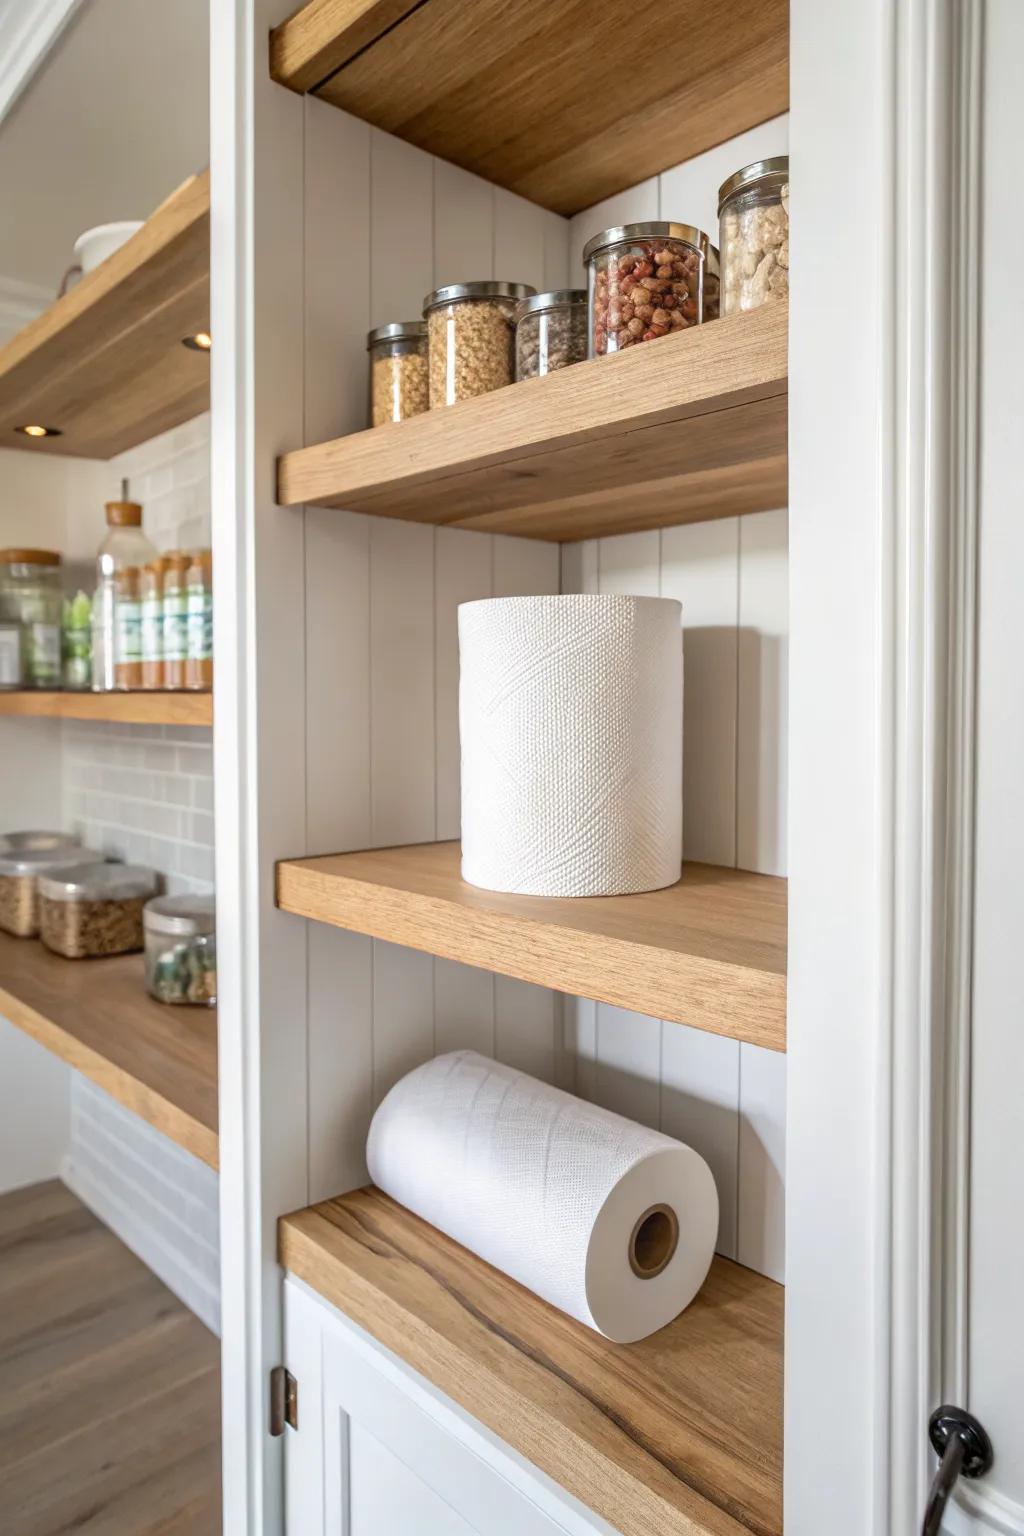
I set aside a shelf with 12–16 inches of spacing for paper towels and light, bulky items, usually higher up. You’ll keep the heavy stuff low and still avoid smashing paper goods into too-short gaps.
Possibly handy products:
- Bulk Paper Towel Packs: Stock up your new spacious shelf with high-quality paper towels to keep your pantry ready for any spill.
- Glass Storage Jars with Lids: Match the organized look of this pantry by storing dry goods alongside your paper supplies in clear glass jars.
- Shelf Liners: Protect your beautiful wooden shelves from scratches and scuffs while keeping your paper goods sliding smoothly into place.
Make a Kid-Friendly Snack Band

In a family pantry build I did, I spaced a mid-level snack shelf at 10–12 inches so snack bins were easy to grab (and easy to put back). You’ll get fewer messes when the shelf height matches the containers your kids actually use.
These products might be useful:
- Stackable Wooden Open-Front Bins: Create attractive, accessible storage for grab-and-go snacks with these durable bins that make loading and snacking simple.
- Clear Airtight Cereal Containers: Keep cereal and granola fresh while allowing kids to easily see their options with clean, transparent canisters.
- Decorative Glass Jars with Lids: Store dry goods beautifully and sustainably using these versatile glass jars that add instant elegance to any shelf.
Leave a Floor Gap for Heavy Bags
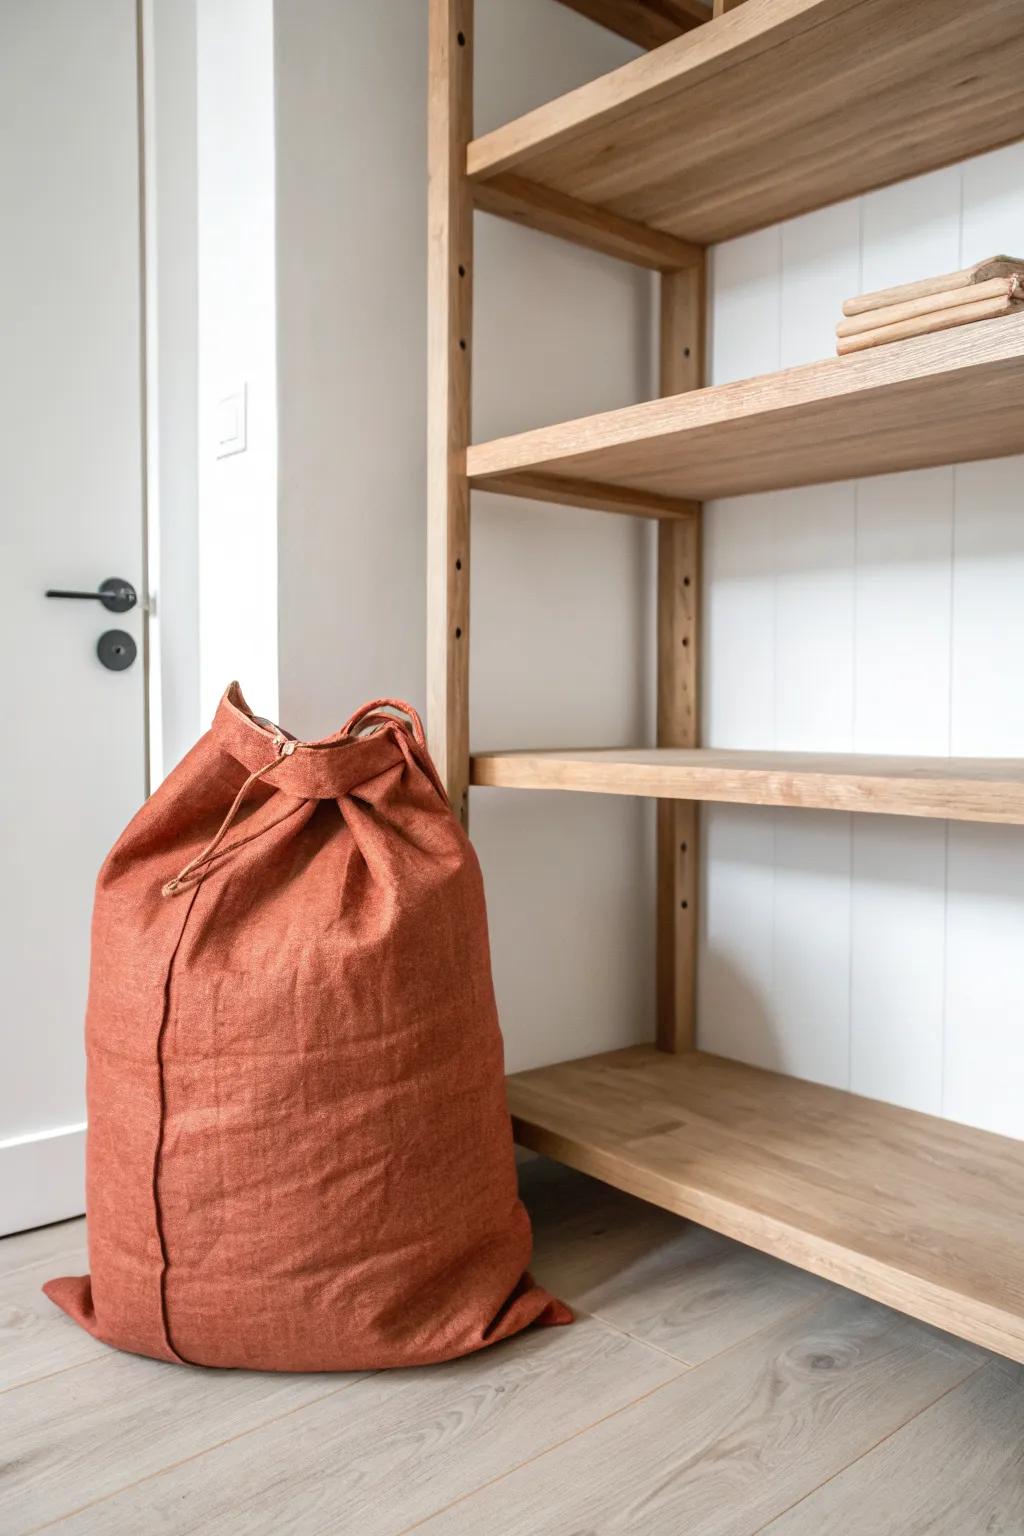
I often start the first shelf 16–18 inches off the floor to create a “no-lift” zone for pet food or big sacks. You’ll save your back, and the rest of your shelf spacing stays cleaner because the bulkiest stuff isn’t stealing shelf real estate.
Check if these fit your needs:
- Minimalist Laundry or Storage Bag: Organize large floor items stylishly with a sturdy fabric bag that keeps clutter hidden and contained neatly.
- Airtight Pet Food Container: Protect your bulk pet food from pests and moisture while keeping it easily accessible on the floor.
- Rolling Utility Cart or Dolly: Save your back by placing heavy bags on a simple rolling base for effortless movement and cleaning.
Use Micro-Shelves for Packet Storage

This one’s a little quirky, but I’ve built 3–4 inch spacing micro-shelves for packets (seasonings, drink mixes, yeast) and it’s weirdly satisfying. You’ll finally stop stuffing packets into random gaps where they avalanche out later.
Possibly helpful picks:
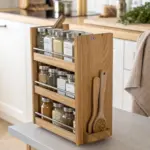
- Wall-Mounted Wood Spice Racks: Install these shallow, wall-mounted ledges to organize and display lightweight packets neatly without cluttering deeper shelves.
- Clear Acrylic Shelf Dividers/Bins: Use these transparent bins on your existing micro-shelves to keep varied seasoning packets upright and visible.
- Tiered Packet Organizer Insert: Maximize vertical space on small shelves by arranging packets in rows for easy access and visibility.
Stagger Heights for Awkward Tall Items

In a narrow pantry I remodeled, I alternated 12-inch and 16-inch shelf spacing so tall bottles could live next to shorter rows without wasting a full-height shelf. You’ll get a custom-fit feel just by mixing heights instead of repeating the same gap.
Give these a look:
- Adjustable Wooden Ladder Shelf: Maximize vertical storage with this stylish unit, allowing you to easily accommodate varied item heights within tight spaces.
- Glass Storage Jars with Wood Lids: Create a cohesive look by decanting pantry staples into uniform jars that fit perfectly on staggered shelving heights.
- Woven Storage Baskets: Keep loose items organized on lower shelves with natural baskets that add texture and hide clutter effectively.
Add a Hidden Top “Backstock” Shelf
For a real wow-factor upgrade, I’ll sneak in a near-ceiling shelf with 10–12 inches of spacing just for backstock (extra napkins, overflow cans, party supplies). You’ll keep everyday shelves from overflowing, and that high shelf becomes your “out of sight, still organized” buffer.
A few suggestions:
- Woven Storage Baskets: Conceal your overflow items elegantly with these baskets, adding natural texture while keeping pantry shelves tidy and organized.
- Lightweight Step Stool: Safely reach your new high backstock shelf with a sturdy, foldable stool that tucks away easily when unused.
- Clear Lidded Storage Bins: Protect seldom-used party supplies or linens from dust on high shelves while maintaining easy visibility of contents.


