
A great podcast table isn’t just a pretty surface—it’s the quiet “producer” that keeps cables tidy, mics stable, and conversation flowing. I’ve built and tweaked a bunch of these in my workshop, and the best ones always balance comfort, sightlines, and smart cable management.
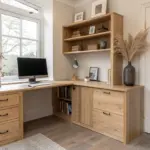
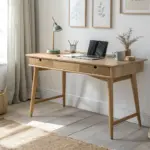
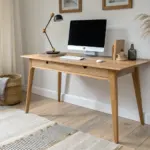
Classic Rectangle With Corner Mic Zones
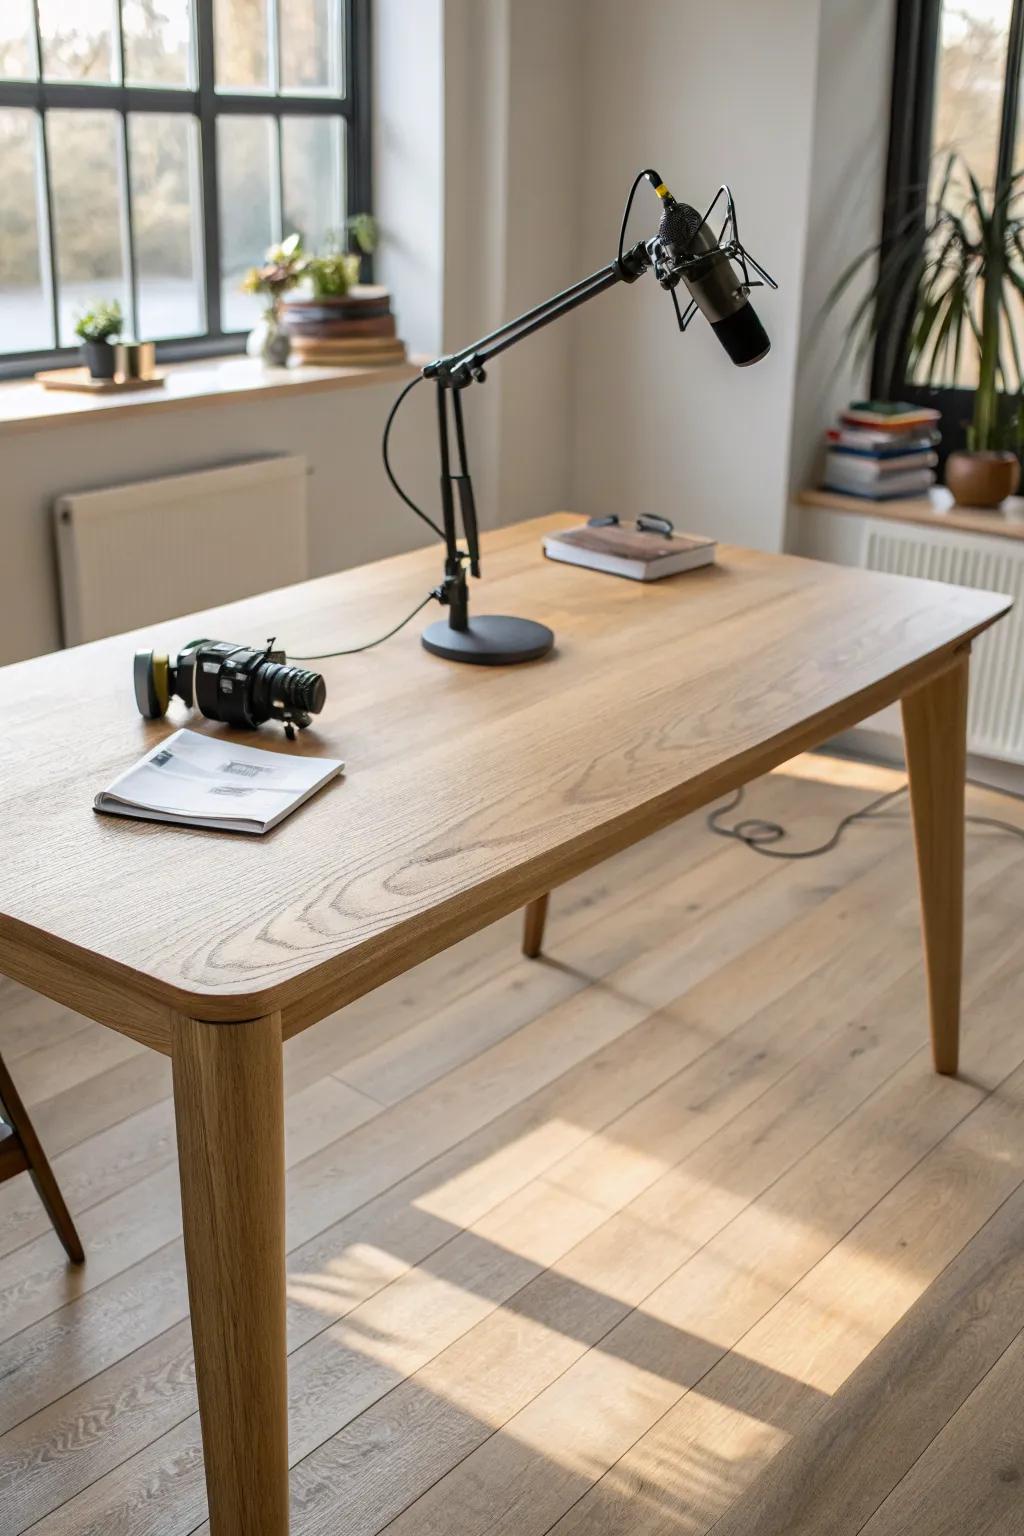
A straightforward rectangular podcast table works beautifully when you mark out “zones” for boom arms, laptops, and a small mixer. I’ve done this with subtle inlay lines so guests naturally set gear where it won’t crowd the mic.
A few things you might like:
- Boom Arm for Microphones: Secure your microphone to the table edge to keep the surface clear for your laptop and notes.
- Tabletop Cable Management Clips: Use these adhesive organizers to guide XLR and power cables neatly away from your recording zones.
- Slim Laptop Stand: Elevate your computer slightly to save desk space while keeping your screen visible during recording sessions.
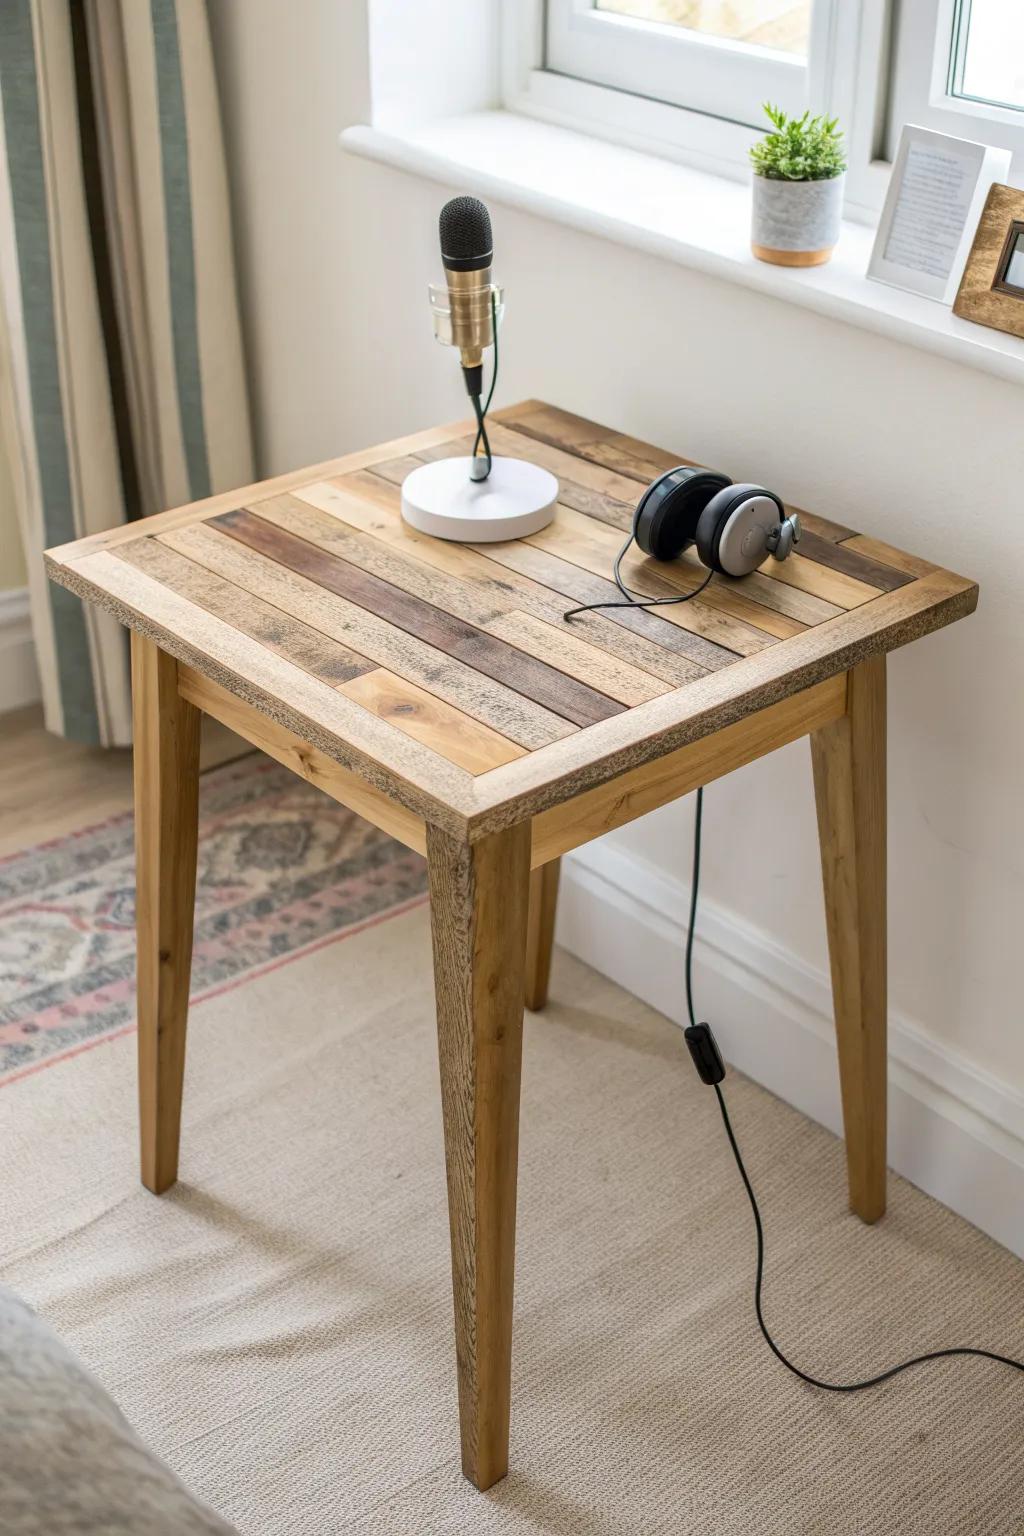
Butcher Block Table With Clean Grommets
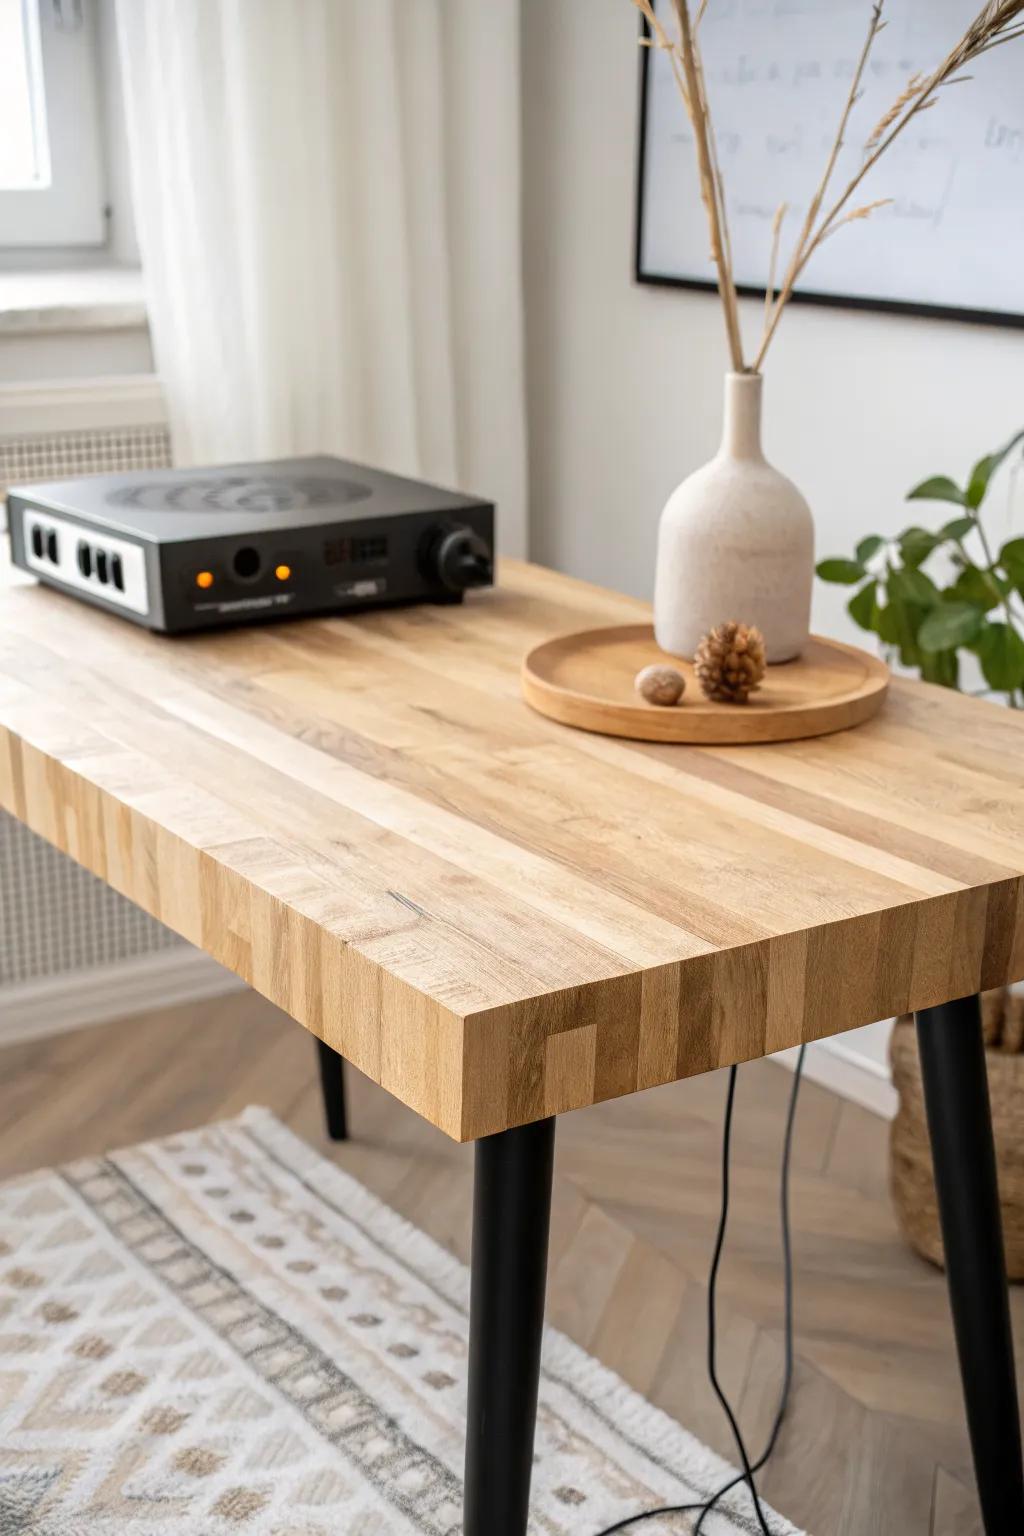
My go-to podcast table is a thick butcher block top with a couple of grommet holes placed right behind each mic position. I’ve learned that two well-placed holes beat a dozen loose cords every single time.
Give these a look:
- Solid Wood Butcher Block Desk Top: Build your podcast setup with a sturdy, thick wood surface that provides excellent acoustic stability for recording.
- Black Metal Hairpin Table Legs: Attach these modern, industrial-style legs to your butcher block for a stable and stylish recording station.
- Desk Grommet Hole Cover Kit: Drill into your table to organize microphone cables neatly and keep your podcast workspace clutter-free.

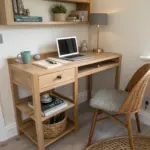
Split-Level Top for Gear and Elbows
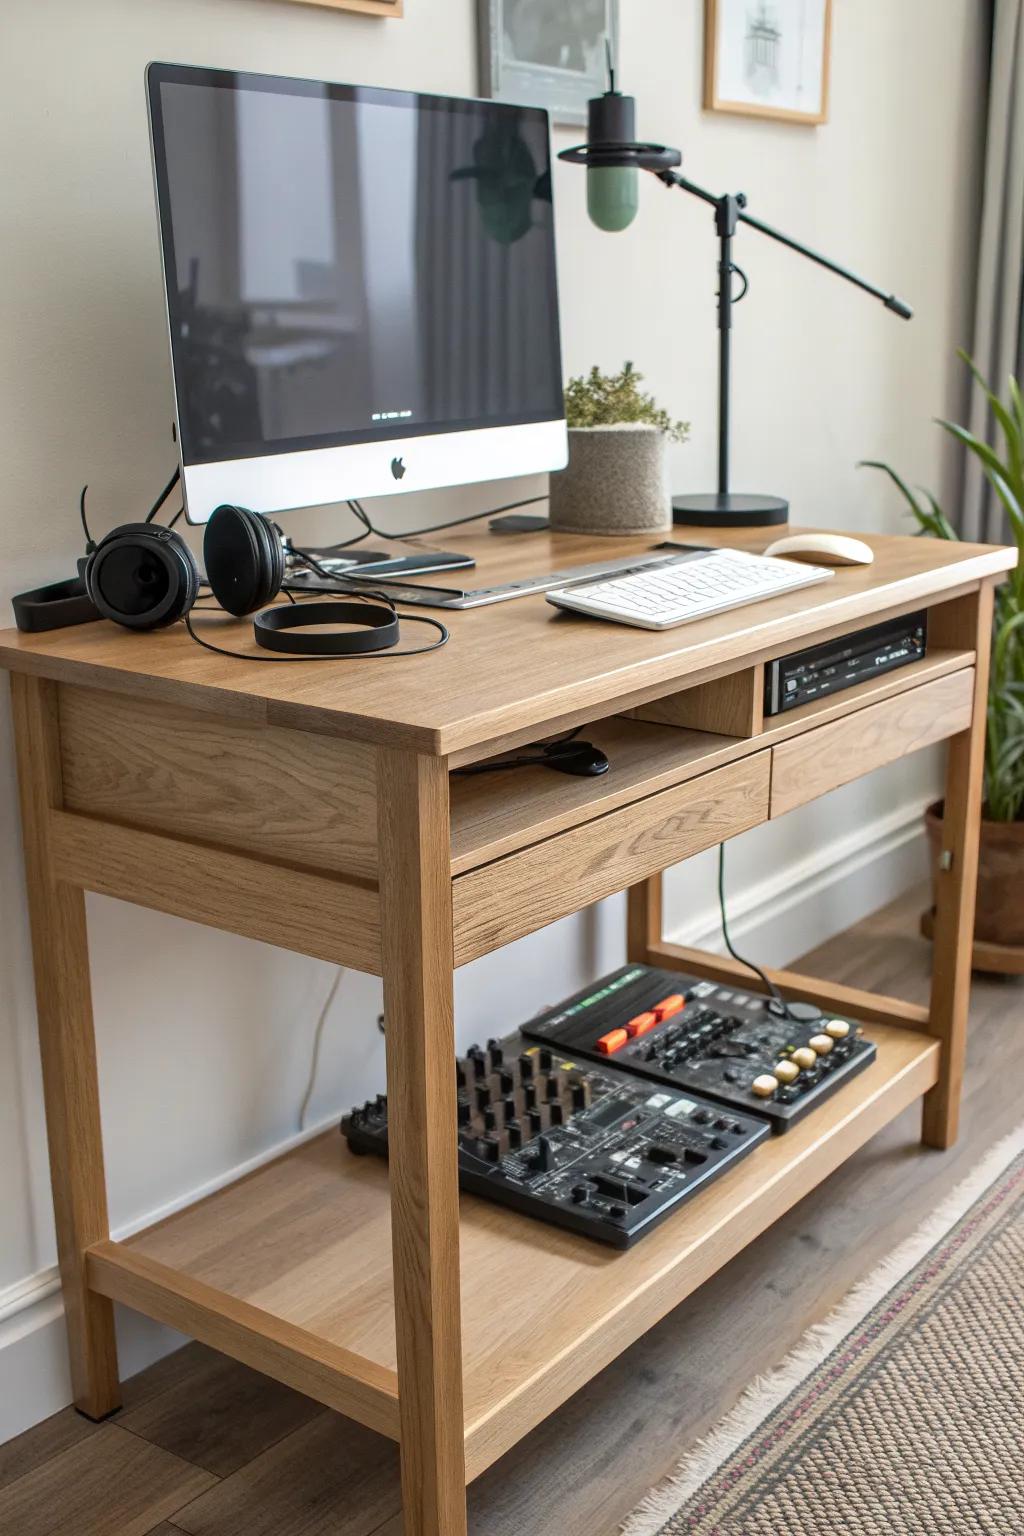
A split-level podcast table keeps the mixer and cables on a slightly raised (or lowered) platform while your forearms stay relaxed on the main surface. I tried this after one too many fumbled knob bumps, and it made recordings feel way calmer.
A few choices to try:
- Small Wooden Monitor Stand Riser: Elevate your mixer slightly to organize cables underneath and separate controls from your resting writing surface.
- Under Desk Keyboard Drawer Slide: Install a sliding tray to tuck away interfaces or keyboards, keeping your main desktop clear for recording.
- Two-Tier Utility Console Table: Choose a desk with built-in lower shelving to store heavy audio equipment without cluttering your workspace.
Pallet Wood Overlay Top
If you’ve got a tired tabletop, a pallet-strip overlay can turn it into a rustic podcast table with tons of character. I always sand like crazy and seal well, because splinters and headphones do not mix.
Check these products out:
- Reclaimed Wood Plank Bundles: Instantly achieve a rustic aesthetic by adhering these authentic, pre-cut reclaimed wood planks to your existing tabletop.
- Electric Orbital Sander: Ensure your new table surface is smooth and safe for equipment by thoroughly sanding down any rough edges.
- Water-Based Polyurethane Sealer: Protect your podcasting gear and the wood finish with a durable, clear coat that prevents scratches and splinters.
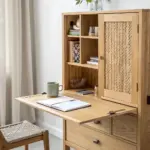
Fold-Out Guest Leaf Extension

A fold-out leaf lets your podcast table expand only when you need a guest seat or extra gear space. I’ve installed sturdy hinges and a hidden support arm so the extension feels rock-solid under a clamped mic arm.
These products might be useful:
- Heavy-Duty Drop Leaf Bracket: Install these brackets to create a sturdy fold-down surface capable of supporting heavy podcasting equipment safely.
- Unfinished Hardwood Board: Select a solid wood board that matches your current desk to create a seamless professional extension leaf.
- Flush Mount Hinges: Use high-quality flush hinges to ensure your new extension sits perfectly level with your main desk surface.
Through-Bolt Mic Mount Plates
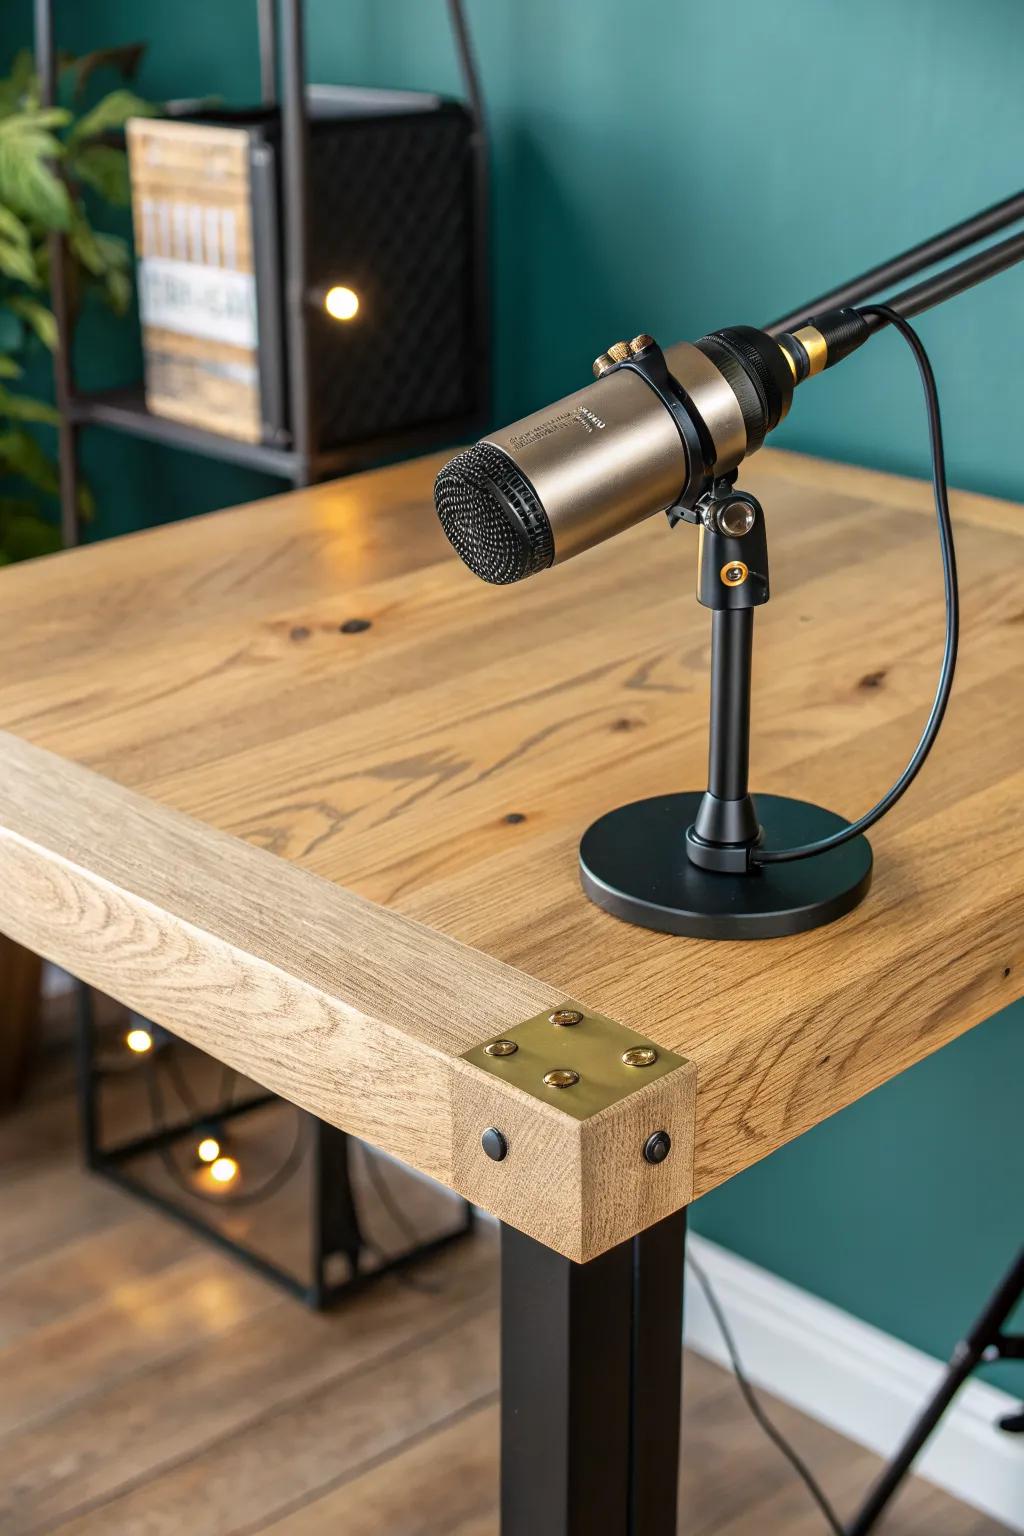
For a forever-sturdy podcast table, I use metal or hardwood backing plates under the top so boom arms can be through-bolted instead of just clamped. I started doing this after seeing clamps chew up edges, and it’s been a total upgrade.
Explore these options:
- Heavy-Duty Microphone Boom Arm: Upgrade your setup with a professional boom arm that offers internal spring support and direct mounting options.
- Desktop Mic Stand Flange Mount: Secure your microphone permanently to your desk surface with a sturdy, metal flange for wobble-free recording.
- Steel Mending Plates: Reinforce the underside of your table to distribute weight and prevent wood damage from bolt-through installations.


