
Those plain old closet doors can be way more than a dusty “before” photo waiting to happen.
Folding Room Divider Screen
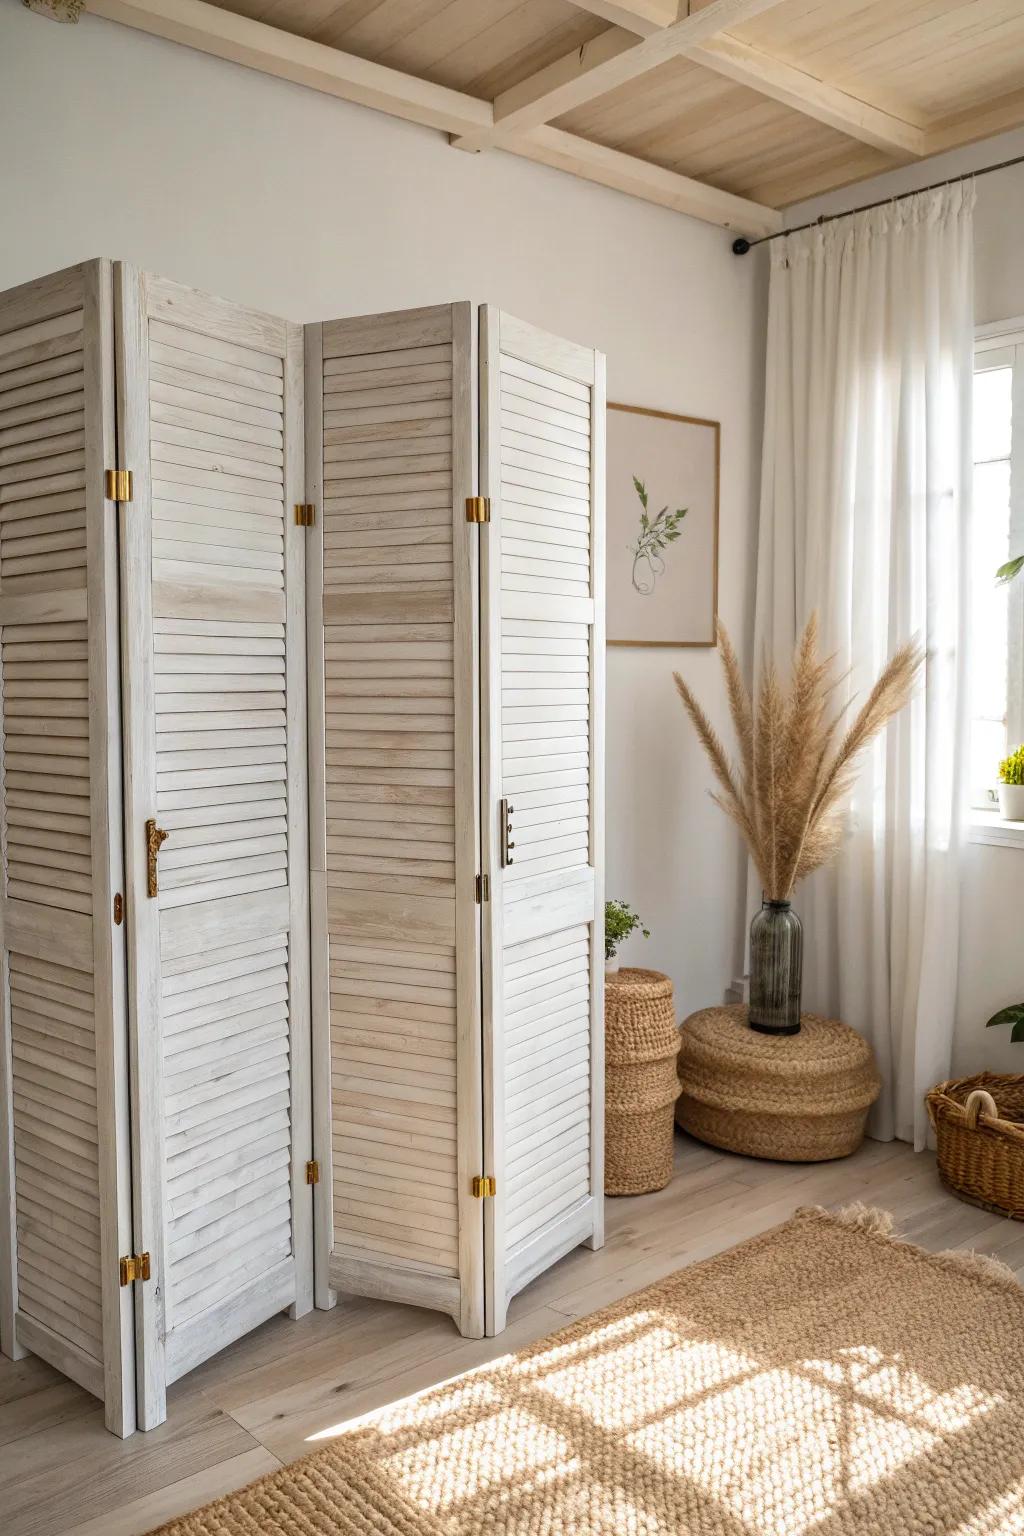
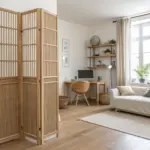
I’ve hinged three old louvered closet doors together to make a room divider that folds up when you don’t need it. It’s my go-to move for hiding a messy corner or carving out a little work nook in a bedroom.
May just do the trick:
- Double Action Spring Hinges: Create a flexible screen that swings both ways by installing sturdy, double-action hinges between your door panels.
- Chalky Finish Furniture Paint: Give your repurposed doors a distressed, vintage look similar to the photo using matte, chalk-style furniture paint.
- Brass Latch Hardware: Add a decorative brass latch or hook to secure the panels or simply enhance the antique aesthetic.

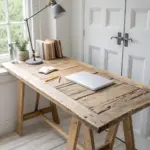
Painted Statement Closet Doors

I’ve painted closet doors in a bold color to turn an “ugh” wall into a focal point, and it’s the fastest mood shift I know. My trick is sanding just enough to help adhesion, then letting the wood grain show through a little for that cozy, lived-in vibe.
Check if these fit your needs:
- Medium Grit Sanding Sponges: Prep your surface effectively with these sponges to ensure paint adheres while preserving the natural wood grain texture.
- Terracotta or Rust Chalk Style Paint: Achieve that warm, vintage look with a matte finish paint ideal for statement furniture pieces and bold makeovers.
- Clear Furniture Wax: Seal and protect your freshly painted project to enhance durability and add a subtle, professional-looking sheen.


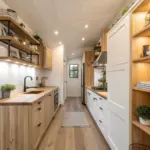
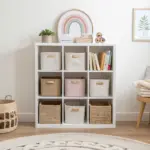
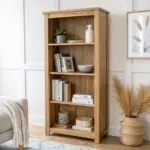
Woven Insert Door Refresh
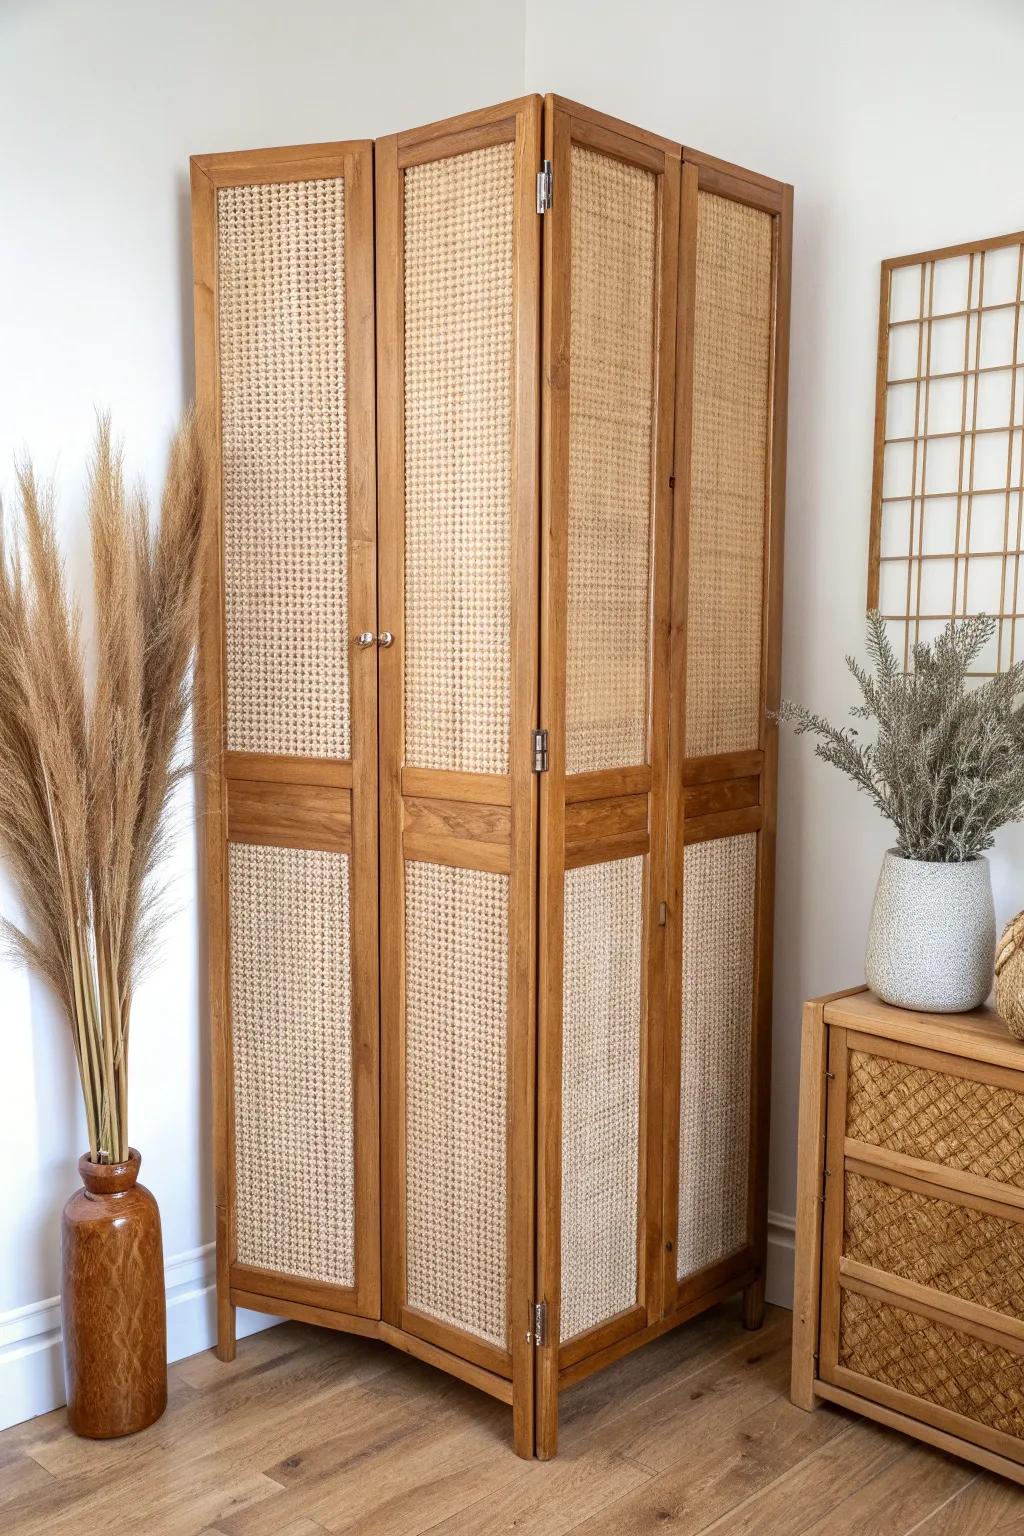
On tired bifold closet doors, I’ve popped out the center panels and stapled in a woven insert behind the frame for instant texture. It feels airy and vintage, and I love how it softens a room without adding more furniture.
Maybe worth checking out:
- Natural Rattan Cane Webbing Roll: Transform your door panels instantly with this classic woven material that adds airy texture and vintage charm.
- Heavy Duty Staple Gun Kit: Secure your new woven inserts firmly to the wooden door frame with this essential, easy-to-use upholstery tool.
- Small Flat Wood Molding Trim: Create a polished finish by covering the stapled edges of your webbing with this simple, paintable trim.

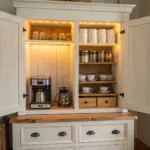
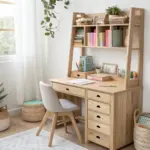
Hall Tree and Entry Bench
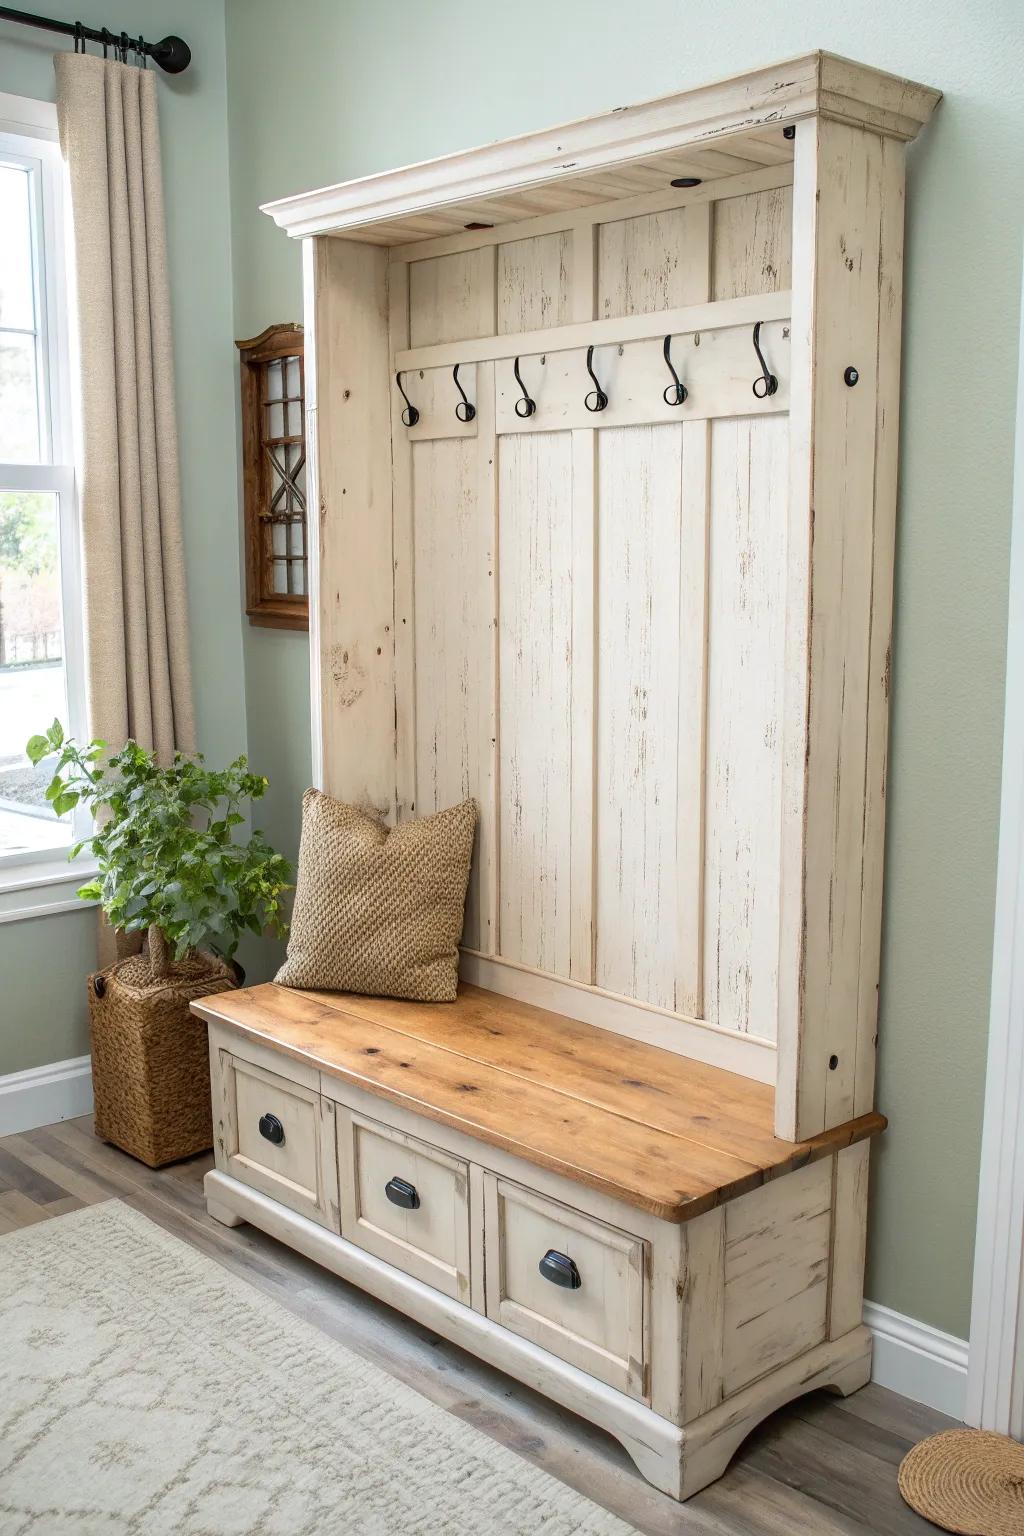
One of my favorite builds was an entryway bench where a closet door became the tall back with hooks and a shelf up top. I like leaving dings and dents in place, because they make the whole mudroom feel warm and farmhouse-y instead of fussy.
Some ideas to consider:
- Heavy Duty Coat Hooks: Install sturdy hooks on your repurposed door to organize coats and bags while adding a classic rustic touch.
- Distressed White Paint Kit: Create that warm, aged farmhouse look on your new bench with specialty chalk paints and finishing waxes.
- Drawer Pulls and Handles: Complete your storage bench functionality by adding durable cup pulls that complement the vintage aesthetic perfectly.
Over-The-Door Mirror Upgrade

If you’ve got a solid closet door, I’ve had great luck framing out a mirror opening and mounting a full-length mirror right into the door face. It makes the door feel like furniture, and I love that it doesn’t steal an inch of floor space.
Check these products out:
- Frameless Door Mirror: Find a clean, rectangular mirror slab to mount securely into your custom recessed door frame project.
- Wood Trim Moulding: Select wood trim to create the polished, furniture-like border that secures the mirror inside the door.
- Heavy-Duty Construction Adhesive: Ensure your new mirror stays permanently bonded to the door backing with industrial-strength construction adhesive.
Garden Trellis and Privacy Panel
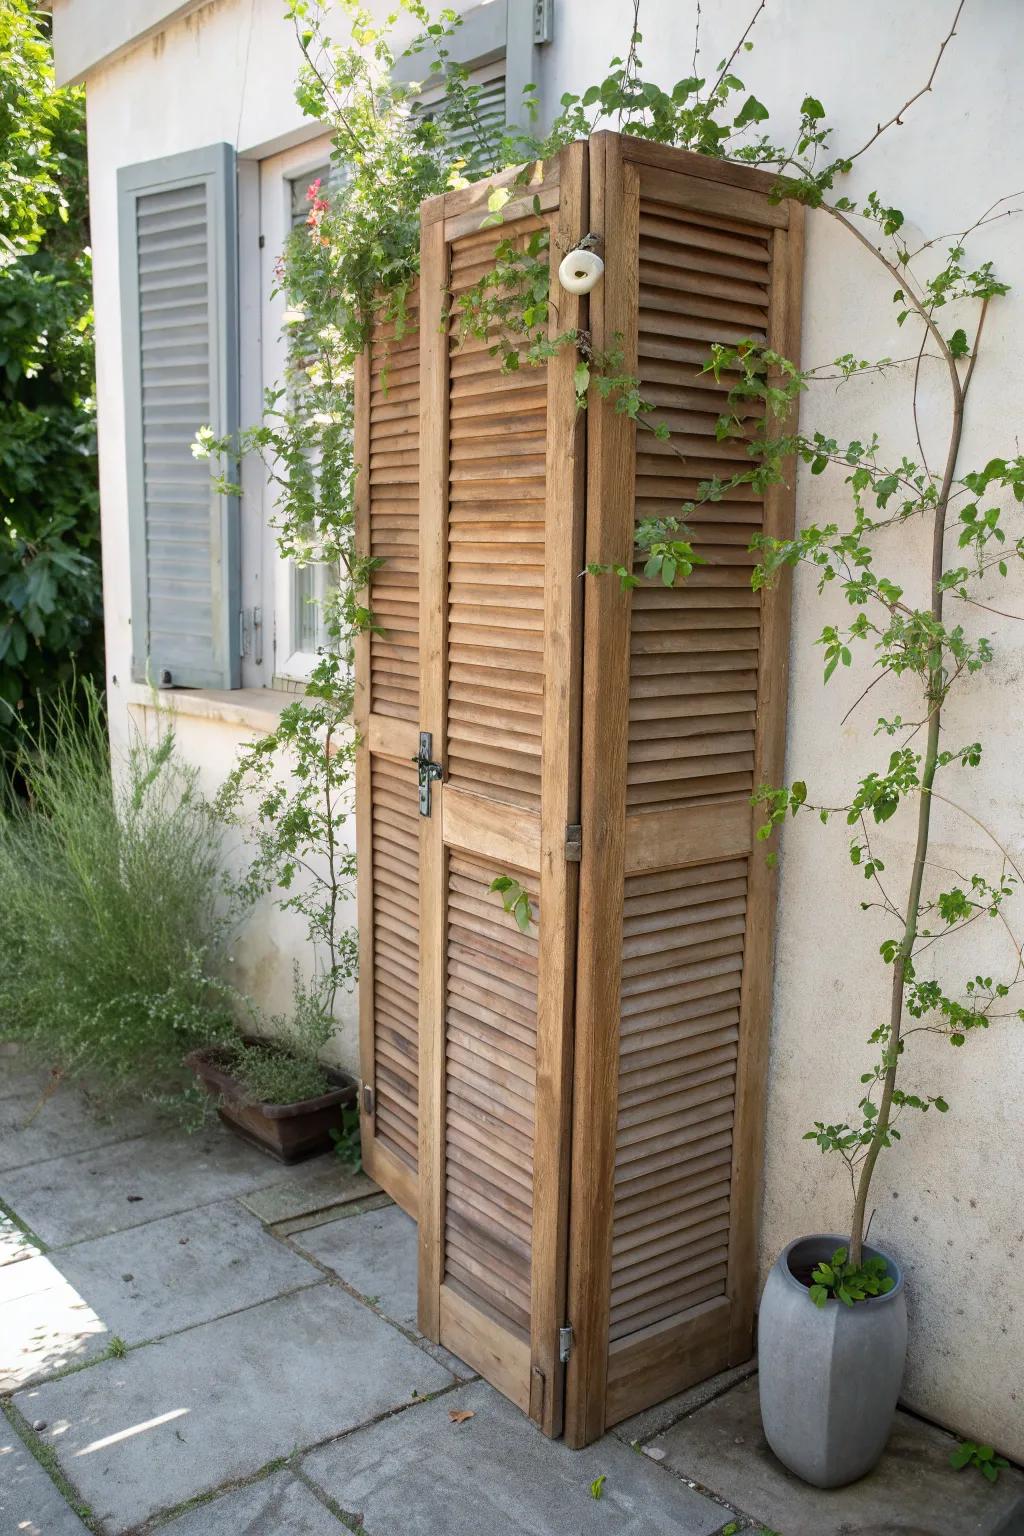
An old louvered closet door makes a killer garden trellis, and I’ve screwed one right to fence posts to give climbing plants a head start. I like sealing it lightly so it weathers gracefully instead of turning into splinters by midsummer.
Some handy options:
- Clear Exterior Wood Sealant: Protect your repurposed door from rain and UV damage to help it weather gracefully without rotting quickly.
- Decorative Door Hinges: Use sturdy hinges to join multiple door panels together, creating a freestanding privacy screen or corner trellis.
- Heavy-Duty L-Brackets: Securely anchor your new trellis to a fence or wall to ensure it stays upright against wind.


