
A good sculpture base does two jobs at once: it keeps your piece stable and makes it look intentional. I’ve built a lot of bases in my shop, and the right stand can turn even a simple sculpture into a real showpiece.
Floating Top Base
I love the illusion of a floating top by using a recessed plinth or a shadow-gap detail under the top platform. It’s one of those little tricks I use when I want the sculpture to feel like it’s hovering without any visible hardware.
Maybe worth checking out:
- Wooden Plinths & Risers: Utilize sturdy wooden risers to create layered foundations that mimic the recessed look of a custom base.
- Clear Acrylic Spacers: Place these subtle spacers between wood layers to create a distinct shadow gap and floating effect instantly.
- Wood Molding & trim: Add decorative molding around your base’s upper edge to conceal joints and enhance the architectural profile.
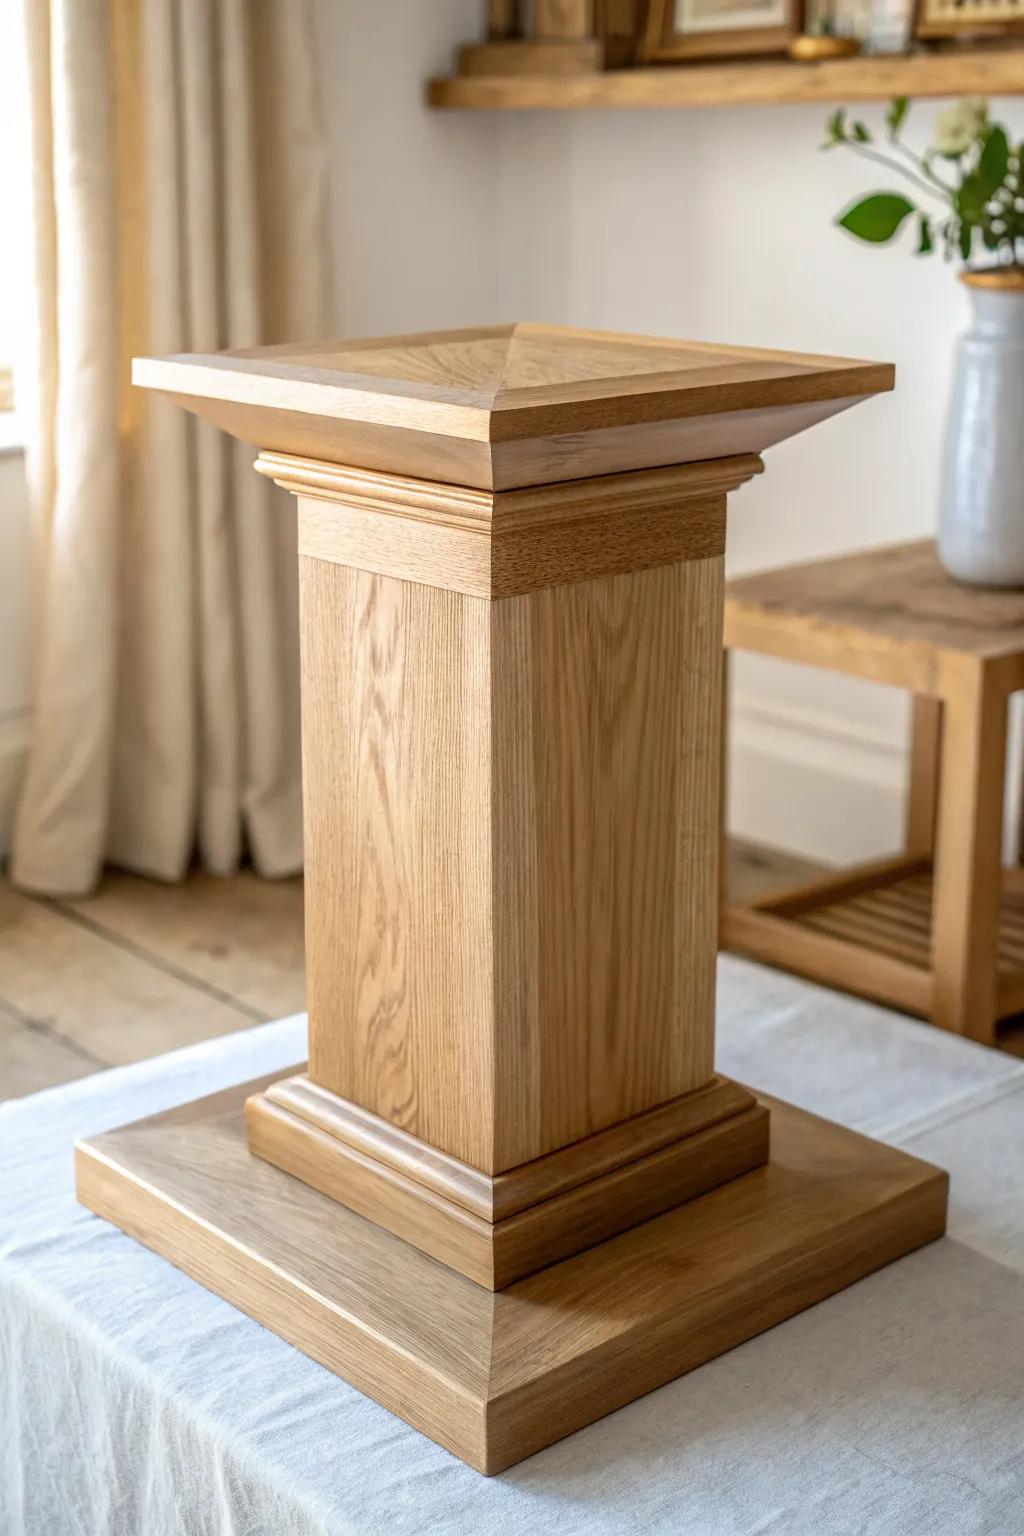
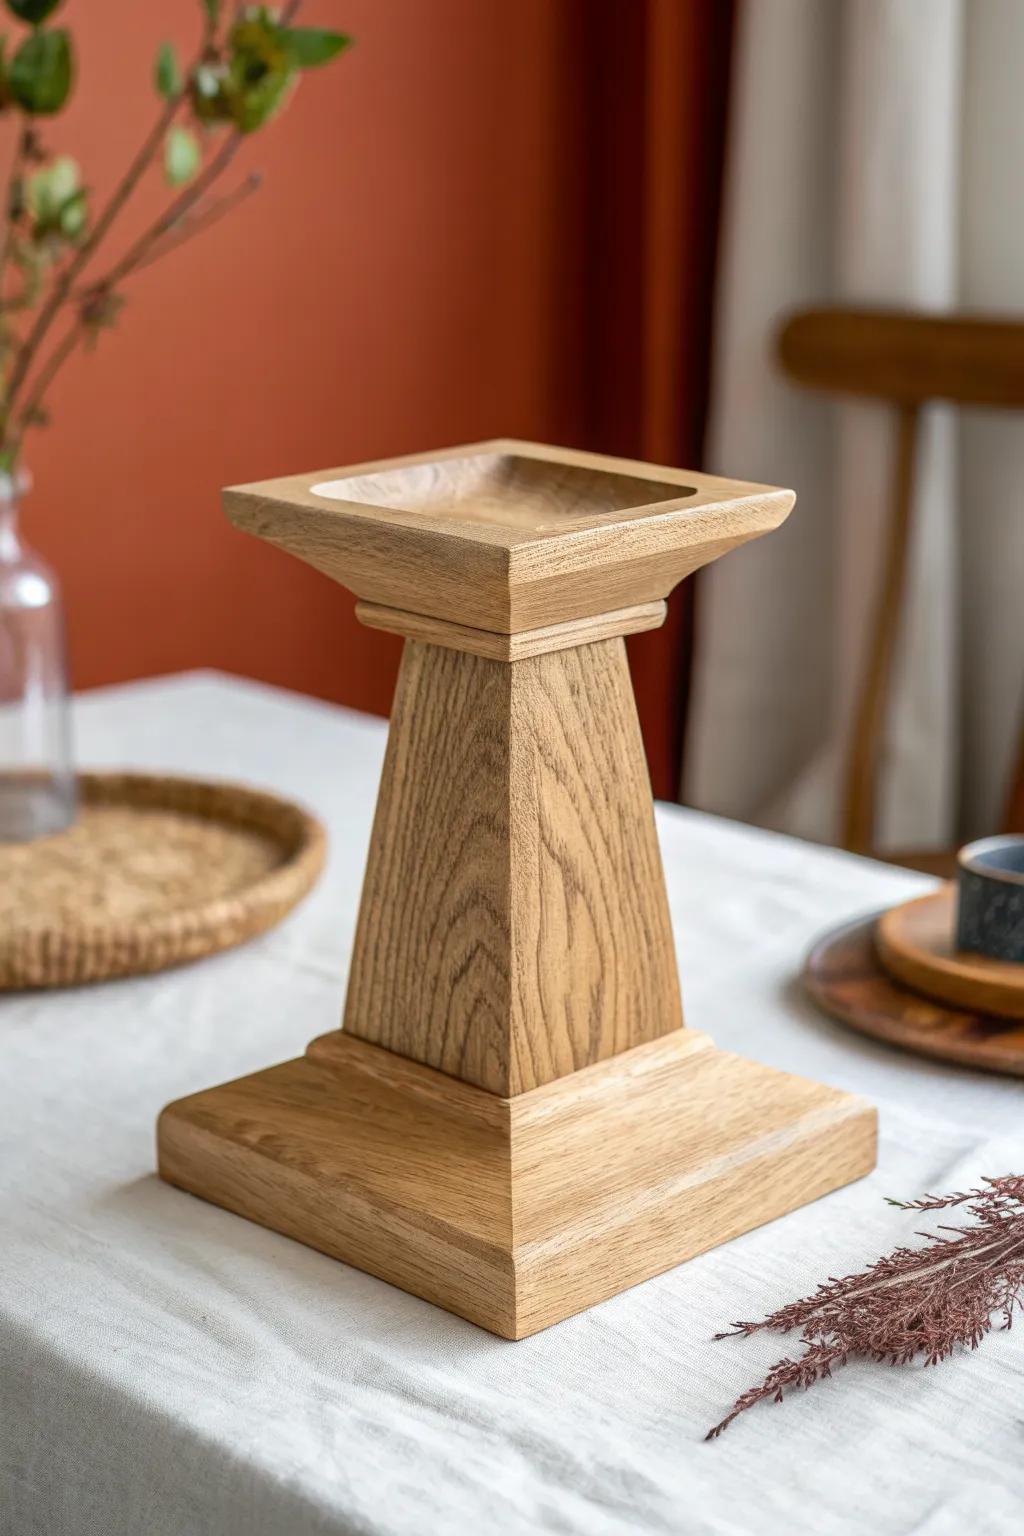
Classic Wooden Plinth

When I need a timeless look, I build a clean wooden plinth with crisp edges and a slightly oversized top for that gallery feel. I usually finish mine in matte clear coat so the grain supports the sculpture without stealing the show.
You might like:
- Water-Based Matte Clear Coat: Protect your wooden masterpiece with a non-yellowing matte finish that highlights natural grain without adding unwanted shine.
- Solid Wood Square Pedestal Stand: Skip the build and instantly elevate your artwork with a ready-made, classic column pillar stand for display.
- Decorative Wood Molding Trim: Add architectural detail to your DIY plinth construction using classic molding to replicate that elegant base and capital look.
Tall Pedestal Column
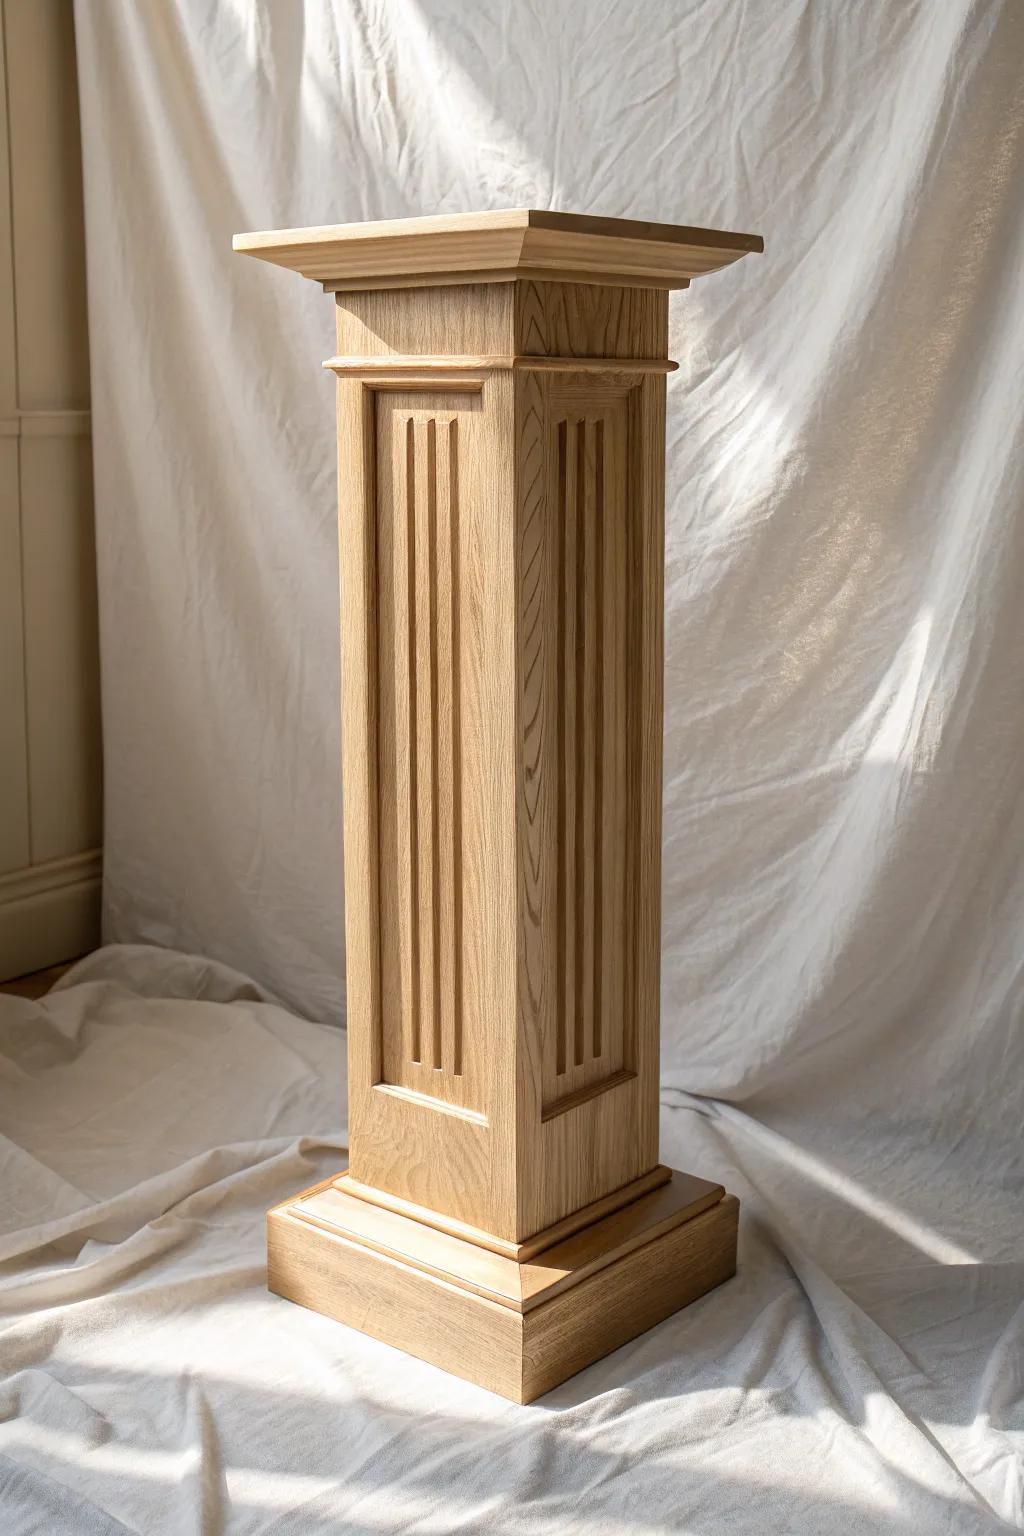
For instant drama, I make a tall pedestal column that lifts the sculpture right into eye level. I’ve learned to add hidden weight in the bottom (like a sand-filled cavity) for tip resistance.
Some handy options:
- Architectural Wood Pedestal: Elevate your art with a classic wooden pedestal that adds instant height and sophistication to any room.
- Weighted Sandbags: Secure your column against accidental tipping by placing these heavy-duty weights discreetly inside the base cavity.
- Museum Wax: Keep your precious sculpture firmly attached to the pedestal surface to prevent slipping or sliding off.


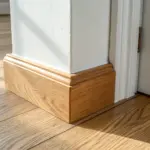
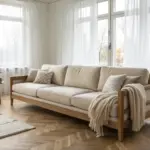
Low Profile Block Base
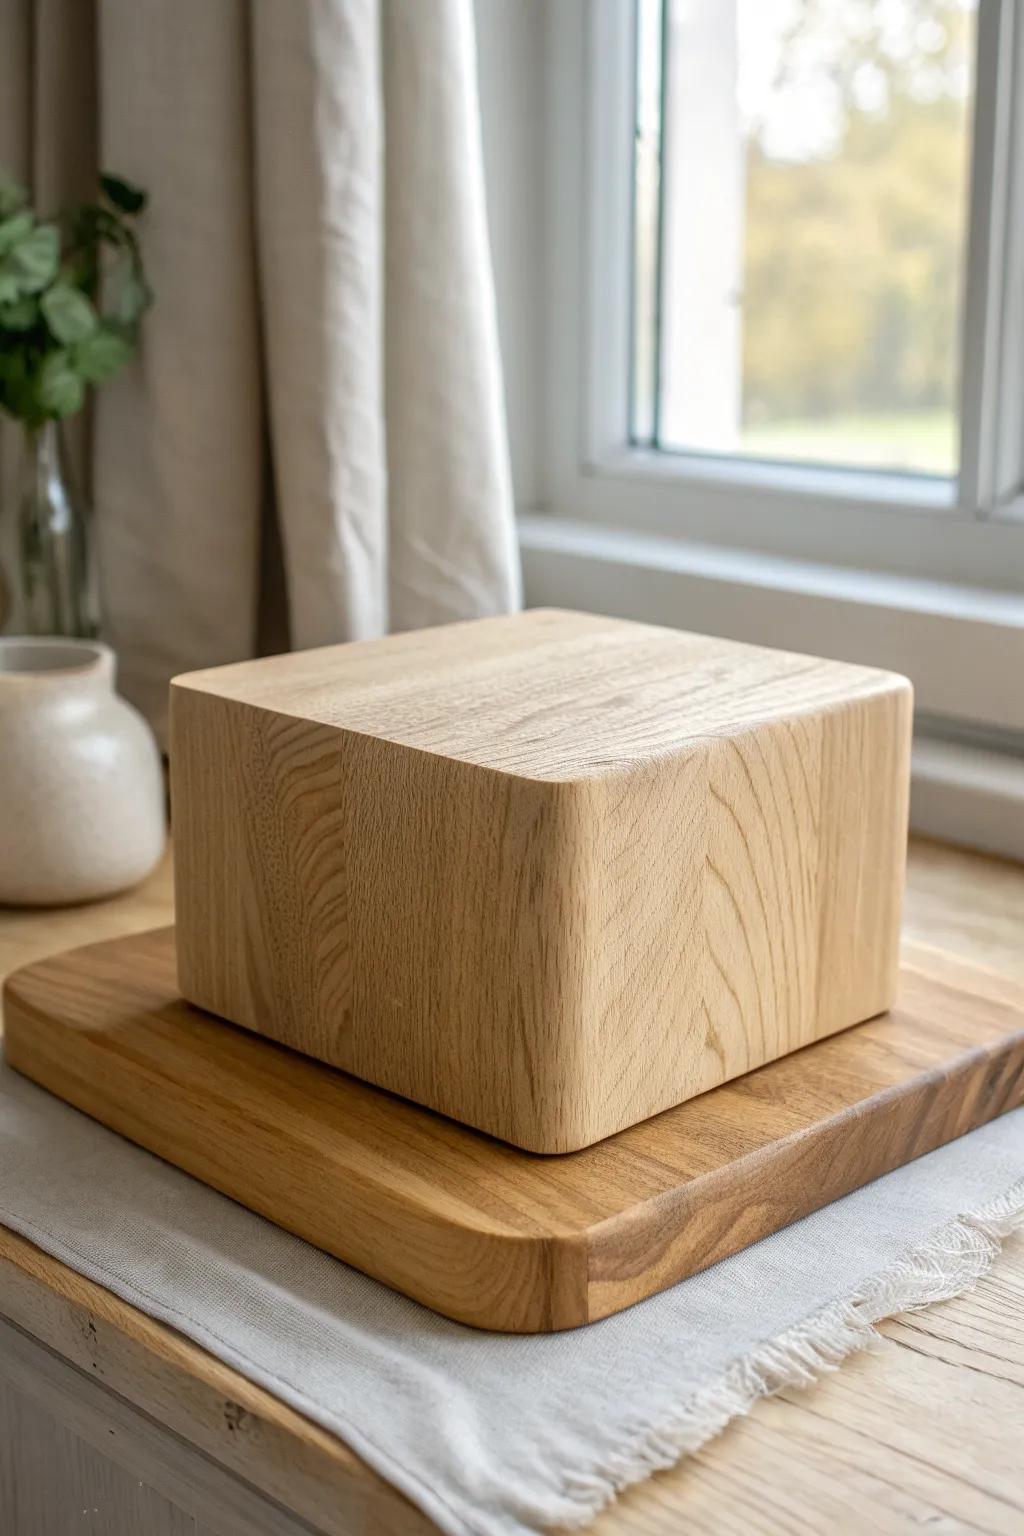
A chunky block base is my go-to when the sculpture already has plenty of height and just needs grounding. I like easing the edges and adding felt underneath, because I’ve definitely scratched a table or two in my early days.
Products that could assist:
- Solid Wood Block Riser: Use a simple, solid wood riser to give your sculpture a grounded, sturdy foundation without distracting details.
- Self-Adhesive Felt Furniture Pads: Apply these soft felt pads underneath your base to protect delicate surfaces from scratches and scuffs.
- Fine Grit Sanding Sponge: Smooth out sharp corners and edges gently with a sanding sponge for a professional, finished look.
Square Base With Routed Chamfer
A simple square base looks instantly upgraded when I add a routed chamfer around the top edge. I’ve found this detail makes the base feel lighter and more “finished,” even with basic lumber.
Consider these options:
- Palm Router: Create smooth, decorative edges on your wooden bases effortlessly with this essential handheld woodworking power tool.
- Chamfer Router Bit Set: Achieve precise 45-degree angles on your sculpture base edges using these specialized, easy-to-install router attachments.
- Unfinished Hardwood Turning Squares: Start your project with solid, high-quality wood blocks perfect for shaping into sturdy, custom sculpture stands.
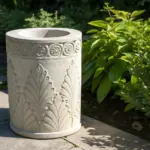
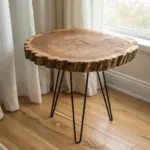
Round Turned Pedestal
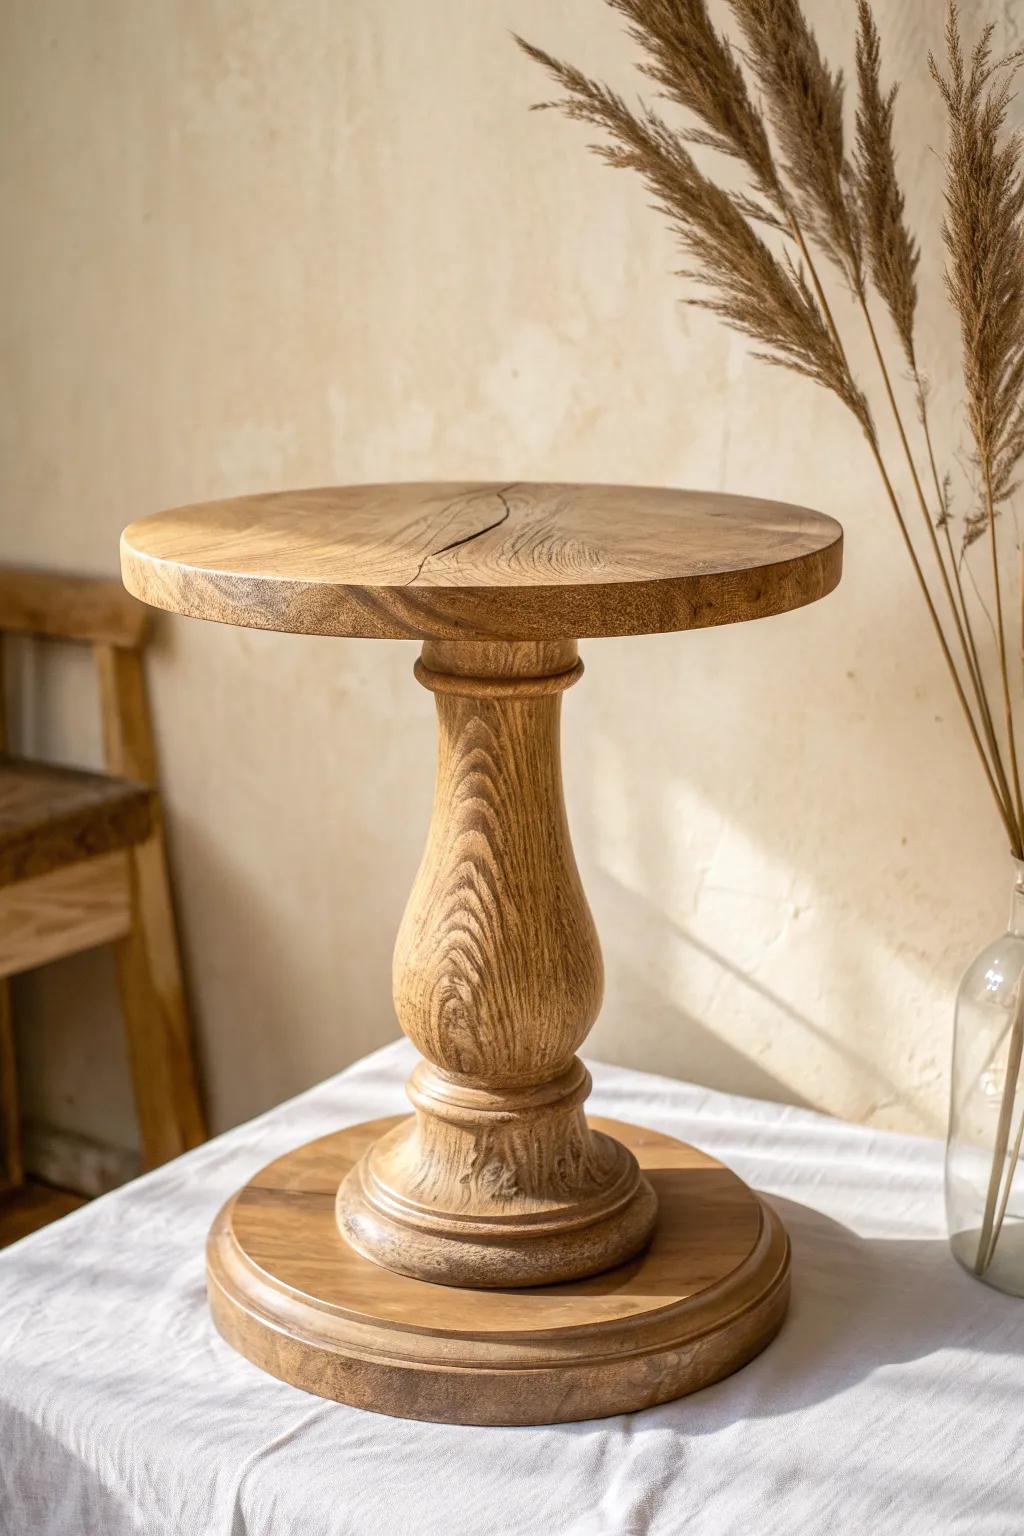
When I’m craving a softer vibe, I turn a round pedestal so the base echoes organic shapes in the sculpture. I’ve used this a lot for ceramic forms, and it keeps everything feeling calm and cohesive.
A few suggestions:
- Wooden Cake Stand: Use these versatile round wooden stands to instantly elevate your smaller sculptures or ceramic pieces with warm, natural textures.
- Turned Wood Display Riser: Add height and elegance to your display with risers featuring classic turned legs that complement curved, organic forms.
- Unfinished Wood Plaque Base: Create your own custom turned-style base by stacking and turning these raw wood plaques to fit your specific sculpture.
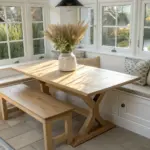
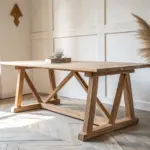
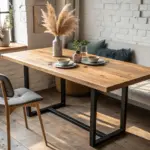
Live Edge Slab Base
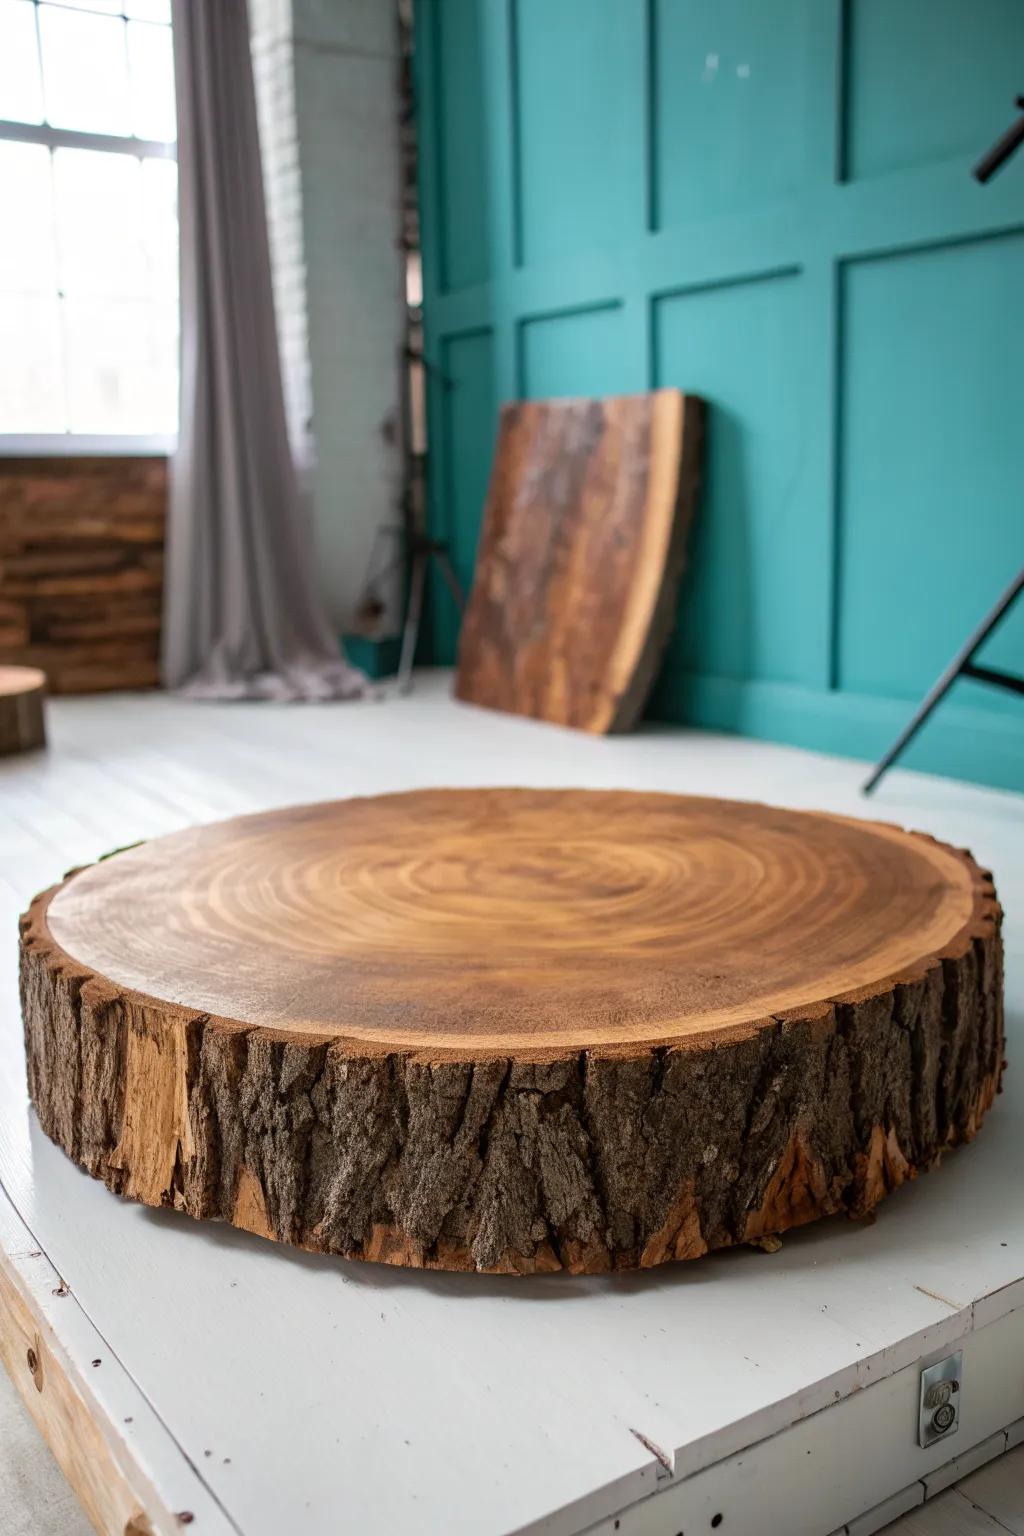
A live edge slab base is perfect when you want rustic character without getting fussy. I’ve paired these with modern sculptures and the natural grain contrast always gets comments.
These products might be useful:
- Large Round Wood Slices: Create an instant rustic base for your sculpture with these natural wood rounds featuring authentic bark edges.
- Natural Wood Stain and Sealer: Protect your wood base and enhance the natural grain contrast by applying a durable, clear finish.
- Hairpin Table Legs: Elevate your slab off the ground slightly or turn it into a plinth with these sturdy metal legs.
Tapered Modern Pedestal
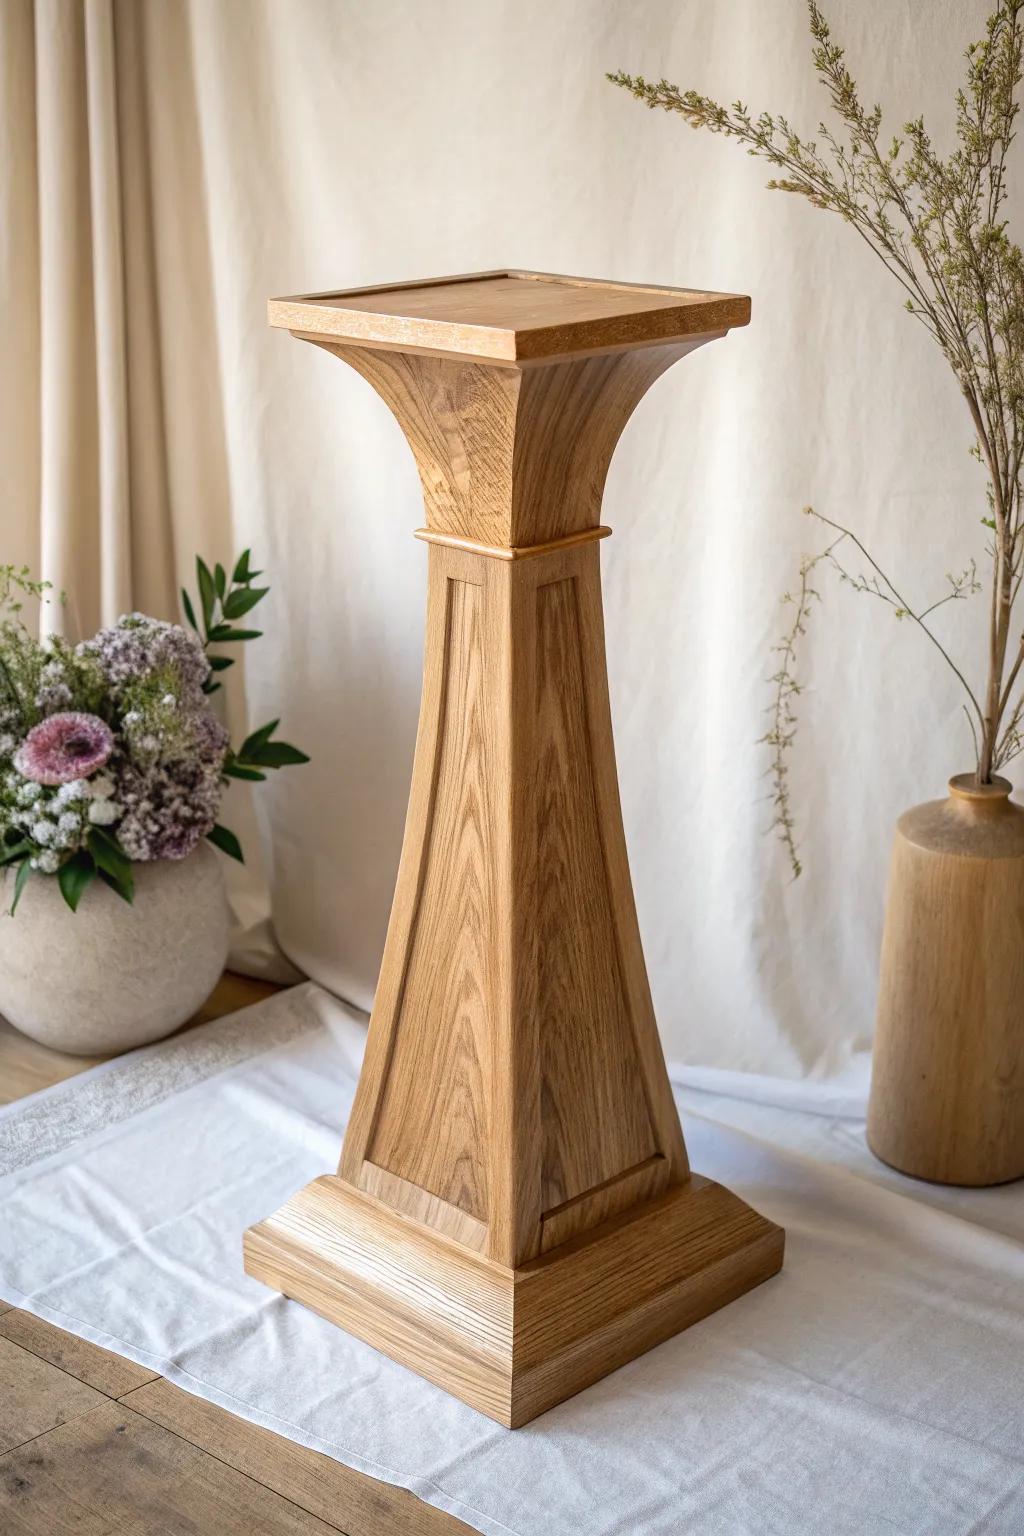
A tapered pedestal gives a clean, modern stance and looks especially sharp under abstract pieces. I like to cut the taper subtly, because I’ve learned a little angle goes a long way before it starts looking unstable.
Explore these options:
- Table Saw / Circular Saw: Achieve precise angled cuts for your tapered design by using a reliable and accurate saw for woodworking.
- Wood Glue & Clamps Set: Ensure your angled joinery holds tight by applying strong wood glue and securing it with sturdy clamps.
- Orbital Sander: Create a smooth, professional finish on your tapered base by removing rough edges with an effective electric sander.
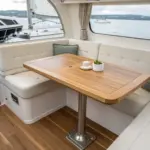
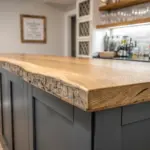
Concrete Plinth With Wood Cap
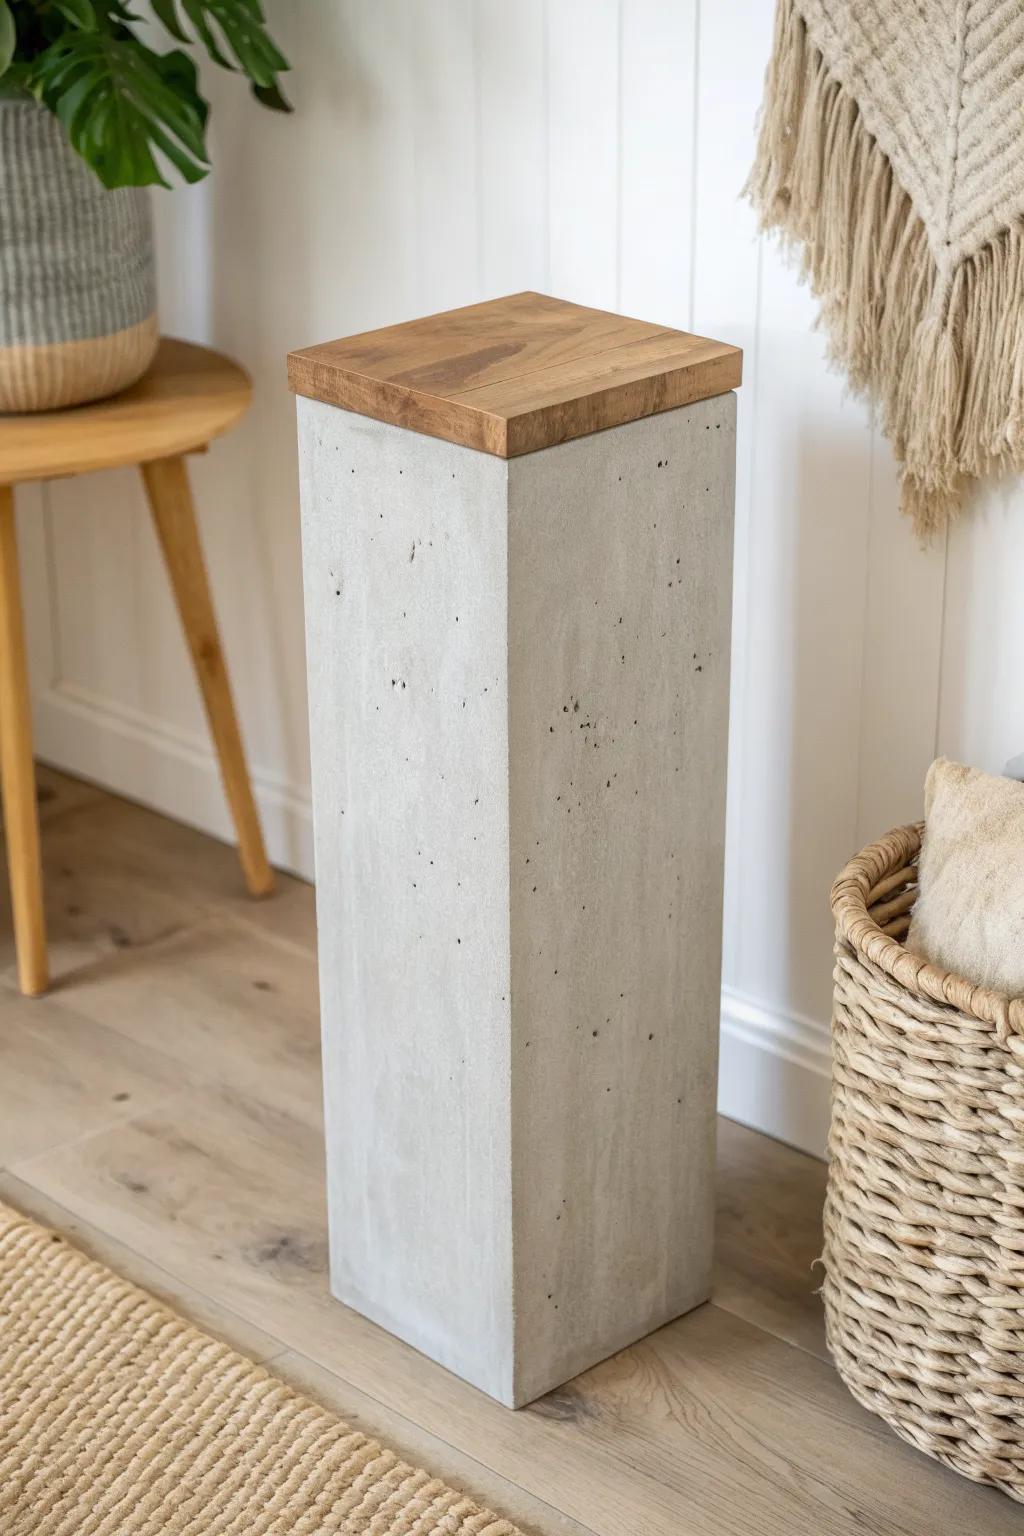
Mixing materials is my favorite, and a concrete plinth topped with a warm wood cap feels both modern and cozy. I’ve used this when I want weight at the bottom but still want that handcrafted wood vibe up top.
A few helpful options:
- Tall Square Concrete Planter or Pedestal: Use a tall, straight-sided concrete planter turned upside down or upright to create the solid, modern structural base.
- Square Wood Cutting Board or Serving Platter: Top your concrete base with a thick, square wooden board to add warmth and a finished surface immediately.
- Heavy Duty Construction Adhesive: Secure the wood top to the concrete base permanently using a strong adhesive designed for bonding different materials.
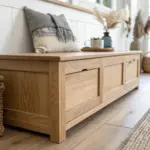
Reclaimed Beam Pedestal
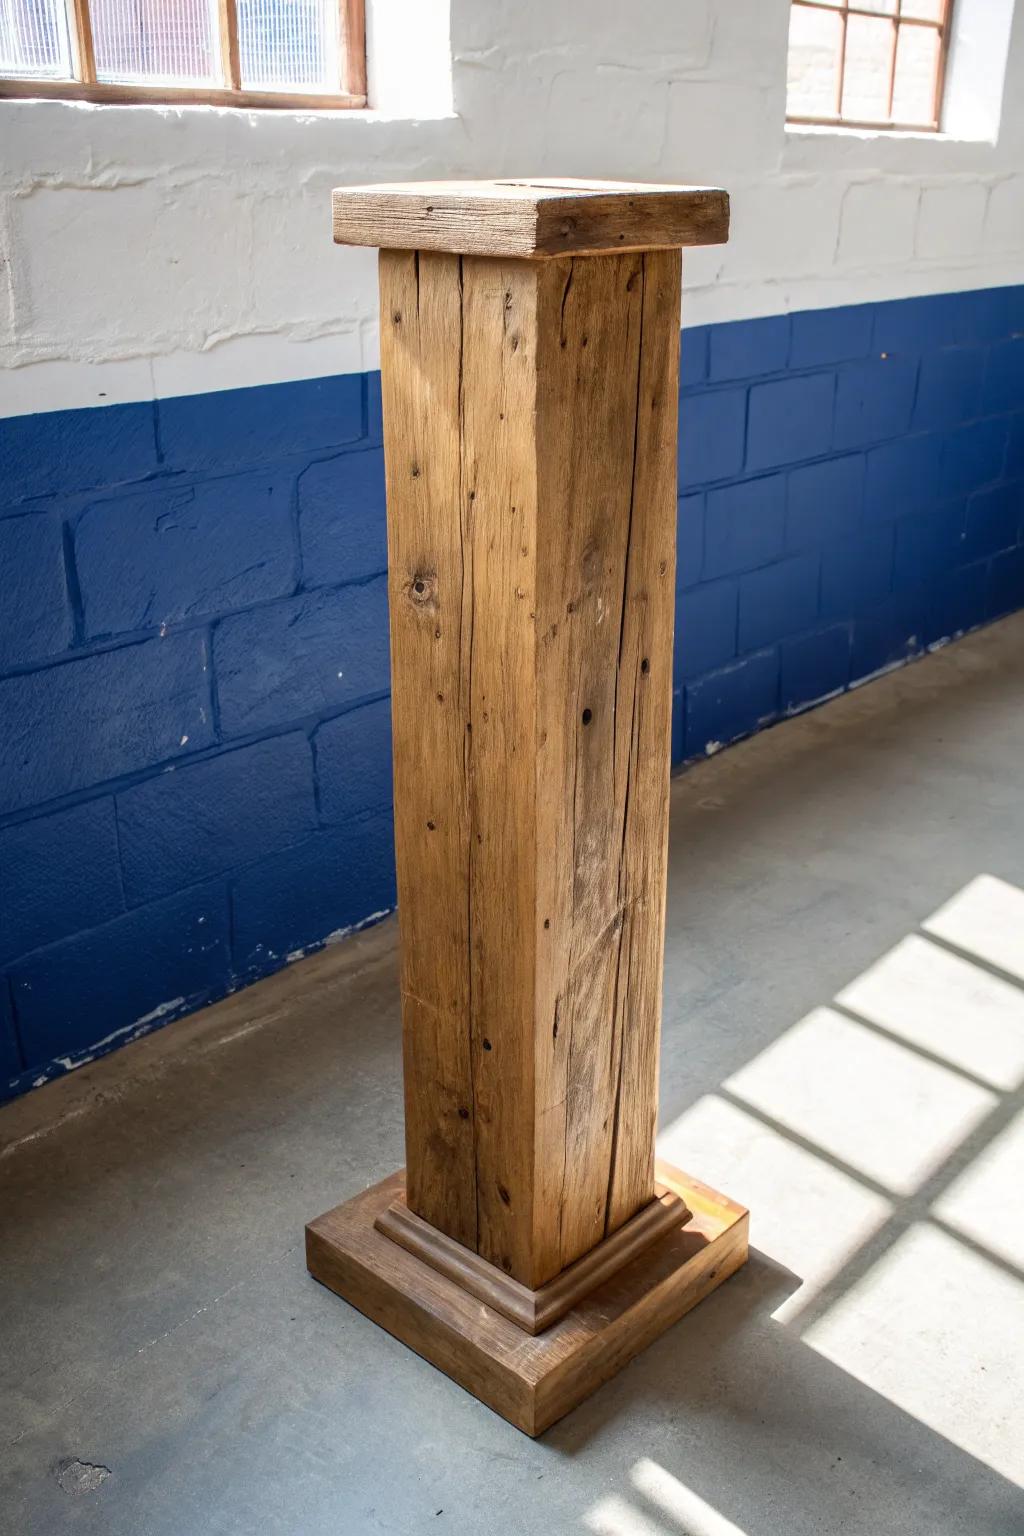
When I want instant farmhouse character, I use an old reclaimed beam as a pedestal and just clean it up enough to keep the splinters away. Those dings and saw marks tell a story, and they make the sculpture feel curated instead of staged.
Useful items to consider:
- Clear Matte Wood Finish: Seal in the history and protect distinct saw marks without altering the wood’s natural, rustic color.
- Course Grit Sandpaper: Smooth down sharp splinters quickly while keeping the aged texture intact for a safe, rugged surface.
- Square Wood Plaque Base: Create a sturdy foundation or top cap for your beam to add stability and finished detail.


