
Shaker-style wall panels are my go-to move when a room feels flat but you still want that clean, timeless vibe.
Full-Height Grid Accent Wall

A full-height Shaker grid behind a sofa is one of the fastest ways I’ve created a living-room focal point with basic strips and a level. If you try this, keep the rectangles consistent and let the shadows do the decorating.
Might be a good match:
- Unfinished Oak Lattice Molding Strips: Create the grid structure easily by applying these wooden strips directly to your existing wall surface.
- Laser Level with Self-Leveling Mode: Ensure your vertical and horizontal grid lines remain perfectly straight and consistent across the entire wall.
- Construction Adhesive for Wood Paneling: Secure your wooden strips firmly to the wall with a strong, gap-filling adhesive for lasting durability.

Half-Wall Panels With a Chair Rail
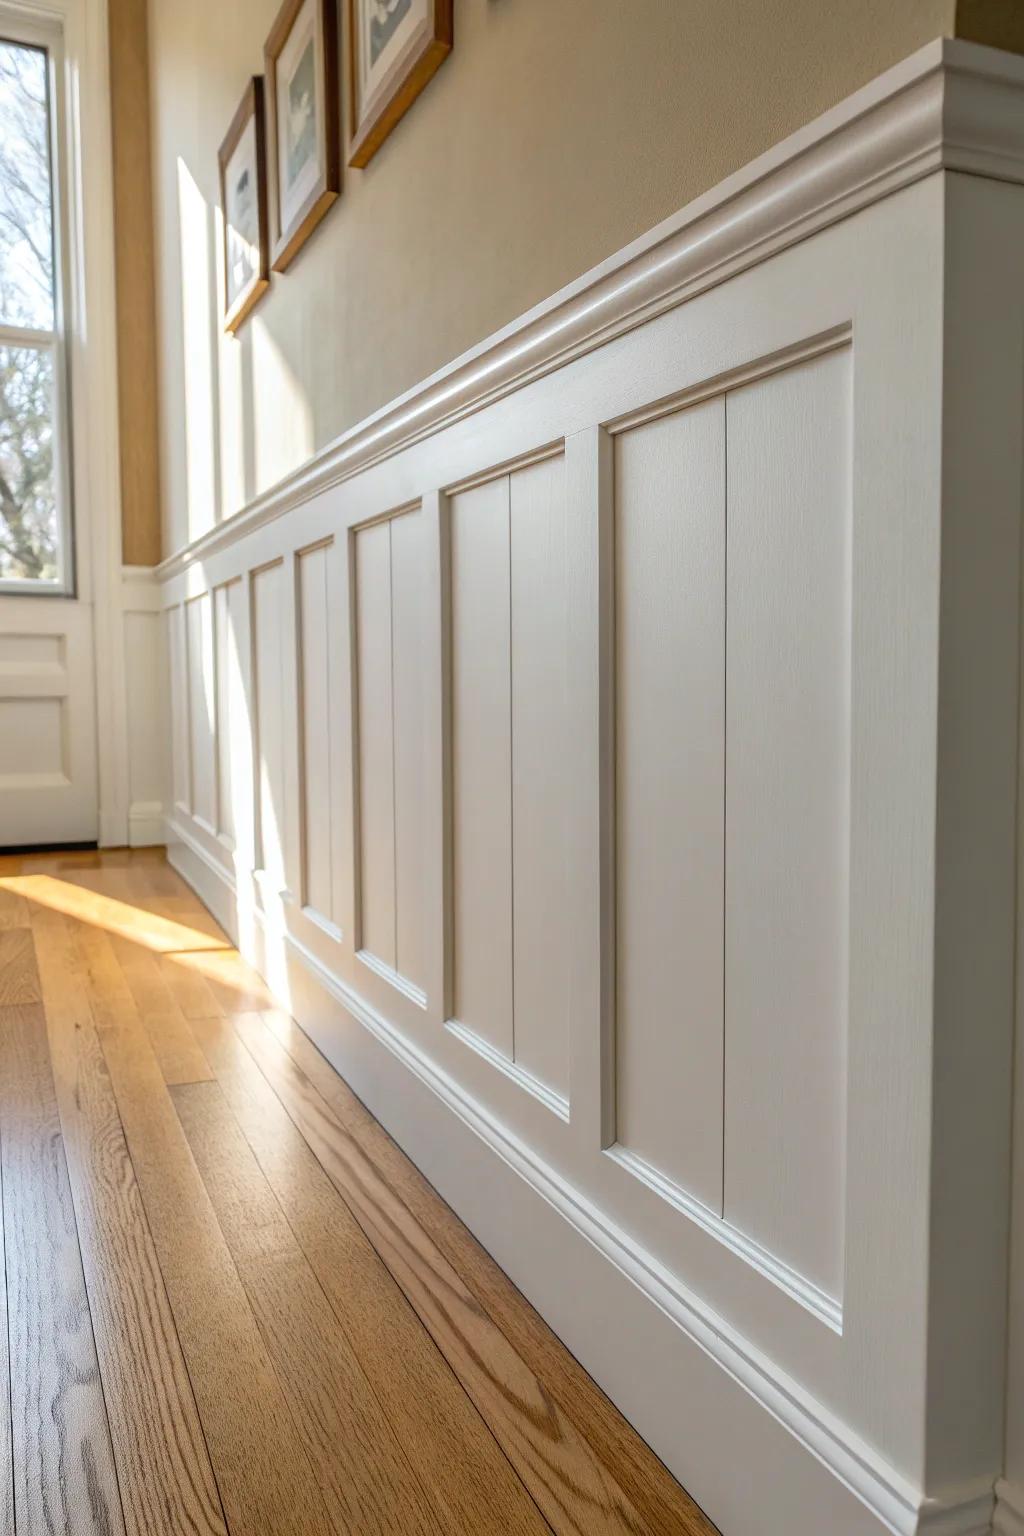
I like topping Shaker-style wall panels with a simple chair rail because it gives you a crisp line for styling and paint breaks. In my own projects, that little cap piece is what makes DIY paneling look “built-in” instead of “stuck-on.”
Try these:
- Chair Rail Molding: Top your wainscoting cleanly with a classic chair rail molding to achieve that polished, built-in architectural look.
- Ready-to-Assemble Shaker Wainscoting Kit: Simplify your renovation with pre-cut shaker panel kits that help create professional-looking wall dimension with less effort.
- Brad Nailer Kit: Secure your molding and panels invisibly and efficiently for a secure hold and smooth, professional finish.

Tall Rectangles to Lift the Room
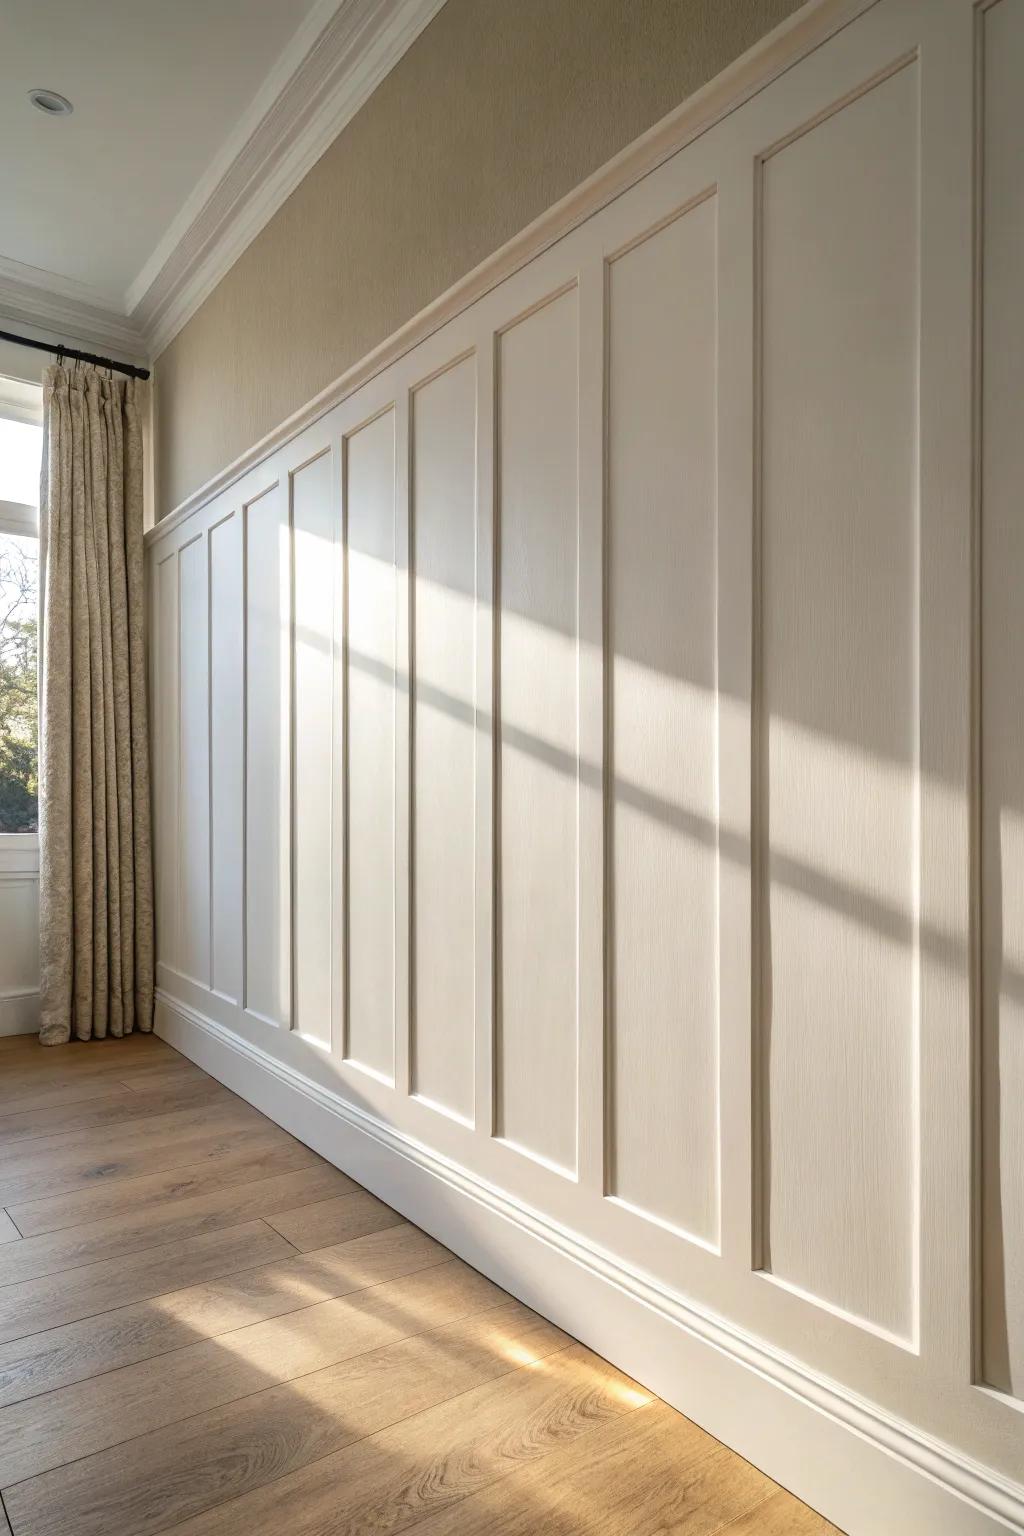
I’ve used tall Shaker wall panels in smaller rooms to cheat the ceiling higher, and it works way better than you’d think. You’ll get that airy, tailored look just by stretching the panel proportions vertically.
Possibly handy products:
- Primed MDF Wall Paneling Strips: Create that vertical lift easily by installing pre-primed strips; simply cut them to your desired length.
- Construction Adhesive for Wood: Secure your tall panels firmly to the wall without excessive nailing using a high-strength construction adhesive.
- Laser Level Self-Leveling Tool: Ensure your vertical lines are perfectly straight and parallel to truly maximize the ceiling-raising visual effect.

Moody Headboard Panel Wall
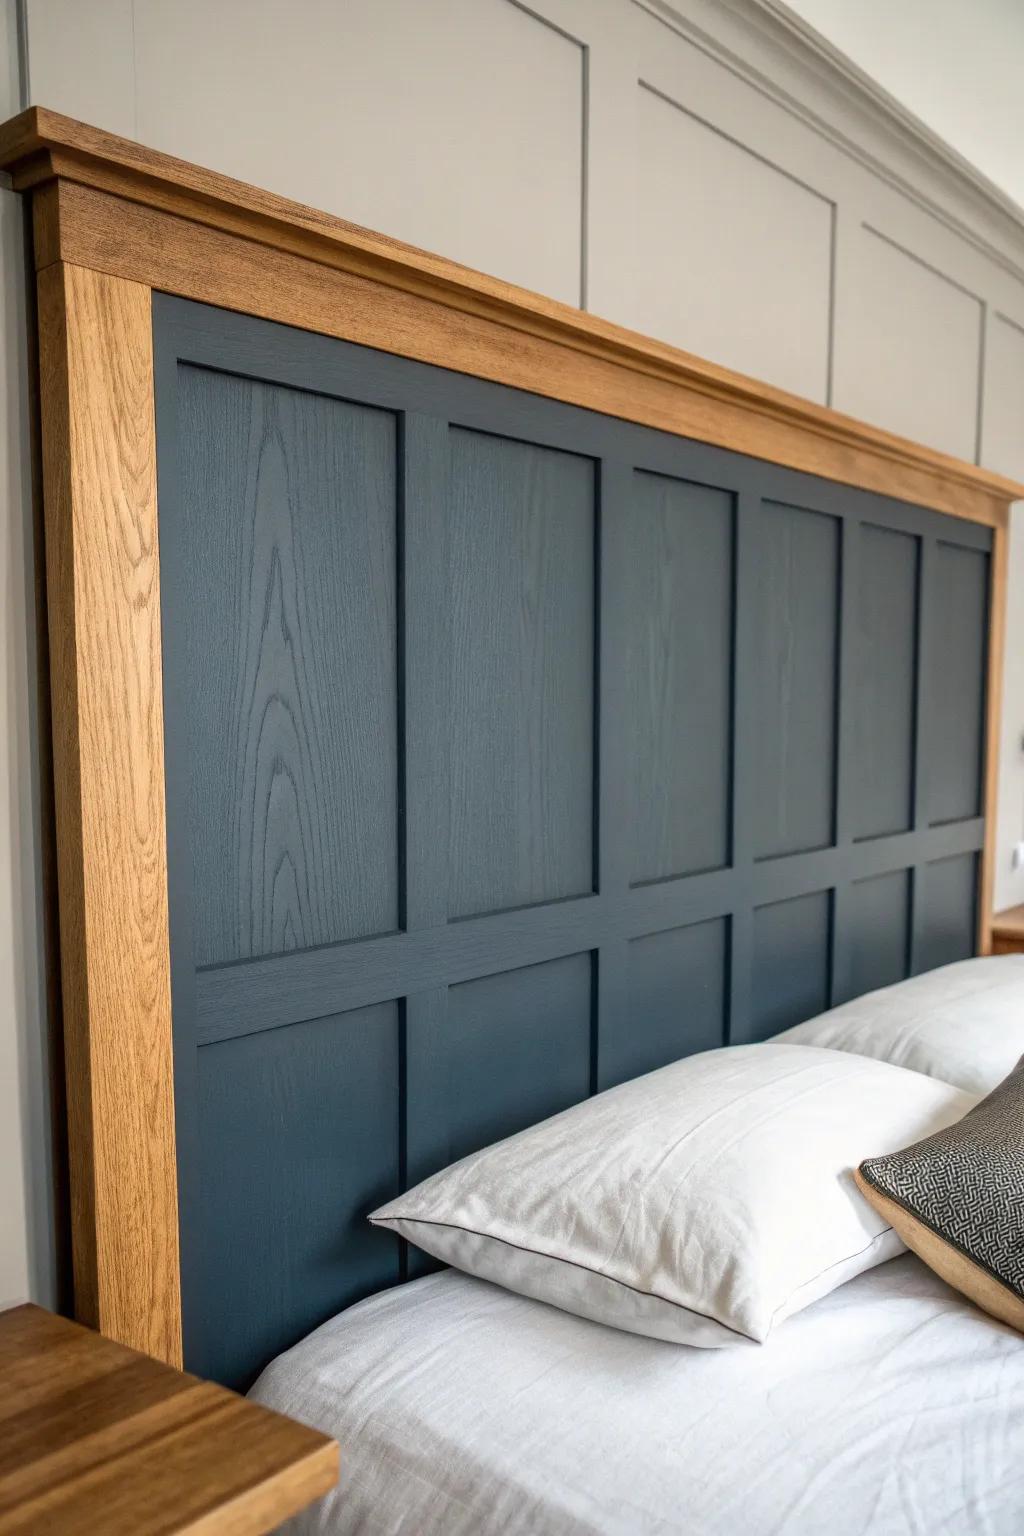
One of my favorite bedroom upgrades was a Shaker panel headboard wall in a deep, moody color—it made my simple bed look custom overnight. If you try it, paint the trim and the “inside boxes” the same shade for that rich, wrapped effect.
Some handy options:
- Pre-Primed MDF Board Strips: Create the structural grid for your headboard easily with smooth, ready-to-paint boards that save you preparation time.
- Navy Blue Interior Paint: Achieve that deep, moody look by selecting a rich navy or charcoal paint with a durable matte finish.
- Wood Stain & Sealer: Add warmth to the outer frame by applying a natural oak stain that contrasts beautifully with dark panels.
Monochrome Panels for a Seamless Look
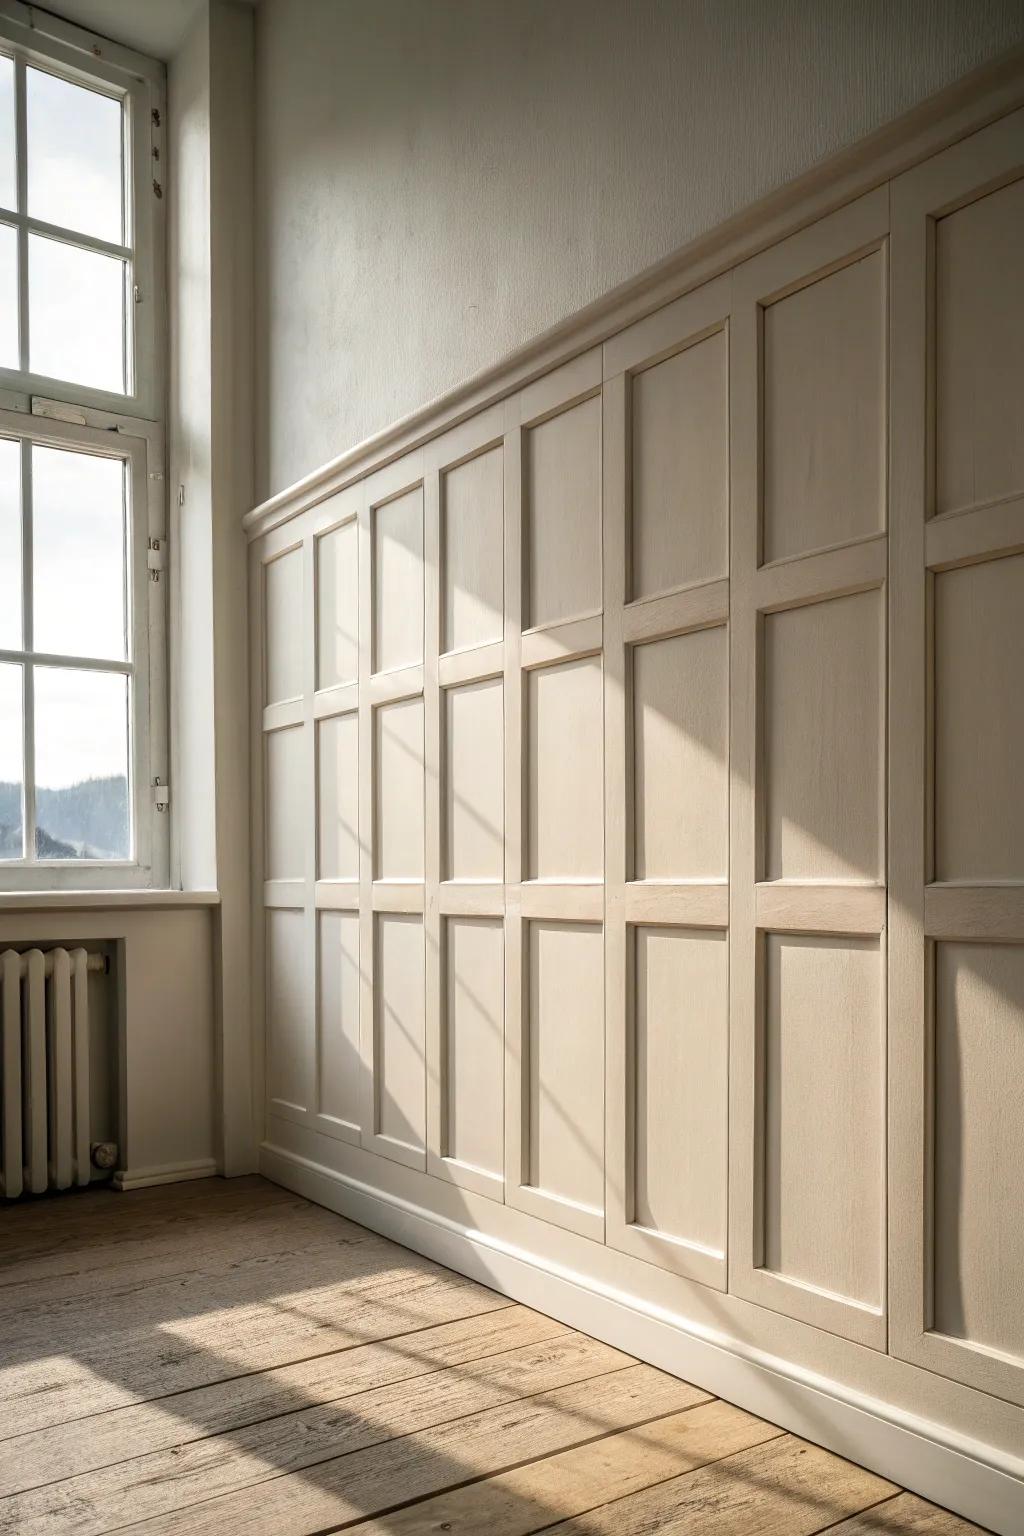
When I want the texture but not the contrast, I paint the Shaker paneling and the wall the exact same color, and it turns into this subtle, high-end shadow play. You can do this in any room, and it’s especially forgiving if your layout isn’t millimeter-perfect.
Some ideas to consider:
- Pre-Primed Wainscoting Panel Kits: Instantly add dimension to bare walls with ready-to-install panels that simplify creating a classic, textured foundation.
- Creamy Matte Interior Paint: Achieve that seamless monochrome effect by selecting a high-quality matte paint to unite your walls and trim.
- Paintable Caulk for Millwork: Ensure a flawless finish by filling gaps and seams before painting, making your panel installation look professional.
Entryway Panels With Hook Rail
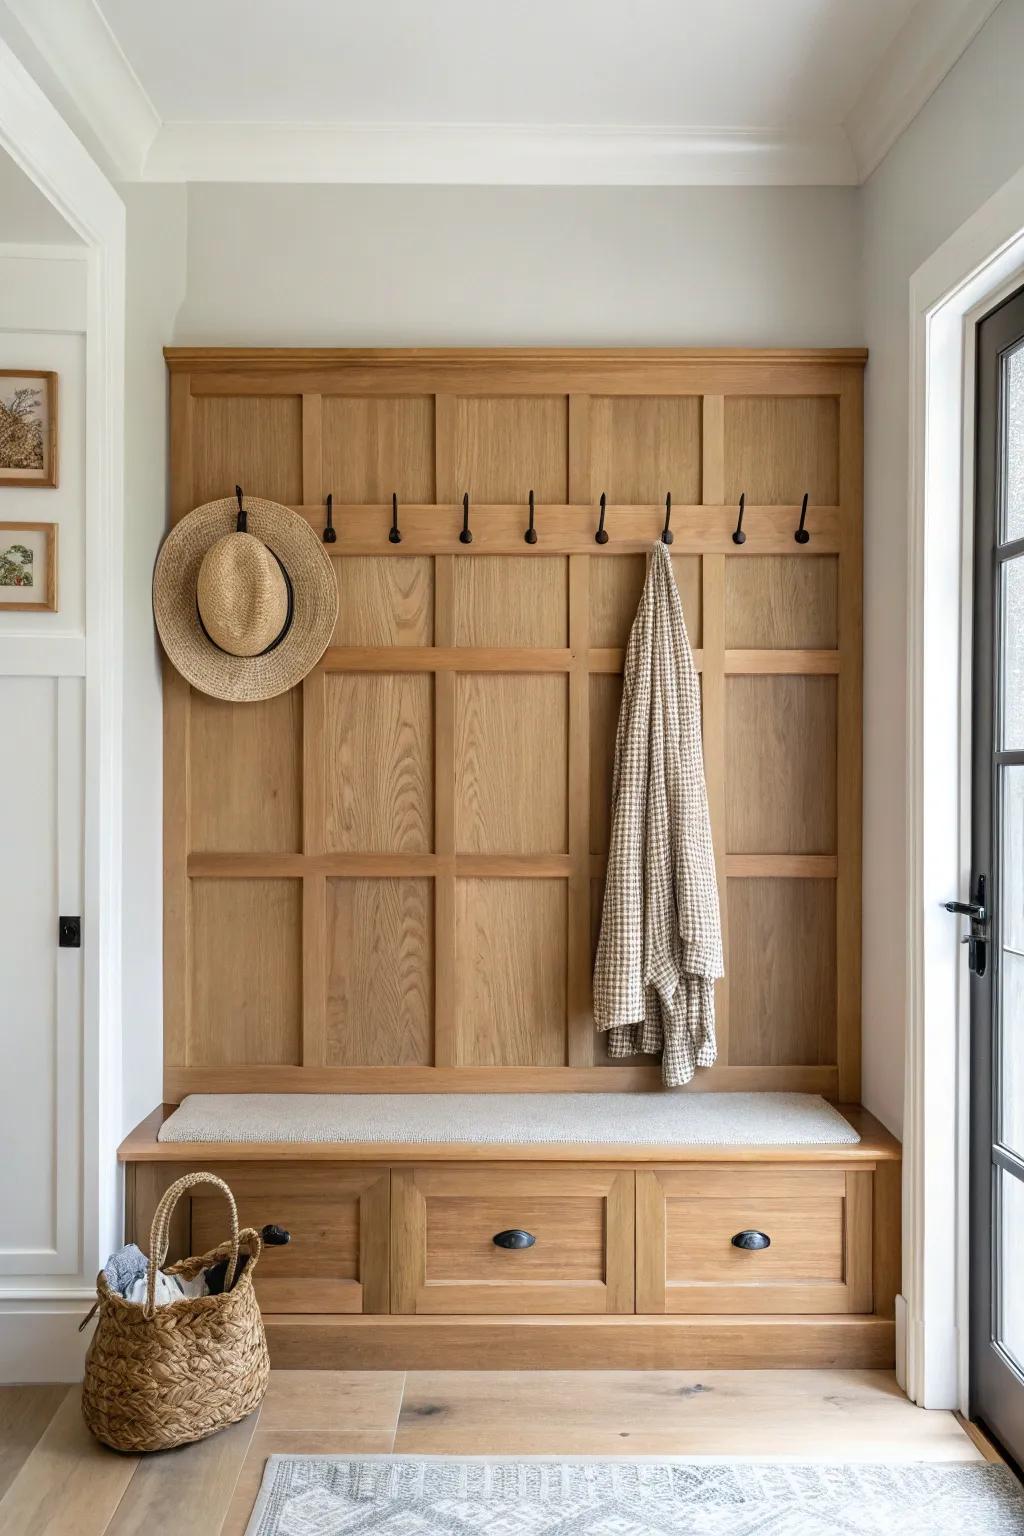
I’ve built Shaker-style wall panels in entryways with a narrow ledge and hooks, and it’s honestly the neatest way to corral coats and bags. You’ll get the pretty grid pattern plus real-life function, which is my favorite combo.
Possibly helpful picks:
- Sturdy Metal Wall Hooks: Upgrade your entryway organization by installing durable hooks perfect for hanging heavy coats, bags, and accessories.
- Woven Storage Basket: Keep smaller items tidy and add texture to your space with a natural woven basket for floor storage.
- Drawer Cup Pulls: Add a classic finishing touch to your built-in bench drawers with traditional cup-style cabinet hardware.


