
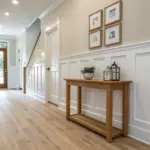
Shiplap looks amazing on its own, but trim is what makes it feel finished and intentional instead of “project in progress.” I’ve tried a lot of edge treatments in my shop and in real homes, and these are my favorite shiplap trim ideas for clean transitions, tough corners, and that cozy farmhouse vibe.
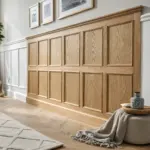
Picture Frame Trim Around an Accent Wall

Framing an accent wall with picture frame trim makes the shiplap feel like a feature, not an afterthought. I’ve used this behind beds and sofas, and it always photographs like a custom install.
Explore these options:
- Wood Molding & Trim Lumber: Create a custom frame for your accent wall using high-quality wood molding to define the shiplap feature.
- Brad Nailer Kit: Secure your trim pieces firmly and cleanly with a reliable brad nailer for a professional-looking finish.
- Wood Stain or Paint: Customize your new trim to match your room’s aesthetic by applying a rich stain or crisp paint.


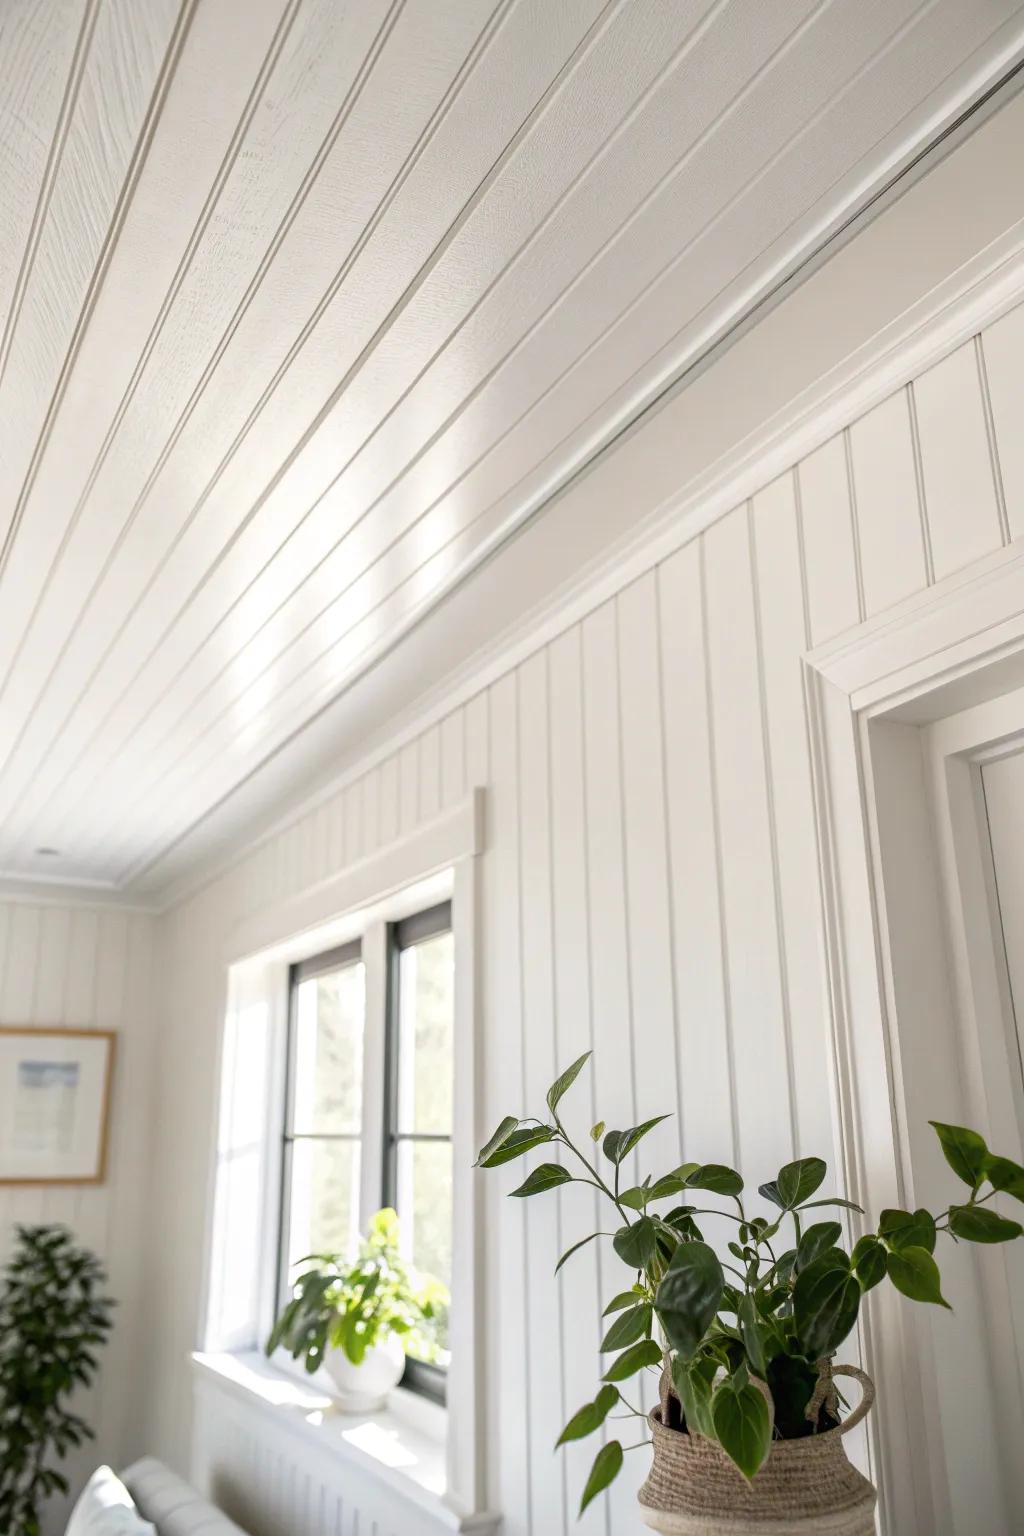
Classic Crown Molding at the Ceiling
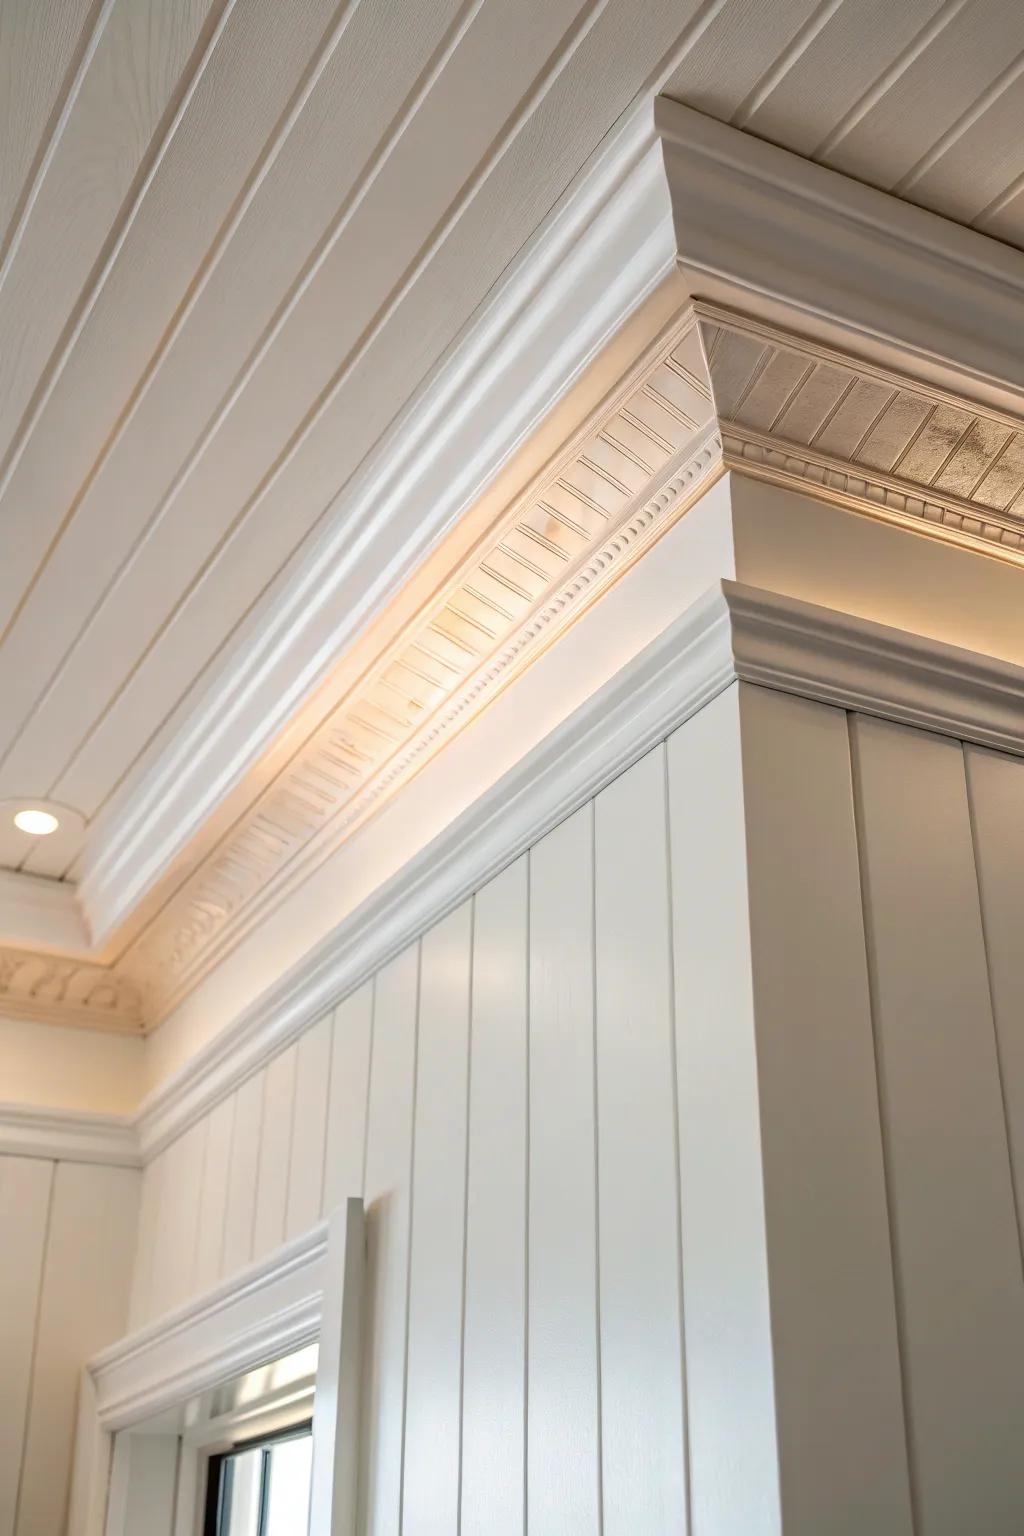
When I want shiplap to feel instantly “built-in,” I cap it with crown molding so the wall-to-ceiling transition looks crisp. I’ve found it’s also the easiest way to hide tiny ceiling waves that would otherwise telegraph at the top row.
A few helpful options:
- Primed Crown Molding Packs: Create that crisp transition quickly; choose primed molding packs to save painting time and ensure a smoother finish.
- LED Rope Light Strips: Add the warm glow seen in the photo by tucking flexible LED strips behind your crown molding edge.
- Pneumatic Brad Nailer Kit: Secure your molding seamlessly; a reliable brad nailer helps you attach trim without splitting the delicate wood.


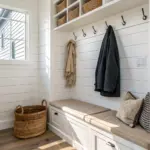
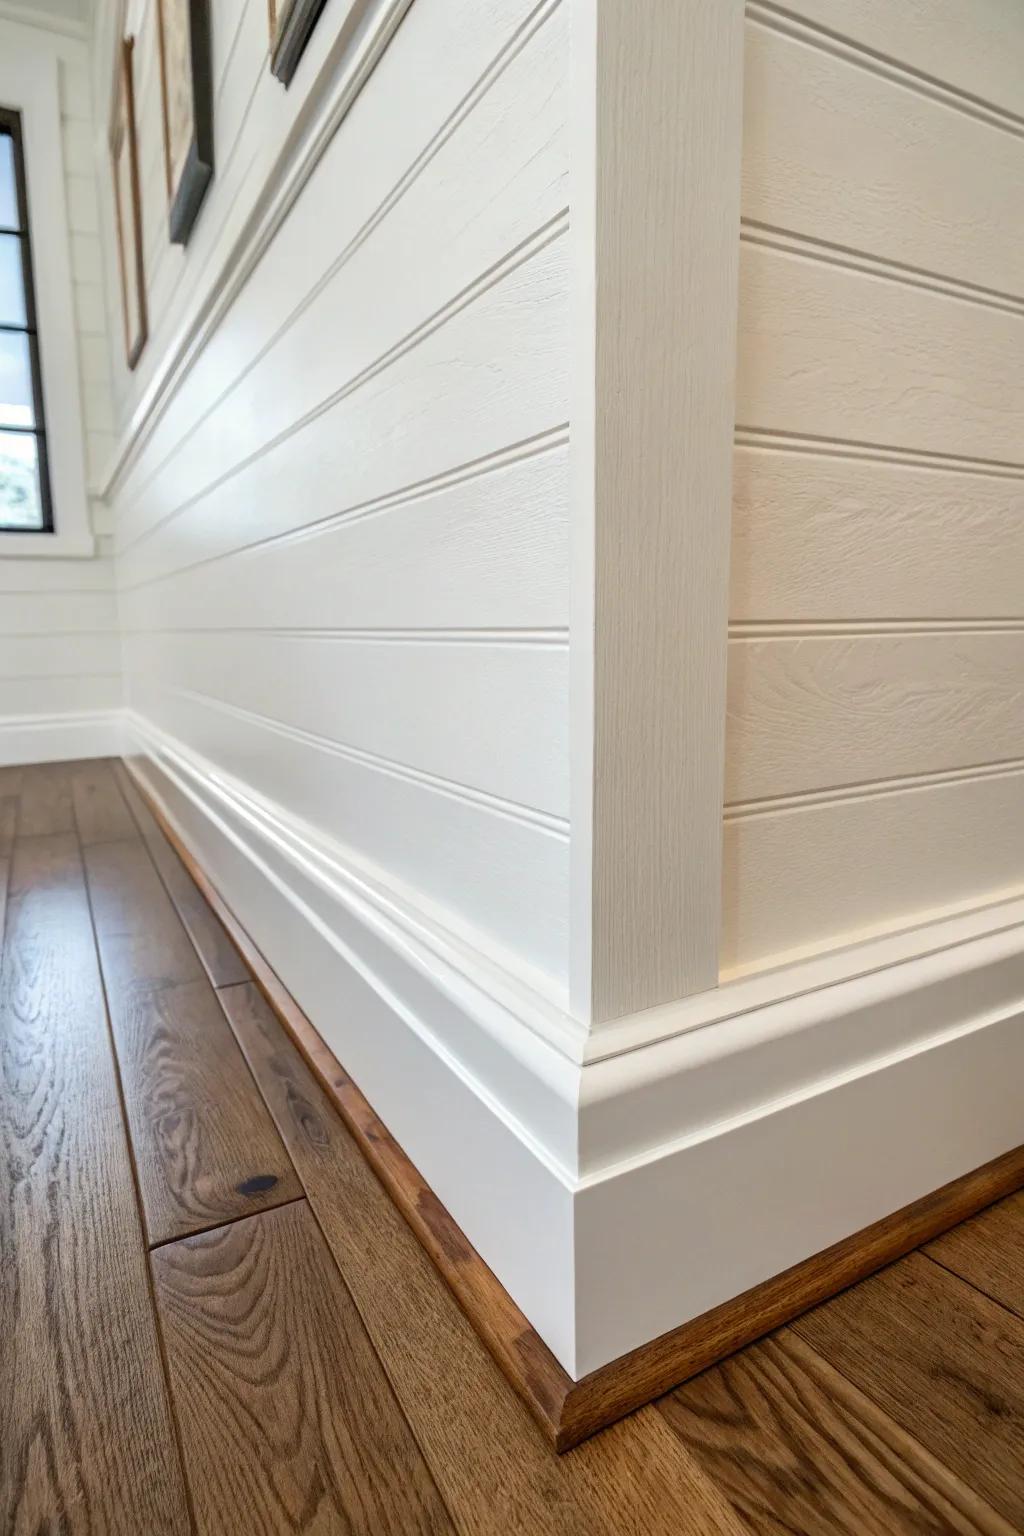
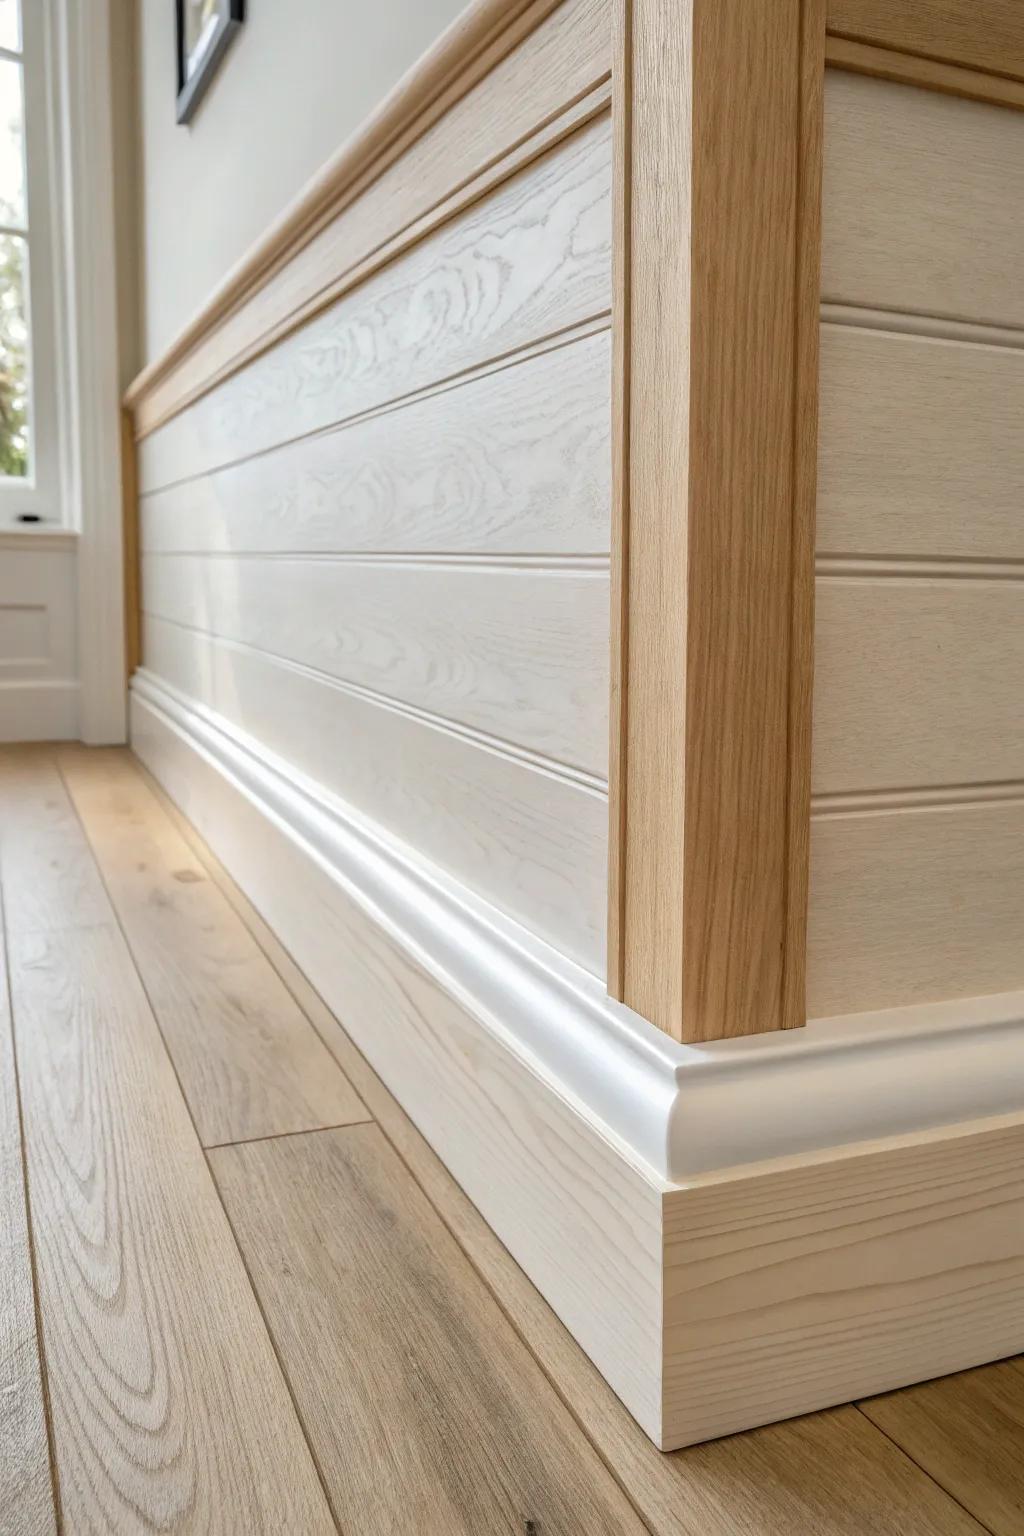
Chunky Baseboards Over Shiplap
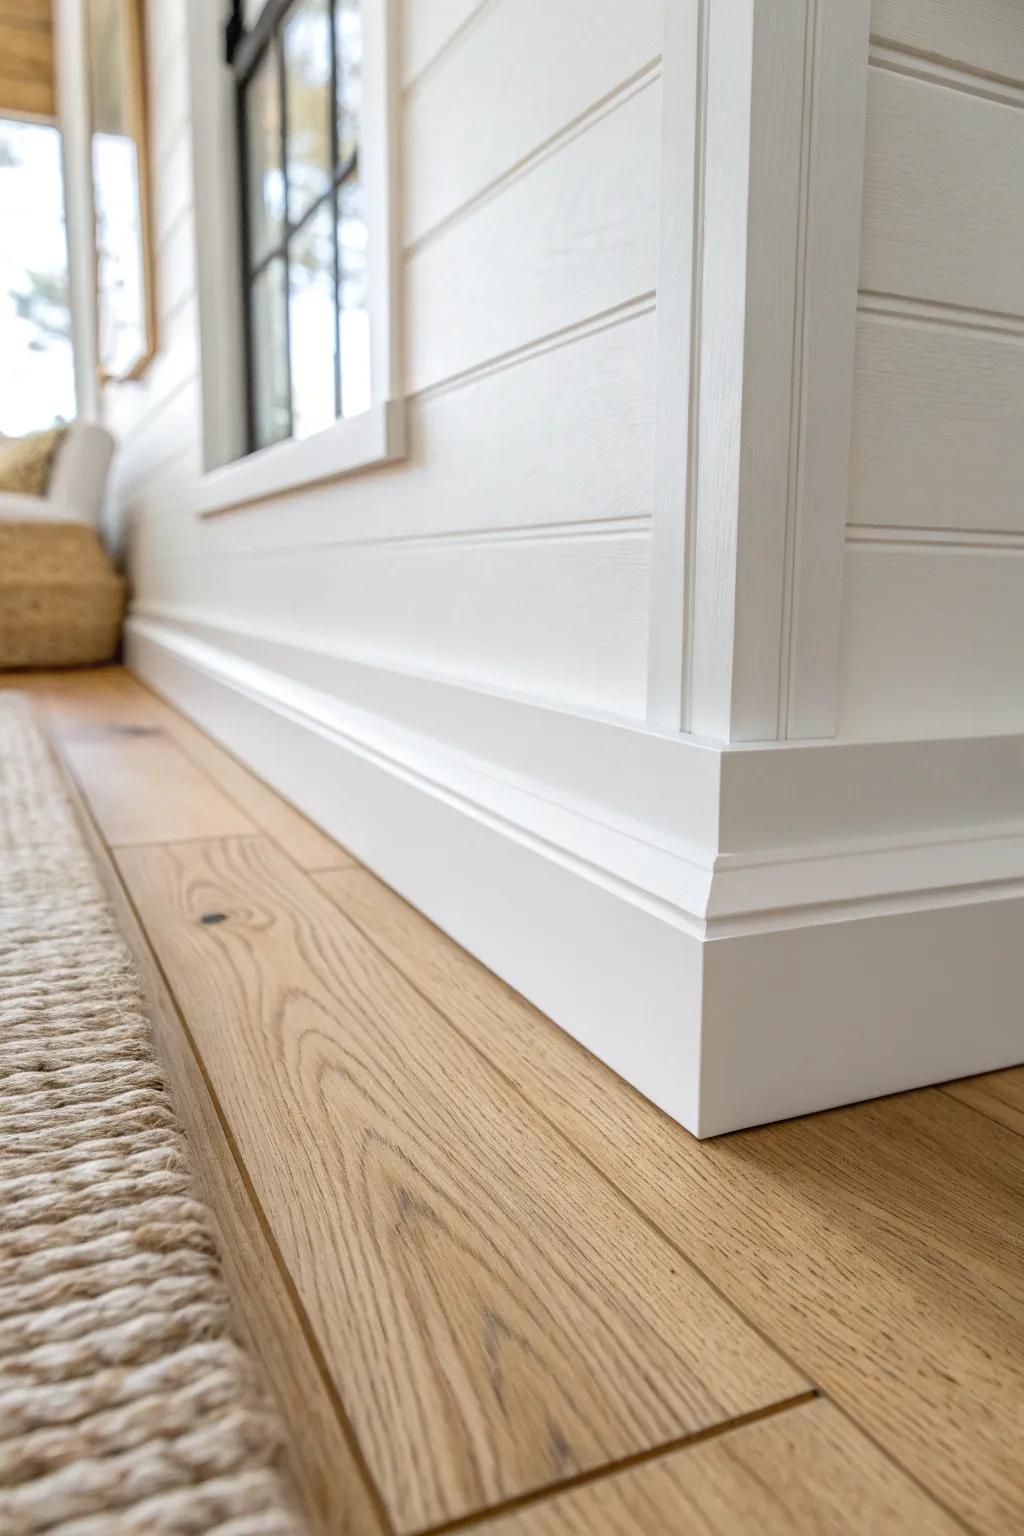
My go-to finish is running baseboards over shiplap so the bottom edge feels grounded and durable. I’ve done this in busy hallways, and it saves the shiplap from mop bumps and vacuum scuffs.
A few suggestions:
- Tall Primed MDF Baseboard Molding: Create that substantial, grounded look instantly with tall baseboards that protect your shiplap from daily wear.
- Finish Nailer Kit: Secure your new chunky baseboards firmly over the shiplap planks for a professional, seamless installation.
- Paintable White Wood Caulk: Fill gaps between the trim and floor for a crisp, clean finish that looks custom-built.

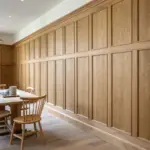
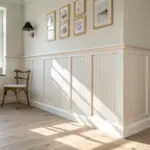
Simple Square Edge Frame
A square edge trim frame gives shiplap a clean outline without getting too fussy, and I use it constantly on accent walls. In my experience, this is the fastest route to a modern-farmhouse look that still feels warm.
Consider these options:
- Pre-Primed Shiplap Boards: Create the perfect base for your accent wall; these boards install quickly and provide that classic texture.
- 1×2 or 1×3 Unfinished Wood Trim: Frame your shiplap cleanly with these simple square-edge boards to achieve that crisp, defined outline.
- Finish Nailer Kit: Secure your trim and shiplap effortlessly without damaging the wood; an essential tool for clean installation.
Inside Corners With Quarter Round
For tight inside corners, I’ve had great luck tucking in quarter round to cover gaps and keep everything looking neat. It’s forgiving when your walls aren’t perfectly square, which is basically every house I’ve worked in.
A few choices to try:
- Primed Quarter Round Molding: Cover uneven gaps in your corners seamlessly with ready-to-paint molding that creates a polished, professional finish.
- Miter Shears for Trimming: Speed up your installation by using these shears to cut precise angles quickly without a power saw.
- Brad Nailer Kit: Secure your trim pieces firmly and neatly with a reliable nailer designed for delicate woodworking projects.
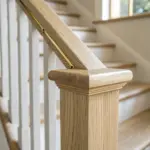
Outside Corner Guard Trim
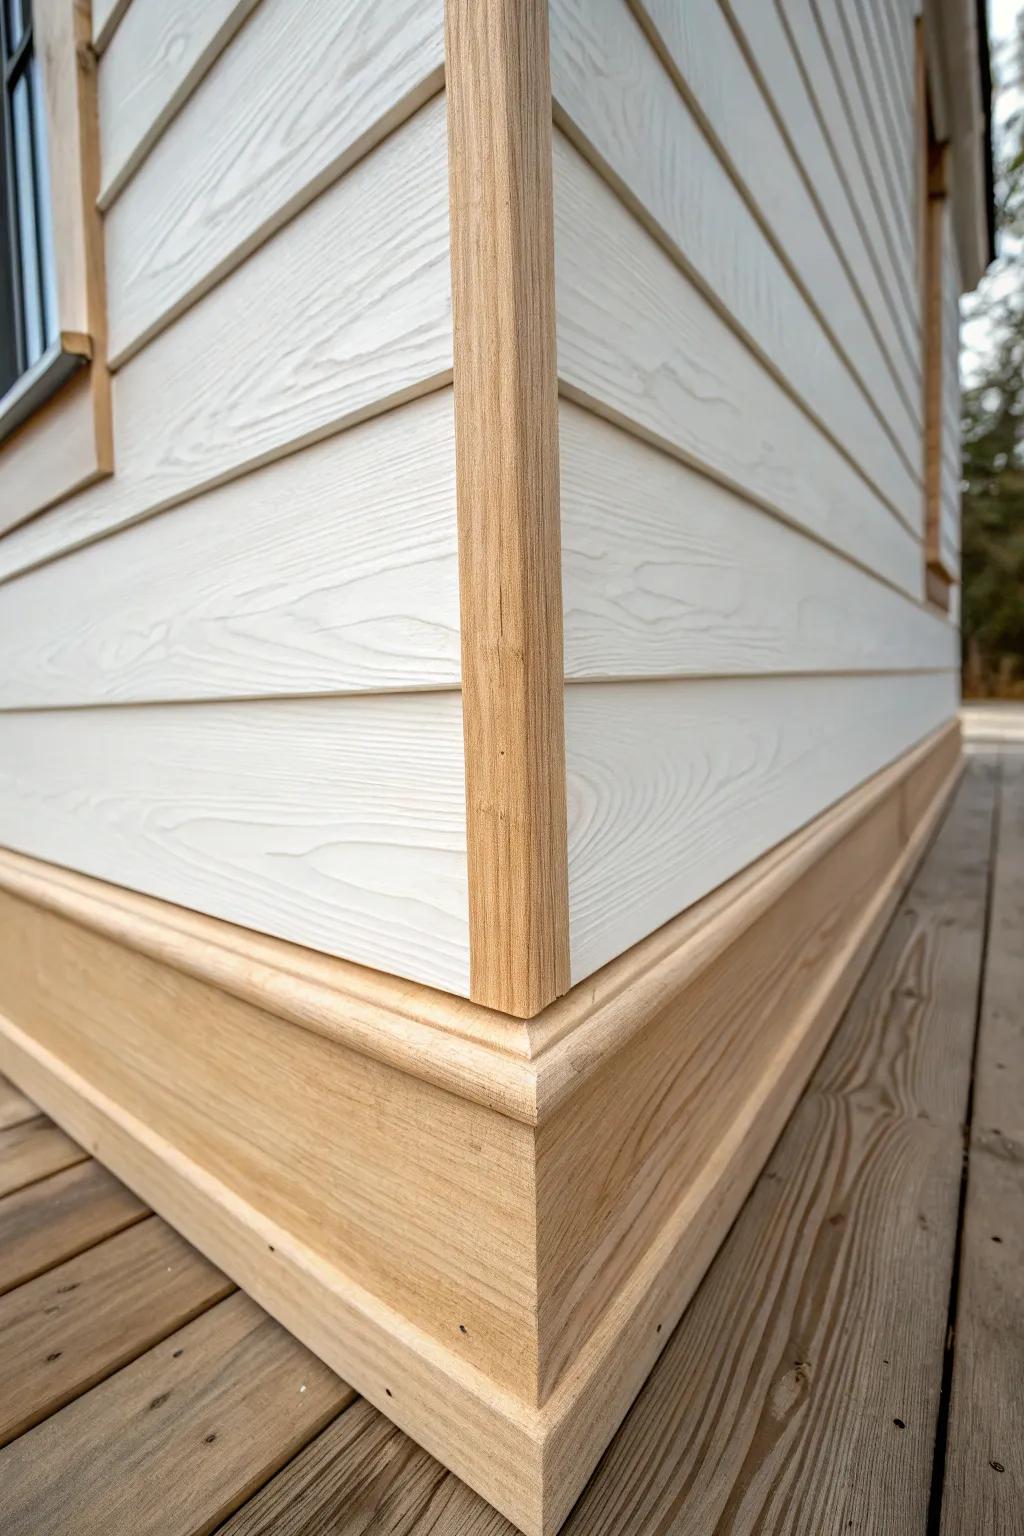
On outside corners, I like a sturdy corner trim piece that protects the edge and hides end grain. I learned the hard way that raw shiplap corners get dinged fast, especially near stairs and entryways.
Check these products out:
- Wooden L-Shape Corner Molding: Protect your shiplap edges with solid wood molding that adds a finished look while covering vulnerable corners.
- Clear Heavy-Duty Construction Adhesive: Ensure your corner guards stay permanently in place without visible nails by using a strong, weather-resistant construction adhesive.
- Exterior Wood Stain & Sealer: match your trim to your deck or siding while protecting raw wood corners from moisture and heavy wear.
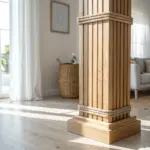
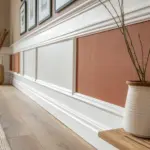
Chair Rail Cap for Shiplap Wainscoting
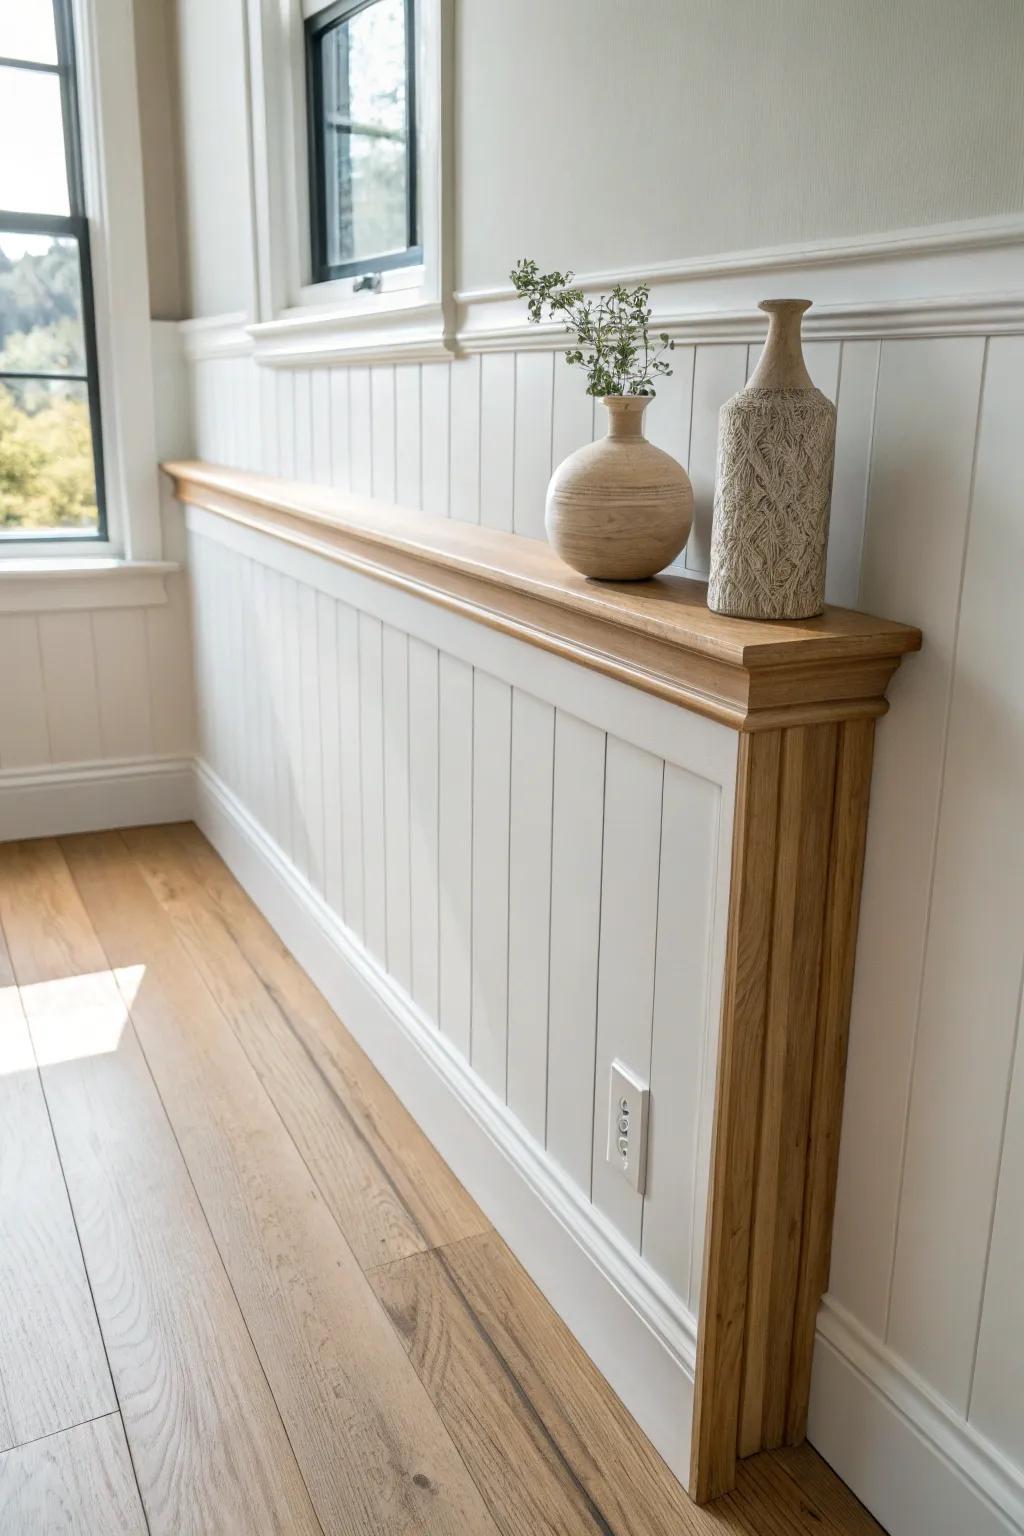
If you’re doing half-wall shiplap, a chair rail cap makes the transition look finished and intentional. I’ve even made mine slightly wider so it doubles as a skinny display ledge for frames and little pottery.
Maybe worth checking out:
- Solid Oak Lumber Boards: Upgrade your wainscoting by installing a durable hardwood board that creates a stunning, natural ledge for decor.
- Wood Conditioner & Stain: Achieve that warm, custom finish on your raw wood cap by prepping and staining it to match floors.
- Brad Nailer Kit: Secure your new rail cap cleanly and professionally without splitting the wood using the right pneumatic tool.
Window and Door Casing Integration
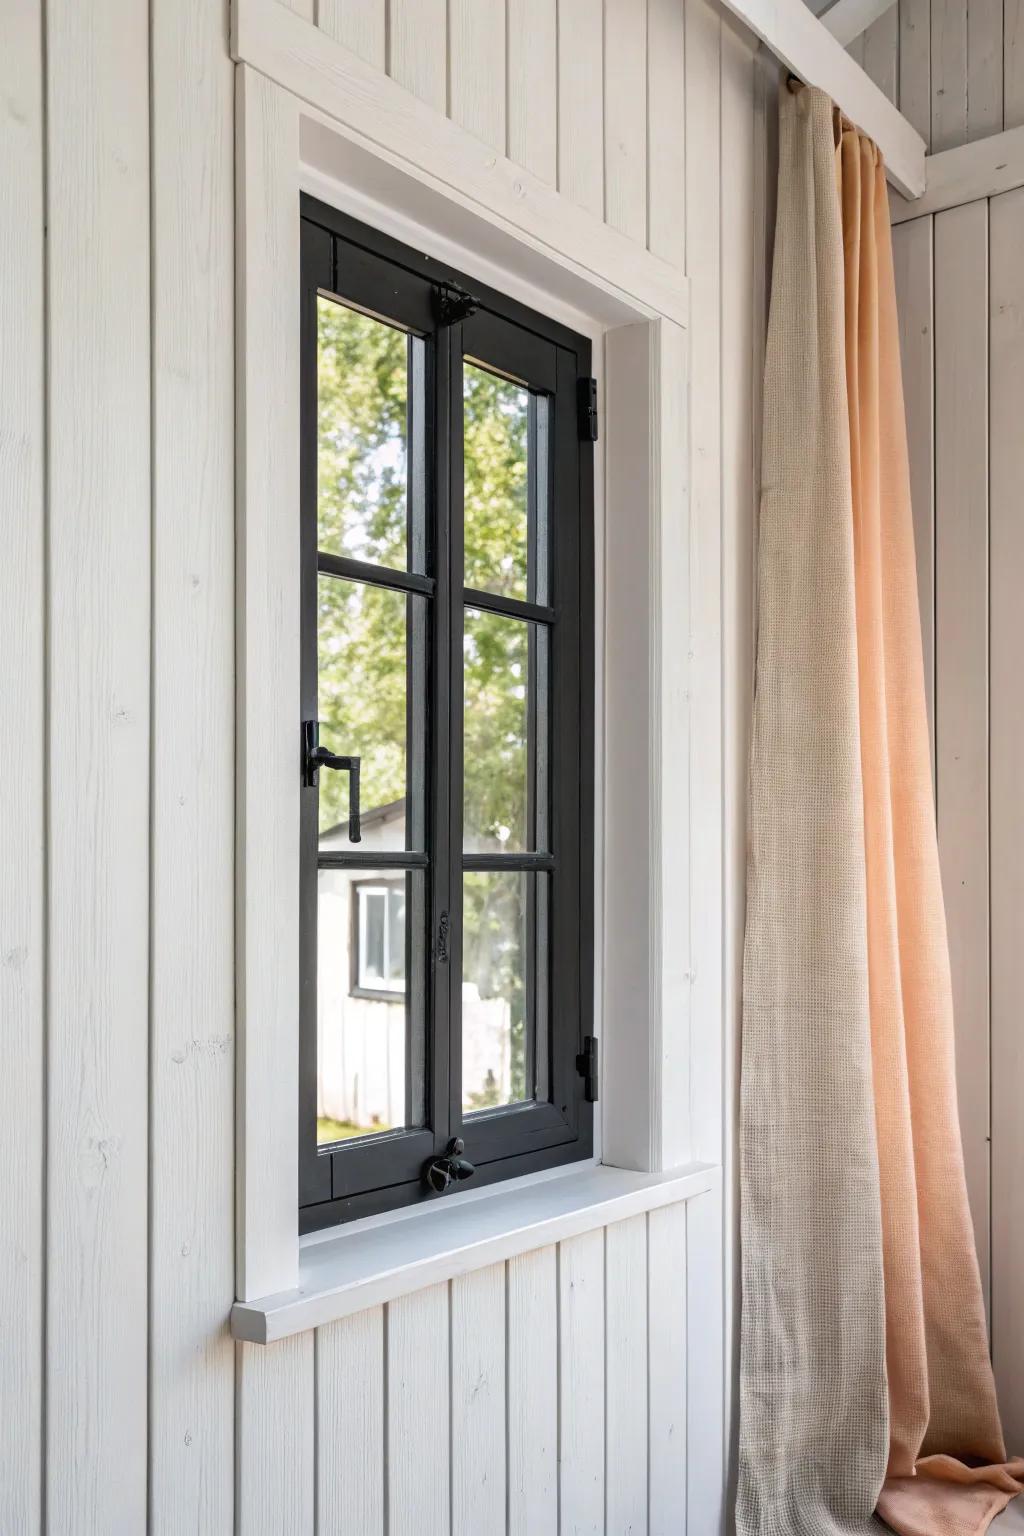
I love wrapping shiplap right into window trim and door casing so there’s no awkward stop-and-start. The trick I’ve learned is keeping consistent reveals so the casings still feel crisp even with shiplap texture nearby.
Some handy options:
- Pre-Primed Craftsperson Board: Create that crisp, clean casing around your windows with ready-to-paint boards that ensure consistent reveal lines.
- Brad Nailer Kit: Secure your casings and shiplap seamlessly without splitting wood, perfect for achieving those precise joinery details.
- Paintable Wood Filler: Fill nail holes and gaps between your shiplap and casing for that flawlessly smooth, integrated professional finish.
Vertical Stop Trim at Shiplap Ends

When shiplap ends mid-wall, I install a vertical stop trim board so the planks have a clean finishing line. I’ve used this in hallways where shiplap transitions to drywall, and it keeps the edge from looking “chopped off.”
Check if these fit your needs:
- Primed Pine or MDF Trim Board: Create a clean transition by installing a simple, paint-ready board to neatly cap your shiplap ends.
- Brad Nailer Kit: Secure your vertical stop trim flush against the wall effortlessly with this essential pneumatic finishing tool.
- Paintable Wood Filler: Achieve a seamless, professional look by filling nail holes and gaps before your final coat of paint.
Shiplap-to-Ceiling Seam With Caulk
For a super minimal look, I skip top trim and use paintable caulk to create a seamless shiplap edge at the ceiling. I’ve done this in smaller rooms where extra molding felt heavy, and it keeps everything airy.
These products might be useful:
- Paintable Acrylic Latex Caulk: Seal gaps between your shiplap and ceiling effortlessly with this flexible, paintable caulk for a smooth, professional finish.
- Smooth Rod Caulking Gun: Ensure steady, even application of your sealant with a quality dripless caulking gun designed for precise control.
- Caulk Finishing Tool Kit: Create perfectly neat, uniform bead lines along the ceiling seam using these handy smoothing and scraping tools.
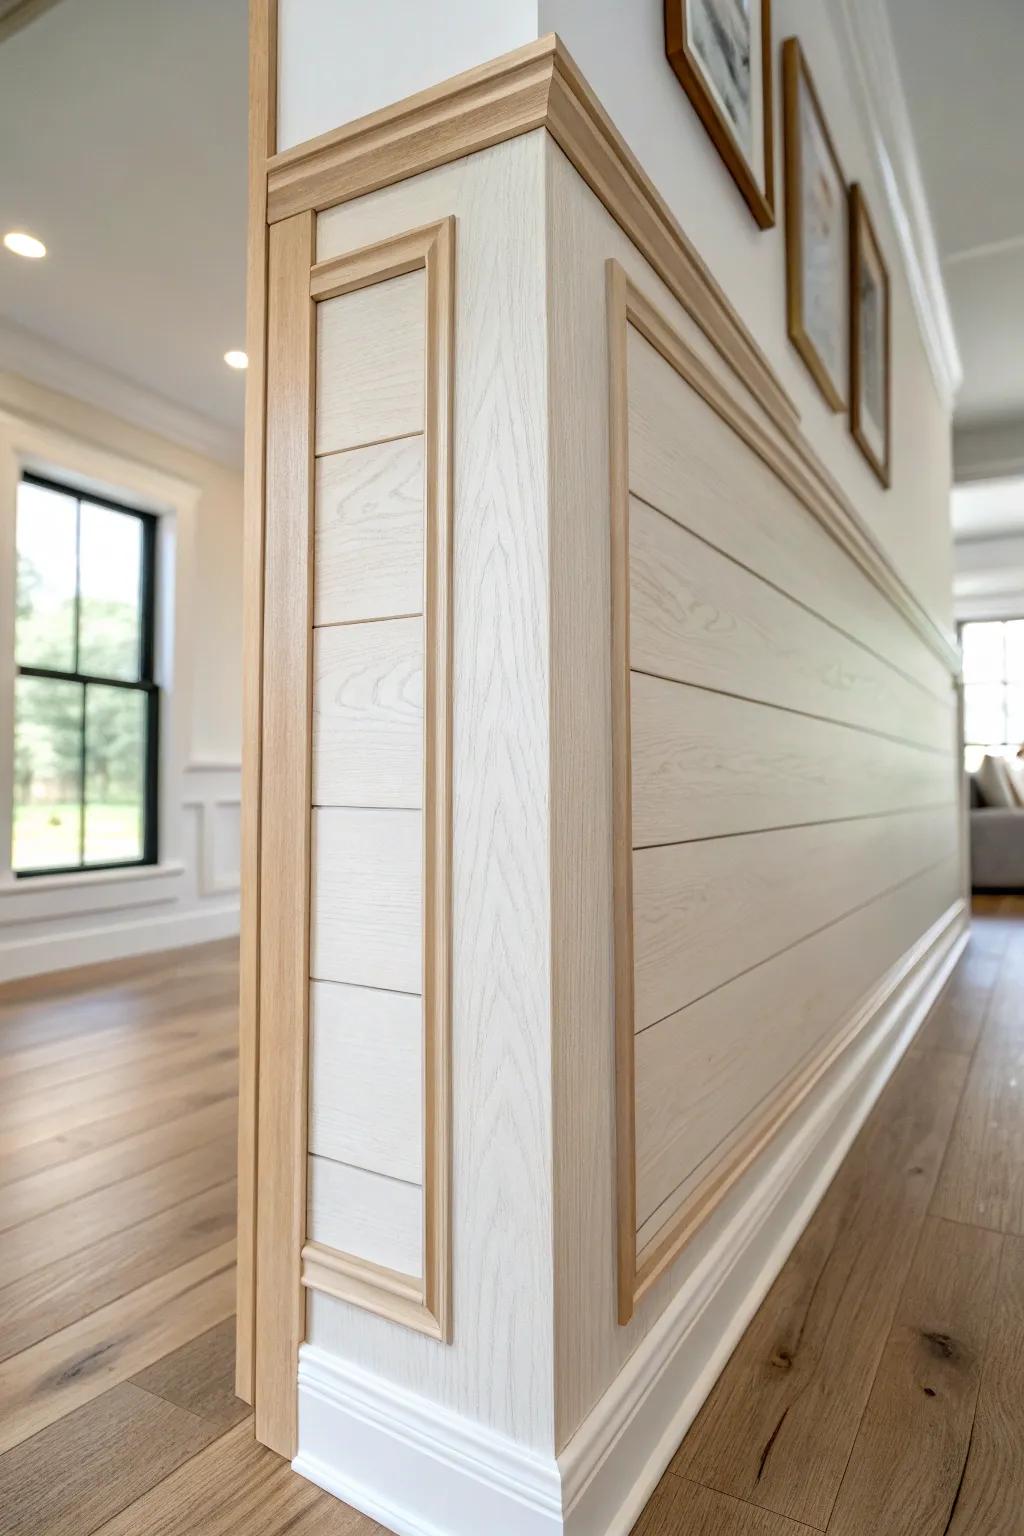
Shadow Gap Reveal for a Floating Look
A tiny shadow gap between shiplap and trim gives that sleek, intentional “floating panel” vibe. I tried this on a modern farmhouse office wall, and the subtle depth made the whole install look way more high-end.
Items that may come in handy:
- Plastic Shim Spacers: Use these durable, uniform spacers to create consistent gaps between panels for that precise shadow effect.
- Construction Adhesive: Secure your shiplap boards firmly without visible nails to maintain the clean, floating aesthetic you want.
- Wood Filler and Caulk Gun: Fill nail holes or seal edges smoothly to perfect the transition between your trim and wall panels.
Mitered Outside Corners for a Seamless Wrap
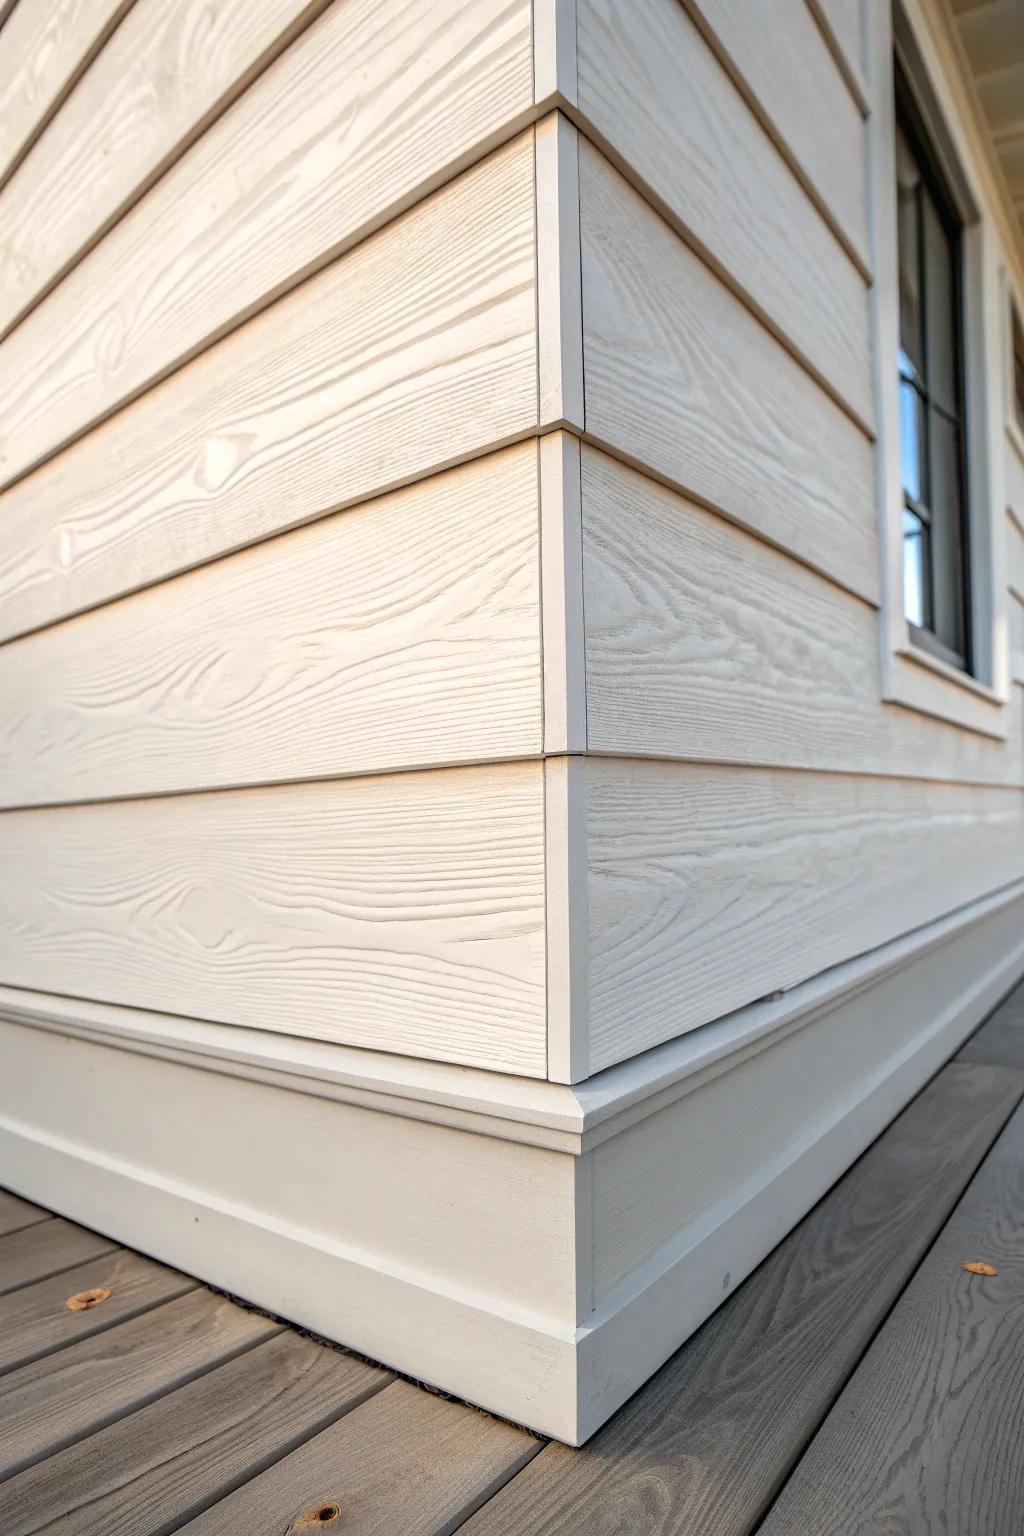
If you want shiplap to wrap a corner like it grew there, mitered corners look so clean when they’re dialed in. I’ll be honest—I always do test cuts on scrap first because corners almost never read a perfect 90 degrees.
Might be a good match:
- Digital Angle Finder Tool: Ensure your corner angles are exact before cutting to avoid gaps and achieve that perfect mitered fit.
- High-Tooth Count Miter Saw Blade: Choose a fine-finish blade to make smooth, splinter-free cuts through your siding material for cleaner joints.
- Reliable Wood Glue or Construction Adhesive: Apply a strong adhesive to the mitered joint to keep the corner tight and prevent future separation.
Butt-Joint Return With a Corner Board
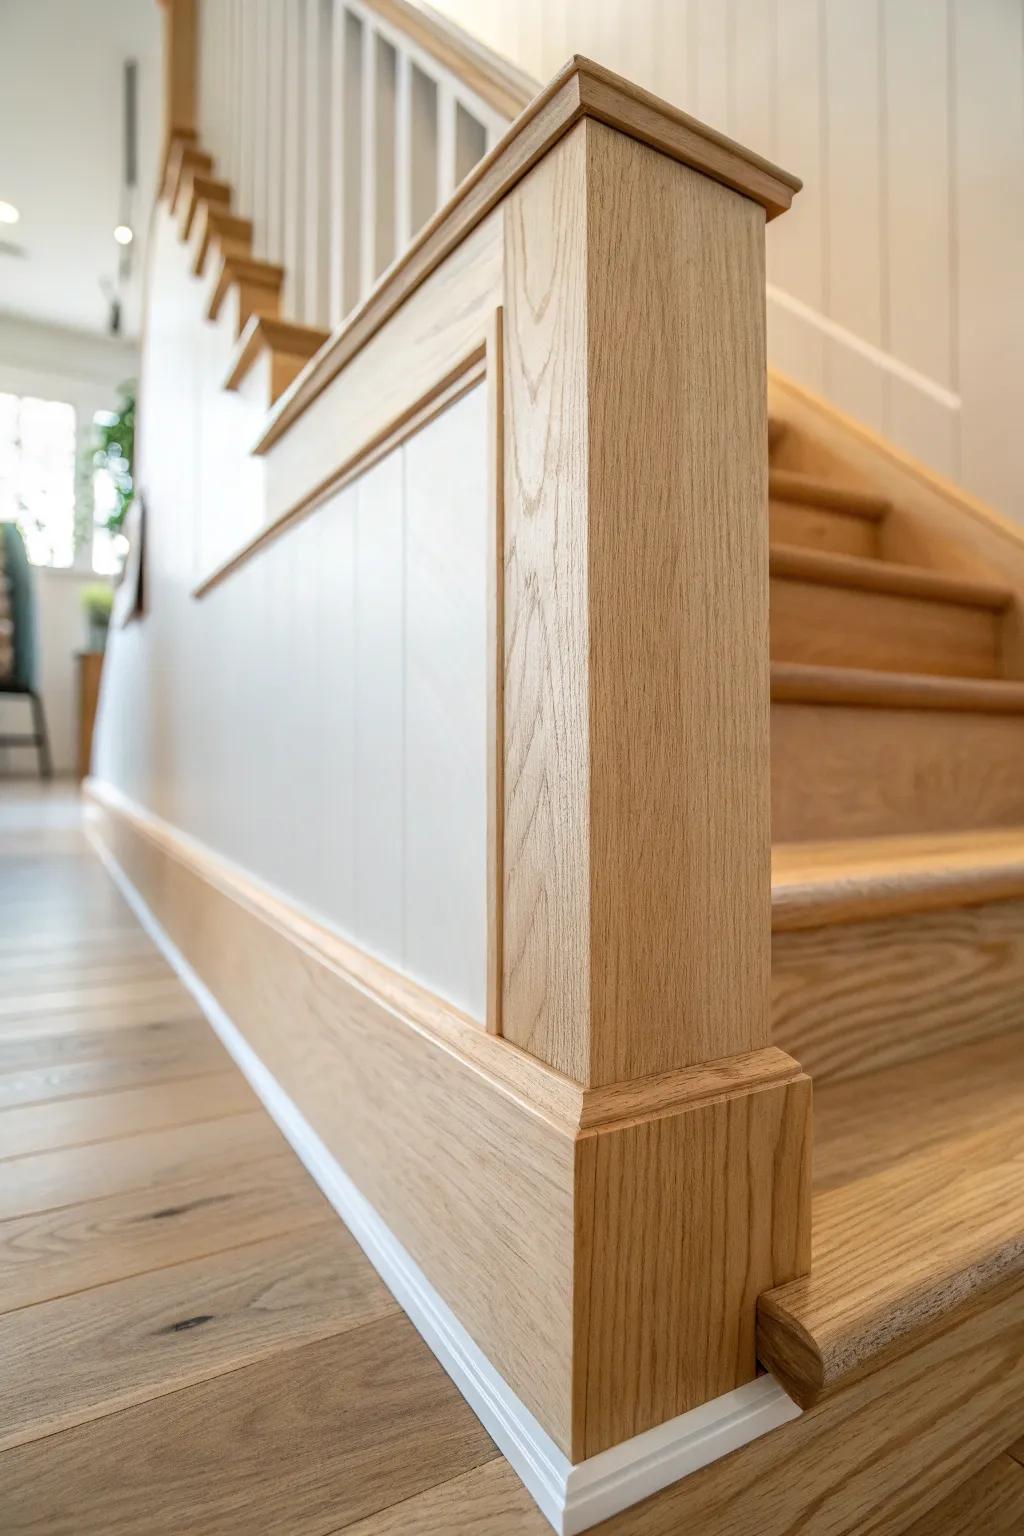
A simple butt joint into a vertical corner board is my reliable method when I want clean lines without tricky miters. I’ve used this on stair walls where durability matters, and it stays looking sharp even with daily traffic.
Possibly helpful picks:
- Brad Nailer Kit: Secure your corner boards and trim pieces neatly without splitting the delicate wood grain during installation.
- Wood Filler and Putty: Create a seamless finish by filling nail holes and gaps where your butt joints meet the corner board.
- Fine Grit Sanding Blocks: Smooth out rough edges on your butt joints to ensure a professional, splinter-free transition between boards.
Shiplap-to-Tile Edge With Small Trim
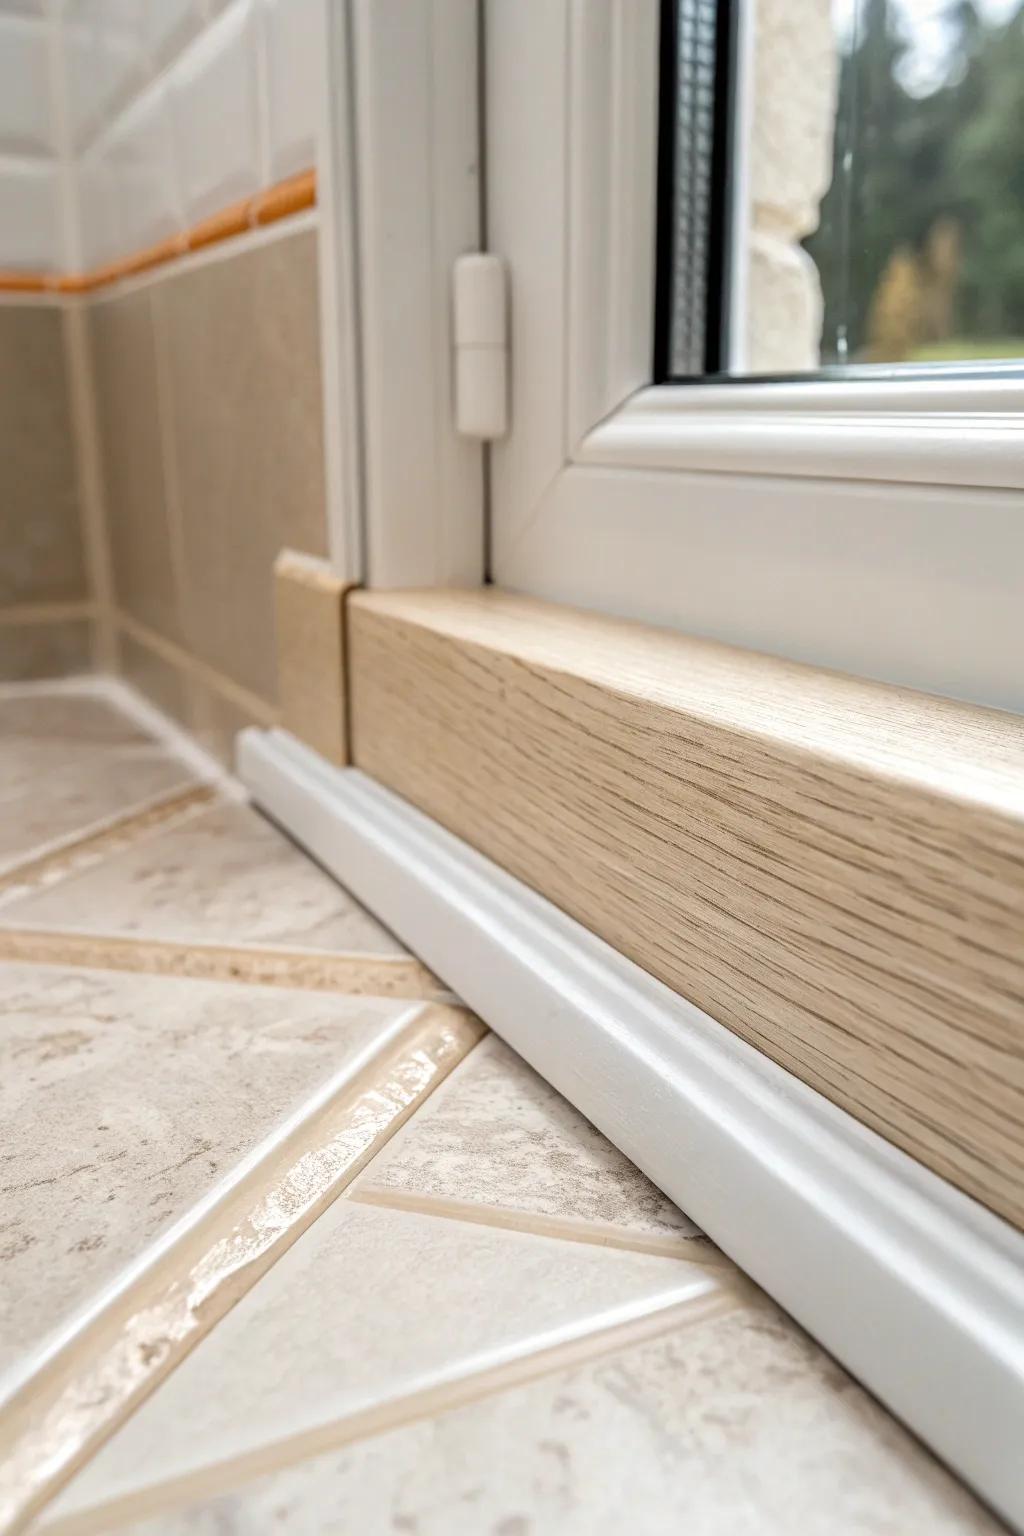
In bathrooms and mudrooms, I separate shiplap and tile with a small trim profile so splashes don’t wreck the edge. I always seal the trim well—one steamy room taught me moisture will find any weak spot.
Products that could assist:
- Waterproof PVC Quarter Round Molding: Protect your baseboards from moisture damage by installing this durable, waterproof trim along the floor edge.
- Siliconized Acrylic Caulk & Sealant: Ensure a watertight barrier between your trim and tile to prevent moisture from seeping behind the finish.
- Wood Effect Vinyl Baseboard Trim: Create a seamless transition with peel-and-stick trim that mimics wood grain while offering superior water resistance.


