
A small wooden box is basically a blank little canvas that can turn into the cutest decor piece or keepsake with just a few simple touches. I’ve dressed up a lot of plain boxes in my workshop, and it still blows my mind how a tiny makeover can make them feel totally custom.
Simple Stencil Pattern Pop
A repeating stencil pattern (dots, stripes, or little botanicals) makes a small wooden box feel polished fast. I like to stencil in a slightly darker shade than the base coat because it looks subtle but still special.
Products that could assist:
- Botanical Stencil Set: Create elegant nature-inspired designs easily with these durable templates, perfect for repeating patterns on wood.
- Dark Brown Acrylic Paint or Stain: Achieve subtle contrast by stenciling a darker shade over lighter wood for a polished, engraved look.
- Stencil Brush or Spouncer Set: Ensure crisp, clean edges on your patterns by using these specialized applicators that prevent paint bleed.
Classic Solid Color Paint Refresh
When I want an instant upgrade, I give the small wooden box a couple thin coats of acrylic paint in a clean, happy color. I’ve learned the hard way that light sanding first makes the finish look smoother and more “store-bought” in the best way.
Some ideas to consider:
- Pastel Acrylic Paint Set: Transform your wooden box instantly with these soft, matte colors that provide excellent coverage and a modern look.
- Sandpaper Variety Pack: Prep your surface perfectly before painting to ensure a professional, smooth finish that feels satisfying to the touch.
- Flat Synthetic Paint Brushes: Apply your paint evenly without visible brushstrokes using these precise tools designed for smooth, flat surface application.

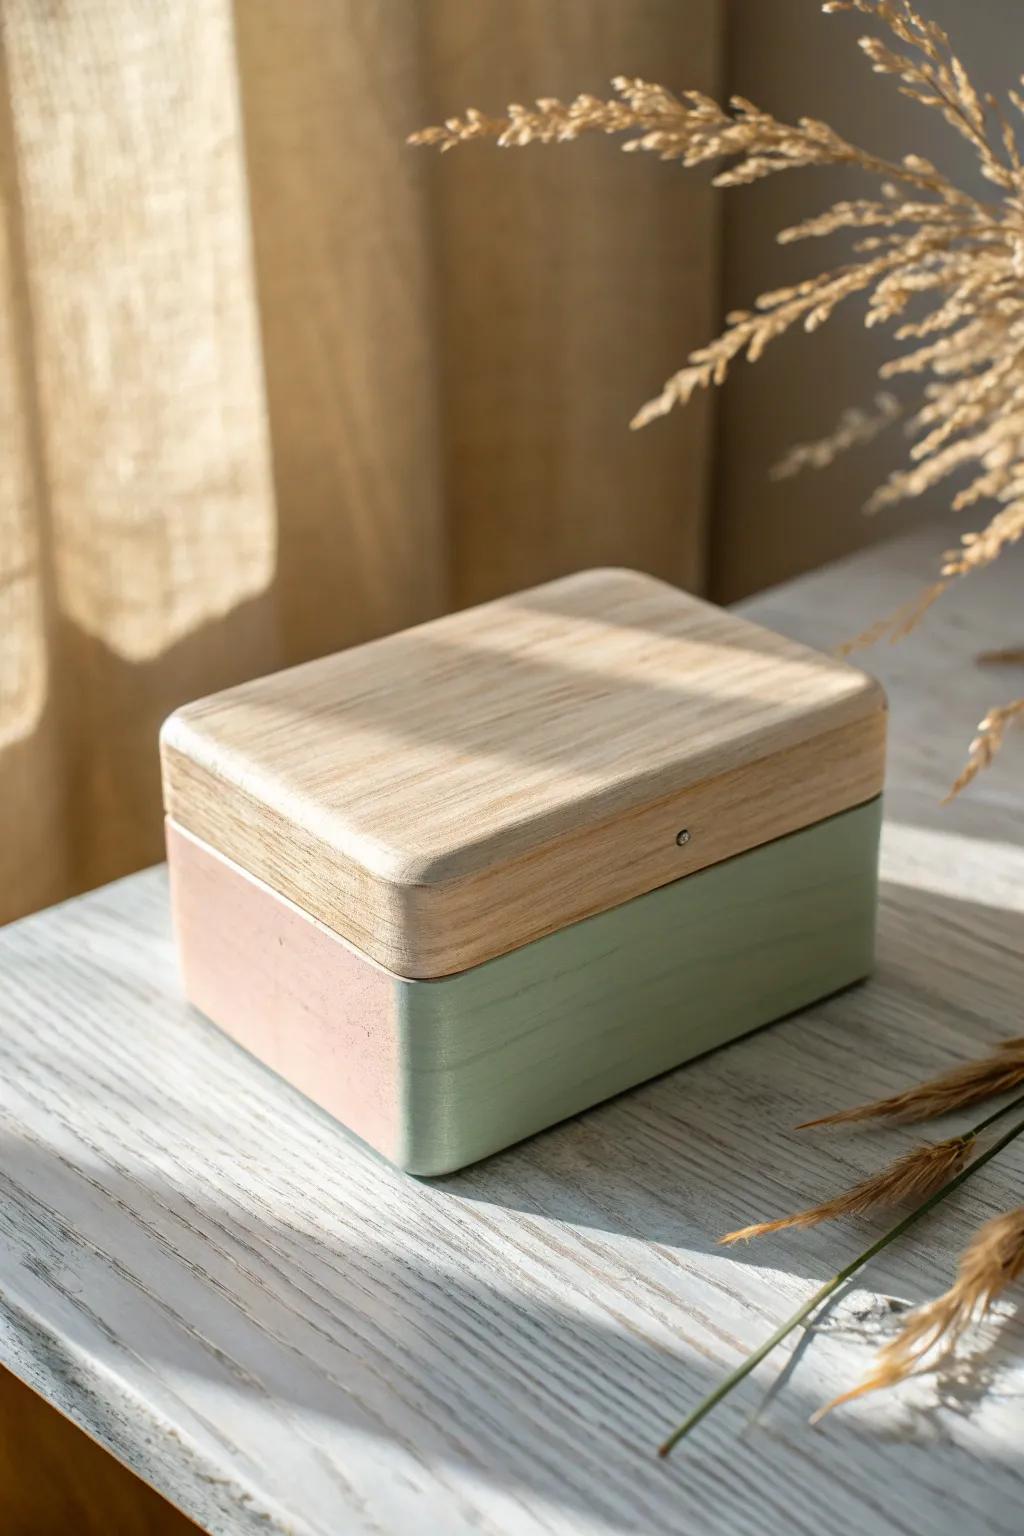
Two-Tone Lid and Base
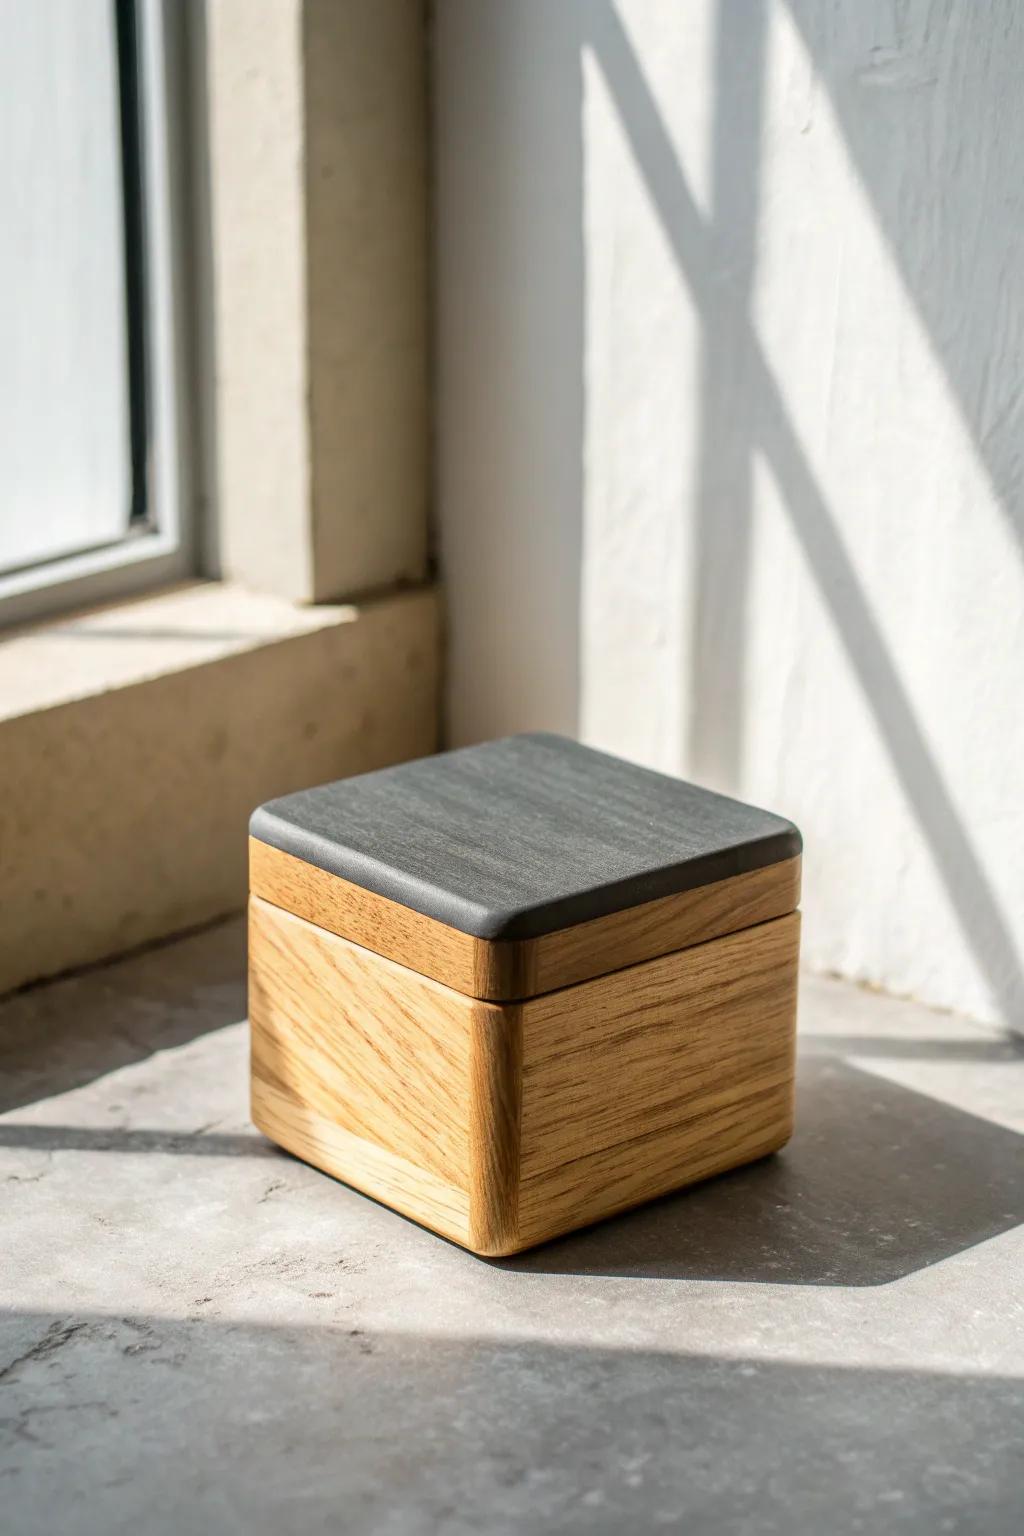
Painting the lid one color and the base another makes a small wooden box look intentionally designed, even if it’s super simple. I do this all the time for gift boxes, and a crisp high-contrast combo always gets compliments.
Maybe worth checking out:
- Matte Black Acrylic Paint: Create a sleek, modern lid like the example by applying this matte finish paint for striking contrast.
- Clear Satin Wood Varnish: Protect the natural wood grain on the base while adding a subtle, professional sheen to your project.
- Painter’s Tape for Delicate Surfaces: Ensure crisp, clean lines where the lid meets the base to keep your two-tone design looking professional.
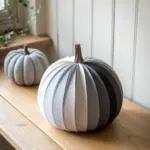
Chalky Farmhouse Finish
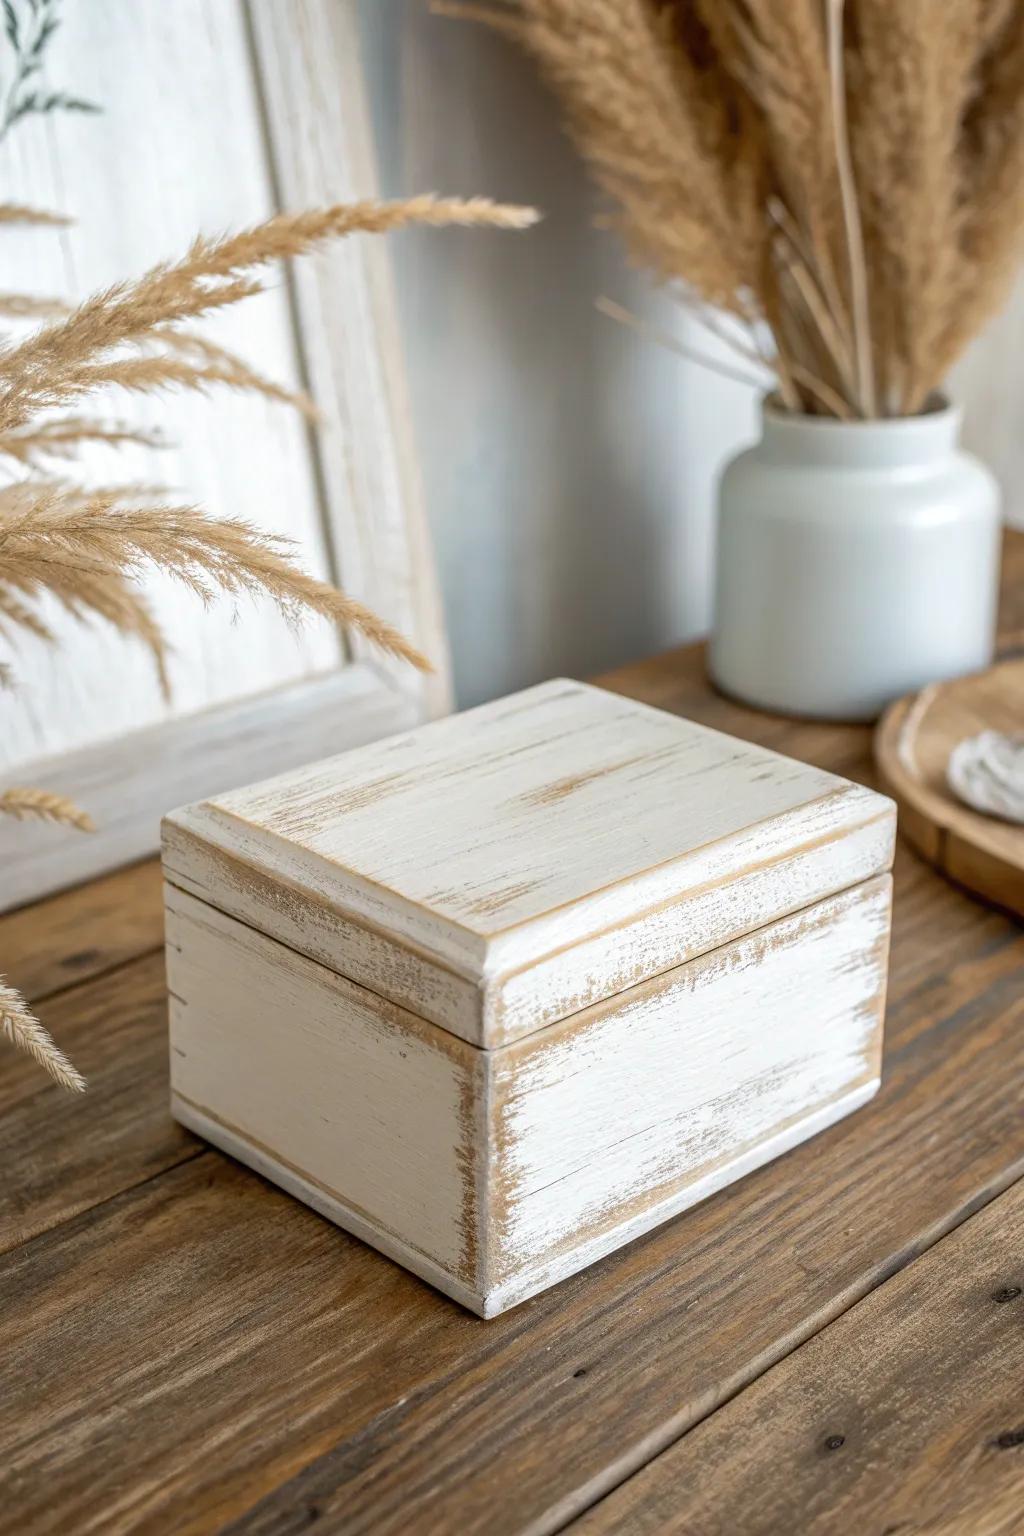
A soft, matte chalk-style paint finish instantly gives a small wooden box that cozy farmhouse vibe. In my shop, I usually lightly distress the edges after it dries because it makes the box look like it has a story.
You might give these a try:
- Small Unfinished Wood Box: Start your project with a blank canvas perfect for painting and customizing to fit your unique farmhouse style.
- Matte White Chalk Style Paint: Achieve that classic, velvety finish easily with a paint designed to adhere well without extensive sanding or priming.
- Fine Grit Sanding Block: Gently distress the edges and corners of your painted box to create that authentic, time-worn vintage appearance.
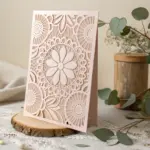
Pretty Floral Decoupage Wrap
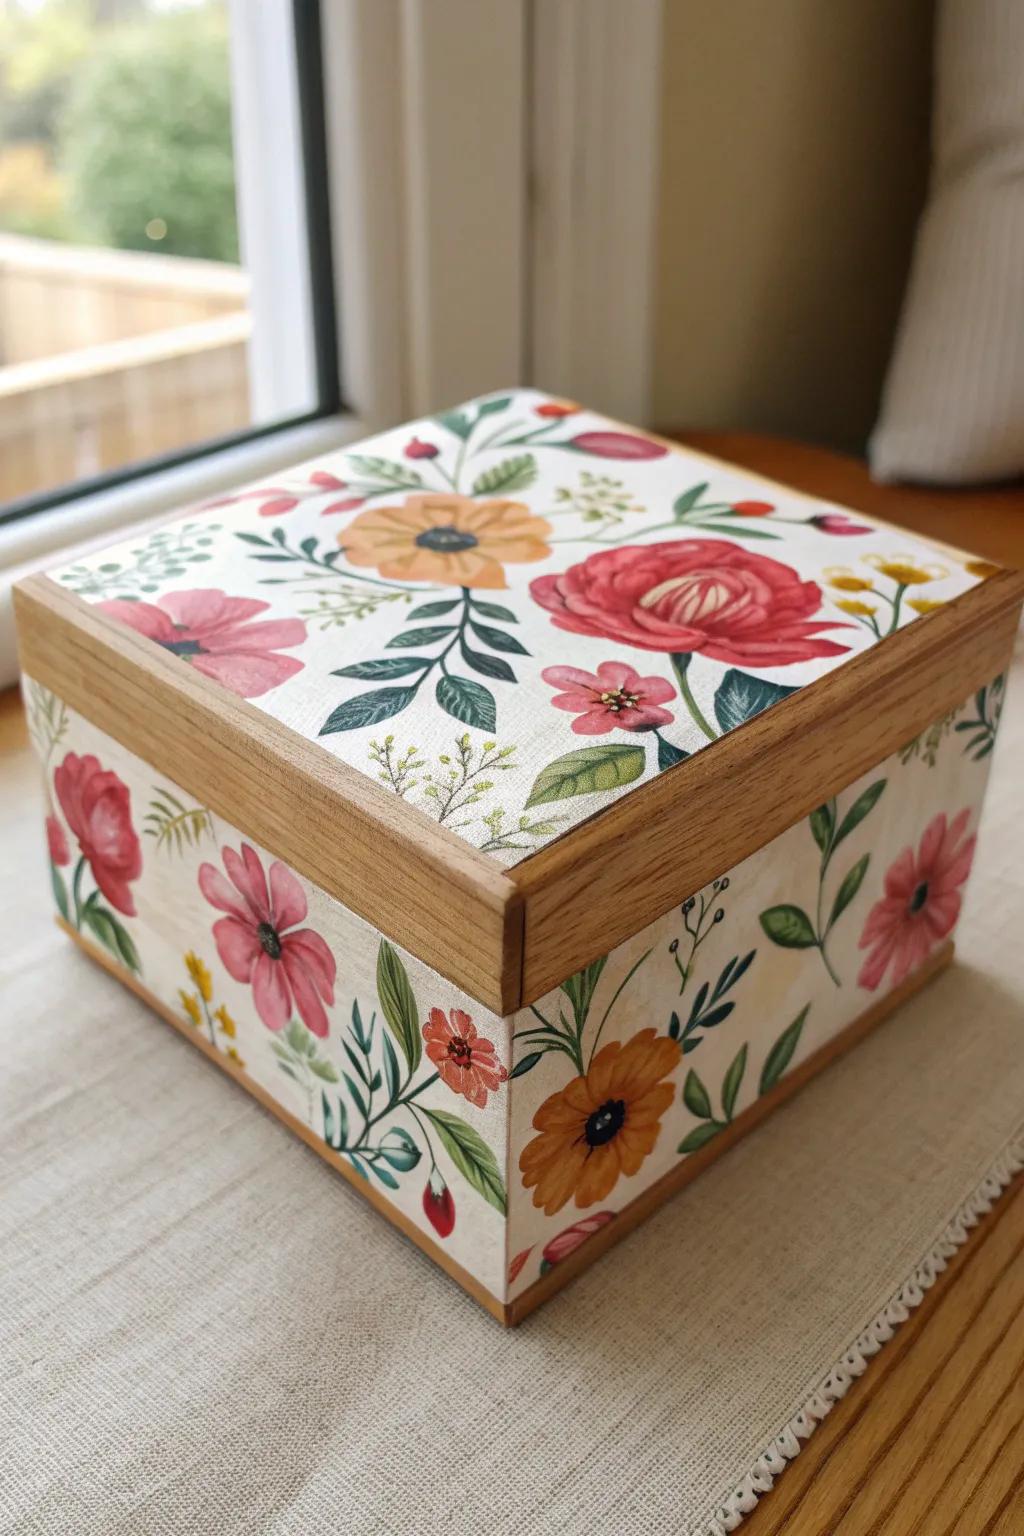
Covering a small wooden box with floral decoupage paper is my go-to when I want something “fancy” without fancy skills. I’ve found that smoothing from the center out keeps wrinkles away and makes the pattern look painted on.
Try these:
- Unfinished Wooden Box with Hinged Lid: Start your project with a sturdy, smooth base ready for transformation. Choose a size that fits your trinkets perfectly.
- Vintage Floral Decoupage Paper: Select beautiful botanical blooms to create that painted-on look. Ensure the paper weight is suitable for smooth wrapping.
- Decoupage Glue and Sealer (Mod Podge): Secure your paper and seal the design for durability. Using the right medium helps prevent bubbles and wrinkles.
Vintage Paper Collage Sides
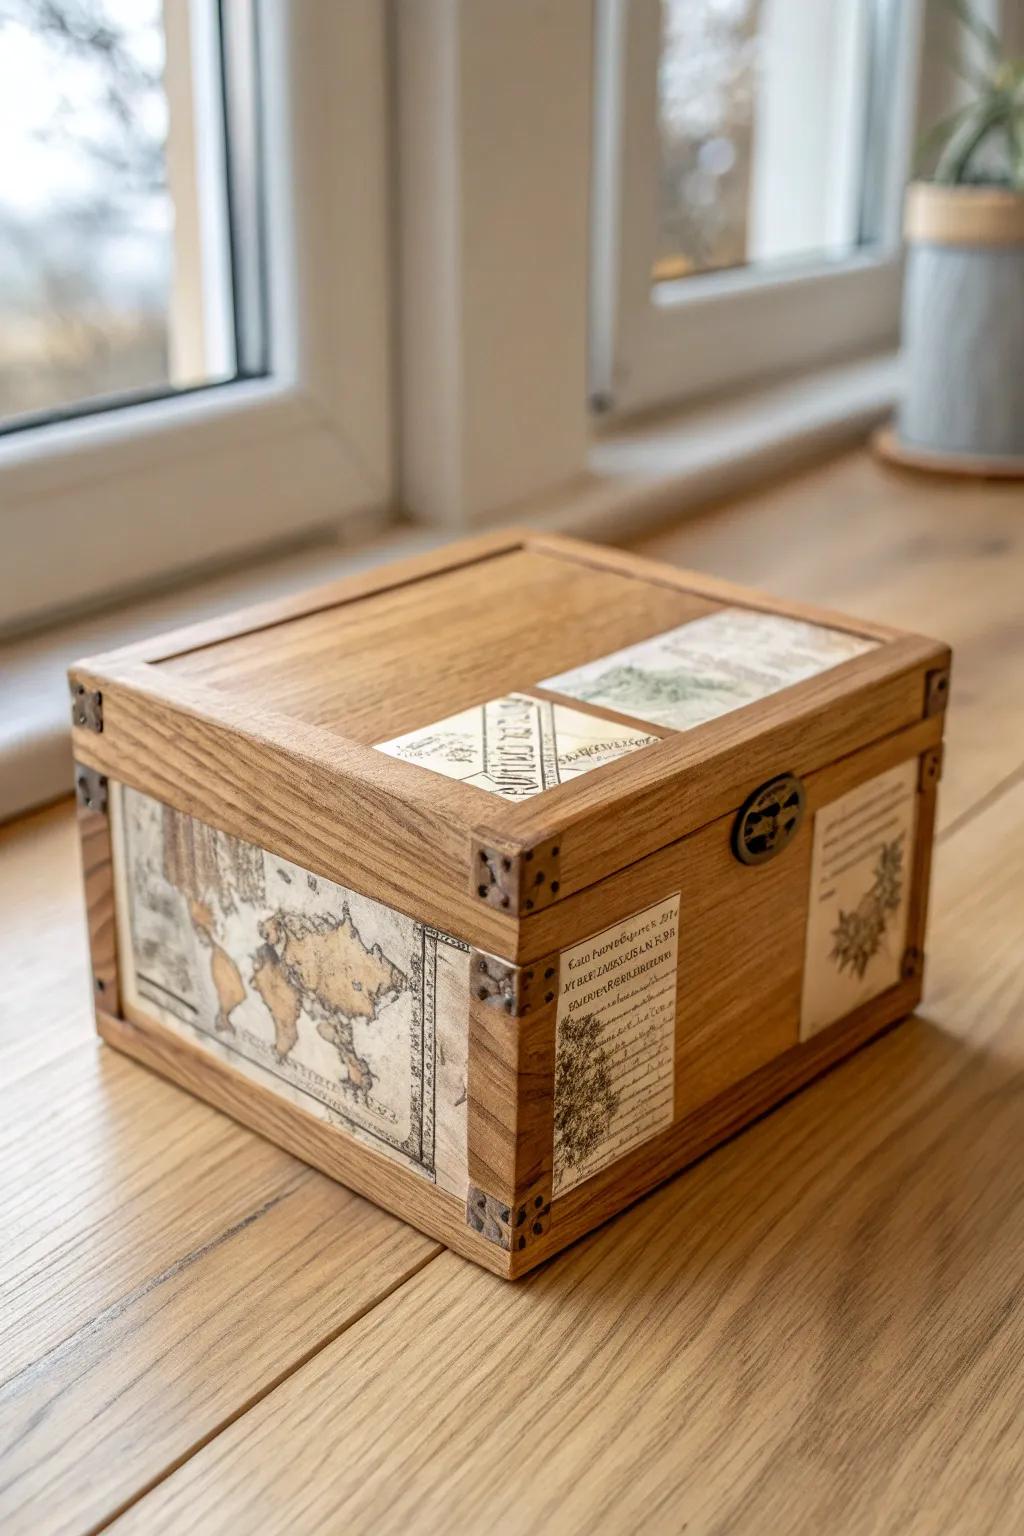
Try layering vintage-style papers on the sides of your small wooden box for a warm, collected look. I’ve used old-looking maps and recipe prints before, and the imperfect overlaps are honestly the charm.
These products might help:
- Vintage Scrapbook Paper Pack: Find aged maps and script designs to create that authentic, old-world aesthetic on your wooden box.
- Mod Podge Decoupage Glue: Seal your paper layers securely with this essential adhesive that dries clear for a professional, durable finish.
- Small Foam Paint Brushes: Apply your glue smoothly without visible brushstrokes using these inexpensive tools perfect for delicate paper projects.
Hand-Painted Geometric Blocks
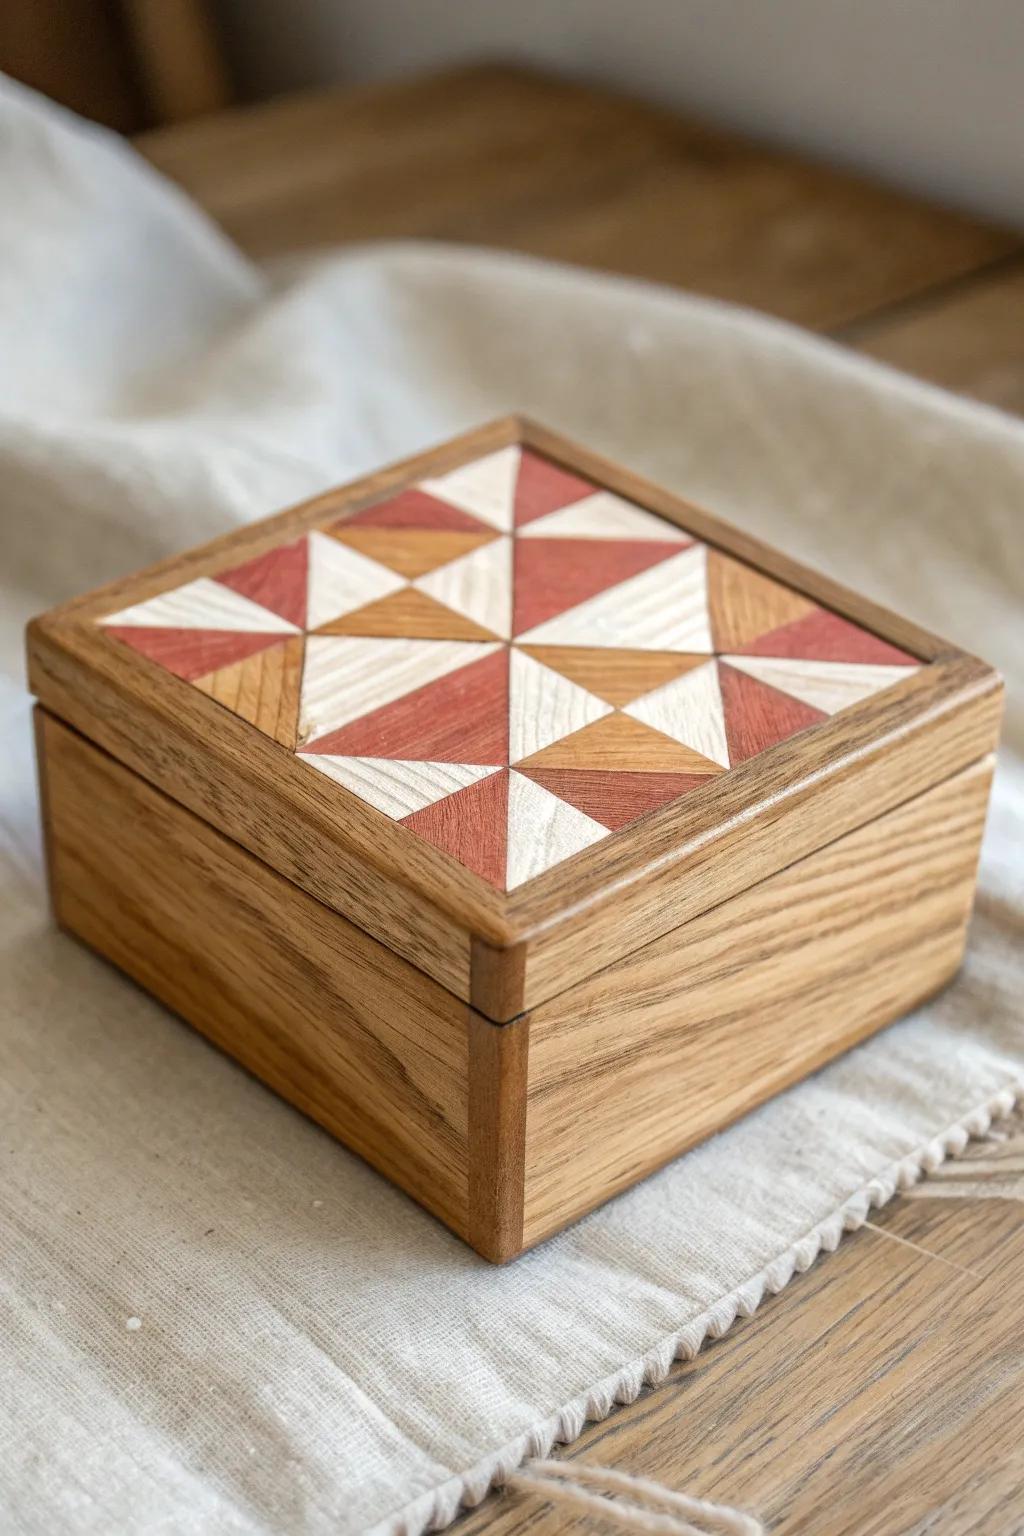
Geometric shapes are forgiving, which is why I’ve painted them on more than one small wooden box when I didn’t feel like being “artistic.” A little painter’s tape and two colors can make it look super modern while still letting the wood feel cozy.
Might be a good match:
- Unfinished Wooden Box: Start your project with a clean slate by picking up a simple, unfinished wooden box ready for decoration.
- Multi-Surface Acrylic Paint Set: Choose varied earth tones or bright colors to paint your own custom geometric patterns onto the wood lid.
- Detailing Masking Tape: Achieve crisp, clean lines for your geometric shapes by using thin, low-tack painter’s tape designed for detailed work.
Wood-Burned Name or Initials
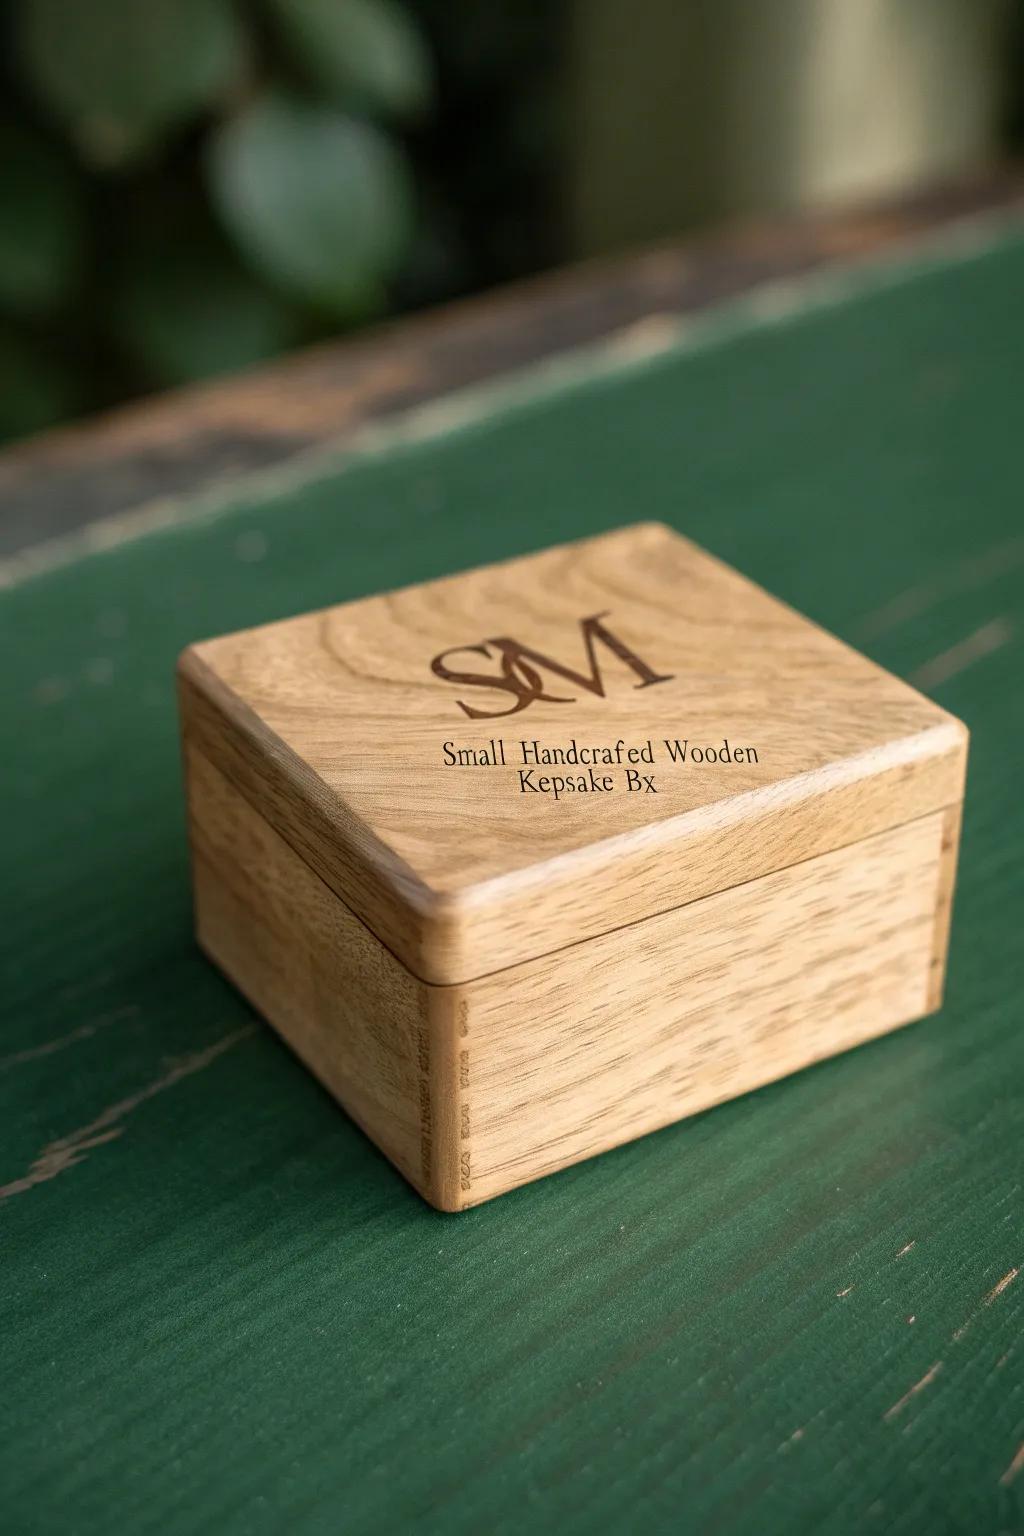
Adding wood burning lettering to a small wooden box turns it into an instant keepsake. I’ve made these for memory boxes, and taking it slow with the lines makes even simple initials look bold and confident.
Consider these options:
- Pyrography Wood Burning Kit: Create personalized engravings like initials or names with a versatile hot pen tool suitable for beginners.
- Letter Stencils for Wood Burning: Ensure crisp, professional-looking lettering on your keepsake box by tracing these reusable alphabet templates first.
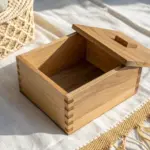
- Unfinished Wooden Hinged Box: Practice your new wood-burning skills on a smoothly sanded, ready-to-decorate box similar to this one.
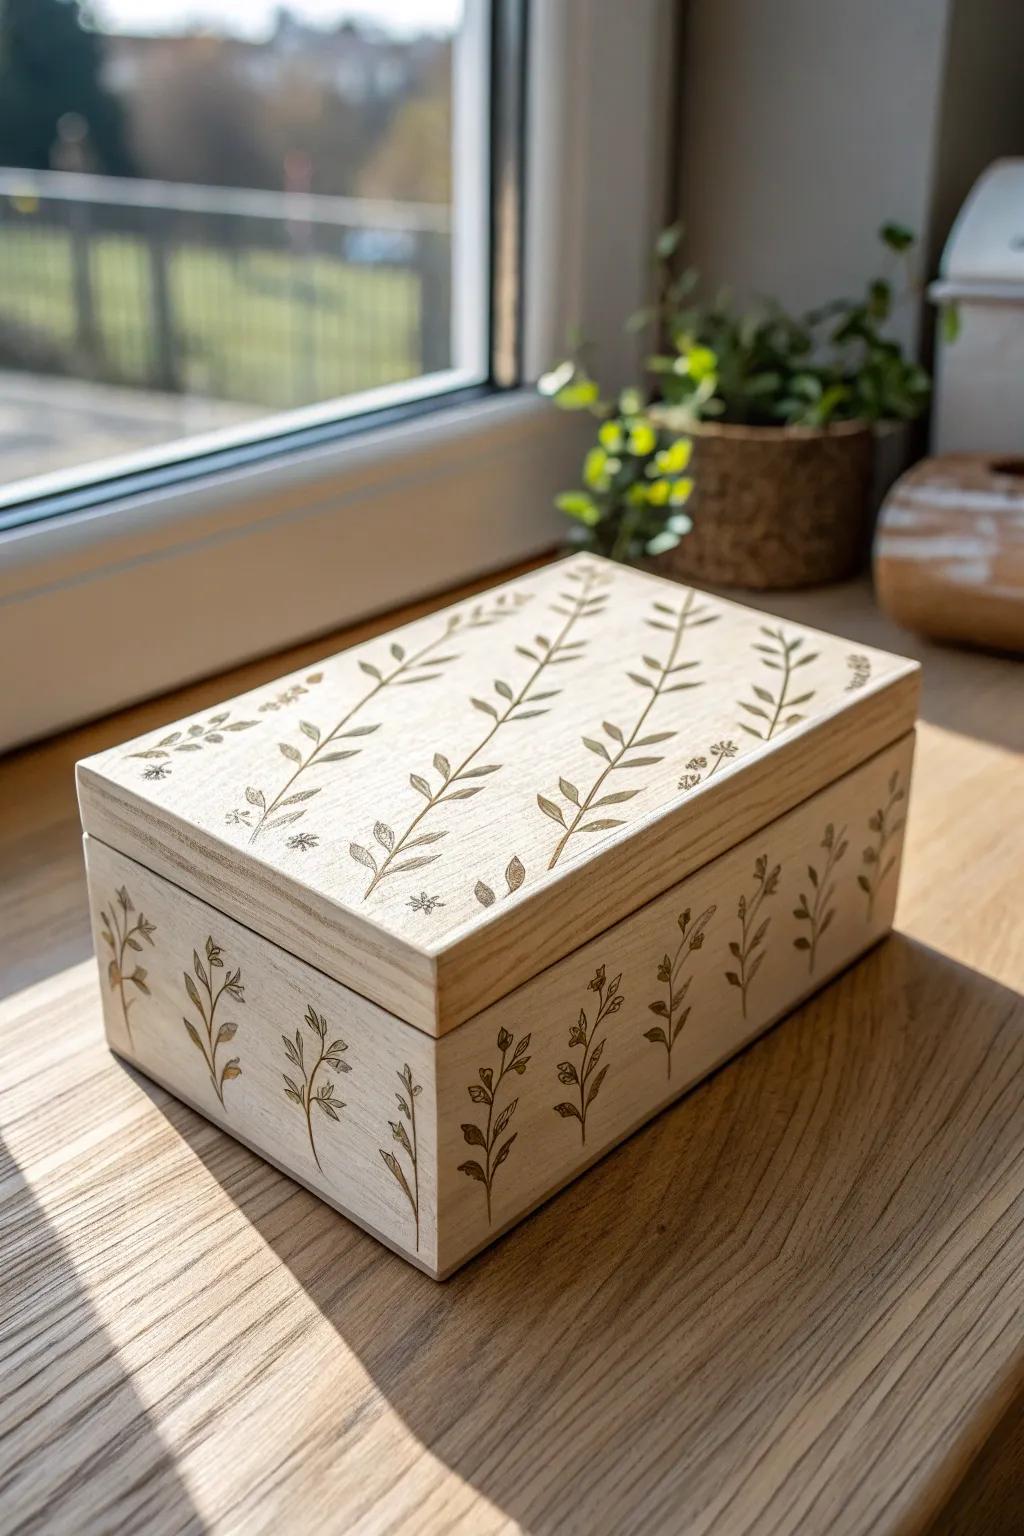
Stained Box With Carved Detail

If you want the grain to be the star, stain your small wooden box and add a little carved design for contrast. I’ve done tiny carved borders on lids, and stain settles into the grooves in the most satisfying way.
Possibly helpful picks:
- Wood Chip Carving Knife Set: Create intricate geometric borders and floral details on your box lid with these specialized, sharp carving tools.
- Unfinished Wooden Keepsake Box: Start with a clean slate using a smooth, unfinished box ready for your custom carving and staining.
- Dark Walnut Wood Stain: Enhance the natural grain and make your fresh carvings pop with a rich, deep wood stain application.
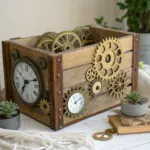
Swap in Fancy Hardware
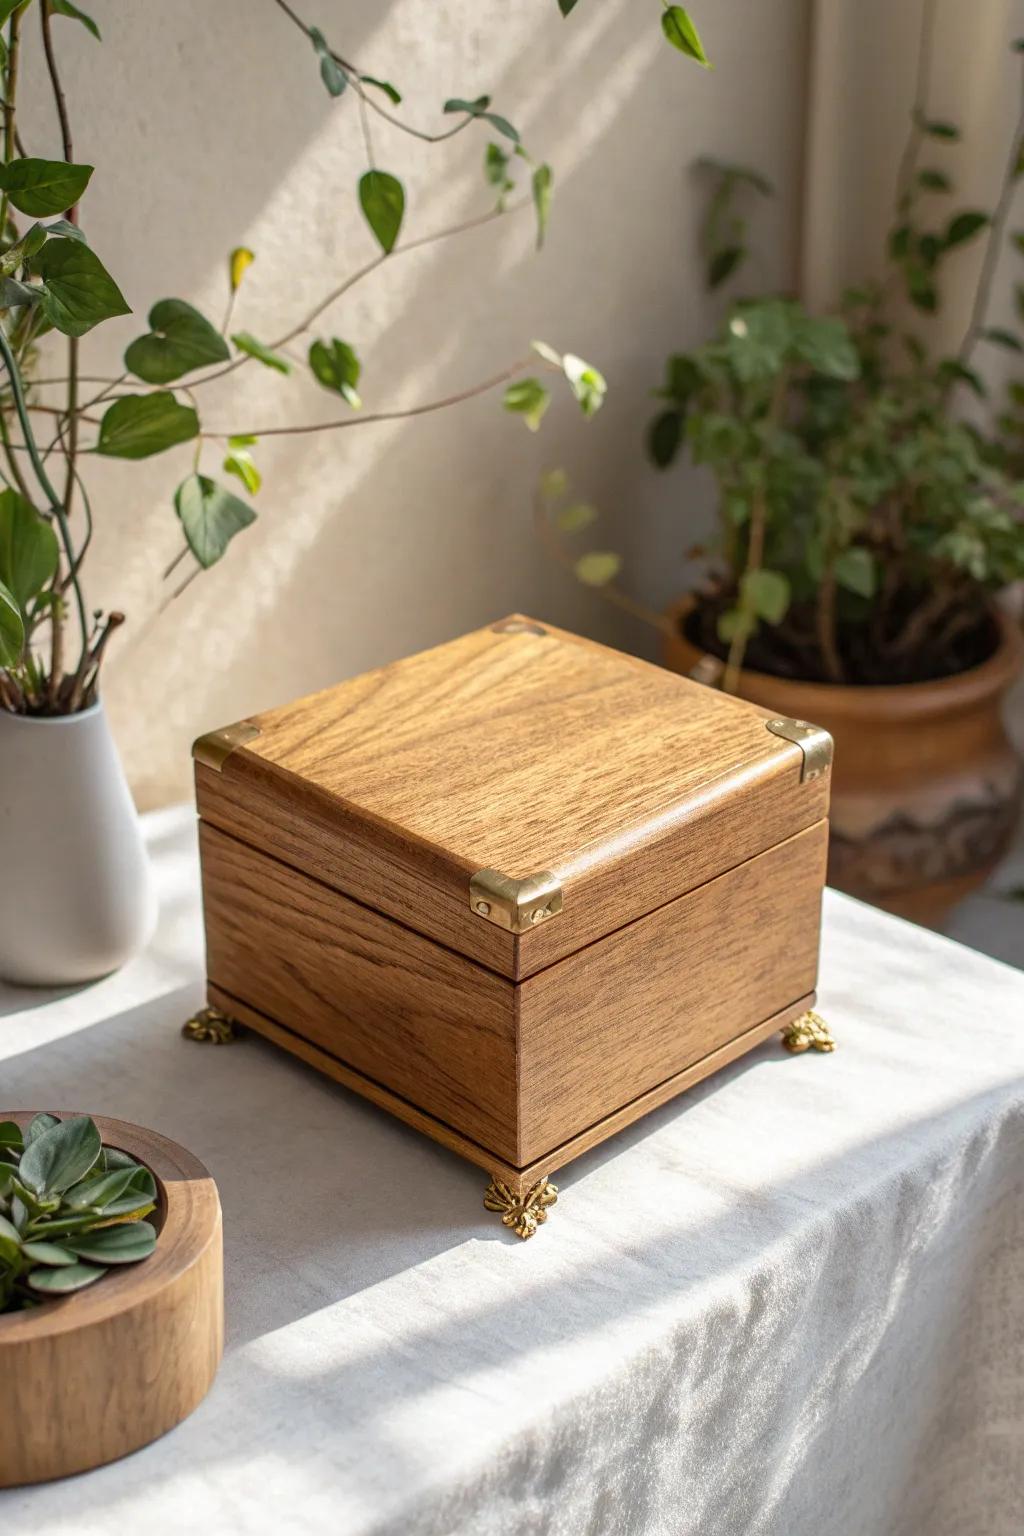
Changing out the latch or adding little corner pieces gives a small wooden box instant personality, like jewelry for furniture. In my workshop, I’ve even added tiny feet underneath, and it makes the box feel surprisingly “upscale.”
These products might be useful:
- Brass Box Corner Protectors: Add a classic touch and protect edges by attaching these decorative brass corners to your wooden box.
- Decorative Antique Box Feet: Elevate your box literally and stylistically by screwing on these vintage-style legs for an upscale look.
- Vintage Style Box Latches: Complete the transformation by installing a new antique-style hasp or latch to secure your keepsake box.
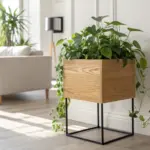
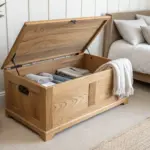
Fabric-Lined Interior Upgrade
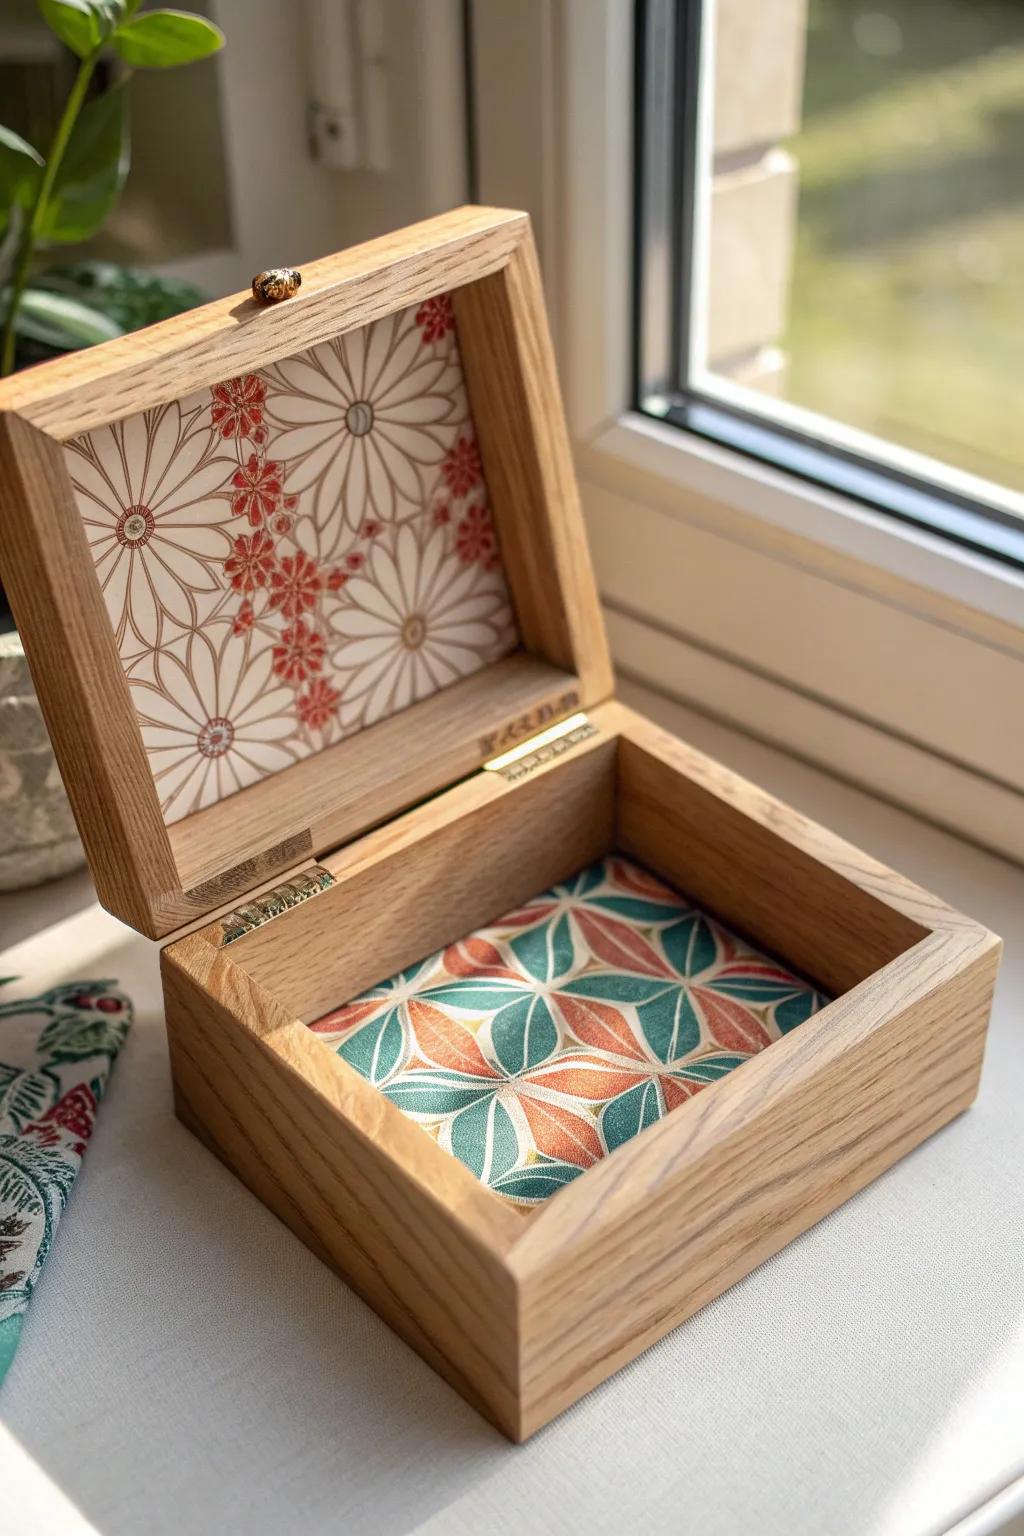
Lining the inside of a small wooden box with patterned fabric makes it feel finished every time you open it. I’ve used leftover scraps from other projects, and it’s such a good way to make a simple box feel gift-worthy.
Check if these fit your needs:
- Japanese Pattern Fabric Bundles: Choose from small, pre-cut fabric squares featuring traditional patterns to perfectly line your wooden box interiors.
- Spray Adhesive for Crafts: Secure your fabric lining smoothly without wrinkles using a reliable spray glue designed for permanent bonding.
- Fabric Scissors: Ensure clean, precise cuts for your liners with sharp shears dedicated solely to trimming your textiles.
Rope or Leather Pull Handle

A tiny rope handle or leather-style pull on the lid makes a small wooden box feel rustic and tactile. I’ve drilled two little holes and knotted the ends inside before, and it’s sturdier than it looks.
Possibly handy products:
- Twisted Jute or Hemp Rope: Choose a thick, natural fiber rope to create sturdy, rustic handles for your DIY wooden box projects.
- Hand Drill or Drill Bit Set: Ensure you have sharp wood drill bits on hand to create clean, precise holes for your handles.
- Decorative Upholstery Tacks: Add a finished look and secure your handle ends with these vintage-style nails for extra charm.
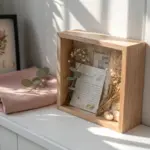
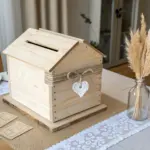
Mini Shadow Box Window Lid
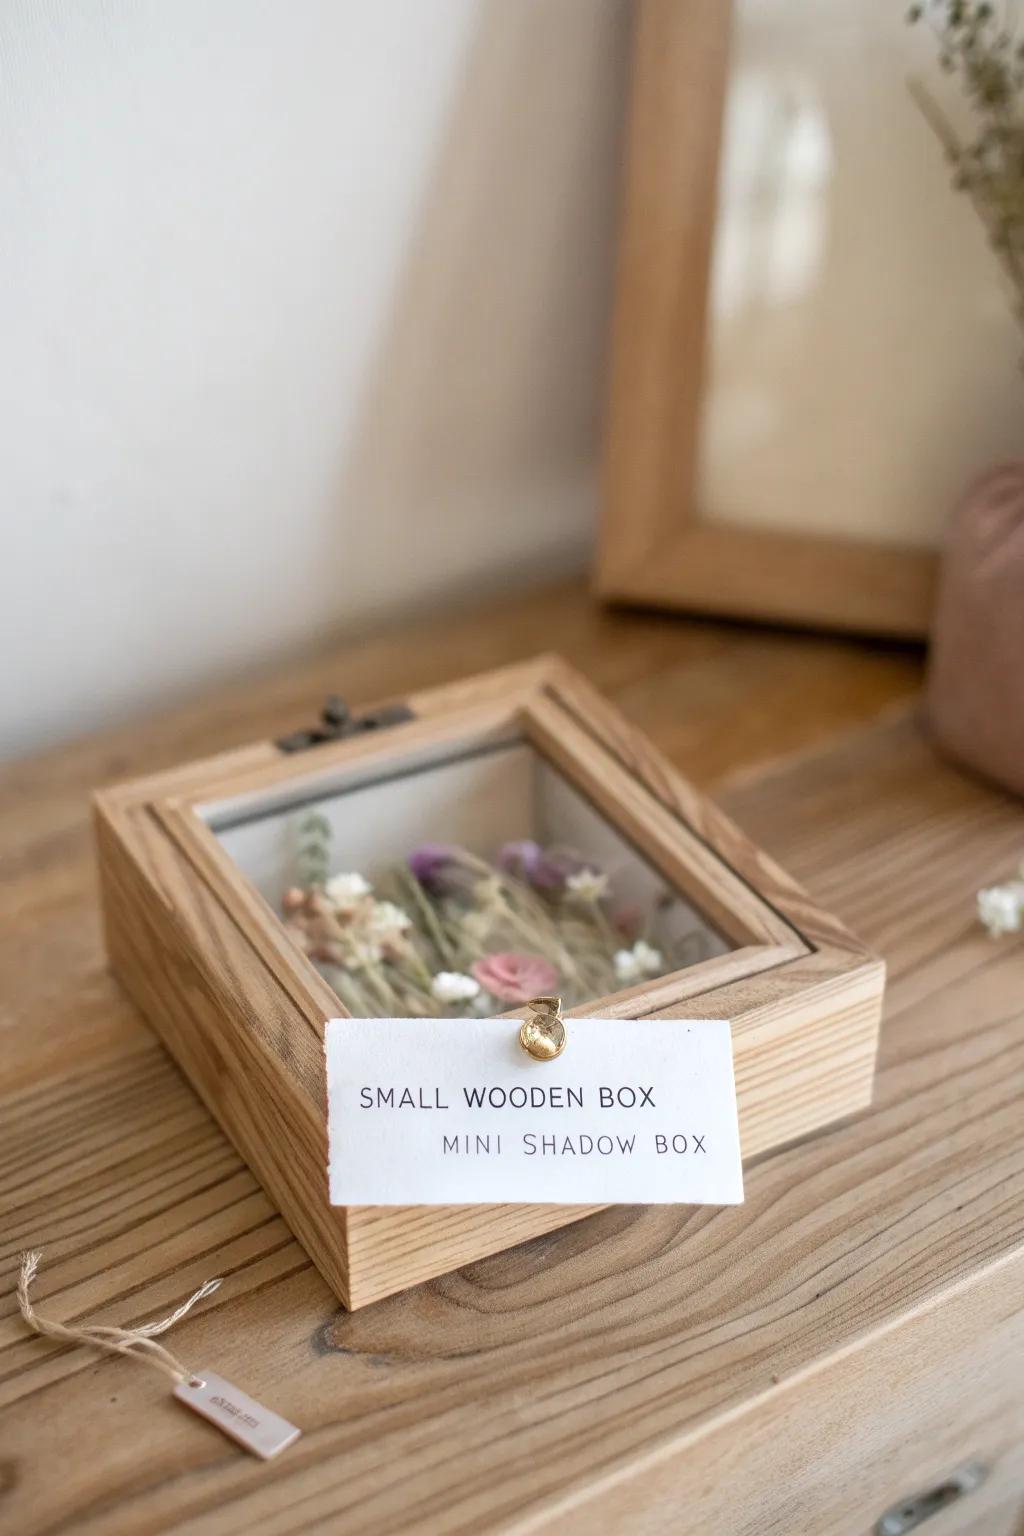
If your small wooden box has a window lid (or you add one), you can create a little shadow box scene under the glass. I’ve filled mine with pressed flowers and tiny keepsakes, and it turns storage into decor.
A few things you might like:
- Small Wooden Box with Glass Lid: Find the perfect base for your project by selecting a wooden box featuring a clear window lid display.
- Dried Pressed Flowers Mix: Add natural beauty to your shadow box by arranging real dried flowers and foliage inside the compartment.
- Antique Box Latch Hardware: Enhance the vintage look of your keepsake box by adding decorative metal latches or clasps for closure.
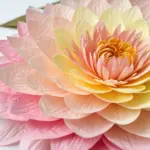
Pressed Flowers Under Clear Topcoat
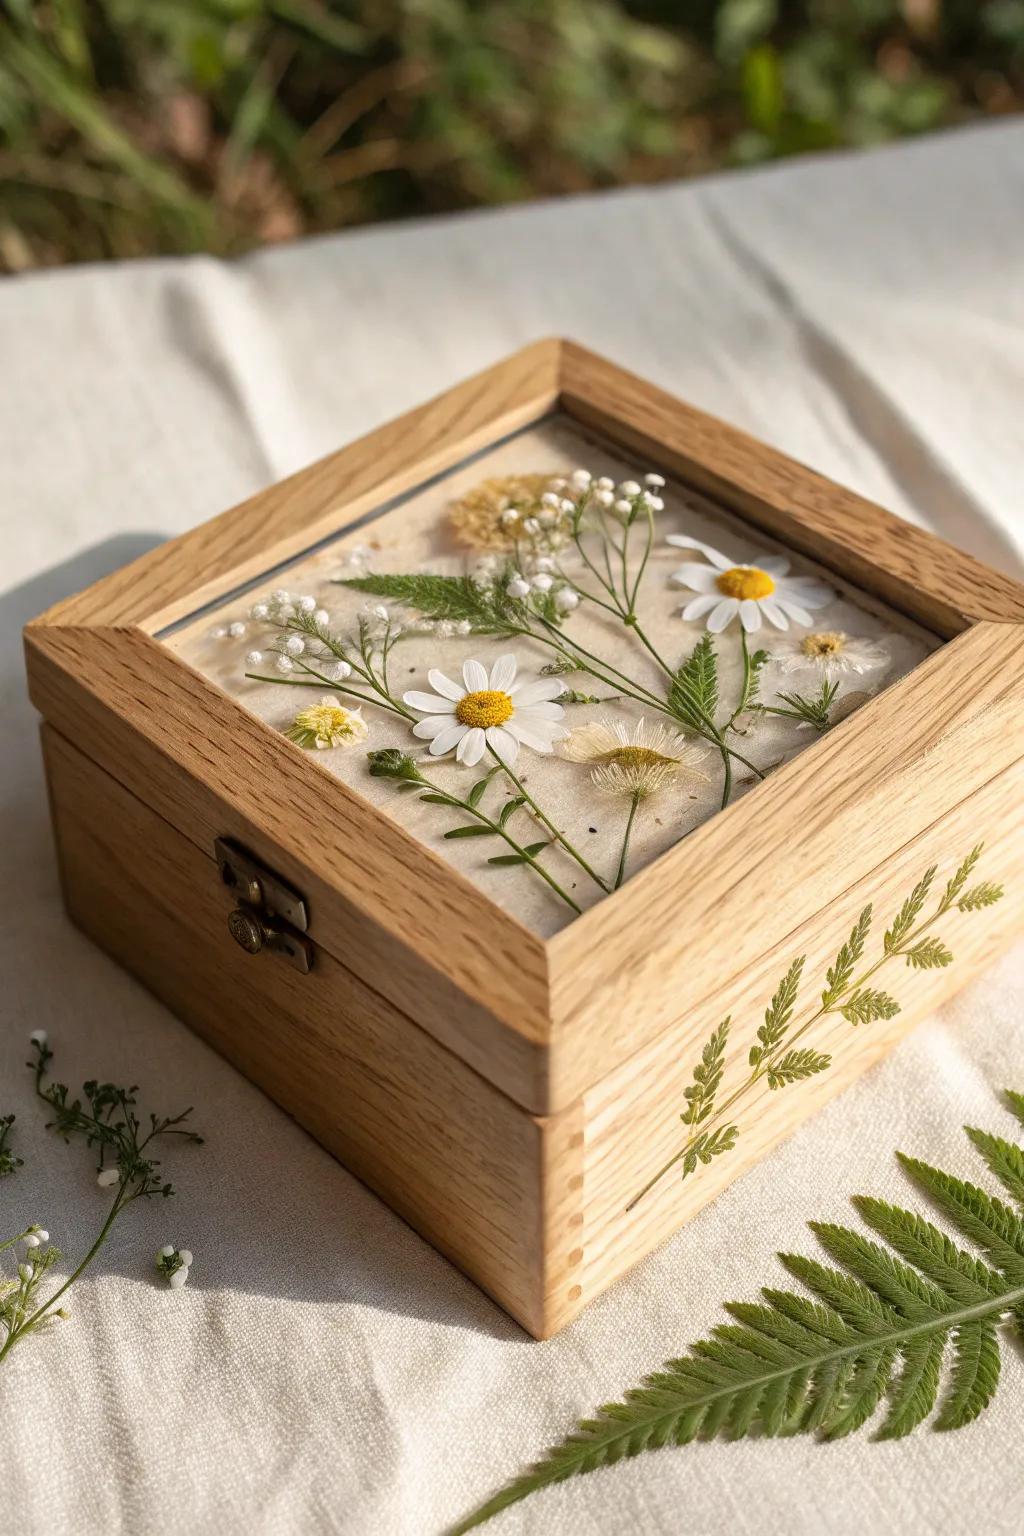
Pressed flowers on the lid of a small wooden box look delicate and high-end once you seal them under a clear topcoat. I tried this after a spring workshop, and it quickly became my favorite “sweet but not cheesy” look.
A few helpful options:
- Assorted Dried Pressed Flowers: Create your own floral layout with ease by selecting a diverse mix of real, pre-pressed colorful blooms.
- Clear Casting Resin Kit: Seal your design permanently with crystal clear resin to protect the delicate petals and add a glossy finish.
- Unfinished Wooden Box with Hinged Lid: Start your project with a simple, high-quality blank canvas waiting for your unique botanical artistic touch.
Crackle Finish for Antique Charm
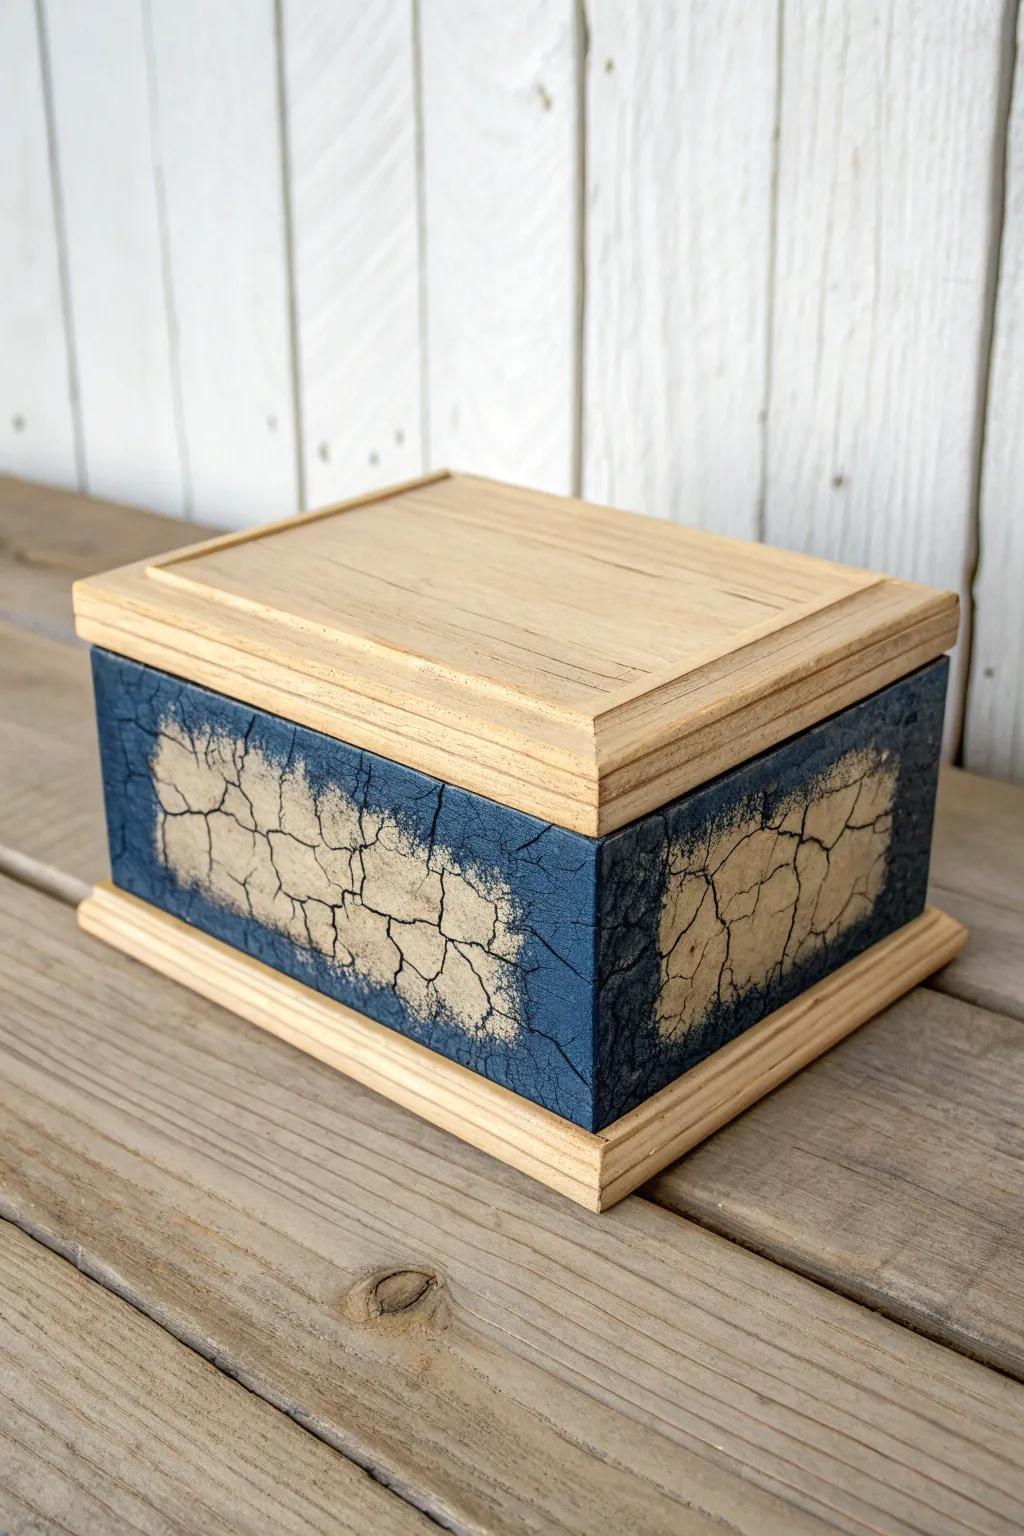
A crackle finish makes a small wooden box look like it came from an old attic trunk in the best way. I’ve layered a darker base with a lighter top, and watching those cracks appear feels like woodworking magic.
Check these products out:
- Crackle Medium / Glaze: Apply this specialized medium between paint layers to create that signature weathered, cracked effect on your wooden projects.
- Matte Acrylic Craft Paint: Select a dark base color and a lighter top coat to maximize the contrast when the cracking occurs.
- Unfinished Wooden Jewelry Box: Start with a raw, smooth canvas using a simple unfinished pine or basswood box ready for your design.


