
A stair hand railing is one of those details you touch every day, so it deserves to look great and feel solid. Here are my favorite stair hand railing ideas I’ve used (and taught in my shop) to make stairs safer while dialing in the vibe.
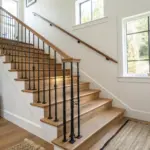
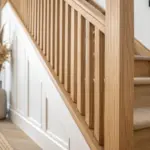
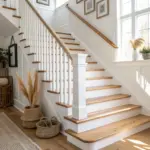
Classic Wood Rail With White Spindles
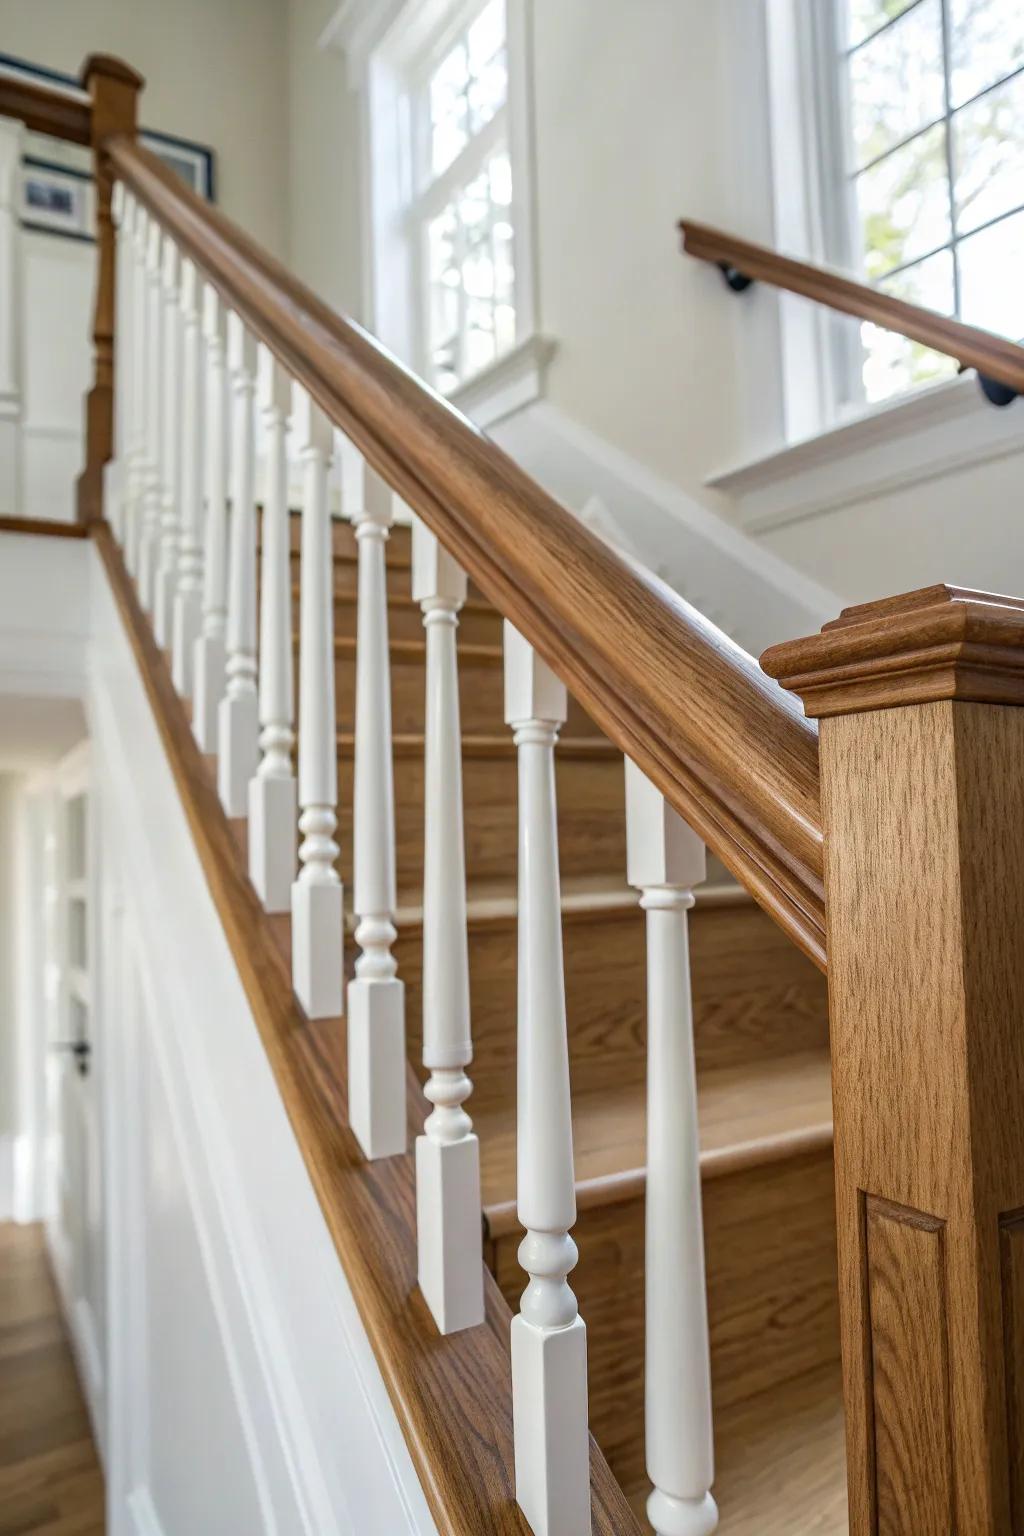
When I want that timeless look, I mill a smooth wood handrail and pair it with crisp white balusters—it instantly reads clean and classic. I’ve found a satin finish feels best in the hand and hides little scuffs from daily use.
Might be a good match:
- Primed Wood Baluster Multipack: Upgrade your staircase easily with these classic primed spindles ready for your favorite coat of white paint.
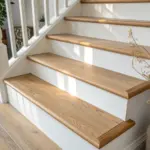
- Unfinished Oak Handrail: Install a sturdy, smooth foundation for your railing system that you can stain to match your floors.
- Satin Finish Polyurethane: Protect your new handrail with a durable satin clear coat that feels smooth and resists daily wear.
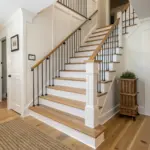

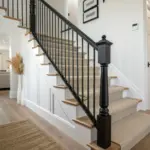
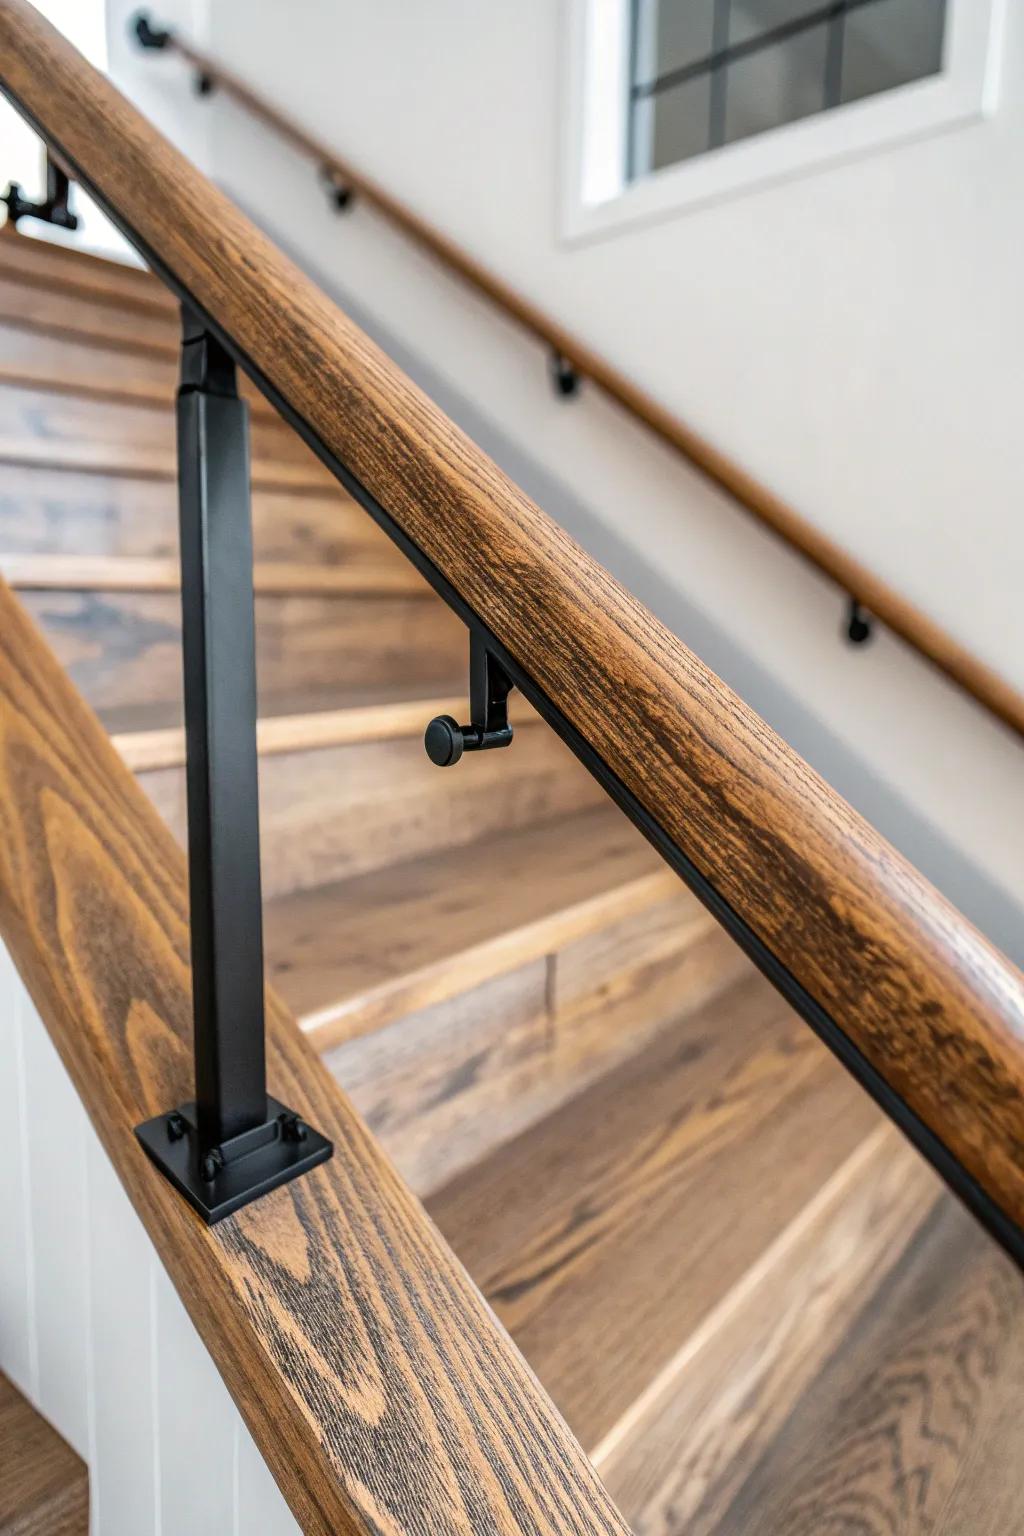
Black Metal Balusters With Warm Wood
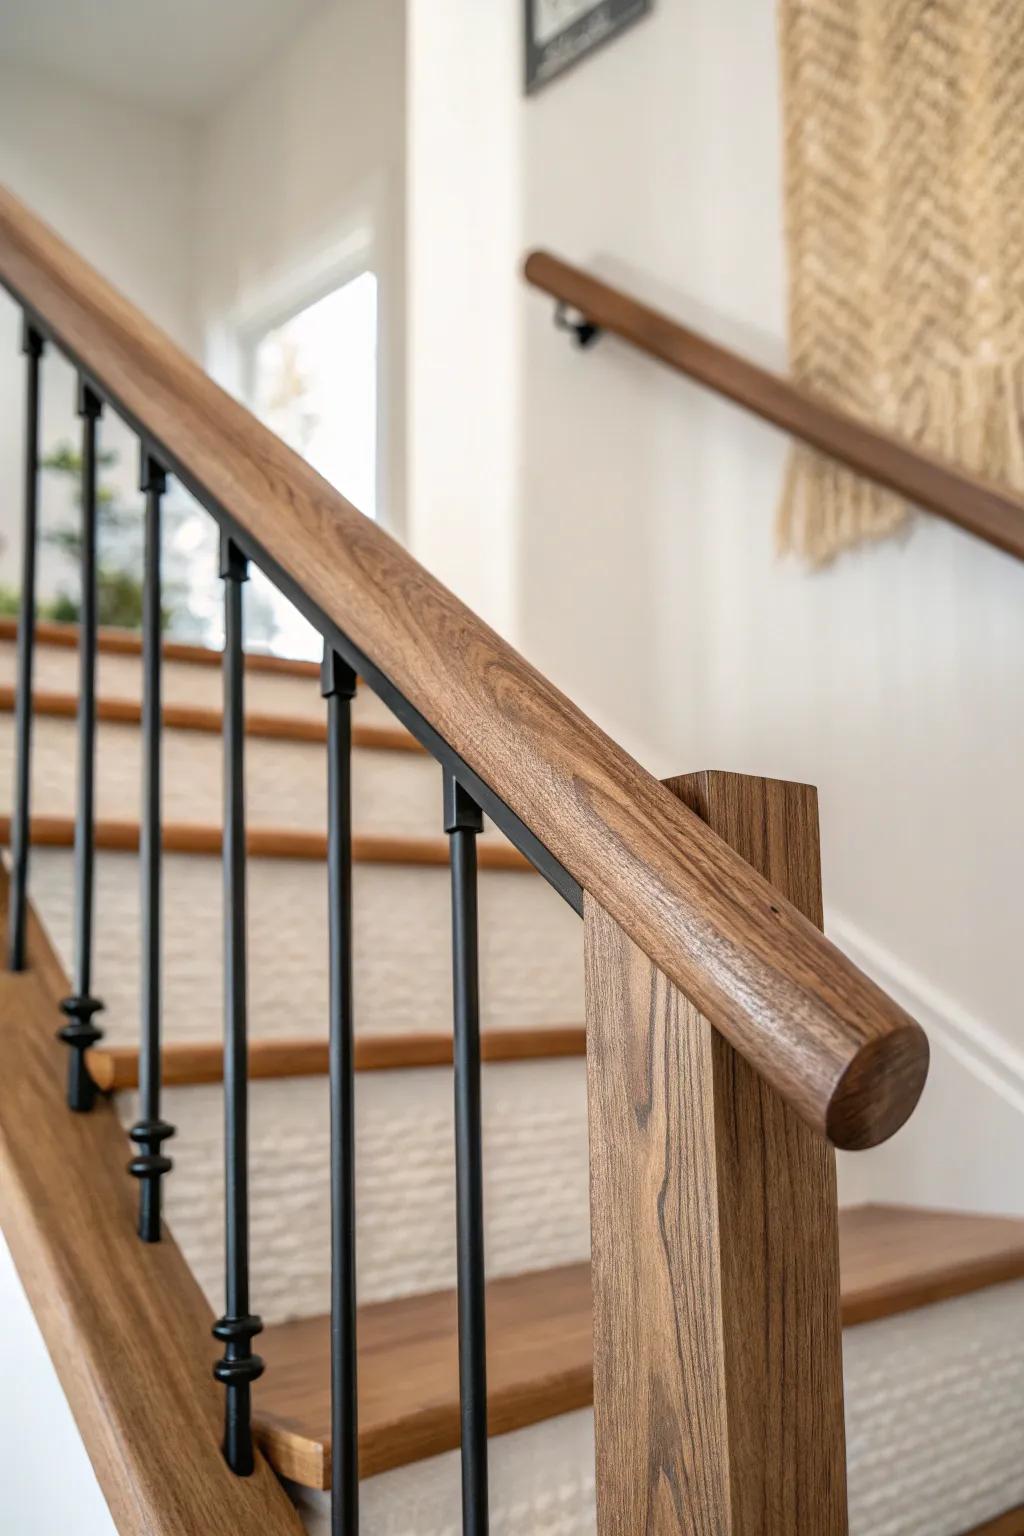
For modern farmhouse, I’ve swapped in black metal balusters under a warm stained handrail, and the contrast makes the whole stair pop. I like keeping the rail a touch thicker so it feels sturdy when you’re carrying laundry.
Try these:
- Iron Baluster Spindles (Hollow or Solid): Upgrade your staircase instantly by swapping old wood spindles for these sleek, durable matte black iron balusters.
- Stair Railing Connector Shoes: Create a clean, professional finish at the base of each baluster with these matching black metal shoes.
- Gel Stain (Walnut or Oak): Refresh your existing wooden handrail to achieve that rich, warm tone that contrasts perfectly with black metal.
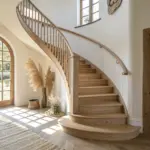
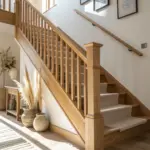
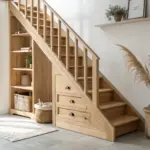
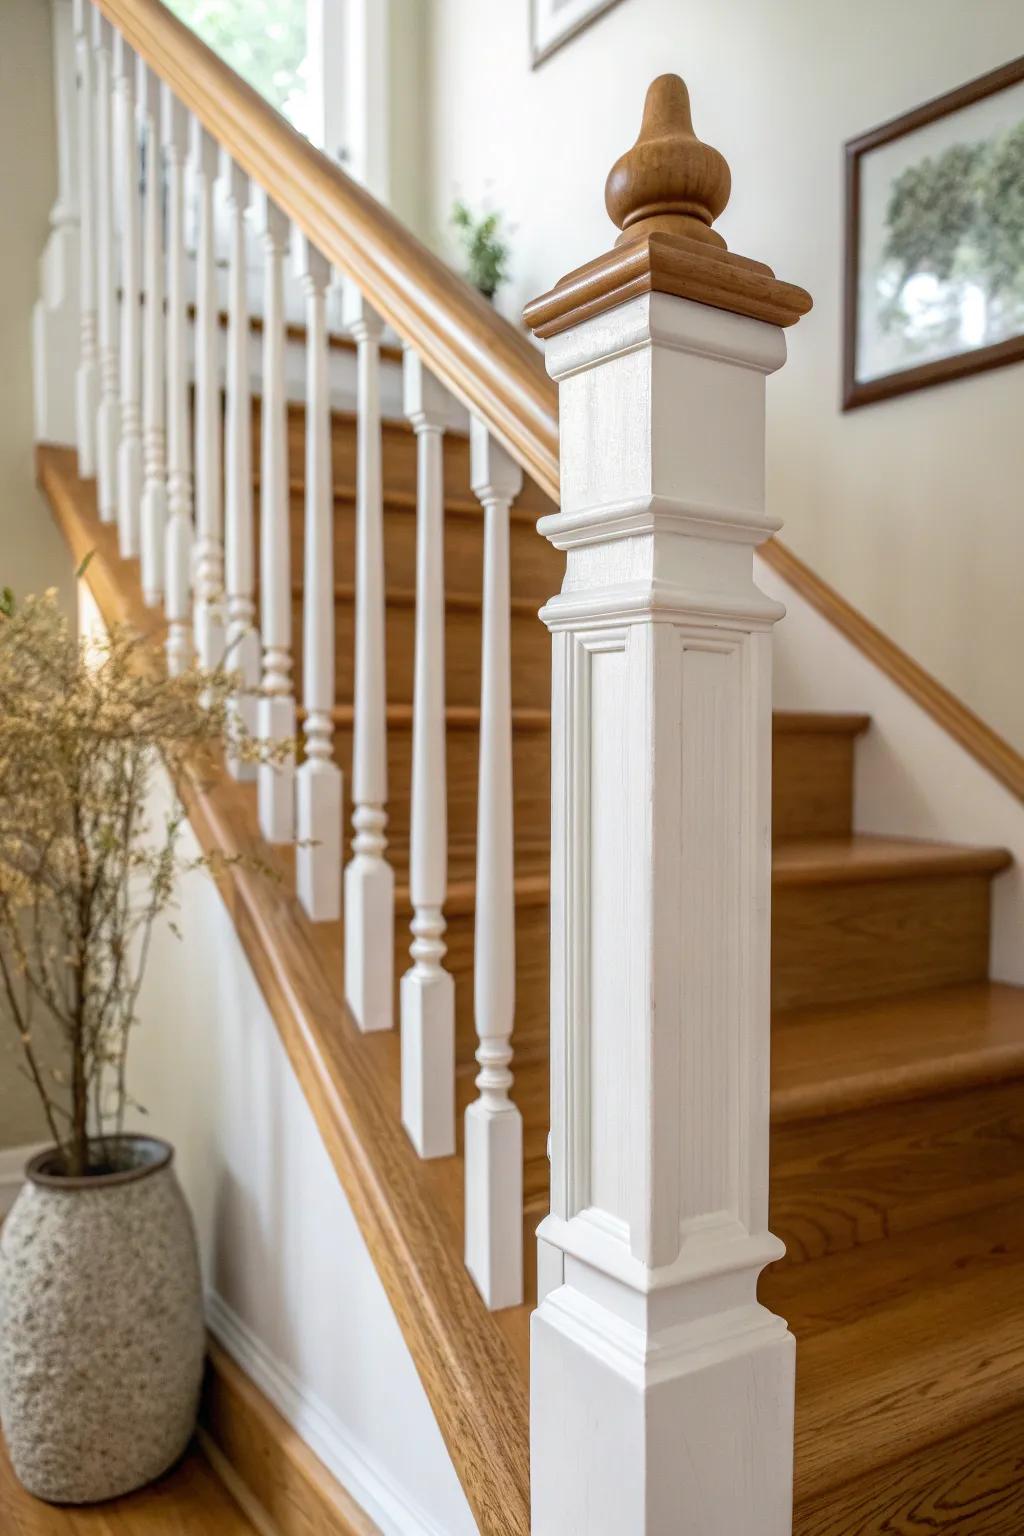
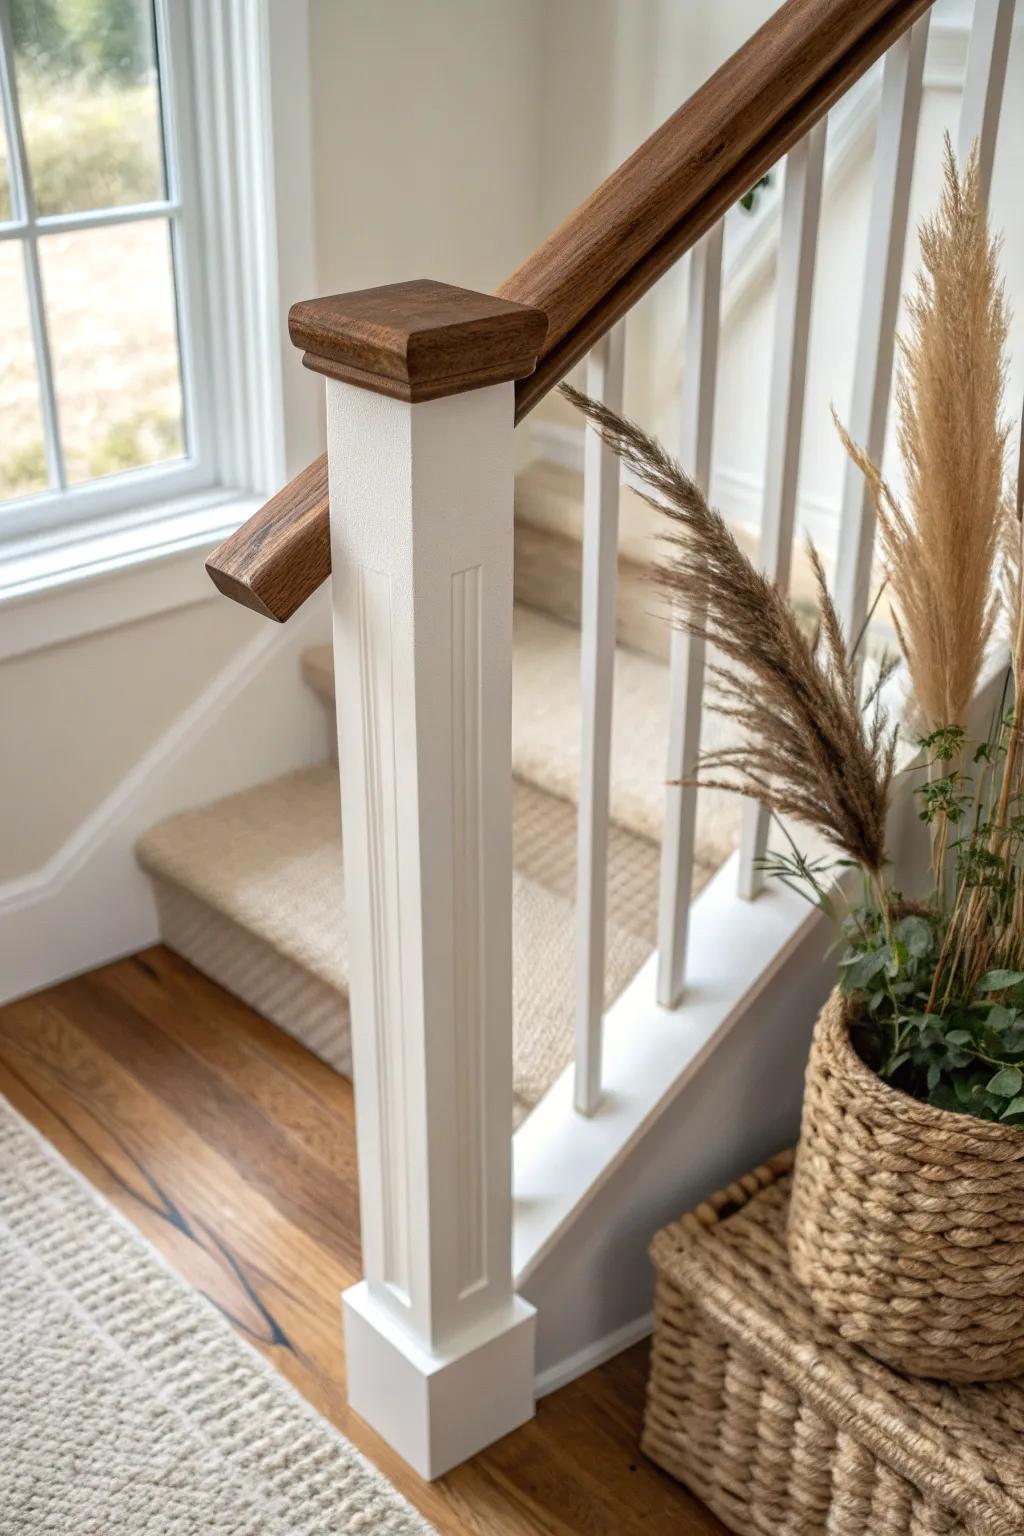
Chunky Square Newel Posts
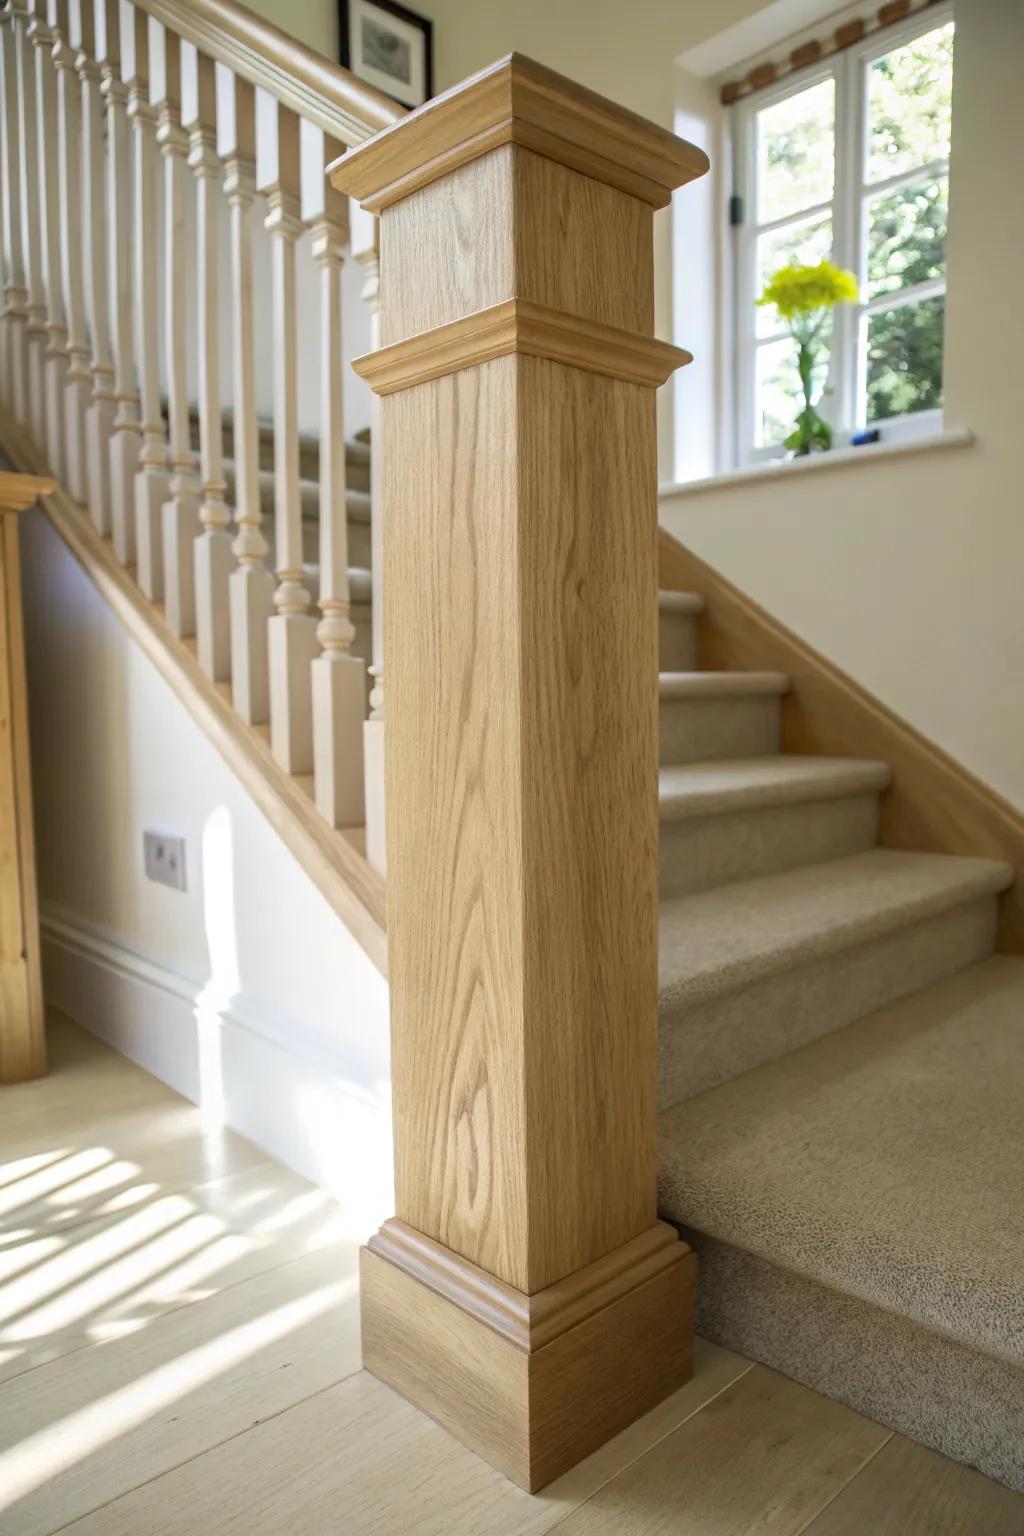
If your stair feels fussy, try chunky square newel posts with simple straight spindles; I’ve rebuilt a few like this and it always looks calmer. In my experience, a slightly oversized bottom post anchors the whole run and makes the railing feel intentional.
May just do the trick:
- Unfinished Oak Box Newel Post: Anchor your staircase with a solid oak post that you can stain to match your existing decor seamlessly.
- Square Wood Balusters (Spindles): Replace fussy turned spindles with these clean, square lines to create a modern, calmer aesthetic for your hallway.
- Newel Post Mounting Kit: Ensure your new chunky post is safe and sturdy with the correct unseen hardware for a professional installation.
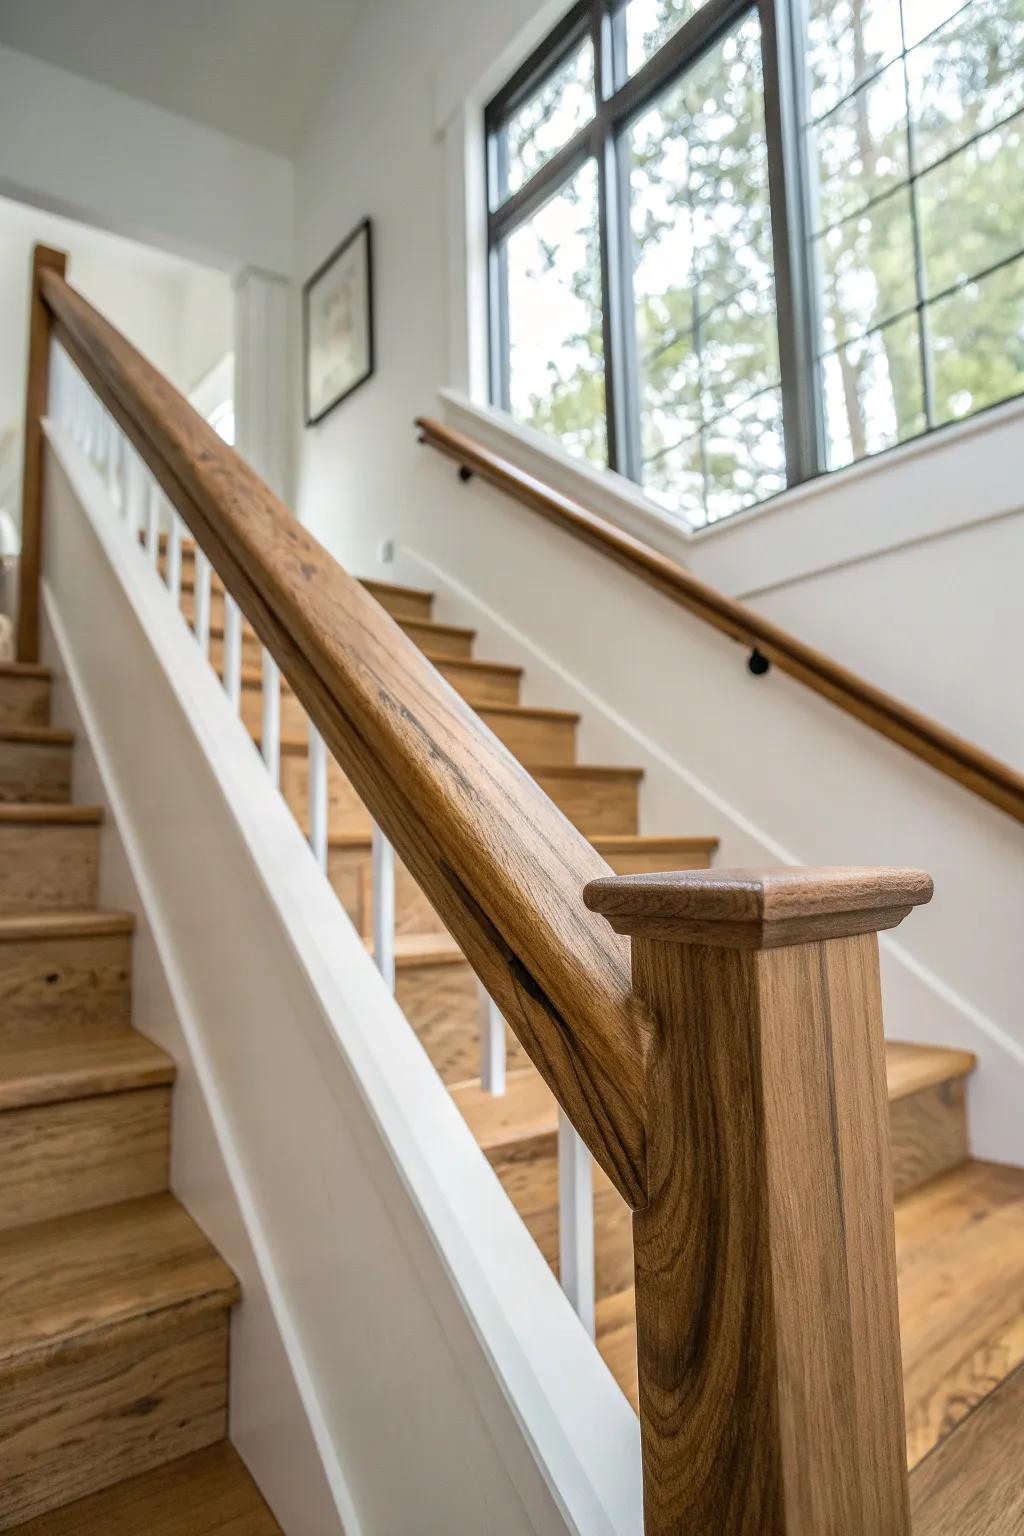
Simple Wall-Mounted Wood Handrail
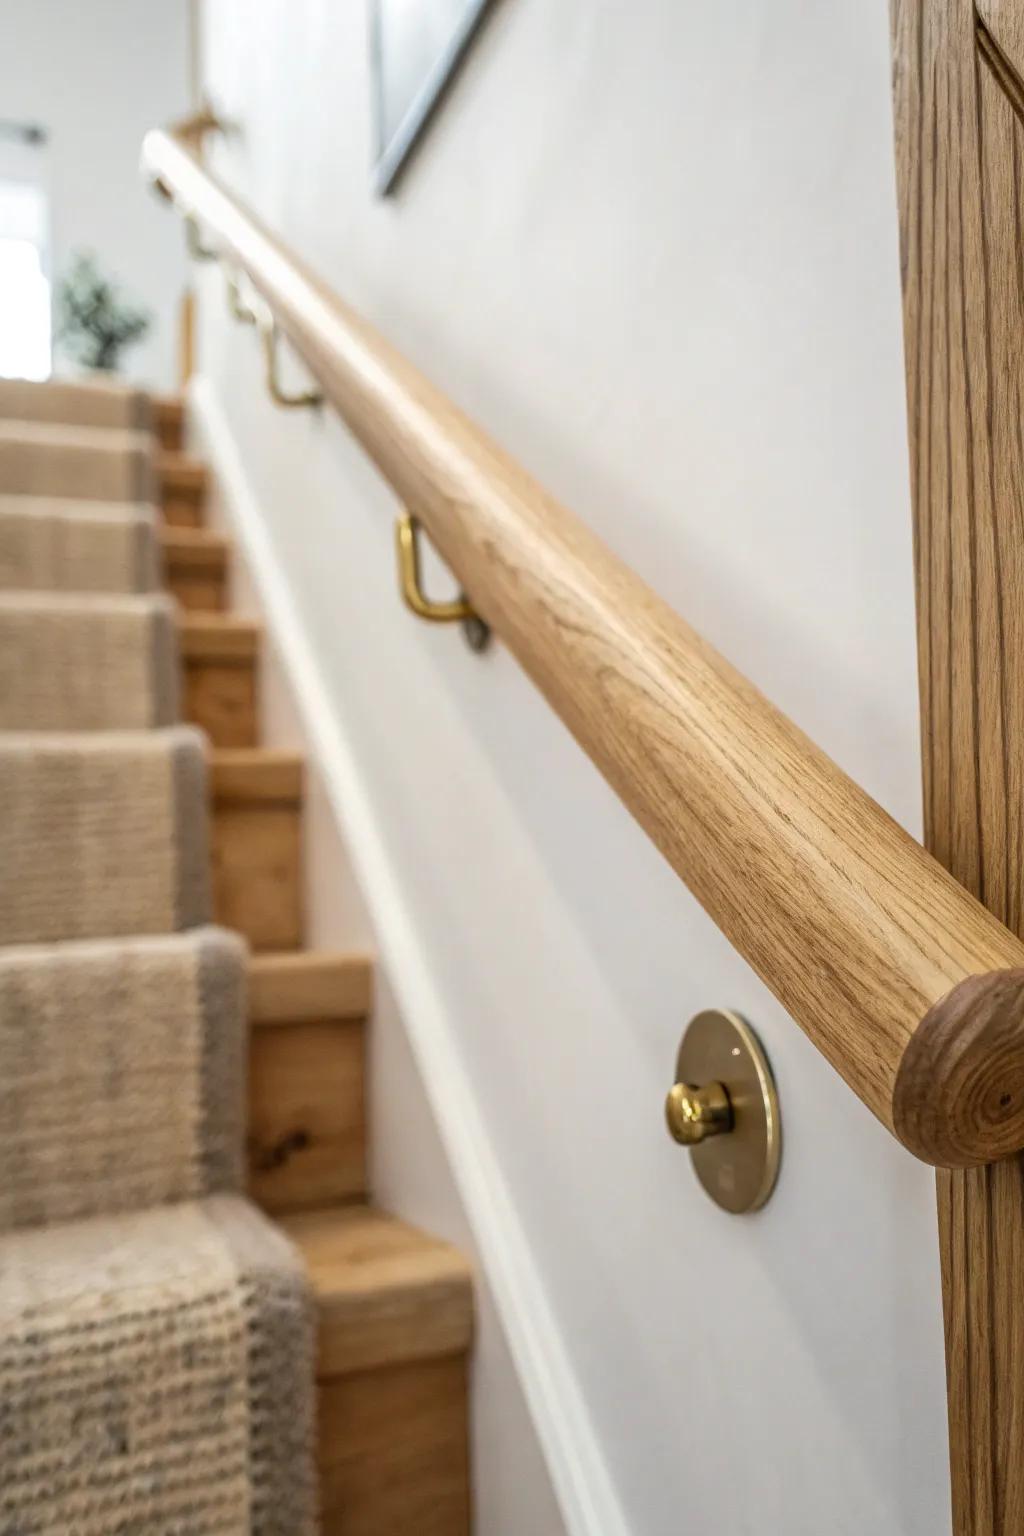
In tight stairwells, I mount a clean wall handrail so the steps feel wider, and it’s a great weekend project with basic tools. I usually ease the edges with a router so your hand glides instead of catching on sharp corners.
A few suggestions:
- Round Wood Handrail: Choose a sturdy round wooden rail to provide a comfortable grip and a classic, natural aesthetic.
- Brass Handrail Brackets: Secure your new railing with durable wall brackets that add a stylish metallic accent to your stairwell.
- Wood Sanding Discs: Smooth out rough surfaces and prepare the wood for staining to ensure a professional, splinter-free finish.
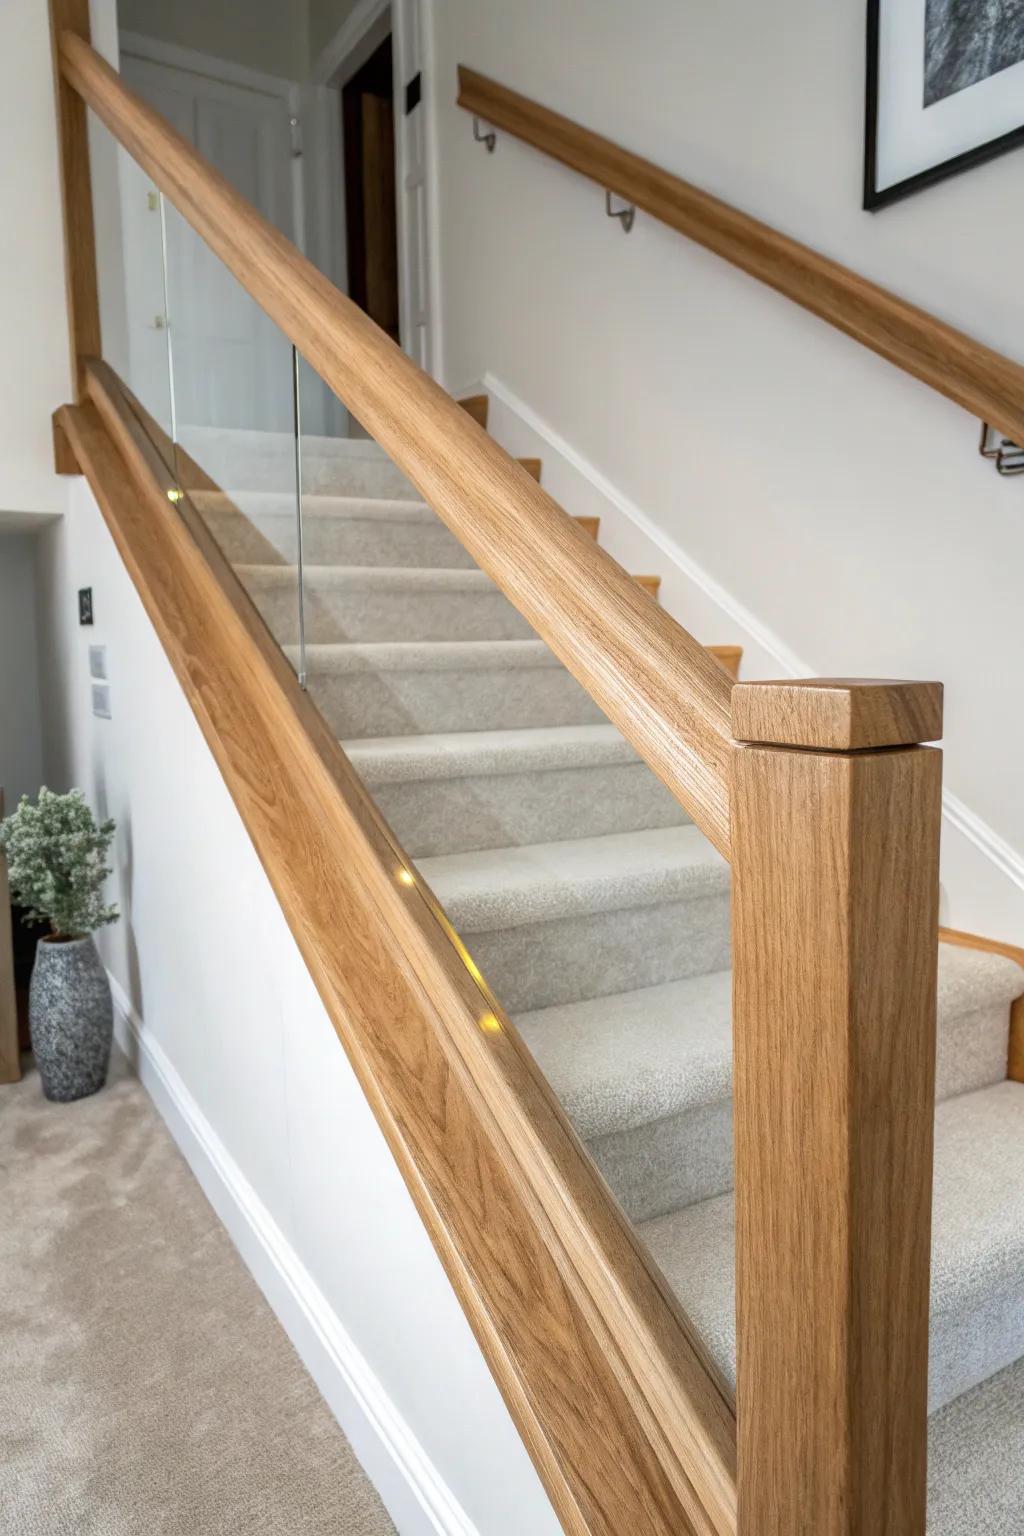
Cable Railing With a Wood Cap Rail
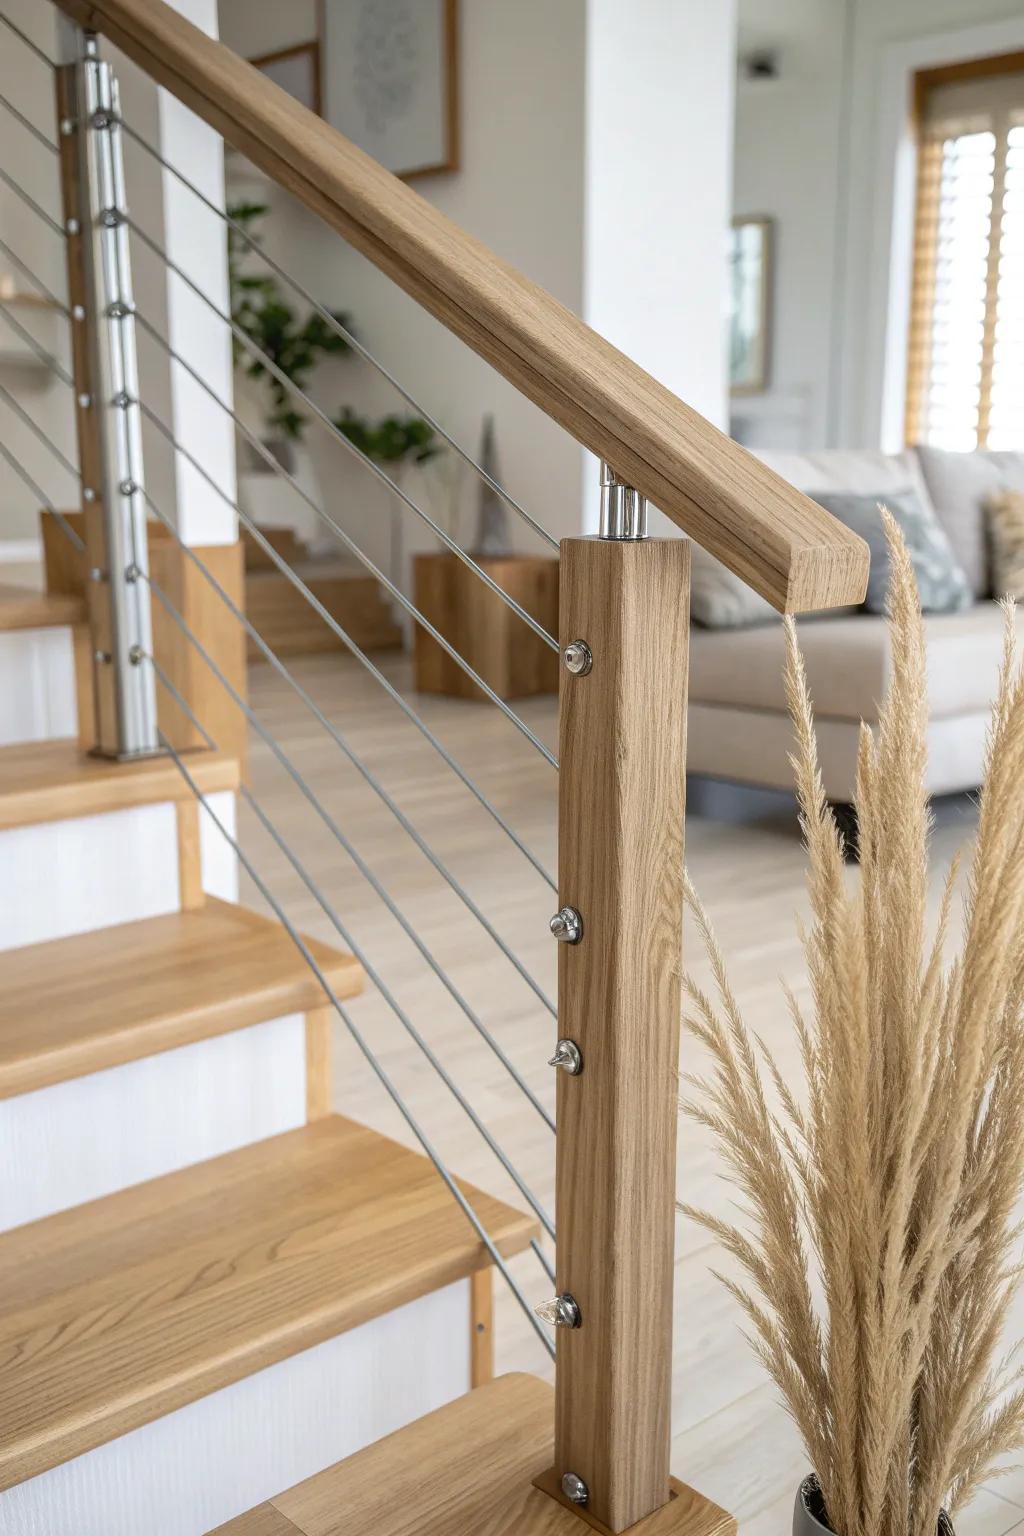
For an airy look, I love cable railing with a simple wood top rail—it reads modern without losing warmth. I always pre-drill and tension slowly, because in my builds the “tiny adjustments” are what keep the lines perfectly straight.
You might give these a try:
- Stainless Steel Cable Tensioner Kit: Secure your cable runs tightly for clean, modern lines with this essential hardware for railing projects.
- Red Oak Handrail: Add warmth and comfort to your staircase design using a solid wood handrail ready for finishing.
- Hydraulic Wire Crimping Tool: Ensure professional-grade connections on your steel cables to keep your new railing system safe and sturdy.
Industrial Pipe-Style Handrail
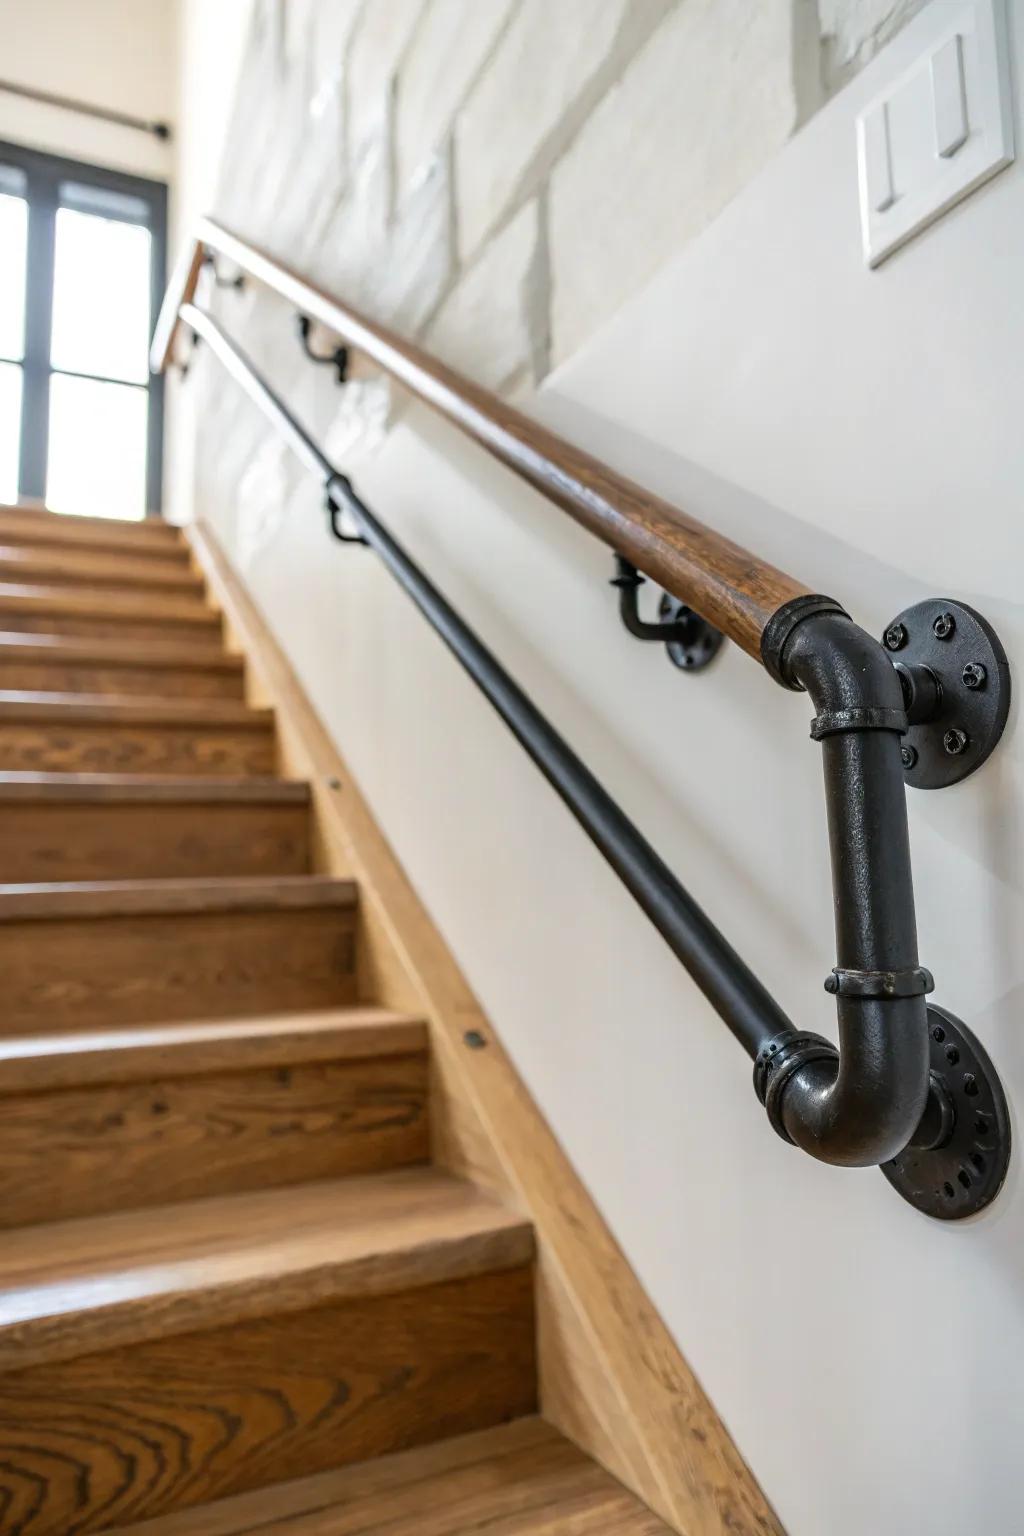
A metal pipe handrail is my go-to for industrial spaces, especially when paired with reclaimed treads. I’ve built a few with a gentle return at the ends, and it makes the rail look finished and saves elbows from bruises.
Give these a look:
- Industrial Black Pipe Handrail Kit: Instantly add industrial flair to your stairs with a sturdy, all-in-one pipe handrail kit ready to install.
- Iron Pipe Flanges & Elbow Fittings: Build a custom railing configuration by picking up individual heavy-duty black iron flanges and elbow connectors.
- Round Wooden Handrail Rod: Combine warmth and durability by pairing this smooth, unfinished wooden rod with industrial metal pipe brackets.

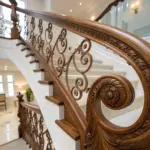
Refinished Turned Spindles and Banister
Don’t underestimate a good refinish—when I sand and repaint turned wood spindles and re-stain the stair banister, the staircase looks brand new without a full rebuild. I like labeling each spindle during removal so everything goes back fast and frustration-free.
Maybe worth checking out:
- Detail Detail Sander Kit: Reach tight corners on turned spindles easily with a compact sander designed for intricate woodworking projects.
- Semi-Gloss White Enamel Paint: Refresh your balusters with durable enamel paint that resists scuffs and provides a classic, clean finish.
- Wood Gel Stain: Achieve a rich, drip-free finish on your handrails with a gel stain that offers superior control.
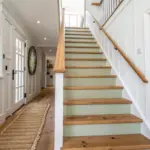
Easy Two-Tone Railing Contrast
A simple two-tone railing (like a dark handrail with light posts) is an easy way to add style without changing the layout. I’ve tested a bunch of paint sheens, and semi-gloss on posts is the sweet spot for wipeability.
A few choices to try:
- Dark Wood Stain: Create a rich contrast on your handrail by applying a deep, warm wood stain for elegance.
- Semi-Gloss White Paint: Paint your balusters and posts with semi-gloss white paint for a crisp, durable, and wipeable finish.
- Angled Sash Paint Brush: Use a high-quality angled sash brush to cut in clean lines between the dark rail and white posts.
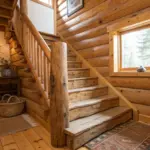
Reclaimed Beam Handrail
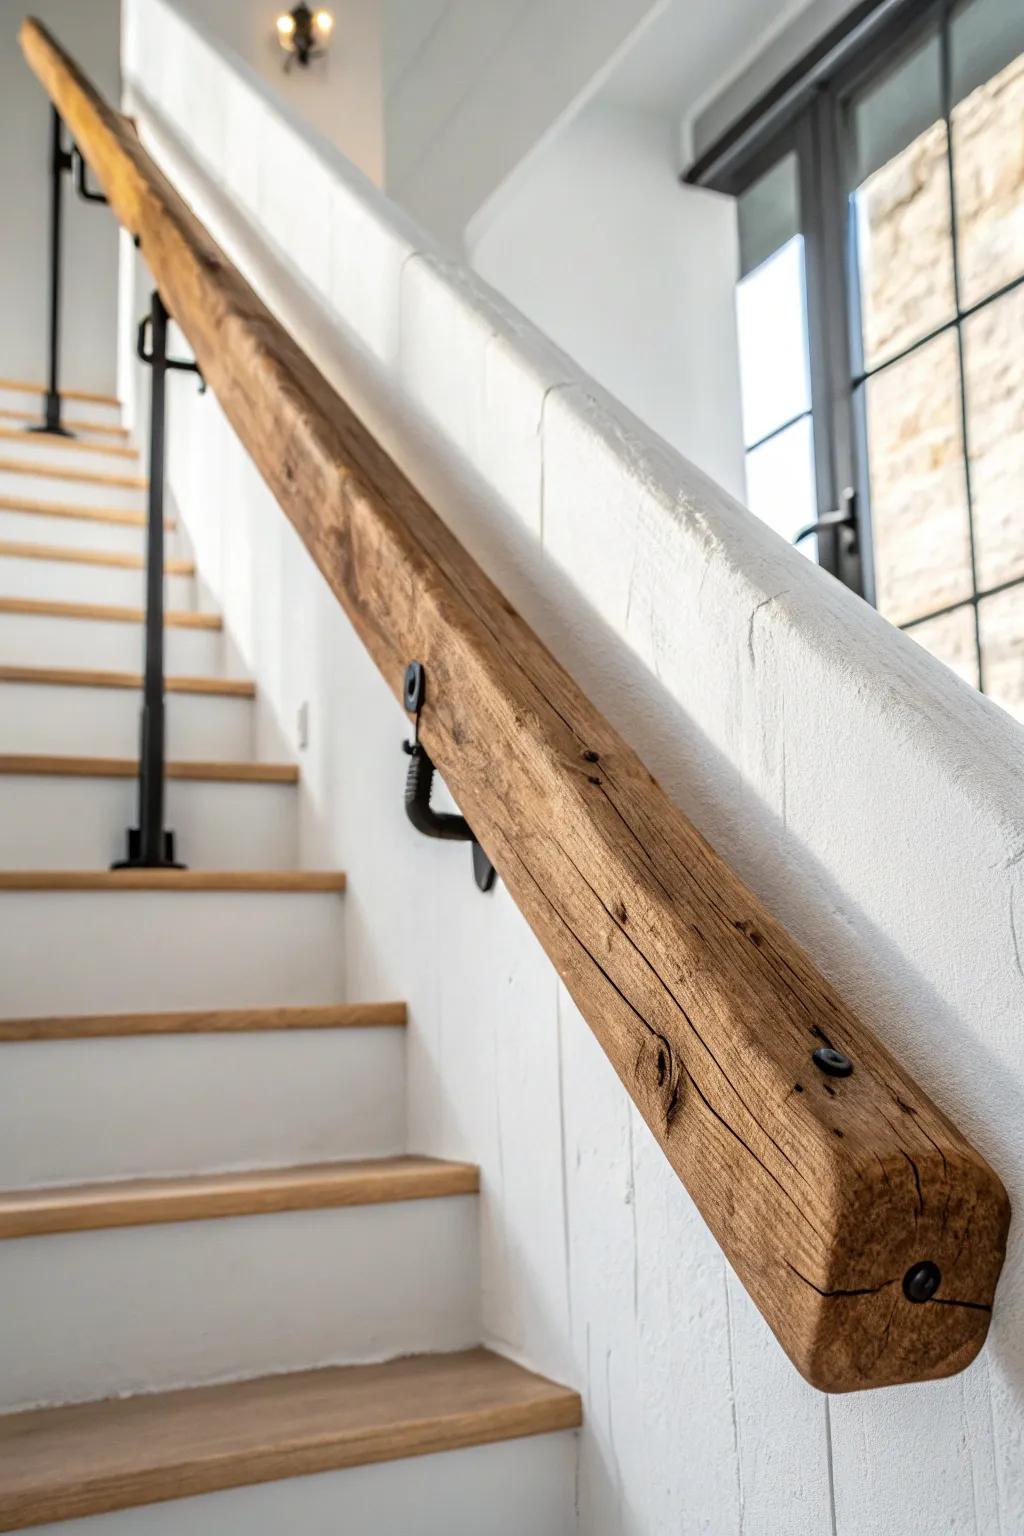
For rustic character, I’ve used a straight reclaimed beam handrail and left the saw marks and knots right where they are. I just flatten the grip area with a hand plane so it’s comfortable, but I keep the rest delightfully imperfect.
You might like:
- Industrial Handrail Brackets: Secure your heavy wooden beam safely with these sturdy, rustic-style metal mounts designed for stability.
- Solid Wood Beam Handrail: Add instant farmhouse charm to your stairs with a chunky, unfinished timber ready for custom installation.
- Wood Hand Plane Tool: Smooth out rough edges on reclaimed wood to create a comfortable, splinter-free grip for your railing.
Live-Edge Slab Stair Handrail
A live-edge handrail brings in that organic wow factor, and I’ve made one from a salvaged slab that became the star of the entry. I sand the live edge silky smooth, then seal it well so it stays touch-friendly instead of snaggy.
Check these products out:
- Clear Polyurethane Wood Finish: Protect your custom live-edge rail against oils and dirt with a durable, smooth-touch protective finish.
- Assorted Grit Sandpaper Pack: Achieve a splinter-free, silky surface on your slab by progressing through these essential sanding grits.
- Heavy Duty Handrail Brackets: Secure your heavy wood slab safely to the wall using sturdy, stylish metal mounting hardware.
Charred Wood Handrail for Drama
If you’re craving drama, try a charred wood handrail with simple dark brackets—the texture is unreal under good lighting. I’ve done this on a scrap first to dial in the burn, then brushed it back until it felt rich, not sooty.
A few relevant products:
- Propane Torch Kit: Achieve that dramatic charred finish safely by scorching your wood handrail evenly with an adjustable flame tool.
- Wire Brush Set for Wood: Create rich texture by brushing away the soft soot after burning to reveal the beautiful, hardened wood grain.
- Matte Black Handrail Brackets: Complete the modern look by mounting your new custom rail with sturdy, sleek matte black hardware supports.
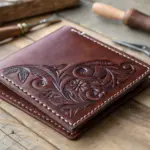
Leather-Wrapped Grip Section
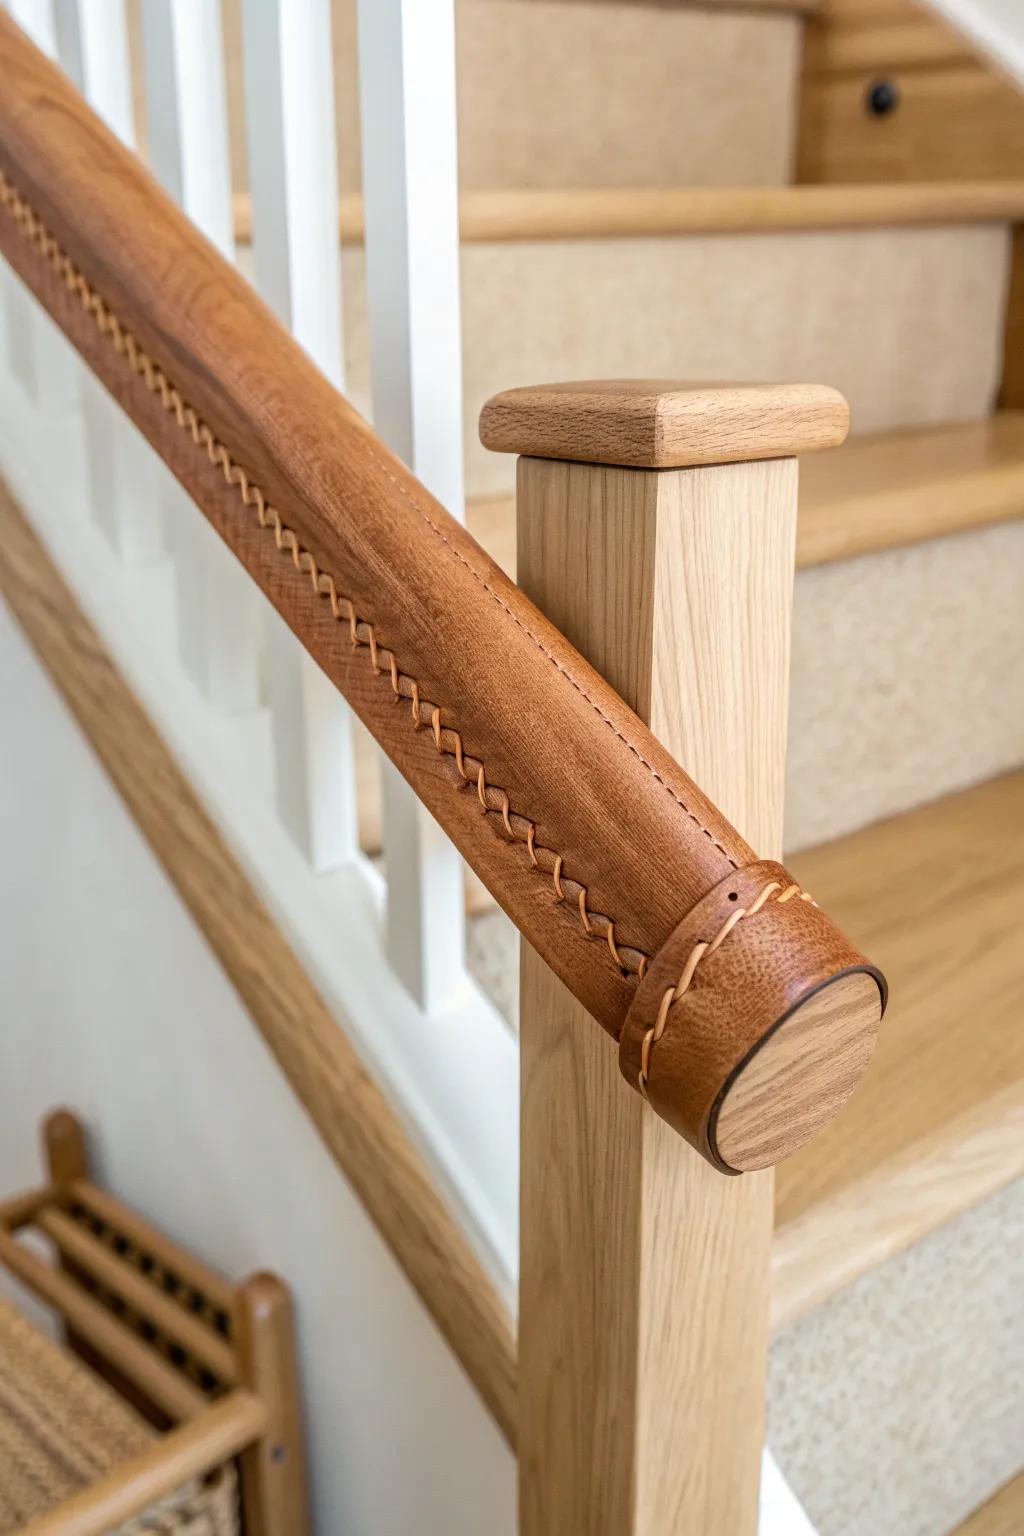
One of my favorite upgrades is a leather-wrapped handrail section right where you naturally grab, especially on chilly mornings. I’ve wrapped thin strips with a tight spiral and sealed the edges, and it adds instant boutique texture.
A few helpful options:
- Vegetable Tanned Leather Strip: Use high-quality leather strips to wrap your railing for a durable, warm grip and elegant finish.
- Waxed Thread with Leather Needles: Secure your leather wrap tightly with strong waxed thread and specialized needles for a professional stitched look.
- Double-Sided Leather Tape: Apply strong adhesive tape underneath the leather to prevent twisting and slipping during your installation process.
Woven Cane Infill Between Posts
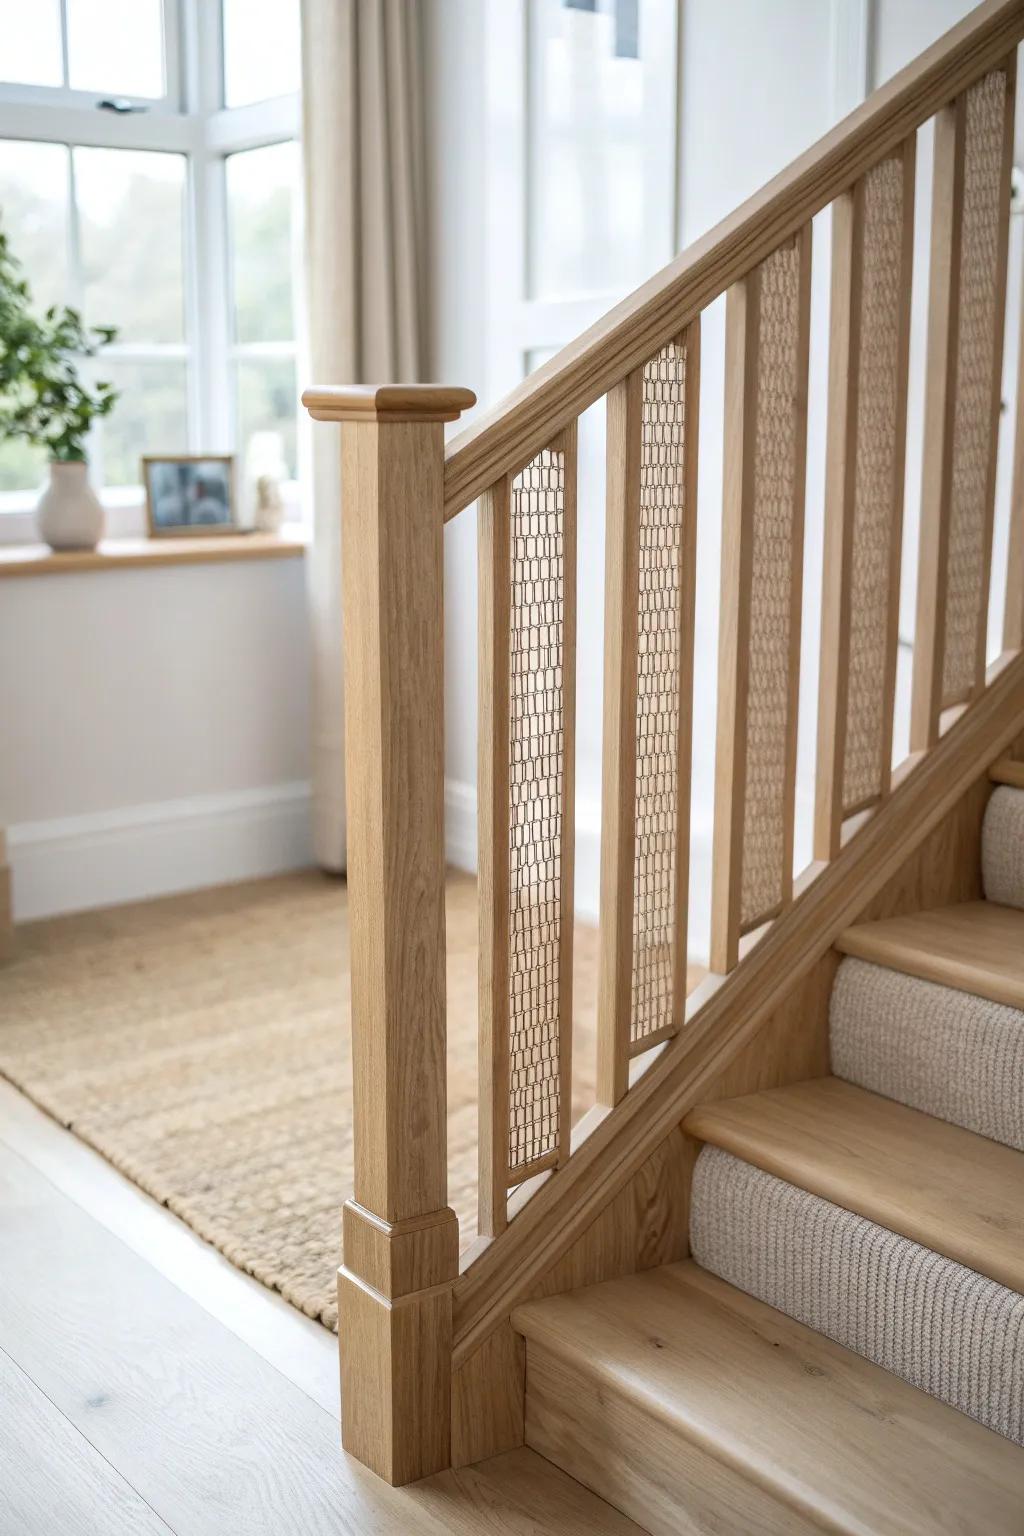
For a surprising twist, I’ve built railing panels with woven cane infill between posts, and it feels airy and vintage at the same time. I keep the stair handrail simple and smooth so the pattern is the star without turning the stairs into visual noise.
Check if these fit your needs:
- Natural Rattan Cane Webbing Roll: Transform your railing panels instantly; use this durable cane webbing to achieve that airy, vintage aesthetic yourself.
- Clear Satin Wood Finish: Protect your new cane and timber handrails with a clear satin finish that enhances the natural wood grain.
- Heavy Duty Staple Gun Kit: Securely fasten your woven cane material into the wooden railing frames with a reliable, easy-to-use staple gun.
Resin Inlay Rail for a Custom Look
When I want a true showstopper, I inlay a clear resin strip into a wood handrail—sometimes with sawdust from the same project for a subtle “floating” look. I’ve found it’s worth building a quick practice rail first, because a clean pour makes the whole staircase look custom.
Useful items to consider:
- Crystal Clear Epoxy Resin Kit: Create durable, transparent inlays for your woodwork projects with this easy-to-mix pouring resin kit.
- Router with Plunge Base: Carve precise channels into your handrail for the resin pour using this versatile woodworking power tool.
- Straight Router Bits Set: Ensure clean, smooth edges for your inlay channels with these durable straight-cutting router bits.


