
A good table inlay can take a plain tabletop from “fine” to “can’t stop staring at it.” I’ve tried everything from classic contrasting wood banding to wild mixed-material surprises, and these ideas are the ones that always get the most oohs and ahhs.
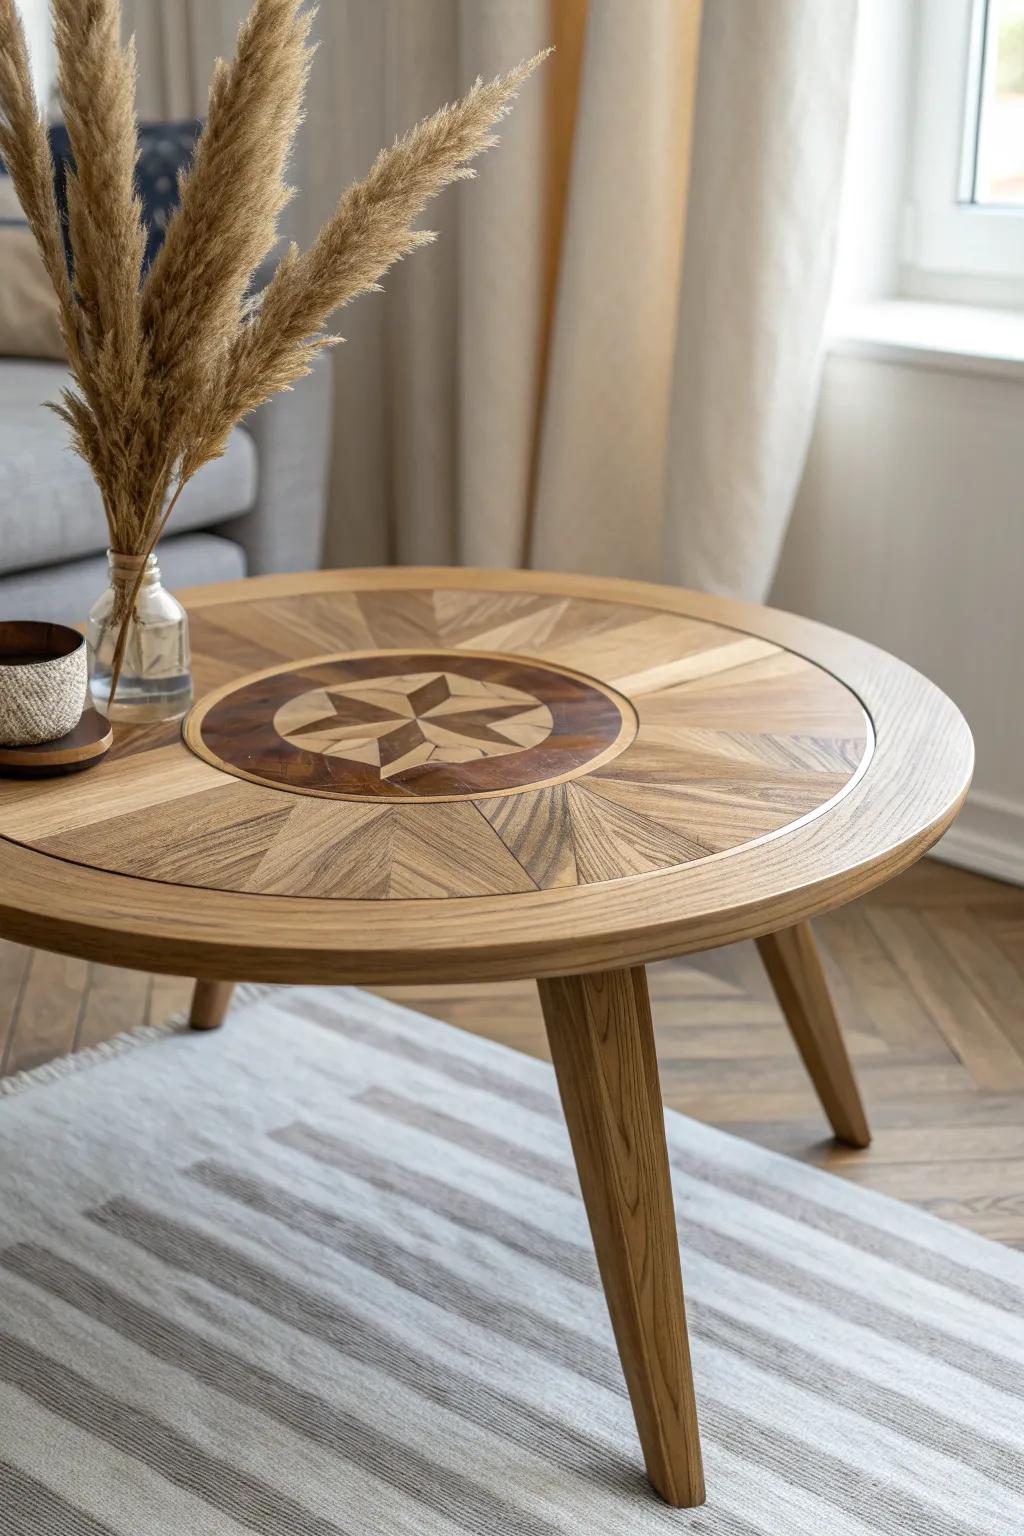
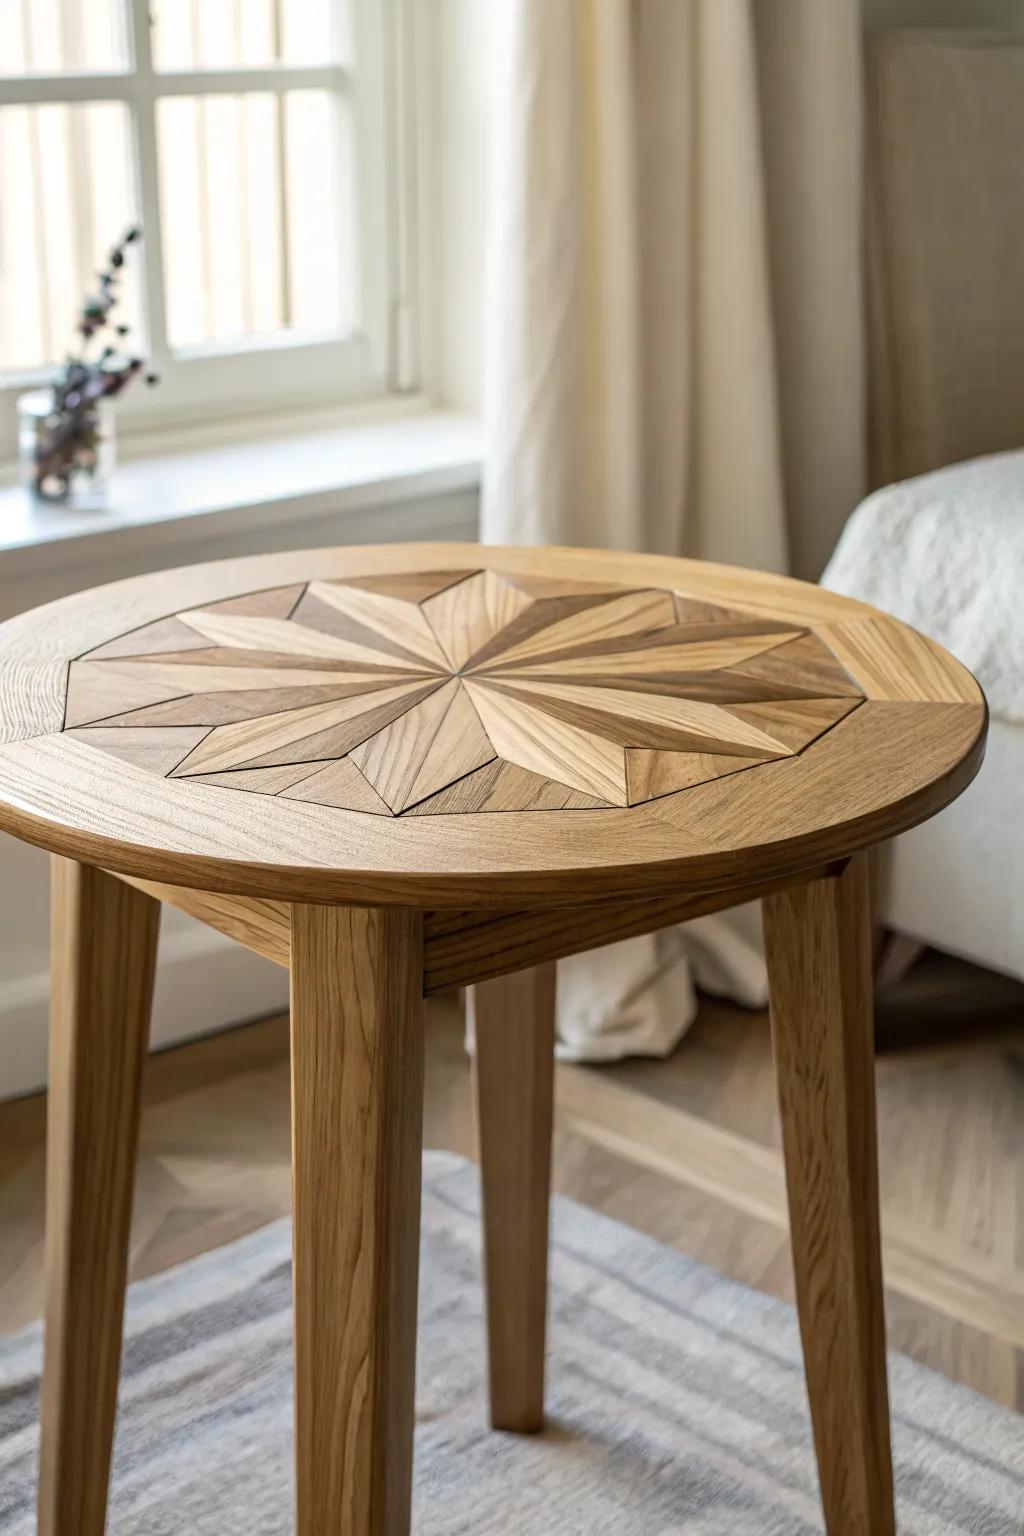
Compass Rose Starburst
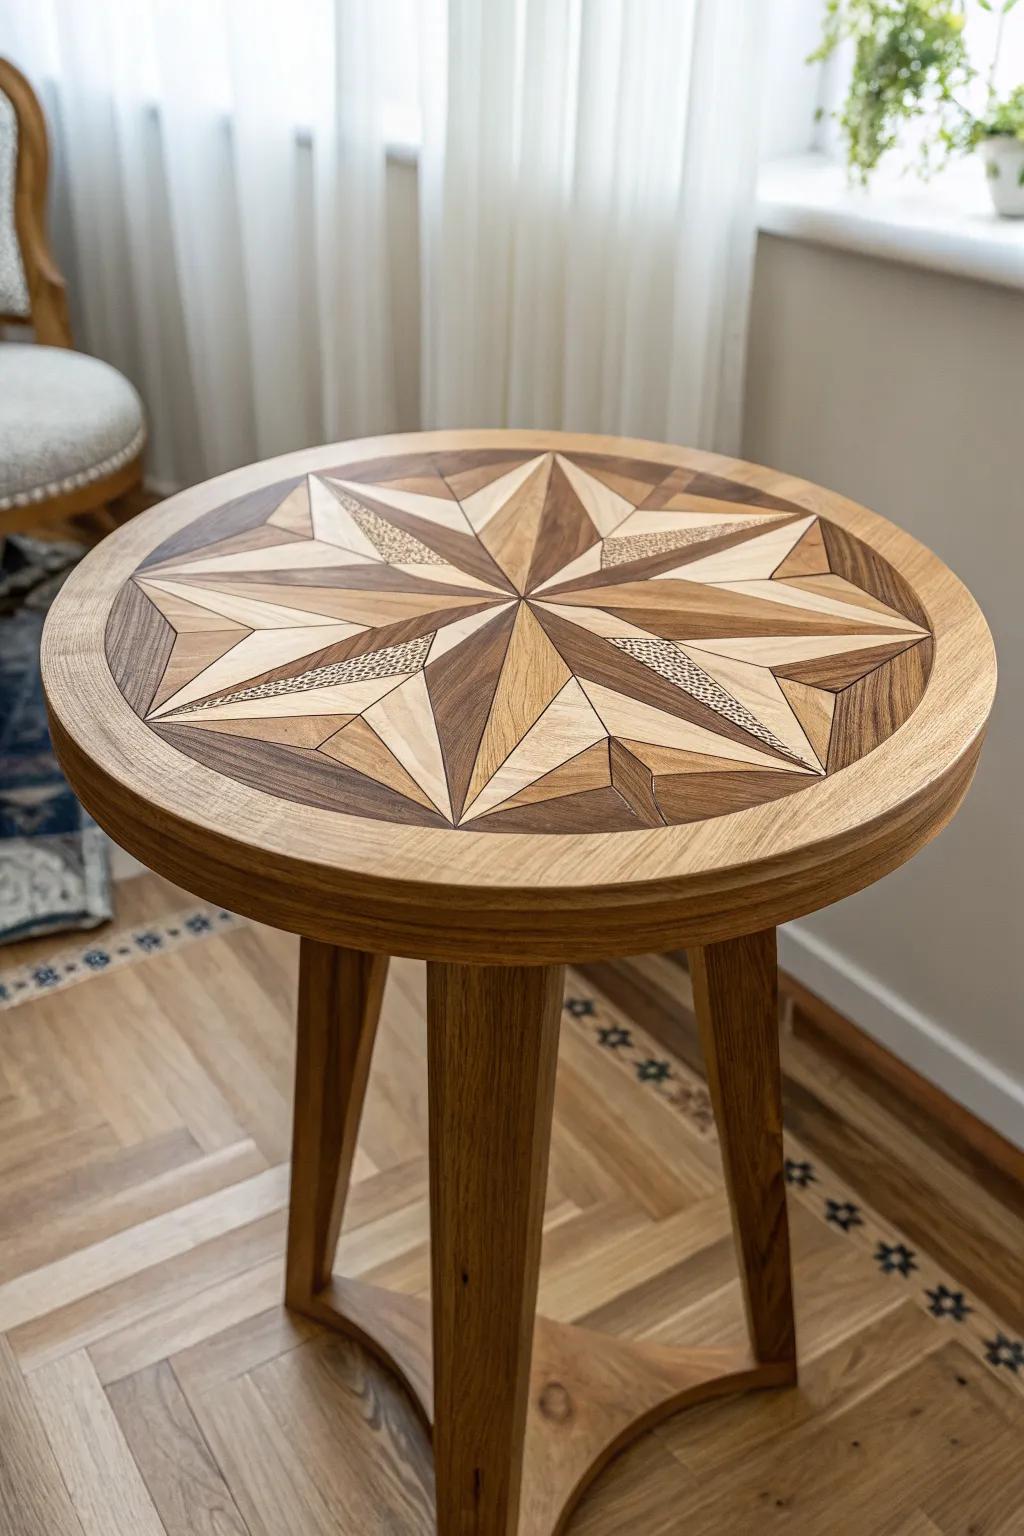
A compass rose inlay is classic for a reason—it adds instant story to a table, even in a modern farmhouse room. I like building it from simple triangles first, then upgrading with extra points once I’m happy with the symmetry.
These products might be useful:
- Mixed Wood Veneer Packs: Create contrasting tones in your starburst design by selecting a variety of high-quality wood veneer sheets.
- Precision Craft Knife Set: Achieve sharp points and tight seams on your inlay triangles with a reliable, sharp craft knife.
- Clear Wood Glue: Secure your delicate wood pieces firmly without staining the grain using a high-quality, clear-drying wood adhesive.

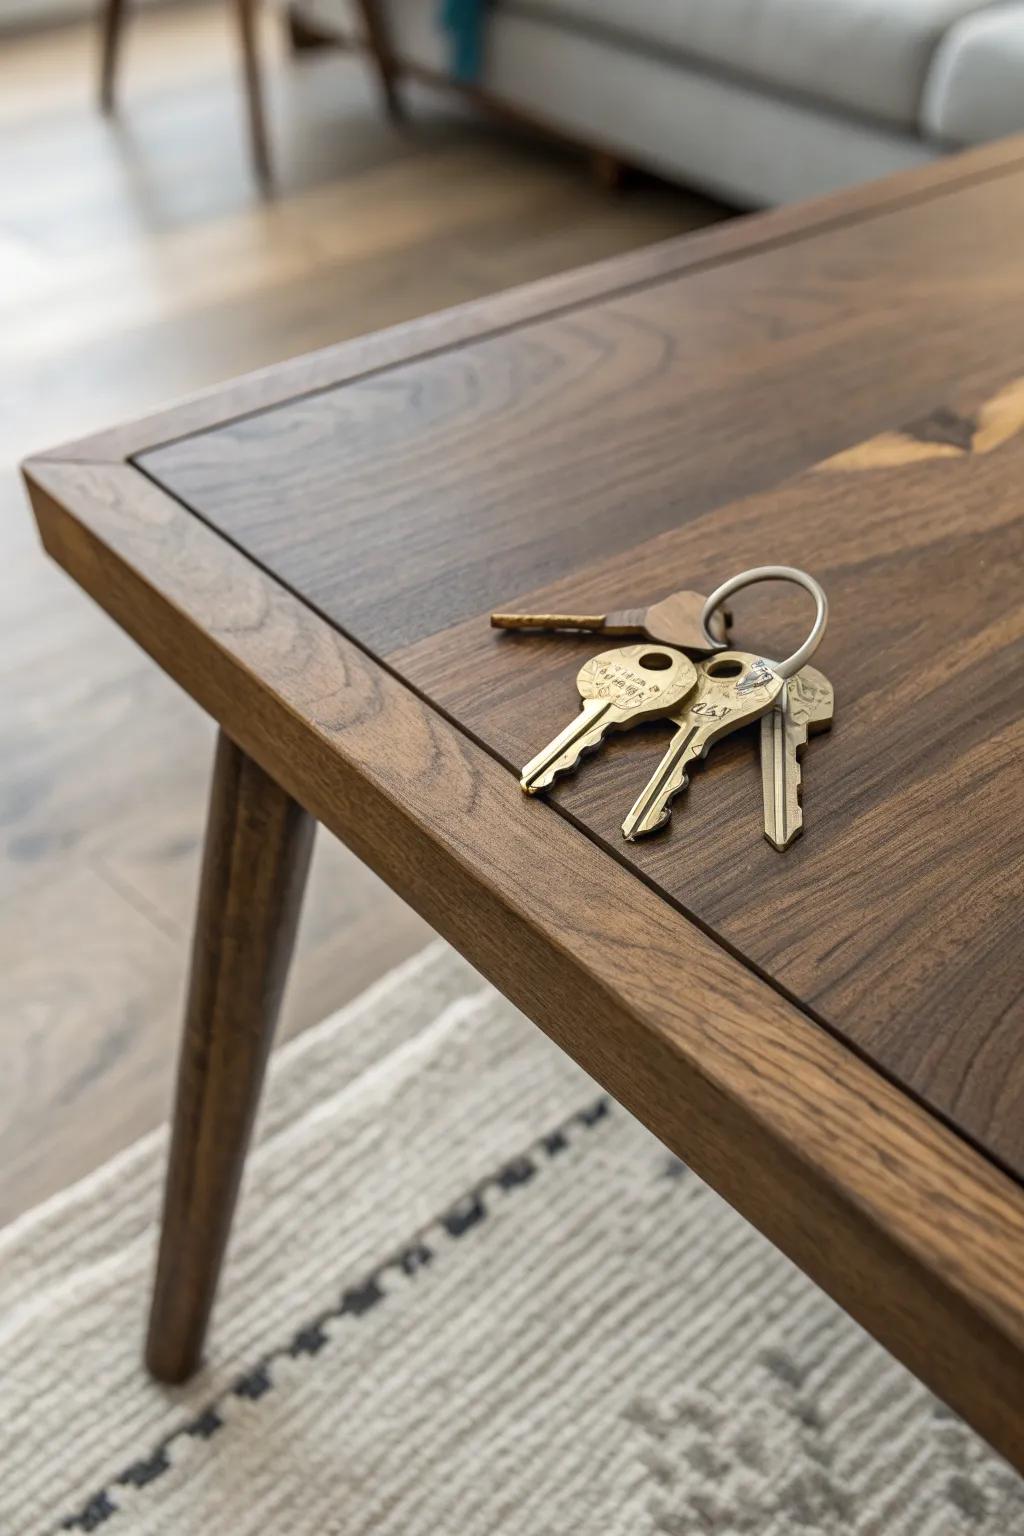
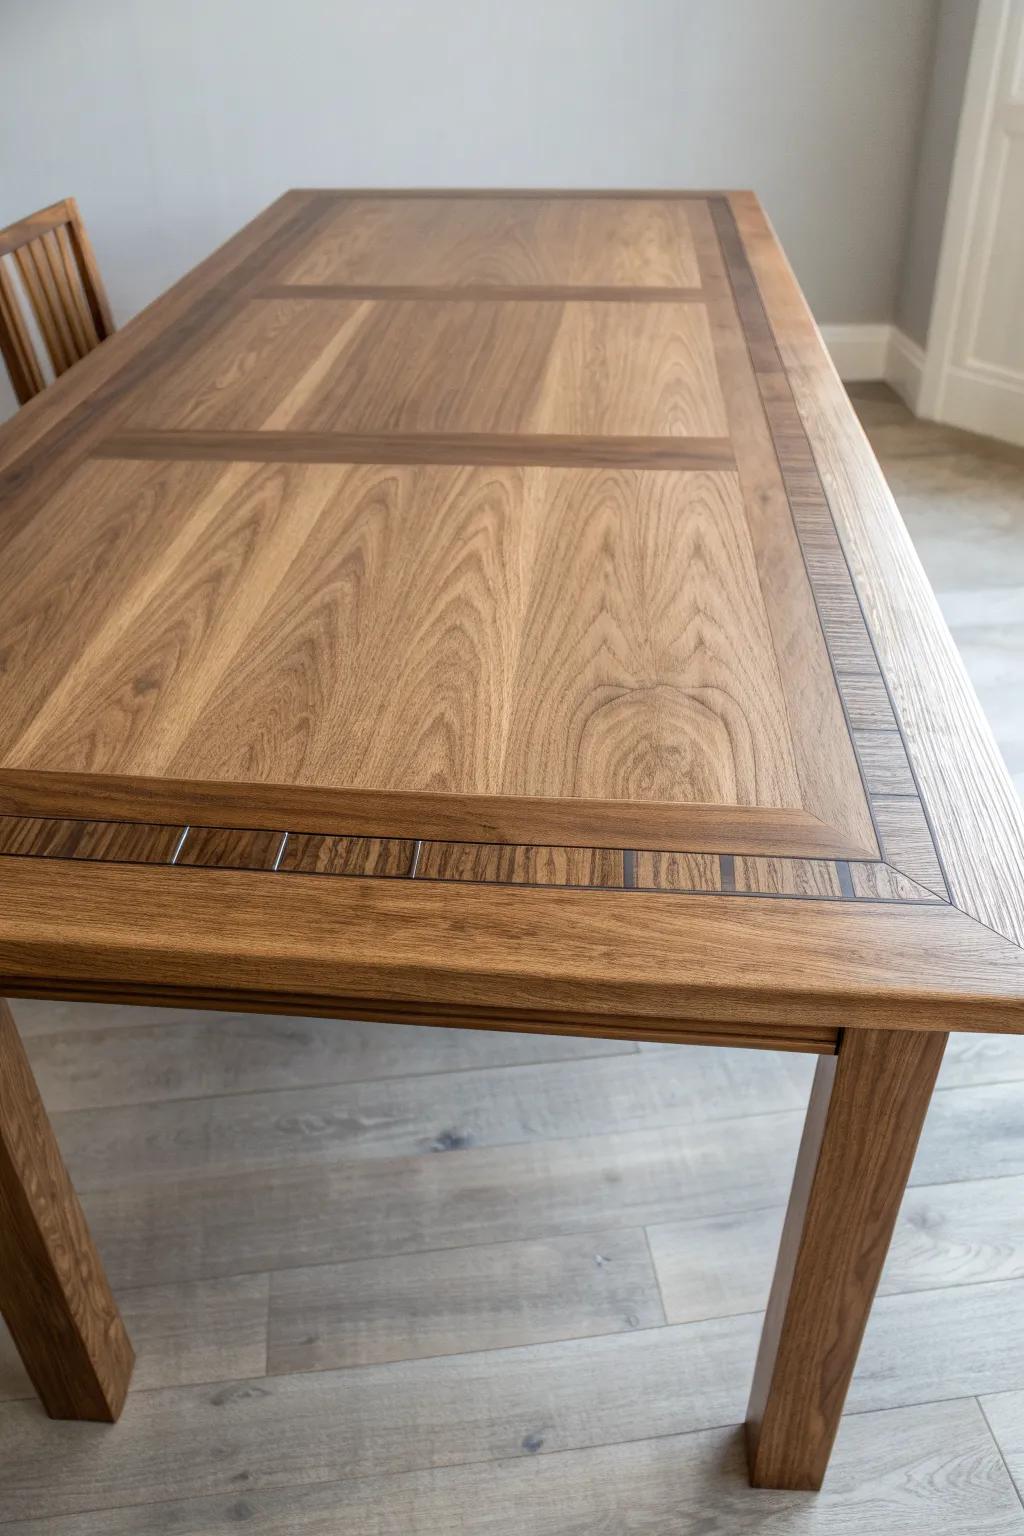
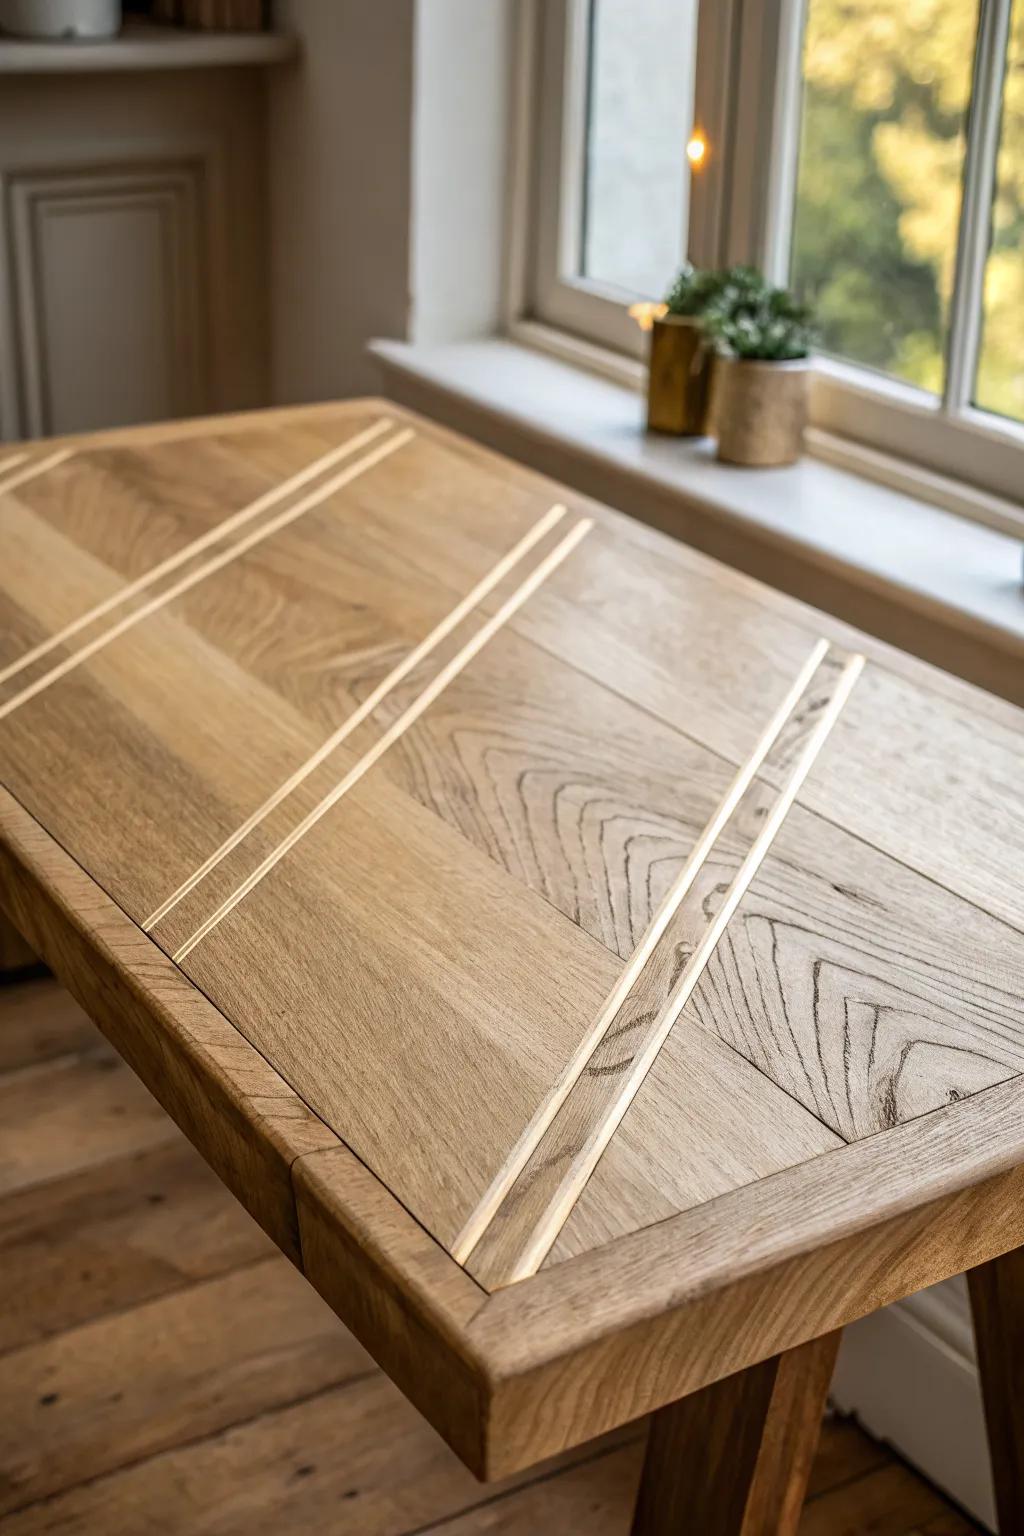
Simple Border Banding
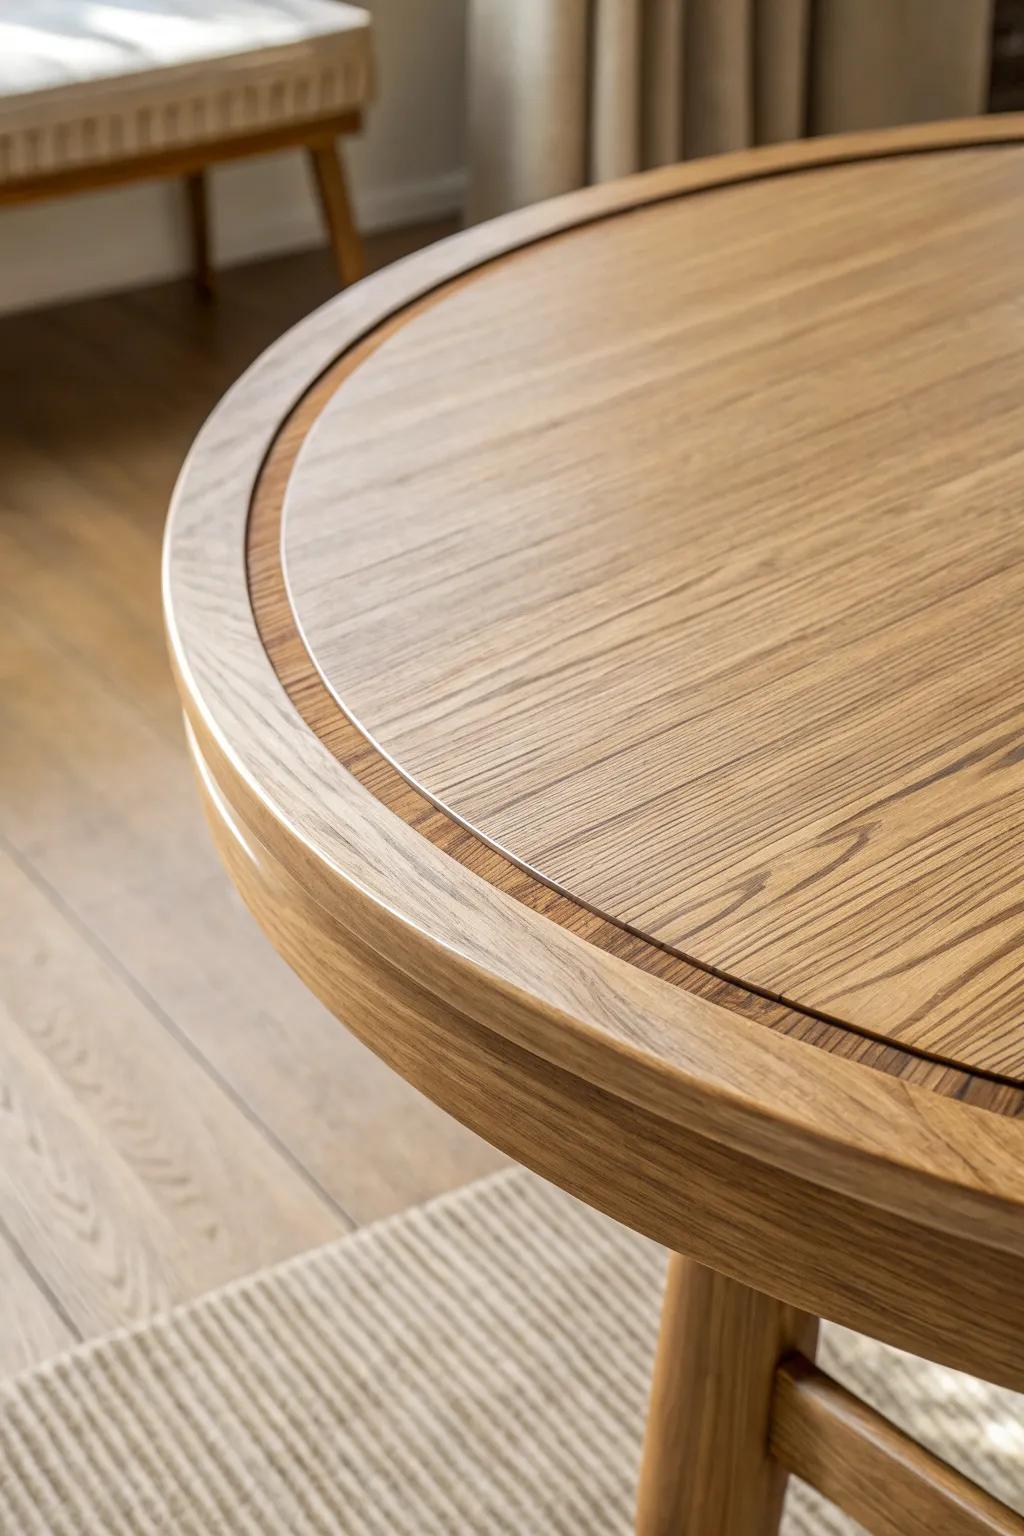
When I want a fast upgrade, I route a shallow inlay groove around the tabletop edge and glue in thin wood banding for a crisp frame. I’ve done this on thrifted side tables, and it instantly makes the whole piece look more “finished.”
A few helpful options:
- Compact Router Tool: Create the perfect groove for your inlay with a handheld router, essential for precise and clean edging work.
- Flexible Wood Veneer Banding: Choose a contrasting wood veneer banding to glue into your routed channel for that sophisticated custom furniture look.
- Straight Router Bit Set: Ensure your groove width perfectly matches your banding material by using a reliable set of straight router bits.


Classic Bow Tie Keys
A bow tie inlay (sometimes called a butterfly key) is my go-to when a table has a crack or knot that needs both style and strength. I like cutting them from a light wood and setting them into a darker tabletop so the repair looks totally intentional.
Try these:
- Router Template Set: Create precise bow tie shapes effortlessly with a durable template guide to stabilize your wood projects.
- Plunge Router: Carve out the perfect recess for your inlay keys using a reliable router for deeper cuts.
- Chisel Set: Clean up tight corners and refine edges for a seamless fit between your key and tabletop.

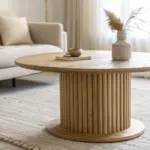
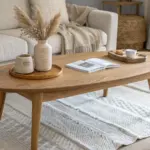
Center Medallion Circle
A clean circular inlay in the center of a coffee table feels timeless, especially with high-contrast woods. I’ve made mine from a plug-style disk and then sanded everything flush so it looks like it grew there.
A few things you might like:
- Circle Cutting Router guide: Achieve perfect circles for your table inlays by attaching this precision guide to your existing plunge router.
- Wood Veneer Variety Pack: Create high-contrast medallion patterns using this selection of different wood species for distinct, artistic geometric shapes.
- Flush Trim Router Bit: Ensure your inlay sits perfectly flat against the table surface with this essential bit for seamless woodworking results.
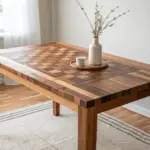
Diamond-in-Diamond Layout
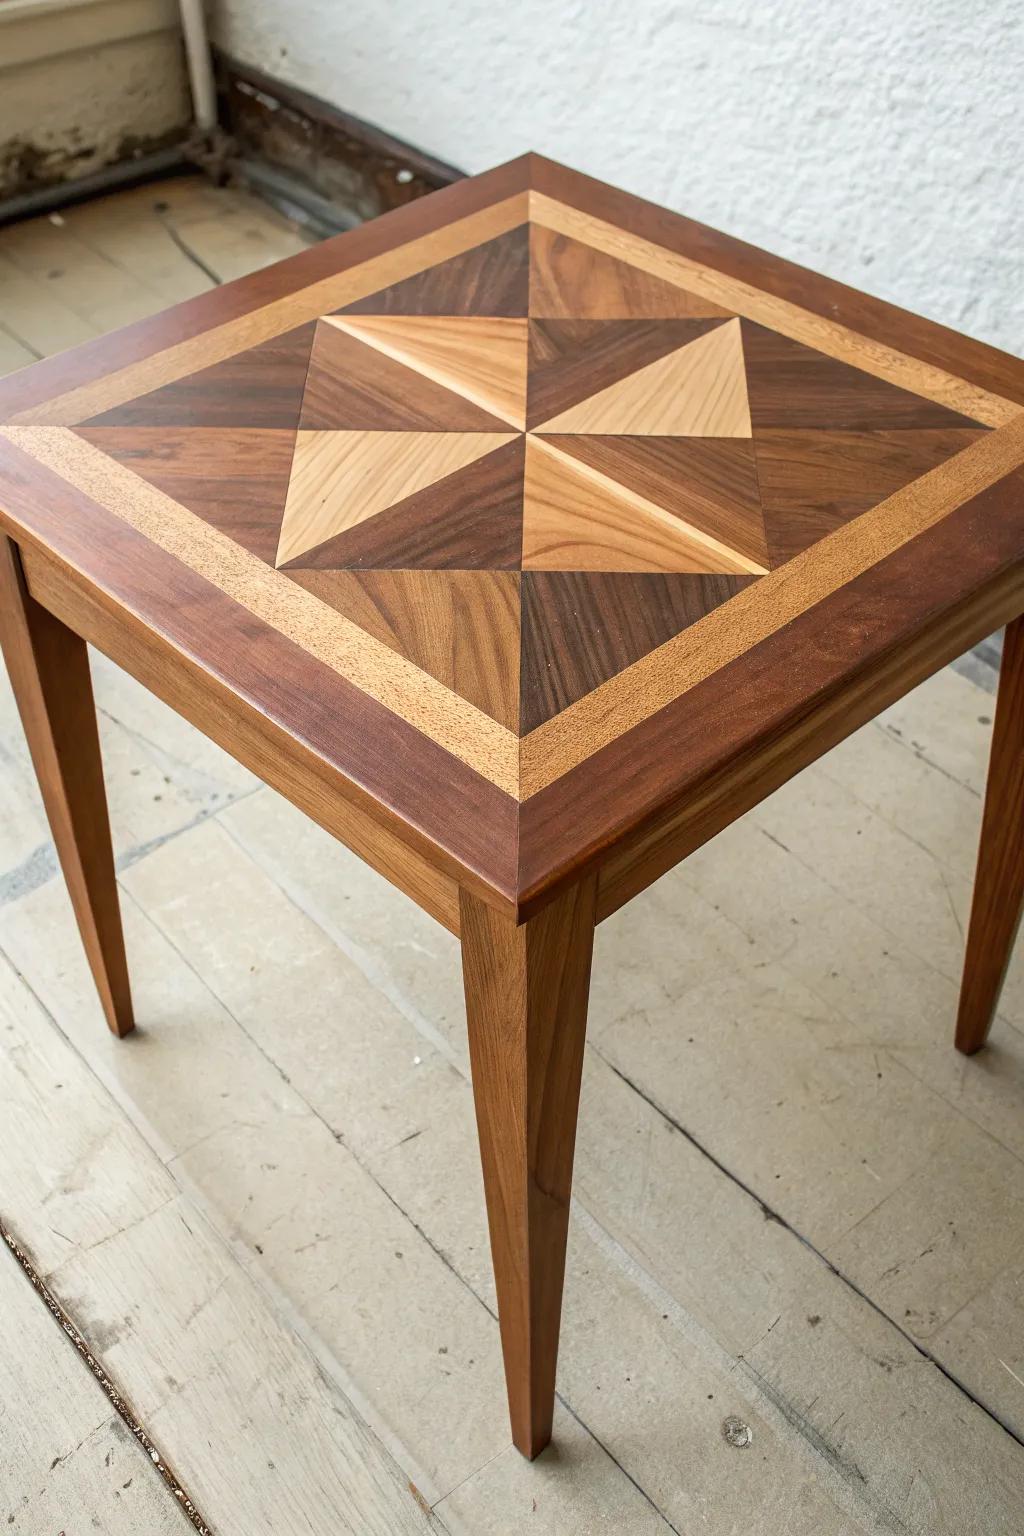
Layered diamond inlays are one of those patterns that look fancy but are basically just careful measuring and straight cuts. I’ve used two shades of hardwood to make the center “pop,” and it photographs beautifully from above.
A few suggestions:
- Wood Veneer Variety Pack: Choose contrasting wood species to create the distinct two-tone diamond effect for your tabletop centerpiece.
- Precision Marking Knife: Ensure your geometric cuts mesh perfectly by scribing accurate, thin lines instead of using thick pencils.
- Veneer Saw or Japanese Pull Saw: Cut delicate veneer pieces cleanly without tearing the grain to maintain sharp, professional-looking geometric edges.
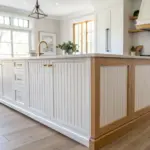
Herringbone Panel Inlay
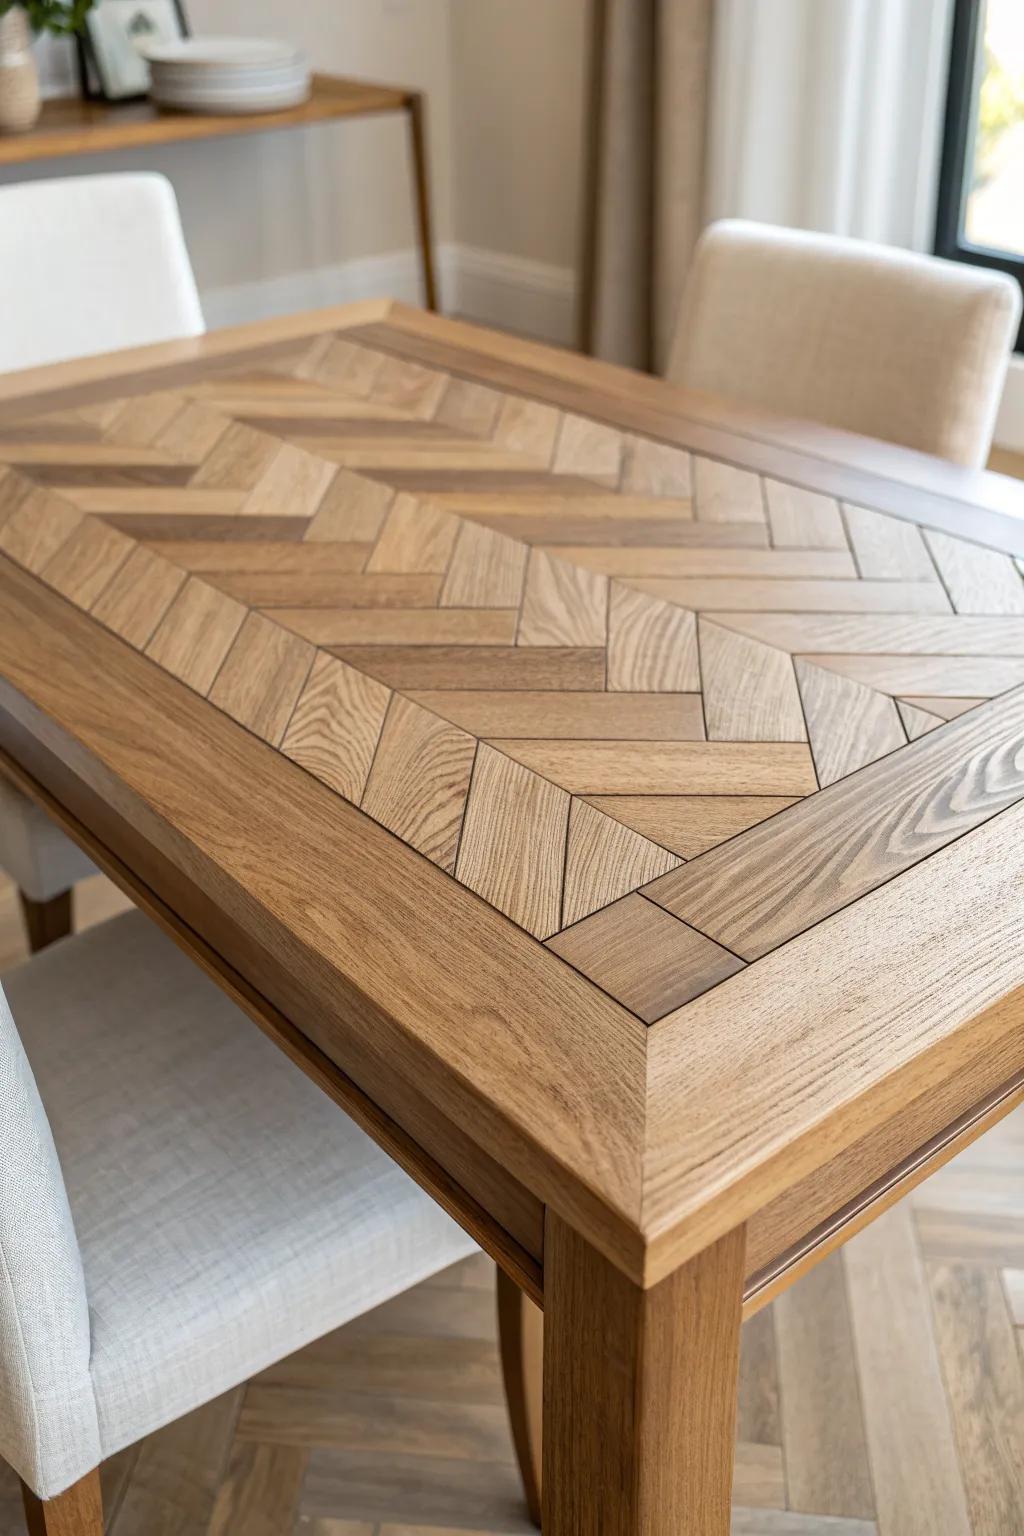
For a bigger statement, I inlay a shallow pocket and set in a herringbone wood panel like a mini parquet floor inside the tabletop. I’ve done this on a dining table makeover, and the grain direction gives you that cozy, high-end texture.
You might like:
- Wood Veneer Sheets: Create your intricate herringbone patterns easily using these thin wood sheets perfect for glue-down inlay projects.
- Compact Router Tool: Carve precise shallow pockets into your tabletop to seamlessly seat your new herringbone wood panel sections.
- Woodworking Glue: Ensure a lasting bond for your inlay pieces with high-strength adhesive designed specifically for furniture building.
Interlaced Knot Border
An interlaced knot inlay around the perimeter makes even a basic table feel like heirloom work. I’ve learned that switching grain direction at “over-under” spots sells the illusion way more than perfect curves do.
Some handy options:
- Plunge Router with Guide Fence: Create precise dados and grooves for your inlay strips with this essential power tool for accuracy.
- Contrasting Hardwood Veneer Sheets: Select dark woods like walnut or ebony to create the distinct visual contrast needed for borders.
- Straight & Spiral Router Bits: Ensure clean, tear-out free channels for your complex knot designs using these specific high-quality cutters.
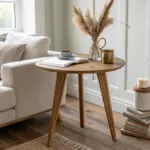
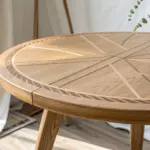
Corner Fan Inlays
Little fan inlays in the corners are such a sweet vintage detail, especially on side tables and consoles. I’ve made them with wedge-shaped slivers, and they’re surprisingly forgiving once you get the spacing consistent.
May just do the trick:
- Wood Veneer Variety Pack: Explore different wood grains and tones to create contrasting, vintage-inspired fan patterns for your unique table projects.
- Precision Marquetry Knife Set: Cut delicate wedge shapes accurately with sharp, reliable blades designed specifically for fine detail woodworking and inlay.
- Woodworker’s PVA Glue: Ensure your intricate fan slivers stay permanently bonded with a high-quality adhesive formulated for tight wood joints.
Flowing River Lines
Instead of straight geometry, I sometimes inlay curved lines that flow across the tabletop like water or wind. On a rustic piece with visible grain, that organic inlay path feels extra natural, like it’s following the wood’s own movement.
Useful items to consider:
- Brass Inlay Strips: Add elegant metallic accents to your woodwork by embedding these strips for a sophisticated, custom look.
- Compact Palm Router: Carve precise grooves for your inlays effortlessly with this essential, maneuverable tool for detailed woodworking projects.
- Router Inlay Kit: Achieve perfect fit and finish for complex inlay shapes by using this specialized template guide set.
Live-Edge Crack Stitch Inlay

On live-edge slabs, I love turning checks into art by routing along the crack and adding a bold table inlay “stitch” pattern. I’ve used multiple small keys in a row, and it gives the tabletop this rugged-but-refined personality.
These products might help:
- Clear Casting Epoxy Resin Kit: Fill deep cracks or create stunning river veins by pouring durable resin into prepared wood voids.
- Metallic Mica Powder Pigment Set: Mix these vibrant powders into your resin to achieve the striking turquoise color seen here.
- Router Butterfly Key Inlay Template: Use templates to precisely cut the Dutchman keys or stitches mentioned for reinforcing wood checks.
Metal Strip Accent Inlay
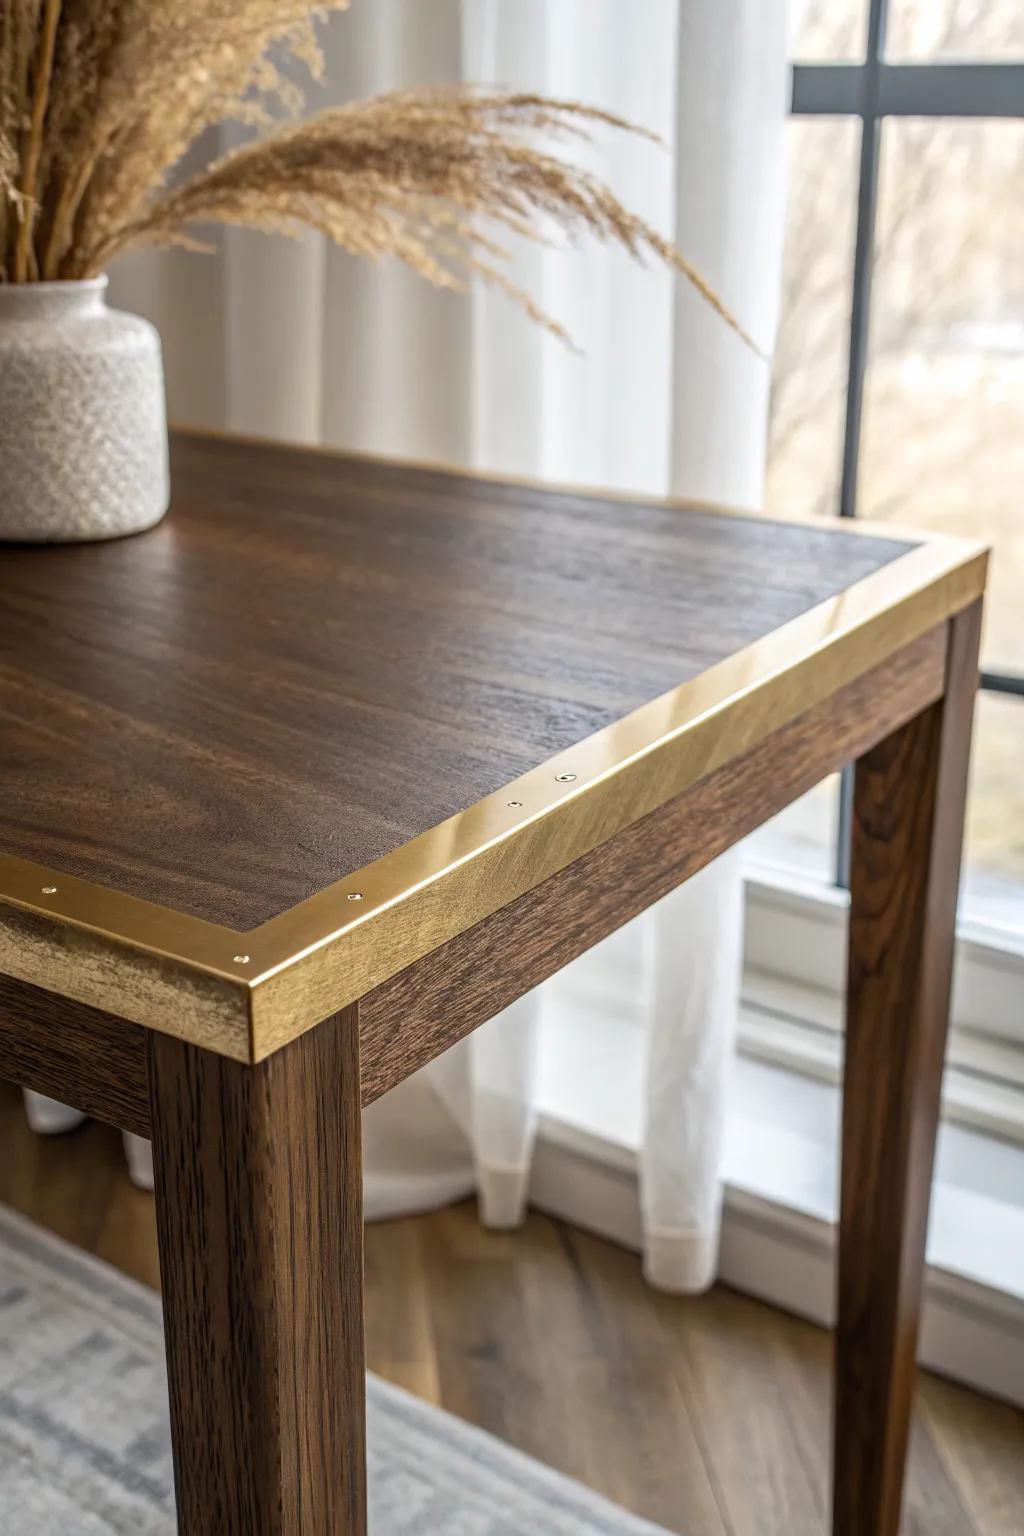
A thin metal inlay strip set flush into wood is a total showstopper, especially on darker tabletops. I’ve added it as a simple border line, and the little bit of shine makes the whole table feel updated.
Products that could assist:
- Brass Flat Bar Stock: Add a distinct, luxurious golden border to your tabletop by inlaying this durable brass material today.
- Router Inlay Kit: Create perfectly precise channels for your metal strips using this essential guide for clean, professional results.
- Industrial Strength Epoxy: Secure your metal accents permanently to the wood surface with this reliable, clear-drying bonding adhesive.
Tinted Resin Geometric Inlay
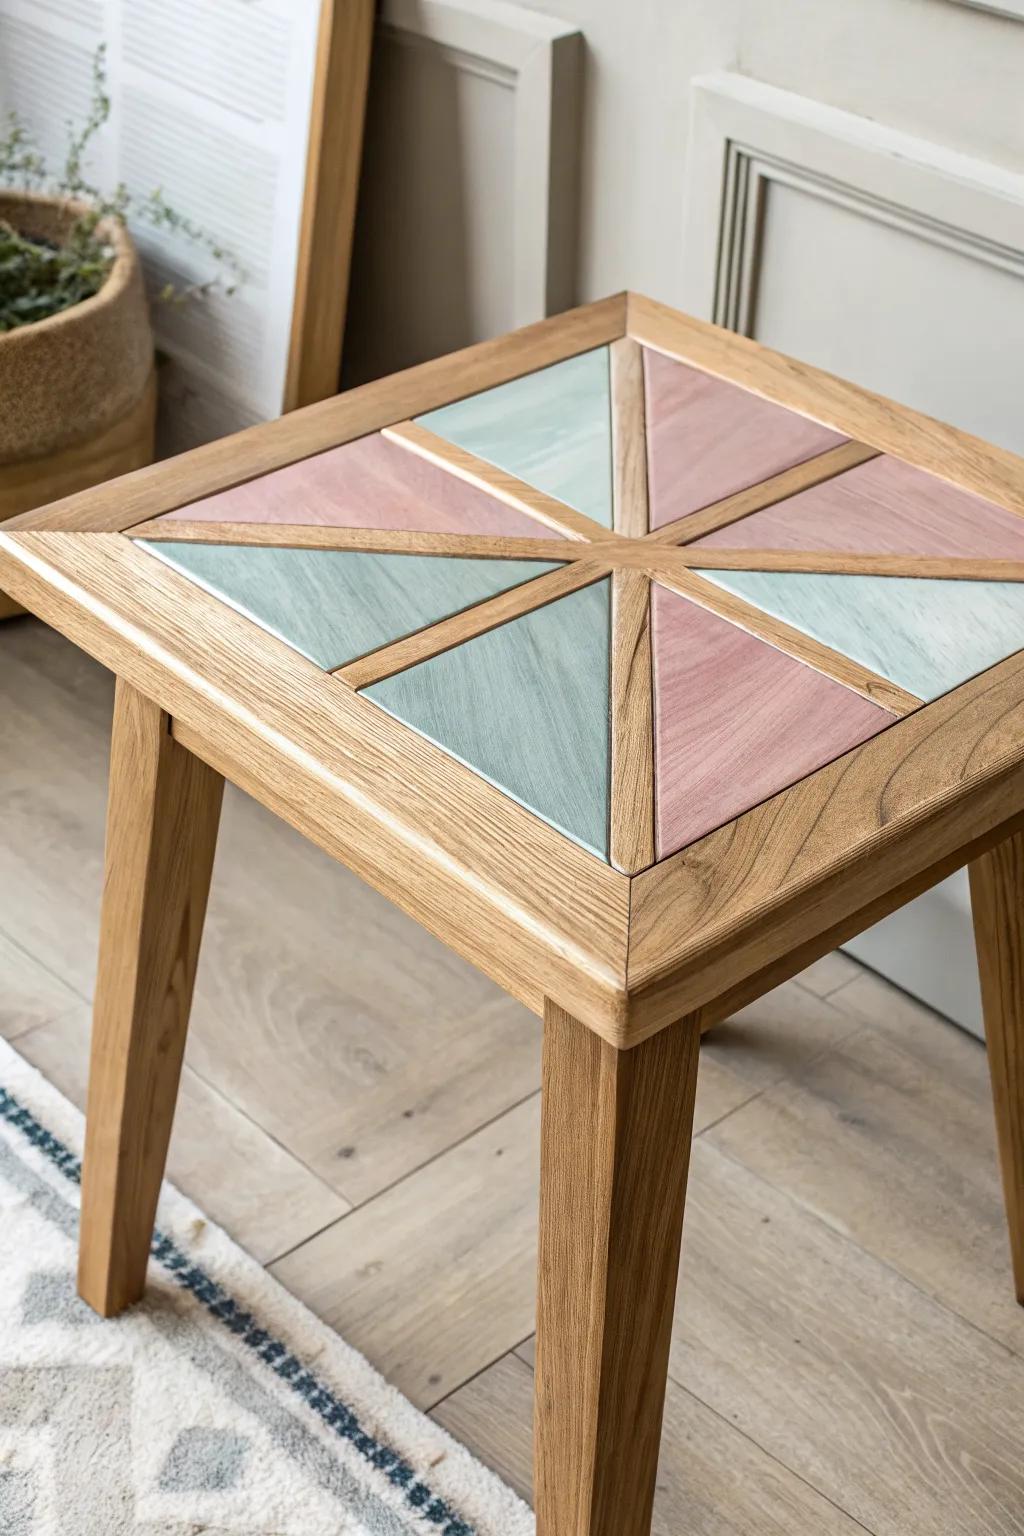
When I’m craving color, I route clean channels and pour tinted resin inlay for modern geometric lines. I’ve learned to seal the groove first so the pigment stays crisp instead of bleeding into open grain.
Maybe worth checking out:
- Clear Epoxy Resin Kit: Create durable, glass-like inlays by pouring this versatile resin into your routed table channels.
- Pigment Powder Set: Mix these vibrant mica powders into your resin to achieve the perfect custom pastel hues.
- Sanding Sealer: Apply this prep coat to wood grooves to prevent resin bleeding and ensure crisp, clean lines.
Stone-Dust Terrazzo Inlay
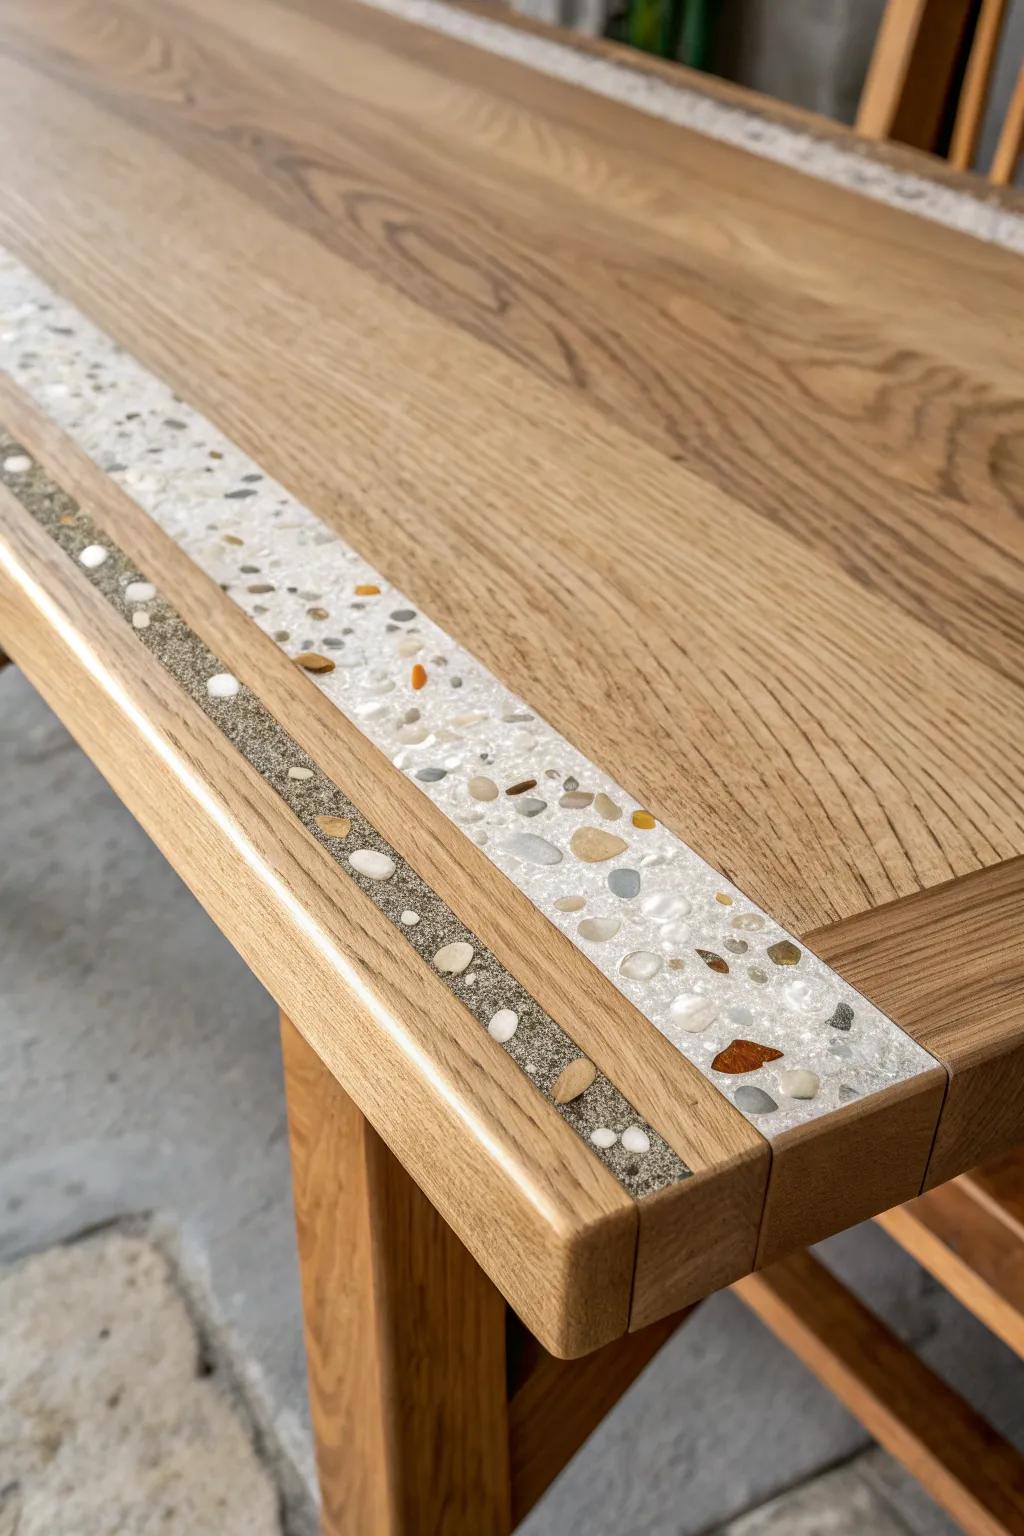
For a real “wait, what is that?” moment, I mix fine stone dust and small chips into clear binder and inlay it like a terrazzo strip in the tabletop. I tried this on an upcycled coffee table, and the speckled texture looks unreal against warm wood.
Possibly helpful picks:
- Crushed Stone Chips: Add vibrant texture to your inlay by choosing various colors of crushed stone aggregate for visual interest.
- Clear Casting Resin: Use a high-quality, clear epoxy resin to securely bind your stone dust and chips into the wood.
- Stone Dust Pigment Powder: Mix this fine powder into your resin to create the dense, speckled base layer for your terrazzo effect.
Fabric-Under-Resin Inlay Window
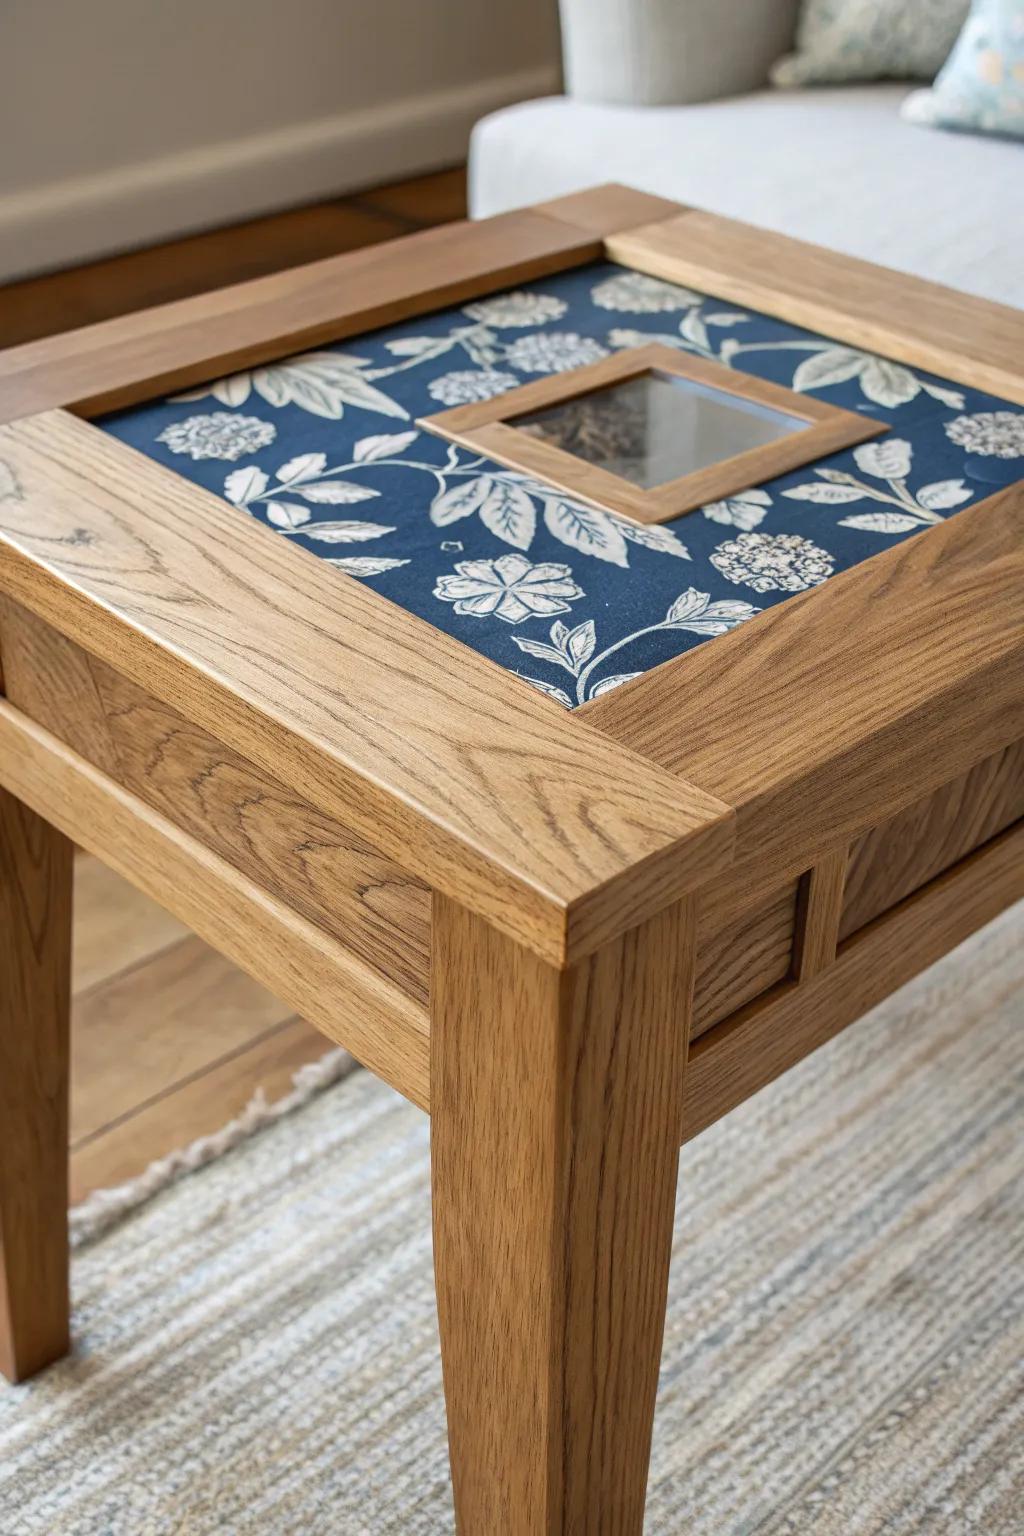
One of my most surprising table inlay ideas is routing a recessed panel, laying in a piece of patterned fabric, and sealing it under a crystal-clear pour so it’s perfectly flush. I’ve done this with old textiles, and it turns a tabletop into a personal keepsake without sacrificing durability.
A few choices to try:
- Clear Tabletop Epoxy Resin Kit: Create a glossy, durable finish over your fabric inlay by pouring this self-leveling clear coat protection.
- Decorative Patterned Upholstery Fabric: Choose a bold botanical or geometric textile to serve as the custom centerpiece for your unique tabletop design.
- Handheld Wood Router: Carve precise, clean recesses into your table surface to perfectly house your fabric and resin layers.


